Home>Garden Design>Landscape Design>How To Remove Grass For Landscaping
Landscape Design
How To Remove Grass For Landscaping
Modified: January 22, 2024
Learn how to remove grass for landscaping with our comprehensive guide. Transform your outdoor space with expert landscape design tips and techniques.
(Many of the links in this article redirect to a specific reviewed product. Your purchase of these products through affiliate links helps to generate commission for Chicagolandgardening.com, at no extra cost. Learn more)
Table of Contents
Introduction
Welcome to the world of landscape design! A beautifully designed landscape can transform an ordinary outdoor space into a breathtaking oasis. One of the essential steps in creating an outstanding outdoor environment is removing grass to make way for new landscaping features. Whether you want to install a flower bed, a patio, a garden path, or a water feature, removing the existing grass is a crucial foundation for your project.
While it may seem like a daunting task, removing grass for landscaping is a manageable process with the right tools and techniques. In this article, we will guide you through the step-by-step process of removing grass and preparing the soil for your landscaping project. Whether you are a seasoned gardener or a beginner, we’ve got you covered!
Before diving into the details, let’s briefly discuss the reasons why you may need to remove grass for landscaping. There are several factors that may influence your decision, such as:
- Lack of aesthetics: The existing grass may not fit your desired landscape design, and removing it will help you create a more visually appealing outdoor space.
- Space utilization: You may want to utilize the space for other landscaping features, such as flower beds, vegetable gardens, or hardscapes like patios or decks.
- Soil improvement: The existing grass may be thin or unhealthy, and removing it will give you the opportunity to improve the soil quality for better plant growth.
- Reducing maintenance: Grass requires regular maintenance, including mowing, watering, and fertilizing. Removing the grass can help reduce the time and effort required for upkeep.
Now that you understand the importance of removing grass for landscaping, let’s move on to the tools and materials you will need for the task.
Reasons for Removing Grass
When it comes to landscaping, there are several reasons why you may need to remove grass from your outdoor space. By understanding these reasons, you can make an informed decision and create a landscape that suits your needs and preferences. Here are some common reasons for removing grass:
- Space Utilization: Grass takes up a significant amount of space in your yard. By removing it, you can free up valuable real estate to install other landscaping features such as flower beds, vegetable gardens, or hardscapes like patios or decks. This allows you to maximize the functionality and aesthetics of your outdoor space.
- Enhanced Aesthetics: Sometimes, the existing grass may not align with your desired landscape design. Perhaps you envision a lush garden with vibrant blooms or a tranquil Zen-inspired courtyard. Removing the grass gives you a blank canvas to work with, allowing you to create a visually stunning landscape that reflects your personal style and preferences.
- Reduced Maintenance: Maintaining a healthy-looking lawn requires regular mowing, watering, fertilizing, and pest control. If you’re looking to minimize the time and effort spent on lawn maintenance, removing the grass can help. By replacing it with low-maintenance alternatives such as native plants, groundcovers, or artificial turf, you can enjoy a beautiful landscape without the high maintenance demands of traditional grass.
- Soil Improvement: Grass can deplete nutrients from the soil, leading to thin or compacted soil. Removing the grass allows you to amend the soil by adding organic matter, such as compost or topsoil. This improves the soil’s fertility, drainage, and overall health, providing a better environment for your new landscaping plants to thrive.
- Water Conservation: Grass requires regular watering to stay green and lush, particularly in dry regions or during droughts. If you’re concerned about water conservation, removing grass can significantly reduce your water usage. By opting for drought-tolerant landscaping options, such as native plants or xeriscaping, you can create a beautiful and sustainable landscape that conserves water.
By considering these reasons, you can determine if removing grass is the right choice for your landscape design goals. Remember, each outdoor space is unique, so it’s important to assess your specific needs and preferences before making a decision. Now that you’re aware of the reasons for removing grass, let’s move on to the practical aspect: the tools and materials you’ll need for the task.
Tools and Materials Needed
Before you begin the process of removing grass for your landscaping project, it’s important to gather the necessary tools and materials. Having the right equipment on hand will make the task more efficient and ensure a successful outcome. Here are the essential tools and materials you’ll need:
- Lawn mower or grass trimmer: If the grass in your yard is relatively short, a lawn mower or grass trimmer can be used to trim it down before removal. This helps facilitate the subsequent steps of killing and removing the grass.
- Sod cutter or shovel: Depending on the size of the area you need to clear, a sod cutter or shovel will be required to physically remove the grass. A sod cutter is a machine specifically designed for this purpose, but if you’re working on a smaller scale, a sturdy shovel will do the job.
- Landscape fabric or cardboard: To prevent grass regrowth, you’ll need landscape fabric or cardboard to create a barrier. This will smother the remaining grass and prevent it from growing through the new landscaping materials.
- Garden hose or sprinkler: Before removing the grass, thoroughly water the area to soften the soil. This will make it easier to remove the roots and ensure soil stability during the process.
- Rake or garden fork: A rake or garden fork is essential for loosening and removing any remaining grass roots and debris after the initial removal process. This helps prepare the soil for the next steps.
- Compost or topsoil: If the existing soil is of poor quality, you may need to add compost or topsoil to improve its fertility and structure. This will provide a healthy growing environment for your new landscaping plants.
- Landscaping materials: Depending on your landscaping design, you’ll need to gather the appropriate materials, such as pavers, mulch, gravel, or plants. These materials will bring your vision to life and create the desired aesthetic for your outdoor space.
- Protective gear: It’s important to prioritize safety while working on your landscaping project. Wear gloves, safety glasses, and sturdy shoes to protect yourself from any potential injuries.
By having these tools and materials ready, you’ll be well-prepared to remove the grass and proceed with the next steps of your landscaping project. Now that you’re equipped with the necessary tools, it’s time to move on to the planning and preparation stage.
Step 1: Planning and Preparation
Before you start removing the grass for your landscaping project, it’s essential to plan and prepare accordingly. Taking the time to strategize and gather the necessary information will ensure a smooth process and ultimately lead to a successful outcome. Here are the key steps involved in planning and preparation:
- Define your landscaping goals: Consider how you envision your outdoor space and what you want to achieve with your landscaping project. Think about the functions you want your new landscape to serve and the aesthetic you want to create. This will help you make informed decisions throughout the process.
- Measure and mark the area: Determine the specific area where you want to remove the grass. Measure the dimensions and mark the boundaries using stakes and twine or spray paint. This will give you a clear idea of the space you’ll be working with.
- Research local regulations: Check with your local municipality or homeowner’s association to ensure you’re aware of any regulations or restrictions regarding grass removal or landscaping. This can include guidelines on water conservation, tree protection, and use of certain materials.
- Create a removal plan: Based on the size of your project, develop a plan for removing the grass. Assess whether you’ll need to hire professional help or if it’s something you can handle on your own. Consider the timeline, budget, and available resources to determine the most efficient approach.
- Obtain necessary permits: If required, obtain any necessary permits or approvals before starting your landscaping project. This ensures compliance with local regulations and prevents any potential issues down the line.
- Survey the existing soil: Assess the quality of the existing soil in the area you’ll be working on. Consider factors such as drainage, pH levels, and nutrient content. This information will help you determine if any soil amendments are necessary for optimal plant growth.
By following these planning and preparation steps, you’ll set a solid foundation for your grass removal project. Taking the time to plan ahead will save you time and effort, and ensure that your landscaping goals are met. Once you have completed the planning stage, you’re ready to move on to the next step: killing the grass.
Step 2: Killing the Grass
Once you have completed the planning and preparation stage, it’s time to move on to the process of killing the grass. This step is important to ensure that the grass doesn’t regrow and compete with your new landscaping materials. Here are the steps to effectively kill the grass:
- Trim the grass: Use a lawn mower or grass trimmer to cut the grass as short as possible. This will expose more surface area of the grass blades, making it easier for the next step to eliminate the vegetation.
- Apply a herbicide: Choose a selective herbicide specifically designed to kill grass. Follow the instructions on the product carefully and apply it to the grass, ensuring complete coverage. The herbicide will penetrate the grass and inhibit its growth, effectively killing the vegetation.
- Water the area: After applying the herbicide, lightly water the area to activate the product. This will aid in its absorption by the grass roots and enhance its effectiveness in killing the grass.
- Wait for the grass to die: It may take some time for the herbicide to fully kill the grass. Be patient and allow the product to take effect over the recommended period mentioned on the herbicide’s label. During this time, avoid disturbing the area or applying any other treatments.
- Monitor the progress: Regularly check the area to assess the progress of the grass’s demise. You’ll notice a change in color and texture as the grass starts to wither and die. Once the grass has turned brown and is no longer growing, it’s a sign that the herbicide has done its job.
It’s important to note that using herbicides should be done with caution and in accordance with local regulations. Follow all safety precautions and guidelines provided by the manufacturer. If you prefer an organic approach, you can opt for natural weed control methods, such as smothering the grass with cardboard or landscaping fabric, or using vinegar or boiling water as a non-selective herbicide.
By effectively killing the grass, you’ll ensure that it won’t compete with your new landscaping materials and provide a fresh start for your project. Once the grass has died, you’re ready to move on to the next step: removing the grass and preparing the soil.
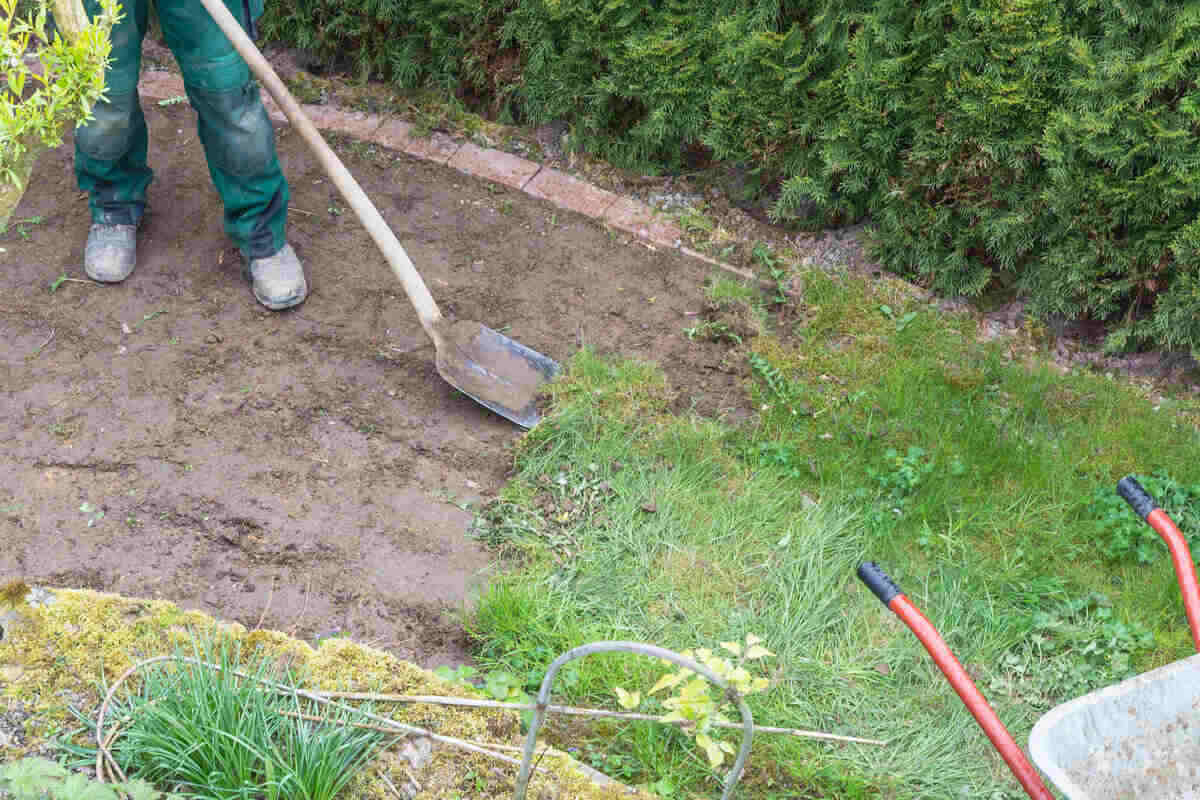
Step 3: Removing the Grass
Now that you have successfully killed the grass, it’s time to remove it from the area to make way for your new landscaping features. This step is crucial to ensure a clean and well-prepared surface for your upcoming project. Here are the steps to effectively remove the grass:
- Use a sod cutter or shovel: Depending on the size of the area, you can either use a sod cutter or a shovel to physically remove the dead grass. A sod cutter is a machine designed specifically for this purpose and can be rented from a local equipment rental store. If you’re working on a smaller scale, a sharp-edged shovel will do the job.
- Start at one corner: Begin by cutting or digging into the grass at one corner of the area. If using a sod cutter, slowly push the machine forward along the marked boundary. If using a shovel, insert the blade into the soil, angled slightly under the grass, and lift to remove the sod. Continue this process along the entire perimeter of the area.
- Roll or stack the sod: Once you have cut or dug up a section of the grass, roll it up like a carpet or stack it in manageable pieces. This will make it easier to transport or dispose of later on.
- Continue removing the grass: Repeat the cutting or digging process, working your way across the entire area. Take breaks as needed and pace yourself to avoid strain or fatigue. Remove any remaining grass roots and debris as you go to ensure a clean surface.
- Dispose of the grass: If the grass you’ve removed is still in good condition, you can repurpose it as compost or offer it to others who may need it for their own landscaping projects. If not, contact your local waste management facility to inquire about the appropriate disposal methods for vegetation.
It’s important to note that the removed grass can be heavy and bulky, so make sure you have a plan in place for its disposal or repurposing. Consider renting a dumpster or arranging for a green waste pickup service, depending on the amount of grass you need to dispose of.
By effectively removing the grass, you’ll have a clean and clear canvas for your new landscaping project. With the grass out of the way, you’re now ready to move on to the next step: preparing the soil for optimal plant growth.
Step 4: Soil Preparation
Now that the grass has been successfully removed from the area, it’s time to prepare the soil for your new landscaping project. Proper soil preparation is vital for the growth and success of your plants. Here are the steps to effectively prepare the soil:
- Remove remaining debris: Before proceeding, take the time to remove any remaining grass roots, rocks, or other debris from the soil. This will create a clean and healthy start for your plants.
- Test the soil: Consider conducting a soil test to assess its nutritional content, pH levels, and texture. This will provide valuable insights into any required amendments or adjustments needed for optimal plant growth.
- Add soil amendments: Based on the results of the soil test, you may need to add soil amendments such as compost, organic matter, or fertilizers. These additions will help improve the soil’s fertility, structure, and drainage, providing a better growing environment for your plants.
- Mix amendments into the soil: Once you have determined the appropriate amendments, spread them evenly across the soil surface. Use a garden fork or rake to mix the amendments into the top few inches of the soil. This will ensure that the nutrients are evenly distributed and accessible to the plants’ roots.
- Level and smooth the soil: After incorporating the amendments, use a garden rake to level and smoothen the soil surface. This will create a uniform base for your new landscaping features and make planting easier.
- Water the soil: Before you start planting, thoroughly water the prepared soil. This will help settle the amendments and ensure proper moisture levels for your plants.
It’s important to note that different plants have specific soil requirements. Research the needs of the plants you plan to include in your landscape to ensure that you create the ideal soil conditions for their growth.
By effectively preparing the soil, you’re setting the stage for healthy and thriving plants in your landscape. With the soil ready, it’s time to move on to the exciting next step: choosing the landscaping options that will bring your vision to life.
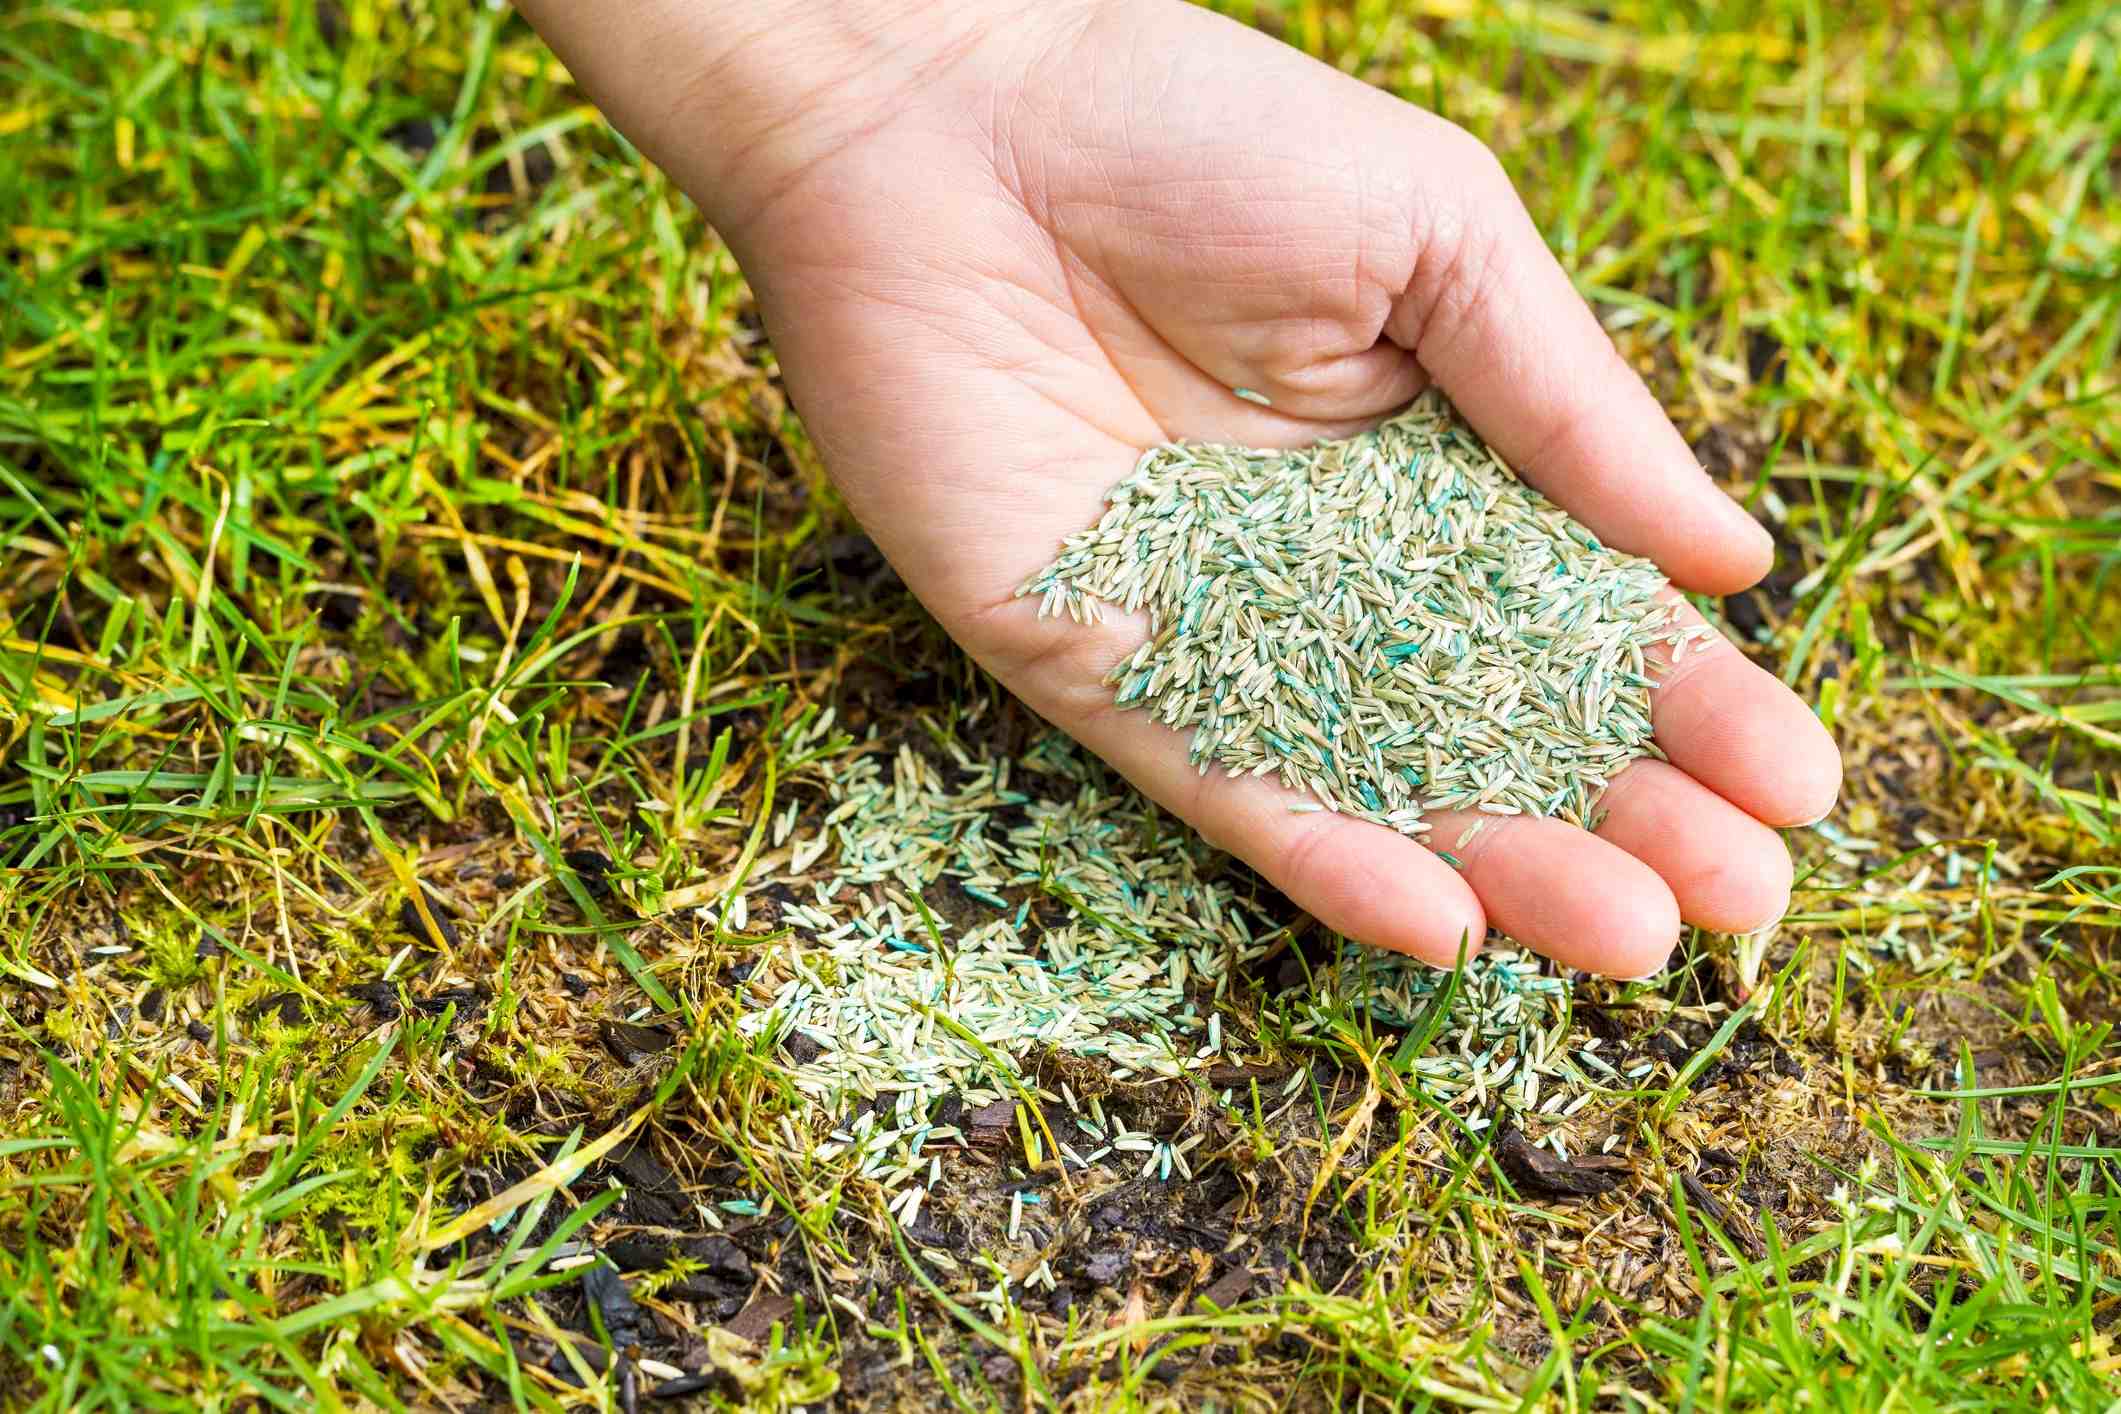
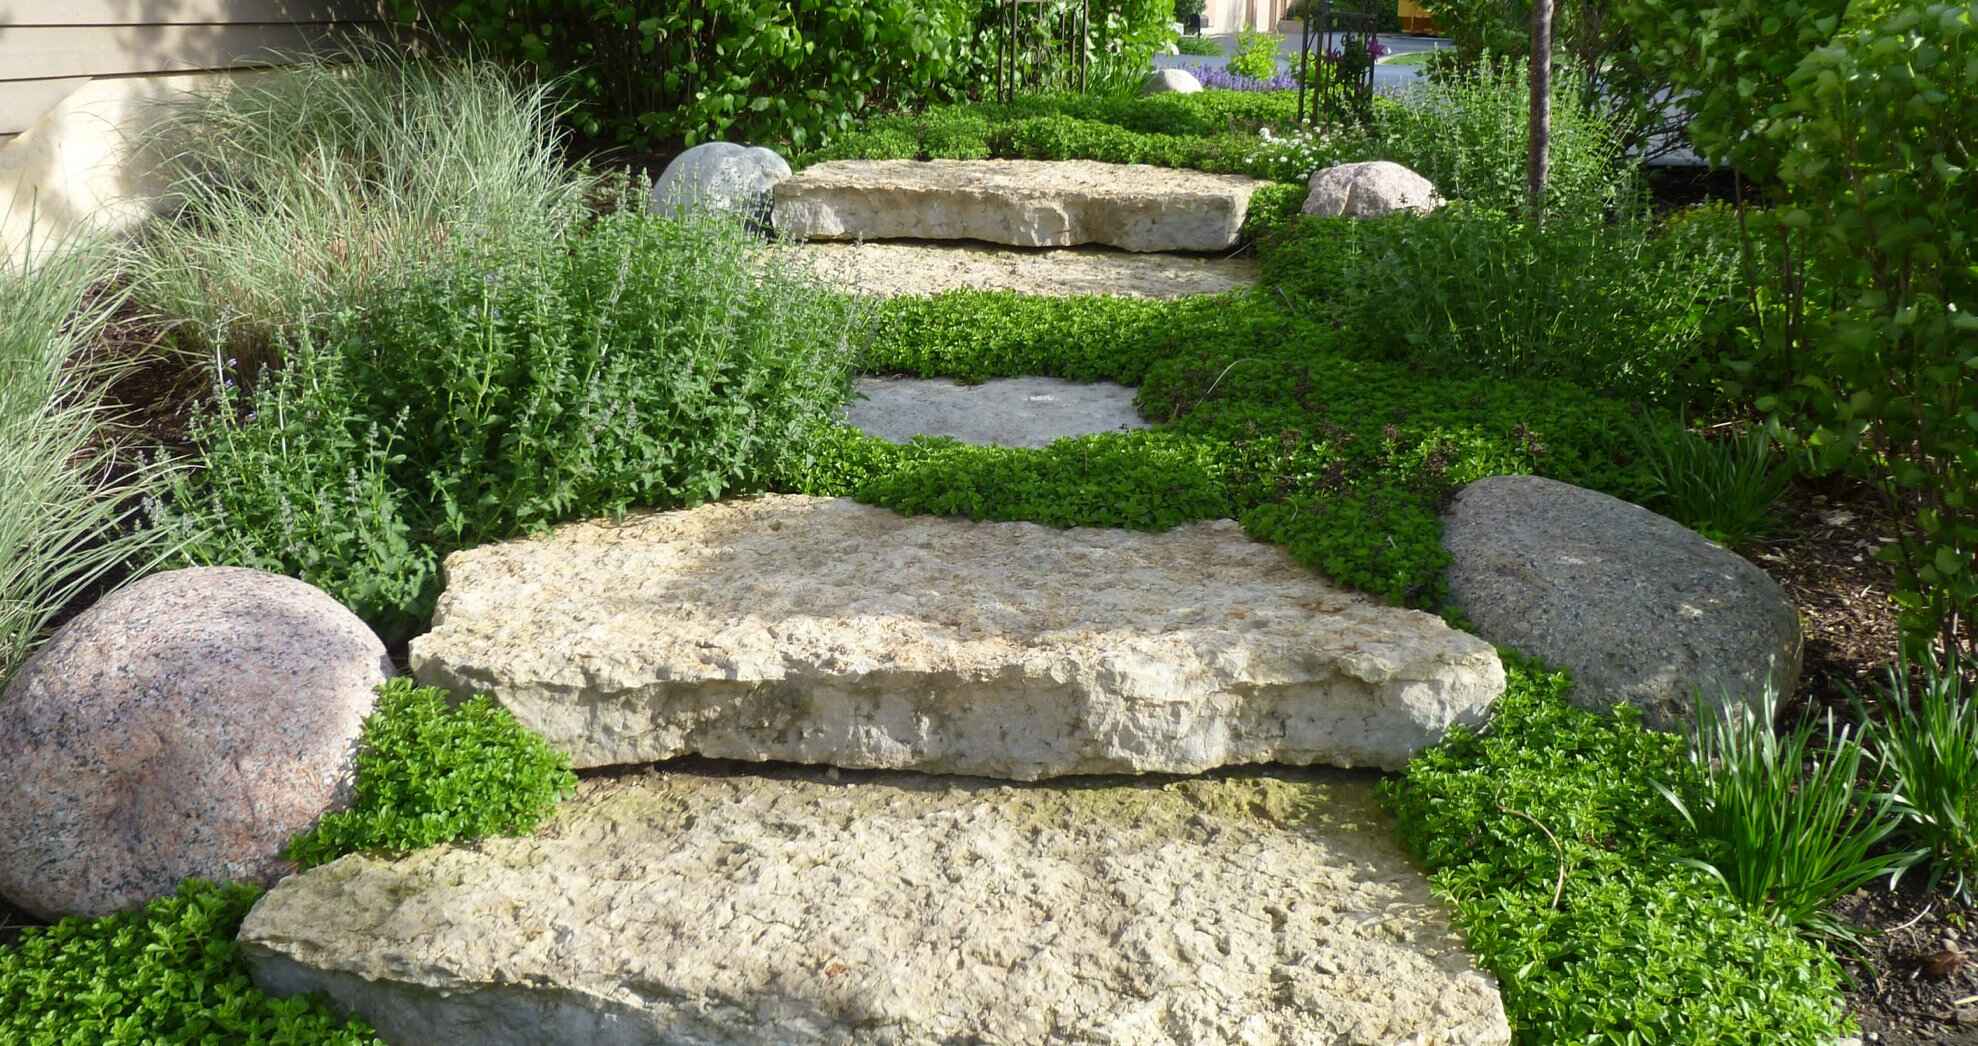
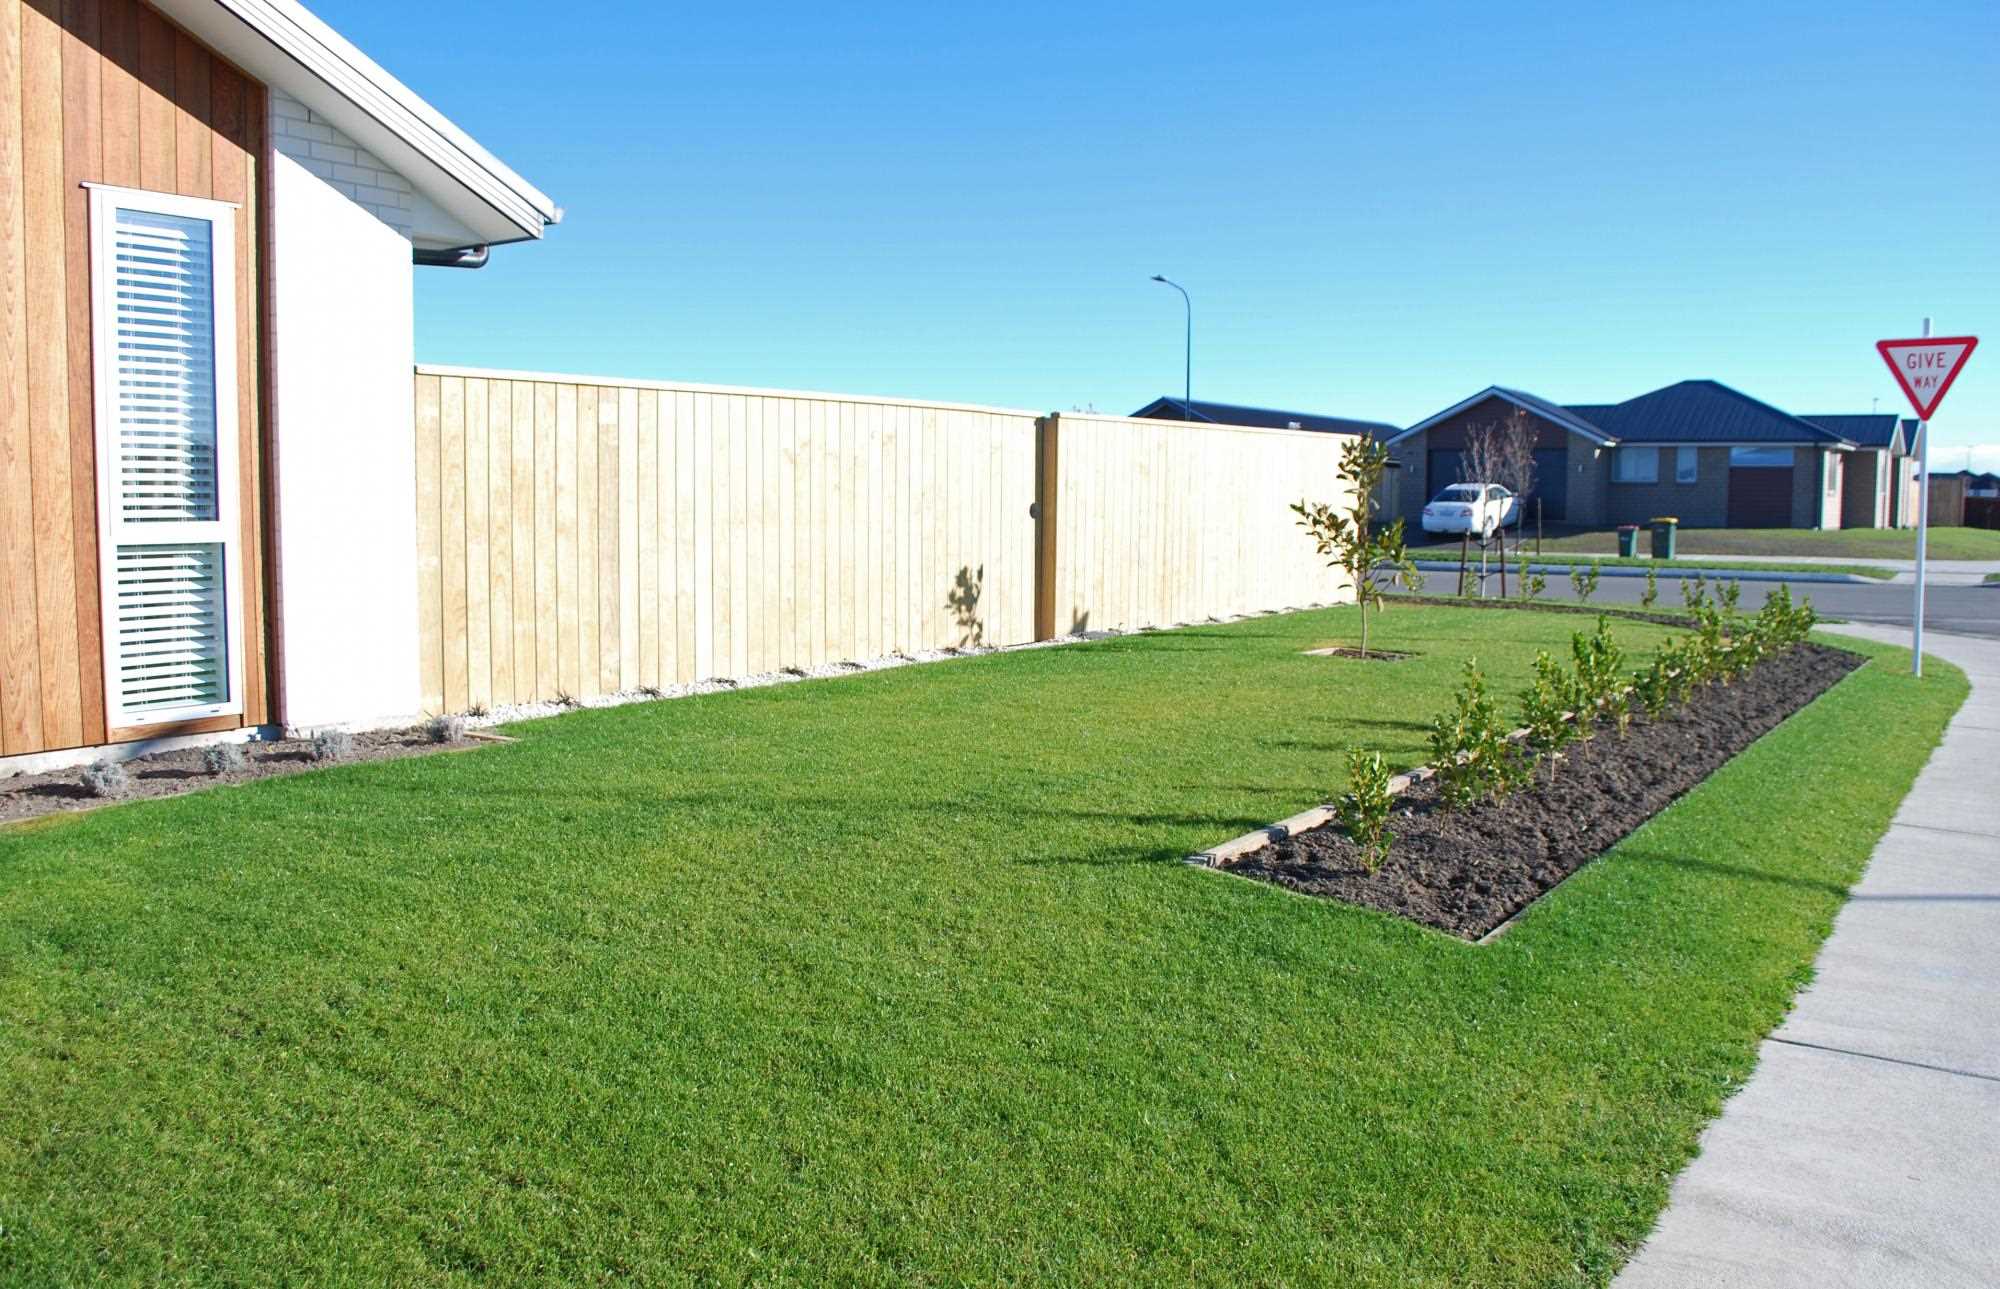
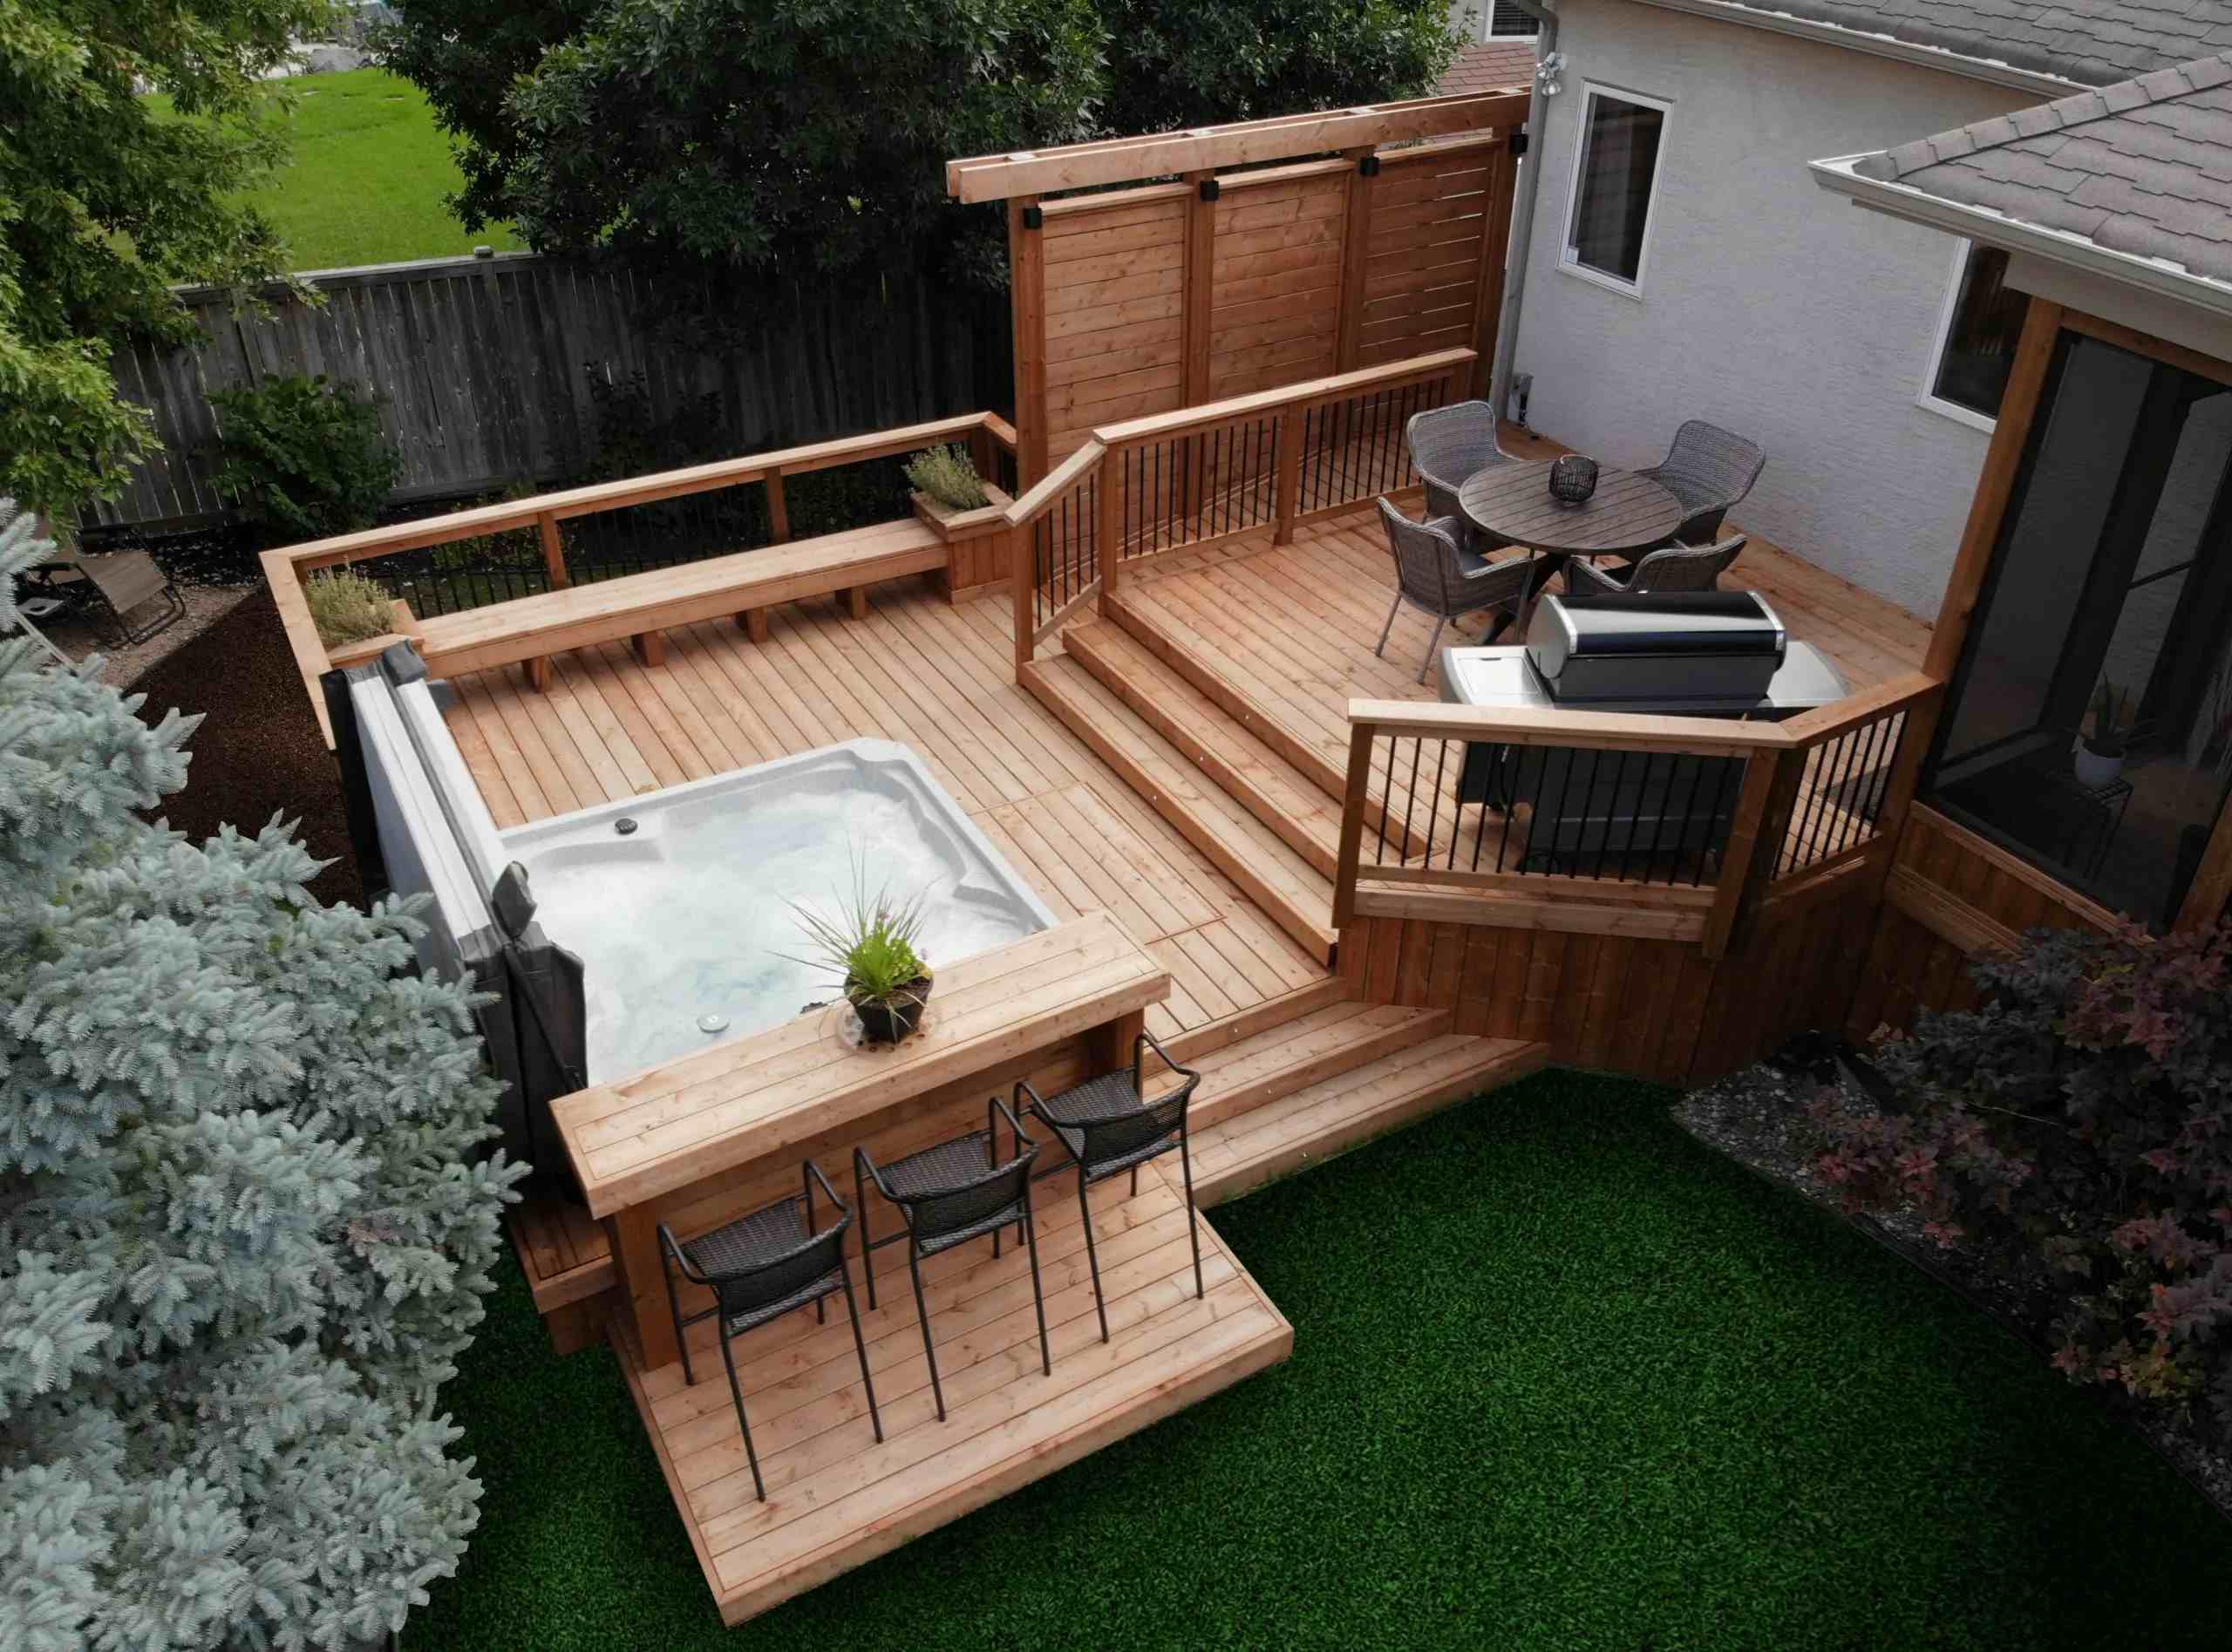
Step 5: Choosing Landscaping Options
With the grass removed and the soil prepared, it’s time to explore different landscaping options that will help bring your outdoor space to life. This step allows you to unleash your creativity and transform your yard into a beautiful, functional, and personalized oasis. Here are the steps to effectively choose your landscaping options:
- Consider your needs and preferences: Think about how you plan to use your outdoor space and what features are important to you. Do you want a lush garden with colorful flowers? Are you interested in creating an entertainment area with a patio or outdoor kitchen? Understanding your needs and preferences will guide your decision-making process.
- Research different landscaping styles: Explore various landscaping styles such as traditional, contemporary, tropical, or minimalist. Look for inspiration in magazines, websites, or even neighboring yards. Take note of elements that catch your eye and align with your desired aesthetic.
- Choose appropriate landscaping elements: Once you have a sense of your preferred style, choose specific landscaping elements that will bring that style to life. This may include plants, trees, shrubs, flowers, hardscaping features such as paths or retaining walls, outdoor furniture, lighting, or water features.
- Select suitable plants: Research and select plants that thrive in your climate, soil conditions, and level of sunlight. Consider their growth habits, maintenance requirements, and overall compatibility with your desired landscaping design. This will ensure that your plants not only look beautiful but also thrive in their new environment.
- Create a cohesive design: As you choose your landscaping options, strive for a cohesive design that blends well together. Consider factors such as color schemes, textures, and heights to create visual harmony. Incorporate elements that will provide year-round interest, such as plants with different blooming seasons or foliage variation.
- Seek professional guidance if needed: If you’re unsure about design choices or the best plant selections for your landscape, consider consulting with a professional landscaper or garden center. They can provide valuable insights and recommendations based on their expertise.
Remember that your landscaping choices should not only enhance the aesthetics of your outdoor space but also accommodate your lifestyle and functional needs. Take your time to evaluate different options and choose features that will bring you joy and satisfaction for years to come.
By carefully selecting your landscaping options, you’ll create a space that reflects your personal style, enhances your outdoor living experience, and adds value to your property. With your design choices finalized, it’s time to move on to the final step: planting and maintenance.
Step 6: Planting and Maintenance
Now that you have chosen your landscaping options, it’s time to bring your vision to life by planting and maintaining the selected elements in your outdoor space. This step is crucial to ensure the long-term health and beauty of your landscape. Here are the steps involved in planting and maintenance:
- Prepare the planting areas: Clear the designated planting areas of any remaining debris or weeds. Dig a hole that is wide and deep enough to accommodate the root ball of the plant. Gently loosen the roots before placing the plant in the hole.
- Plant the selected elements: Carefully place the chosen plants, trees, or shrubs in the prepared holes, ensuring they are positioned at the appropriate depth. Fill in the surrounding soil and gently firm it around the roots. Water the newly planted elements thoroughly to help settle the soil.
- Implement a watering schedule: Establish a watering schedule to ensure that your plants receive adequate moisture. Different plants have varying water requirements, so research the specific needs of each species and adjust your watering accordingly.
- Apply mulch: Spread a layer of organic mulch around the base of your plants. This helps retain moisture, suppresses weeds, and moderates soil temperatures. Keep the mulch a few inches away from the plant stems to prevent moisture-related issues.
- Fertilize as needed: Monitor the health of your plants and provide fertilizer as necessary to promote growth and flowering. Use a slow-release or organic fertilizer specifically formulated for the types of plants in your landscape.
- Prune and trim: Regularly inspect your landscape and prune or trim plants as needed to maintain their shape, remove dead or damaged branches, and encourage healthy growth. Follow proper pruning techniques to avoid damaging the plants.
- Monitor pests and diseases: Keep an eye out for any signs of pests or diseases in your landscape. Take prompt action if you notice any issues, such as applying appropriate treatments or seeking guidance from a professional if necessary.
- Maintain a regular cleaning routine: Regularly remove debris, fallen leaves, or any litter that may accumulate in your landscape. This helps to keep your outdoor space tidy and prevents potential plant health issues.
Remember that maintenance is an ongoing process. Regularly observe and tend to your landscape, adapting your care routine as the seasons change and the plants mature. With proper maintenance, your landscape will continue to flourish and provide years of enjoyment.
By following these planting and maintenance steps, you’ll ensure the health and vitality of your landscape and create an outdoor space that is both visually stunning and functional. With everything in place, step back and marvel at the transformation you have achieved!
Conclusion
Congratulations on completing the process of removing grass for your landscaping project! By following the steps outlined in this guide, you have made significant progress towards creating a beautiful and personalized outdoor space. Removing grass and preparing the soil are crucial foundations for any landscaping project, and your hard work and dedication will pay off in the long run.
Throughout the journey, you learned the importance of planning and preparation, the tools and materials needed, killing the grass effectively, removing the grass, preparing the soil, choosing landscaping options, and planting and maintenance. Each step contributes to the overall success of your landscape design. From defining your goals to selecting the perfect plants and maintaining their health, you have taken the necessary steps to transform your outdoor space into a stunning and functional retreat.
Remember that landscaping is an ongoing process. As your plants grow and mature, they will require ongoing care and attention. Regular maintenance, including watering, fertilizing, pruning, and cleaning, will ensure that your landscape thrives and continues to bring you joy year after year.
Whether you want to create a peaceful retreat, a vibrant garden, or an entertaining space, removing grass and designing your landscape allows you to customize your outdoor environment to suit your lifestyle and preferences. Take inspiration from various landscaping styles and consider your needs and preferences as you select the elements that will define your outdoor oasis.
With your newfound knowledge and skills in landscape design, you’re now equipped to tackle future projects and continue growing as a gardener. Enjoy the process and take pride in the beauty that you have created.
Now it’s time to step back, relax, and enjoy the fruits of your labor. Grab a cup of coffee or gather friends and family to appreciate the transformation you have achieved in your outdoor space. Bask in the beauty of your new landscape and make lasting memories in your personalized oasis.
So go ahead, step into your newfound landscape, and embrace the natural beauty and tranquility that it offers. Happy landscaping!