Home>Gardening Tips and Tricks>Problem Solving>How To Remove Small Trees And Shrubs
Problem Solving
How To Remove Small Trees And Shrubs
Modified: January 22, 2024
Learn effective problem-solving techniques for removing small trees and shrubs with our step-by-step guide. Say goodbye to pesky vegetation in your yard today!
(Many of the links in this article redirect to a specific reviewed product. Your purchase of these products through affiliate links helps to generate commission for Chicagolandgardening.com, at no extra cost. Learn more)
Table of Contents
Introduction
Welcome to our comprehensive guide on how to remove small trees and shrubs! If you have unwanted vegetation on your property that needs to be cleared, you’ve come to the right place. Removing small trees and shrubs can be a necessary task to create a more aesthetically pleasing landscape or to make way for new construction projects. It can also help prevent damage to nearby structures or improve the overall health of your garden.
While it may seem like a daunting task, with the right knowledge and tools, you can remove small trees and shrubs efficiently and safely. In this guide, we will take you through the step-by-step process of assessing the trees and shrubs, gathering the necessary tools and equipment, preparing the work area, and executing the removal process. Additionally, we will provide tips on disposing of debris, cleaning up the area, and restoring it to its desired state.
Whether you’re a seasoned gardener or a beginner, this guide is designed to help you with the process. Before you start, it’s important to note that larger trees or those with extensive root systems may require professional help. Safety should always be a priority when dealing with tree removal, so make sure to assess the size and complexity of the task before proceeding.
Now, let’s dive into the details of how to remove small trees and shrubs. By following this guide, you’ll be able to transform your outdoor space with ease and efficiency, turning it into a more beautiful and functional environment.
Assessing the Trees and Shrubs
Before you start removing small trees and shrubs, it’s crucial to assess the condition of the vegetation on your property. This step will help you determine the best approach and identify any potential challenges you may face during the removal process.
Start by evaluating the size and health of the trees and shrubs. Determine if they are truly considered “small” and if their removal can be safely done without professional assistance. Consider the overall height, width, and thickness of the trunk or stems. It’s important to note that larger or more established trees may require specialized equipment or professional knowledge to remove safely.
Next, assess the location of the trees and shrubs. Are they near any structures, power lines, or underground utilities? Take note of any potential hazards and plan accordingly to avoid damage and ensure the safety of yourself and others.
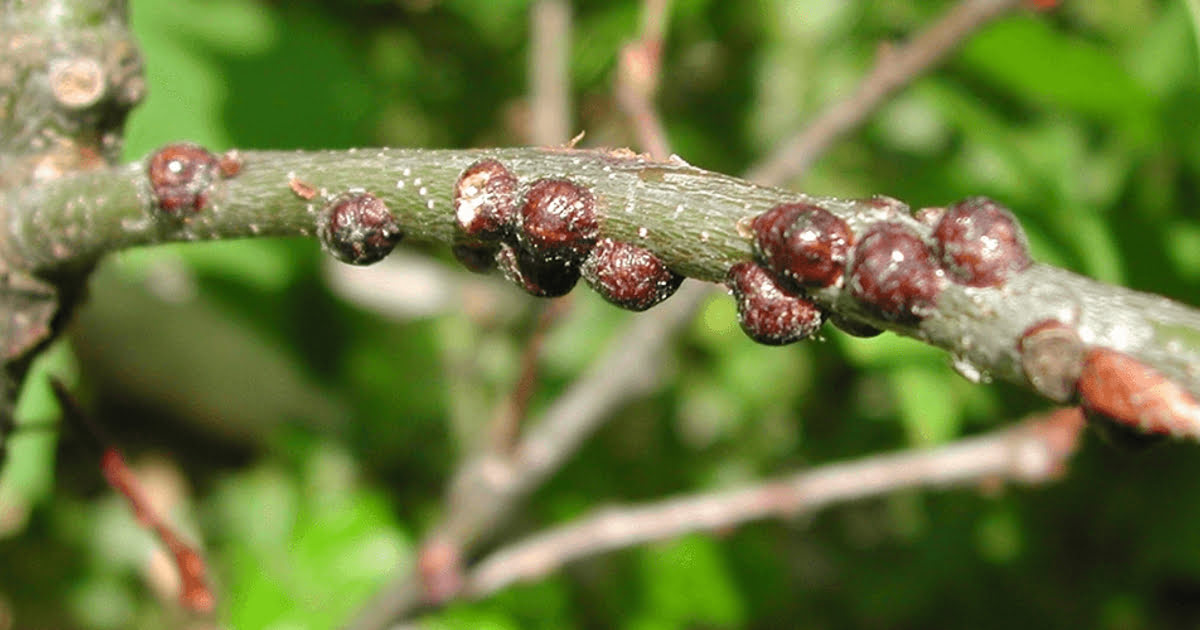
Consider the health and condition of the trees and shrubs. Are they diseased, damaged, or infested with pests? If so, they may need to be removed to prevent further spreading and preserve the overall health of your garden. However, if the trees and shrubs are healthy and serve a purpose in your landscape, you may want to reconsider removing them and explore alternative options.
Additionally, take into account the root system of the trees and shrubs. If they have extensive and invasive root systems, removing them may require more effort and potentially damage other nearby plants or structures. In such cases, you may need to seek professional assistance or alternative removal methods.
By thoroughly assessing the trees and shrubs, you’ll have a better understanding of the scope of the removal process. This evaluation will help you determine if you can proceed with the removal yourself or if you need to consult with a professional. Remember to prioritize safety and make informed decisions before proceeding to the next steps.
Gathering the Necessary Tools and Equipment
Once you have assessed the trees and shrubs and decided to remove them yourself, it’s time to gather the necessary tools and equipment. Having the right tools will make the process more efficient and ensure your safety throughout the removal process.
The specific tools you’ll need will depend on the size of the trees and shrubs, as well as the type of vegetation you’re dealing with. Here are some essential tools and equipment that you may need:
- Pruning Shears or Hand Saw: These tools are essential for cutting through smaller branches and stems. They are ideal for shrubs and smaller trees with thin trunks.
- Loppers: Loppers have longer handles and are designed to cut through thicker branches. They provide more leverage and reach, making it easier to remove larger branches.
- Chainsaw: For larger trees with thicker trunks, a chainsaw may be necessary. Make sure you have the appropriate protective gear, such as goggles, ear protection, and gloves, when using a chainsaw.
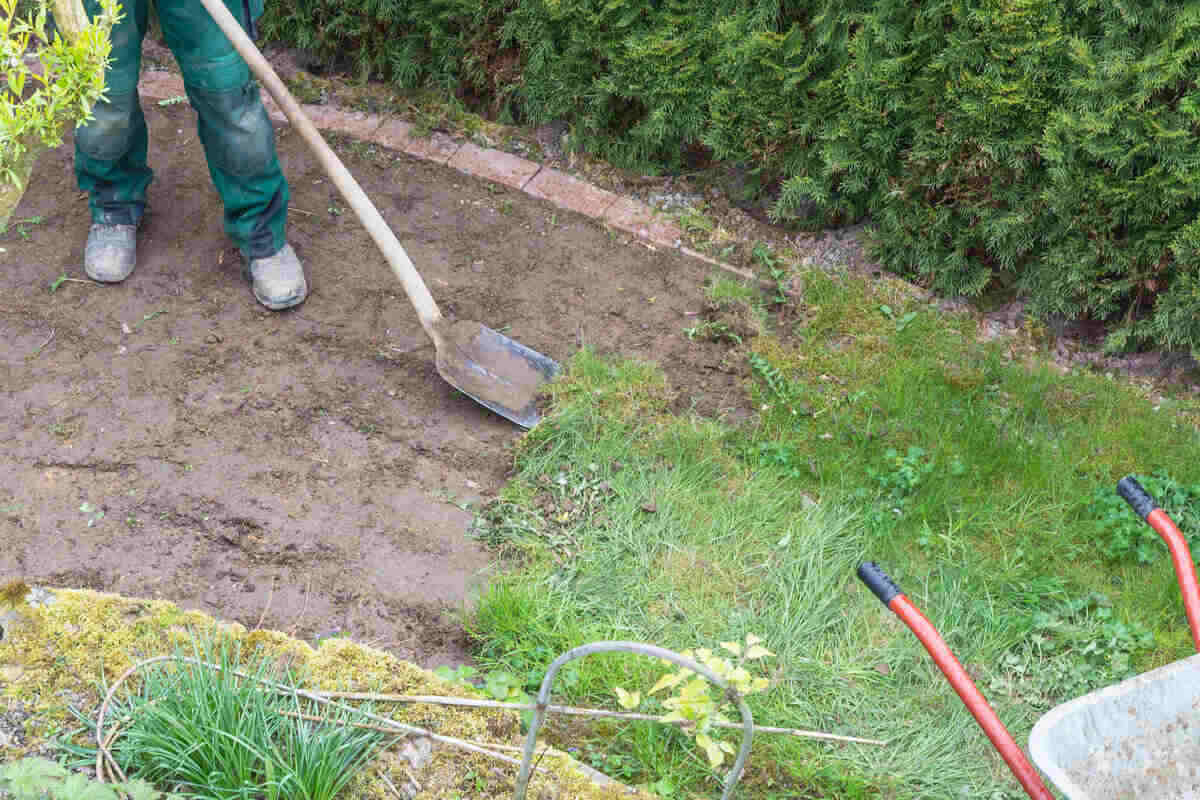
- Shovel: A shovel will come in handy for digging and loosening the soil around the base of the trees and shrubs. This will make it easier to remove them, especially if they have extensive root systems.
- Axe or Hatchet: If you encounter particularly stubborn or thick branches, an axe or hatchet can help you remove them more effectively.
- Gloves and Protective Clothing: Protect your hands and body by wearing sturdy gloves and appropriate clothing to avoid cuts, scratches, and exposure to poisonous plants.
- Safety Gear: Safety should always be a priority, so equip yourself with safety goggles, ear protection, and sturdy footwear to prevent injuries.
Remember to use the tools properly and follow safety guidelines provided by the manufacturers. If you are unfamiliar with using certain tools or techniques, it’s recommended to seek guidance from a professional or undergo proper training before starting the removal process.
By gathering the necessary tools and equipment, you’ll be well-prepared to tackle the task of removing small trees and shrubs. Having the right tools will make the process smoother and safer, allowing you to effectively clear your property and achieve your desired results.
Preparing the Work Area
Before you begin removing small trees and shrubs, it’s important to properly prepare the work area. Taking the time to prepare will not only make the process more organized but also help ensure your safety and the preservation of your surrounding landscape.
Here are some steps to follow when preparing the work area:
- Clear the Surrounding Area: Remove any obstacles or objects that may hinder your movement or potentially cause accidents. This includes rocks, garden tools, or any other debris.
- Mark Boundaries: Clearly define the area where you’ll be working to avoid accidental damage to other plants, structures, or utilities. Use stakes or brightly colored tape to mark the boundaries.
- Protect Valuable Plants: If there are valuable or desirable plants nearby that you want to protect, consider covering them with a tarp or temporary fencing to prevent any damage during the removal process.
- Plan for Debris Removal: Have a designated area or containers ready for collecting and disposing of the debris. Make sure you have appropriate containers, bags, or bins to accommodate the amount of debris you’ll be generating.
- Consider Safety Measures: Assess the work area for any potential safety hazards, such as uneven terrain or overhead obstacles. If necessary, wear a hard hat and use caution when working under or near trees with potential falling branches.
- Ensure Proper Lighting: If you’ll be working during low light conditions, ensure proper lighting to maintain visibility and prevent accidents.
By taking the time to prepare the work area, you’ll create a safe and efficient environment for removing small trees and shrubs. Planning and organization will not only help you stay on track but also minimize any potential damage to your property or surrounding vegetation.
Removing Small Trees
When it comes to removing small trees, it’s important to approach the task systematically to ensure safety and efficiency. Follow these steps to effectively remove small trees:
- Start with Pruning: Begin by pruning the branches of the tree using pruning shears, loppers, or a handsaw. Start from the bottom and work your way up, removing any smaller branches before moving on to larger ones. This will make it easier to handle and safely remove the tree.
- Cut the Trunk: Once the branches are removed, it’s time to cut the trunk. Depending on the thickness of the trunk, you may use a handsaw or a chainsaw. Make a horizontal cut about 2 to 3 feet from the ground, then carefully cut a 45-degree angle above the initial cut. This will help guide the tree’s fall in a specific direction.
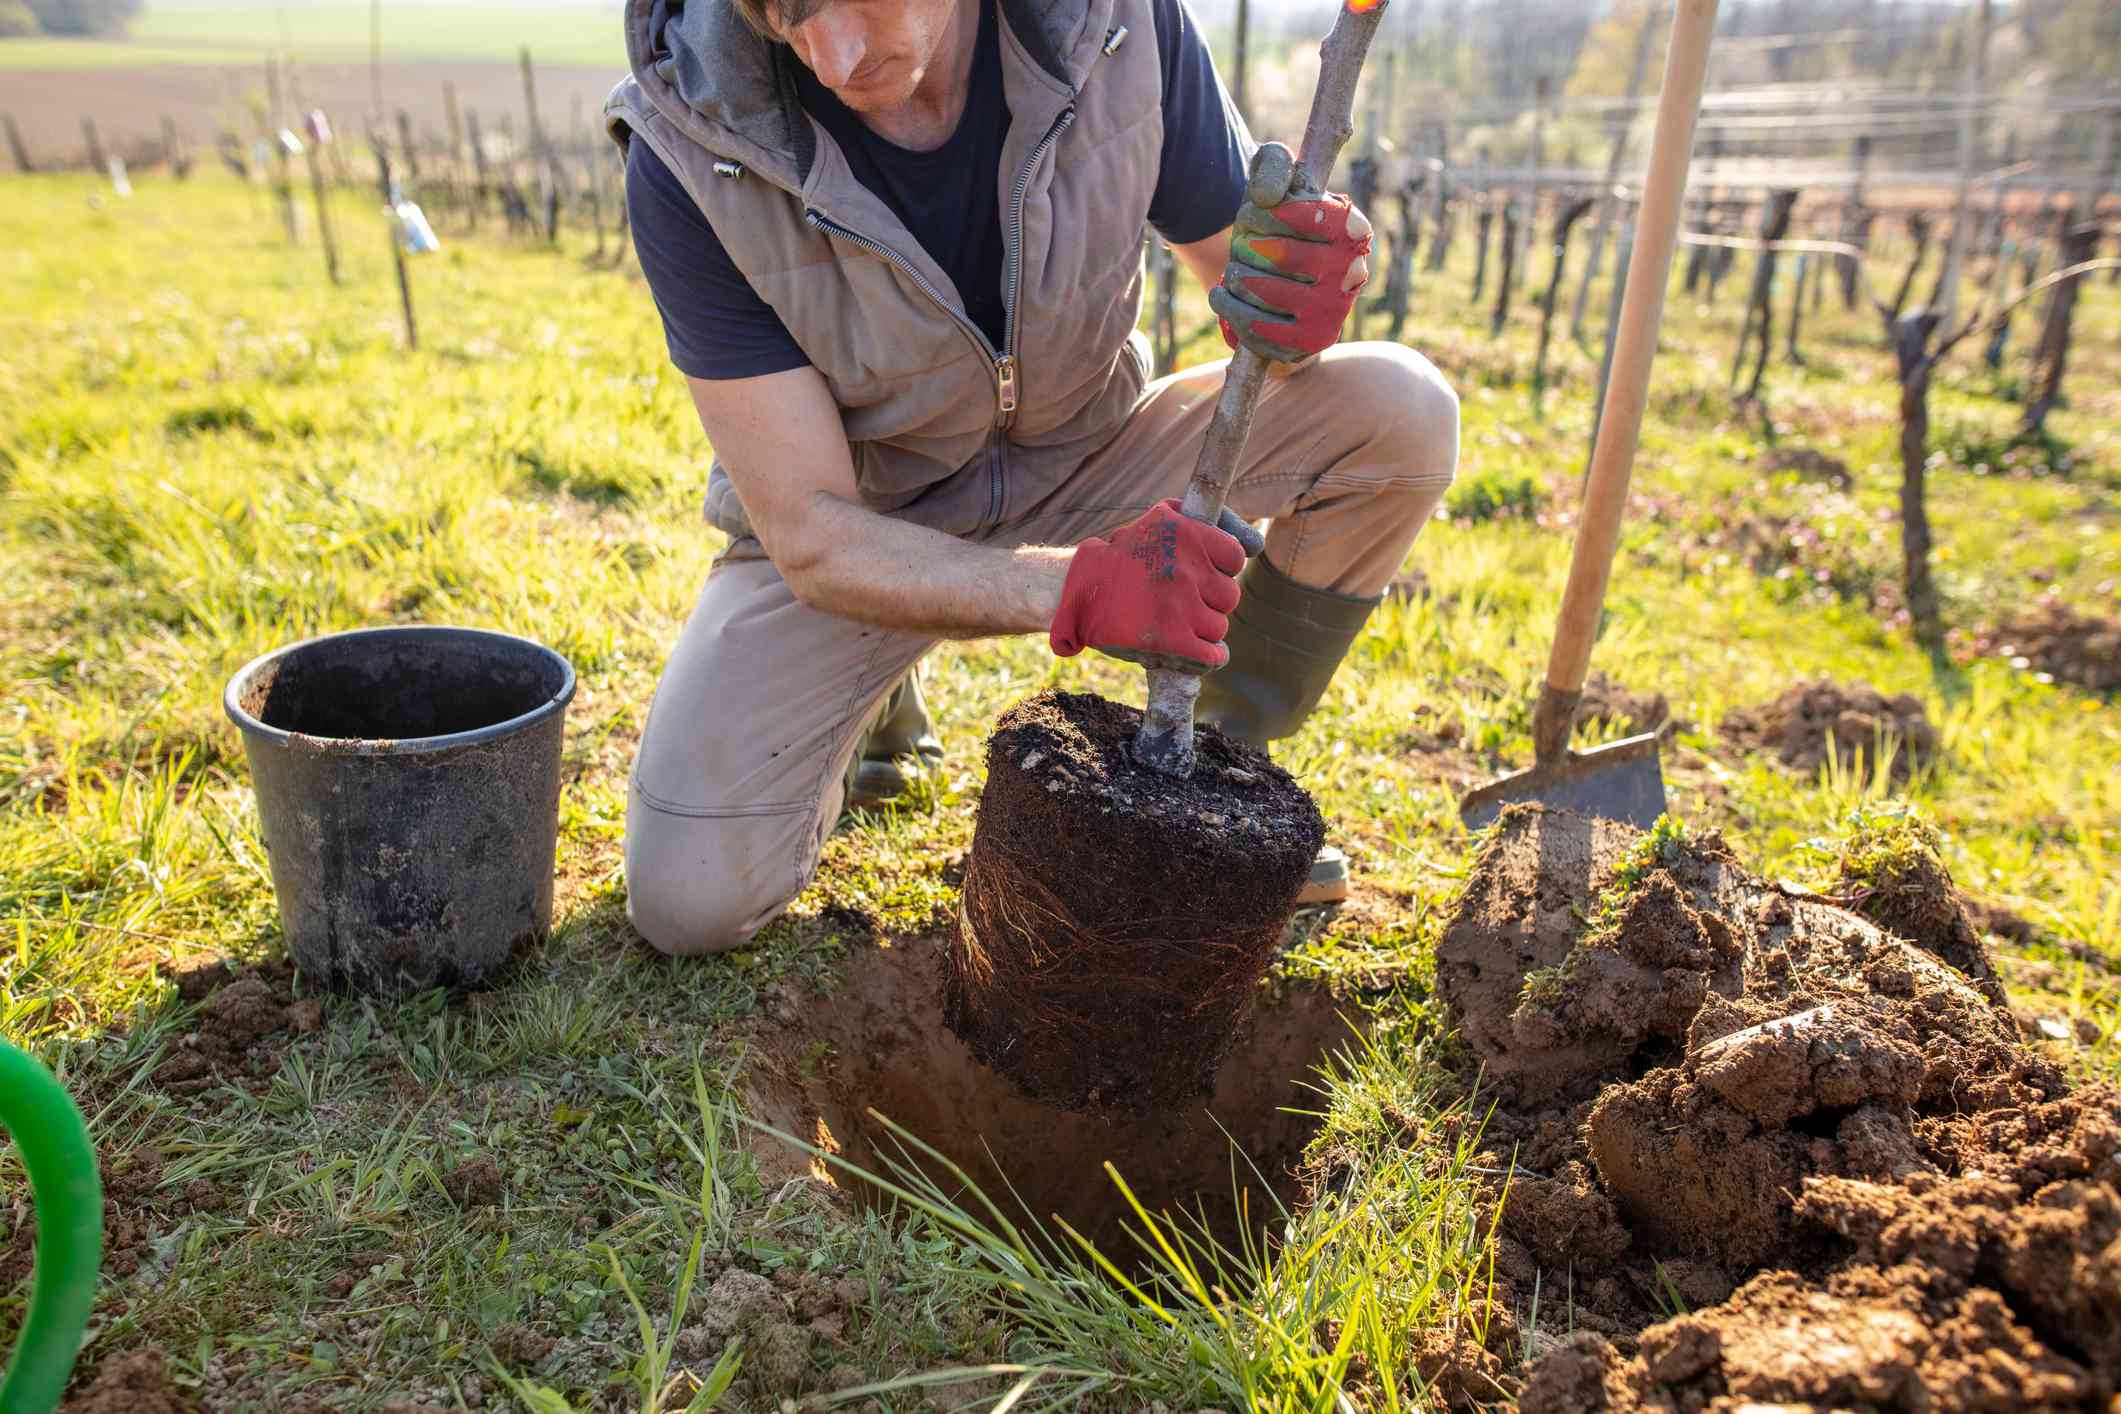
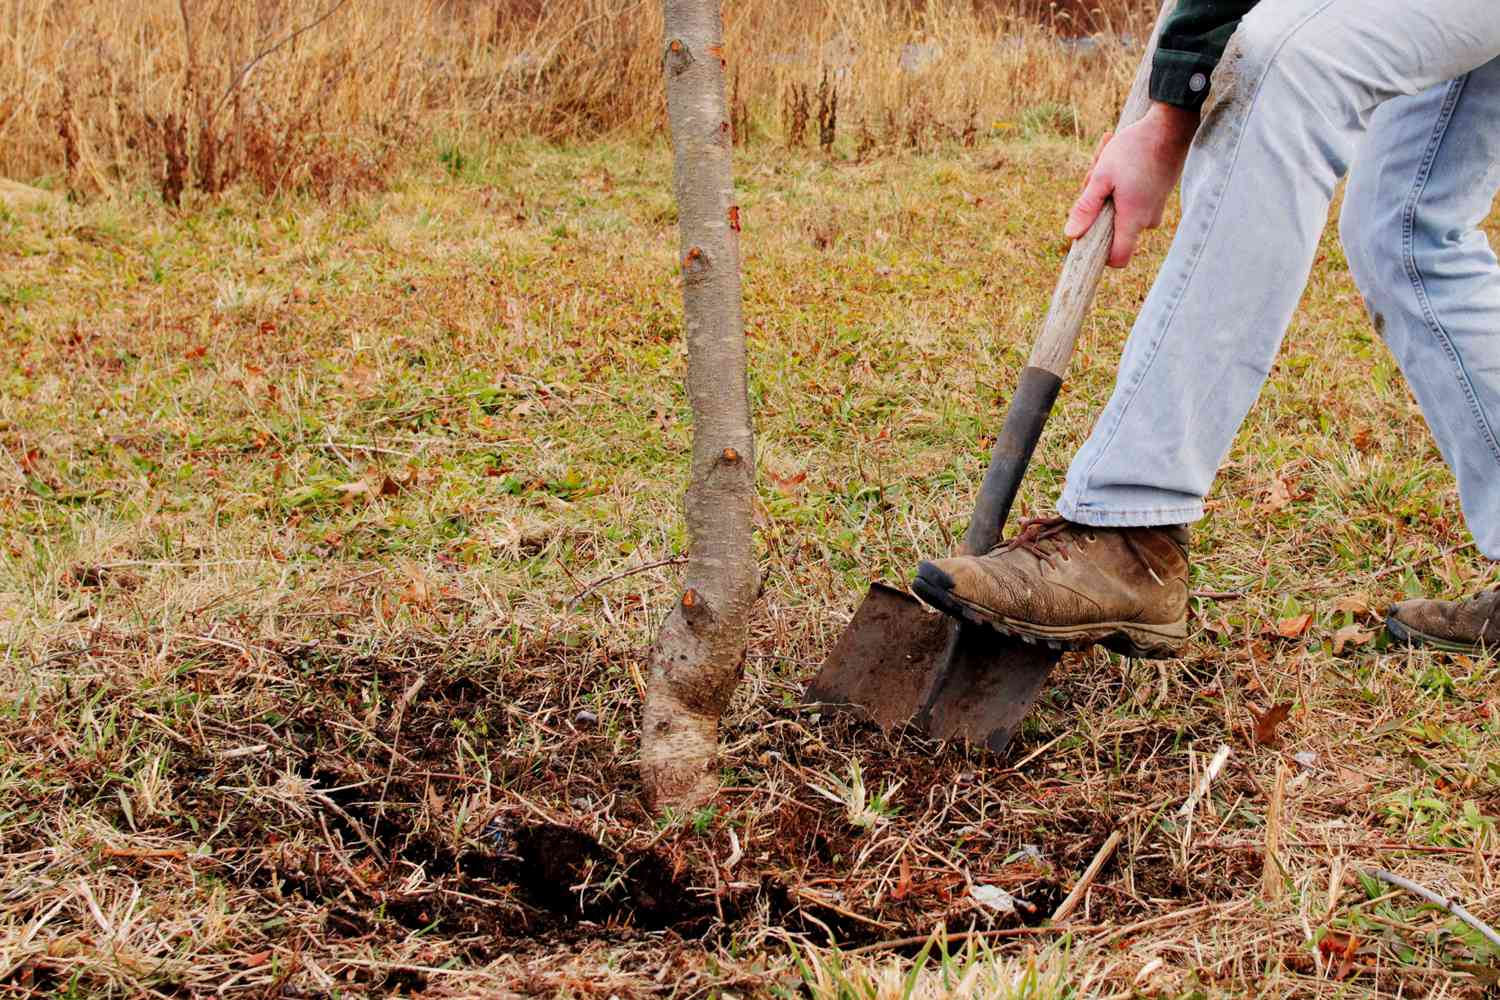
- Remove the Stump: After the tree is down, you’ll need to remove the stump. If the tree’s roots are shallow, you can use a shovel or an axe to carefully dig around the base and loosen the roots. Once the roots are exposed, use a combination of cutting and leveraging techniques to remove the stump from the ground.
- Clean Up the Area: Gather all the branches, debris, and stump remnants and dispose of them properly in the designated area. This can include recycling the organic material or arranging for appropriate waste removal services.
During the tree removal process, it’s crucial to prioritize safety. Always wear protective gear, such as work gloves, safety goggles, and sturdy footwear. Make sure to assess the direction of the tree’s fall and clear the area around it to avoid any potential accidents.
Keep in mind that if you encounter larger or more complex trees, it might be best to seek professional assistance. Removing trees with extensive root systems or those located near structures and utilities can pose significant challenges and may require specialized knowledge and equipment.
By following these steps, you’ll be able to remove small trees safely and efficiently, clearing your landscape and creating a more appealing environment.
Removing Shrubs
Removing shrubs from your landscape can be a straightforward process if you follow the right steps. Here’s a guide on how to remove shrubs effectively:
- Prune the Shrubs: Before removing the shrub entirely, start by pruning it back. Use pruning shears or loppers to cut off any excess branches and foliage. This will make it easier to handle and remove.
- Loosen the Roots: Use a shovel or a garden fork to dig around the base of the shrub, loosening the soil and exposing the root system. Be careful not to damage surrounding plants or structures while digging.
- Gradually Remove the Roots: Once the roots are exposed, use the shovel or garden fork to pry and loosen the roots from the ground. Work your way around the shrub, gradually loosening and removing the root system. For larger shrubs, you may need to use a hand saw or pruning saw to cut through thicker roots.
- Remove the Shrub: With the roots freed from the soil, carefully lift and remove the shrub from the ground. If the shrub is too large or heavy to lift manually, you can use a garden cart or enlist the help of a friend or family member.
- Dispose of the Debris: Collect the pruned branches, root system, and any other debris generated from removing the shrub. Dispose of the debris in a designated area, such as your compost pile or arrange for proper waste disposal services.
As you remove the shrub, it’s important to wear protective gear, such as gloves and eye protection. Some shrubs may have thorns or irritating sap, so taking precautions will help prevent any injuries or discomfort.
While most shrubs can be removed using the above steps, there may be cases where shrubs have extensive root systems or are located near structures or utilities. In such instances, it’s advisable to consult a professional for assistance. They will have the expertise and necessary equipment to handle more complex situations.
By following these steps, you’ll be able to effectively remove shrubs from your landscape, allowing you to reshape your garden or create space for new plantings.
Disposing of Debris
After removing small trees and shrubs from your property, it is important to properly dispose of the debris to maintain the cleanliness and aesthetics of your landscape. Here are some tips to help you effectively dispose of the debris:
- Composting: If the branches and foliage are organic material, consider composting them. Chop them into smaller pieces, mix them with other compostable materials, and create a designated compost pile or use a compost bin. Over time, the debris will break down and transform into nutrient-rich compost that can be used for gardening.
- Green Waste Pickup: Check with your local waste management services to see if they offer green waste pickup. Many municipalities have specific pickup days or designated drop-off locations for yard waste. Bundle the branches and tie them securely for easy pickup or transport.
- Curbside Collection: Some areas provide curbside collection for tree and shrub debris. Contact the waste management department in your locality to inquire about any guidelines or requirements for curbside pickup. Follow the instructions provided by the collection service to ensure that the debris is properly disposed of.
- Reuse or Repurpose: Consider reusing or repurposing the branches and foliage creatively. For example, you can use them for mulching, creating natural fencing or borders in your garden, or even making crafts and decorations. Get creative and find ways to give the debris a new purpose before disposing of it.
- Hire a Waste Removal Service: If you have a large amount of debris or are unable to handle the disposal yourself, you can hire a waste removal service. They will have the necessary equipment and resources to collect and dispose of the debris properly.
Before disposing of the debris, ensure that it complies with local regulations and ordinances. Some areas have specific guidelines for yard waste disposal, so it’s important to follow them to avoid any potential fines or penalties.
By responsibly disposing of the debris, you’ll not only maintain the beauty of your landscape but also contribute to a cleaner and healthier environment.
Cleaning Up and Restoring the Area
After removing small trees and shrubs and disposing of the debris, it’s time to clean up and restore the area to its desired state. Here are some steps to help you effectively clean up and restore the area:
- Remove Any Remaining Roots and Stumps: Inspect the area for any remaining roots or stumps that may have been left behind. Use a shovel or a small axe to dig out and remove them from the soil to prevent any regrowth or tripping hazards.
- Fill in Holes: If the removal process created any holes or depressions in the ground, fill them in with soil. Level the soil and tamp it down lightly to ensure it is even and compacted.
- Replenish Soil or Mulch: Consider adding new soil or mulch to the area to improve the overall appearance and provide nutrients for future plantings. Spread a layer of soil or mulch evenly, taking care not to cover any desirable plants or structures.
- Water and Tend to Existing Plants: If you have other plants in the surrounding area or nearby, make sure to give them extra care and attention after the removal. Water them adequately and provide any necessary nutrients to help them recover from any potential disruption caused by the removal process.
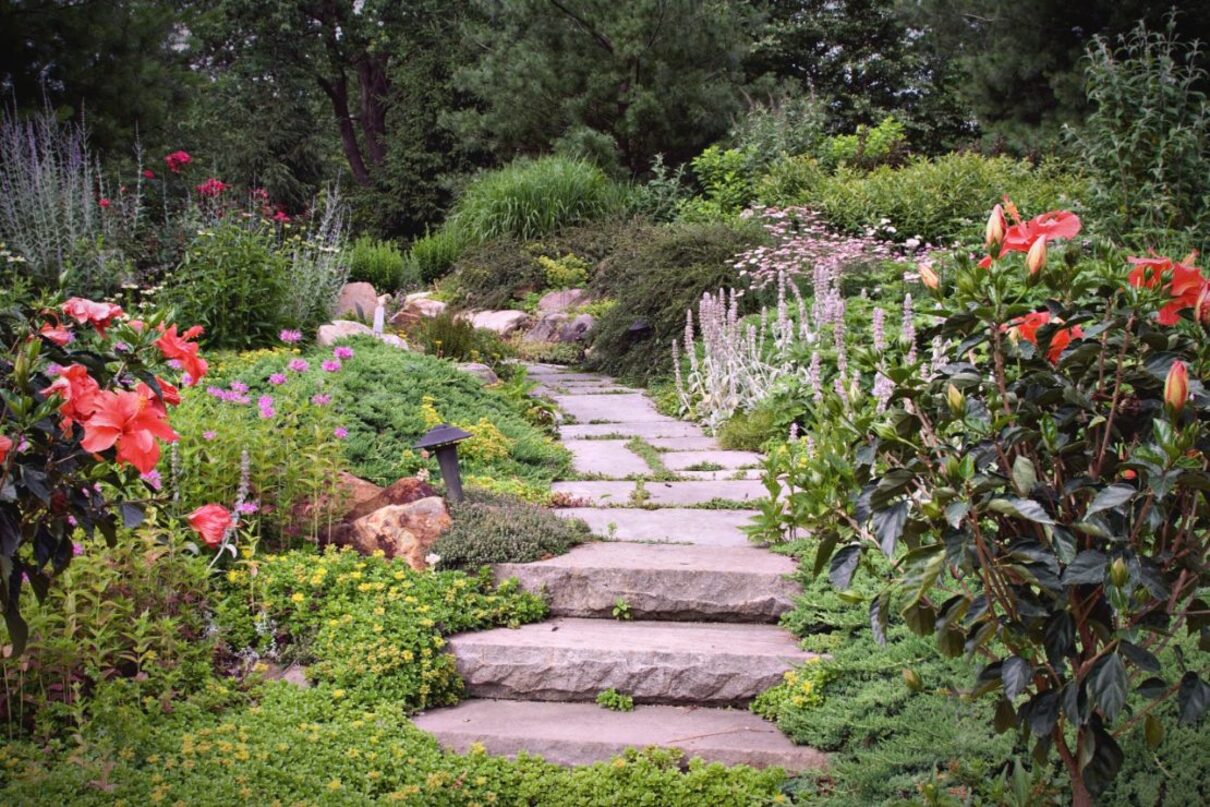
- Consider New Plantings: Now that you’ve cleared the area, take the opportunity to plan for new plantings or design changes in your landscape. Research suitable plants for the specific conditions of the area and consider their mature size, maintenance requirements, and compatibility with the surrounding environment.
- Maintain the Area: Maintain the cleared area by regularly monitoring for any regrowth of unwanted vegetation. Keep the area free of weeds and consider implementing a regular maintenance routine to ensure the ongoing health and beauty of your landscape.
By cleaning up and restoring the area, you’ll be able to transform the space into a neat and well-maintained part of your landscape. Take pride in your efforts and enjoy the newfound possibilities for future plantings and design enhancements.
Conclusion
Removing small trees and shrubs from your property can be a challenging but rewarding process. By following the steps outlined in this guide, you can effectively and safely remove unwanted vegetation, revitalizing your landscape and creating space for new projects or plantings.
Assessing the size, health, location, and root system of the trees and shrubs is an important first step. It allows you to determine the best approach for removal and whether professional assistance is necessary for larger or more complex vegetation.
Gathering the necessary tools and equipment is crucial to ensure efficiency and safety throughout the removal process. Having the right tools, such as pruning shears, loppers, saws, and shovels, will make the task easier and more manageable.
Preparing the work area involves clearing obstacles, marking boundaries, protecting valuable plants, and ensuring proper lighting. This step creates a safe and organized environment for the removal process.
Removing small trees requires pruning the branches, cutting the trunk, and removing the stump. Safety measures should always be followed, and consideration should be given to the disposal of debris, whether through composting, green waste pickup, or curbside collection.
When removing shrubs, pruning, loosening the roots, and gradually removing them is the key. Disposing of the debris can be done through composting, recycling, or utilizing waste removal services.
Finally, cleaning up and restoring the area involves removing any remaining roots or stumps, filling in holes, replenishing soil or mulch, tending to existing plants, and considering new plantings or design changes.
By following these steps, you can successfully remove small trees and shrubs, transform your landscape, and create a more appealing and functional outdoor space. Remember to prioritize safety, take your time, and seek professional assistance if needed. With patience and diligence, your efforts will be rewarded with a beautiful and well-maintained landscape.