Home>Gardening Techniques>How To Plant Grass In Backyard

Gardening Techniques
How To Plant Grass In Backyard
Modified: February 8, 2024
Learn the best plant care practices to plant grass in your backyard and achieve a lush, green lawn. Get expert tips and step-by-step instructions for successful grass planting.
(Many of the links in this article redirect to a specific reviewed product. Your purchase of these products through affiliate links helps to generate commission for Chicagolandgardening.com, at no extra cost. Learn more)
Table of Contents
- Introduction
- Step 1: Prepare the soil
- Step 2: Choose the right grass seed
- Step 3: Measure and mark the area
- Step 4: Remove any existing vegetation
- Step 5: Loosen the topsoil
- Step 6: Spread the grass seed evenly
- Step 7: Water the area thoroughly
- Step 8: Apply fertilizer
- Step 9: Protect the newly planted seeds
- Step 10: Maintain proper watering and care
- Conclusion
Introduction
Welcome to the world of backyard gardening! If you’re looking to enhance the beauty of your outdoor space and create a lush, green landscape, planting grass in your backyard is a fantastic place to start. Not only does a well-maintained lawn provide a soft and inviting surface for outdoor activities, but it also adds value to your property and promotes a healthy environment by reducing soil erosion and absorbing carbon dioxide.
Planting grass in your backyard may seem like a straightforward task, but it requires proper planning and execution to ensure successful growth. In this article, we will guide you through the step-by-step process of planting grass in your backyard, from preparing the soil to maintaining the newly planted seeds. So grab your gardening tools and let’s get started!
Before diving into the planting process, it’s essential to determine the type of grass that will thrive in your location. Factors such as climate, soil type, and sunlight availability play crucial roles in selecting the right grass seed. Choosing a grass variety that is well-suited to your local conditions will increase the likelihood of a healthy and thriving lawn.
Once you’ve identified the appropriate grass seed, you can begin preparing the soil. This involves removing any existing vegetation, loosening the topsoil, and ensuring the area is free from debris. The next step is to distribute the grass seed evenly across the designated area. To encourage germination and growth, it’s crucial to water the newly seeded area thoroughly and provide ongoing maintenance including regular watering and fertilization.
As you embark on your journey to plant grass in your backyard, keep in mind that patience and consistency are key. It may take several weeks for the grass to establish its roots and start thriving. By following the steps outlined in this article and providing proper care and maintenance, you’ll soon be enjoying a beautiful, vibrant lawn that will be the envy of the neighborhood.
Step 1: Prepare the soil
Before you begin planting grass in your backyard, it’s crucial to prepare the soil to create an optimal environment for seed germination and root growth. By taking the time to properly prepare the soil, you’ll set the foundation for a healthy and thriving lawn.
The first step in preparing the soil is to remove any existing vegetation, such as weeds, rocks, or debris. Use a garden rake or a shovel to clear the area and create a clean slate for your grass seed.
Once the area is cleared, it’s time to assess the soil’s condition and make any necessary amendments. Start by testing the pH level of the soil using a soil testing kit, which can be purchased at a local garden center or online. Grass typically thrives in slightly acidic to neutral soil, with a pH range of 6.0 to 7.5.
If the soil pH is too high or too low, you can adjust it by adding lime or sulfur accordingly. Follow the instructions on the product packaging and distribute the recommended amount evenly across the designated area. Use a garden rake to incorporate the amendments into the soil.
In addition to adjusting the pH level, it’s beneficial to aerate the soil. Aeration involves creating small holes in the soil to improve air circulation, water absorption, and nutrient penetration. You can use a garden fork or a mechanical aerator to perforate the soil. Focus on compacted areas or regions with poor drainage.
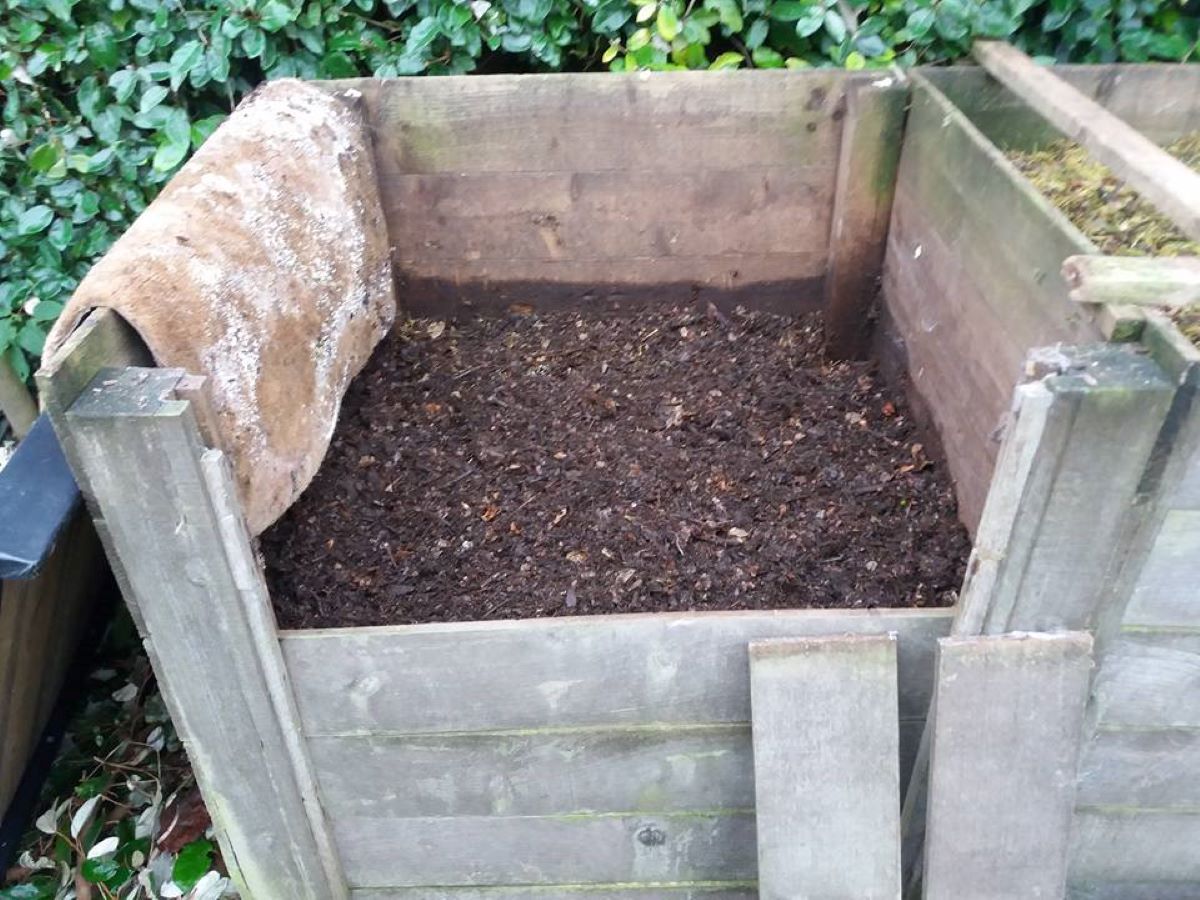
After aerating, it’s essential to enrich the soil with organic matter. Organic matter, such as compost or well-rotted manure, improves soil structure, enhances water retention, and provides essential nutrients for the grass. Spread a layer of organic matter over the designated area and use a garden rake to work it into the soil.
Once you’ve added the necessary amendments and incorporated organic matter, it’s time to level the soil surface. Use a garden rake or a leveling tool to smooth out any uneven areas and create a flat surface for your grass seed. Pay attention to slopes or steep inclines, as water runoff can be a challenge in these areas.
Preparing the soil sets the stage for successful grass growth. By ensuring proper pH levels, aerating the soil, enriching it with organic matter, and leveling the surface, you provide an ideal foundation for your grass seed to take root and flourish. Now that the soil is ready, it’s time to move on to the next step: choosing the right grass seed.
Step 2: Choose the right grass seed
Choosing the right grass seed is a crucial step in planting grass in your backyard. Different grass species and varieties have specific requirements and thrive under different climatic and soil conditions. By selecting the appropriate grass seed for your region, you increase the chances of a successful and healthy lawn.
Start by considering the climate in your area. Is it hot and humid, or does it experience cold winters? Some grass species, such as Bermuda grass or Zoysia grass, are well-suited for warm climates, while others like Kentucky bluegrass or fescue grass thrive in cooler regions.
Next, assess the amount of sunlight your backyard receives. Does it get full sun exposure, partial shade, or is it predominantly shaded? This information will help determine the shade tolerance of the grass seed you choose. For areas with limited sunlight, consider shade-tolerant grass varieties like fine fescue or St. Augustine grass.
Soil type is another critical factor to consider when selecting grass seed. Whether your soil is sandy, loamy, or clay-based, certain grass species will perform better. For example, Bermuda grass and Centipede grass are suitable for sandy soils, while Kentucky bluegrass and perennial ryegrass can adapt to a variety of soil types.
Once you have determined the climate, sunlight, and soil conditions, it’s time to decide between using a single species or a mixture of grass seeds. Single species seed will consist of only one type of grass, while a mixture will have a blend of multiple grass varieties. Each option has its own pros and cons.
Single species seed offers uniformity in appearance and texture, ideal for achieving a consistent look throughout your lawn. However, a mixture of grass seed provides the advantage of increased resistance to pests, disease, drought, and heavy traffic. It also ensures better adaptability to varying climatic conditions.
Take the time to research different grass seed options and read customer reviews to determine the best fit for your backyard. Additionally, consult with local gardening experts or visit a garden center in your area for personalized advice and recommendations.
Remember that choosing the right grass seed is essential in establishing a healthy and beautiful lawn. By considering your climate, sunlight exposure, soil type, and the advantages of single species versus mixture seeds, you’ll be well-equipped to make an informed decision. In the next step, we will discuss measuring and marking the area where you will be planting the grass seed.
Step 3: Measure and mark the area
Once you’ve chosen the right grass seed for your backyard, it’s time to measure and mark the area where you’ll be planting. Accurate measurements will help you determine the amount of grass seed, fertilizer, and other materials needed for the project. Additionally, marking the area ensures that you plant the grass seed evenly and avoid potential overlapping or gaps.
Start by gathering a measuring tape or a measuring wheel, depending on the size of your backyard. Measure the length and width of the area you plan to plant with grass. If your backyard has irregular shapes, break it down into smaller sections or rectangles for easier calculations.
Once you have the measurements, multiply the length by the width to calculate the total square footage of your lawn. For example, if your backyard measures 30 feet wide and 40 feet long, the total square footage would be 1,200 square feet (30 ft x 40 ft = 1,200 sq ft).
Next, consider any areas that won’t be covered with grass, such as walkways, garden beds, or features like trees or shrubs. Subtract the square footage of these areas from the total square footage to determine the actual turf area. This calculation ensures that you purchase the correct amount of grass seed and other materials.
After obtaining the square footage, it’s time to mark the area. Use garden stakes or marking spray paint to outline the boundaries of your lawn. Start from a fixed reference point, such as the corner of a fence or the edge of your house, and work your way around the designated area.
Ensure that the lines are straight and accurately represent the measurements you took earlier. Using a string or a measuring tape can help maintain consistency. Marking the area not only helps you visualize the final shape of your lawn but also ensures that you distribute the grass seed evenly and avoid overlapping or missing spots during the planting process.
If your lawn has curves or irregular edges, consider using a garden hose or a rope to create the desired shape before marking with stakes or spray paint. This allows for more flexibility and helps you achieve a natural and visually pleasing lawn design.
By measuring and marking the area, you ensure accurate calculations of materials and provide a clear guide for planting the grass seed. Take your time during this step to ensure precision and accuracy. Once the area is measured and marked, you’re ready to move on to the next step, which involves removing any existing vegetation.
Step 4: Remove any existing vegetation
Before you can plant grass in your backyard, it’s crucial to remove any existing vegetation that may interfere with the growth of your new lawn. This step prepares the soil for fresh grass seed and ensures that the nutrients and moisture are readily available for the new plants.
Start by identifying the types of vegetation present in your backyard. This can include weeds, unwanted grass, or any other unwanted plants that may be occupying the space. Different methods may be required to remove various types of vegetation effectively.
For small areas or isolated patches of vegetation, hand pulling or digging may be sufficient. Grab the base of the plant firmly and pull it out from the root. Ensure that you remove the entire plant to prevent regrowth. Use gardening tools such as a trowel or shovel to assist in the removal process if necessary.
For larger areas or dense vegetation, consider using herbicides that specifically target the types of plants you want to eliminate. Herbicides can be applied as a spray or a granular product, following the instructions on the packaging. Take care to protect desirable plants and avoid the use of herbicides in windy conditions to prevent unintended damage.
After removing the vegetation, it’s essential to clear the area of any debris, including roots, rocks, or remaining plant material. Use a garden rake or a leaf blower to collect and dispose of these unwanted elements. Clearing the area ensures that the soil is clean and ready for the next step in the planting process.
Removing existing vegetation is crucial, as it clears the way for your new grass to establish its roots and receive the necessary nutrients and moisture. Failure to remove existing vegetation may result in a stunted or patchy lawn, as competing plants can inhibit the growth of your new grass seed.
Take your time during this step to ensure that you thoroughlày remove all unwanted vegetation and debris. A clean and clear starting point will set the stage for a successful planting process. Once the area is free from existing vegetation, you’re ready to move on to the next step of loosening the topsoil.
Step 5: Loosen the topsoil
Loosening the topsoil is a crucial step in preparing the area for planting grass in your backyard. This process improves soil aeration, enhances water infiltration, and creates a loose and friable surface for the grass seed to establish its roots.
Start by using a garden fork or a tiller to break up the top layer of soil. Insert the garden fork into the soil, then gently tilt and lift to loosen it. Repeat this step throughout the designated area, spacing the insertions evenly. If using a tiller, follow the manufacturer’s instructions for proper operation and depth settings.
The goal is to break up compacted soil and create channels for air, water, and nutrients to penetrate the ground. By loosening the topsoil, you also promote better root development and prevent surface runoff during watering or rainfall.
Pay extra attention to any areas that feel hard or compacted. These regions are more prone to drainage issues and may benefit from additional loosening. Avoid excessive tilling, as it can disrupt beneficial soil organisms and result in poor drainage.
After loosening the topsoil, remove any rocks, clumps of soil, or other debris that may hinder the growth of the grass seed. Rake the area to create an even and leveled surface. This will provide a uniform environment for the grass to grow and allow for easier distribution of the seed in the next step.
Loosening the topsoil is crucial for creating an optimal environment for your new lawn. By breaking up compacted soil, you promote better aeration, water infiltration, and root growth. This step sets the stage for successful grass establishment and ensures a healthy and thriving lawn.
Take your time during this step to ensure that the soil is adequately loosened throughout the designated area. Once the topsoil is loosened and leveled, you’re ready to move on to the next step: spreading the grass seed evenly.
Step 6: Spread the grass seed evenly
Spreading the grass seed evenly is a crucial step in ensuring consistent and healthy growth across your entire lawn. Proper distribution of the grass seed will encourage thick and lush grass coverage and minimize the chance of bare spots or overgrowth in certain areas.
Start by calculating the amount of grass seed needed for your lawn. This can be determined based on the recommended seeding rate for the specific grass species and the square footage of your lawn. Follow the instructions on the grass seed packaging or consult with a local gardening expert for guidance.
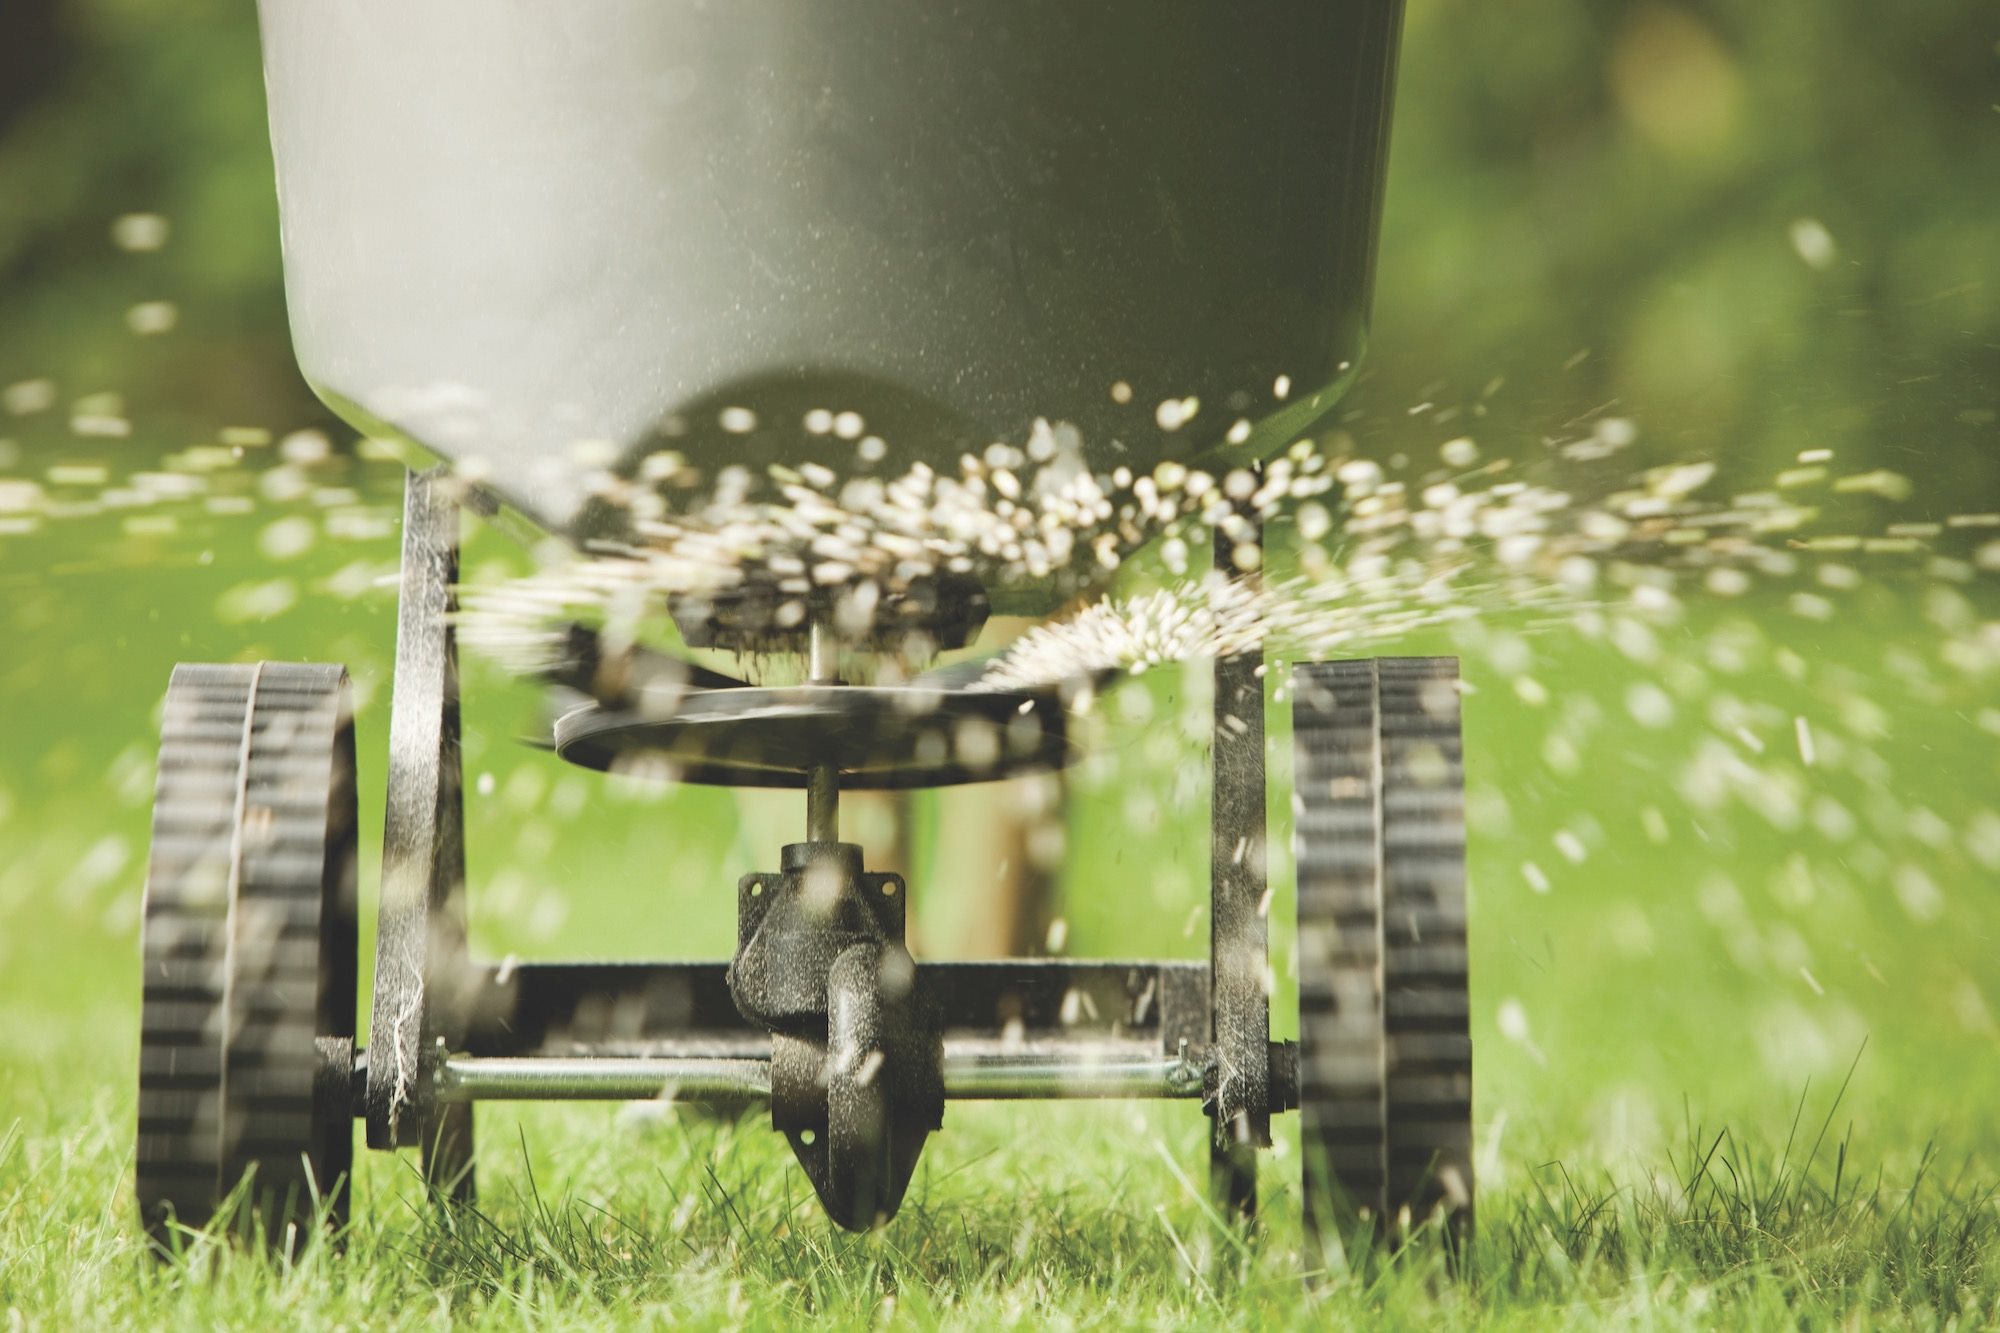
Using a seed spreader, evenly distribute the grass seed over the prepared soil. Walk in straight lines, slightly overlapping each pass to ensure proper coverage. For smaller areas, you can also hand-broadcast the seed, taking care to disperse it as uniformly as possible.
It’s important to note that different grass species have varying seed sizes, so adjust the seed spreader settings accordingly. This will help achieve an even distribution and prevent clumping or uneven germination.
If your lawn has uneven areas or slopes, pay extra attention to ensure an even distribution of the grass seed. Apply a bit more seed on bare or thin spots to promote better coverage. Taking the time to distribute the seed evenly will result in a more uniform and visually appealing lawn.
After sowing the grass seed, gently rake the area to lightly cover the seeds with a thin layer of soil. This will protect them from drying out, birds, or excessive sunlight. Avoid burying the seeds too deeply, as they need access to light for germination.
Once the grass seed is spread and lightly covered, lightly tamp down the soil to ensure good seed-to-soil contact. This will help with seed germination and establishment. Use a lawn roller or the back of a garden rake to press down on the soil gently.
Remember that even distribution of the grass seed is key in achieving a healthy and uniform lawn. By following proper seeding rates, using a seed spreader, and ensuring good seed-to-soil contact, you set the stage for successful germination and growth. In the next step, we will discuss watering the area thoroughly to promote seed germination.
Step 7: Water the area thoroughly
After spreading the grass seed evenly, it’s essential to water the area thoroughly to kickstart the germination process. Watering provides the seeds with the necessary moisture, helping them to sprout and establish strong roots in the soil.
The key to successful watering is to ensure that the soil remains consistently moist but not waterlogged. Start by using a gentle spray or sprinkler attachment on your garden hose to water the seeded area. Aim for a light and even coverage, ensuring that all parts of the soil receive adequate moisture.
Watering frequency and duration will depend on several factors, including the climate, soil type, and grass species you’ve planted. In general, it’s recommended to water the area daily or as needed to keep the soil surface moist. Avoid overwatering, as it can lead to shallow root growth and increase the risk of fungal diseases.
Be mindful of the germination time for the specific grass seed you’ve planted. Different types of grass have varying germination periods, ranging from several days to a few weeks. During this time, it’s essential to keep the soil consistently moist without causing excessive pooling or runoff.
Monitor the soil moisture regularly by performing the “squeeze test.” Gently squeeze a handful of soil to check if it forms a loose ball that holds together. If it crumbles or feels dry, it’s time to water. Adjust your watering schedule accordingly to maintain the desired soil moisture levels.
As the grass seed begins to germinate and the new grass starts to grow, gradually reduce the frequency of watering and increase the amount of water applied. This encourages deeper root growth and promotes a healthier and more drought-tolerant lawn.
Remember that watering is especially crucial during hot and dry periods. Pay attention to signs of stress, such as wilting or a change in the color of the grass. Adjust the watering schedule accordingly to provide sufficient hydration during these conditions.
By watering the area thoroughly and maintaining consistent soil moisture, you provide the seeds with the ideal conditions for germination and establishment. This step is crucial for the initial growth of your new grass and sets the foundation for a healthy and thriving lawn.
In the next step, we will discuss the application of fertilizer to provide the grass with essential nutrients for optimal growth and development.
Step 8: Apply fertilizer
Applying fertilizer to your newly planted grass is a crucial step in providing the necessary nutrients for healthy growth and development. Fertilizers provide essential macro and micronutrients, promoting strong root development and vibrant green foliage.
Before applying fertilizer, it’s important to understand the nutrient requirements of your grass. Different grass species and varieties have specific nutrient needs, so it’s best to refer to the recommended fertilizer application rates for the specific type of grass you have planted.
Choose a high-quality, slow-release fertilizer that contains a balanced ratio of nitrogen (N), phosphorus (P), and potassium (K). Nitrogen promotes leaf and stem growth, phosphorus enhances root development, and potassium helps with overall plant health and disease resistance.
Follow the instructions provided on the fertilizer packaging to determine the appropriate amount to apply. Avoid over-fertilizing, as it can lead to excessive leaf growth and weaken the grass. Applying too much fertilizer at once can also burn the grass and harm the newly established seedlings.
Once you have determined the correct amount, distribute the fertilizer evenly across the seeded area. You can use a fertilizer spreader or apply it by hand, taking care to avoid direct contact with the grass seedlings. It’s important to note that granular fertilizers should be watered in after application to activate their release and prevent potential damage to the grass.
After applying the fertilizer, water the area lightly to help the nutrients penetrate the soil and reach the roots. This will also prevent the fertilizer from sitting on the grass blades and potentially causing damage.
Additional fertilizer applications may be needed throughout the growing season. Follow the recommended fertilization schedule for your specific grass type to ensure proper nutrient maintenance. Avoid fertilizing during periods of drought or extreme heat, as it can stress the grass and increase the risk of fertilizer burn.
Remember that applying fertilizer provides your grass with the essential nutrients it needs to thrive. By using the appropriate fertilizer and following the recommended application rates, you’ll promote healthy growth, strong root development, and vibrant green grass throughout your lawn.
In the next step, we will discuss how to protect the newly planted seeds from potential threats and provide an optimal environment for their growth and establishment.
Step 9: Protect the newly planted seeds
Protecting the newly planted grass seeds is crucial to ensure their successful germination and establishment. During this delicate stage, the seeds are vulnerable to various threats, including birds, animals, and adverse weather conditions. Taking proactive measures to protect the seeds will increase the chances of a healthy and thriving lawn.
One of the primary threats to newly planted seeds is birds, which are attracted to the seeds as a food source. To deter birds from feasting on your freshly planted grass, consider using protective measures such as bird netting or scare tactics. Bird netting can be laid over the seeded area to prevent birds from accessing the seeds. Alternatively, you can use visual deterrents like colorful flags or reflective objects to startle birds and discourage their presence.
In addition to bird protection, consider implementing measures to prevent animals from disturbing the newly planted seeds. This includes keeping pets away from the seeded area and taking precautions to deter wildlife such as squirrels, rabbits, or deer. Fencing, motion sensor sprinklers, or natural repellents can be effective in keeping animals at bay.
Weather conditions can also impact the success of seed germination. Extreme heat or prolonged periods of dryness can interfere with seed establishment. To protect the seeds from these conditions, consider using shade cloth or a light layer of straw mulch to help retain moisture and provide shade. This will create a more favorable environment for the seeds to germinate and grow.
In areas with heavy rainfall or the potential for erosion, additional precautions may be necessary. The use of erosion control blankets or straw mats can help prevent soil erosion and protect the seeds from being washed away. These protective covers also provide insulation and retain moisture, further supporting seed germination.
Regular monitoring of the seeded area is important to identify any potential issues or signs of distress. Inspect the area daily to ensure that the protective measures are intact and working effectively. Make any necessary adjustments or repairs promptly to maintain optimal conditions for germination.
By taking proactive steps to protect the newly planted seeds, you will improve their chances of successful germination and establishment. Deterring birds and animals, providing shade and moisture retention, and monitoring the area regularly are key aspects of seed protection. By protecting your seeds, you’re one step closer to achieving a lush and healthy lawn.
In the next step, we will discuss the importance of maintaining proper watering and care for your newly planted seeds and growing grass.
Step 10: Maintain proper watering and care
Maintaining proper watering and care is essential for the ongoing health and vitality of your newly planted seeds and growing grass. Consistent and appropriate watering, along with regular maintenance, will encourage strong root development, lush green growth, and overall resilience against environmental stresses.
Continue to water the seeded area regularly to ensure the soil remains consistently moist. As the grass seedlings begin to grow, gradually adjust the watering schedule to promote deeper root growth. Rather than frequent shallow watering, aim for less frequent but deeper watering sessions. This encourages the roots to penetrate deeper into the soil, promoting a stronger and more drought-tolerant lawn.
Monitor the moisture levels in the soil by performing the “squeeze test” as described earlier. Adjust the watering schedule based on weather conditions, taking into account rainfall and temperature. During hot and dry periods, additional watering may be necessary to prevent drought stress.
Along with watering, regular maintenance practices such as mowing, fertilizing, and weed control are essential for a healthy lawn. However, it’s important to wait until the grass reaches an appropriate height before mowing. Generally, allow the grass to grow to about 3-4 inches in height before the first mowing. Set your mower to its highest setting initially and gradually lower it with subsequent mowing sessions.
Fertilize the lawn based on the specific requirements of your grass species. Follow the recommended application rates and timing to provide the necessary nutrients for continued growth. Regular fertilization will help maintain the health and vibrancy of your lawn, ensuring a lush and thriving landscape.
Additionally, be vigilant in managing weeds. As your grass begins to grow, it’s important to remove any unwanted weeds that may compete for resources. Regularly inspect your lawn and manually remove any weeds that appear. If weed growth becomes excessive, consider using herbicides specifically formulated for your grass species. Always follow the instructions provided and exercise caution to avoid harming your grass.
Regularly monitor your lawn for signs of pests or diseases. Early detection and prompt action will help mitigate damage. Consult with a local gardening expert or extension service if you notice any unusual symptoms or suspect a pest or disease problem.
Finally, promote a healthy lawn by ensuring proper aeration and overseeding as needed. Aeration helps improve soil compaction and allows for better air and water movement. Overseeding helps fill in bare spots or thin areas, promoting a dense and uniform lawn.
By maintaining proper watering and care, you’re investing in the long-term health and beauty of your lawn. Ongoing vigilance and regular maintenance practices will result in a lush, vibrant, and envy-worthy landscape for you to enjoy for years to come.
Conclusion
Congratulations! You’ve successfully learned the step-by-step process of planting grass in your backyard. By following these guidelines, you’ve set the foundation for a healthy, lush, and vibrant lawn that will be the pride of your outdoor space.
Throughout the process, we covered various crucial steps, including preparing the soil, choosing the right grass seed, measuring and marking the area, removing existing vegetation, loosening the topsoil, spreading the grass seed evenly, and watering the area thoroughly. We also discussed the importance of applying fertilizer, protecting the newly planted seeds, and maintaining proper watering and care.
By carefully preparing the soil, selecting the appropriate grass seed, and providing the necessary nutrients, water, and protection, you’ve created an optimal environment for the grass to establish its roots and thrive. Regular maintenance practices such as mowing, fertilizing, and weed control will ensure the long-term health and vitality of your lawn.
Remember, the process of planting grass in your backyard requires patience and consistency. It may take some time for the seeds to germinate and establish, but with proper care and attention, you’ll soon be rewarded with a beautiful and inviting green space.
Continue to monitor your lawn and make adjustments as needed. Stay proactive in identifying and addressing any issues such as pests, diseases, or nutrient deficiencies. Regularly mow, fertilize, and water your lawn to maintain its health, color, and thickness.
Enjoy the rewards of your efforts as you relax and spend quality time in your backyard oasis. Whether it’s playing games, hosting gatherings, or simply resting on a cozy lawn, your beautiful and well-cared-for grass will enhance the overall aesthetics and enjoyment of your outdoor space.
So, grab your gardening tools, put your newfound knowledge into action, and start transforming your backyard into a stunning and vibrant lawn. With a little time and effort, you’ll be rewarded with a picture-perfect, envy-inducing green space that you can be proud of for years to come. Happy gardening!