Home>Gardening Basics>Understanding Soil>How To Prep Soil For Grass Seed

Understanding Soil
How To Prep Soil For Grass Seed
Published: February 13, 2024
Learn how to prep your soil for grass seed by understanding the importance of soil composition, pH levels, and proper nutrient balance. Improve your chances of successful grass growth with these expert tips.
(Many of the links in this article redirect to a specific reviewed product. Your purchase of these products through affiliate links helps to generate commission for Chicagolandgardening.com, at no extra cost. Learn more)
Table of Contents
- Introduction
- Step 1: Clearing the Area
- Step 2: Testing the Soil pH
- Step 3: Removing Weeds and Debris
- Step 4: Loosening the Soil
- Step 5: Adding Organic Matter
- Step 6: Leveling the Soil Surface
- Step 7: Fertilizing the Soil
- Step 8: Watering the Soil
- Step 9: Seeding the Grass
- Step 10: Mulching the Seeded Area
- Conclusion
Introduction
When it comes to growing a lush and healthy lawn, one of the most crucial steps is prepping the soil before sowing grass seeds. Soil that is properly prepared provides the necessary nutrients, moisture retention, and aeration for the seeds to germinate and roots to develop. By investing time and effort in preparing the soil, you’ll be rewarded with a vibrant and resilient lawn that adds beauty to your outdoor space.
In this article, we will guide you through the essential steps to prepare soil for grass seed. Whether you’re starting from scratch with a new lawn or renovating an existing one, following these steps will set the foundation for successful grass growth. From clearing the area to ensuring proper soil pH, removing weeds, adding organic matter, and more, we’ve got you covered.
Before we dive into the details, it’s important to note that soil preparation may vary depending on the specific type of grass you’re planning to grow. Different grass species have different soil requirements, so it’s always a good idea to research the specific needs of your chosen grass type. However, the general guidelines provided here will still apply to most grass varieties.
Without further ado, let’s get started on the journey towards creating a vibrant and healthy lawn by prepping the soil for grass seed. by prepping the soil for grass seed.
Step 1: Clearing the Area
Before you begin preparing the soil for grass seed, it’s essential to clear the area of any debris, existing grass, weeds, or rocks. This step helps create a clean and level surface for the new grass to grow.
Start by mowing the existing grass as short as possible, preferably to a height of 1-2 inches. This will make it easier to remove and reduce the chances of it regrowing after the soil preparation process.
Next, use a rake or a grass trimmer to remove any remaining grass, weeds, or other vegetation from the area. Be thorough in your work, ensuring that no roots or plant matter are left behind. It’s crucial to remove weeds as they compete with the grass for nutrients and can hinder its growth.
If you come across any rocks, remove them from the area. Large rocks can interfere with the leveling process, while smaller ones can cause unevenness in the soil surface.
Once the area is free of grass, weeds, and rocks, take a moment to inspect the soil for any compacted areas. Compacted soil can prevent proper root penetration and hinder the growth of the grass. If you notice any compacted spots, use a garden fork or a mechanical aerator to loosen the soil in those areas.
By clearing the area and addressing any soil compaction, you’re setting the stage for optimal grass growth. Now that you have a clean slate, you’re ready to move on to the next step: testing the soil pH.
Step 2: Testing the Soil pH
Testing the soil pH is an important step in preparing the soil for grass seed, as it determines the acidity or alkalinity of the soil. Different grass species have different pH preferences, so understanding your soil’s pH will help you identify any necessary amendments to create an optimal growing environment for your chosen grass.
To test the soil pH, you can use a home testing kit or send a soil sample to a local agricultural extension office or a professional soil testing laboratory. Follow the instructions provided with the testing kit or reach out to your local extension office for guidance on how to collect and submit a soil sample.
Once you have the test results, you can determine if your soil is too acidic or too alkaline. The ideal pH range for most grasses is between 6 and 7. If your soil falls outside this range, you may need to make adjustments to bring it to the optimal level.
If your soil is too acidic, below pH 6, you can raise the pH by adding lime to the soil. Lime helps neutralize the acidity and makes the soil more alkaline. Follow the recommended application rate based on your specific soil test results to ensure you’re adding the appropriate amount of lime.
On the other hand, if your soil is too alkaline, above pH 7, you can lower the pH by adding elemental sulfur or other soil acidifiers. Again, consult your soil test results and follow the recommended application rates to achieve the desired pH level.
Testing the soil pH will help you create the ideal growing conditions for your grass, allowing it to thrive and establish a healthy root system. Once you’ve adjusted the soil pH if necessary, you’re ready to move on to the next step: removing weeds and debris.
Step 3: Removing Weeds and Debris
Before sowing grass seeds, it’s crucial to remove any remaining weeds and debris from the soil. Weeds compete with the grass for nutrients, water, and sunlight, hindering its growth. Additionally, debris can create an uneven surface and interfere with seed germination.
Start by manually pulling out any visible weeds from the soil. Ensure you remove the entire root system to prevent regrowth. For stubborn or large weeds, you may need to use a garden tool like a weed puller or a hoe to assist in their removal.
If the area is extensively infested with weeds, you may consider applying a pre-emergent herbicide. This type of herbicide prevents weed seeds from germinating, reducing the number of weeds that emerge in the future. Follow the product’s instructions carefully, applying it before sowing the grass seeds, and remember to choose a product labeled safe for use on lawns.
In addition to weeds, make sure to clear any debris such as sticks, stones, or dead plant material from the soil surface. These objects can hinder seed germination, create uneven growth, and make it challenging to achieve a smooth lawn surface.
After removing the weeds and debris, take a final moment to inspect the soil for any remaining roots or underground plant parts. These can sprout and cause issues later on. Remove them carefully to ensure a clean and weed-free planting surface.
By diligently removing weeds and debris, you’ll give your grass seeds the best chance of establishing themselves without competition or obstructions. With a clean and weed-free soil, you’re ready to proceed to the next step: loosening the soil.
Step 4: Loosening the Soil
Loosening the soil is an essential step in preparing the soil for grass seed. It helps improve drainage, promote root penetration, and create a loose and crumbly texture that allows the grass seeds to establish themselves easily.
To loosen the soil, you can use a garden fork or a mechanical aerator. Start by inserting the fork or aerator into the soil, about 4-6 inches deep. Then, gently rock or move the tool back and forth to loosen the compacted soil. Repeat this process across the entire area, ensuring that the soil is evenly loosened.
If you decide to use a mechanical aerator, follow the manufacturer’s instructions for optimal results. There are various types of aerators available, including spike aerators and plug aerators. Spike aerators create holes in the soil, allowing air and water to penetrate, while plug aerators remove small plugs of soil, further loosening and improving soil structure.
Loosening the soil also helps break up any clumps or compacted areas, allowing for better water penetration and aeration. This will encourage the grass roots to grow deep into the soil, establishing a strong and healthy lawn.
After loosening the soil, take the time to remove any rocks or debris that may have surfaced during the process. Smooth out the soil surface with a rake to create an even planting area.
Remember, the goal is to create a loose and well-aerated soil environment for the grass seeds to take root. With the soil now properly loosened and prepared, you’re ready to move on to the next step: adding organic matter.
Step 5: Adding Organic Matter
Adding organic matter is a crucial step in preparing the soil for grass seed. Organic matter improves soil structure, enhances nutrient retention, and promotes healthy microbial activity. It also helps to increase water-holding capacity, ensuring adequate moisture for the grass seeds to germinate and grow.
There are various types of organic matter that you can add to the soil, such as compost, well-rotted manure, or peat moss. These materials are rich in nutrients and provide a gradual release of organic matter, benefiting the grass over time.
Spread a layer of organic matter over the loosened soil, aiming for a depth of about 1-2 inches. Use a rake or garden fork to work the organic matter into the top few inches of the soil. This will help distribute the organic matter evenly and incorporate it into the planting area.
If you’re using compost or well-rotted manure, ensure that it has been properly aged or composted to avoid introducing weed seeds or pathogens to the soil.
Adding organic matter improves the overall fertility and structure of the soil, creating an optimal environment for grass seed growth. It also encourages beneficial microorganisms to thrive, further enhancing the health of the soil ecosystem.
Once the organic matter is incorporated into the soil, you’re ready to move on to the next step: leveling the soil surface, ensuring a uniform planting area for your grass seeds.
Step 6: Leveling the Soil Surface
Leveling the soil surface is an important step in preparing the soil for grass seed. It ensures a uniform planting area and helps prevent water pooling or uneven growth of the grass.
Start by using a garden rake to spread out the soil evenly across the planting area. Focus on filling any low spots and leveling any high spots to create a smooth and even surface. This will help facilitate proper seed germination and provide an even base for the grass to grow.
Walk over the soil surface to check for any soft or unstable areas. If you notice any, add more soil to those areas and compact it gently using your feet. The goal is to create a solid and stable surface for the grass seeds.
Work in sections, focusing on small areas at a time to ensure thorough leveling. Continuously check the surface with a level tool or by visual assessment to ensure an even and flat surface.
Remember that proper leveling is essential for achieving a professional-looking lawn. Take your time during this step to ensure a well-prepared soil surface for successful grass seed establishment.
Once the soil surface is level, you’re ready to move on to the next step: fertilizing the soil to provide essential nutrients for the grass seeds.
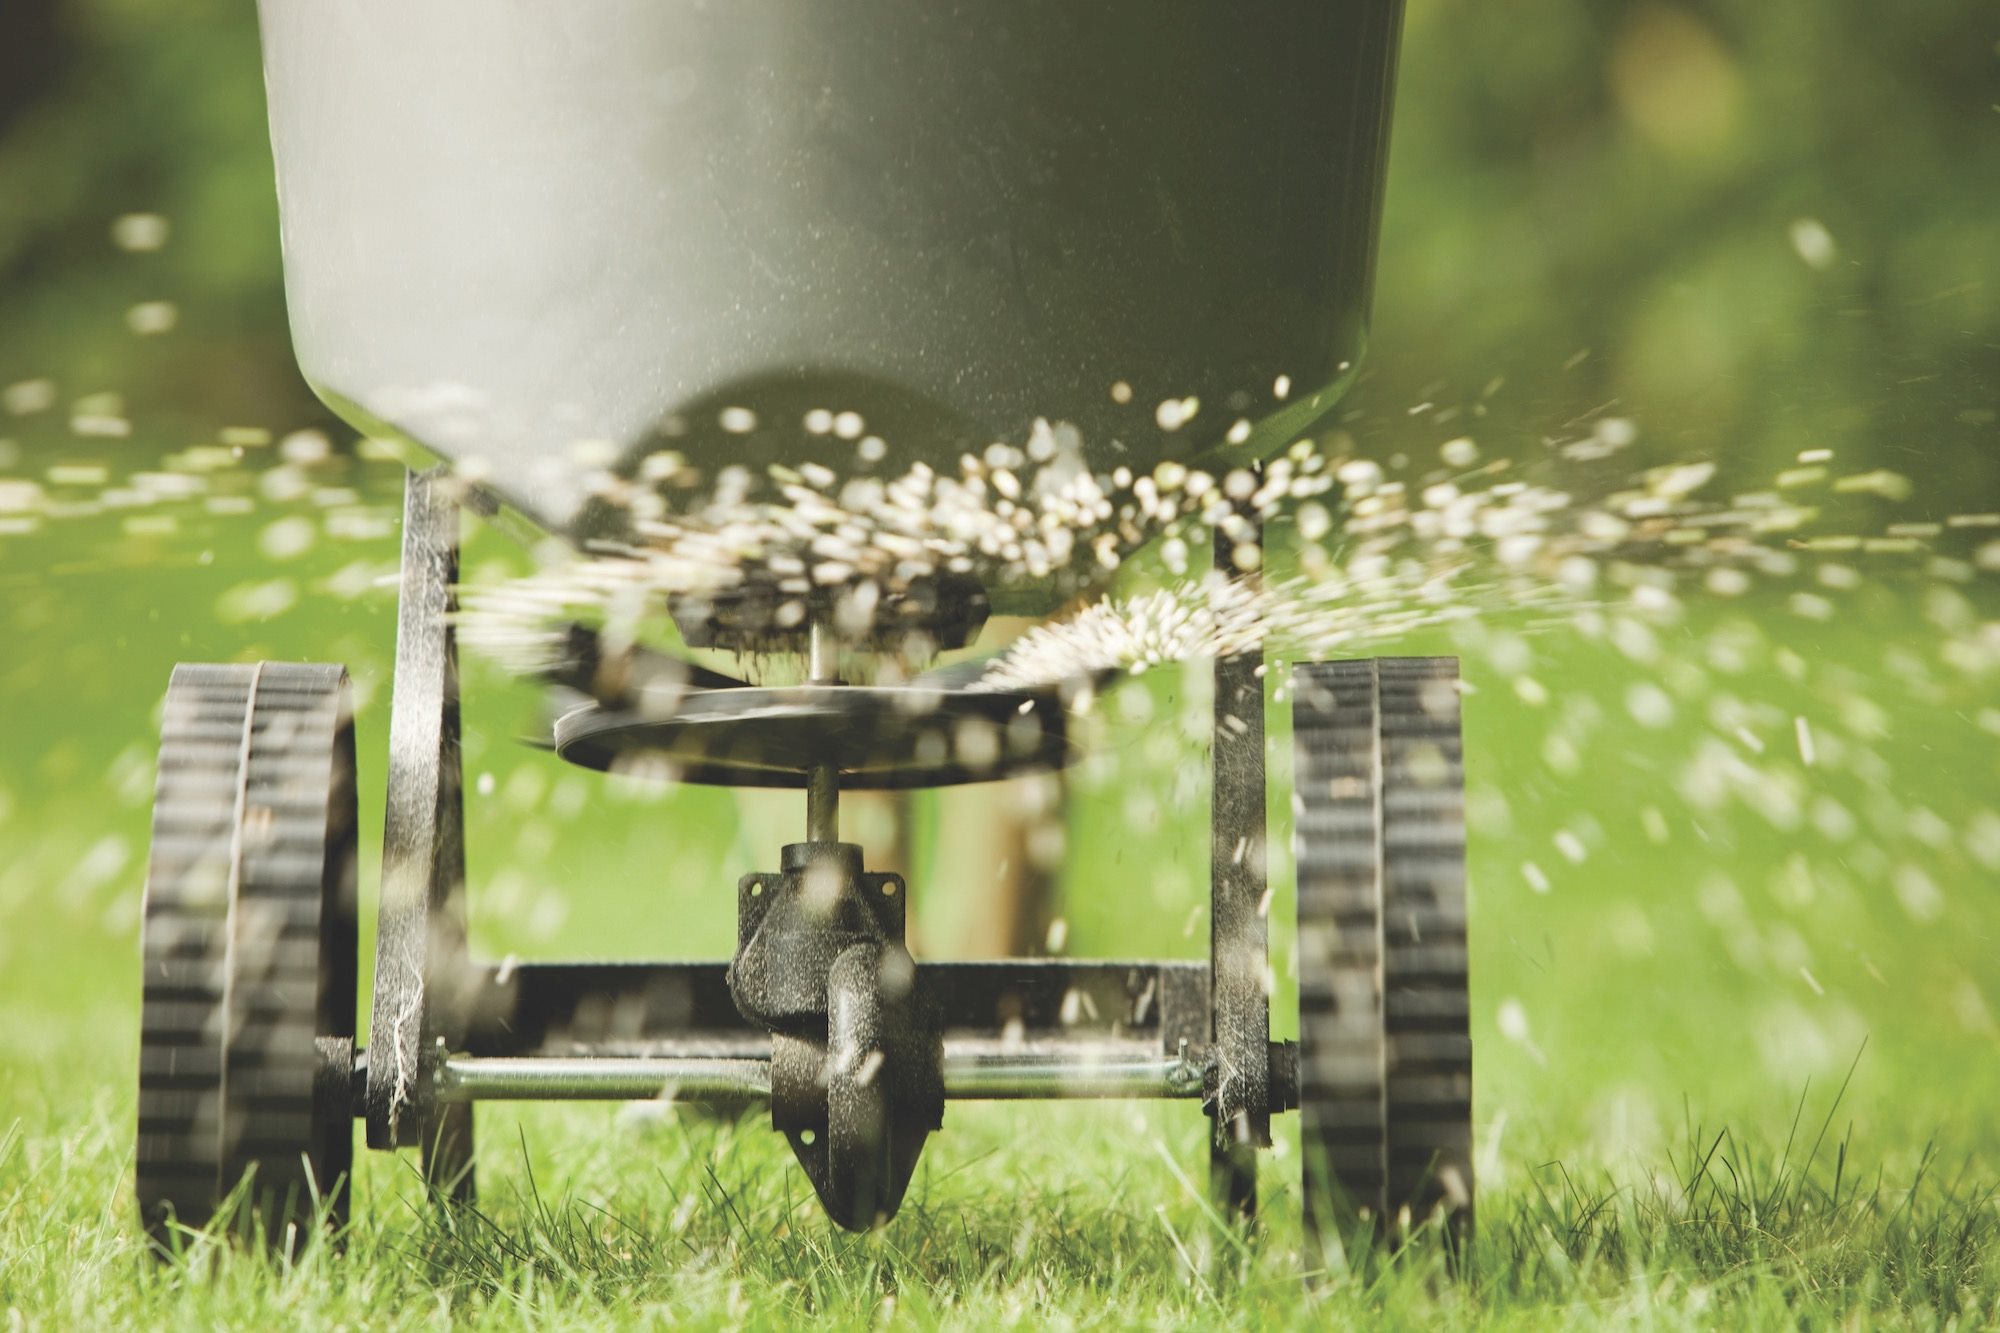
Step 7: Fertilizing the Soil
Fertilizing the soil is a crucial step in preparing the soil for grass seed. It provides essential nutrients that support healthy plant growth and development. Proper fertilization ensures that the grass seeds have the necessary nutrients to establish strong roots and thrive.
Before applying fertilizer, it’s important to determine the nutrient requirements of the specific grass species you’re planting. Different grass varieties have varying nutrient needs, so it’s best to choose a fertilizer that is specifically formulated for your grass type.
Read the instructions on the fertilizer package carefully, as they will provide guidance on the appropriate application rate and timing. Over-fertilization can damage the grass, while under-fertilization may result in poor growth.
Apply the fertilizer evenly across the prepared soil surface, using a broadcast spreader or by hand. Take care to avoid overlapping or leaving any untreated areas, as this can lead to uneven nutrient distribution and potentially affect the uniform growth of the grass.
After applying the fertilizer, lightly rake the soil surface to help incorporate the granules into the soil. This will ensure that the nutrients are accessible to the developing grass roots.
Keep in mind that fertilizers are most effective when applied just before or during the grass seed sowing process. This provides the seedlings with the necessary nutrients for initial growth and establishment.
Properly fertilizing the soil helps create optimal conditions for grass seed germination and growth. It sets the foundation for a healthy and vibrant lawn. Once the fertilizer is applied, you’re ready to move on to the next step: ensuring adequate water supply for the grass seeds.
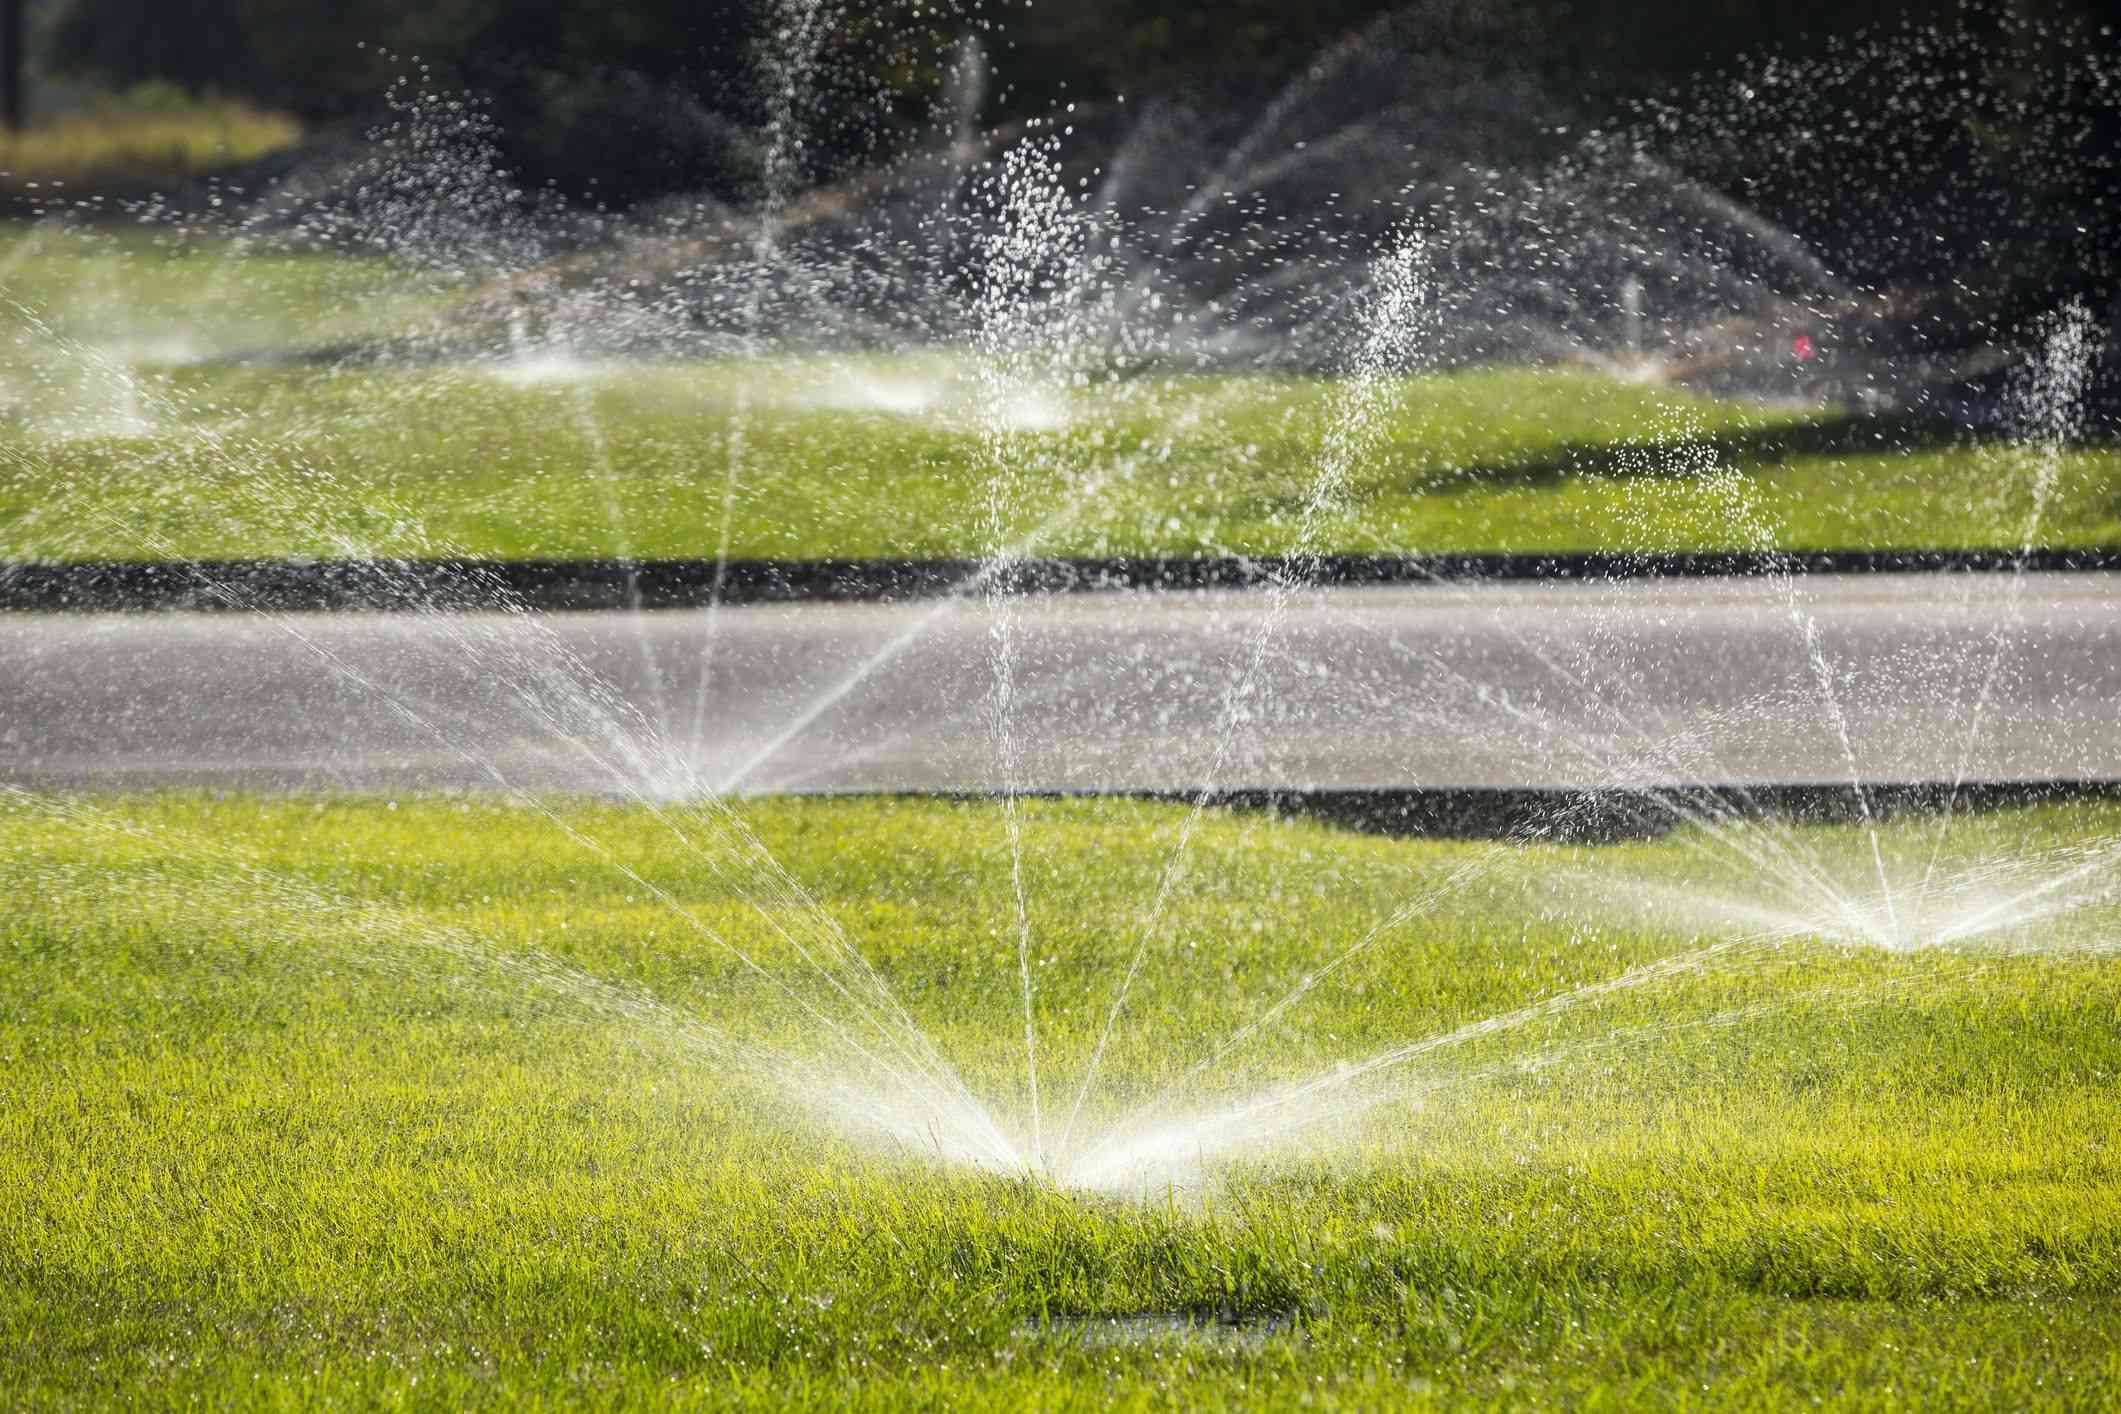
Step 8: Watering the Soil
Watering the soil is a critical step in preparing the soil for grass seed. Proper watering ensures that the seeds have the necessary moisture to germinate and the seedlings can establish strong root systems.
After fertilizing the soil, it’s important to thoroughly water the area. Lightly sprinkle water over the soil surface to settle the fertilizer granules and provide a moist environment for the grass seeds.
During the germination period, which typically takes about two to three weeks, it’s crucial to keep the soil consistently moist. Depending on the weather conditions, you may need to water the soil lightly once or twice a day. Aim to keep the top inch of soil evenly moist, but avoid overwatering, as this can lead to seed washout or fungal diseases.
Use a gentle irrigation method, such as a sprinkler or misting nozzle, to distribute the water evenly. Slow and steady watering helps prevent soil erosion and ensures that the water penetrates the soil surface without disturbing the grass seeds.
Monitor the moisture level of the soil regularly and adjust your watering schedule accordingly. As the grass seedlings start to establish and the roots penetrate deeper into the soil, you can gradually reduce the frequency of watering but increase the amount of water applied to encourage deeper root growth.
Remember that consistency is key when it comes to watering. Providing the right amount of water at the right time will promote healthy grass growth and help establish a strong and resilient lawn.
After ensuring adequate water supply, you’re ready to move on to the next step: seeding the grass to complete the soil preparation process.
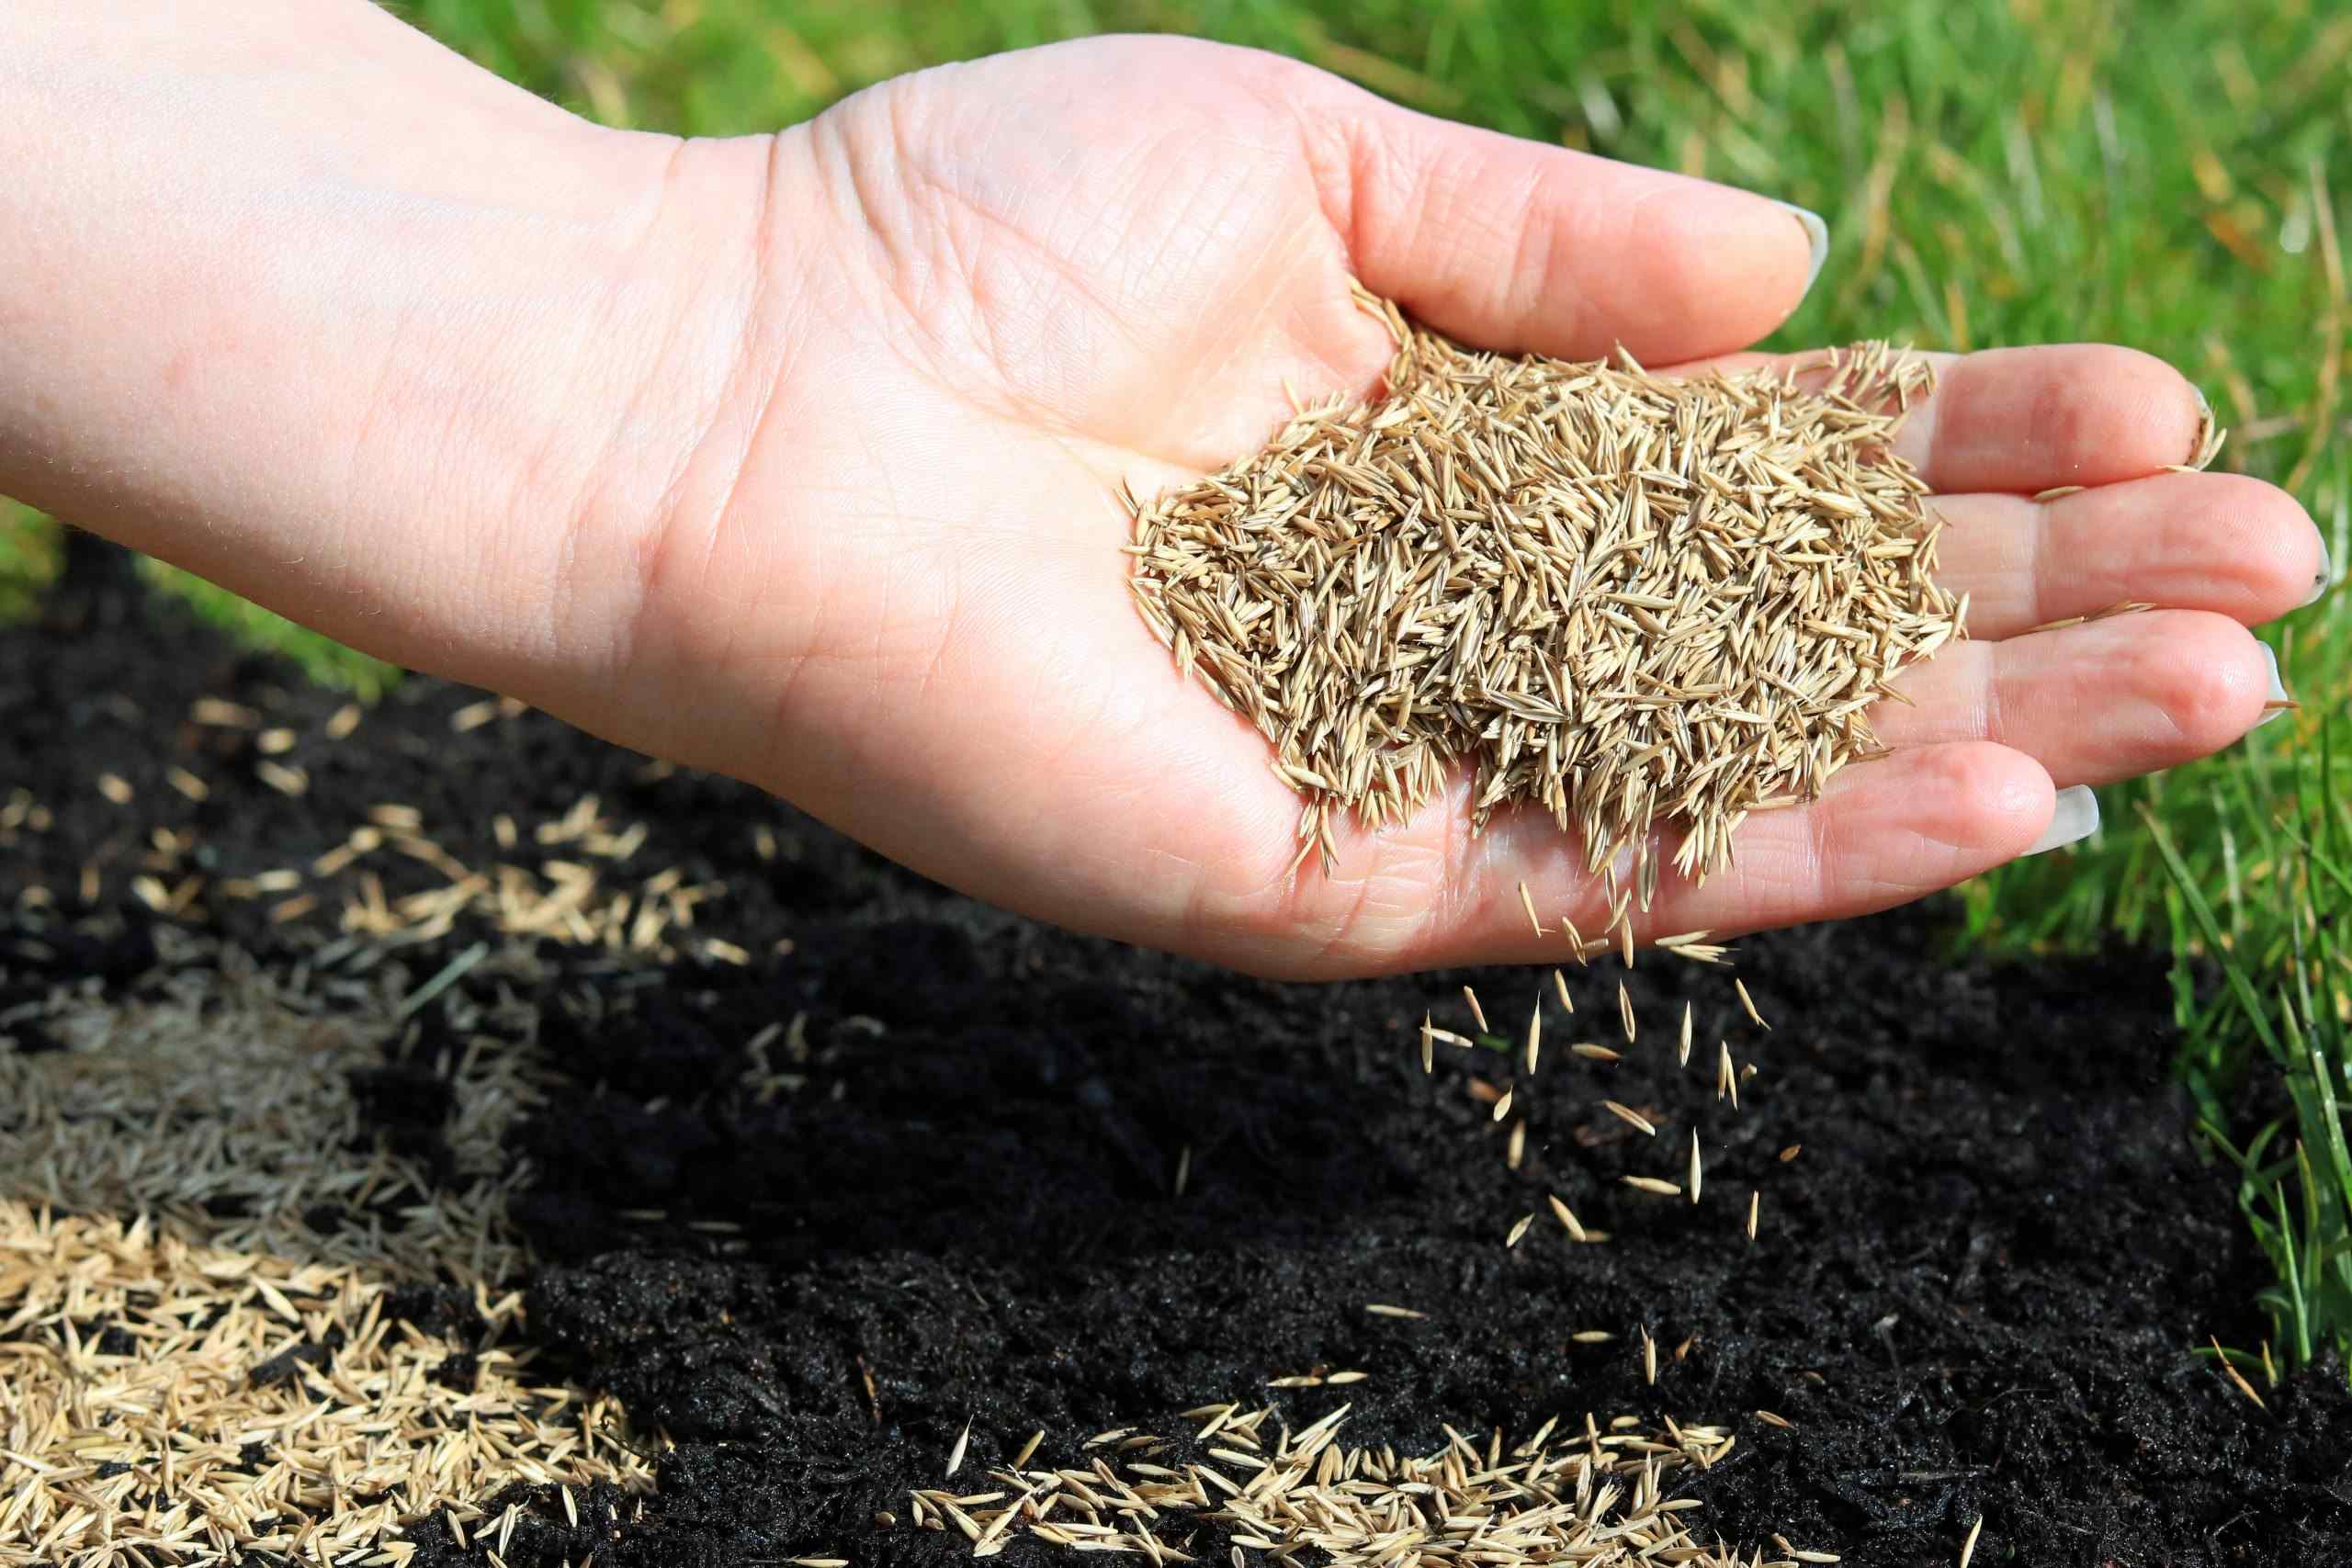
Step 9: Seeding the Grass
Seeding the grass is the penultimate step in the soil preparation process. It involves spreading the grass seeds evenly across the prepared soil surface to initiate the growth of a lush and healthy lawn.
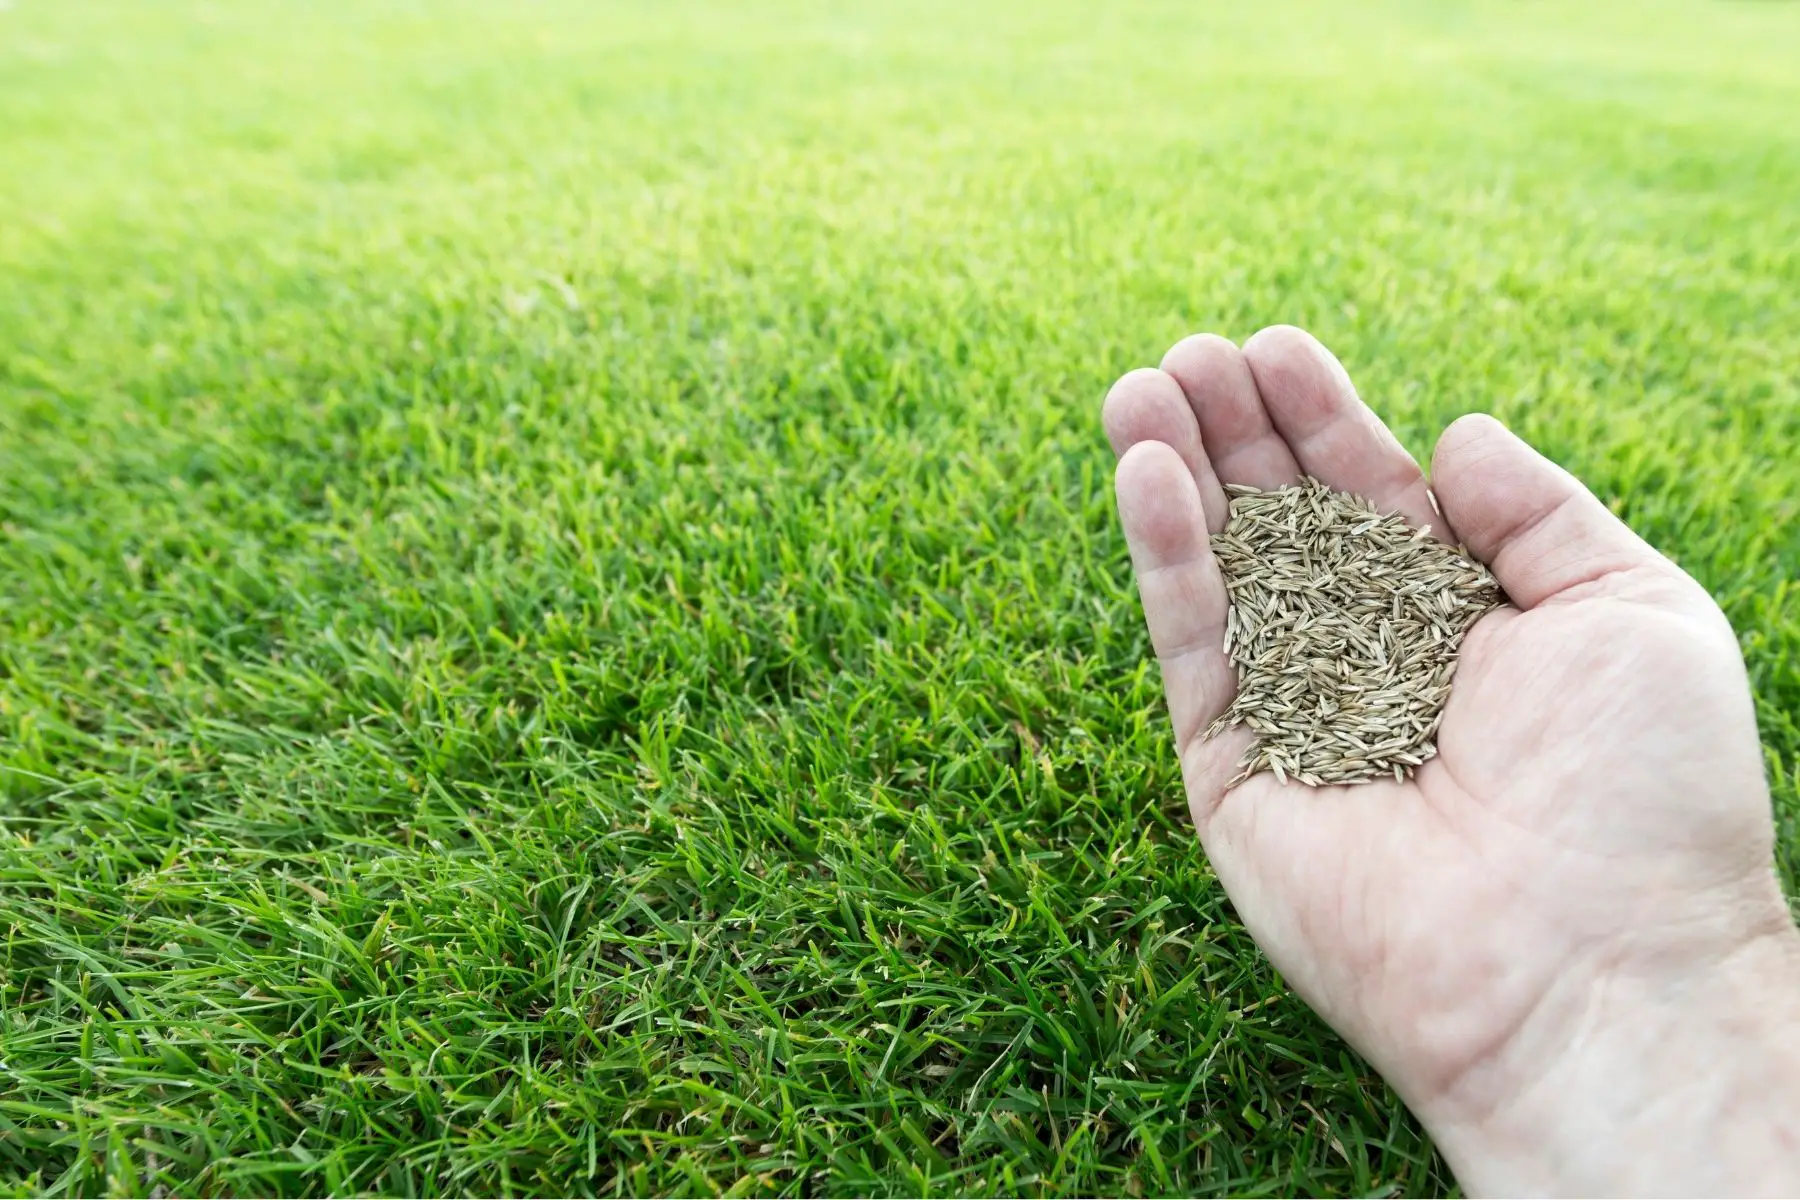
Before seeding, carefully select the appropriate grass seed for your specific needs. Consider factors such as your climate, soil type, and the intended use of the lawn. Different grass species have different characteristics, such as shade tolerance, drought resistance, or durability, so choose a seed that suits your requirements.
Divide the area into smaller sections, so it’s easier to manage the seeding process. This will help ensure even seed distribution and prevent over or under-seeding in certain areas.
Use a broadcast spreader or a hand-held spreader to distribute the grass seeds evenly across the soil surface. Follow the recommended seeding rate provided on the seed packaging to achieve the desired coverage. Start by spreading half of the seeds across the area in one direction and then spread the remaining seeds in the opposite direction to ensure even distribution.
Once the seeds are spread, lightly rake the soil surface to ensure good seed-to-soil contact. This will help the seeds germinate more effectively. Avoid burying the seeds too deeply; they should be in direct contact with the soil but still visible on the surface.
After raking, lightly roll the soil surface with a lawn roller to further press the seeds into the soil and ensure good seed-soil contact. This step is especially important if you face issues with seed/soil contact due to wind or uneven terrain.
Keep in mind that proper seed-to-soil contact, adequate moisture, and proper temperature are crucial for successful seed germination. Follow the specific instructions provided on the seed packaging regarding watering and maintenance for optimal results.
With the grass seeds sown, you’re one step closer to enjoying a beautiful and vibrant lawn. All that’s left to do now is move on to the final step: mulching the seeded area.
Step 10: Mulching the Seeded Area
Mulching the seeded area is the final step in preparing the soil for grass seed. Mulch helps conserve moisture, control weed growth, and provide a protective barrier for the newly germinating grass seeds.
After seeding the grass, apply a thin layer of straw, hay, or organic mulch over the seeded area. This layer should be no more than ¼ to ½ inch thick. Avoid using excessive mulch, as it can create a barrier that prevents the grass seeds from reaching the soil.
Mulch acts as an insulating layer, protecting the seeds from extreme temperature fluctuations and helping to retain moisture. It also helps prevent weeds from germinating and competing with the grass seedlings for nutrients and sunlight.
Ensure that the mulch is spread evenly across the seeded area. Gently rake or use a leaf blower on a low setting to distribute the mulch evenly and anchor it to the soil surface.
Keep in mind that mulch should only be used for cool-season grasses or in areas where there is a risk of soil erosion. Warm-season grasses typically don’t require mulching during the establishment phase.
As the grass seeds germinate and grow, the mulch will gradually break down and become part of the soil organic matter. It helps improve soil fertility and moisture retention in the long run.
While the mulch provides many benefits, it’s essential to monitor the moisture level beneath the mulch to ensure adequate water penetration and prevent excessive moisture retention, which can lead to fungal diseases. Adjust your watering schedule accordingly to maintain optimal soil moisture.
With the seeded area mulched, you’ve successfully completed the soil preparation process for grass seed. Now it’s time to patiently wait for the grass seeds to germinate and grow into a lush and healthy lawn.
Conclusion
Preparing the soil for grass seed is a vital step in achieving a healthy and vibrant lawn. By following the ten essential steps outlined in this guide, you can create an optimal environment for successful grass seed germination and growth.
From clearing the area and testing the soil pH to removing weeds and debris, loosening the soil, adding organic matter, leveling the soil surface, fertilizing, watering, seeding, and mulching, each step plays a critical role in establishing a strong and resilient turf.
Remember to consider the specific requirements of your chosen grass species during the preparation process. Different grasses have varying needs in terms of soil pH, nutrient levels, and watering. Research and understand the specific requirements of your grass type to ensure the best results.
Throughout the process, pay attention to detail and strive for consistency. Take the time to clear the area efficiently, test and amend the soil pH, remove weeds and debris thoroughly, and incorporate organic matter to improve soil fertility. Level the soil surface carefully, fertilize according to the grass’s needs, and water appropriately to provide the necessary moisture for seed germination and establishment.
By diligently following these steps, you’ll be rewarded with a beautiful, lush, and healthy lawn that enhances the beauty of your outdoor space. Maintain proper care, including regular watering, mowing, and fertilizing, to ensure the continued health and longevity of your lawn for years to come.
So, roll up your sleeves and get ready to transform your outdoor space into a thriving oasis with a well-prepared soil and a vibrant carpet of grass that will bring joy and satisfaction to you and your loved ones.