Home>Gardening Basics>Understanding Soil>How To Lay Artificial Grass On Soil

Understanding Soil
How To Lay Artificial Grass On Soil
Published: February 4, 2024
Learn how to lay artificial grass on soil and improve your understanding of soil preparation techniques with our comprehensive guide. Achieve the perfect artificial grass installation with expert tips and advice.
(Many of the links in this article redirect to a specific reviewed product. Your purchase of these products through affiliate links helps to generate commission for Chicagolandgardening.com, at no extra cost. Learn more)
Table of Contents
Introduction
Soil is a vital component of landscaping and gardening, providing the foundation for healthy plant growth and a vibrant outdoor environment. Understanding soil composition and its impact on plant life is crucial for successful landscaping projects. In this article, we will delve into the process of laying artificial grass on soil, offering valuable insights and practical tips for a seamless installation.
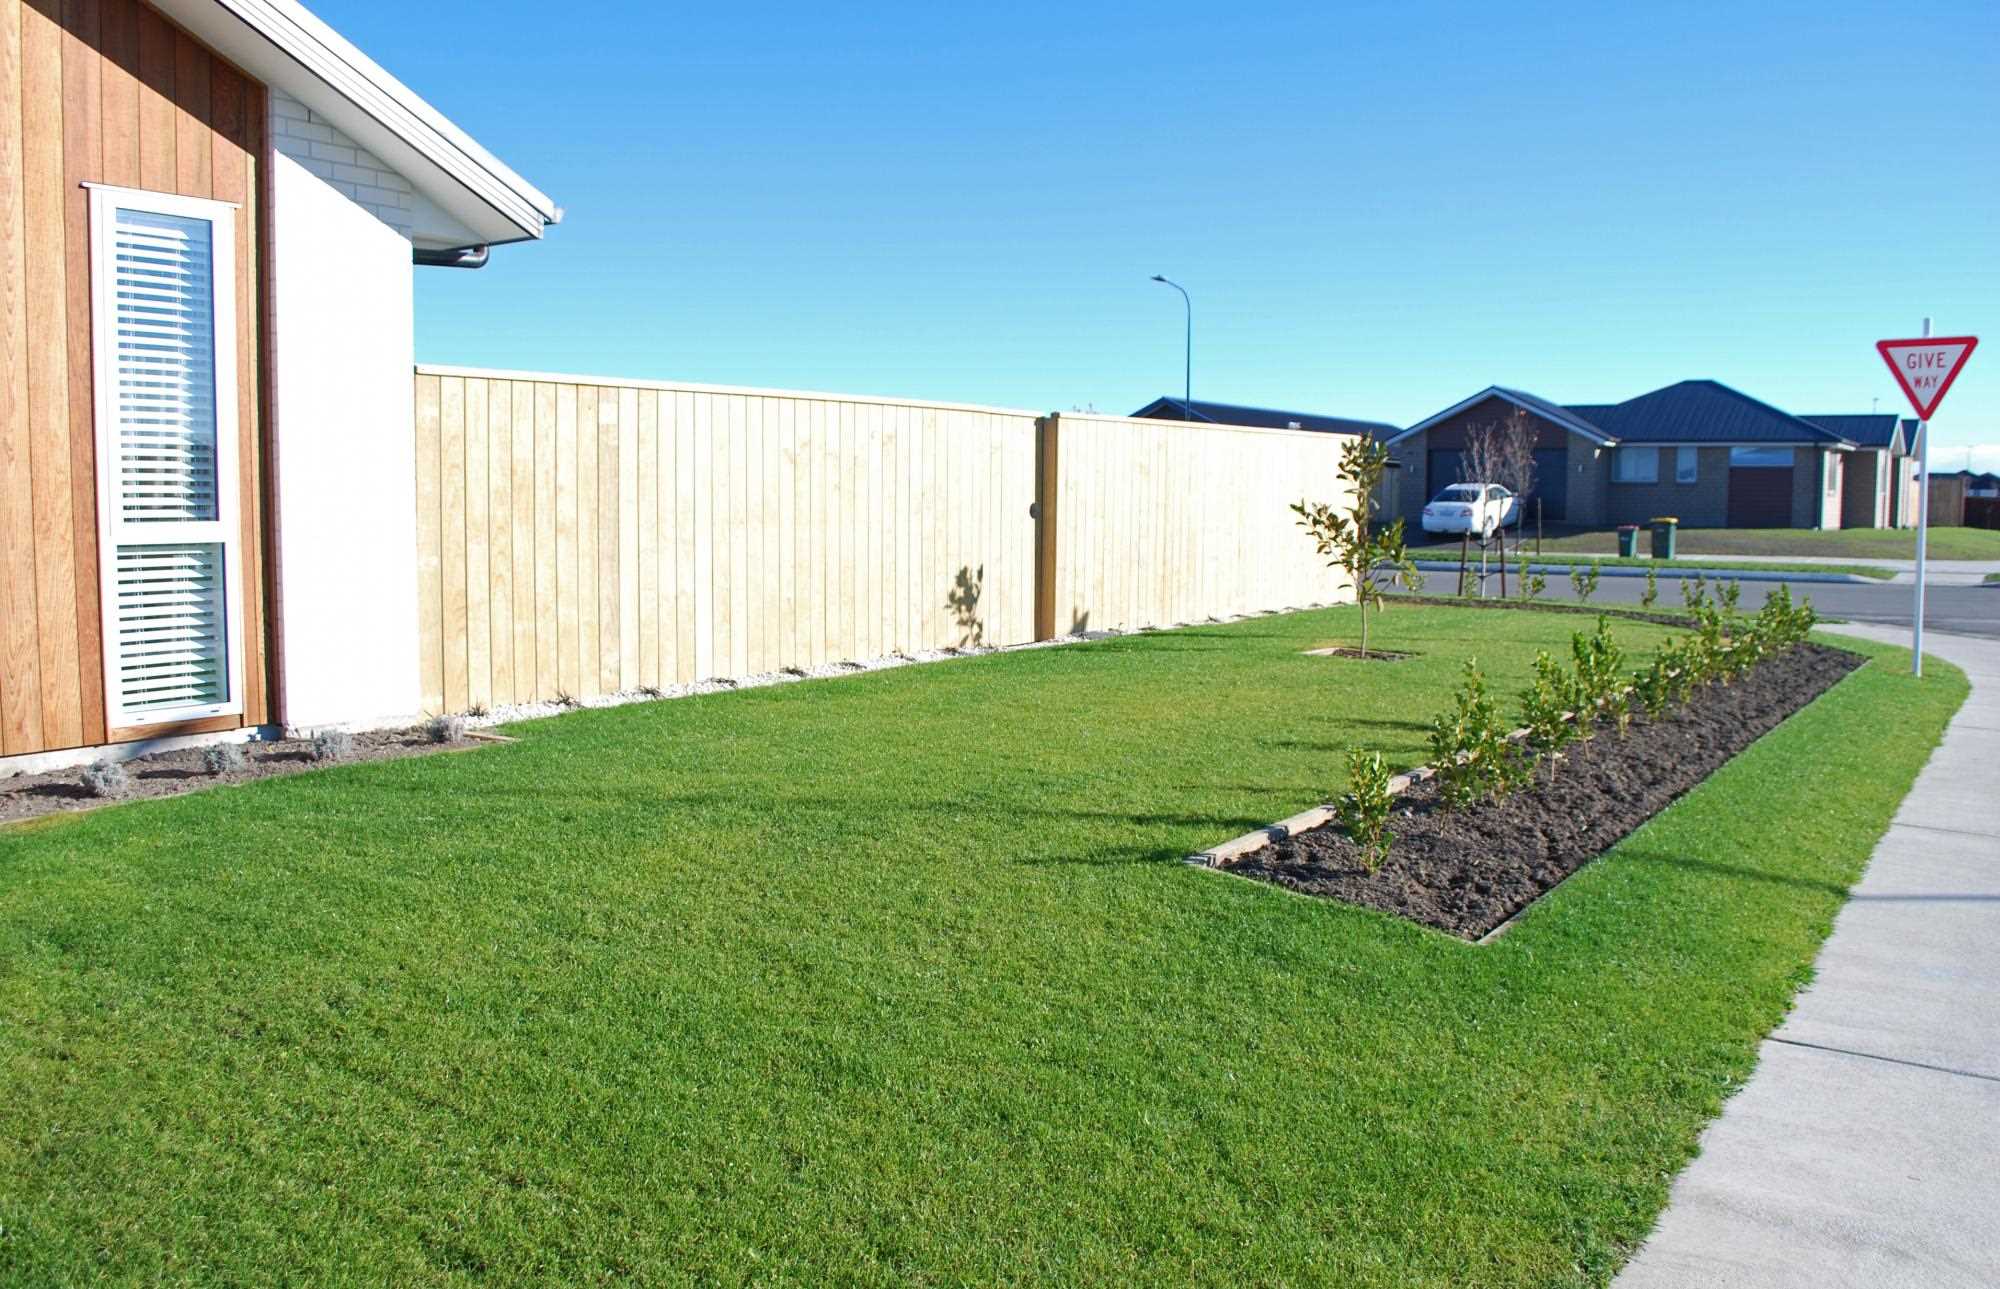
Artificial grass, also known as synthetic turf, has gained popularity for its low maintenance requirements and aesthetic appeal. When installed correctly, it can transform outdoor spaces, providing a lush and verdant surface year-round. By following the proper steps for laying artificial grass on soil, homeowners and landscapers can create a durable and visually appealing landscape feature.
In the following sections, we will outline a comprehensive guide for laying artificial grass on soil, covering essential steps such as soil preparation, weed barrier installation, artificial grass placement, edging, and infilling. Each step is crucial for achieving a professional-looking result and ensuring the longevity of the artificial grass.
Whether you are revamping a residential lawn, creating a pet-friendly play area, or enhancing a commercial landscape, the process of laying artificial grass on soil requires careful planning and execution. By understanding the intricacies of soil preparation and artificial grass installation, you can embark on this project with confidence and achieve stunning, long-lasting results.
Now, let's embark on this journey to discover the art and science of laying artificial grass on soil, unlocking the potential to elevate outdoor spaces with enduring beauty and functionality.
Step 1: Prepare the Soil
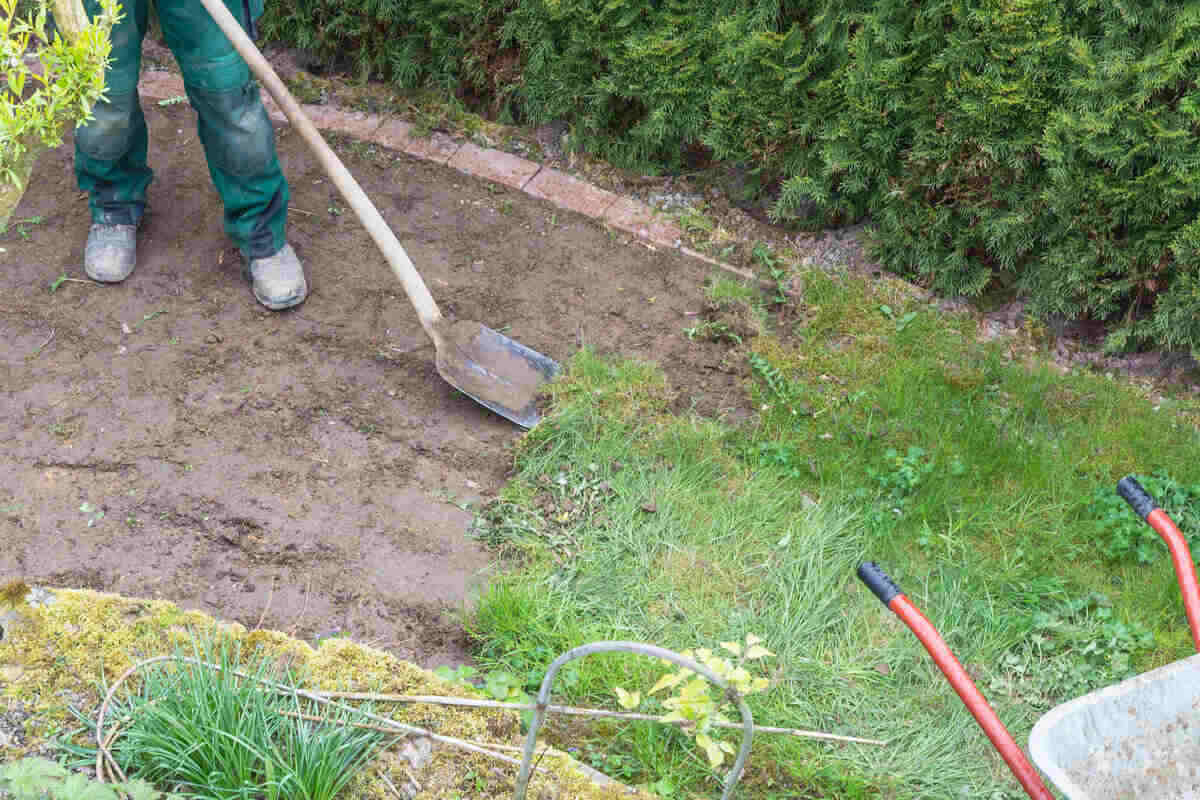
Before laying artificial grass on soil, thorough soil preparation is essential to ensure a stable and level foundation for the turf. Begin by clearing the area of any existing vegetation, rocks, or debris. Use a shovel, rake, or powered turf cutter to remove the top layer of soil, typically around 3 to 4 inches deep, depending on the specific project requirements.
Once the area is cleared, evaluate the soil’s drainage capabilities. Proper drainage is critical for preventing water accumulation, which can lead to issues such as mold growth and uneven settling of the artificial grass. If the soil has poor drainage, consider incorporating a gentle slope or installing a drainage system to direct water away from the turf area.
Next, assess the soil’s compaction and texture. Loosen compacted soil using a rototiller or garden fork, breaking up large clumps and creating a uniform, friable texture. Amending the soil with organic matter, such as compost or topsoil, can improve its structure and nutrient content, promoting healthy growth for the artificial grass.
After preparing the soil, it’s crucial to ensure that the surface is level and even. Utilize a landscaping rake or screed board to smooth out the soil, checking for any low or high spots. Achieving a uniform surface is vital for preventing unevenness in the artificial grass installation and optimizing its visual appeal.
Throughout the soil preparation process, prioritize attention to detail, as a well-prepared soil foundation sets the stage for a successful artificial grass installation. By investing time and effort into thorough soil preparation, you can create an optimal environment for the artificial grass to thrive, resulting in a visually stunning and long-lasting landscape feature.
Step 2: Install a Weed Barrier
Once the soil is properly prepared, the next crucial step in laying artificial grass is to install a high-quality weed barrier. A weed barrier, also known as a geotextile fabric, serves as a protective layer that prevents weed growth while allowing for optimal drainage and stability.
Begin by carefully measuring the area where the artificial grass will be installed, ensuring that the weed barrier is cut to fit the dimensions accurately. Place the weed barrier over the prepared soil, overlapping the edges by several inches to provide comprehensive coverage and minimize the risk of weed intrusion.
Secure the weed barrier in place using landscape fabric pins or staples, ensuring that it lies flat and taut across the soil surface. Pay close attention to the seams and edges, as these areas are particularly susceptible to weed penetration if not adequately secured.
It’s important to select a weed barrier with excellent permeability, allowing for efficient water drainage while effectively suppressing weed growth. Additionally, choosing a weed barrier with UV stabilization properties can enhance its durability and longevity, ensuring long-term protection for the artificial grass installation.
By installing a high-quality weed barrier, you create a resilient shield against invasive weeds, safeguarding the aesthetic and functional integrity of the artificial grass. This essential step contributes to the long-term success of the installation, providing a reliable foundation for the artificial turf to thrive without the interference of unwanted vegetation.
Step 3: Lay the Artificial Grass
With the soil prepared and the weed barrier in place, it’s time to proceed with laying the artificial grass. Begin by carefully unrolling the turf rolls across the designated area, ensuring that the grain of the grass blades faces the desired orientation for optimal visual appeal.
As you position each turf roll, pay attention to the seams, ensuring that they align seamlessly for a natural and cohesive appearance. Avoid stretching the artificial grass excessively, as this can lead to buckling and unevenness. Instead, gently smooth out the turf to remove any wrinkles and ensure a snug fit against the underlying soil.
Trim the edges of the artificial grass as needed to achieve a precise fit within the installation area. A sharp utility knife or specialized turf-cutting tool can be used to carefully trim the turf, maintaining clean and straight edges for a professional finish.
If multiple turf rolls are required to cover the entire area, take care to match the patterns and textures of the artificial grass for a consistent and harmonious look. Proper alignment and blending of the turf rolls contribute to a visually appealing and naturalistic outcome.
As the artificial grass is laid out, periodically brush the grass blades with a stiff bristle broom or power broom to encourage an upright position and even distribution. This grooming process enhances the turf’s aesthetic appeal and resilience, contributing to a lush and lifelike appearance.
By meticulously laying the artificial grass with precision and attention to detail, you set the stage for a stunning and enduring landscape feature that emulates the beauty of natural grass while offering the practical benefits of synthetic turf.
Step 4: Secure the Edges
Securing the edges of the artificial grass is a critical step that ensures the long-term stability and visual appeal of the installation. Begin by carefully tucking the edges of the turf rolls against hard surfaces, such as curbs, pathways, or decking, to create a seamless transition and prevent tripping hazards.
For areas where the artificial grass meets soft landscaping features, such as flower beds or mulched areas, consider installing flexible edging materials, such as composite bender board or flexible metal landscape edging. These edging materials provide a clean and durable border, effectively containing the artificial grass while allowing for natural expansion and contraction.
Secure the edges of the artificial grass using galvanized landscape staples or specialized turf nails, driving them into the soil at regular intervals along the perimeter. This anchoring method prevents the turf from shifting or becoming dislodged, particularly in high-traffic areas or during inclement weather.
As you secure the edges, take care to maintain a smooth and uniform appearance, ensuring that the artificial grass lies flat and snug against the edging materials. This attention to detail contributes to a polished and professional finish, elevating the overall aesthetic appeal of the artificial grass installation.
Properly securing the edges of the artificial grass not only enhances the visual cohesiveness of the landscape but also provides structural integrity, minimizing the risk of displacement and preserving the longevity of the turf. By investing in meticulous edge securing, you can enjoy a well-defined and enduring artificial grass feature that complements the surrounding outdoor environment.
Step 5: Infill the Grass
Once the artificial grass is securely in place, the next step involves infilling the turf with a specialized material to enhance its stability, resilience, and aesthetic appeal. Infill serves multiple purposes, including supporting the grass fibers, maintaining proper drainage, and mitigating the risk of compaction.
There are various infill options available, each offering unique benefits based on specific project requirements and intended use. Common infill materials include silica sand, rubber granules, and organic infills, with each type contributing to the performance and visual characteristics of the artificial grass.
When infilling the artificial grass, distribute the infill material evenly across the turf using a drop spreader or a powered brush with infill distribution capabilities. Pay close attention to achieving consistent coverage, ensuring that the infill penetrates the grass fibers and reaches the underlying backing for comprehensive support.
After the infill material is applied, utilize a power broom or a stiff bristle brush to groom the artificial grass, working the infill into the fibers and promoting an upright and uniform appearance. This grooming process helps to evenly distribute the infill, minimize compaction, and enhance the turf’s visual lushness.
For pet-friendly artificial grass installations, consider using specialized antimicrobial infills designed to neutralize odors and maintain a hygienic surface. These infill options provide added peace of mind for pet owners, ensuring a clean and comfortable outdoor environment for pets and their human companions.
By carefully infilling the artificial grass with the appropriate material and method, you optimize the turf’s performance, durability, and aesthetic appeal, resulting in a resilient and visually captivating landscape feature that enriches outdoor living spaces.
Conclusion
Embarking on the journey of laying artificial grass on soil involves a meticulous process that encompasses soil preparation, weed barrier installation, turf placement, edge securing, and infill application. Each step contributes to the creation of a durable, visually appealing, and low-maintenance landscape feature that enhances outdoor environments with year-round beauty.
By meticulously preparing the soil, addressing drainage considerations, and optimizing the soil’s texture, you establish a solid foundation for the artificial grass, setting the stage for long-term resilience and optimal growth. The installation of a high-quality weed barrier serves as a crucial defense against unwanted vegetation, ensuring that the artificial grass remains pristine and free from invasive weeds.
Laying the artificial grass with precision, attention to detail, and seamless seam integration results in a visually stunning and naturalistic surface that emulates the beauty of natural grass while offering the practical advantages of synthetic turf. Carefully securing the edges of the turf and infilling the grass with the appropriate material further enhance the installation’s stability, longevity, and aesthetic appeal.
Whether transforming a residential lawn, creating a vibrant play area, or enhancing a commercial landscape, the process of laying artificial grass on soil requires a harmonious blend of artistry and technical expertise. By following the comprehensive steps outlined in this guide, homeowners, landscapers, and outdoor enthusiasts can embark on this endeavor with confidence, unlocking the potential to elevate outdoor spaces with enduring beauty and functionality.
Ultimately, the art of laying artificial grass on soil transcends mere installation; it is a transformative journey that enriches outdoor living environments, providing a lush, resilient, and visually captivating landscape feature that beckons individuals to embrace the splendor of nature in a maintenance-friendly and sustainable manner.