Home>Garden Design>Landscape Design>How To Lay Landscaping Block
Landscape Design
How To Lay Landscaping Block
Modified: January 22, 2024
Learn how to lay landscaping blocks and enhance your outdoor space with professional landscape design techniques. Transform your yard into a beautiful oasis with our step-by-step guide.
(Many of the links in this article redirect to a specific reviewed product. Your purchase of these products through affiliate links helps to generate commission for Chicagolandgardening.com, at no extra cost. Learn more)
Table of Contents
Introduction
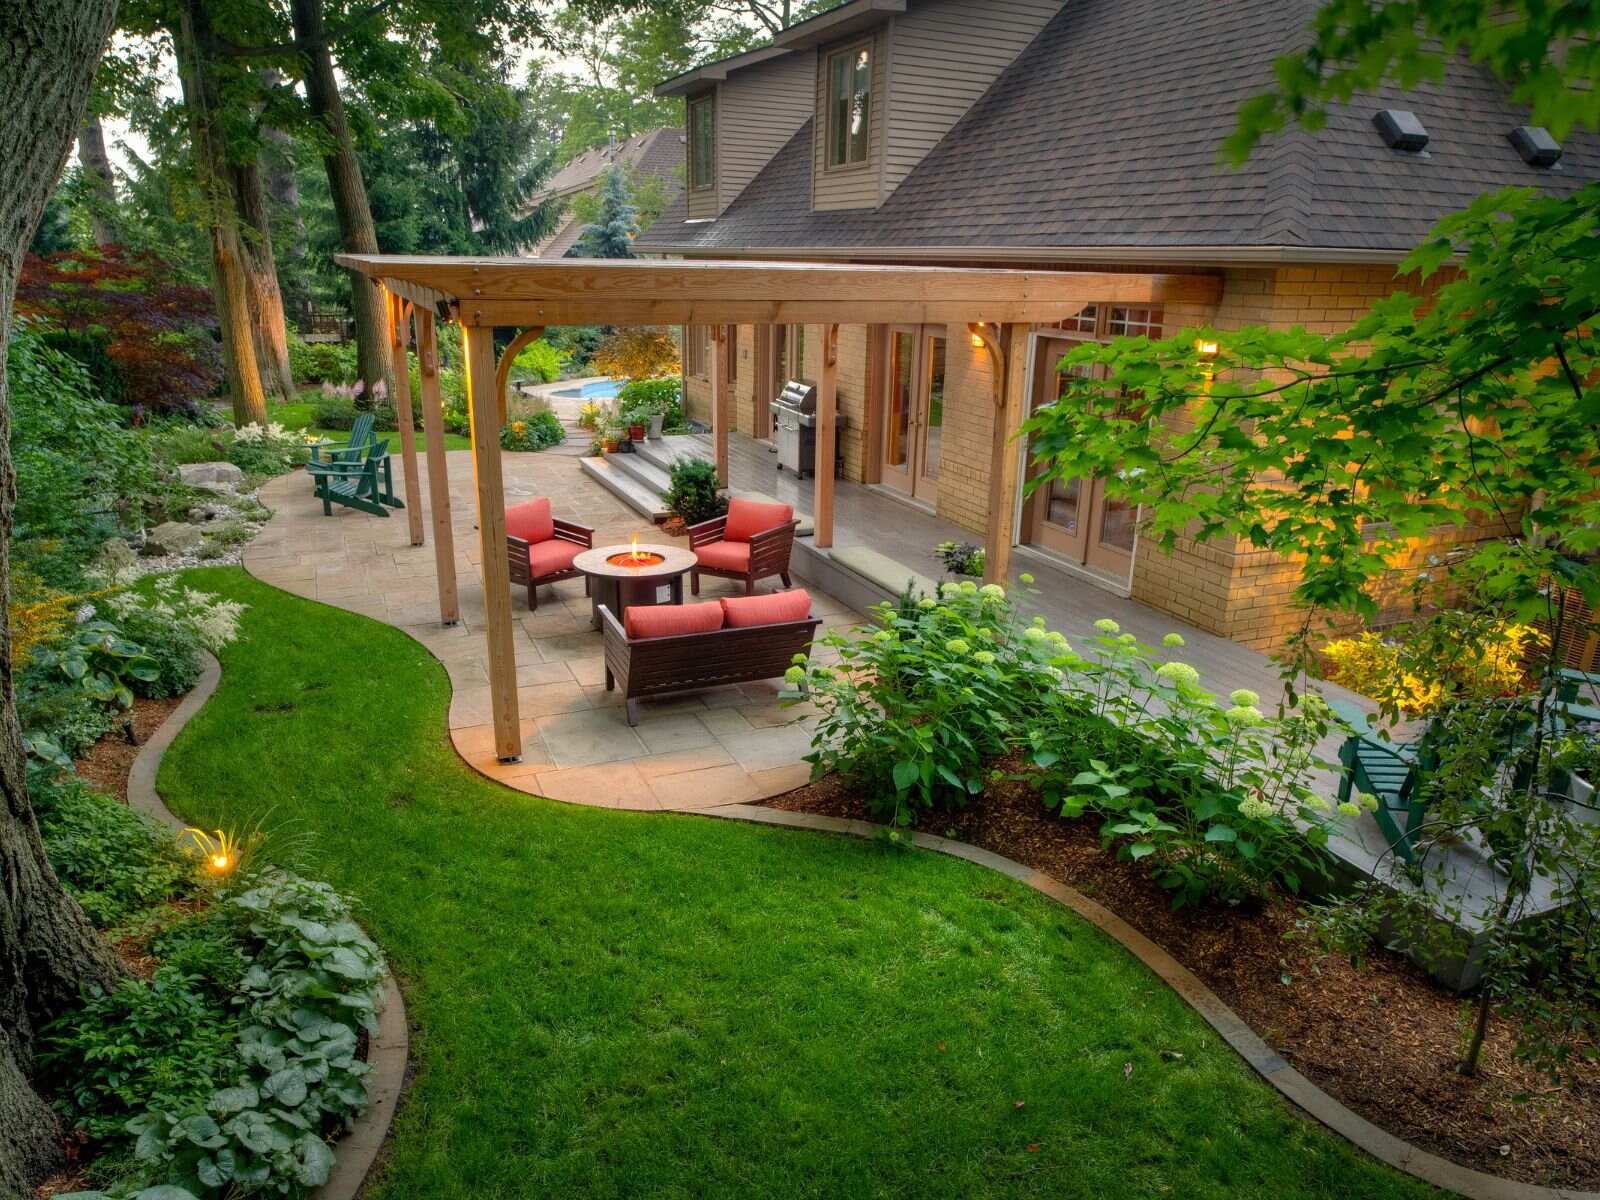
Welcome to the world of landscape design! Whether you have a sprawling backyard or a small garden, the way you design and arrange the outdoor space can have a profound impact on its aesthetic appeal and functionality. One of the elements that can elevate your landscape is the use of landscaping blocks. These versatile blocks can be used to create pathways, borders, retaining walls, and other design features, adding structure and definition to your outdoor space.
If you’re a DIY enthusiast looking to enhance your landscape, this article will guide you through the process of laying landscaping blocks. We’ll provide step-by-step instructions, tips, and tricks to help you achieve professional-looking results. From planning and preparation to the finishing touches, we’ve got you covered.
Before we dive into the details, it’s important to note that the specific steps and requirements may vary depending on the type of landscaping blocks you’re using and the intended purpose of your project. Always refer to the manufacturer’s instructions and consult with professionals if needed.
Now, let’s get started on transforming your outdoor space into a stunning landscape!
Step 1: Planning and Preparation
Before you begin laying landscaping blocks, it’s essential to invest time and effort into proper planning and preparation. This step sets the foundation for a successful and visually appealing project. Here’s what you need to do:
- Assess your space: Start by evaluating your outdoor space and determining how you want to use the landscaping blocks. Are you creating a pathway, a retaining wall, or a decorative border? Consider the purpose, size, and shape of the area you’ll be working with.
- Sketch out your design: Grab a pencil and paper and create a rough sketch of your desired layout. This will help you visualize the end result and make any necessary adjustments before getting started.
- Measure and calculate: Take accurate measurements of the area where you’ll be installing the landscaping blocks. This will help you determine the quantity of blocks needed, as well as any additional materials such as base gravel and sand.
- Choose your landscaping blocks: Select the type, size, and color of the landscaping blocks that best suit your design and personal preferences. Consider factors such as the style of your home, the surrounding landscape, and the overall aesthetic you wish to achieve.
- Gather your tools and materials: Make a list of the tools and materials you’ll need for the project. This may include a shovel, tape measure, level, rubber mallet, safety glasses, base gravel, sand, and landscaping fabric. Gather everything beforehand to ensure a smooth workflow.
By investing time in the planning and preparation phase, you’ll have a clear vision of your project and be prepared with all the necessary tools and materials. This will save you time and prevent any potential issues down the line. Once you’re ready, it’s time to move on to the next step: marking the area.
Step 2: Marking the Area
Now that you have completed the planning and preparation stage, it’s time to mark the area where you’ll be installing the landscaping blocks. Properly marking the area ensures accuracy and helps guide you during the installation process. Follow these steps:
- Use stakes and string: Start by placing stakes at the corners of your intended project area. Then, tie a string tightly between the stakes to create a straight and level line. This will serve as a guide for the edges of your landscaping block installation.
- Create straight lines: To create straight lines within your project area, use a string or chalk to mark where the edges of the landscaping blocks will be placed. This will help you maintain a neat and organized design.
- Mark the layout: Use the sketch or plan you created during the planning stage to mark the specific layout and pattern of your landscaping blocks. This can be done with chalk or by placing additional stakes at key points.
- Double-check the measurements: Before proceeding, double-check that your marked lines and layout are accurate. This will ensure that your landscaping blocks are properly aligned and spaced.
Marking the area is a crucial step in the process as it helps you visualize the final layout, adjust any measurements if needed, and maintain straight lines and clean edges. Once you’re satisfied with the marking, you’re ready to move on to the excavation stage.
Step 3: Excavating the Site
With the area marked, it’s time to prepare the site by excavating the designated area. Excavating ensures a level and stable foundation for your landscaping blocks. Follow these steps:
- Clear the area: Start by removing any existing vegetation, plants, or debris from the marked area. This includes grass, rocks, or roots that may interfere with the installation process.
- Dig the trench: Use a shovel or a garden spade to dig a trench along the marked lines. The depth of the trench should be determined by the height of your landscaping blocks, plus an additional 2-4 inches for the base material.
- Check for level: Periodically check the level of the trench using a carpenter’s level or a string level. This will help ensure that the trench is level and even across the entire area.
- Remove excess soil: As you dig the trench, set aside the excess soil in a designated area. You will need some of this soil later for backfilling and filling gaps between landscaping blocks.
- Consider drainage: If your landscaping project requires proper drainage, such as for a retaining wall, incorporate a slight slope into the trench to allow for water runoff. This will prevent water buildup behind the wall and potential damage.
Excavating the site is a crucial step as it ensures a solid foundation for your landscaping blocks. Take your time to double-check the trench’s levelness and consider any necessary adjustments to accommodate drainage needs. Once the site has been excavated, you’re ready to move on to the next step: leveling the ground.
Step 4: Leveling the Ground
After excavating the site, the next step in laying landscaping blocks is to ensure that the ground is level and even. This will provide a sturdy base for your blocks and help maintain the integrity of your project. Follow these steps to level the ground:
- Compact the soil: Use a hand tamper or a plate compactor to compact the soil at the bottom of the trench. This will create a stable surface and prevent future settling.
- Add a layer of base material: Place a layer of base material, such as crushed gravel or compactible gravel, on top of the compacted soil. This will help with drainage and provide additional stability.
- Spread the base material: Use a rake or a shovel to evenly distribute the base material within the trench. Aim for a thickness of about 2-4 inches, depending on the height of your landscaping blocks.
- Compact the base material: Once the base material is spread, use a plate compactor to compact it. This will further stabilize the ground and create a solid foundation for your landscaping blocks.
- Check for levelness: Use a level to ensure that the base material is level and even across the entire area. Adjust as needed by adding or removing base material.
Leveling the ground is crucial to ensure that your landscaping blocks are properly aligned and stable. Take your time to compact the soil and base material thoroughly, as this will prevent future settling or shifting of the blocks. Once the ground is leveled, it’s time to move on to the next step: installing the base.
Step 5: Installing the Base
With the ground leveled, it’s time to install the base for your landscaping blocks. The base provides additional stability and helps prevent shifting and settling over time. Follow these steps to install the base:
- Place landscaping fabric: Start by placing landscaping fabric over the compacted base material. This will help prevent weed growth and ensure proper drainage.
- Add a layer of sand: Spread a layer of sharp sand or paver base sand over the landscaping fabric. Aim for a thickness of about 1 inch, ensuring an even distribution across the entire area.
- Level the sand: Use a screed board, a long straight board, to smooth and level the sand. This will create a uniform and even surface for your landscaping blocks.
- Check for levelness: Use a level to ensure that the sand base is level and even. Make any necessary adjustments by adding or removing sand.
- Tamp and compact the sand: Use a hand tamper or a plate compactor to tamp and compact the sand. This will increase its stability and provide a solid base for your landscaping blocks.
Installing the base is a crucial step in ensuring the longevity and stability of your landscaping project. The landscaping fabric helps prevent weed growth, while the sand base helps distribute the weight of the blocks evenly. Take your time to level the sand and compact it thoroughly, as this will ensure that your blocks are properly supported. Once the base is installed, you’re ready to move on to the next step: laying the landscaping blocks.
Step 6: Laying the Landscaping Blocks
Now that you have completed the preparation work, it’s time to start laying the landscaping blocks. This step brings your project to life as you see your design take shape. Follow these steps to properly lay the landscaping blocks:
- Start at a corner: Begin at a corner of the marked area and place the first landscaping block. Make sure it is snug against the edge of the trench and level with the surrounding ground.
- Check for levelness: Use a level to ensure that the first block is level both from side to side and front to back. Adjust the block’s position as necessary by adding or removing sand.
- Continue with the next blocks: Place the subsequent landscaping blocks next to each other, ensuring a tight fit. Use a rubber mallet to gently tap the blocks into place if needed.
- Check for levelness and alignment: Periodically check the levelness and alignment of the blocks as you progress. This will ensure a uniform and visually appealing result.
- Consider different patterns: Depending on your design, you may need to alternate block patterns, such as a running bond or a herringbone pattern. Follow the intended pattern to achieve the desired look.
- Make necessary cuts: If you encounter any obstacles, such as plants or structures, you may need to cut the landscaping blocks to fit. Use a masonry saw or a chisel to carefully cut the blocks to the desired size.
Laying the landscaping blocks requires attention to detail and precision. Take your time to ensure that each block is level, aligned, and properly spaced. This will create a visually appealing and structurally sound result. Once all the blocks are laid, you’re ready to move on to the next step: securing the blocks.
Step 7: Securing the Blocks
Now that you have laid the landscaping blocks, it’s time to secure them in place to ensure their stability and longevity. Properly securing the blocks will prevent shifting or accidental dislodging. Follow these steps to secure the landscaping blocks:
- Backfill the gaps: Start by filling the gaps between the landscaping blocks with the soil you set aside during the excavation stage. This will provide additional support and stability to the blocks.
- Tamp down the backfilled soil: Use a hand tamper or the back of a shovel to tamp down the backfilled soil. This will further compact it and secure the blocks in place.
- Apply adhesive (optional): If desired or recommended by the manufacturer, apply a landscaping block adhesive to the top layer of the blocks. This will create a stronger bond between the blocks, especially for vertical installations or retaining walls.
- Recheck for levelness and alignment: Once the blocks are secured, recheck their levelness and alignment. Make any necessary adjustments by tapping the blocks gently with a rubber mallet.
- Allow for proper curing: If you have used adhesive, allow the blocks to cure for the recommended time before applying any additional stress or pressure to them.
Securing the blocks is crucial in providing long-lasting stability to your landscape design. Make sure to fill the gaps with soil and tamp it down to prevent any movement. Applying adhesive, if necessary, will further strengthen the bond between the blocks. Once you are satisfied with the secureness of the blocks, you can move on to the next step: filling the gaps.
Step 8: Filling the Gaps
After securing the landscaping blocks, it’s time to fill the gaps between them. Filling the gaps not only improves the overall appearance of your project but also helps prevent the growth of weeds and unwanted vegetation. Follow these steps to properly fill the gaps:
- Choose the right material: Select an appropriate material for filling the gaps between the landscaping blocks. Common options include polymeric sand, regular sand, or gravel. Consider factors such as the desired look, stability, and ease of maintenance.
- Pour the material: Pour the chosen material carefully into the gaps between the blocks. Use a brush or broom to evenly distribute the material and ensure it fills the gaps completely.
- Compact the material: Use a hand tamper or the back of a shovel to compact the material lightly. This will help level the surface and improve the stability of the filling material.
- Clear off excess material: Once the gaps are filled and compacted, use a leaf blower or a stiff broom to clear off any excess material from the surface of the landscaping blocks. This will leave a clean and visually appealing finished look.
- Water the filled gaps (if using polymeric sand): If you have used polymeric sand, follow the manufacturer’s instructions to activate it. Typically, this involves lightly misting the filled gaps with water to initiate the curing process.
Filling the gaps between the landscaping blocks not only enhances the aesthetics of your project but also helps prevent weeds and maintain the structural integrity of the design. Choose the appropriate material, compact it, and remove any excess to achieve a clean and polished finish. If you have used polymeric sand, make sure to follow the proper activation method. With the gaps filled and the project nearing completion, it’s time for the final step: adding the finishing touches and cleanup.
Step 9: Finishing Touches and Cleanup
With the landscaping blocks in place and the gaps filled, it’s time to add the finishing touches to your project. These final steps will add the perfect polish to your landscape design. Follow these steps to complete the project:
- Inspect for any adjustments: Take a step back and inspect your project as a whole. Look for any blocks that may need adjusting or realignment. Use a rubber mallet to tap them gently into the correct position.
- Add decorative elements: Consider incorporating decorative elements to enhance the visual appeal of your landscape design. This may include adding mulch, gravel, or decorative plants around the landscaping blocks.
- Clean up the surrounding area: Remove any excess soil, debris, or construction materials from the surrounding area. Use a rake or a broom to ensure a clean and tidy space.
- Inspect for safety hazards: Double-check your project for any safety hazards, such as uneven or loose blocks. Make sure the area is safe for foot traffic and that the landscaping blocks are securely in place.
- Enjoy and maintain your project: Step back and admire your completed landscape design! Regularly maintain and clean your landscaping blocks to keep them in optimal condition and preserve the beauty of your outdoor space.
By adding the finishing touches and taking the time to clean up the area, you’ll ensure that your project is visually appealing, safe, and inviting. Now it’s time to sit back, relax, and enjoy the fruits of your hard work in your transformed landscape.
Conclusion
Congratulations! By following these step-by-step instructions, you have successfully learned how to lay landscaping blocks and create a stunning landscape design. From the initial planning and preparation to the finishing touches and cleanup, each step plays a vital role in ensuring a professional-looking and long-lasting project.
Remember to customize these steps based on your specific project needs and the type of landscaping blocks you are using. Consider consulting with professionals and referring to manufacturer guidelines for more detailed instructions and recommendations.
With your newly laid landscaping blocks, you have transformed your outdoor space into a beautiful and functional area. The pathways, borders, retaining walls, and other design features you have created will add structure, definition, and lasting beauty to your landscape. With proper maintenance, your landscape design will continue to impress for years to come.
Now, it’s time to step back and admire your hard work. Take a moment to appreciate the beauty and functionality of your new landscape. Whether you’re relaxing in your garden or hosting a gathering, your landscaping blocks will surely be a centerpiece that draws attention and enhances the overall ambiance of your outdoor space.
So go ahead, embrace your creativity, and let your landscaping blocks take your landscape design to the next level!