Home>Garden Design>Landscape Design>How To Edge Landscaping

Landscape Design
How To Edge Landscaping
Modified: January 22, 2024
Learn how to edge your landscaping with expert landscape design tips. Enhance the beauty of your outdoor space with proper edging techniques.
(Many of the links in this article redirect to a specific reviewed product. Your purchase of these products through affiliate links helps to generate commission for Chicagolandgardening.com, at no extra cost. Learn more)
Table of Contents
Introduction
Welcome to the world of landscape design! Whether you have a sprawling backyard or a small patch of green, creating clean and defined edges can drastically transform your outdoor space. Edging is more than just a decorative addition to your landscaping; it plays a crucial role in maintaining the overall health and appearance of your garden.
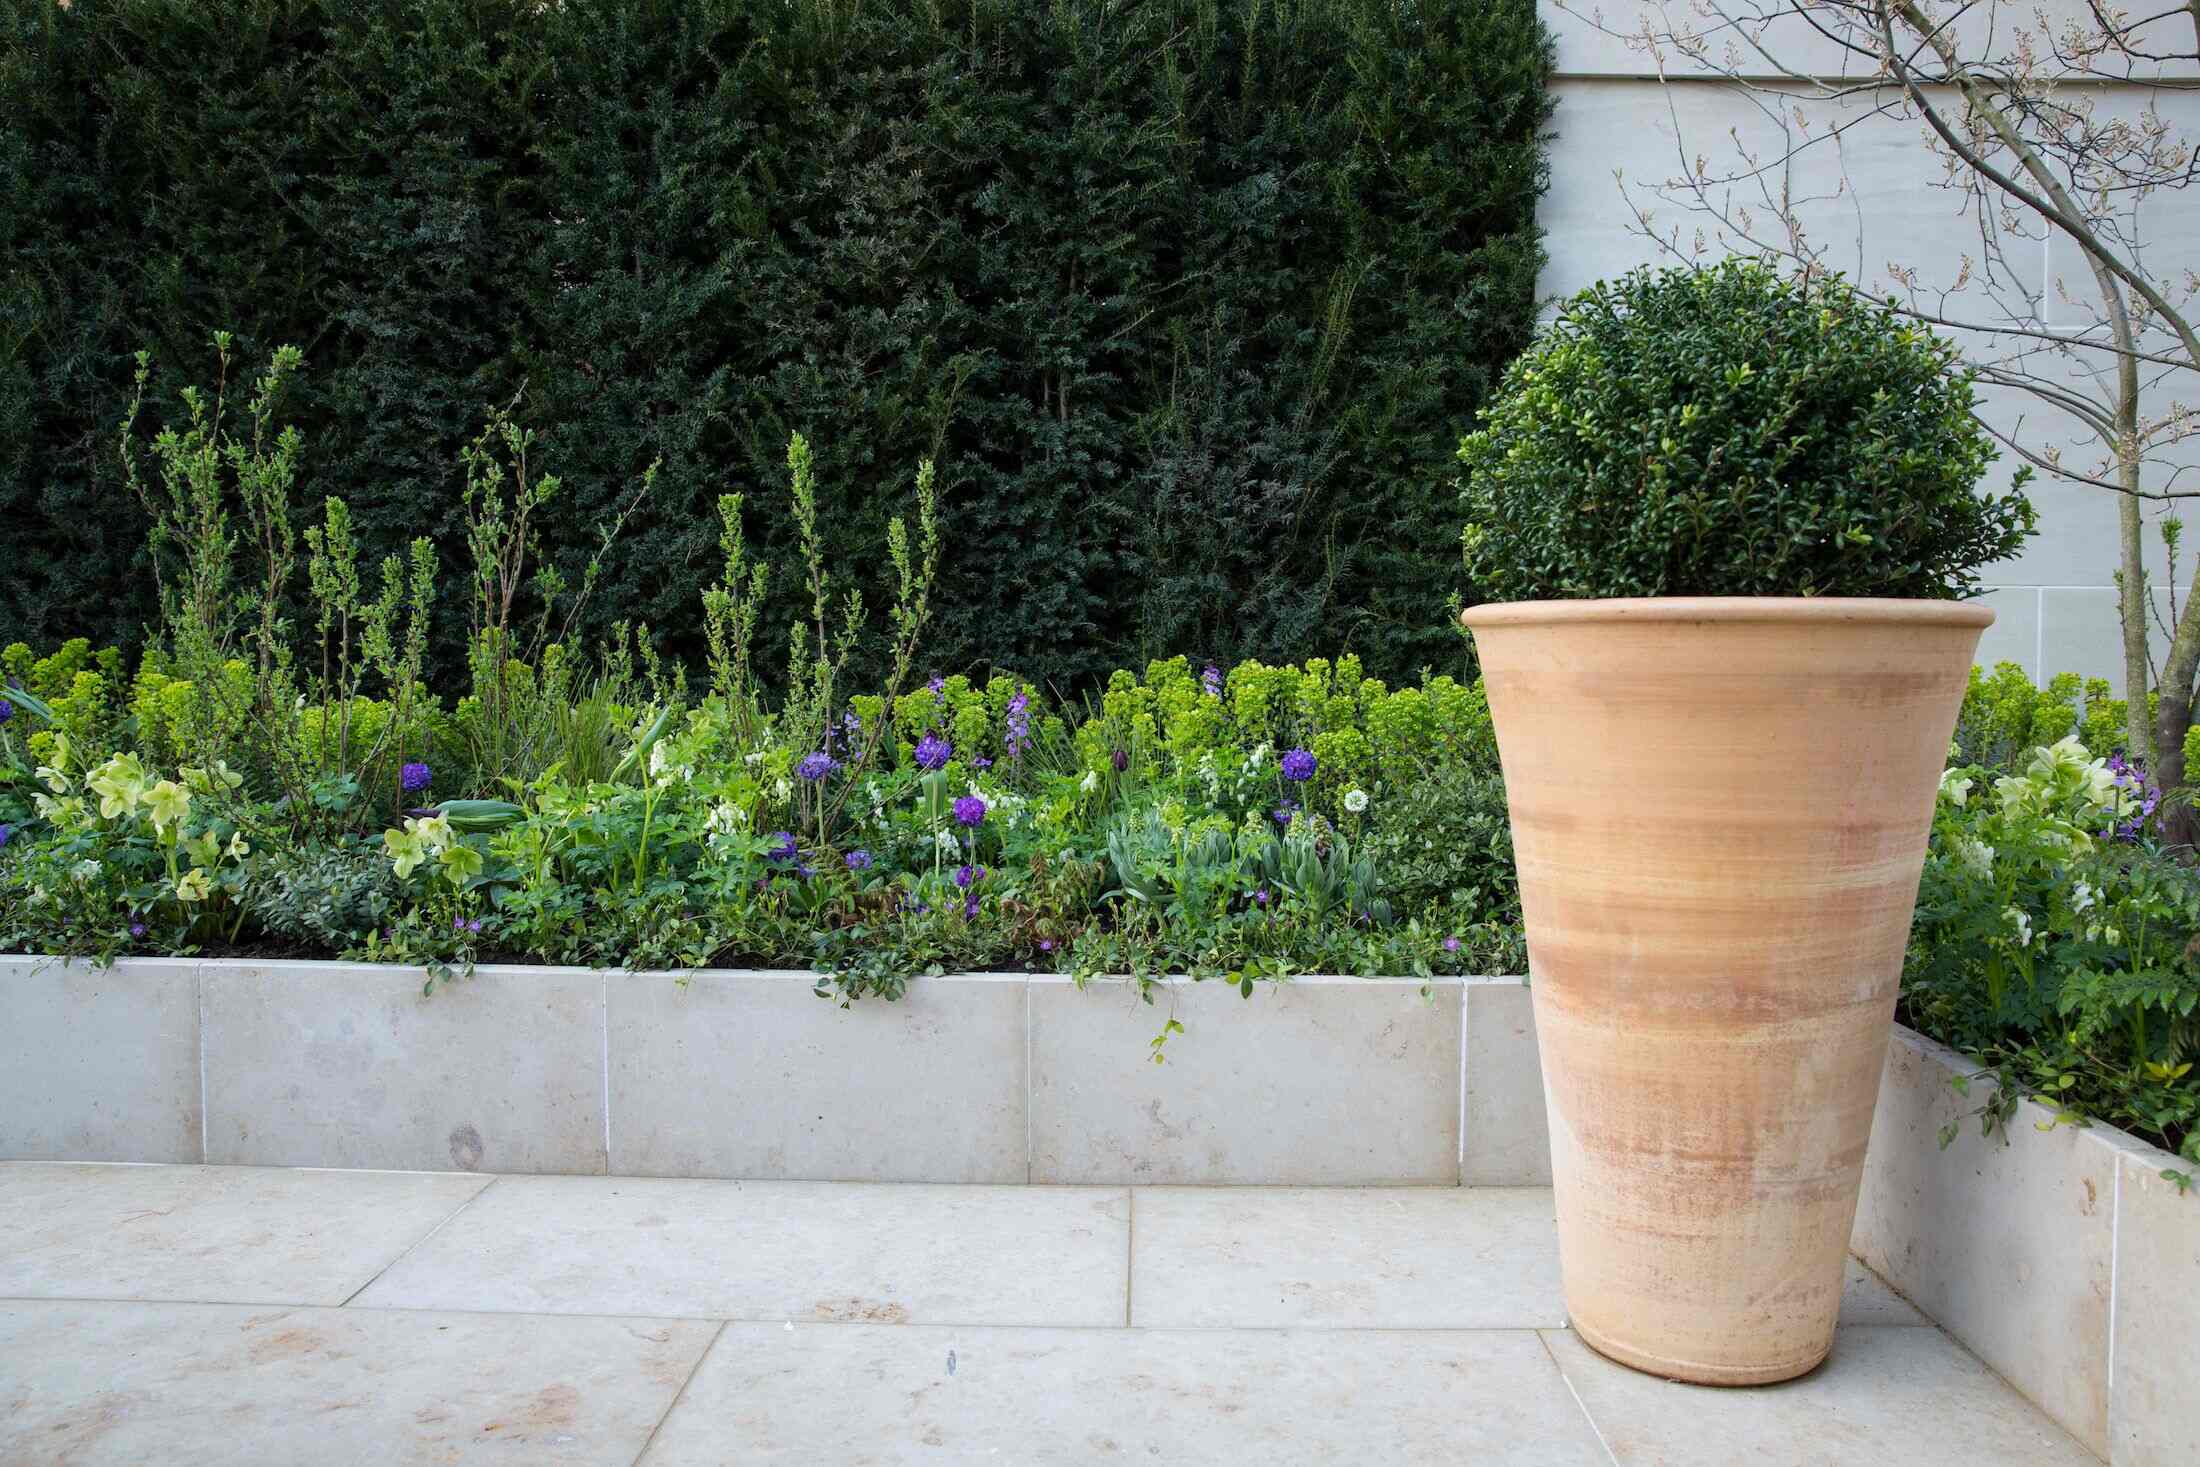
By creating clear boundaries between different areas, landscaping edges help prevent the spread of grass and weeds, contain mulch or decorative stones, and establish a sense of order and structure. Edging not only enhances the aesthetic appeal of your garden but also serves practical purposes, such as preventing erosion and providing a barrier for containing roots.
In this article, we will guide you through the process of edging your landscaping, from choosing the right tools to maintaining the edge once it’s created. Whether you’re a seasoned landscaper or a beginner, this comprehensive guide will equip you with the knowledge and techniques necessary to achieve professional-looking edges in your outdoor space.
Choosing the Right Tools
Before embarking on any landscaping project, it’s essential to have the right tools at your disposal. This applies to the process of edging as well. The choice of tools can make a significant difference in the efficiency and quality of your work. Here are some key tools to consider:
- String Lines: String lines are essential for creating straight and even edges. They help guide your edging tool and maintain consistency throughout the process. Make sure to choose a durable string line that can withstand tension and won’t easily break.
- Edging Tools: There are various types of edging tools available, including manual or powered edgers, spades, and trenching tools. Consider the size and type of your project when selecting the right tool. Manual edgers are suitable for small-scale projects, while powered edgers are more efficient for larger areas.
- Shovels: A good shovel is a versatile tool that can be used for various landscaping tasks, including edging. Look for a sturdy shovel with a sharp edge that can cut through turf and soil effortlessly.
- Gloves: Protect your hands with a pair of durable gardening gloves. They will provide grip and prevent blisters and injuries while working with tools or handling materials.
- Safety Goggles: Your safety is of utmost importance during any landscaping project. Invest in a pair of safety goggles to protect your eyes from flying debris and particles while edging.
- Weed Barrier Fabric: To prevent the growth of weeds and grass along the edges, consider using weed barrier fabric. This permeable material allows water and nutrients to reach the soil while blocking unwanted vegetation.
Investing in high-quality tools will not only make your edging process more efficient but also ensure long-term durability. Take the time to research different brands and read customer reviews to make an informed decision.
Preparing the Area
Before you can begin creating the perfect edge for your landscaping, it’s crucial to prepare the area properly. This preparation ensures a clean and smooth surface for edging. Follow these steps to properly prepare the area:
- Clean the Area: Remove any debris, rocks, or existing grass along the edges. This will provide a clear canvas for your new edging.
- Mark the Edging Line: Use string lines or stakes to mark the desired edge line. This will help you maintain a straight line and ensure consistency throughout the process.
- Remove Turf: If you have existing grass or vegetation along the edge line, use a shovel or edging tool to remove the turf. Dig a small trench along the marked line to create a defined separation between the garden beds and the rest of the lawn.
- Level the Ground: Once the turf has been removed, use a rake or leveling tool to even out the soil along the edge line. This will create a smooth and consistent surface for the edging material.
- Add Weed Barrier Fabric: To further prevent the growth of weeds and unwanted vegetation, lay down a layer of weed barrier fabric along the prepared edge. Trim the fabric to fit the shape of the edging line and secure it in place with landscape pins.
By properly preparing the area, you will ensure a solid foundation for your edging project. This step not only improves the overall aesthetics but also helps in the longevity of the edge by providing a clear boundary between different elements of your landscaping.
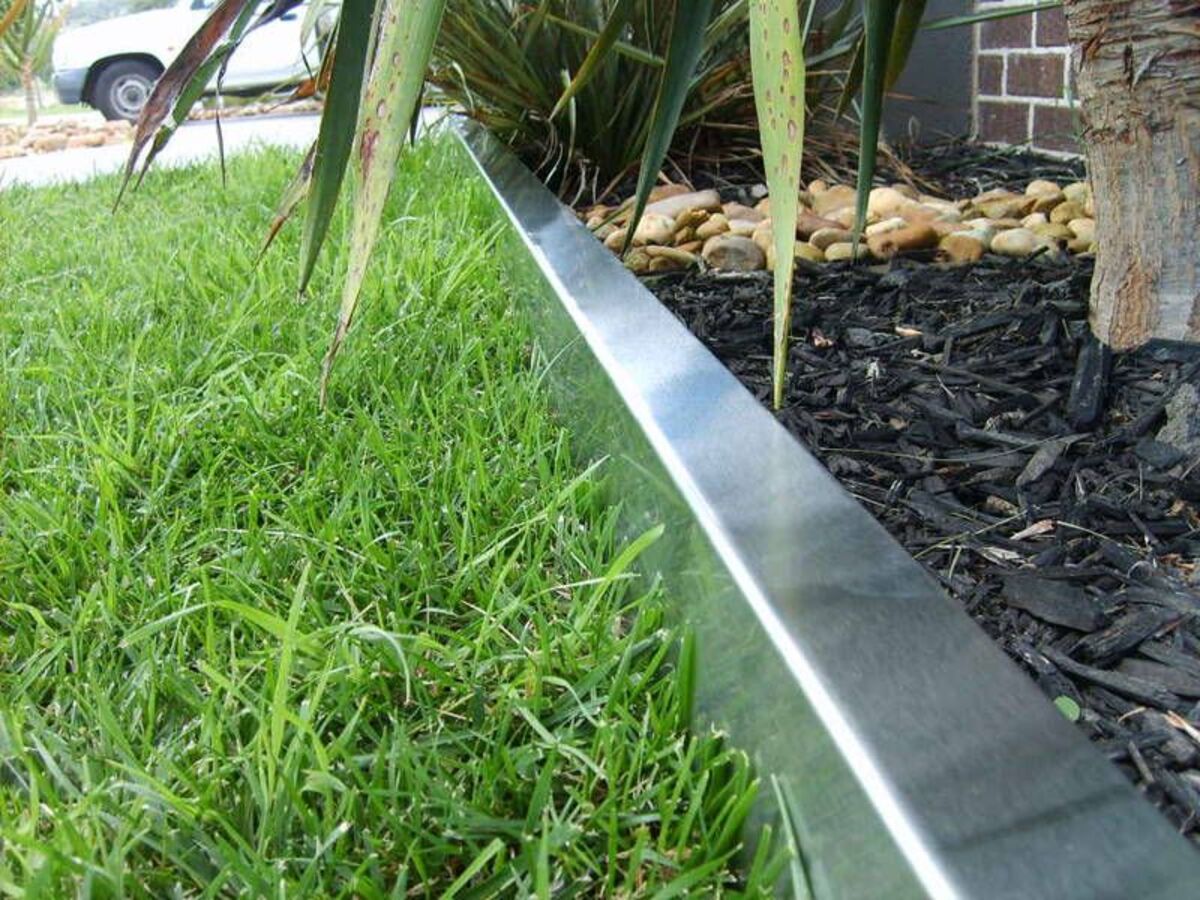
Creating the Edge
Now that you have prepared the area, it’s time to create the actual edge for your landscaping. The following steps will guide you through the process:
- Start Edging: Begin by positioning your chosen edging tool at the starting point of the marked line. Press the tool into the soil with firm but controlled pressure, making sure to follow the line consistently. If you’re using a manual edger, use your foot to step on the back of the blade to help penetrate the soil.
- Continue Edging: Slowly work your way along the edge line, creating a clean and defined separation between the garden bed and the surrounding area. Take your time and make deliberate, smooth movements with the edging tool to achieve the desired shape and depth.
- Check for Consistency: Periodically step back and assess the edge you’re creating. Ensure that the depth and shape are consistent throughout the entire length. You can use a level or straightedge to check if the edge is perfectly even.
- Remove Excess Soil: As you edge, you may encounter excess soil or debris. Use a shovel or a hand trowel to remove any loose soil and maintain a clean, defined edge.
- Smooth and Bevel the Edge (optional): For a more polished look, you can run a beveling tool or a hand tamper along the edge to create a smooth, rounded finish. This step is especially beneficial if you’re using pavers or bricks for edging.
Remember to work at a comfortable pace and take breaks if needed. Creating the perfect edge for your landscaping requires patience and attention to detail. Don’t rush the process, as the outcome will greatly depend on your precision and effort.
Maintaining the Edge
Once you have successfully created the edge for your landscaping, it’s important to maintain it in order to keep your outdoor space looking its best. Here are some key maintenance tips to follow:
- Regular Inspections: Periodically inspect the edge to check for any signs of damage, erosion, or overgrowth. Look for areas where the edge may have shifted or where grass or weeds are encroaching.
- Trimming and Pruning: If you notice any overgrown vegetation along the edge, trim or prune it to maintain a clean and defined border. Use shears or a trimmer to remove any grass blades or branches that are encroaching onto the edged area.
- Weeding: Stay vigilant about removing weeds that may try to take root along the edge of your landscaping. Regularly pull out any weeds that sprout up to keep the area tidy and prevent them from spreading.
- Reinforcing the Edge: Over time, the edge may become less defined or become susceptible to shifting. Reestablish the line by using your edging tool to refresh the edge, cutting back any encroaching grass or soil as necessary.
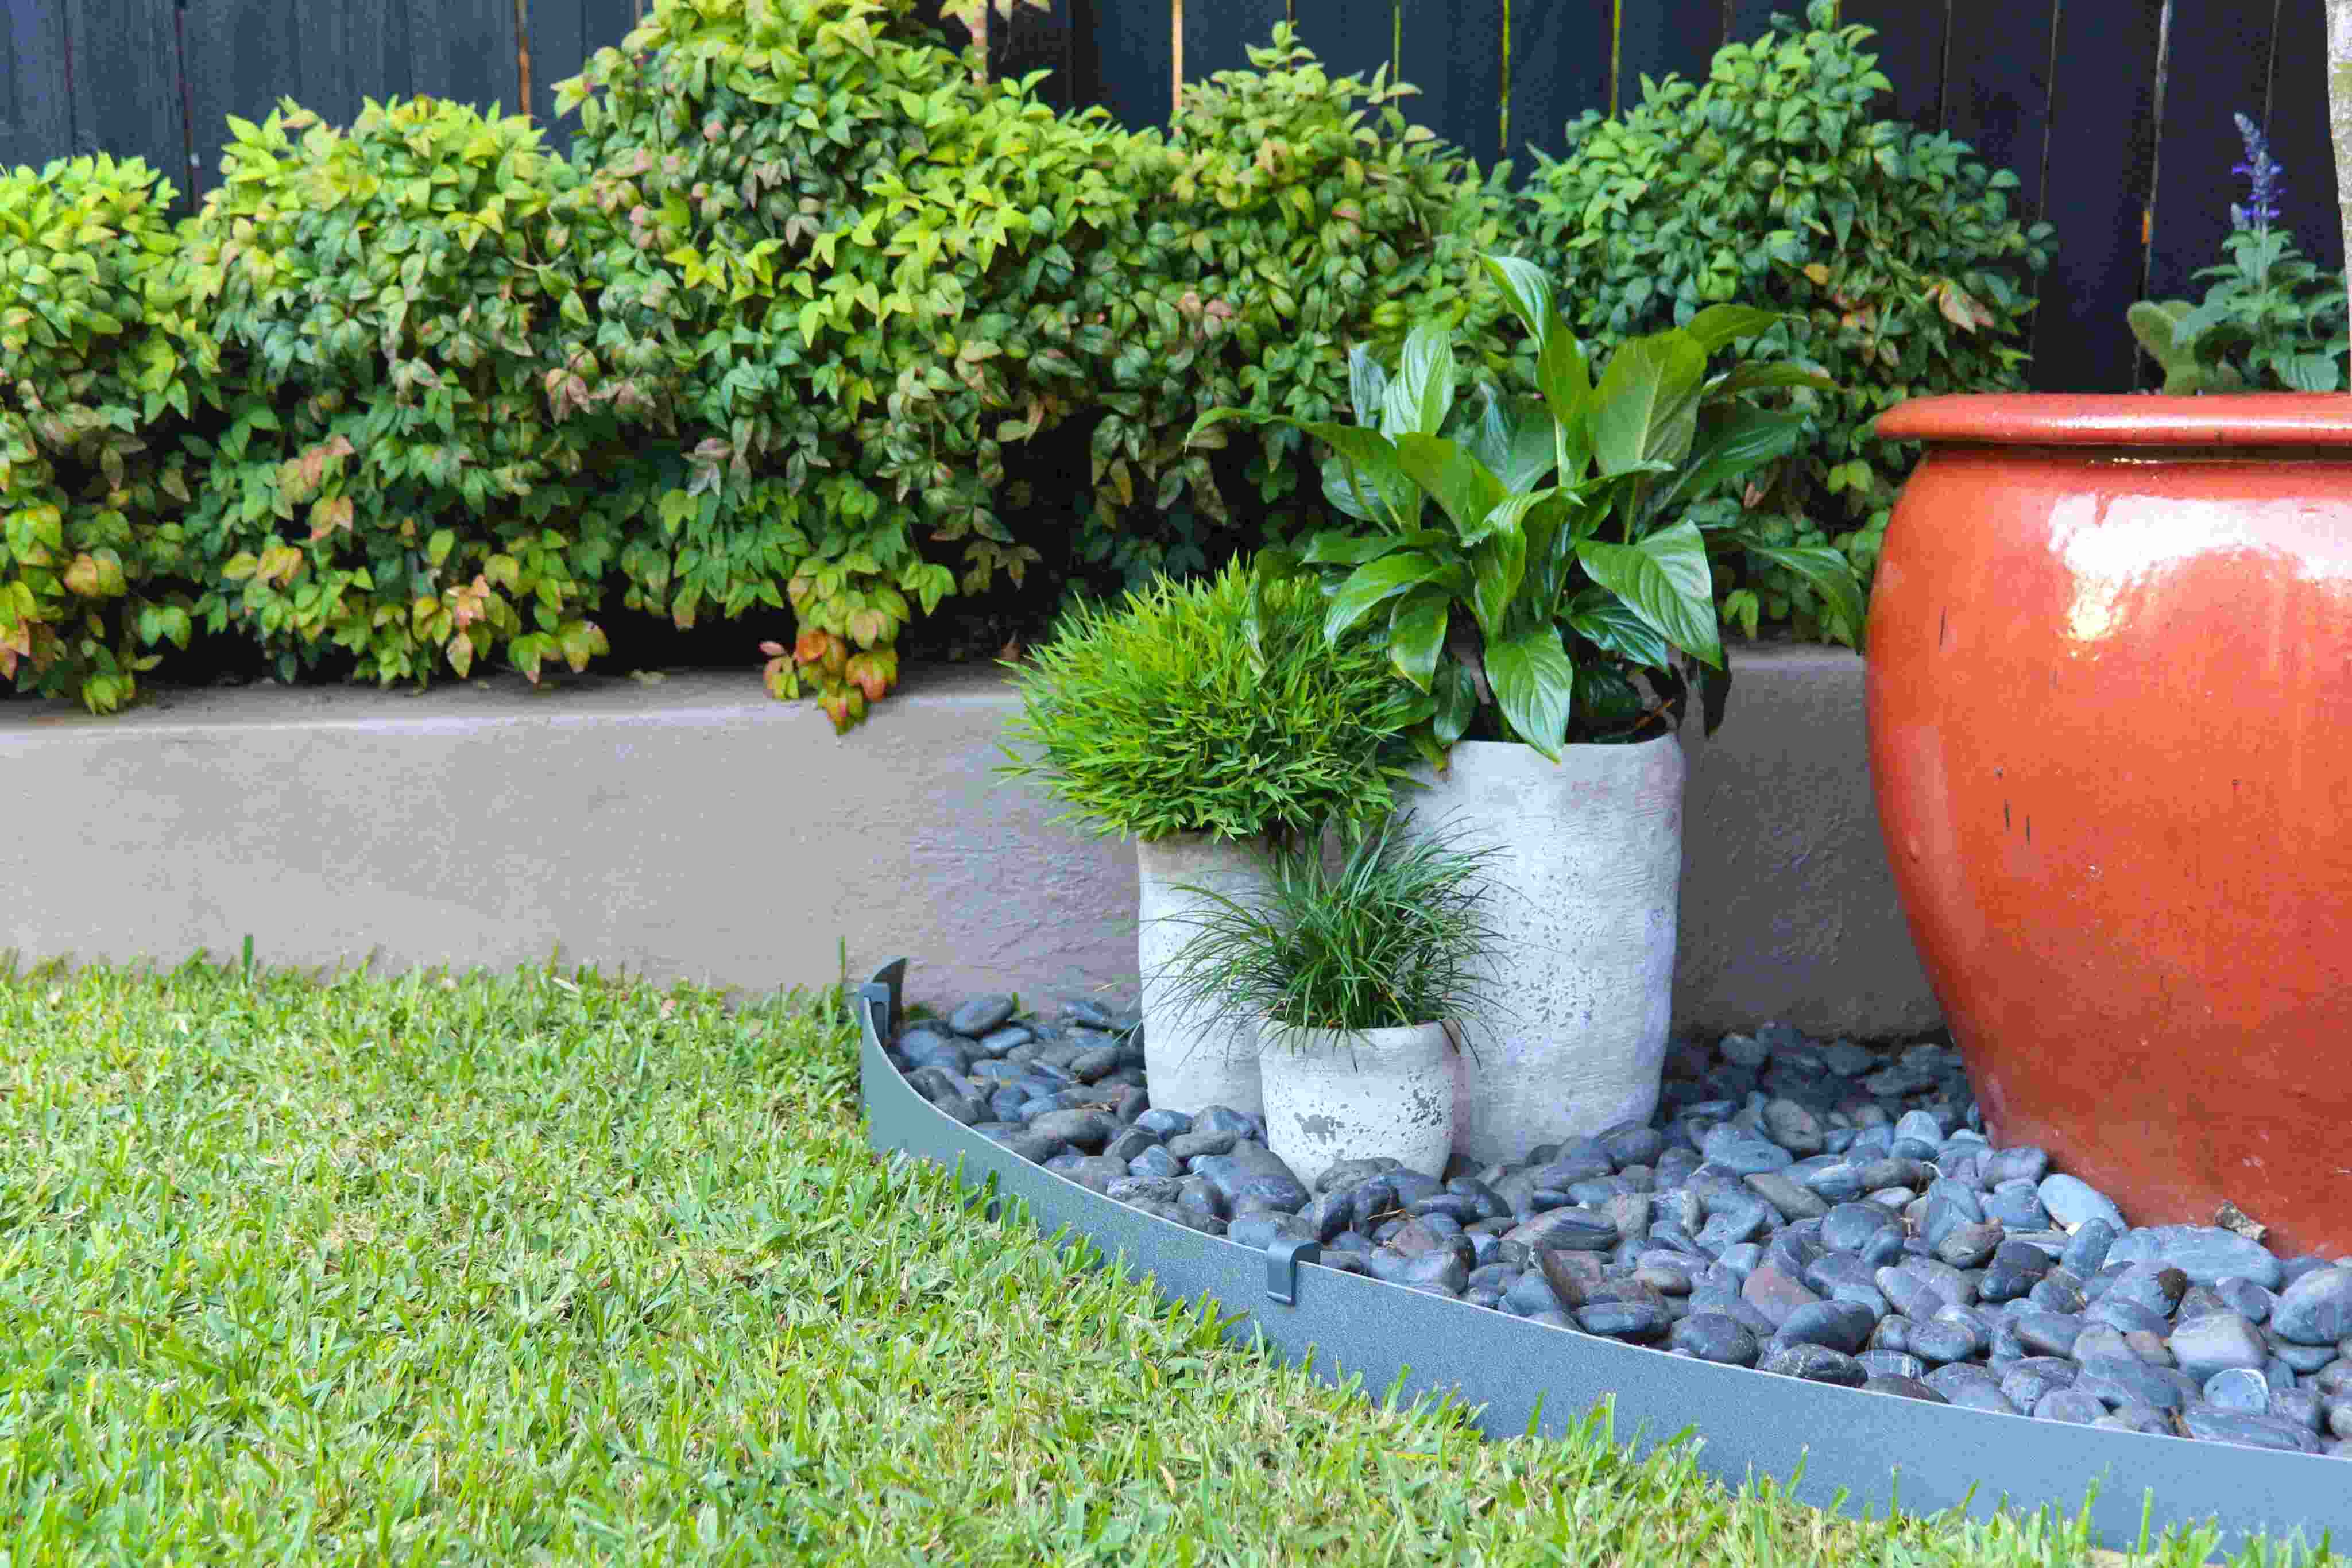
- Adding Mulch or Decorative Materials: If you’ve chosen to include mulch or decorative materials within the garden beds, ensure that they are properly contained within the edged area. Periodically top up the mulch to maintain a consistent level and refresh the appearance.
- Seasonal Maintenance: Different seasons may require specific maintenance tasks. For example, during the fall, you may need to remove leaves that accumulate along the edge, while in the winter, you may need to clear away snow or ice to keep the edge visible and accessible.
By consistently maintaining the edge, you will ensure that your landscaping remains visually appealing and well-defined. Regular upkeep will also prevent the edge from deteriorating or becoming obscured over time.
Conclusion
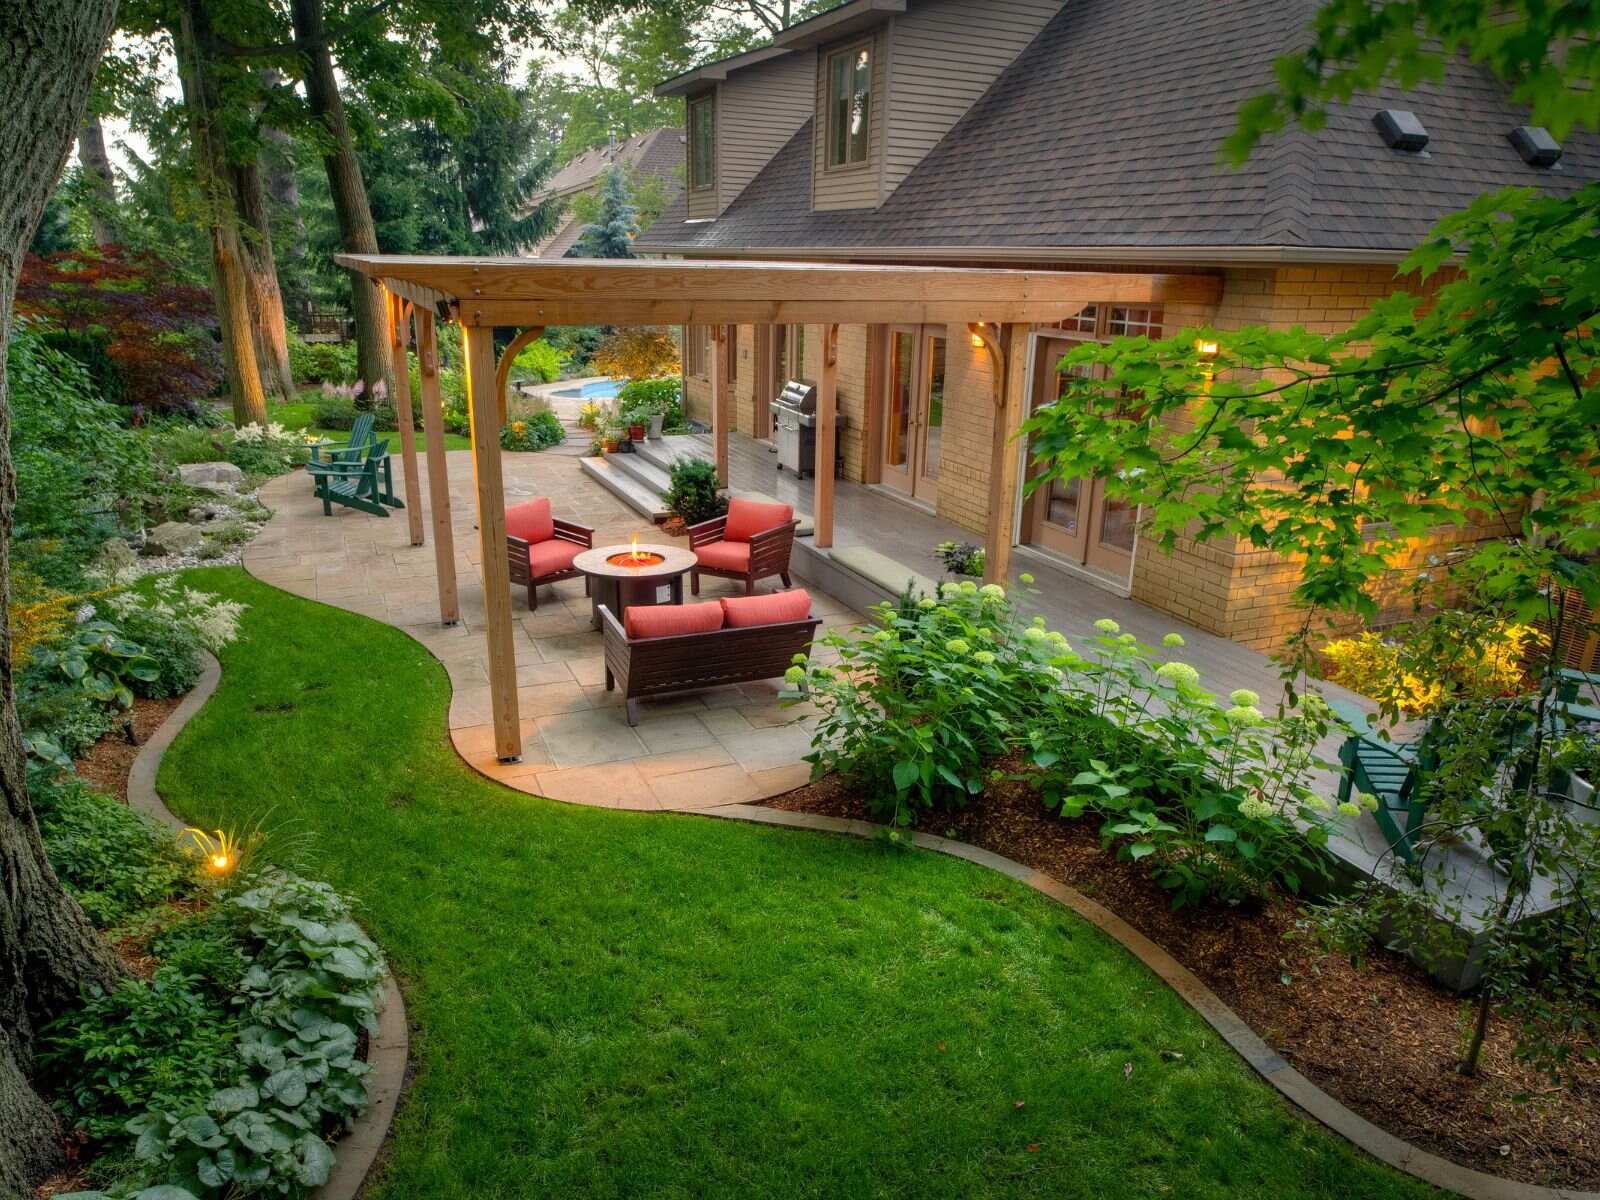
Creating and maintaining clean and defined edges in your landscaping is a fundamental aspect of landscape design. It not only enhances the aesthetic appeal of your outdoor space but also serves important practical purposes such as weed control and erosion prevention. By following the steps outlined in this article, you can achieve professional-looking edges that will transform your garden.
Choosing the right tools, preparing the area, and creating the edge with precision are all vital steps in the process. Investing in quality tools and taking the time to prepare the area properly will ensure a solid foundation for your edging project. Remember to take breaks, work at your own pace, and consistently assess the results to achieve the desired shape and depth.
Once the edge is created, regular maintenance is key to preserving its appearance and functionality. Keep an eye out for signs of damage or overgrowth, trim and prune as needed, and regularly remove weeds. Reinforce the edge if necessary to maintain its defined boundary. Additionally, consider seasonal maintenance tasks to keep the edge in top condition throughout the year.
By following these guidelines, you can take pride in a neatly edged landscape that will enhance the overall beauty and enjoyment of your outdoor living space. Whether you have a small garden or a sprawling estate, well-defined edges will add a touch of professionalism and sophistication to your landscaping design.
So, grab your tools, roll up your sleeves, and start creating the perfect edge for your landscape. Get ready to enjoy the satisfaction of a beautifully maintained garden that will be the envy of all your neighbors.