Home>Garden Design>Landscape Design>How To Install Landscaping Edging
Landscape Design
How To Install Landscaping Edging
Modified: January 22, 2024
Learn how to install landscaping edging in your garden to enhance your landscape design. Create defined borders with this step-by-step guide!
(Many of the links in this article redirect to a specific reviewed product. Your purchase of these products through affiliate links helps to generate commission for Chicagolandgardening.com, at no extra cost. Learn more)
Table of Contents
Introduction
Welcome to the wonderful world of landscape design! Whether you have a sprawling backyard or a small garden, adding landscape edging can transform the look and feel of your outdoor space. Not only does it provide a clean and polished look, but it also helps define separate areas and prevents unwanted grass or weeds from encroaching on your perfectly manicured flower beds or walkways.
In this article, we will guide you through the process of installing landscape edging step by step. From planning and measuring to securing the edging in place, we will cover all the necessary tools, materials, and techniques to achieve professional-looking results.
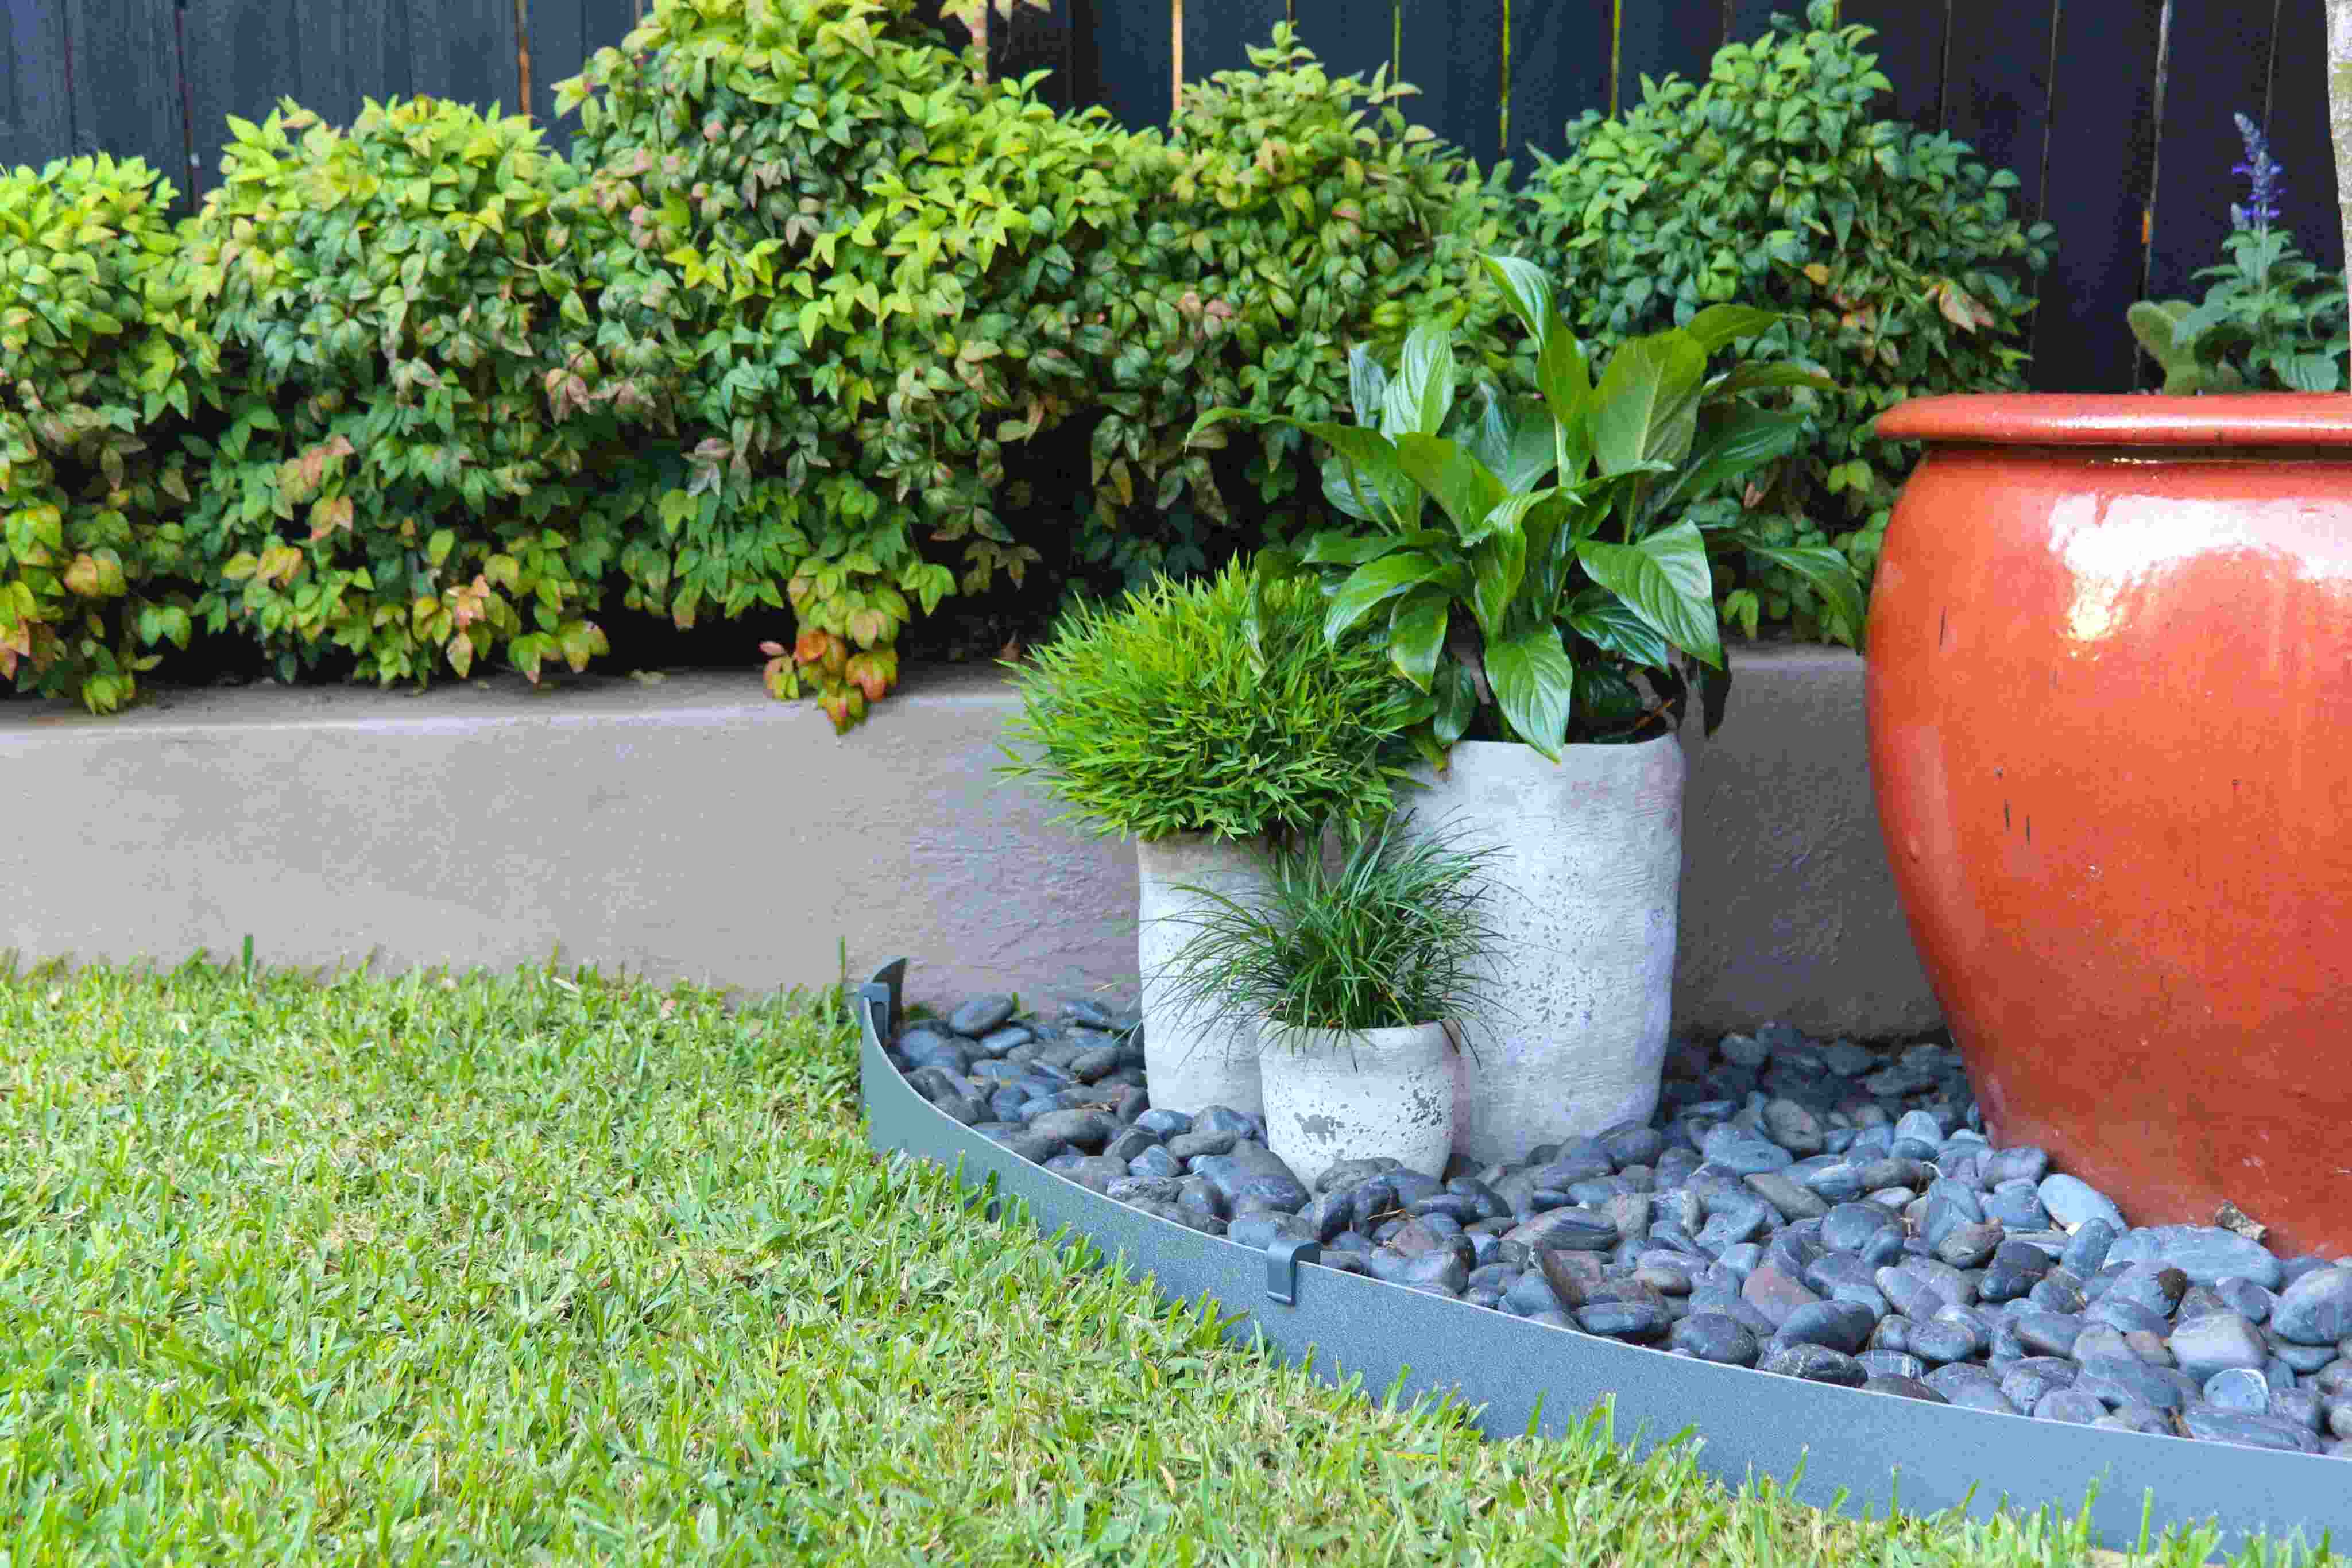
Before we dive into the practical aspects, let’s take a moment to appreciate the transformative power of landscape edging. It acts as a frame for your outdoor space, highlighting and accentuating the beautiful features of your landscape design. By creating distinct boundaries between different areas, such as flower beds, pathways, and lawns, landscape edging adds structure and visual appeal to your overall design.
Not only does landscape edging enhance the aesthetics of your outdoor space, but it also serves practical purposes. It helps with drainage by preventing water from seeping into unwanted areas and damaging plants or structures. Edging also makes maintenance easier by keeping mulch, gravel, or other materials in their designated areas, reducing the need for constant cleanup.
Whether you’re a seasoned landscaper or a DIY enthusiast looking to give your garden a facelift, installing landscape edging is a project that you can tackle with confidence. So, grab your tools and let’s get started on creating a beautiful and functional landscape design that will make your neighbors green with envy!
Tools and Materials Needed
Before you begin installing landscape edging, make sure you have the following essential tools and materials on hand:
- Garden spade or edging tool: This will be used to dig the trench for the edging.
- Tape measure or ruler: Accurate measurements are crucial for a professional-looking installation.
- String or garden hose: Use this to outline the shape of your edging and ensure a straight and consistent line.
- Stakes: These will be used to hold the string or garden hose in place.
- Level: This will help ensure that your edging is even and properly aligned.
- Landscaping fabric: This optional but recommended material helps prevent weed growth and keeps the soil separate from the edging.
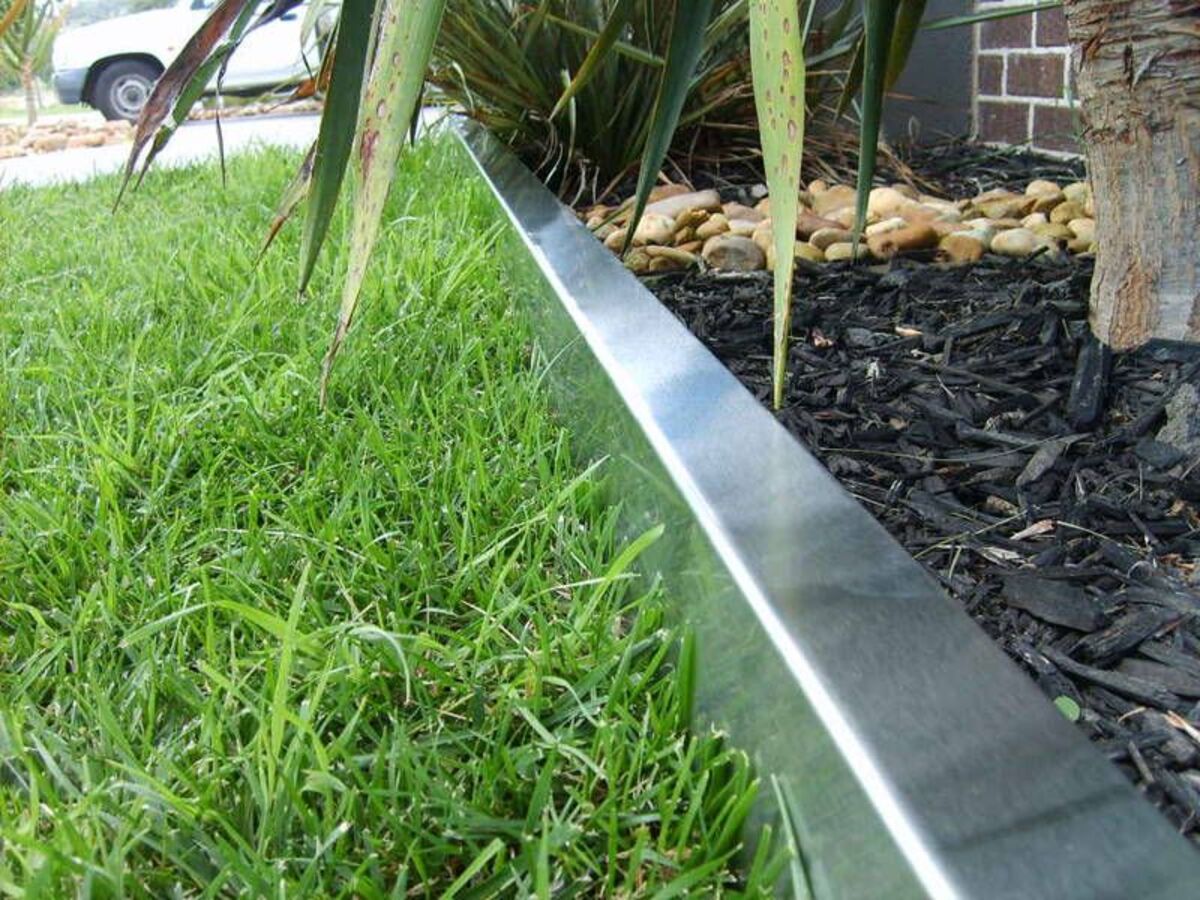
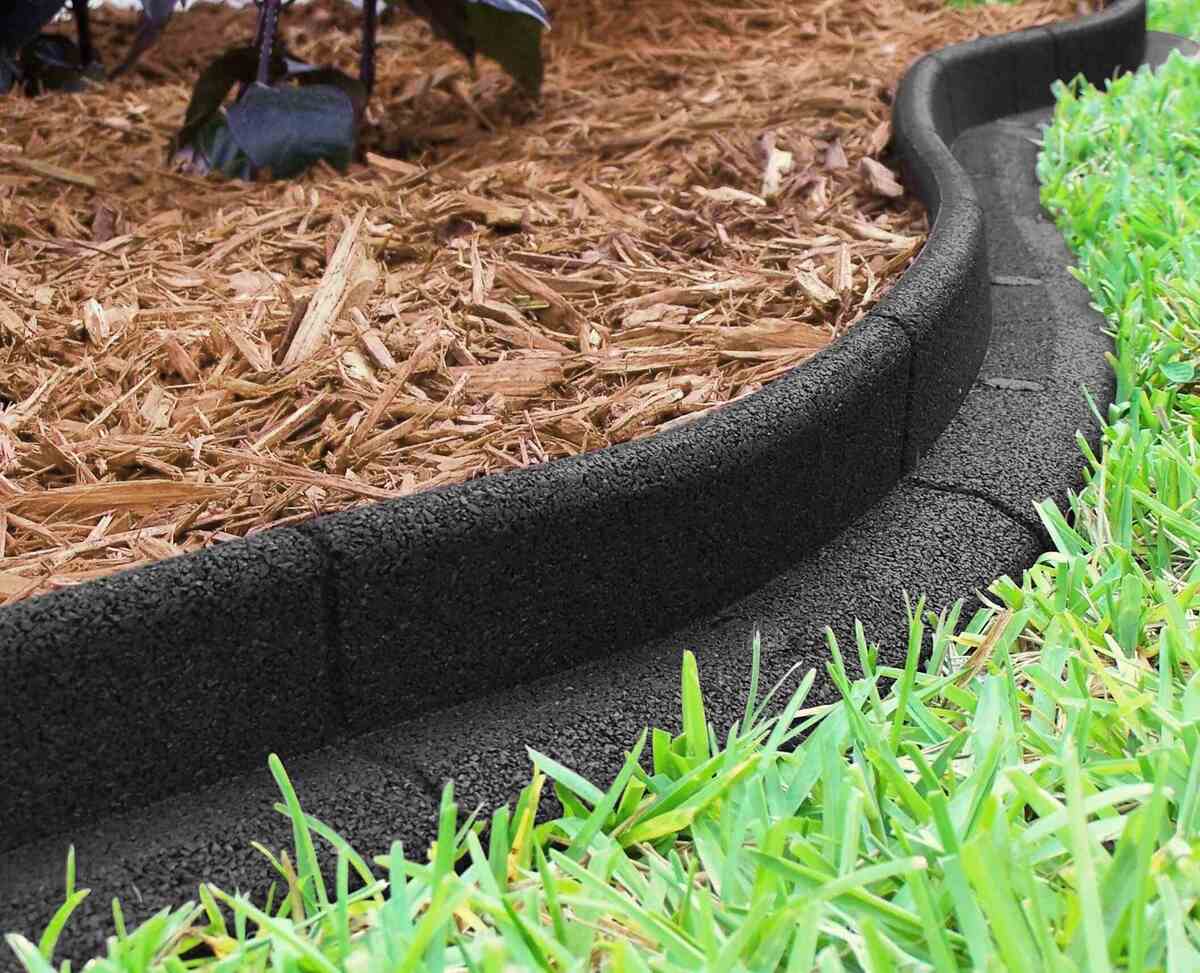
- Edging material: There are various options to choose from, such as metal, plastic, wood, or stone. Consider your design preferences, durability, and budget when selecting the material.
- Fasteners: Depending on the type of edging material chosen, you may need nails, screws, or stakes to secure it in place.
- Hammer or screwdriver: These tools will be required to fasten the edging to the ground or to each other.
- Wheelbarrow or garden cart: Useful for transporting materials, such as soil or gravel, to the installation area.
- Gloves and safety glasses: Protect your hands and eyes during the installation process.
Having these tools and materials readily available before starting the project will help streamline the installation process and ensure a successful outcome. It’s always a good idea to gather everything you need in advance, as it saves time and minimizes disruptions during the installation.
Now that you have all your tools and materials organized, it’s time to move on to the next step: planning and measuring your landscape edging. Remember, careful planning and precise measurements are the key to a professional-looking installation!
Step 1: Planning and Measuring
Before you start installing landscape edging, it’s crucial to plan and measure your project area. Taking the time to do this will ensure that you have the correct amount of materials and that your edging lines up perfectly with your desired design.
Here are the steps to follow for planning and measuring your landscape edging:
- Outline your desired edging shape: Start by visualizing the shape you want for your edging. You can use a string or garden hose to map out the edges, creating a clear boundary between the different areas of your landscape design. Be creative and consider the overall aesthetic you want to achieve.
- Measure the length: With the outline in place, use a tape measure or ruler to measure the length of each side of your edging. Add up these measurements to determine the total length of edging material you will need.
- Consider the depth: Determine how deep you want to install your edging. This will depend on the specific material you are using and the purpose of the edging. For example, if you are using plastic edging to separate a flower bed from the lawn, a depth of 4 to 6 inches may be sufficient.
- Calculate the quantity of edging material: Knowing the total length and desired depth of your edging, consult the packaging or product specifications to determine how much edging material you need. It’s always a good idea to purchase a little extra to account for any errors or unexpected adjustments.
- Consider additional materials: If you decide to use landscaping fabric, add the necessary quantity to your shopping list. You may also need additional fasteners, depending on the chosen edging material.
By carefully planning and measuring your landscape edging project, you will save time, money, and frustration. You will also have a clear vision of the final result, ensuring that your design meets your expectations. With the planning stage complete, you are now ready to prepare the installation area for your landscape edging.
Step 2: Preparing the Area
Once you have finished planning and measuring your landscape edging project, it’s time to prepare the installation area. Proper preparation ensures a smooth and successful installation, allowing your edging to stay in place and maintain its integrity for years to come.
Here are the steps to follow for preparing the area:
- Clear the area: Remove any existing plants, debris, or obstacles that may hinder the installation of your landscape edging. A clear and clean area will make it easier to dig the necessary trench and place the edging material.
- Mark the trench: Use your string or garden hose to mark the path of your edging. This will serve as a guide when digging the trench. Adjust the markers as needed to achieve the desired shape and alignment.
- Dig the trench: With your markers in place, use a garden spade or edging tool to dig the trench along the marked path. Dig to the depth determined in the planning stage, ensuring that the trench is wide enough to accommodate the width of your chosen edging material.
- Level the trench: Use a level to make sure the bottom of the trench is even and flat. This will help the edging sit properly and maintain a consistent height.
- Consider landscaping fabric: If you are using landscaping fabric, now is the time to lay it down inside the trench. This will help prevent weed growth and separation between the soil and edging material.
By properly preparing the area, you set a solid foundation for your landscape edging installation. Taking the time to clear the area, mark the trench, and ensure it’s level will significantly contribute to the overall stability and aesthetics of your project.
Now that the area is prepared, it’s time to move on to the exciting part – installing the landscape edging itself!
Step 3: Installing the Edging
With the area prepared, it’s time to move on to the installation of your landscape edging. This is where you will see your design take shape and begin to transform your outdoor space.
Follow these steps to install your edging:
- Start at a corner: Begin the installation at one corner of your designated edging area. This will serve as your starting point.
- Place the edging material: Carefully position your chosen edging material into the trench, ensuring it sits flush against the ground. If necessary, use a rubber mallet or a block of wood and a hammer to gently tap the edging into place.
- Align the edging: Use a level to ensure the edging is straight and properly aligned. Make any adjustments as necessary to achieve a uniform appearance.
- Connect multiple pieces: If you are using edging material that comes in separate pieces, connect them together according to the manufacturer’s instructions. This will ensure a seamless and cohesive look.
- Continue along the trench: Proceed along the trench, placing the edging material and connecting pieces until you reach the end of your designated edging area.
- Check for stability: Once the edging is installed, check its stability by gently pushing against it. Make any necessary adjustments to ensure it is securely in place.
It’s important to note that different edging materials may have specific installation requirements. Read the instructions provided by the manufacturer to ensure that you are following the recommended installation process.
As you install the edging, take the time to step back and admire your progress. You will start to see your landscape design come to life, with clean lines and defined boundaries. It’s an exciting moment as your vision begins to materialize.
Now that the edging is installed, it’s time to secure it in place to ensure long-lasting stability.
Step 4: Securing the Edging
Once you have installed the landscape edging in your outdoor space, it’s crucial to secure it in place to ensure its durability and longevity. Securing the edging will help it withstand the elements and prevent shifting or movement over time.
Follow these steps to properly secure your landscape edging:
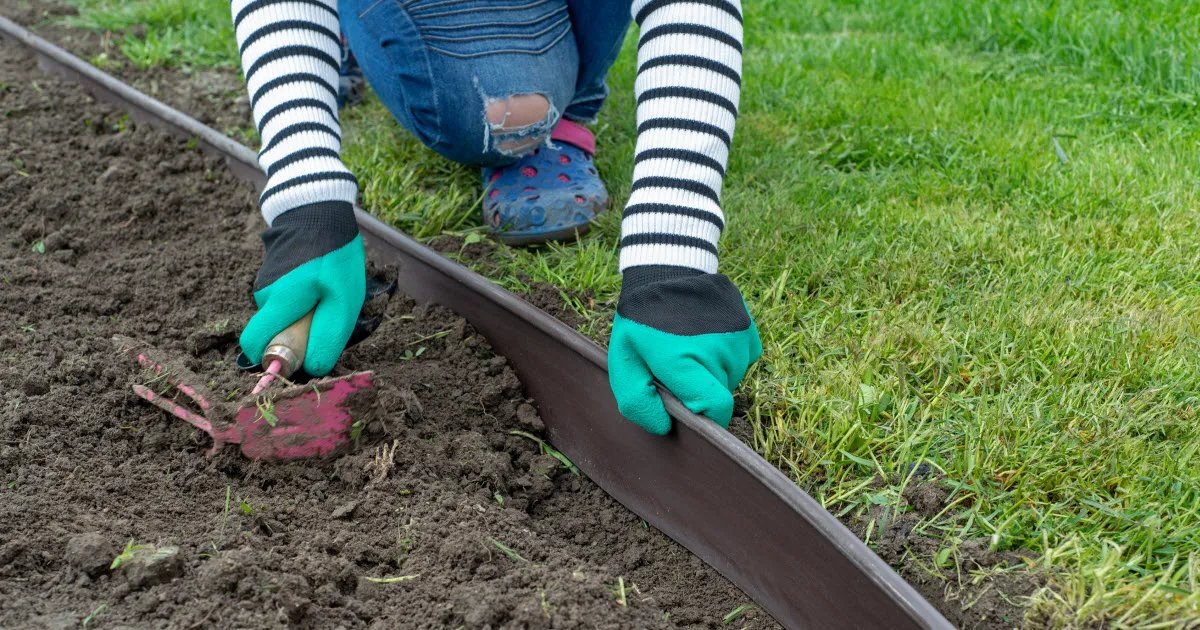
- Use fasteners: Depending on the type of edging material you have chosen, you may need to use nails, screws, or stakes to secure it to the ground. Follow the manufacturer’s instructions to determine the appropriate fastening method. For example, if you are using plastic or metal edging, you may need to insert stakes or clips through pre-drilled holes and into the ground.
- Space the fasteners: Place the fasteners at regular intervals along the length of the edging, ensuring that they are evenly spaced. This will provide adequate support and prevent any sagging or bending.
- Drive the fasteners: Use a hammer or screwdriver to drive the fasteners into the ground, ensuring that they are securely anchored. Be careful not to drive them in too tightly, as this may damage the edging material.
- Check for stability: Once all the fasteners are in place, check the stability of the edging by gently pushing against it. If any sections feel loose or unstable, add additional fasteners as needed.
By properly securing the edging, you minimize the risk of movement or displacement caused by weather conditions, foot traffic, or maintenance activities. This not only maintains the integrity of your landscape design but also reduces the need for frequent repairs or readjustments.
Take the time to ensure that every section of the edging is securely fastened before moving on to the final step of your installation process.
Now that your landscape edging is in place and properly secured, it’s time to add those finishing touches that will elevate your design to the next level.
Step 5: Finishing Touches
With the landscape edging installed and secured in place, it’s time to add the final finishing touches to your outdoor space. These little details will enhance the overall look of your landscape design and create a polished and cohesive appearance.
Here are some finishing touches you can consider for your landscape edging:
- Backfill the trench: If there is any soil or debris left in the trench after the edging installation, gently backfill it with soil, making sure to tamp it down firmly. This will provide stability and support to the edging.
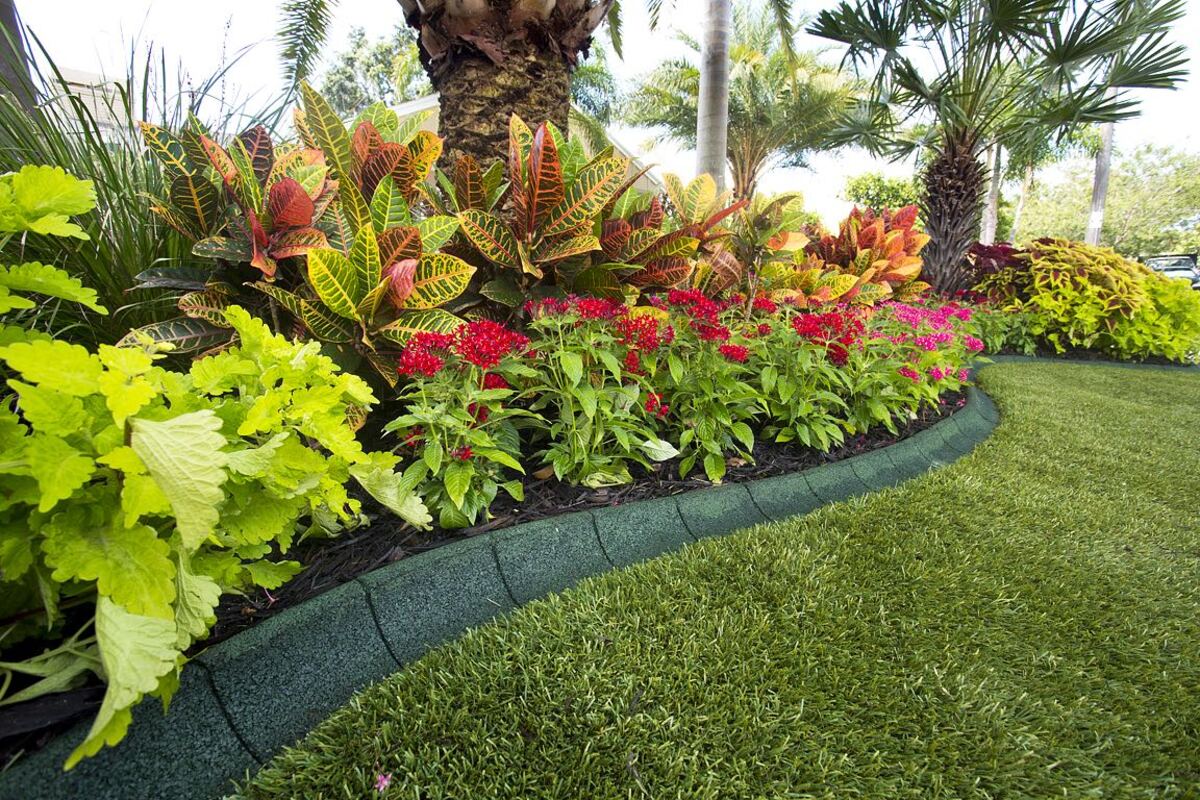
- Add mulch or ground cover: Spread mulch, gravel, or other ground cover material around the base of your landscape edging. This will not only enhance the aesthetics but also help with weed control and moisture retention.
- Add plants and flowers: Plant colorful flowers, shrubs, or ground cover plants along the edging to create a beautiful and vibrant display. This will soften the edges and add visual interest to your landscape design.
- Consider lighting: Install landscape lighting along the edging to highlight and accentuate your design, especially during the evening hours. This will create a warm and inviting atmosphere.
- Maintain and groom: Regularly maintain and groom the area around your landscape edging. This includes trimming plants, removing weeds, and refreshing mulch or ground cover as needed.
These finishing touches will elevate your landscape edging, creating a visually stunning and well-maintained outdoor space. Don’t be afraid to let your creativity shine and personalize the finishing touches to suit your individual style and preferences.
Remember, a little extra effort in the finishing touches can go a long way in creating a landscape design that you can enjoy and be proud of for years to come.
Congratulations! You have successfully installed landscape edging, transforming your outdoor space into a beautiful and organized representation of your personal style and design aesthetic.
Conclusion
Installing landscape edging is a rewarding project that can greatly enhance the beauty and functionality of your outdoor space. By following the steps outlined in this guide, you can achieve professional-looking results and create a defined and polished landscape design.
We started by emphasizing the importance of landscape edging and its ability to transform the look and feel of your garden or yard. We discussed the practical benefits, including improved drainage, reduced maintenance, and enhanced organization.
We then moved on to the tools and materials needed for the installation, ensuring you have everything necessary to complete the project successfully. Having the right tools and materials on hand saves time and helps achieve accurate results.
Next, we walked you through the step-by-step process of planning and measuring your landscape edging. Careful planning and precise measurements are crucial to achieving a professional and visually balanced design.
We then covered the important step of preparing the installation area, including clearing the space, marking the trench, and ensuring a level surface. Proper preparation lays the foundation for a successful installation.
Following the preparation phase, we provided detailed instructions on how to install the landscape edging, including aligning the material, connecting multiple pieces, and checking for stability. This step brings your design to life and defines the boundaries of your outdoor space.
After securing the edging in place, we discussed the importance of adding finishing touches to complete your landscape design. These finishing touches include backfilling the trench, adding mulch or ground cover, incorporating plants and flowers, considering lighting, and maintaining the area regularly.
By implementing these steps and adding your personal touch, you can create a stunning outdoor space that reflects your unique style and enhances the overall appeal of your property.
Now that you have a comprehensive understanding of how to install landscape edging, it’s time to put your knowledge into action. Grab your tools, gather your materials, and embark on this exciting and rewarding landscaping project. Get ready to transform your outdoor space into a beautiful oasis that you can enjoy for years to come.