Home>Gardening Techniques>DIY Projects>How To Connect 1/2 Irrigation Tubing To 1/4
DIY Projects
How To Connect 1/2 Irrigation Tubing To 1/4
Modified: January 22, 2024
Learn how to easily connect 1/2 inch irrigation tubing to 1/4 inch with this DIY project. Upgrade your irrigation system today!
(Many of the links in this article redirect to a specific reviewed product. Your purchase of these products through affiliate links helps to generate commission for Chicagolandgardening.com, at no extra cost. Learn more)
Table of Contents
Introduction
When it comes to DIY irrigation projects, connecting different sizes of tubing can sometimes be a challenge. Many irrigation systems use a combination of 1/2 inch (12.7 mm) tubing and 1/4 inch (6.35 mm) tubing to deliver water to plants efficiently. However, connecting these two different sizes can seem tricky if you don’t know the proper technique.
In this article, we will guide you through the process of connecting 1/2 inch irrigation tubing to 1/4 inch tubing. By following these steps, you’ll be able to create a secure connection that allows water to flow smoothly through your irrigation system, ensuring your plants receive the water they need.
Whether you are a beginner DIY enthusiast or have some experience with irrigation systems, this step-by-step guide will help you successfully connect 1/2 inch tubing to 1/4 inch tubing. So, let’s get started!
Tools and Materials Needed
Before you begin the process of connecting 1/2 inch irrigation tubing to 1/4 inch tubing, it’s important to gather all the necessary tools and materials. Having everything ready will make the process smoother and more efficient. Here’s a list of what you’ll need:
- 1/2 inch irrigation tubing
- 1/4 inch irrigation tubing
- Tubing cutter or scissors
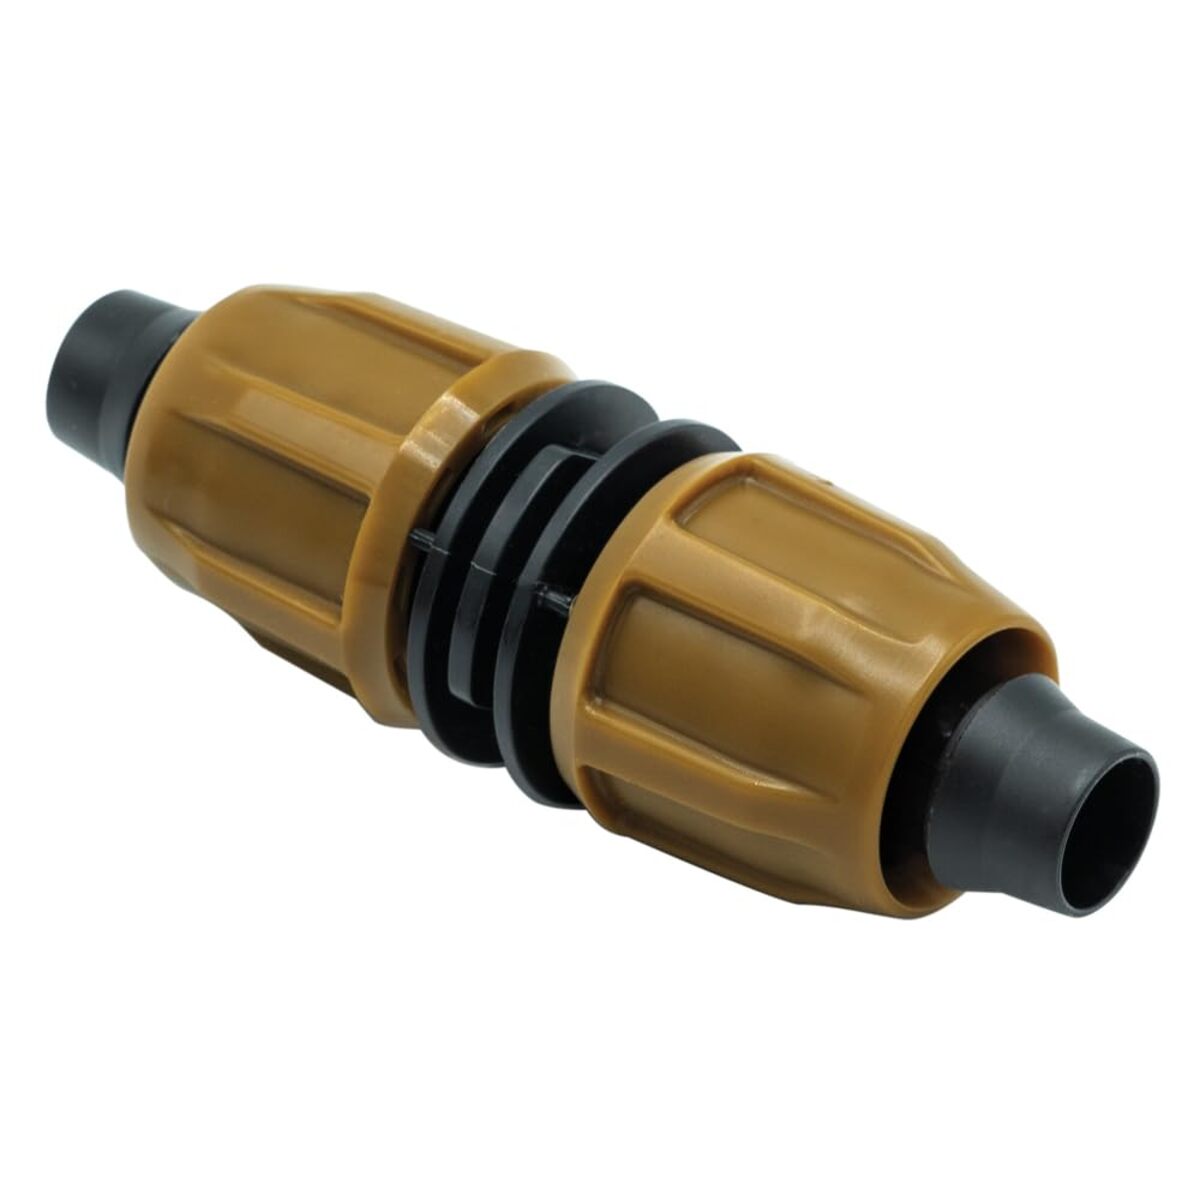
- Barbed connector or fitting
- Adjustable wrench or pliers
- Hose clamps (optional, but recommended)
- Teflon tape (for threaded connections, if applicable)
Ensure that you have the correct lengths of tubing to reach from your water source to the desired irrigation area. Measure and cut the tubing accordingly, allowing some extra length for adjustments and connections.
The tubing cutter or scissors will be used to cut the tubing cleanly and evenly. The barbed connector or fitting is the key component that will allow you to connect the two different sizes of tubing securely.
An adjustable wrench or pliers will be handy to tighten and secure the connections. Additionally, hose clamps are recommended for extra stability and leak-proof connections. If you have any threaded connections, using Teflon tape will help prevent leaks.
Now that you have all the necessary tools and materials, you’re ready to move on to the next steps of connecting 1/2 inch irrigation tubing to 1/4 inch tubing.
Step 1: Gather the Required Components
Before you start connecting the 1/2 inch irrigation tubing to the 1/4 inch tubing, it’s essential to gather all the required components. By having everything ready, you can work efficiently and seamlessly during the installation process. Here’s what you’ll need:
- 1/2 inch irrigation tubing
- 1/4 inch irrigation tubing
- Tubing cutter or scissors
- Barbed connector or fitting
- Adjustable wrench or pliers
- Hose clamps (optional, but recommended)
- Teflon tape (for threaded connections, if applicable)
Make sure you have the correct lengths of tubing to reach from your water source to the desired irrigation area. Measure and cut the tubing to the required lengths using a tubing cutter or scissors. It’s always a good idea to have some extra tubing length for adjustments and any unforeseen requirements.
The barbed connector or fitting is the critical component that will allow you to connect the 1/2 inch tubing to the 1/4 inch tubing. Ensure that you have the appropriate size connector or fitting for your specific tubing sizes.
An adjustable wrench or pliers will be handy to tighten and secure the connections. These tools will help ensure a snug fit and prevent any water leakage.
Although optional, using hose clamps is recommended to provide extra stability and prevent any accidental disconnection of the tubing. If you have any threaded connections, applying Teflon tape will help create a secure seal and prevent any leaks.
Now that you have all the necessary components assembled, you’re ready to move on to the next step of preparing the tubing for connection.
Step 2: Prepare the Tubing
Once you have gathered all the required components, it’s time to prepare the tubing for the connection. Proper preparation ensures a clean and secure connection for your irrigation system. Follow these steps to prepare the tubing:
- Inspect the 1/2 inch tubing and 1/4 inch tubing for any damages or obstructions. Look for any cracks, kinks, or clogs that may affect the water flow.
- If there are any damages, cut out the affected section using a tubing cutter or scissors. It’s crucial to have clean and undamaged tubing for a reliable irrigation system.
- Next, use the tubing cutter or scissors to cut a clean and straight end on the 1/2 inch tubing and the 1/4 inch tubing. This will ensure a proper fit and seal when connecting the two sizes of tubing.
- Remove any burrs or rough edges from the cut ends of the tubing. This can be done by gently sanding the edges or using a deburring tool. Smooth edges prevent any potential damage to the connectors or fittings.
- If you are using threaded connections, wrap Teflon tape around the male threads of the connector. This will create a tight seal and prevent any leaks.
By properly preparing the tubing, you are setting the foundation for a successful connection. Inspecting for damages, cutting clean ends, and removing any burrs ensures that the tubing is in optimal condition for the connection process.
Now that the tubing is prepared, you’re ready to move on to the next step of inserting the 1/4 inch tubing into the 1/2 inch tubing.
Step 3: Insert the 1/4 Tubing into the 1/2 Tubing
With the tubing prepared, it’s time to proceed with connecting the 1/4 inch tubing into the 1/2 inch tubing. This step requires precision and careful handling to ensure a proper fit and secure connection. Follow these steps:
- Take the prepared ends of the 1/2 inch tubing and the 1/4 inch tubing.
- Gently insert the end of the 1/4 inch tubing into the opening of the 1/2 inch tubing.
- Push the 1/4 inch tubing into the 1/2 inch tubing until it reaches a secure and snug fit.
- Make sure that the tubing is inserted to the desired length. This will depend on your specific irrigation system layout and requirements.
- Check for any gaps or looseness between the two tubing sizes. The connection should be tight and secure without any visible gaps.
By inserting the 1/4 inch tubing into the 1/2 inch tubing, you are creating a connection that allows water to flow from the larger tubing to the smaller tubing. It’s essential to push the tubing in all the way to ensure a proper fit and to prevent any leaks.
If you encounter any resistance during the insertion process, double-check that the tubing ends are cut cleanly and have no burrs. Adjust the tubing as necessary to ensure a secure fit.
Once you have inserted the 1/4 inch tubing into the 1/2 inch tubing, you’re ready to move on to the next step of securing the connection to prevent any accidental dislodging.
Step 4: Secure the Connection
After inserting the 1/4 inch tubing into the 1/2 inch tubing, it’s crucial to secure the connection to ensure it remains intact and prevents any leaks. By following these steps, you can ensure a stable and reliable connection:
- If using a barbed connector or fitting, slide it over the joined section of the 1/4 inch and 1/2 inch tubing.
- Tighten the hose clamp around the barbed connector or fitting using an adjustable wrench or pliers. This will create a firm and secure seal.
- If not using a hose clamp, make sure to push and twist the barbed connector or fitting tightly onto the joined section of tubing. This will help prevent any accidental dislodging.
- If you are using threaded connections, tighten them using an adjustable wrench or pliers, ensuring a snug fit. If applicable, wrap Teflon tape around the threaded connections before tightening.
Securing the connection is crucial to prevent any leaks or accidental dislodging. If using a barbed connector or fitting, the hose clamp provides additional stability and ensures a tight seal between the tubing sizes.
If you choose not to use a hose clamp, ensure that the barbed connector or fitting is pushed tightly onto the tubing and twisted to create a secure and reliable connection. This step is essential in preventing any unintentional separation of the tubing during normal operation or accidental disturbances.
If your connection includes threaded connections, secure them tightly using an adjustable wrench or pliers. This will ensure a leak-proof seal and prevent any potential water leakage.
Once you have secured the connection, you’re ready to move on to the final step of testing the connection to ensure its functionality.
Step 5: Test the Connection
Now that you have completed the connection process, it’s important to test it to ensure that everything is working properly. Testing the connection will give you peace of mind and help identify any potential issues that need to be addressed. Follow these steps to test the connection:
- Turn on the water source to allow water to flow through the irrigation system.
- Observe the connected tubing and fittings for any signs of leakage. Check the connection points, including the barbed connector or fitting, hose clamps, and threaded connections for any water seepage.
- Inspect the connected tubing for any bulges or deformities, which may indicate excessive pressure or a loose connection.
- Continuously monitor the connection for a few minutes to ensure that there are no sudden leaks or disconnections.
- If you notice any leaks or issues, turn off the water source and make the necessary adjustments. This may involve tightening the connection, replacing faulty components, or re-cutting the tubing if needed.
Testing the connection is an essential step in ensuring the effectiveness and reliability of your irrigation system. By checking for leaks, bulges, and deformities, you can address any potential problems before they cause further issues.
Regularly monitoring the connection during the initial testing and subsequent use of the irrigation system will help identify any maintenance or adjustment needs. Making prompt adjustments will ensure the efficient delivery of water to your plants without any unnecessary water loss or damage.
Once you have tested the connection thoroughly and are satisfied with its performance, you can proceed to use your irrigation system confidently to water your plants and maintain a healthy garden.
Conclusion
In conclusion, connecting 1/2 inch irrigation tubing to 1/4 inch tubing doesn’t have to be a complicated task. By following the steps outlined in this guide and using the proper tools and materials, you can create a secure and reliable connection for your irrigation system.
Remember to gather all the necessary components before starting the process. This includes the tubing, connectors or fittings, tools like a tubing cutter or scissors, and optional items like hose clamps and Teflon tape. Properly preparing the tubing by inspecting, cutting, and removing any rough edges is crucial for a successful connection.
Inserting the 1/4 inch tubing into the 1/2 inch tubing requires precision and ensuring a snug fit. Additionally, securing the connection with a barbed connector or fitting and a hose clamp, or by twisting the fitting tightly, will prevent any leaks or accidental dislodging.
After completing the connection, don’t forget to test it by turning on the water source and observing for any leaks or abnormalities. Regular monitoring of the connection will help identify and address any issues promptly, ensuring the efficient and effective operation of your irrigation system.
By following these steps, you can confidently connect 1/2 inch irrigation tubing to 1/4 inch tubing for your DIY irrigation projects. Enjoy the convenience and satisfaction of maintaining a well-watered garden or landscape that thrives with the proper water supply.