Home>Gardening Basics>Tools and Equipment>What Gauge Wire To Use For Irrigation System

Tools and Equipment
What Gauge Wire To Use For Irrigation System
Published: November 18, 2023
Looking for the right gauge wire for your irrigation system? Explore our range of tools and equipment to find the perfect solution.
(Many of the links in this article redirect to a specific reviewed product. Your purchase of these products through affiliate links helps to generate commission for Chicagolandgardening.com, at no extra cost. Learn more)
Table of Contents
Introduction
When it comes to setting up an irrigation system, choosing the right wire gauge is crucial. Proper wiring ensures the efficient and effective operation of the system, allowing for optimal water distribution to your plants and lawn. Whether you are installing a sprinkler system for your garden or a complex agricultural irrigation setup, understanding wire gauge is essential to ensure that the system functions safely and accurately.
Wire gauge refers to the thickness of the wire and determines the amount of electrical current it can safely handle. In an irrigation system, the wire is used to connect the controller or timer to the valves and other components. The wire gauge directly impacts the ability of the wire to carry the electrical load without overheating or causing voltage drop. Selecting the appropriate wire gauge will ensure that the system operates smoothly and minimizes the risk of short circuits or other electrical issues.
Choosing the right wire gauge for your irrigation system involves considering several factors. The size and complexity of your system, the distance between the wire runs, and the type of wire insulation are important factors to evaluate. Additionally, local electrical codes and regulations may dictate the minimum wire gauge required for irrigation systems in your area.
In this article, we will explore the key factors to consider when determining the wire gauge for your irrigation system. We will also provide a helpful wire gauge chart to aid in your decision-making process. By the end, you will have a clear understanding of how to choose the appropriate wire gauge for your specific irrigation needs.
Factors to Consider
Before selecting the wire gauge for your irrigation system, it’s essential to take into account several factors that can affect the overall performance and safety of the system:
- System Size and Complexity: The size and complexity of your irrigation system are critical factors in determining the appropriate wire gauge. Larger systems with more valves and components will generally require a thicker wire to handle the increased electrical load. Consider the number of zones, valves, and other electrical components when making your decision.
- Distance: The distance between the wire runs should also be taken into consideration. Longer distances can result in voltage drop, where the electrical current weakens as it travels along the wire. To minimize this drop, larger wire gauge may be necessary to ensure adequate current reaches the furthest components.
- Wire Insulation: The type of insulation on the wire is an important factor to consider, especially if your irrigation system is installed in areas where it may be exposed to moisture or extreme temperatures. The insulation should be rated for outdoor use and provide protection against water or other potential environmental hazards.
- Electrical Codes and Regulations: Local electrical codes and regulations may dictate the minimum wire gauge required for irrigation systems in your area. It’s important to consult with a licensed electrician or refer to the applicable codes to ensure compliance and safety.
- Future Expansion: If you anticipate expanding or modifying your irrigation system in the future, it’s wise to select a wire gauge that can accommodate potential growth. This will save you from having to rewire or upgrade the system later on.
By taking these factors into consideration, you can make a more informed decision when selecting the appropriate wire gauge for your irrigation system. Now let’s delve into the process of determining the right wire gauge based on these considerations.
Determining Wire Gauge
Now that you’re aware of the important factors to consider, let’s discuss how to determine the appropriate wire gauge for your irrigation system:
1. Calculate the Load: Start by determining the total electrical load of your system. This includes the combined power requirements of the controller, valves, and other electrical components. Refer to the manufacturer’s specifications for each component to obtain their power ratings.
2. Consider Voltage Drop: As mentioned earlier, voltage drop can occur over long wire runs. To account for this, calculate the maximum allowable voltage drop based on the distance between the controller and the furthest component. A general rule of thumb is to limit voltage drop to no more than 3% for optimal system performance.
3. Consult Wire Gauge Charts: Refer to wire gauge charts provided by wire manufacturers or electrical supply stores. These charts typically display the maximum wire length for various wire gauges to maintain an acceptable voltage drop. Find the wire gauge that falls within your calculated maximum length to minimize voltage drop.
4. Consider Wire Insulation: Depending on the installation environment, choose wire with appropriate insulation. For outdoor installations or areas exposed to moisture, select wire with waterproof or UV-resistant insulation to ensure durability and protection.
5. Check Local Codes: Verify if there are any specific wire gauge requirements outlined by your local electrical codes or regulations. Adhering to these guidelines will ensure compliance and safety.
By following these steps, you can accurately determine the appropriate wire gauge for your irrigation system. Always consult with a qualified electrician or irrigation professional if you have any doubts or need further guidance.
Wire Gauge Chart
To assist in selecting the appropriate wire gauge for your irrigation system, refer to the following wire gauge chart. This chart provides a general guideline based on the maximum allowable wire length and voltage drop:
| Wire Gauge | Maximum Allowable Length | Voltage Drop |
|---|---|---|
| 14 AWG | 100 feet | 2.70v |
| 12 AWG | 200 feet | 1.96v |
| 10 AWG | 300 feet | 1.21v |
| 8 AWG | 400 feet | 0.77v |
Please note that this is a general chart and not a definitive guide. Factors such as wire insulation, type of installation, and specific electrical requirements may influence the final wire gauge selection. It is always recommended to consult with a qualified electrician or irrigation professional to ensure the optimal wire gauge for your specific system.
Additionally, keep in mind that if your irrigation system is particularly large or complex, or if you are using low voltage systems, you may need to consult specialized wire gauge charts or consult with industry experts.
Using the wire gauge chart as a reference, you can confidently choose the appropriate wire gauge that will provide optimal performance and minimize voltage drop, ensuring the efficiency and reliability of your irrigation system.
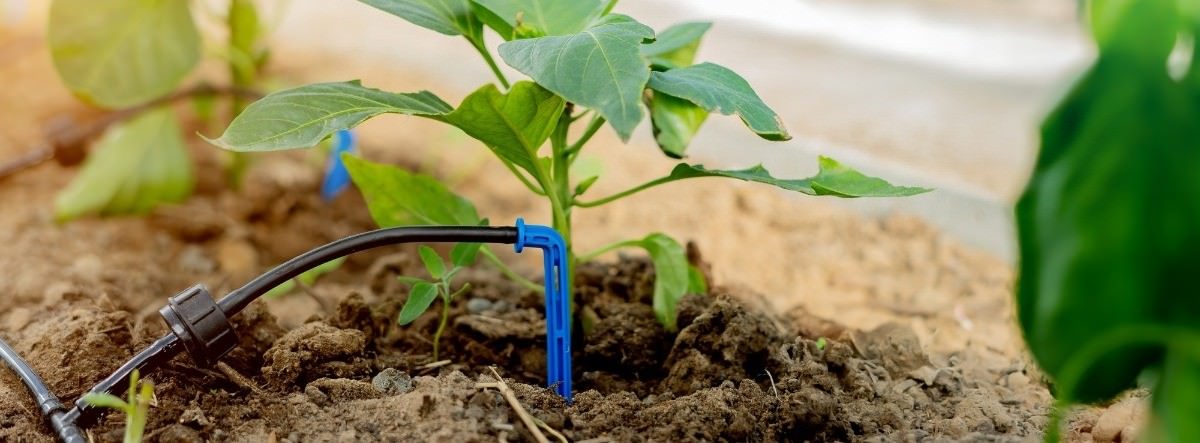
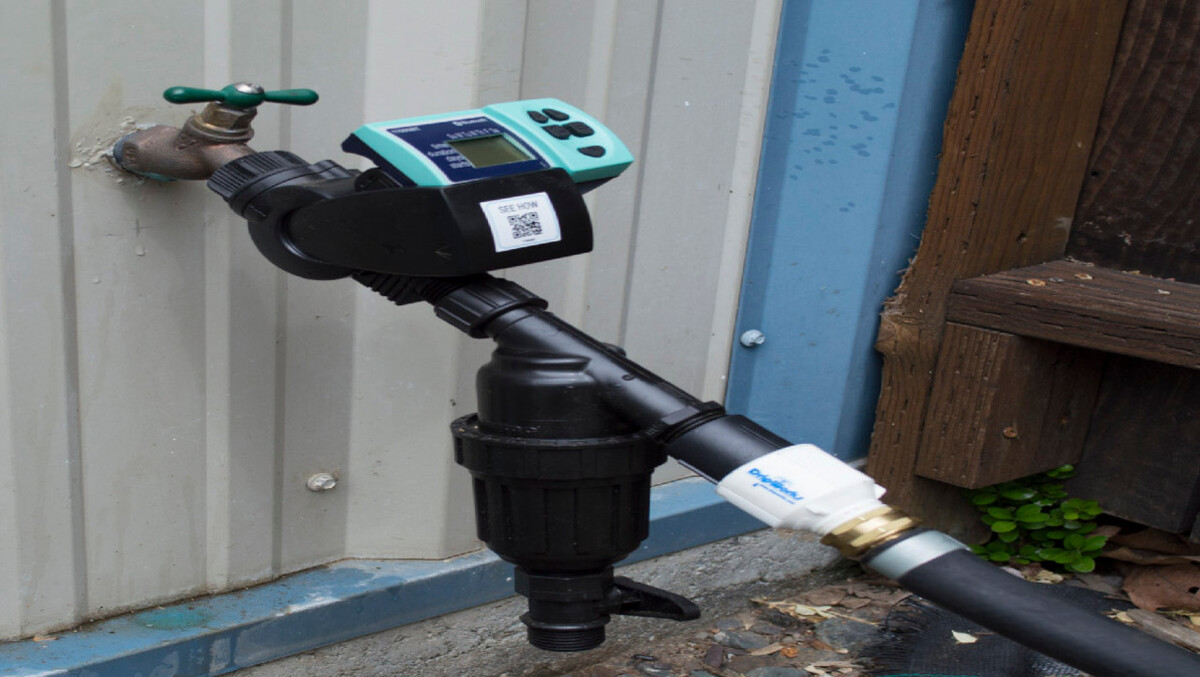
Installing the Irrigation System
Once you have determined the appropriate wire gauge for your irrigation system, it’s time to proceed with the installation process. Here are some general steps to follow when installing your irrigation system:
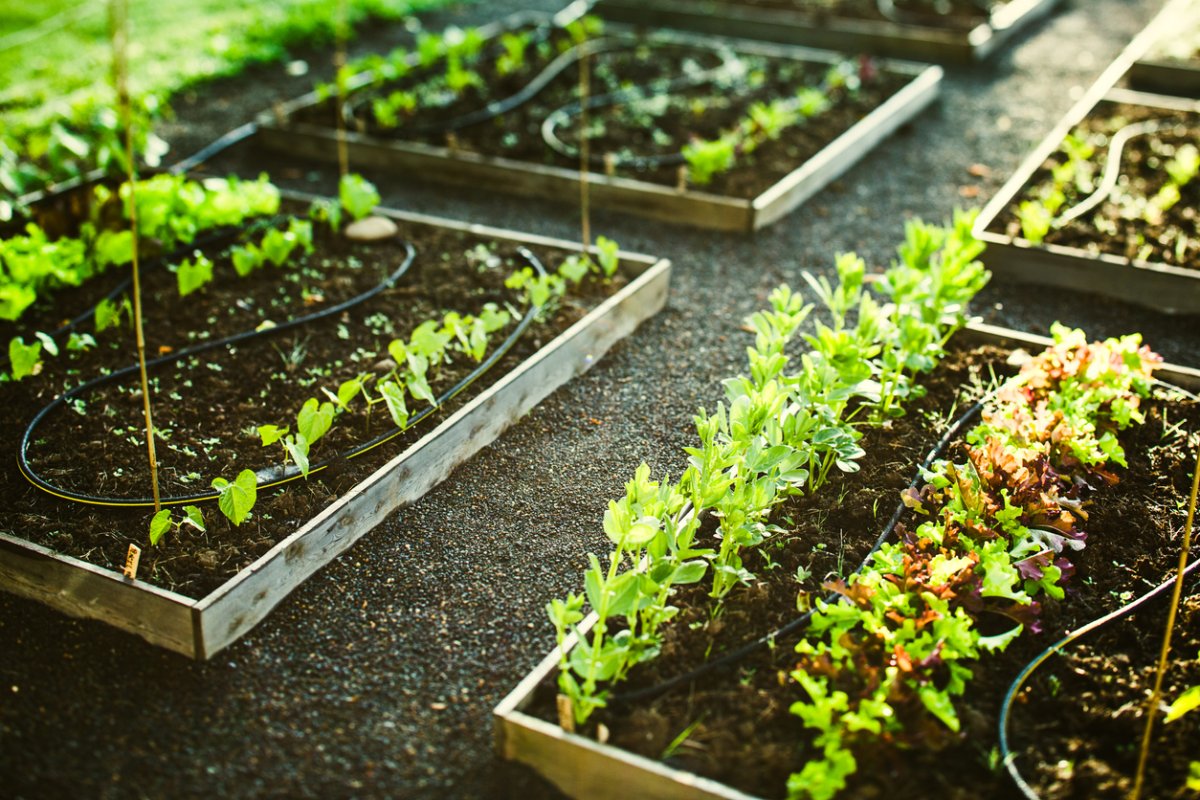
- Plan the Layout: Start by designing the layout of your irrigation system. Determine the placement of the valves, sprinkler heads, and other components. Consider the location of water sources, electrical connections, and any obstacles in the way.
- Prepare the Area: Clear the area where the irrigation system will be installed. Remove any vegetation, debris, or obstructions to create a clean workspace. Make sure the soil is adequately graded to ensure proper drainage.
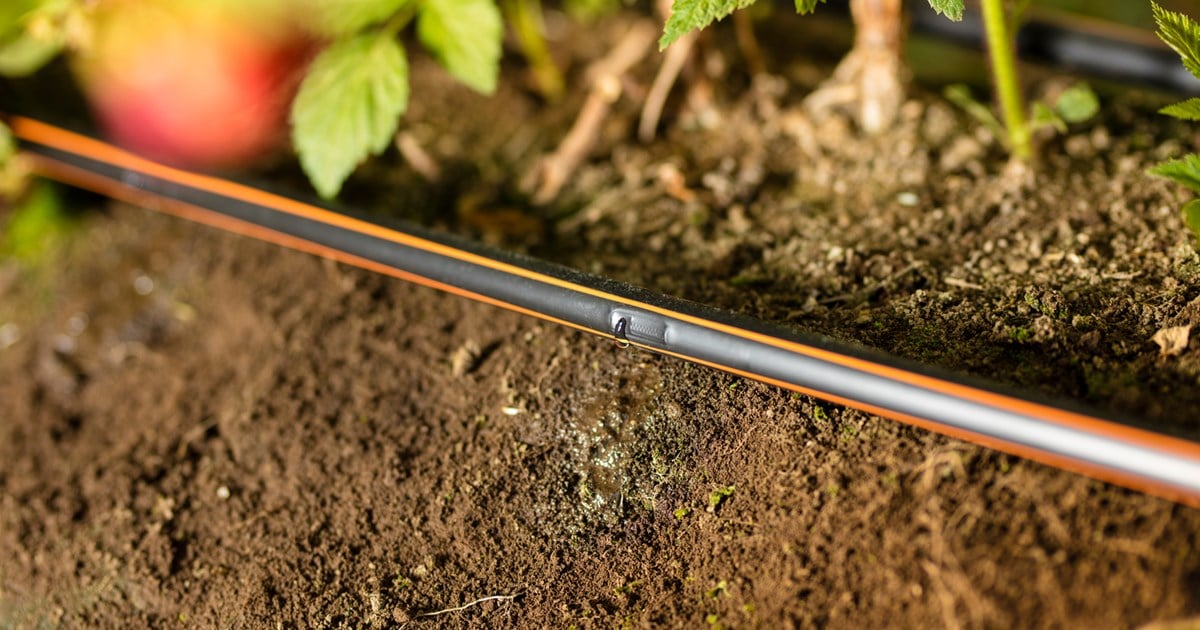
- Dig Trenches: Dig trenches to lay the main water supply line, valve wires, and any additional lateral lines. The depth of the trenches will depend on the local regulations and the frost line in your area. Be careful not to damage any existing utility lines during this process.
- Install the Pipes and Valves: Lay the irrigation pipes along the trenches, connecting them to the water source. Install the valves at the appropriate locations, ensuring they are securely connected and waterproofed. Install any backflow prevention devices required by local codes.
- Connect the Wiring: Run the appropriate wire gauge along the trenches and connect them to the valves and controller. Use waterproof connectors and secure the wires to prevent any exposure or damage. Label each wire to assist with troubleshooting or future maintenance.
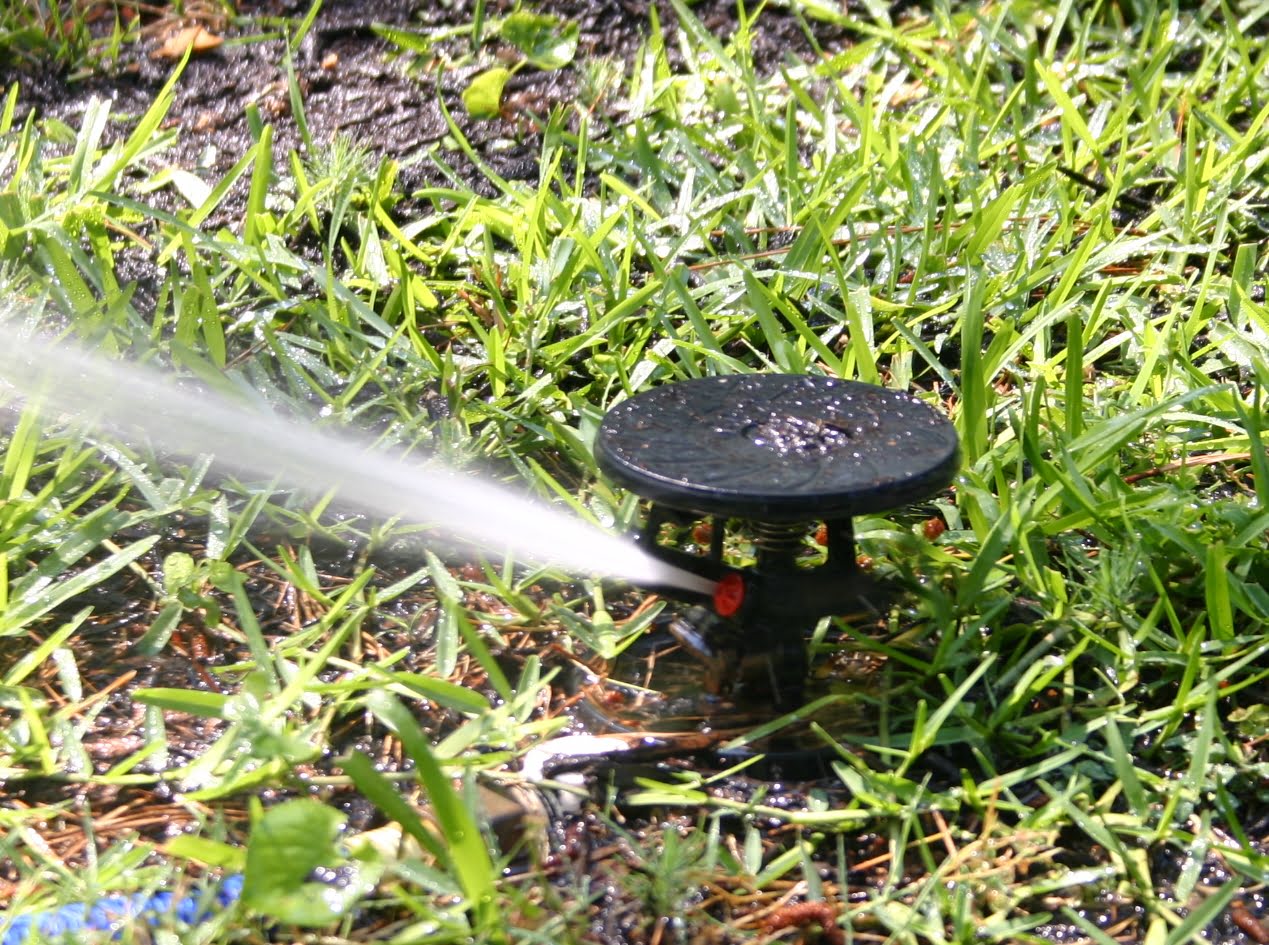
- Test the System: Once the installation is complete, test the irrigation system to ensure everything is functioning properly. Activate each zone to confirm that the valves open and close correctly, and the sprinkler heads distribute water evenly.
- Adjust and Fine-tune: Make any necessary adjustments to the sprinkler heads’ spray patterns and angles to ensure optimal coverage. Check for any leaks or issues and address them promptly.
- Maintain Regularly: Regularly inspect and maintain your irrigation system. This includes checking for damaged pipes or valves, cleaning and adjusting sprinkler heads, and programming the controller for seasonal adjustments.
Proper installation and maintenance of your irrigation system will ensure its longevity and efficient operation. Following these steps, along with the appropriate wire gauge selection, will help you achieve a well-functioning and reliable irrigation system for your landscaping or agricultural needs.
Conclusion
Choosing the correct wire gauge for your irrigation system is essential for its proper functioning and longevity. By considering factors such as system size, distance, wire insulation, local codes, and future expansion, you can determine the most appropriate wire gauge.
Calculating the load, estimating voltage drop, consulting wire gauge charts, and considering wire insulation are key steps in determining the ideal wire gauge for your system. Always refer to local codes and regulations to ensure compliance with safety standards.
Installation of the irrigation system involves careful planning, trenching, pipe and valve installation, wiring connections, and thorough testing. Pay attention to details such as waterproof connectors and proper labeling to ensure a robust and reliable system.
Regular maintenance and inspections are necessary to keep your irrigation system in optimal condition. This includes adjusting sprinkler heads, checking for leaks, and programming the controller for seasonal variations.
Investing time and effort in selecting the right wire gauge and installing your irrigation system properly will provide efficient water distribution for your plants and lawns while minimizing the risk of electrical issues.
By following these guidelines and seeking professional guidance when needed, you can ensure that your irrigation system operates effectively and efficiently, keeping your landscape lush, healthy, and thriving for years to come.