Home>Gardening News and Trends>Latest News>How Do You Blanch Vegetables
Latest News
How Do You Blanch Vegetables
Modified: January 22, 2024
Learn how to blanch vegetables with the latest news on the most effective techniques and tips to retain color, texture, and nutrients.
(Many of the links in this article redirect to a specific reviewed product. Your purchase of these products through affiliate links helps to generate commission for Chicagolandgardening.com, at no extra cost. Learn more)
Table of Contents
- Introduction
- What is Blanching?
- Why Blanch Vegetables?
- How to Blanch Vegetables
- Step 1: Prepare for Blanching
- Step 2: Boil the Water
- Step 3: Prepare an Ice Bath
- Step 4: Blanch the Vegetables
- Step 5: Cool and Drain the Vegetables
- Step 6: Store or Use the Blanched Vegetables
- Tips and Tricks for Blanching Vegetables
- Conclusion
Introduction
Welcome to our guide on how to blanch vegetables! Blanching is a cooking technique that involves briefly boiling vegetables and then immediately plunging them into ice water to stop the cooking process. This method is commonly used in the culinary world to preserve the vibrant colors, textures, and nutrients of the vegetables.
Blanching vegetables may seem like an extra step in the cooking process, but it is worth the effort. Not only does it help to retain the color and crunch of the vegetables, but it also helps to kill bacteria, soften tough textures, and bring out the natural flavors. Whether you’re a seasoned chef or a cooking enthusiast, learning how to blanch vegetables can greatly enhance your culinary skills and elevate your dishes to new heights.
In this guide, we will walk you through the step-by-step process of blanching vegetables. We’ll cover everything from preparing the vegetables to storing or using the blanched vegetables. So, let’s get started and learn the art of blanching!
What is Blanching?
Blanching is a cooking technique that involves briefly immersing vegetables in boiling water, followed by rapidly cooling them in ice water. The main purpose of blanching is to partially cook the vegetables, while still preserving their color, texture, and nutrients.
During the blanching process, the vegetables are exposed to high heat for a short period of time. This helps to kill surface bacteria and enzymes, which can cause spoilage and loss of color. Blanching also helps to soften the vegetables slightly, making them more tender and easier to eat.
Another important benefit of blanching is that it helps to lock in the vibrant colors of the vegetables. By quickly blanching them and then cooling them down in ice water, you can maintain their natural pigments and prevent them from turning dull and unappetizing.
Blanching is a versatile technique that can be used for a wide variety of vegetables, including leafy greens, root vegetables, and even delicate vegetables like asparagus and broccoli. It is often the first step in preserving vegetables for longer storage, as blanched vegetables can be frozen and used later without compromising their quality.
Overall, blanching is essential for achieving perfectly cooked, brightly colored vegetables that retain their nutritional value. By mastering this technique, you can elevate the taste and appearance of your dishes, creating visually pleasing and nutritious meals for yourself and your loved ones.
Why Blanch Vegetables?
Blanching vegetables serves several important purposes that can greatly enhance the quality and taste of your dishes. Let’s explore the reasons why blanching is a crucial step in vegetable preparation:
1. Retaining Color: Blanching helps to preserve the vibrant colors of vegetables. By briefly exposing them to high heat and then immediately cooling them down, the natural pigments in the vegetables remain intact. This ensures that your dishes are visually appealing, with vegetables that are bright, lively, and appetizing.
2. Texture Enhancement: Blanching softens the cell walls of vegetables, making them tender and more palatable. Whether you’re cooking green beans, broccoli, or carrots, blanching can help to achieve a perfect balance between crispness and softness. This means you can enjoy vegetables that are not only visually appealing but also satisfyingly good to bite into.
3. Enzyme Inactivation: Vegetables contain enzymes that cause them to deteriorate over time. By blanching, you deactivate these enzymes, preventing the loss of flavor, texture, and nutrients. Blanching is especially important if you plan to store vegetables for an extended period or use them in preserves and canning.
4. Bacterial Control: Blanching vegetables in boiling water helps to eliminate surface bacteria, reducing the risk of foodborne illnesses. The quick blanching process effectively kills harmful microorganisms that may be present on the surface of the vegetables, ensuring safer consumption.
5. Nutritional Preservation: By blanching, you can retain a significant portion of the nutrients found in vegetables. While some nutrients are lost during the blanching process, the overall nutrient profile remains relatively intact. This means you can enjoy the health benefits of vegetables even after they have been blanched.
6. Freezing for Long-Term Storage: Blanching is a crucial step before freezing vegetables. By blanching them first, you can destroy enzymes and bacteria that can cause spoilage during freezing. This helps to maintain the quality and flavor of the vegetables even after they have been stored in the freezer for an extended period.
Overall, blanching is an essential technique for preserving and enhancing the quality of vegetables. From retaining vibrant colors and textures to ensuring food safety and nutritional preservation, blanching plays a crucial role in creating delicious and visually appealing dishes.
How to Blanch Vegetables
Blanching vegetables may seem like a daunting task, but it’s actually quite simple once you know the steps involved. Follow this step-by-step guide to learn how to blanch vegetables to perfection:
Step 1: Prepare for Blanching
Start by selecting fresh, high-quality vegetables. Wash them thoroughly to remove any dirt or debris. Trim off any stems, leaves, or roots as necessary. It’s also a good idea to slice or dice the vegetables into uniform sizes to ensure even cooking.
Step 2: Boil the Water
Fill a large pot with water and place it on the stovetop over high heat. Bring the water to a rolling boil. You can add a pinch of salt to enhance the flavor, although it’s optional.
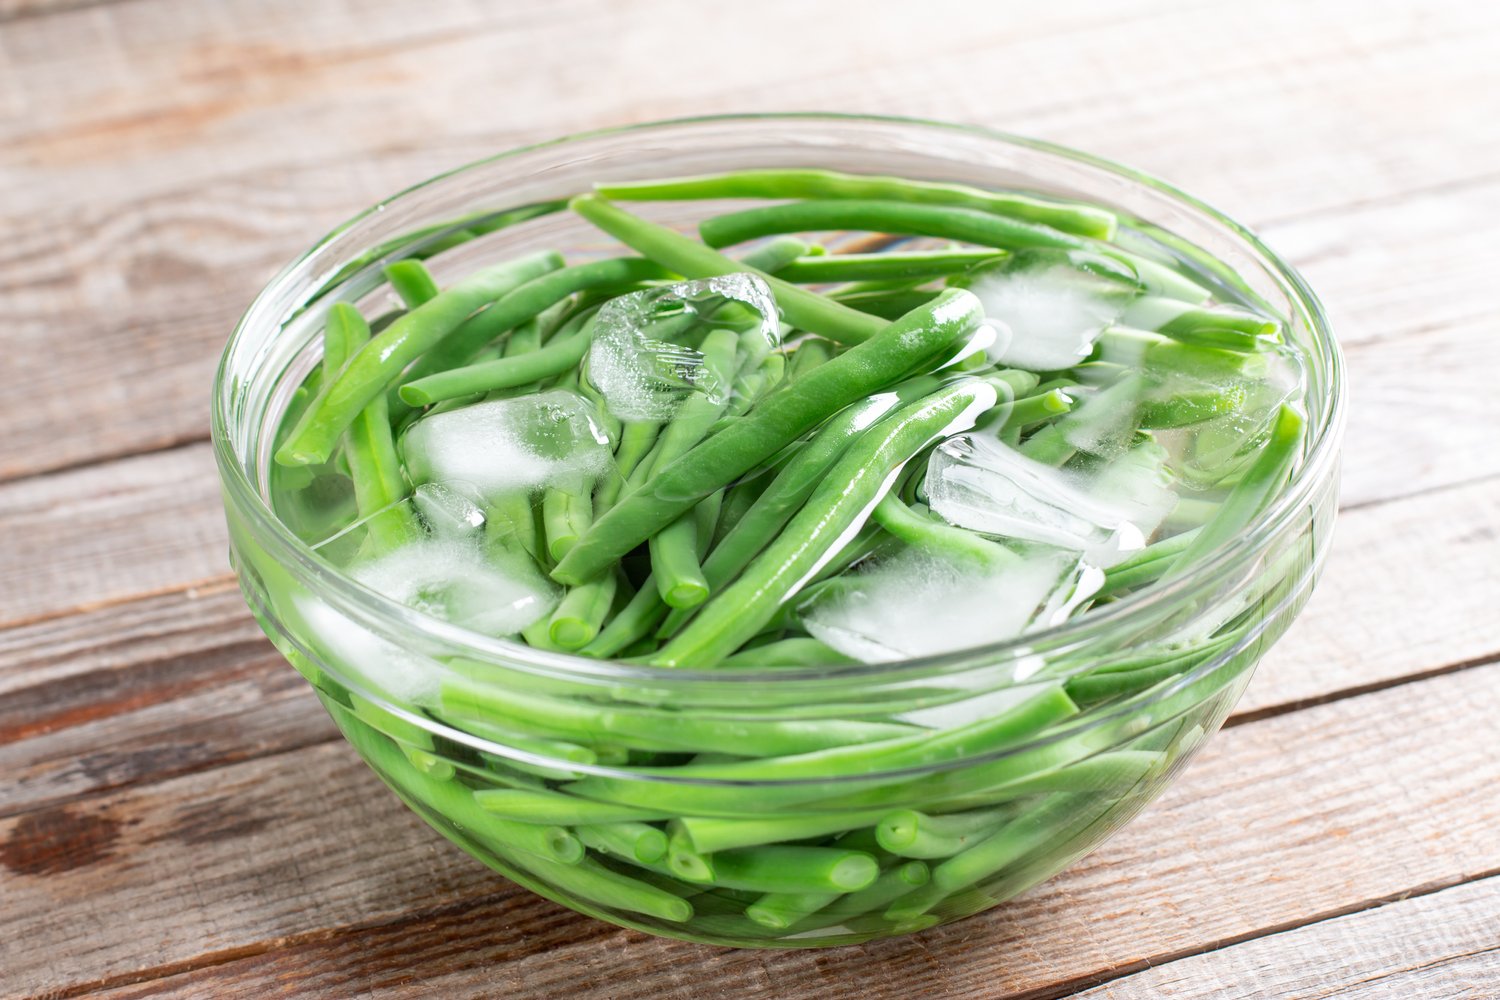
Step 3: Prepare an Ice Bath
While the water is boiling, prepare a large bowl or basin filled with ice water. This will be used to quickly cool down the blanched vegetables and stop the cooking process. Make sure there is enough ice to keep the water cold.
Step 4: Blanch the Vegetables
Once the water has come to a boil, carefully add the vegetables to the pot. It’s best to blanch the vegetables in small batches to avoid overcrowding the pot, which can result in uneven cooking. Allow the vegetables to cook for a short period, usually 1 to 2 minutes, depending on the type and size of the vegetables.
Step 5: Cool and Drain the Vegetables
Using a slotted spoon or tongs, quickly remove the blanched vegetables from the boiling water and transfer them immediately to the ice water bath. Let them sit in the ice water for the same amount of time they were blanched to ensure they cool down completely. Once cooled, remove the vegetables from the ice water and drain them well.
Step 6: Store or Use the Blanched Vegetables
You can store the blanched vegetables in airtight containers or freezer bags for later use. Label and date the containers before placing them in the refrigerator or freezer. Alternatively, you can use the blanched vegetables right away in your favorite recipes.
Remember, the blanched vegetables are partially cooked, so you will need to finish cooking them in your desired recipe. Whether it’s tossing them in a stir-fry, adding them to a salad, or using them as a side dish, the blanched vegetables will add vibrant colors, flavors, and textures to your culinary creations.
With these simple steps, you can master the art of blanching vegetables and unlock a world of possibilities in your cooking endeavors.
Step 1: Prepare for Blanching
Before you begin the blanching process, it’s important to properly prepare the vegetables. Follow these steps to ensure your vegetables are ready for blanching:
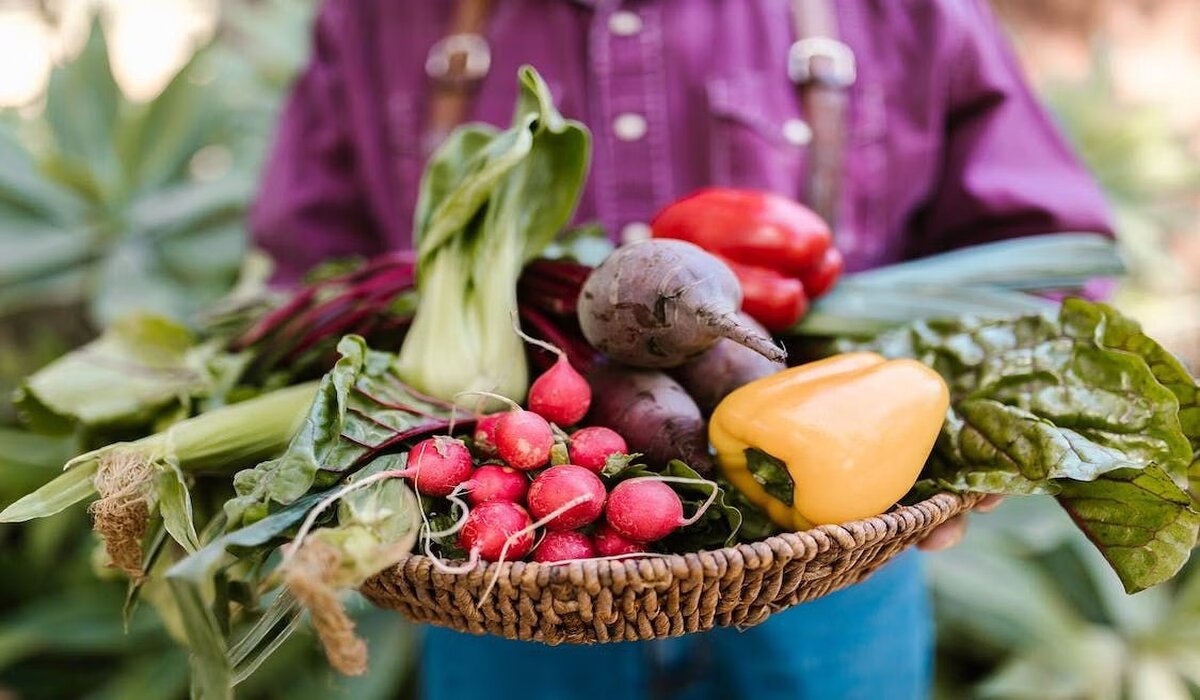
1. Select Fresh Vegetables:
Choose fresh vegetables that are in their prime. Look for vibrant colors and firm textures. Avoid vegetables that have bruises, discoloration, or signs of spoilage.
2. Wash the Vegetables:
Thoroughly wash the vegetables under running water to remove any dirt, debris, or pesticide residue. Use a gentle brush or your hands to scrub the vegetables, paying extra attention to crevices and leafy parts.
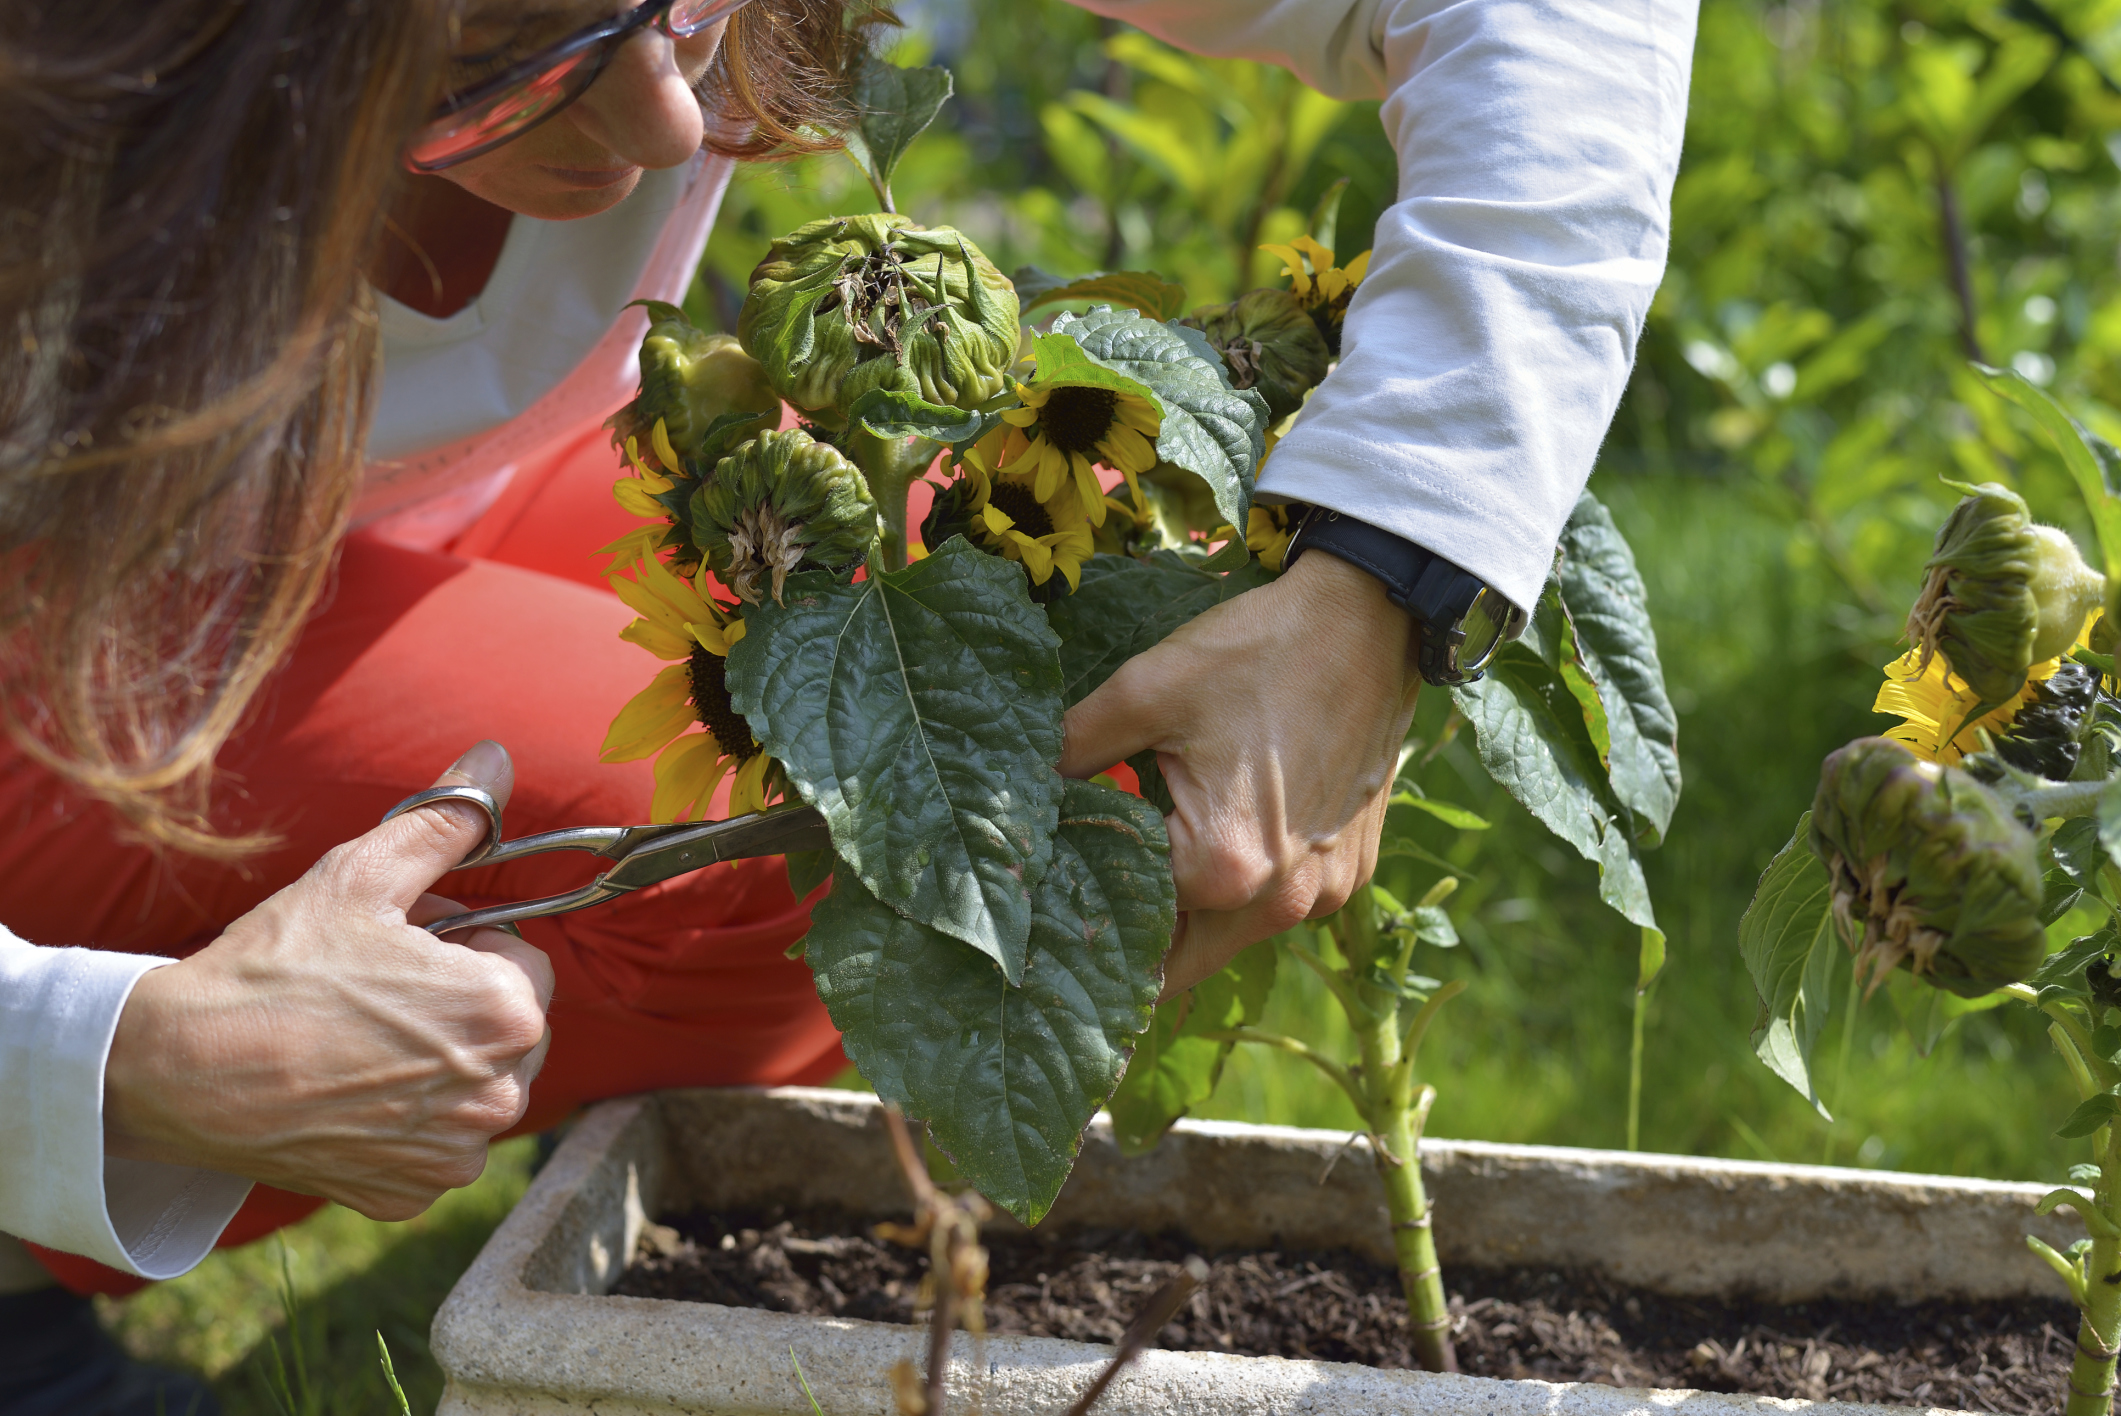
3. Trim and Cut:
Trim off any stems, leaves, or roots that are not edible or that may affect the texture of the vegetables. Remove any tough or woody parts. If necessary, cut the vegetables into uniform sizes. This helps to ensure even cooking during the blanching process.
4. Blanch Small Vegetables Whole:
If you’re working with small vegetables like cherry tomatoes or peas, you can blanch them whole without any need for cutting or trimming. This helps to maintain their shape and prevents them from becoming mushy.
5. Prepare an Ice Bath:
Fill a large bowl or basin with cold water and add plenty of ice to create an ice bath. This will quickly cool down the blanched vegetables and stop the cooking process. Make sure the ice bath is large enough to accommodate all the vegetables you plan to blanch.
6. Ready Your Tools:
Have all the necessary tools ready before blanching. You will need a large pot to boil the water, a Slotted spoon or tongs to remove the blanched vegetables from the boiling water, a timer to keep track of the blanching time, and a colander or strainer to drain the vegetables.
By taking the time to properly prepare your vegetables, you set yourself up for successful blanching. The freshness, cleanliness, and proper cutting of the vegetables contribute to the overall quality of the blanched vegetables and the dishes they will be used in.
Step 2: Boil the Water
Once you have prepared the vegetables for blanching, it’s time to boil the water. Follow these steps to ensure the water is properly heated:
1. Choose the Right Size Pot:
Use a large pot that can comfortably accommodate the amount of water and vegetables you plan to blanch. This will prevent overcrowding, which can result in uneven cooking.
2. Fill the Pot with Water:
Fill the pot with enough water to fully submerge the vegetables. The amount of water will depend on the quantity of vegetables you’re blanching. As a general rule of thumb, use approximately 4 cups of water for every pound of vegetables.
3. Add Salt (Optional):
If desired, add a teaspoon of salt to the pot. Salt is optional, but it can enhance the flavor of the vegetables as they blanch. However, be mindful of the amount added, as too much salt can overpower the natural taste of the vegetables.
4. Bring the Water to a Boil:
Place the pot on the stovetop over high heat. Allow the water to come to a rolling boil. A rolling boil is when the water is vigorously bubbling and steaming.
5. Maintain the Boil:
Once the water reaches a rolling boil, keep the heat high and maintain the boil. This ensures that the vegetables cook quickly and evenly.
6. Adjust the Heat:
If the water starts to boil over, reduce the heat slightly to control the boil. Be cautious not to lower the heat too much, as a vigorous boil is necessary for blanching.
7. Always Monitor the Pot:
Never leave the pot unattended while the water is boiling. Keep a close eye on it to prevent the water from boiling over or the pot from running dry.
8. Be Mindful of the Odor:
When blanching certain vegetables, such as cruciferous vegetables like broccoli or cauliflower, there may be a slight odor released during the boiling process. This is normal and does not indicate spoilage.
Boiling the water properly is essential for effective vegetable blanching. Once the water is at a rolling boil, you’re ready to move on to the next step of the blanching process.
Step 3: Prepare an Ice Bath
As an essential part of the blanching process, preparing an ice bath helps to cool down the blanched vegetables quickly and stop the cooking process. Follow these steps to create an ice bath:
1. Get a Large Bowl or Basin:
Select a bowl or basin that is large enough to hold all the vegetables you plan to blanch. It should have enough space to accommodate both the vegetables and ice without overflowing.
2. Add Cold Water:
Fill the bowl or basin with cold water. Ensure that the water level is high enough to submerge the blanched vegetables completely. You can use tap water or refrigerated water for the ice bath.
3. Add Ice Cubes:
Next, add plenty of ice cubes to the water. The ice helps to rapidly lower the temperature of the water and create a cold environment for cooling down the blanched vegetables. Use enough ice to keep the water cold throughout the blanching process.
4. Stir to Dissipate Heat:
Gently stir the water and ice mixture to distribute the cold temperature evenly. This helps to dissipate any residual heat and creates a colder environment for the blanched vegetables.
5. Maintain the Ice Bath:
Keep adding more ice cubes as needed to maintain the cold temperature of the water. The ice bath should be kept as cold as possible to ensure a rapid and effective cooling of the blanched vegetables.
6. Position Near the Stovetop:
Place the ice bath near the stovetop or cooking area where you will be blanching the vegetables. This provides convenient access for transferring the blanched vegetables from the boiling water to the ice bath.
7. Test the Temperature:
Prior to blanching the vegetables, test the temperature of the ice bath water. It should be very cold, but not freezing. Adjust the amount of ice or water as needed to achieve the desired temperature.
Creating an ice bath is a crucial step in blanching vegetables as it helps to rapidly cool down the vegetables and preserve their vibrant colors, textures, and nutrients. With the ice bath prepared, you’re now ready to move on to the next step of the blanching process.
Step 4: Blanch the Vegetables
Blanching vegetables involves immersing them in boiling water for a short period of time. Follow these steps to effectively blanch your vegetables:
1. Prepare Small Batches:
Blanch the vegetables in small batches to ensure even cooking. Overcrowding the pot can result in uneven heat distribution and undercooked vegetables.
2. Lower Vegetables into Boiling Water:
Using a slotted spoon or tongs, carefully lower the vegetables into the boiling water. Submerge them completely to ensure they cook evenly.
3. Set the Timer:
Once all the vegetables are in the boiling water, immediately set a timer to keep track of the blanching time. The blanching time can vary depending on the type and size of the vegetables, typically ranging from 1 to 5 minutes.
4. Monitor the Boil:
Keep an eye on the boiling water and adjust the heat if necessary to maintain a steady boil. Avoid excessive boiling or rolling boils that may cause the vegetables to break apart.
5. Check for Doneness:
As the vegetables blanch, monitor their texture and color. The goal is to achieve a slightly tender texture while maintaining their vibrant colors. Test a piece of the vegetable with a fork or taste it to determine if it has reached the desired doneness.
6. Remove the Vegetables:
When the blanching time is up, promptly remove the vegetables from the boiling water using a slotted spoon or tongs. Shake off any excess water and transfer them immediately to the prepared ice bath to halt the cooking process.
7. Repeat for Remaining Batches:
If you have more vegetables to blanch, repeat the process with each batch, keeping the blanching time consistent for each type of vegetable.
Blanching time may vary depending on the type and size of the vegetables, so it’s important to monitor the process closely. Remember, the goal is to partially cook the vegetables, so they should still remain slightly crisp after blanching.
By following these steps, you can ensure that you blanch your vegetables properly, resulting in perfectly cooked, bright, and tender vegetables ready to be used in your favorite recipes.
Step 5: Cool and Drain the Vegetables
Once you have blanched the vegetables, it is important to cool them down quickly and drain them properly. Follow these steps to ensure your blanched vegetables are cooled and drained effectively:
1. Transfer to the Ice Bath:
Using a slotted spoon or tongs, carefully transfer the blanched vegetables from the boiling water to the prepared ice bath. Submerge them completely in the cold water to rapidly cool them down.
2. Cool for the Same Duration:
Allow the vegetables to cool in the ice bath for the same amount of time they were blanched. This helps to halt the cooking process and preserve the vegetables’ desired texture and color.
3. Swirl or Toss the Vegetables:
Gently swirl or toss the vegetables in the ice bath to ensure they cool evenly on all sides. This helps to prevent residual heat from lingering and continuing to cook the vegetables.
4. Check for Coolness:
After the blanched vegetables have cooled for the appropriate time, check them to ensure that they have reached a cool temperature throughout. They should no longer feel warm to the touch.
5. Drain the Vegetables:
Once the vegetables are cooled, use a colander or strainer to drain off the excess water. Shake the colander gently to remove any excess moisture. Pat them dry with a clean kitchen towel if needed.
6. Use or Store:
You can use the blanched vegetables immediately in your desired recipe or store them for later use. If storing, ensure the vegetables are completely dry before transferring them to airtight containers or freezer bags.
7. No Prolonged Soaking:
Avoid leaving the blanched vegetables in the ice bath for an extended period, as this can result in waterlogged vegetables and loss of flavor. It is best to cool and drain them promptly.
Properly cooling and draining the blanched vegetables is vital to maintain their texture, color, and flavor. By following these steps, you can ensure that your blanched vegetables stay fresh and ready for use in your favorite recipes.
Step 6: Store or Use the Blanched Vegetables
After blanching and properly cooling the vegetables, you have the option to either store them for later use or incorporate them into your favorite recipes. Here are the steps to store or use your blanched vegetables:
1. Storage Containers:
If you plan to store the blanched vegetables, choose suitable airtight containers or freezer bags. Make sure they are clean and dry before transferring the vegetables. Label the containers with the contents and date for reference.
2. Portioning:
If you prefer to portion the blanched vegetables before storing, divide them into portion sizes that you typically use in your recipes. This way, you can easily grab the right amount of vegetables when needed without thawing the entire batch.
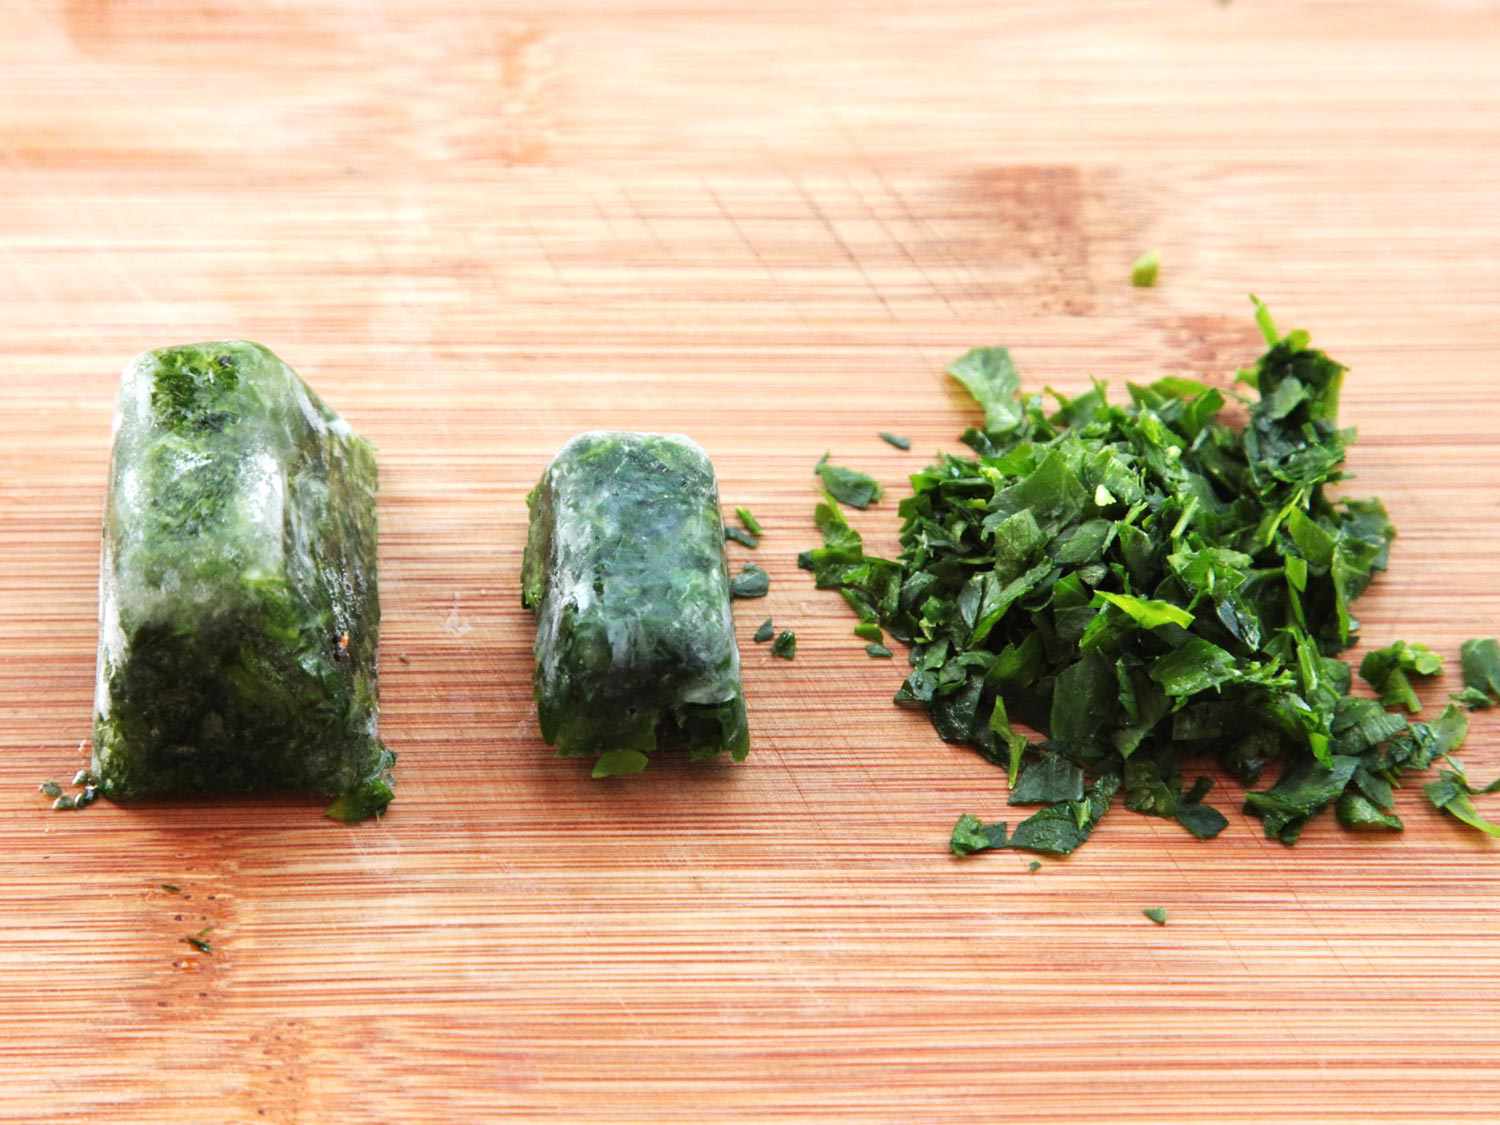
3. Freezer Storage:
If freezing the blanched vegetables, ensure that there is minimal air left in the containers or bags to prevent freezer burn. Seal them tightly, squeezing out excess air if using bags, leaving enough space for expansion. Place the containers or bags in the freezer.
4. Refrigerator Storage:
If storing the blanched vegetables in the refrigerator, make sure they are completely cooled and dry before placing them in airtight containers. Refrigerate promptly and use within a few days to maintain freshness.
5. Use in Recipes:
If you want to use the blanched vegetables immediately, you can incorporate them in various recipes. Add them to stir-fries, salads, soups, stews, or side dishes. The blanched vegetables can bring vibrant colors, flavors, and textures to your culinary creations.
6. Additional Preparations:
Keep in mind that blanched vegetables are partially cooked, so you may need to finish cooking them in recipes. Adjust cooking times accordingly to ensure the desired level of tenderness.
7. Proper Thawing:
If you froze the blanched vegetables and plan to use them later, thaw them in the refrigerator overnight or use the defrost function on your microwave. Avoid thawing them at room temperature to prevent bacterial growth.
Whether you choose to store or use your blanched vegetables, both options offer convenience and the opportunity to enjoy delicious and nutritious dishes year-round.
Tips and Tricks for Blanching Vegetables
Mastering the art of blanching vegetables takes practice and a few handy tricks. Here are some tips to help you achieve perfect results every time:
1. Blanch in Small Batches:
Avoid overcrowding the pot by blanching vegetables in small batches. This ensures even cooking and helps maintain the vibrant color and texture of the vegetables.
2. Timing is Key:
Follow the recommended blanching times for different vegetables to achieve the desired texture. Under-blanching can result in raw or tough vegetables, while over-blanching can lead to mushy or overcooked ones.
3. Monitor the Water Temperature:
Keep an eye on the water temperature during blanching. If the water temperature drops significantly after adding the vegetables, adjust the heat to bring it back to a boil as quickly as possible.
4. Refresh the Ice Bath:
If the ice bath starts to warm up after blanching several batches of vegetables, refresh it with new ice to maintain the cold temperature. This ensures that the vegetables cool down quickly and effectively.
5. Label and Date:
When storing blanched vegetables, label the containers or bags with the contents and date. This makes it easier to track their freshness and prevents confusion when using them later.
6. Blanching for Freezing:
Blanch vegetables that you plan to freeze for longer storage. This pre-blanching process helps preserve quality, nutrients, and flavors, making the vegetables freezer-friendly for later use.
7. Use High-Quality Vegetables:
Start with fresh, high-quality vegetables for blanching. The quality of the vegetables greatly affects the end result, so choose produce that is in its prime to ensure the best flavors and textures.
8. Prepare for Drying:
After blanching, ensure that the blanched vegetables are thoroughly drained and dried before storage or using them in recipes. Excess moisture can cause the vegetables to become soggy or promote spoiling.
9. Enjoy the Nutrition Boost:
Blanching helps preserve the nutrients in vegetables. Remember to use the blanching liquid for soups or stocks to ensure you benefit from the nutrients that leached out during the blanching process.
10. Experiment with Seasonings:
While blanching vegetables, consider adding flavor-enhancing elements to the blanching water, such as herbs, spices, or a squeeze of citrus. This infuses subtle flavors into the vegetables, further enhancing their overall taste.
By incorporating these tips and tricks into your blanching routine, you can elevate your vegetable preparations and create dishes that are visually appealing, delicious, and packed with nutrients.
Conclusion
Congratulations! You now have a comprehensive understanding of the blanching process and how it can transform your vegetable preparations. With the knowledge gained from this guide, you can confidently blanch vegetables to perfection, preserving their vibrant colors, textures, and nutrients.
Blanching vegetables is a versatile cooking technique that offers numerous benefits. Not only does it help to retain the natural colors and flavors of the vegetables, but it also ensures food safety by killing surface bacteria. Blanching also softens the texture of vegetables, making them more enjoyable to eat while still maintaining a slight crunch.
Remember to follow each step carefully, from preparing the vegetables to blanching them in boiling water and swiftly cooling them in an ice bath. Proper cooling and draining of blanched vegetables are crucial for maintaining their freshness, whether you decide to store them for later use or incorporate them into your favorite recipes right away.
By blanching, you can extend the shelf life of vegetables, making them available throughout the year. Whether you plan to freeze them for long-term storage or use them immediately, blanching is an essential step that ensures the quality, flavor, and nutritional value of your vegetables.
With practice, you will become more comfortable with blanching different types of vegetables, experimenting with flavors, and adjusting blanching times to achieve your desired results. So, get ready to enjoy perfectly cooked and vibrant vegetables in your dishes, enhancing their visual appeal and providing a nutritious boost.
So go ahead and explore the wonderful world of blanching vegetables. Elevate your culinary creations, impress your family and friends, and embark on a journey of delightful flavors and healthy eating. Happy blanching!