Home>Types of Gardening>Edible Gardening>How To Grow Fresh Herbs
Edible Gardening
How To Grow Fresh Herbs
Modified: February 6, 2024
Learn how to grow fresh herbs in your own garden with our comprehensive guide to edible gardening. Start cultivating your own herb garden today!
(Many of the links in this article redirect to a specific reviewed product. Your purchase of these products through affiliate links helps to generate commission for Chicagolandgardening.com, at no extra cost. Learn more)
Table of Contents
Introduction
Welcome to the wonderful world of edible gardening, where you can grow your own fresh and flavorful herbs right in the comfort of your own home. Whether you have a spacious backyard or a small balcony, edible gardening is a rewarding and fulfilling hobby that allows you to enjoy the fruits of your labor.
There’s nothing quite like the taste of fresh herbs in your favorite dishes. From the zesty flavor of basil to the aromatic scent of rosemary, growing herbs at home not only adds a burst of flavor to your meals but also provides numerous health benefits. Herbs are packed with essential vitamins, minerals, and antioxidants that can support your immune system and overall wellness.
But where do you begin? How do you ensure your herbs thrive and produce an abundance of fragrant leaves? In this article, we will guide you through the process of growing fresh herbs, from selecting the right location to troubleshooting common problems. Whether you’re a seasoned gardener or a first-time herb grower, these tips and techniques will help you create a thriving edible garden.
Before you roll up your sleeves and dig in, it’s important to understand that growing herbs is a labor of love. It requires patience, care, and attention to detail. But don’t let that discourage you! The joy of harvesting your own herbs and infusing your dishes with their distinct flavors is truly priceless.
So, let’s dive in and discover the steps to take to grow your own fresh herbs. Get ready to embark on a journey of taste, fragrance, and the satisfaction of nurturing plants from seed to harvest.
Selecting the Right Location
When it comes to growing herbs, selecting the right location is crucial for their overall health and productivity. While some herbs can tolerate partial shade, most herbs thrive in full sunlight. Therefore, it is important to choose a location that receives at least 6-8 hours of direct sunlight each day.
If you have a backyard, consider designating an area that receives ample sunlight and is protected from strong winds. This will provide your herbs with the ideal growing conditions. Alternatively, if you live in an apartment or have limited outdoor space, don’t worry! Herbs can also be grown in containers and placed on a balcony or near a sunny window indoors.
In addition to sunlight, it is important to consider the drainage and soil quality of your chosen location. Herbs prefer well-drained soil, so if your soil tends to retain too much water, you may need to amend it to improve drainage. Adding organic matter, such as compost or perlite, can help create a looser soil texture that allows excess moisture to drain away.
If you’re growing herbs in containers, make sure they have drainage holes to prevent waterlogging. Additionally, raised beds can be a great option for growing herbs, as they provide better drainage and allow you to control the soil quality more easily.
Another factor to consider when selecting the right location is proximity to your kitchen. Growing herbs near your cooking area makes it convenient to harvest them as needed, fresh from the garden. This not only ensures the best flavor for your dishes but also adds a delightful aroma to your cooking space.
Lastly, keep in mind any potential obstacles that may hinder your herbs’ growth. Large trees or buildings can cast shade and overshadow your herb garden, preventing them from receiving sufficient sunlight. Additionally, avoid planting herbs too close to trees or shrubs that may compete for nutrients and water.
By carefully selecting the right location for your herb garden, you are laying the foundation for successful growth and abundant harvests. Remember to consider factors such as sunlight, drainage, soil quality, and proximity to your kitchen. With the right conditions, your herbs will thrive and provide you with a bountiful supply of fresh and flavorful leaves.
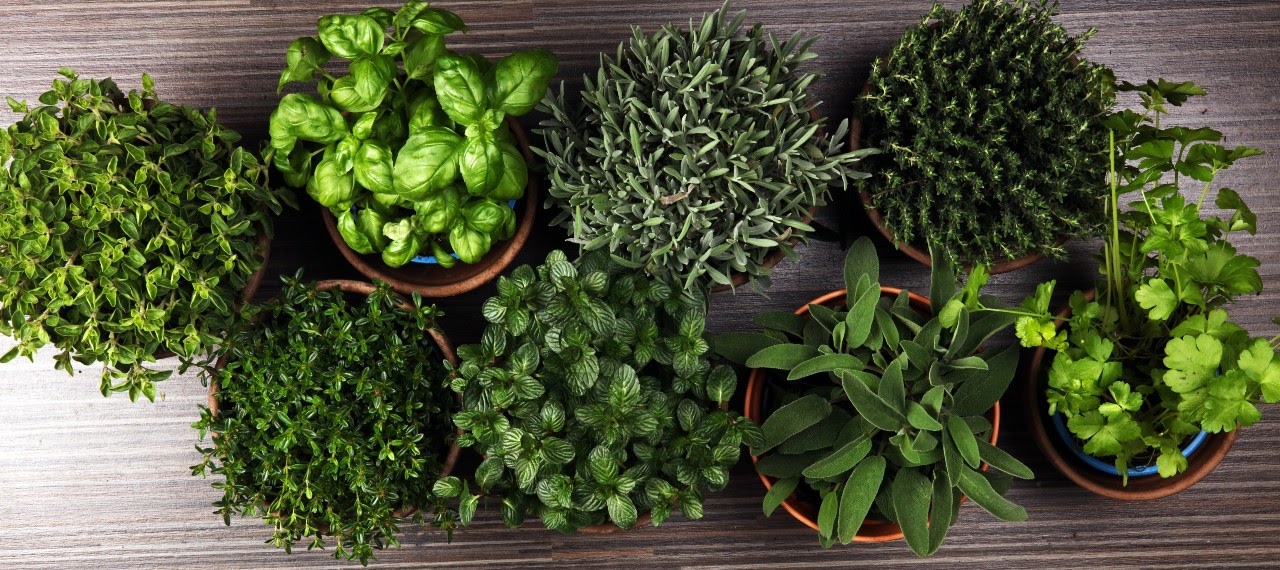
Choosing the Right Herbs
When it comes to choosing the right herbs for your garden, there are a wide variety of options to explore. From classic culinary herbs like basil and thyme to medicinal herbs like chamomile and lavender, you can create a diverse collection that suits your preferences and needs.
One important consideration when selecting herbs is your own personal taste and cooking style. Think about the flavors and aromas you enjoy the most. Are you a fan of Italian cuisine? Consider planting basil, oregano, and parsley. Are you a tea lover? Herbs like chamomile, mint, and lemon balm can provide refreshing and soothing teas.
It’s also important to consider the climate in your area. Some herbs are more tolerant of heat or cold, while others prefer milder conditions. Research and choose herbs that are well-suited to your climate to increase their chances of thriving.
Additionally, think about the space available in your garden or containers. Some herbs, like mint or rosemary, can grow quite vigorously and may require more space to spread. If you have limited space, consider dwarf or compact varieties of herbs.
Furthermore, consider the purpose of your herb garden. Are you primarily growing for culinary use, medicinal purposes, or both? This will help you choose herbs that align with your goals and interests.
When selecting herbs, it’s also a good idea to opt for varieties that are known for their disease resistance and pest tolerance. This can help minimize the need for chemical interventions and make your gardening journey more sustainable.
Lastly, don’t be afraid to experiment and try new herbs. There is a vast world of flavors and scents waiting to be discovered. Consider incorporating lesser-known herbs like lemongrass, sorrel, or tarragon to add a unique twist to your dishes.
Remember, selecting the right herbs for your garden is a personal choice that should align with your culinary preferences, climatic conditions, available space, and desired purposes. By carefully considering these factors, you can create a well-rounded herb garden that brings joy, flavor, and beauty to your home.
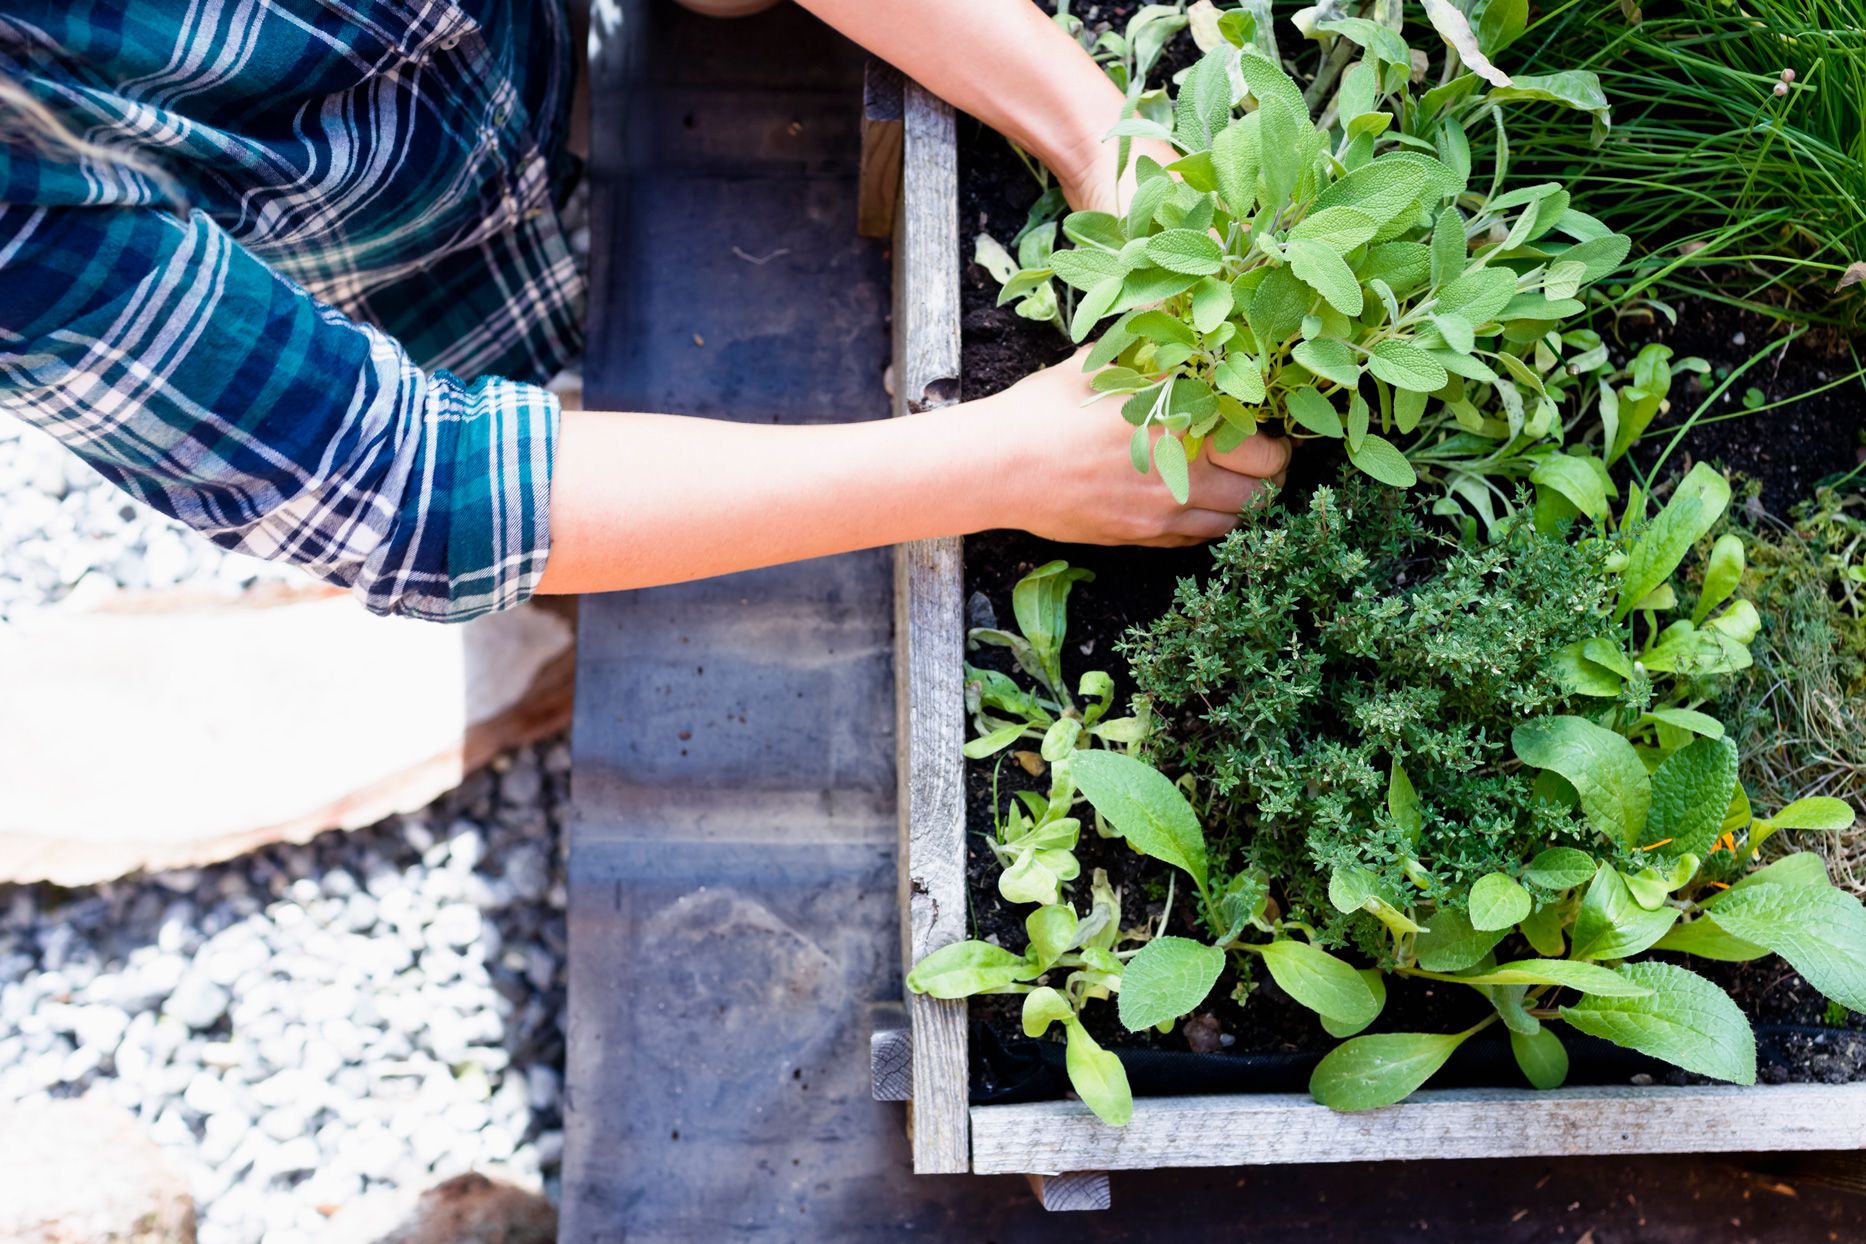
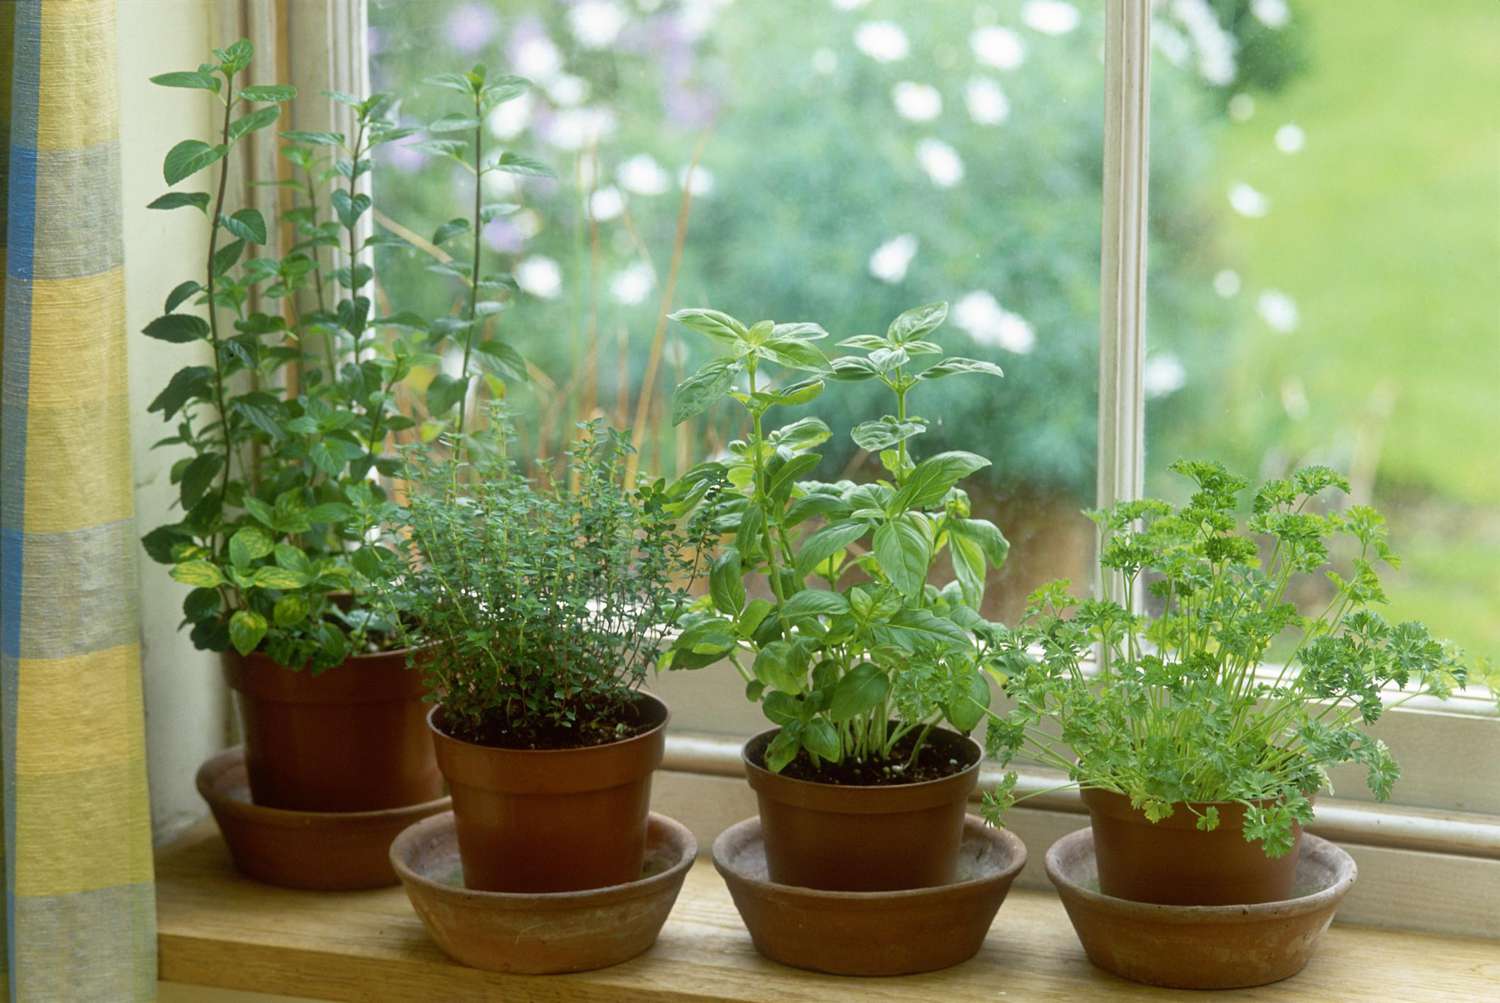
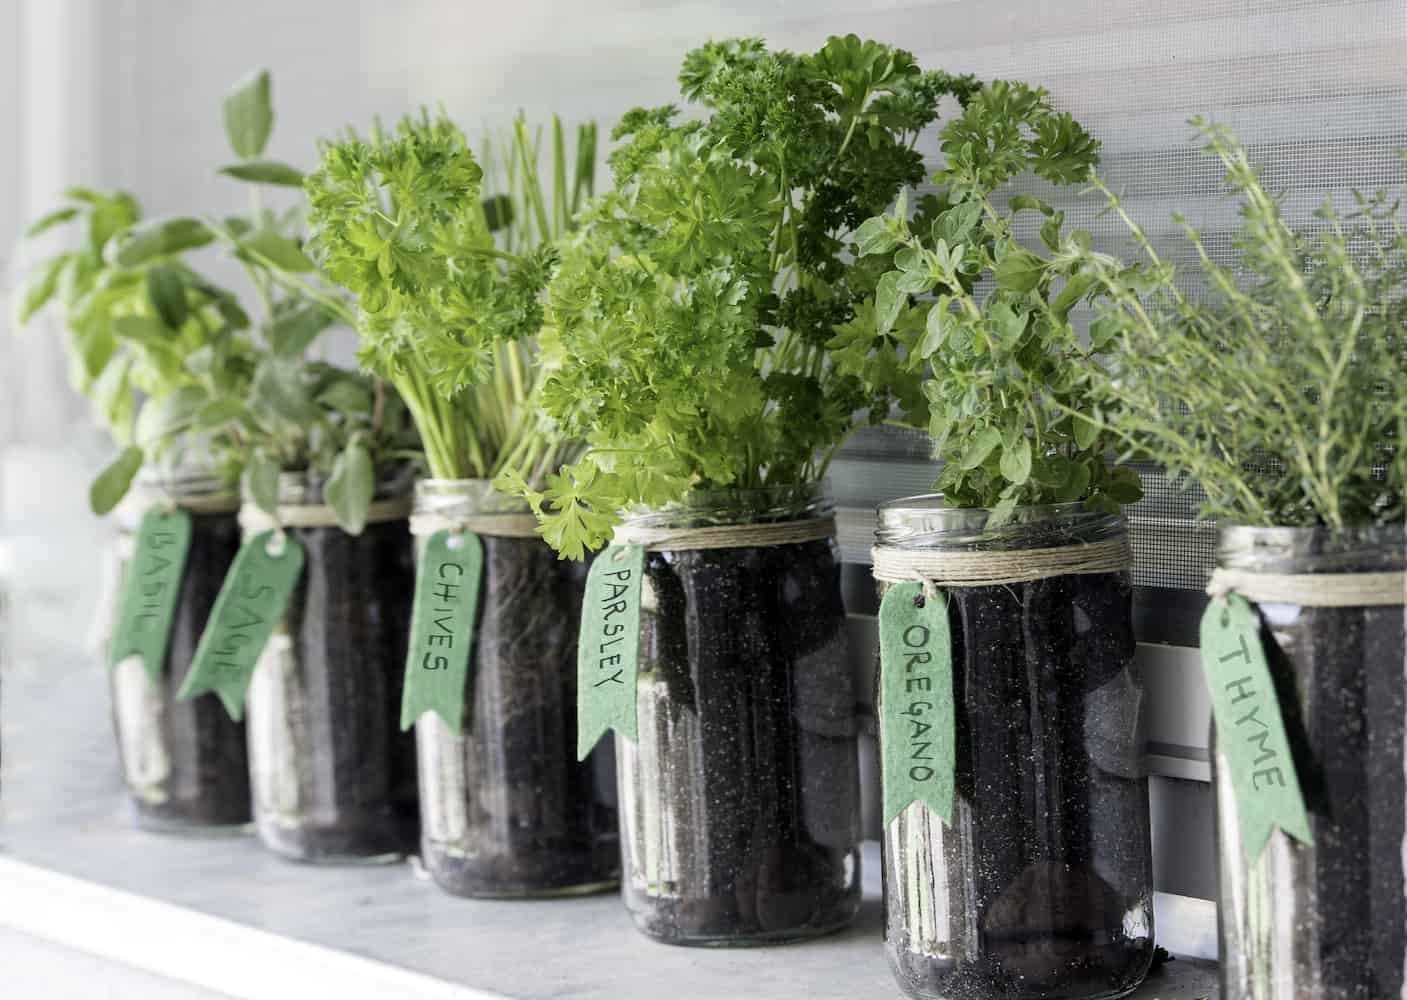
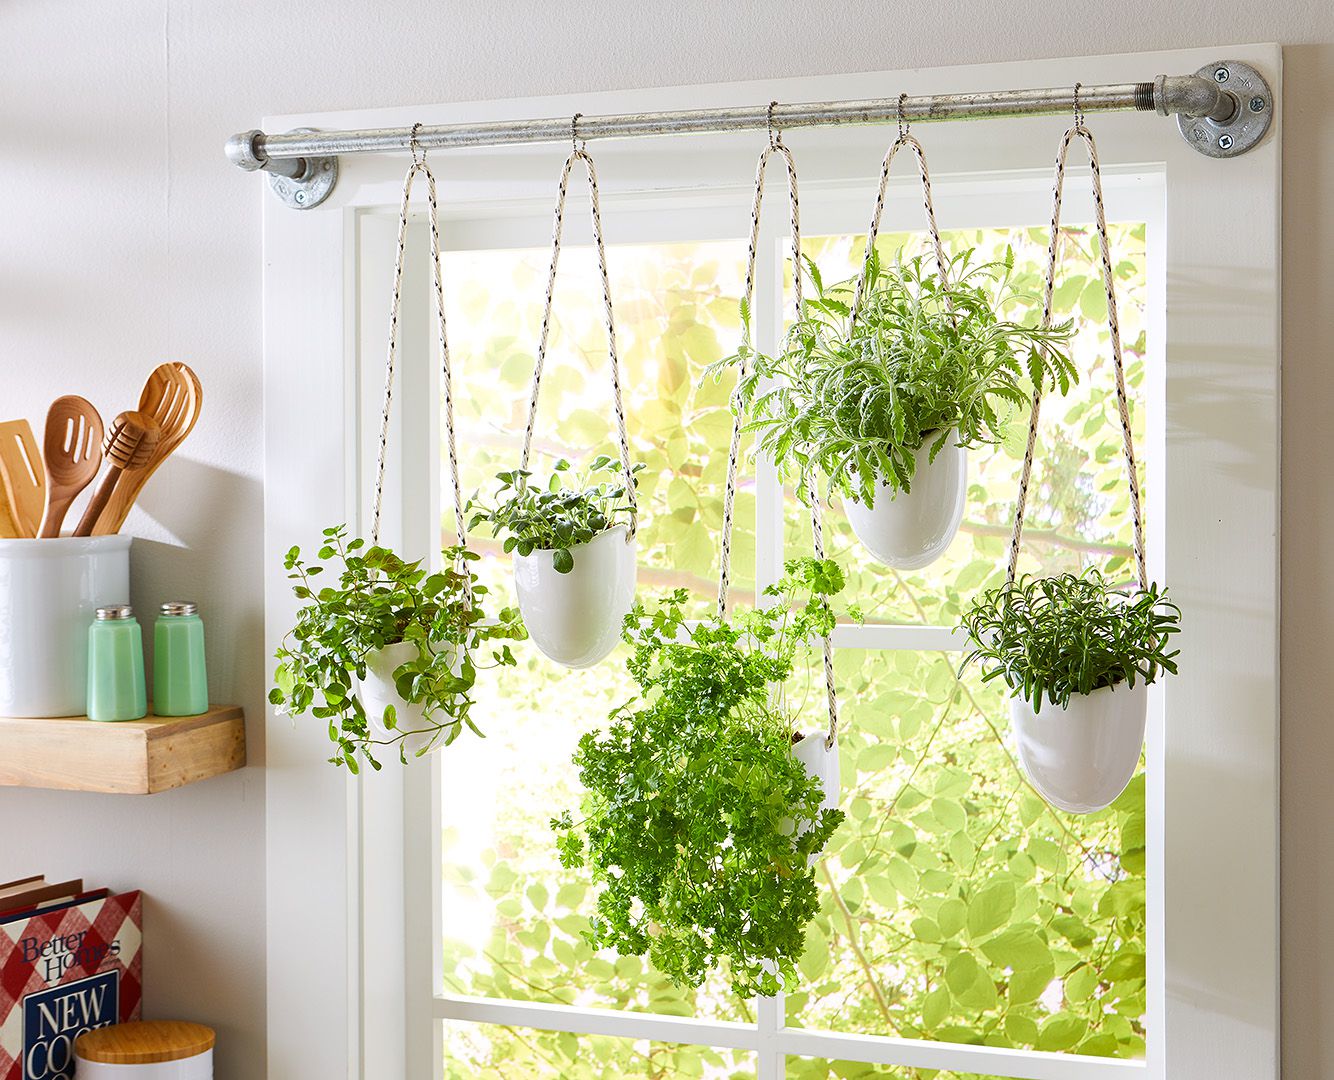
Choosing the Right Containers
When it comes to growing herbs, choosing the right containers is essential, especially if you have limited space or no access to a garden. The right containers not only provide proper drainage but also allow you to control the soil quality and create an ideal environment for your herbs to thrive.
First, consider the size of the container. The size will depend on the herb’s growth habit and root system. For smaller herbs like basil or thyme, a 6-8 inch deep pot should be sufficient. However, for larger herbs like rosemary or mint, you may need a deeper and wider container to accommodate their root spread.
Next, ensure that the containers have drainage holes. Proper drainage is crucial to prevent waterlogging, which can lead to root rot. If your containers do not have drainage holes, make sure to create some by drilling or puncturing holes at the bottom. This will allow excess water to escape and prevent the herbs from sitting in soggy soil.
The material of the containers is another factor to consider. Terracotta or clay pots are popular choices as they are porous and allow for better airflow and moisture regulation. However, they can dry out quickly, so you may need to water your herbs more frequently. Plastic or resin containers are lightweight and retain moisture better, but they may not provide as good airflow to the roots.
Additionally, consider the aesthetic appeal of the containers. Choose containers that complement your space and add a touch of beauty to your herb garden. You can opt for colorful pots, decorative planters, or even repurpose items like old buckets or mason jars. Get creative and have fun with the container selection process!
Furthermore, keep in mind the maintenance needs of the containers. Make sure they are easy to clean and won’t retain excess moisture or harbor pests or diseases. Regularly check the containers for any cracks or damage and replace them if necessary.
Lastly, if you have limited space, vertical gardening can be a great option. Vertical planters or hanging baskets allow you to maximize your growing area and create a stunning vertical display of herbs. This is especially beneficial for herbs with cascading or trailing growth habits, such as thyme or oregano.
By choosing the right containers for your herbs, you can provide them with a suitable growing environment and maximize your gardening space. Remember to consider the size, drainage, material, aesthetics, maintenance, and explore vertical gardening options to create a functional and visually appealing herb garden.
Preparing the Soil
Preparing the soil is a crucial step in growing healthy and productive herb plants. The right soil conditions provide essential nutrients and allow for proper root development, leading to robust growth and flavorful herbs. Follow these steps to prepare your soil for your herb garden:
- Clear the area: Start by clearing the area of any weeds, rocks, or debris. This will create a clean and open space for your herbs to grow.
- Loosen the soil: Use a garden fork or a tiller to loosen the soil. Breaking up compacted soil allows for better root penetration and improves drainage.
- Amend the soil: Assess the quality of your soil and make any necessary amendments. Herbs generally prefer well-drained soil with a slightly acidic to neutral pH level (around 6.0-7.0). If your soil is heavy clay, add organic matter, such as compost or aged manure, to improve its structure and drainage. For sandy soil, incorporate organic matter to improve its water-holding capacity.
- Test the soil: If you’re unsure about the nutrient levels in your soil, consider getting a soil test. This will help you determine any deficiencies and allow you to make targeted amendments. Soil testing kits are widely available and provide valuable insights into the soil’s pH and nutrient content.
- Add organic matter: Mixing in organic matter like compost or well-rotted manure enriches the soil with nutrients and improves its overall fertility. Layer a few inches of organic matter on top of the soil and mix it thoroughly using a garden fork or tiller.
- Level and smooth the soil: After incorporating organic matter, level and smooth the soil surface. This will provide a uniform planting area and allow for easier seed sowing or transplanting.
Remember, soil preparation is an ongoing process. Regularly adding organic matter and amending the soil based on your herbs’ needs will help maintain healthy soil structure and fertility.
By taking the time to prepare the soil properly, you are setting the stage for your herbs’ success. Nutrient-rich and well-drained soil provides a healthy foundation for your plants and promotes vigorous growth and abundant harvests.
Planting the Seeds
Planting seeds is an exciting and rewarding part of growing herbs. Whether you’re starting from scratch or sowing seeds to expand your herb garden, proper methods and care will ensure successful germination and healthy plants. Follow these steps to plant your herb seeds:
- Select high-quality seeds: Choose seeds from reputable sources to ensure quality and viability. Check the seed packets for information on the germination period, planting depth, and spacing requirements for each herb variety.
- Prepare the containers: Fill seed trays or small pots with a well-draining potting mix. Moisten the soil gently before planting to provide a favorable environment for seed germination.
- Sow the seeds: Sow the seeds according to the instructions on the seed packets. As a general rule, seeds should be planted at a depth of about twice their size. Lightly cover the seeds with a thin layer of soil and gently press down to ensure good soil-to-seed contact.
- Label the containers: Use plant markers or labels to identify the herbs you’ve planted. This will help you keep track of the different varieties and their growing progress.
- Water gently: After sowing the seeds, water the containers gently. Use a watering can or spray bottle to avoid disturbing the seeds or washing them away. Keep the soil moist, but not waterlogged, throughout the germination period.
- Provide optimal conditions: Place the containers in a warm location with ample sunlight. Most seeds germinate best in temperatures between 65-75°F (18-24°C). Consider using a seedling heat mat or placing the containers near a heat source to maintain the desired temperature.
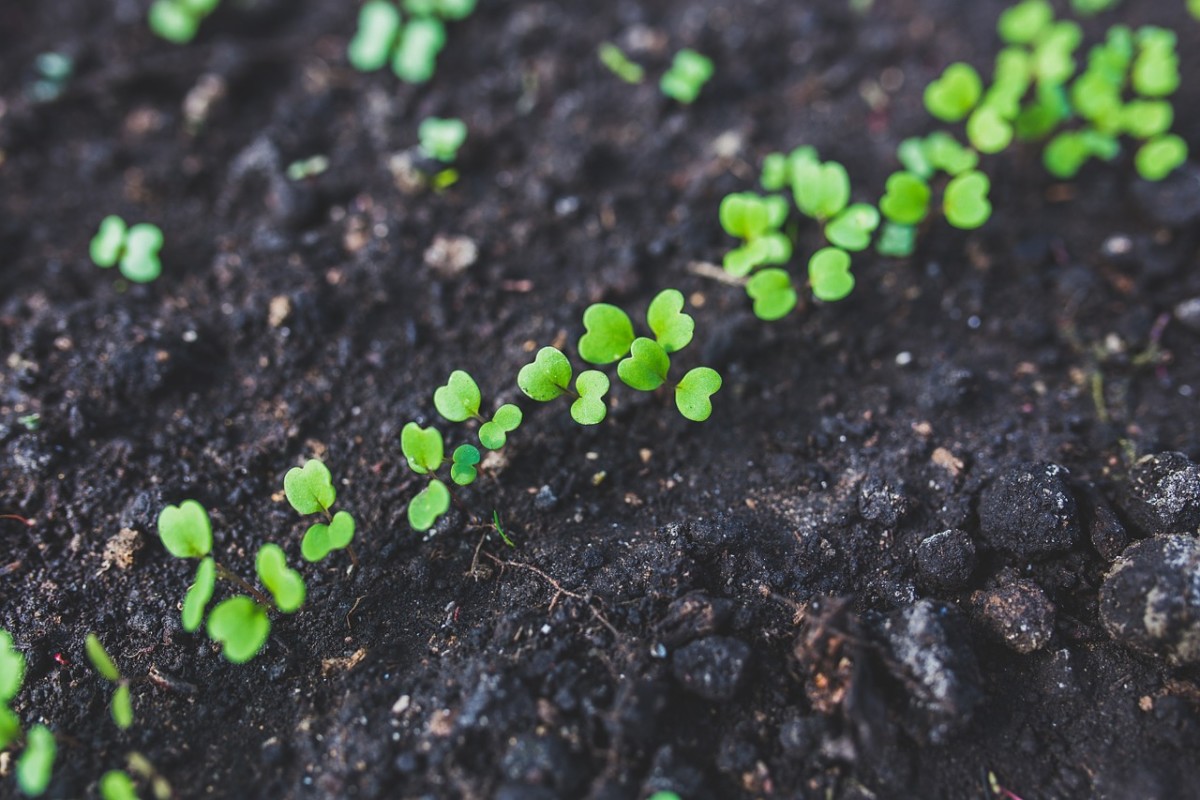
- Thin out seedlings: Once the seedlings emerge and develop their first set of true leaves, thin them out to ensure proper spacing. This allows the remaining seedlings to grow without competition for nutrients and space.
- Transplant when ready: When the seedlings are strong and mature enough, usually with several sets of true leaves, they can be transplanted into larger containers or directly into the garden. Be gentle when handling the delicate stems and roots to avoid damaging the plants.
Remember to provide consistent care and attention by watering regularly, providing adequate sunlight, and protecting the seedlings from extreme weather conditions or pests. With proper care, your herb seeds will grow into healthy and vibrant plants ready to delight your senses.
Proper Watering and Drainage
Watering plays a vital role in the growth and health of your herb plants. It is crucial to strike the right balance, providing enough water for the plants’ needs while ensuring proper drainage to prevent waterlogged roots. Follow these guidelines for proper watering and drainage:
1. Watering frequency: The frequency of watering depends on several factors, including the herb variety, weather conditions, and soil type. As a general rule, herbs prefer moist but not waterlogged soil. Check the moisture level by inserting your finger about an inch into the soil. If it feels dry, it’s time to water.
2. Deep watering: When you water your herbs, aim for deep watering. This encourages the development of strong root systems, as the water seeps deeper into the soil. Avoid shallow watering, which only moistens the top layer and can lead to shallow root growth.
3. Watering techniques: Use a watering can or a gentle spray nozzle to water your herbs. Avoid using a strong stream of water, as it can dislodge seeds, damage delicate seedlings, or compact the soil. Water at the base of the plants, focusing on the soil rather than wetting the foliage excessively.
4. Adequate drainage: Good drainage is crucial to prevent waterlogged roots, which can lead to root rot and other diseases. Ensure that your containers or garden beds have proper drainage holes to allow excess water to escape. If necessary, add a layer of gravel or small rocks at the bottom of the containers to improve drainage.
5. Mulching: Applying a layer of organic mulch around your herb plants can help retain soil moisture, regulate soil temperature, and prevent weed growth. Organic materials like straw, wood chips, or dried leaves can be used as mulch. However, avoid piling the mulch directly against the stems, as this can create a favorable environment for pests and diseases.
6. Watering routine: Establish a watering routine based on your herbs’ needs and environmental conditions. Monitor the soil moisture regularly, adjusting your watering schedule as necessary. Be mindful of weather changes, as hot and dry periods may require more frequent watering, while rainy periods may require less.
7. Avoid overwatering: Overwatering can be just as harmful as under watering. It can lead to root rot, nutrient leaching, and weak plant growth. If you notice yellowing leaves, wilting, or a foul smell from the soil, it may be a sign of overwatering. Adjust your watering schedule accordingly.
Proper watering and drainage are essential for the overall health and productivity of your herb plants. By following these guidelines and understanding the specific needs of your herbs, you can ensure optimal moisture levels and help your herbs thrive.
Providing Adequate Sunlight
Adequate sunlight is crucial for the healthy growth and development of your herb plants. Sunlight is the primary source of energy for photosynthesis, a process that enables plants to produce their own food. Follow these guidelines to ensure your herbs receive the right amount of sunlight:
1. Full sun: Most herbs thrive in full sunlight, which is defined as at least 6-8 hours of direct sunlight per day. Choose a location for your herb garden that receives ample sunlight throughout the day. Observe the area at different times to ensure it isn’t shaded by trees, buildings, or other structures.
2. Partial shade: While full sun is ideal, certain herbs can tolerate partial shade, especially in hotter climates. If your garden has areas with partial shade, select herbs that can thrive in such conditions, such as parsley, mint, or chives. Be mindful that too much shade can lead to weak and leggy growth.
3. Morning sun: In areas with intense afternoon sun or high temperatures, morning sunlight is preferable. Morning sun provides gentle and cooler light, which helps prevent heat stress and allows herbs to photosynthesize without the risk of scorching. Observe your garden to determine which areas receive morning sun.
4. Reflective surfaces: Utilize reflective surfaces to enhance sunlight exposure for your herbs. Light-colored walls, fences, or even aluminum foil placed strategically can help redirect and amplify sunlight towards your plants. This is particularly useful in areas with limited sun exposure.
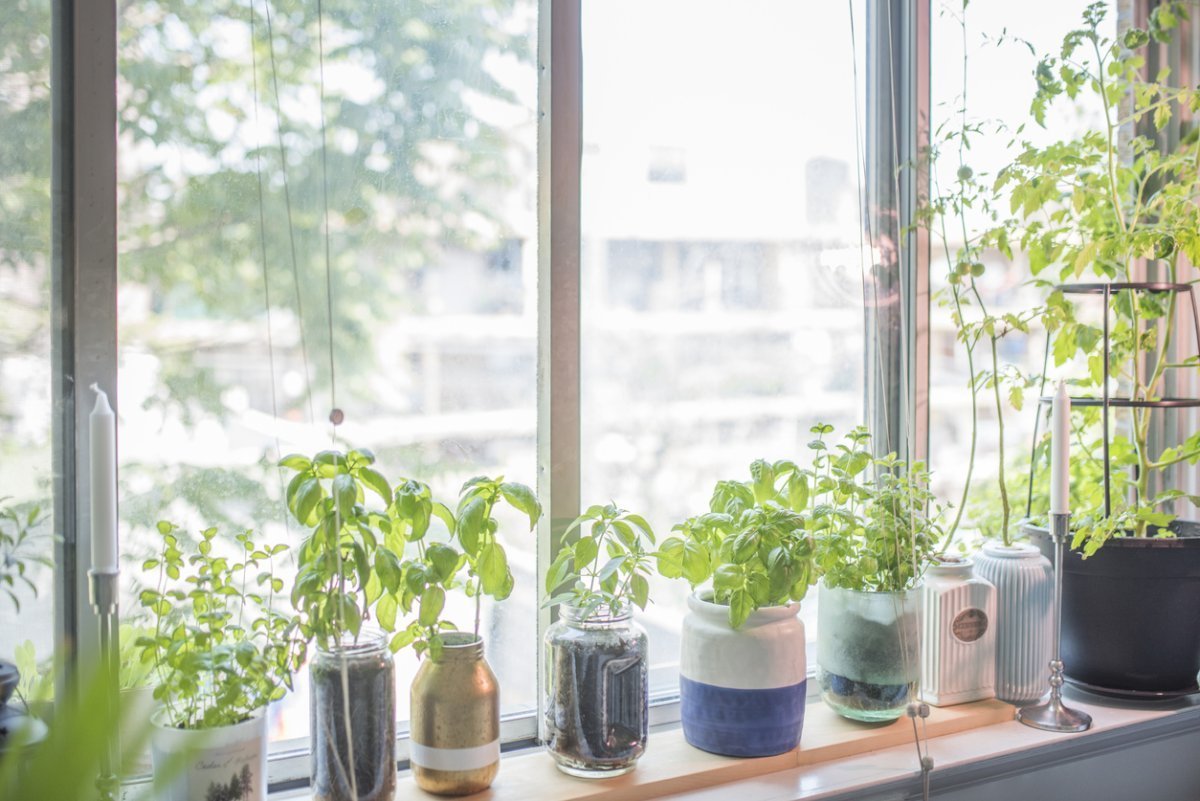
5. Container flexibility: If you have limited access to full sun areas in your garden, consider growing herbs in containers. Containers provide flexibility, allowing you to move your herbs to different locations throughout the day to maximize their sun exposure. Remember to select lightweight containers that can be easily transported.
6. Monitor plant response: Pay attention to your herbs’ response to sunlight. If the leaves appear pale, elongated, or show signs of bleaching, it might indicate too much direct sunlight. Conversely, if the plants appear leggy, with pale or yellowish leaves, it could be a sign of insufficient sunlight. Adjust their exposure accordingly.
7. Indoor herb gardens: If you don’t have access to outdoor spaces or live in an apartment, consider growing herbs indoors near a sunny window. South-facing windows typically provide the most light. Rotate your herb pots to ensure proper sun exposure on all sides of the plants.
Providing adequate sunlight is essential for the proper growth and vitality of your herb plants. By understanding their specific sunlight requirements and making necessary adjustments, you can create a favorable environment that allows your herbs to flourish and thrive.
Fertilizing the Plants
Fertilizing is an important aspect of herb gardening, as it provides essential nutrients that promote healthy growth and enhance herb flavor. While herbs are generally resilient and don’t require heavy feeding, adding the right nutrients can boost their productivity. Follow these guidelines for fertilizing your herb plants:
1. Organic fertilizers: Opt for organic fertilizers to promote the overall health of your herbs and minimize the use of synthetic chemicals. Organic fertilizers, such as compost, aged manure, or worm castings, enrich the soil with beneficial microorganisms and slowly release nutrients.
2. Compost application: Prioritize adding compost to your herb garden. Compost not only improves soil structure and drainage but also provides a rich source of nutrients. Apply a layer of compost around the base of your plants, about half an inch to an inch deep, and gently work it into the topsoil.
3. Slow-release fertilizers: Consider using slow-release fertilizers specifically formulated for herbs or vegetables. These granular fertilizers release nutrients gradually over time, ensuring a steady supply for the plants. Follow the package instructions for application rates based on the herb variety and container size.
4. Balanced NPK ratio: Look for fertilizers with a balanced ratio of nitrogen (N), phosphorus (P), and potassium (K). Nitrogen promotes leafy growth, phosphorus enhances root development and flowering, while potassium supports overall plant health and disease resistance. A balanced NPK ratio, such as 10-10-10 or 14-14-14, is generally suitable for most herb plants.
5. Avoid excessive fertilization: It’s important not to over-fertilize your herbs, as this can lead to excessive vegetative growth, reduced essential oil production, and increased susceptibility to pests and diseases. Follow the recommended application rates on the fertilizer packaging and adjust based on the specific requirements of your herbs.
6. Foliar feeding: Occasionally, you can provide a nutrient boost through foliar feeding. Dilute a water-soluble organic fertilizer and spray it gently on the foliage of your herbs. This method allows nutrients to be absorbed directly through the leaves, providing a quick nutrient uptake.
7. Regular monitoring: Observe your herb plants regularly for signs of nutrient deficiencies or excessive fertilization. Pale or yellowing leaves, stunted growth, or reduced herb flavor can indicate nutrient imbalances. Adjust your fertilizer application accordingly and make sure to address any underlying issues.
Remember, proper fertilization is about providing the right nutrients at the right time and in the right amounts. By practicing responsible fertilizing techniques, you can ensure the nutritional well-being of your herbs and support their optimal growth and flavor.
Pruning and Harvesting Techniques
Pruning and harvesting are essential practices in maintaining the health and productivity of your herb garden. Proper pruning promotes bushier growth and prevents leggy or woody stems, while harvesting ensures you can enjoy the fresh flavors of your herbs. Follow these techniques for effective pruning and harvesting:
1. Pruning:
- Pinching: Pinch off the tips of your herbs when they reach about 4-6 inches in height. This encourages branching and results in a bushier plant. Use your thumb and forefinger to pinch just above a leaf node, where new growth springs from.
- Remove dead or damaged growth: Regularly inspect your herb plants and remove any dead, yellowed, or damaged leaves or stems. This helps prevent the spread of diseases and enhances the overall appearance and health of the plant.
- Thinning: If your herbs become overcrowded or start to compete for space and light, you may need to thin them out. Carefully remove excess seedlings or mature plants to allow adequate airflow and prevent overcrowding.
- Prune for shape and size: Depending on the herb variety and growth habit, you may need to prune for shape and size control. Trim back any long or straggly stems to maintain a compact and tidy appearance. Pruning can also prevent herbs from becoming too leggy or sprawling.
2. Harvesting:
- Timing: Harvest your herbs when they have reached their optimum flavor and aroma. This often occurs before the plants flower. Harvest early in the morning, after the dew has dried, for the best flavor concentration.
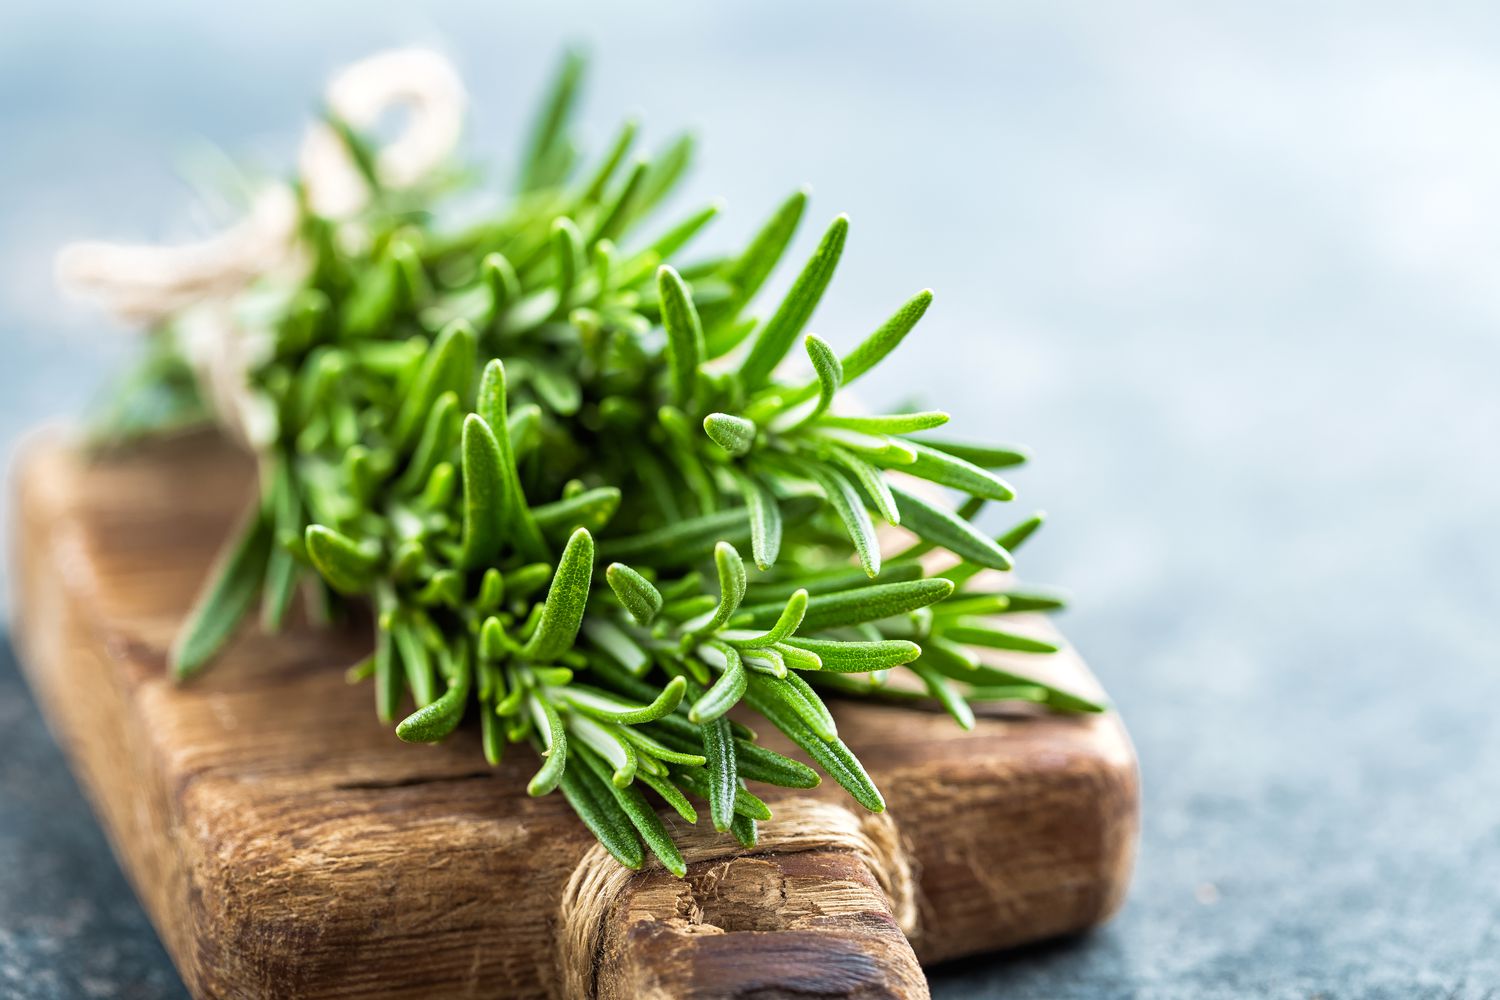
- Harvesting methods: Depending on the herb, you can employ different harvesting methods. For leafy herbs like basil or parsley, selectively pluck individual leaves or cut branches just above a leaf node. For herbs with woody stems like rosemary or thyme, trim off the tips or branches as needed.
- Leave growth tips: When harvesting, ensure you leave behind some growth tips to encourage continued growth and replenishment. Avoid harvesting more than one-third of the plant at a time to maintain overall plant health.
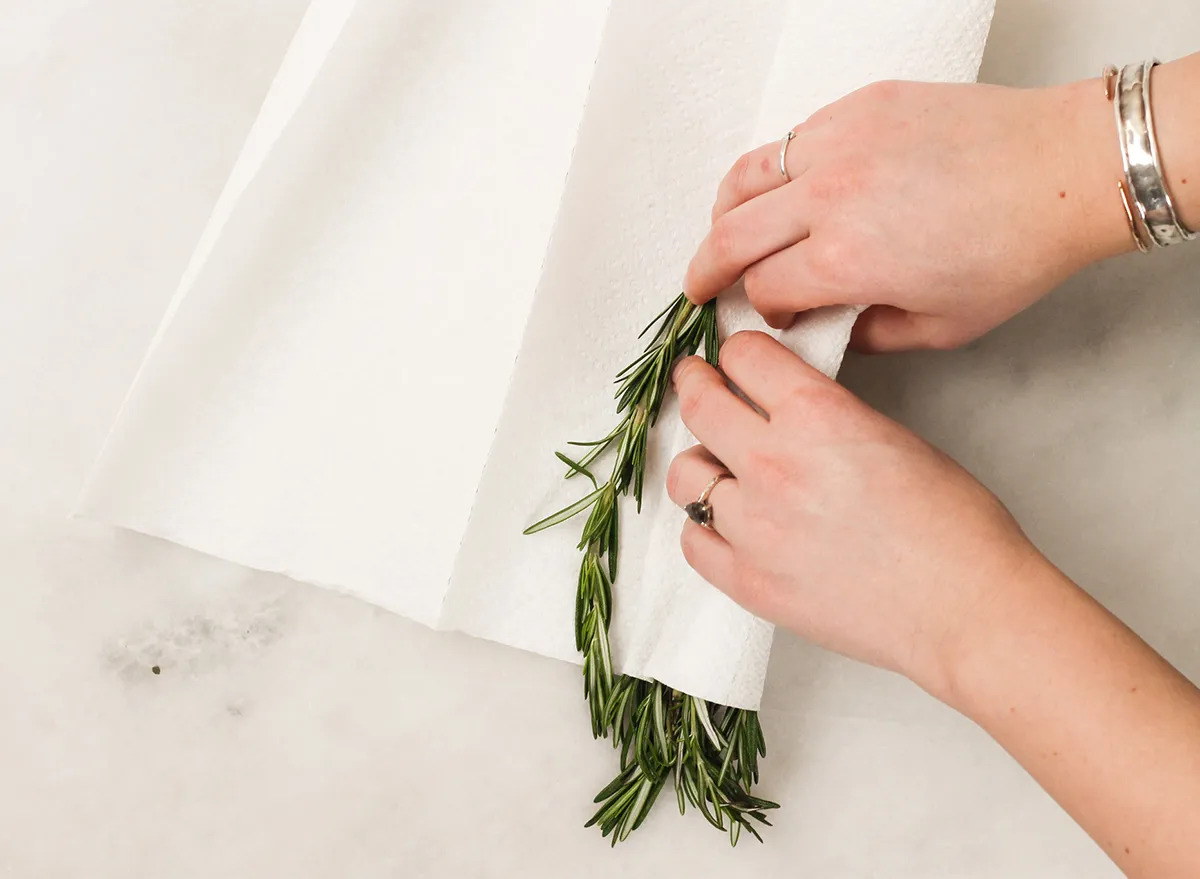
- Proper storage: After harvesting, gently wash your herbs and dry them thoroughly before storing. Store them in airtight containers, either loosely packed or as dried herbs, to preserve their flavor. Alternatively, you can freeze herbs or create herb-infused oils for future use.
By practicing proper pruning and harvesting techniques, you can keep your herb plants in optimal condition, promote healthy growth, and enjoy a bountiful supply of fresh herbs throughout the growing season.
Troubleshooting Common Problems
While growing herbs can be a rewarding experience, it’s not uncommon to encounter some common problems along the way. Understanding and addressing these issues promptly can help ensure the success of your herb garden. Here are some common problems you may encounter and how to troubleshoot them:
1. Pest infestations: Common herb pests include aphids, caterpillars, and mealybugs. To control pests, try using natural remedies such as neem oil, insecticidal soap, or companion planting with pest-repellent herbs. Regularly inspect your plants for signs of pests and remove them manually if necessary.
2. Diseases: Fungal diseases like powdery mildew or root rot can affect herb plants. To prevent disease, provide good air circulation, avoid overwatering, and practice proper hygiene by removing any infected plant parts. You may also consider using organic fungicides or disease-resistant varieties.
3. Nutrient deficiencies: Nutrient deficiencies can manifest as yellowing leaves, stunted growth, or poor flavor. Use organic fertilizers to replenish nutrients in the soil. Conduct a soil test to identify any specific deficiencies and adjust your fertilization regime accordingly.
4. Overwatering or underwatering: Improper watering practices can lead to root rot or drought stress. Ensure your herbs receive consistent moisture without becoming waterlogged. Check soil moisture regularly and adjust your watering frequency accordingly.
5. Leggy growth: Leggy growth occurs when herbs become elongated and weak. This is often caused by insufficient sunlight or overcrowding. Ensure your herbs receive adequate sunlight and provide proper spacing to promote bushier growth. Use pruning techniques to trim back leggy stems.
6. Heat stress: High temperatures can cause herbs to wilt or become scorched. Provide shade during the hottest part of the day, increase airflow around the plants, and water regularly to help alleviate heat stress. Consider using shade cloths or providing temporary shade for herbs during extreme heatwaves.
7. Weeds: Weeds compete with herbs for nutrients and water. Regularly inspect your garden beds or containers and remove any weeds as soon as they appear. Using mulch can also help suppress weed growth and conserve soil moisture.
8. Transplant shock: When transplanting herbs, they may experience shock and show signs of wilting or slowing growth. Take care to minimize root damage during transplantation, water thoroughly after transplanting, and provide shade or extra moisture during the recovery period.
By being vigilant and proactive in identifying and addressing these common problems, you can help maintain the health and vitality of your herb plants, ensuring a successful and bountiful herb garden.
Conclusion
Congratulations! You have now gathered a wealth of knowledge on growing your own fresh herbs. Edible gardening is a fulfilling and rewarding activity that allows you to cultivate flavorful herbs right at your fingertips. By following the steps outlined in this guide, you can create an abundant and thriving herb garden.
Remember, selecting the right location with adequate sunlight, choosing the appropriate herbs for your taste and climate, and using the right containers with proper drainage are fundamental to successful herb cultivation. Preparing the soil, planting the seeds, and providing proper care, including watering, fertilizing, pruning, and harvesting, will ensure your plants flourish.
Throughout your herb gardening journey, you may encounter challenges such as pests, diseases, nutrient deficiencies, or improper watering. However, the key is to address these issues promptly and appropriately, implementing organic solutions and modifying your gardening practices as needed.
As you begin harvesting your herbs and enjoying their fresh flavors in your culinary creations, take a moment to appreciate the satisfaction and fulfillment that comes from growing your own food. Share your harvest with friends and family, experiment with new herb varieties and recipes, and continue to expand your edible garden with confidence and joy.
Edible gardening is a continuous learning process. As you gain experience and develop your green thumb, you’ll discover new techniques and approaches that work best for you and your herb garden. Enjoy the journey of nurturing your herbs from seed to harvest and relish in the beauty, fragrance, and flavors that they bring to your everyday life.