Home>Types of Gardening>Container Gardening>How To Grow Herbs In Mason Jars
Container Gardening
How To Grow Herbs In Mason Jars
Modified: January 22, 2024
Discover the joy of container gardening with our guide on how to grow herbs in mason jars. Perfect for small spaces, this beginner-friendly method allows you to enjoy fresh herbs all year round.
(Many of the links in this article redirect to a specific reviewed product. Your purchase of these products through affiliate links helps to generate commission for Chicagolandgardening.com, at no extra cost. Learn more)
Table of Contents
- Introduction
- Benefits of Growing Herbs in Mason Jars
- Choosing the Right Mason Jars for Herb Gardening
- Selecting the Ideal Herbs to Grow in Mason Jars
- Preparing the Mason Jars for Herb Planting
- Planting Herbs in Mason Jars Step-by-Step Guide
- Caring for Your Mason Jar Herb Garden
- Harvesting and Using Herbs from Mason Jars
- Troubleshooting Common Herb Growing Issues in Mason Jars
- Conclusion
Introduction
Welcome to the world of container gardening, where you can cultivate a beautiful and functional garden even in limited spaces. If you’ve ever dreamt of having fresh herbs at your fingertips, then growing herbs in mason jars is the perfect solution for you.
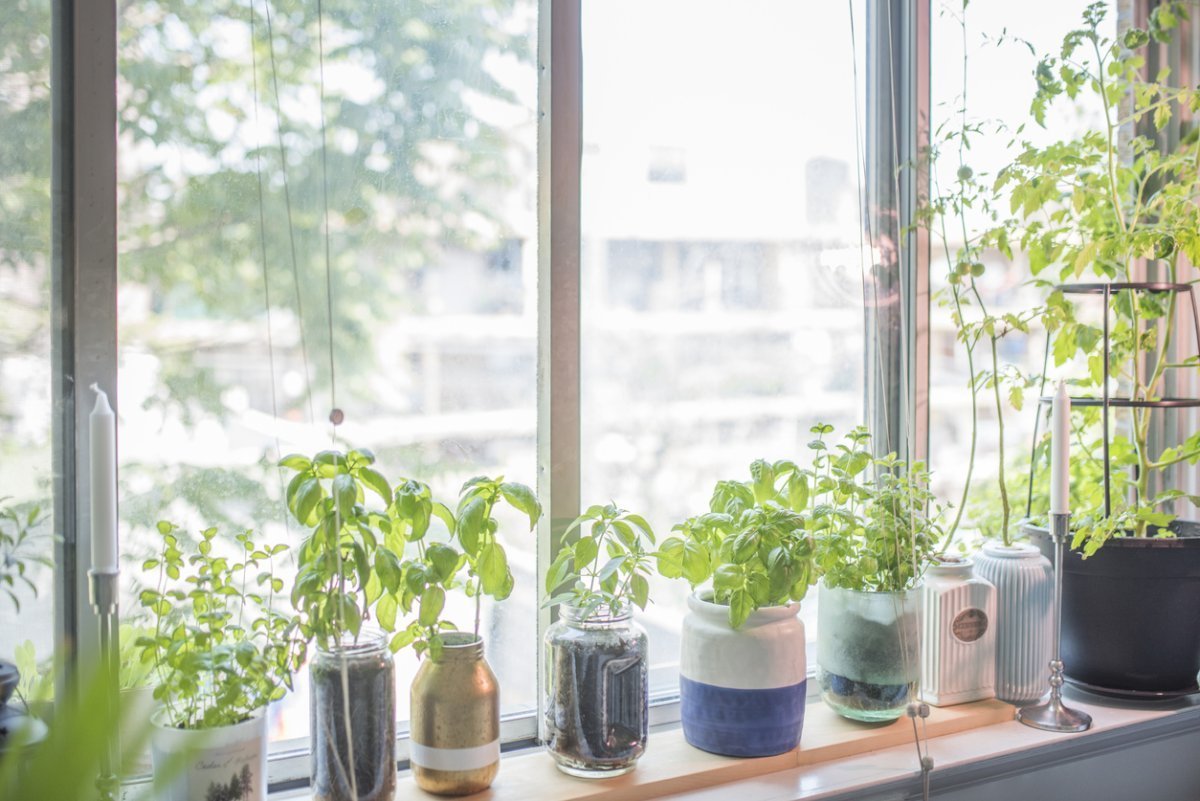
Mason jars have become increasingly popular in recent years for their versatility and charm. Originally used for preserving food, these glass jars have transitioned into a trendy and practical gardening accessory. Not only do they add a rustic touch to any space, but they also provide a convenient way to grow and maintain your own herb garden.
Whether you have a small balcony, a sunny windowsill, or even a cozy kitchen countertop, mason jar herb gardens offer endless possibilities for bringing nature indoors. From basil and mint to rosemary and thyme, you can grow a variety of herbs in these compact containers, ensuring a constant supply of flavorful additions to your culinary creations.
But the benefits of growing herbs in mason jars extend far beyond their aesthetic appeal. By cultivating herbs in containers, you have greater control over their growing conditions, making it easier to provide the ideal environment for their development. This means you can minimize the risks of pests, diseases, and weeds that often plague traditional garden beds.
Moreover, container gardening is a perfect solution for those who may have physical limitations or lack the time and space required for traditional gardening methods. Mason jar herb gardens are low-maintenance, require minimal space, and can be easily moved around to optimize sunlight exposure. Whether you’re a seasoned gardener looking to expand your repertoire or a novice with a green thumb, growing herbs in mason jars can be an enjoyable and rewarding experience.
In this comprehensive guide, we will explore the benefits of growing herbs in mason jars, discuss how to choose the right jars for your herb garden, provide a step-by-step guide on planting and caring for your herbs, and offer solutions to common issues that may arise along the way. So, let’s grab our jars and get ready to cultivate a thriving herb garden in the comfort of our own homes!
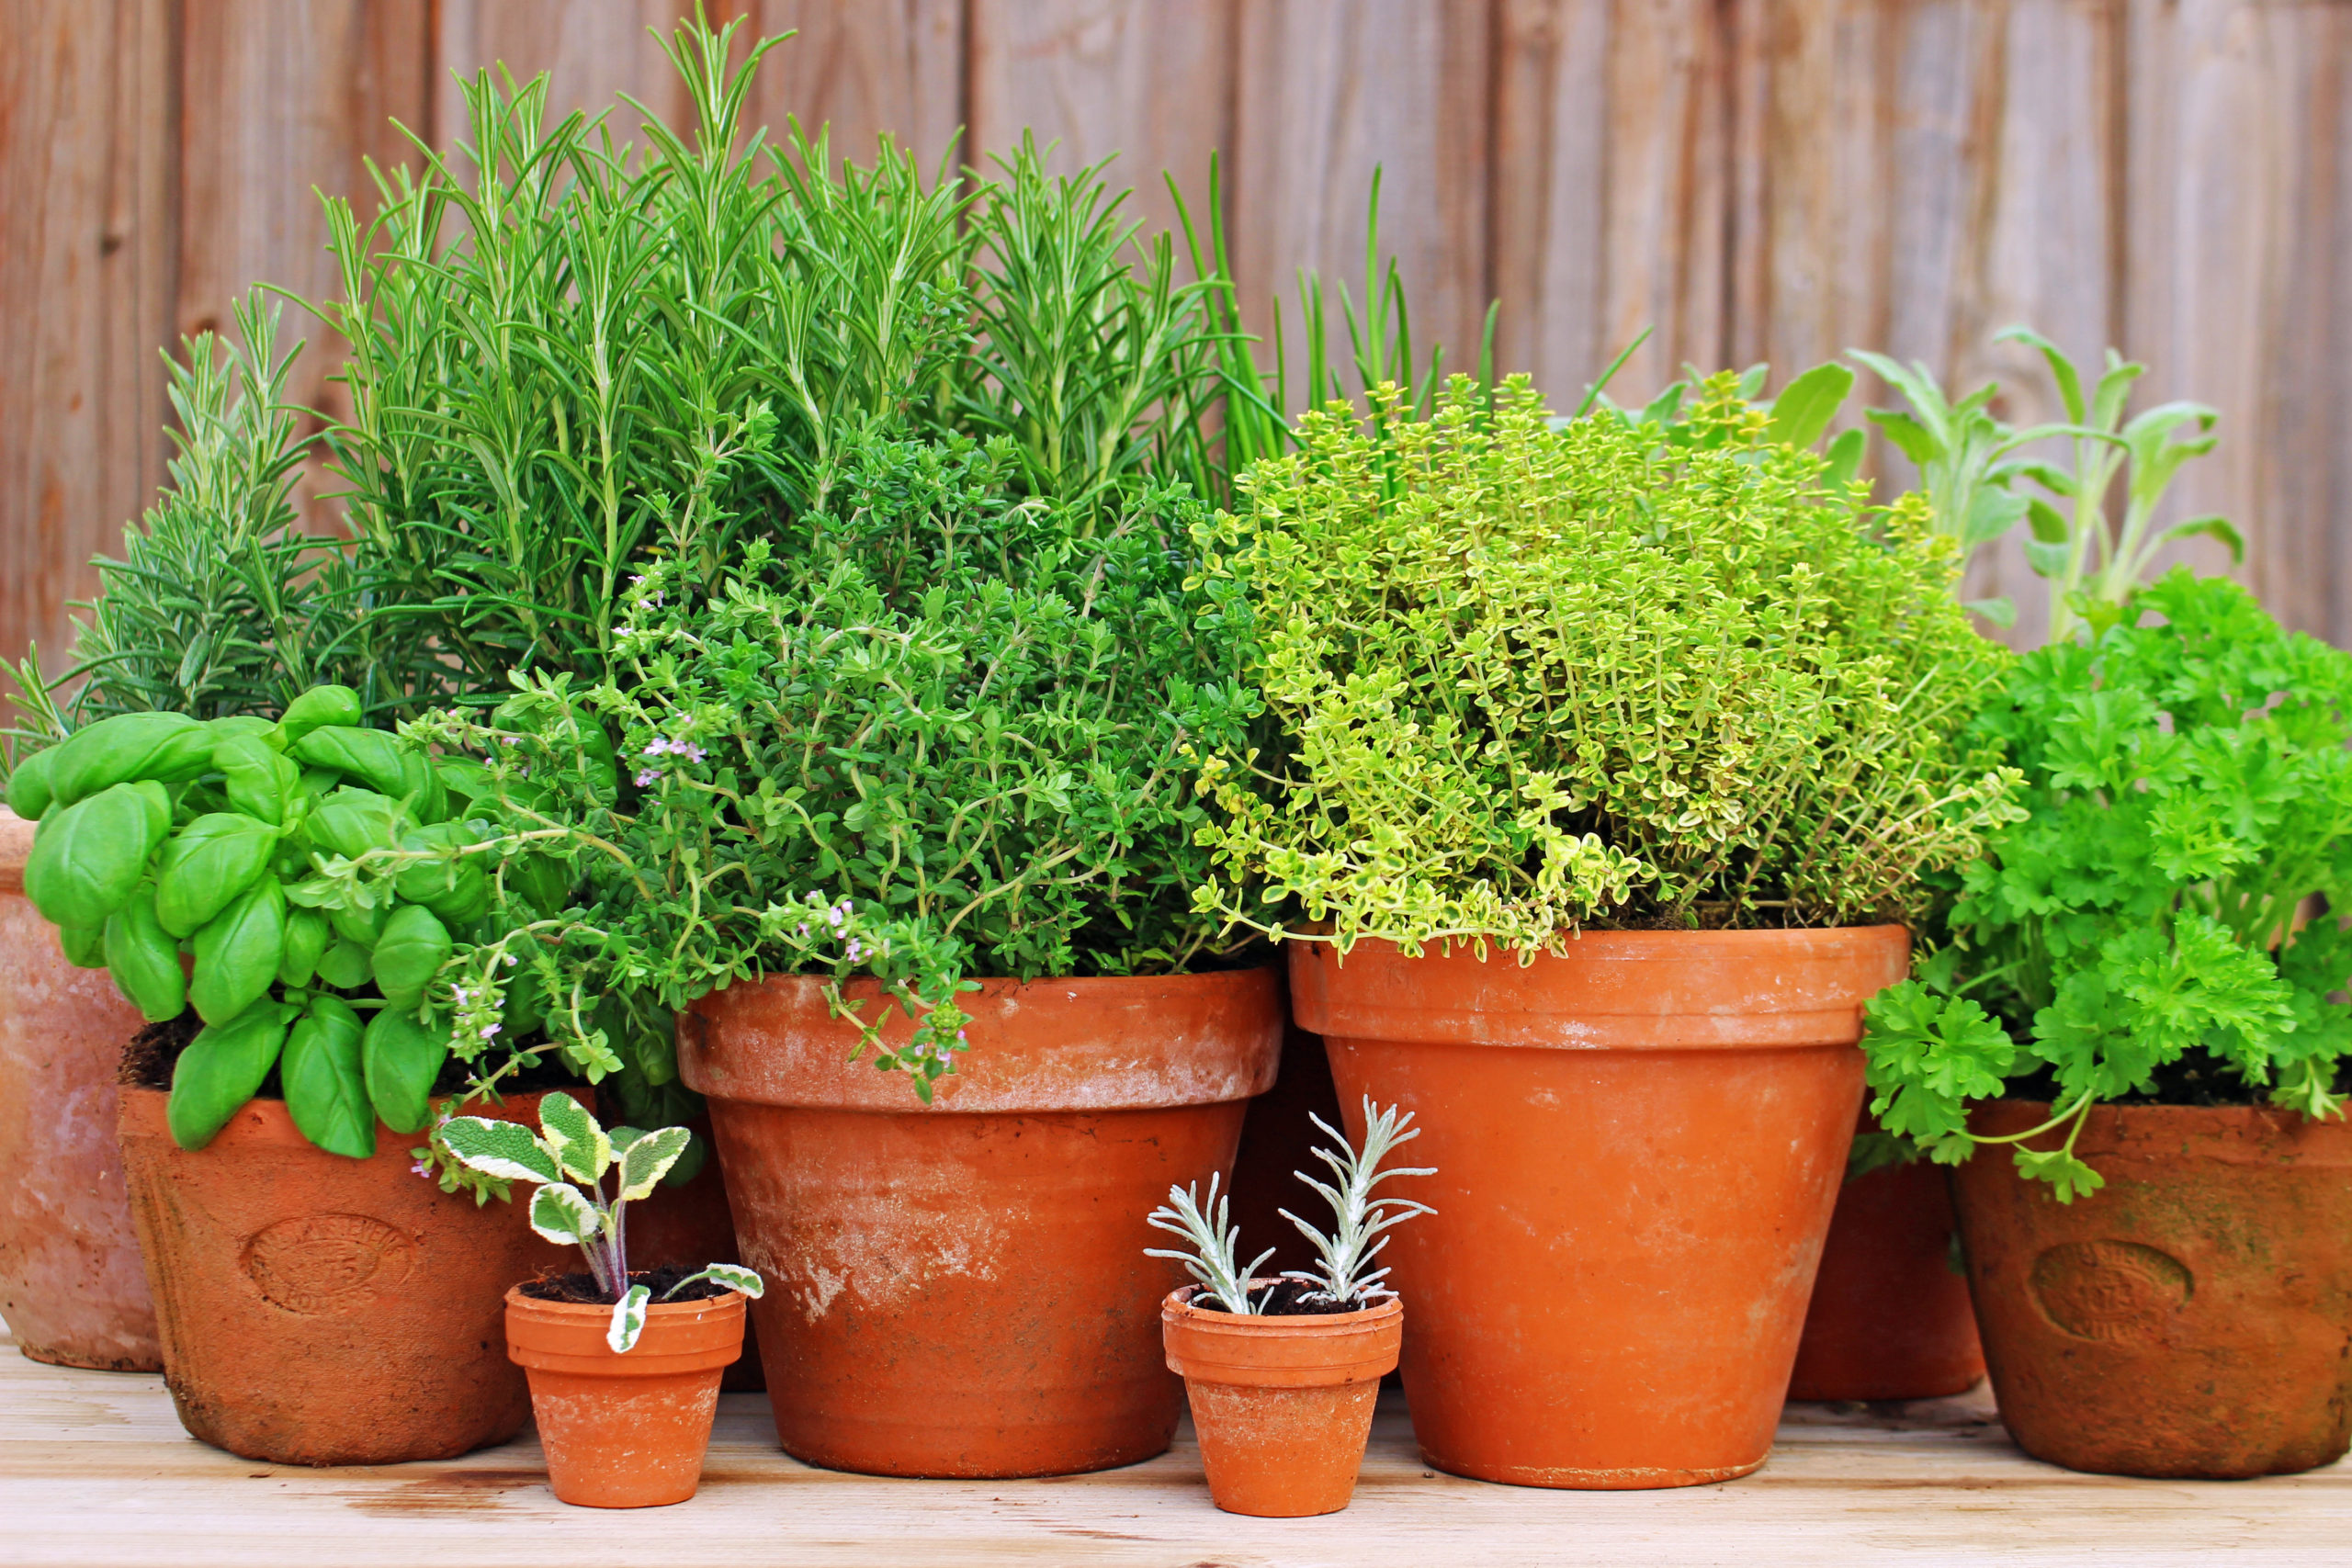
Benefits of Growing Herbs in Mason Jars
Growing herbs in mason jars offers numerous advantages that make it an attractive option for both seasoned gardeners and beginners alike. Let’s explore some of the key benefits:
1. Space-saving: One of the primary advantages of container gardening is its ability to maximize space. Mason jar herb gardens are perfect for small apartments, balconies, or even windowsills. You can easily fit multiple jars in a compact area, allowing you to grow a variety of herbs without the need for a large outdoor garden.
2. Convenience: Having fresh herbs at your fingertips is not only convenient but also enhances the taste and quality of your meals. With a mason jar herb garden, you can effortlessly clip off a few leaves or sprigs whenever you need them, ensuring the freshest flavors in your cooking.
3. Customization: Mason jars come in various sizes, allowing you to customize the type and quantity of herbs you grow. Whether you have a preference for culinary herbs like basil, oregano, or cilantro, or if you’re interested in aromatic herbs like lavender or chamomile, you can select the jars that best suit your herb garden goals.
4. Portability: Another advantage of growing herbs in mason jars is the ability to move them around as needed. If you notice that the herbs aren’t receiving enough sunlight in one area, you can easily relocate the jars to a sunnier spot. This flexibility ensures that your herbs thrive in optimal growing conditions.
5. Year-round availability: Mason jar herb gardens offer the opportunity to enjoy fresh herbs throughout the year. By placing the jars near a bright window or using grow lights, you can create an indoor microclimate that allows for continuous growth, even during the colder months.
6. Pest control: Growing herbs in containers minimizes the risk of pests and diseases. Unlike traditional garden beds, mason jars provide a barrier against common garden invaders, such as snails and slugs. This reduces the need for harsh chemicals and pesticides, resulting in healthier and more flavorful herbs.
7. Educational tool: For those new to gardening or wanting to involve children in the process, mason jar herb gardens offer an excellent educational experience. Teaching kids about the lifecycle of plants, caring for herbs, and the importance of sustainable practices becomes an interactive and fun activity.
With all these benefits, it’s no wonder that growing herbs in mason jars has gained popularity among gardening enthusiasts. Next, we’ll delve into the process of choosing the right mason jars for your herb garden.
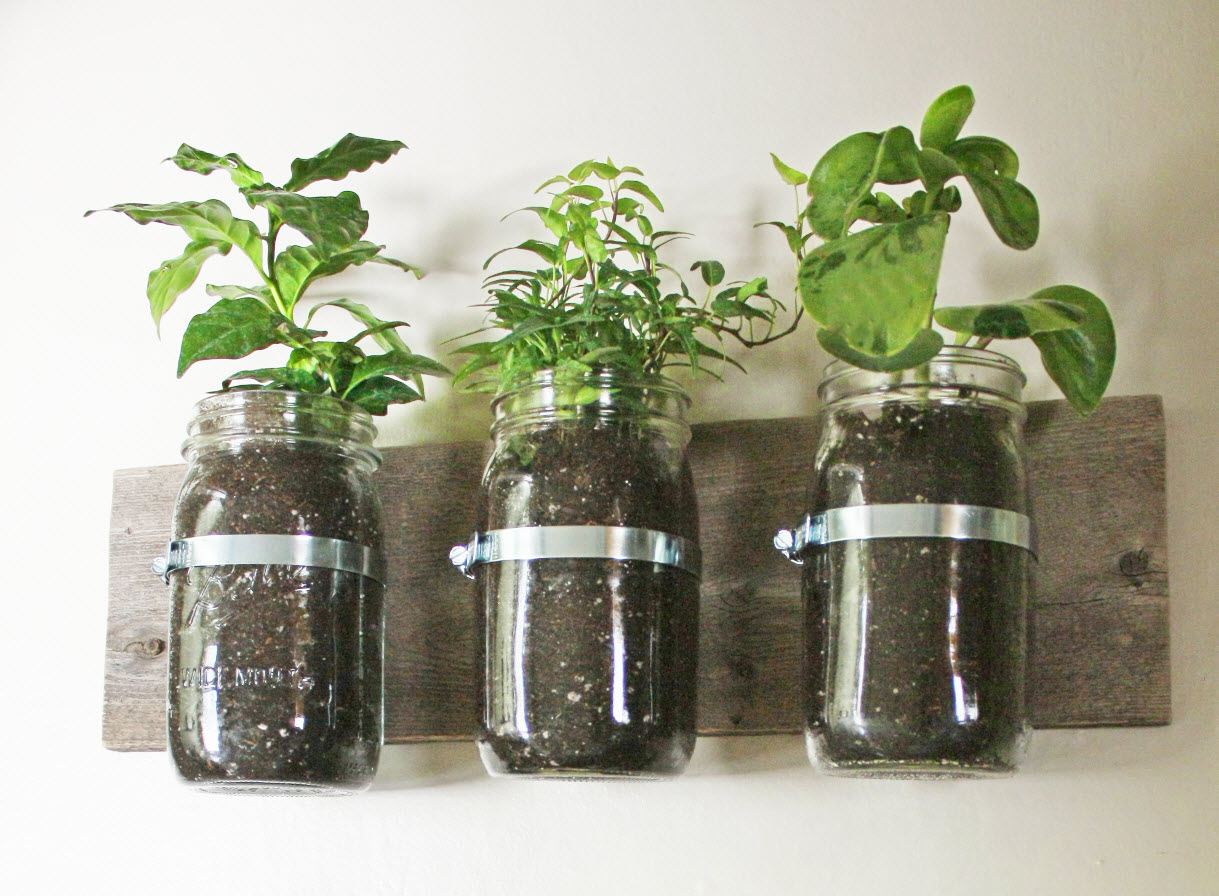
Choosing the Right Mason Jars for Herb Gardening
When it comes to choosing the right mason jars for your herb garden, there are a few key factors to consider. Let’s explore them to ensure you make the best choice:
1. Jar Size: Mason jars come in various sizes, including 8-ounce, 16-ounce, and 32-ounce options. The size of your jar will depend on the specific herbs you want to grow and the space available. Smaller herbs like basil and thyme can thrive in 8-ounce jars, while larger herbs like rosemary or sage may require 16 or 32-ounce jars to accommodate their root systems.
2. Jar Material: Mason jars are typically made of glass, which is ideal for herb gardening. Glass jars allow sunlight to penetrate easily, promoting healthy growth. Additionally, glass is non-toxic and won’t leach any harmful substances into the soil or your herbs.
3. Jar Lid: The lid of the mason jar plays a crucial role in herb gardening. Look for jars with lids that have airtight seals to retain moisture and prevent soil from drying out quickly. Some mason jars come with special herb growing lids that have perforated holes, providing proper ventilation for the herbs.
4. Jar Shape: Consider the shape of the mason jar when selecting one for herb gardening. Regular mouth jars may be more convenient for larger herbs or those with bushy foliage, as it allows for easier access to the plants. On the other hand, wide mouth jars are beneficial for herbs with long and sprawling stems, allowing for better maneuverability during watering and maintenance.
5. Clear vs. Tinted Jars: Mason jars come in both clear and tinted options. Clear jars allow you to easily monitor the moisture levels and growth of your herbs. However, if your jars will be exposed to direct sunlight, tinted jars can help prevent excessive heat and light from damaging the roots or causing algae growth in the water reservoir.
6. Recycled Jars: Consider repurposing old jars for your herb garden. Not only does this reduce waste, but it also adds a unique element to your gardening project. Ensure that any recycled jars are thoroughly cleaned and sterilized before use to prevent the transfer of unwanted pests or diseases to your herbs.
By taking these factors into account, you can select the perfect mason jars for your herb garden. In the next section, we’ll discuss the ideal herbs to grow in mason jars, ensuring a thriving and flavorful herb garden for your culinary adventures.
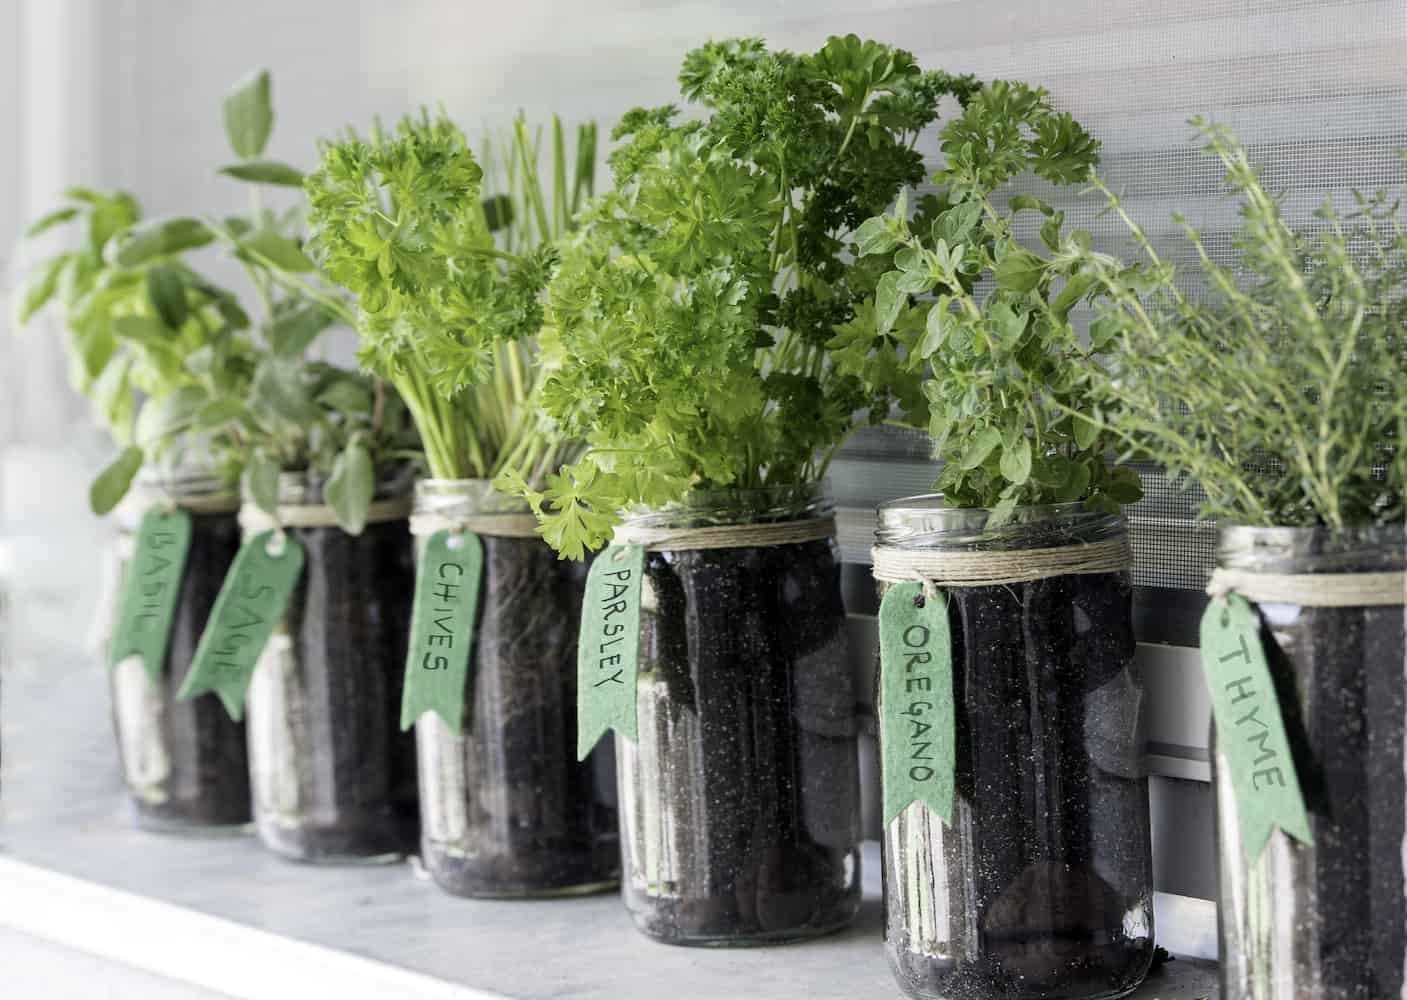
Selecting the Ideal Herbs to Grow in Mason Jars
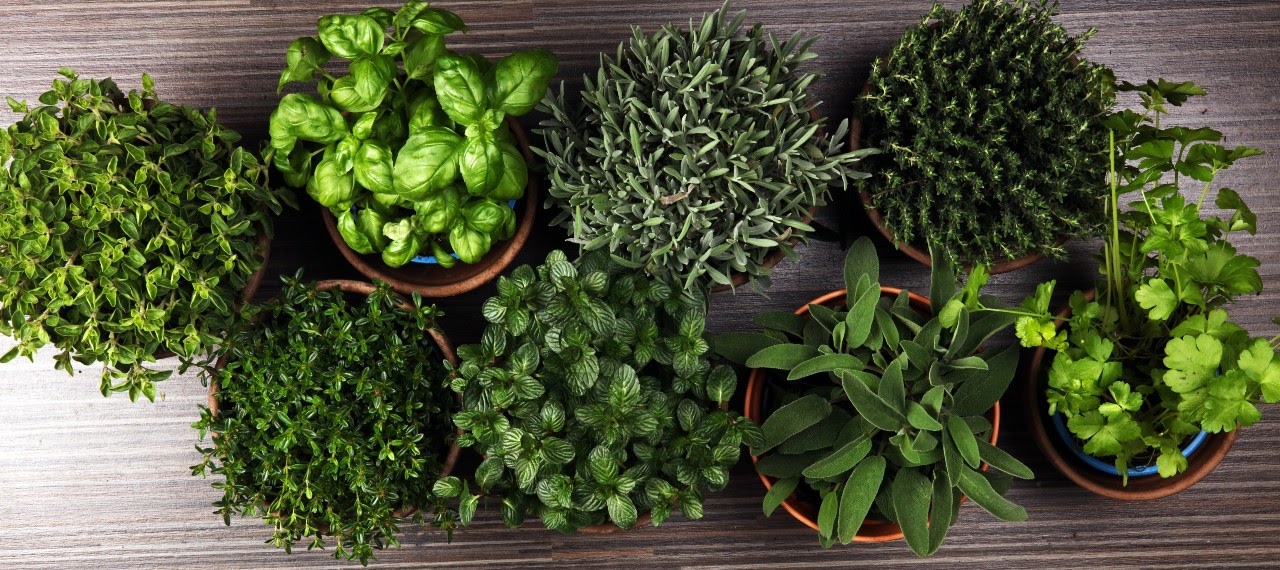
Choosing the right herbs to grow in your mason jars is essential for a successful and rewarding herb garden. While there is a wide variety of herbs to choose from, certain herbs are well-suited for container gardening. Here are some ideal herbs to consider:
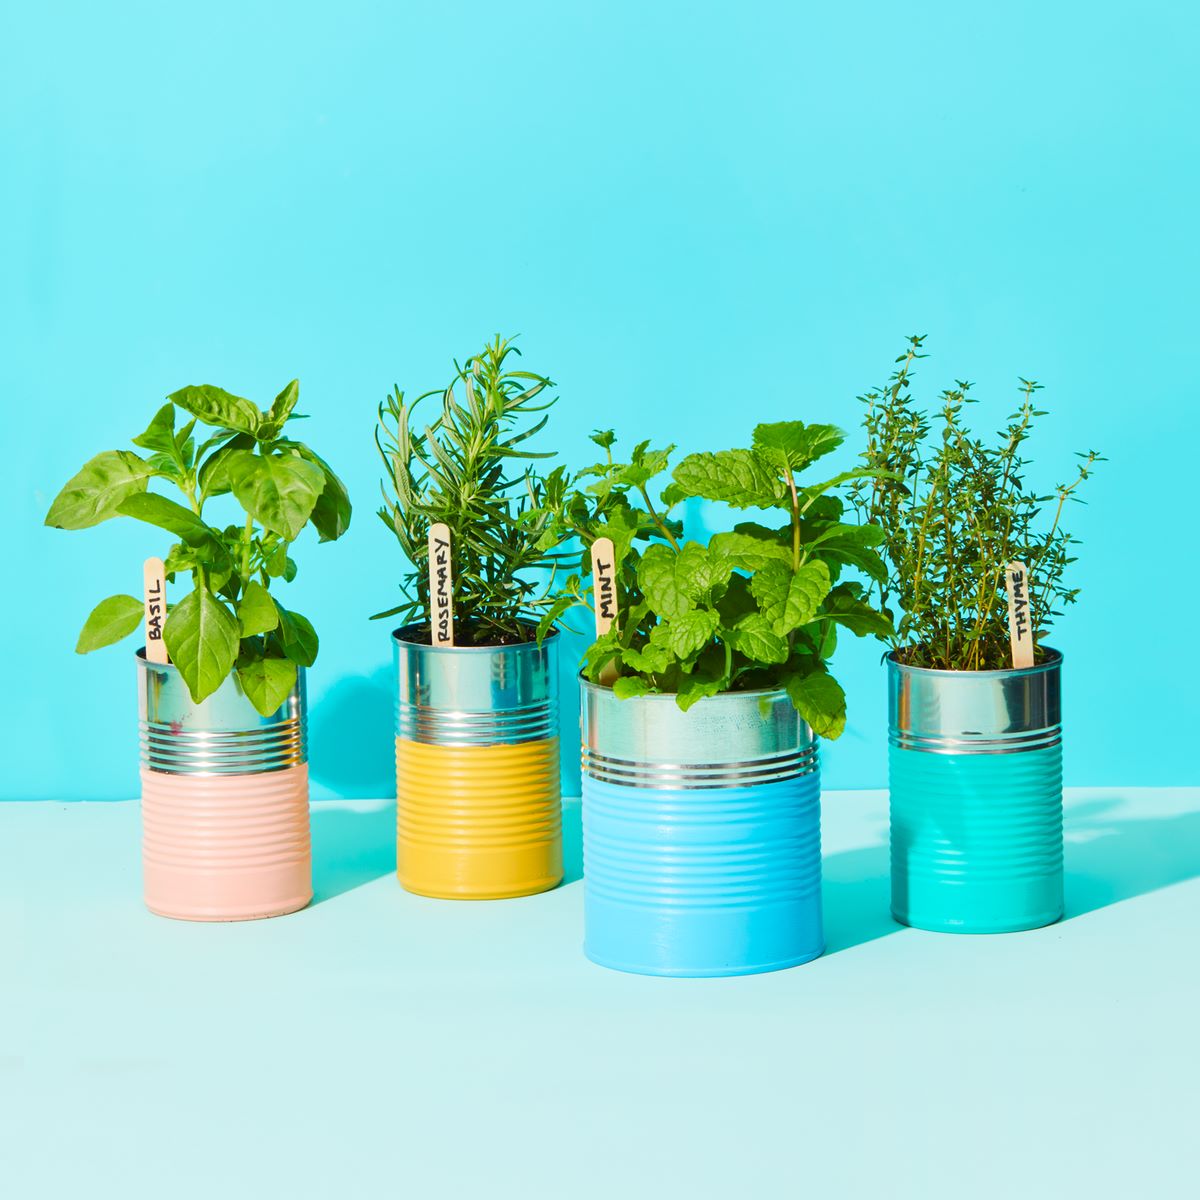
1. Basil: Basil is a popular herb that thrives in mason jars. It requires plenty of sunlight and a warm environment to flourish. With its vibrant green leaves and aromatic flavor, basil is perfect for adding a fresh touch to salads, pasta dishes, and pesto sauces.
2. Mint: Mint is a hardy herb that grows vigorously in mason jars. It’s known for its refreshing and cooling properties, making it a great addition to drinks, desserts, and savory dishes. However, due to its invasive nature, it’s recommended to grow mint in a separate jar or use a divider to prevent it from overtaking other herbs.
3. Thyme: Thyme is an excellent choice for mason jar herb gardens. It’s a low-growing herb that spreads beautifully and adds a subtle earthy flavor to various dishes. Thyme requires well-drained soil and regular trimming to keep it compact and bushy.
4. Parsley: Parsley is a versatile herb that can thrive in mason jars. It’s rich in vitamins and adds a fresh flavor to salads, soups, and sauces. Parsley does well in partial shade and requires consistent watering to maintain moisture levels.
5. Chives: Chives are easy to grow in mason jars and add a mild onion-like flavor to dishes. They produce attractive purple flowers and require a few hours of direct sunlight each day. Regular cutting helps promote new growth and prevents them from becoming too leggy.
6. Rosemary: Rosemary is a fragrant herb with needle-like leaves that can be grown successfully in mason jars. It prefers well-draining soil and requires ample sunlight to thrive. Rosemary is a great addition to roasted vegetables, grilled meats, and marinades.
7. Oregano: Oregano is a hardy herb that grows well in mason jars. It adds a robust flavor to Italian and Mediterranean dishes. Oregano prefers full sun and well-draining soil, and regular pruning helps maintain its bushy shape.
These herbs are just a few examples of the various options available for mason jar herb gardening. Consider your culinary preferences and the herbs that you frequently use in your cooking. Remember that different herbs have different growing requirements, so it’s essential to provide the right conditions for each herb to flourish.
In the next section, we’ll discuss how to prepare the mason jars for herb planting, ensuring a healthy environment for your herbs to grow.
Preparing the Mason Jars for Herb Planting
Before you start planting your chosen herbs in mason jars, it’s important to prepare the jars properly to create an optimal environment for your plants. Here are the steps to follow to ensure the mason jars are ready for herb planting:
1. Clean the Jars: Begin by thoroughly cleaning the mason jars. Wash them with warm, soapy water, ensuring that all dirt, residue, and labels are removed. Rinse the jars well to remove any soap residue and let them dry completely.
2. Sterilize the Jars: To prevent the growth of harmful bacteria and fungi, it’s essential to sterilize the mason jars. You can do this by submerging the cleaned jars in a pot of boiling water for 10-15 minutes. Alternatively, you can run the jars through a dishwasher cycle on high heat.
3. Create Drainage Holes: While mason jars don’t have drainage holes like traditional pots, it’s crucial to provide proper drainage to prevent waterlogging. Use a hammer and a nail to gently tap holes into the bottom of the mason jar lids, ensuring adequate drainage without compromising its overall integrity.
4. Add Drainage Material: Place a layer of small rocks, pebbles, or broken pottery pieces at the bottom of the mason jars. This layer will help improve drainage by allowing excess water to flow away from the roots of the herbs.
5. Fill the Jars: Fill the mason jars with a high-quality potting mix or a well-draining soil specifically formulated for container gardening. Leaving about an inch of space at the top will allow room for watering and prevent overflow.
6. Choose the Right Herb: Consider the specific requirements of the herb you plan to plant and adjust the soil composition accordingly. For example, herbs like rosemary and thyme prefer a slightly drier soil, while herbs like basil and mint prefer a more evenly moist environment.
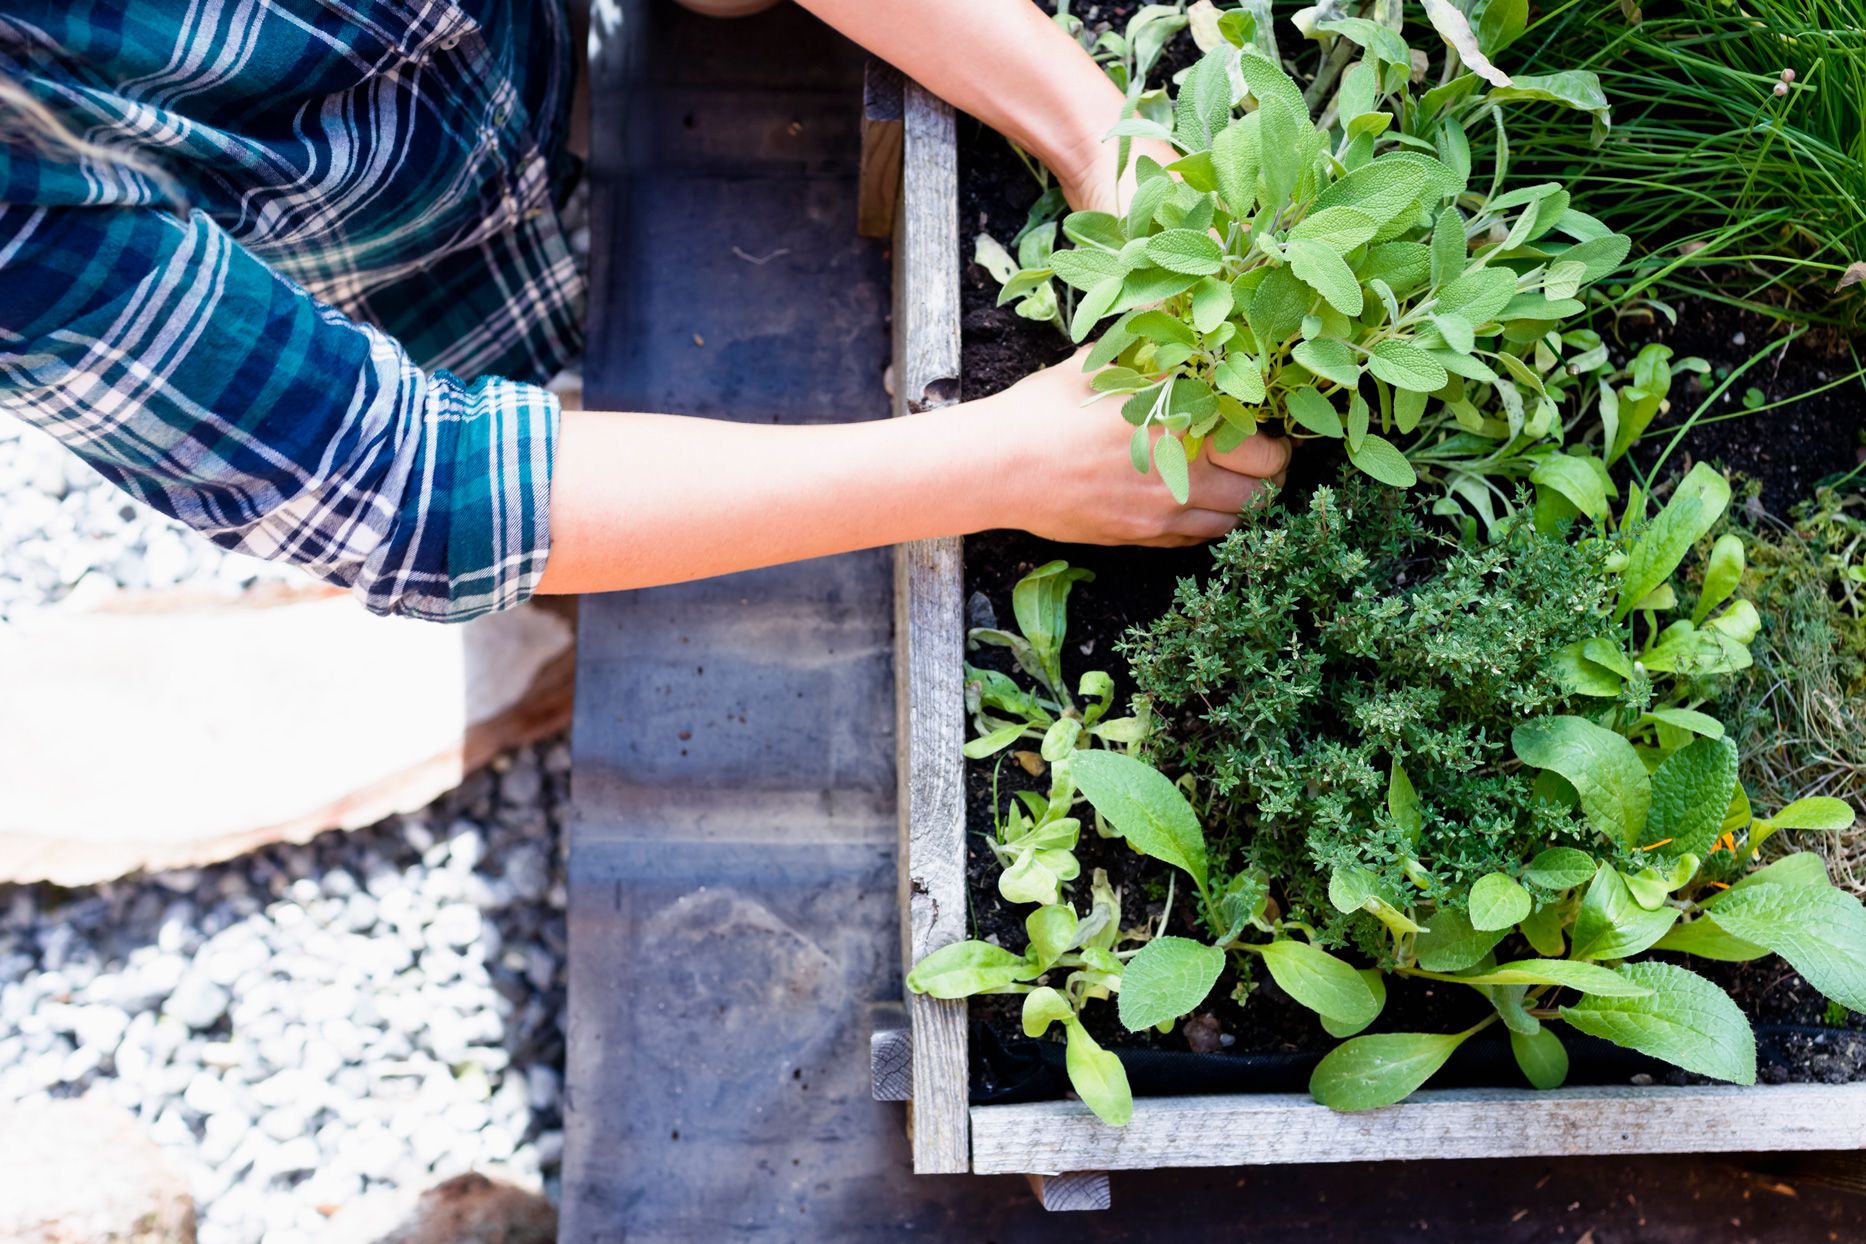
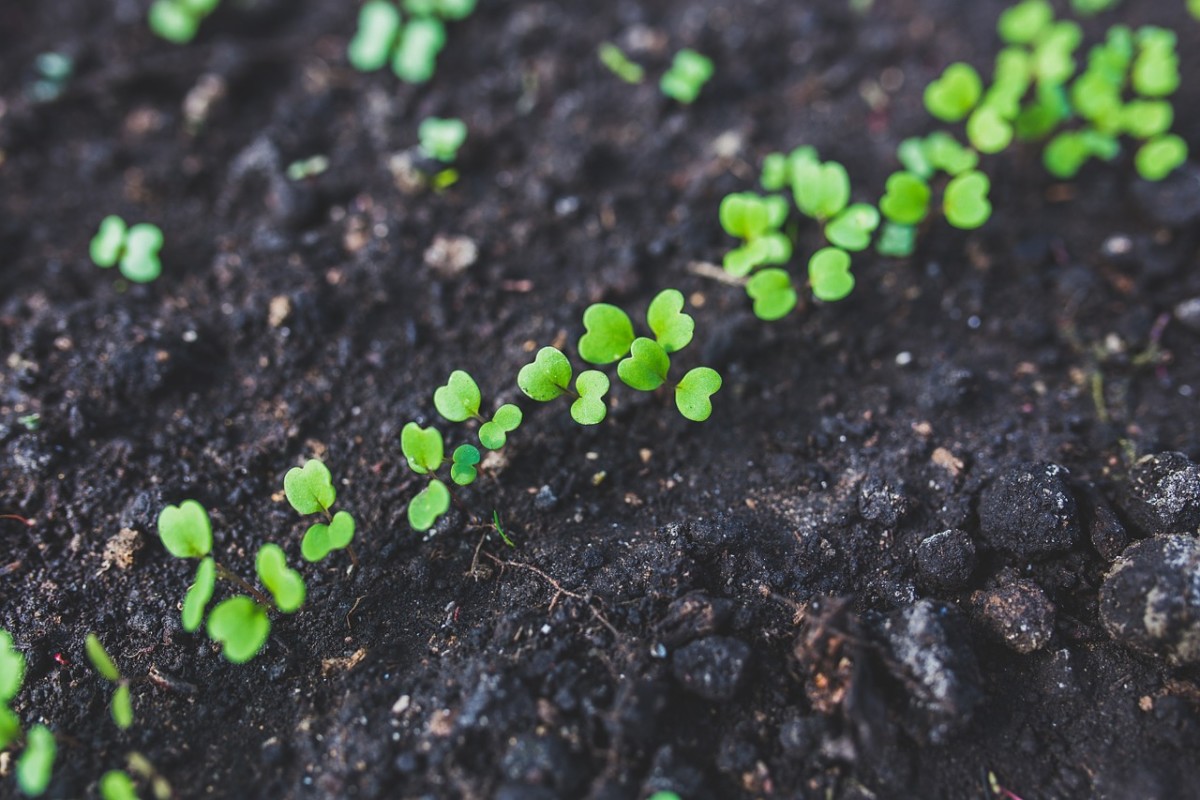
7. Plant Your Herbs: Dig a small hole in the soil and gently place the herb seedling or cutting into it. Ensure that the roots are covered with soil and gently press the soil around the base of the plant to secure it in place. Space the herbs appropriately in the jar, considering their growth habits and eventual size.
8. Water Thoroughly: After planting, water the herbs thoroughly, allowing the water to saturate the soil evenly. This ensures that the roots make good contact with the soil and helps settle them into their new home.
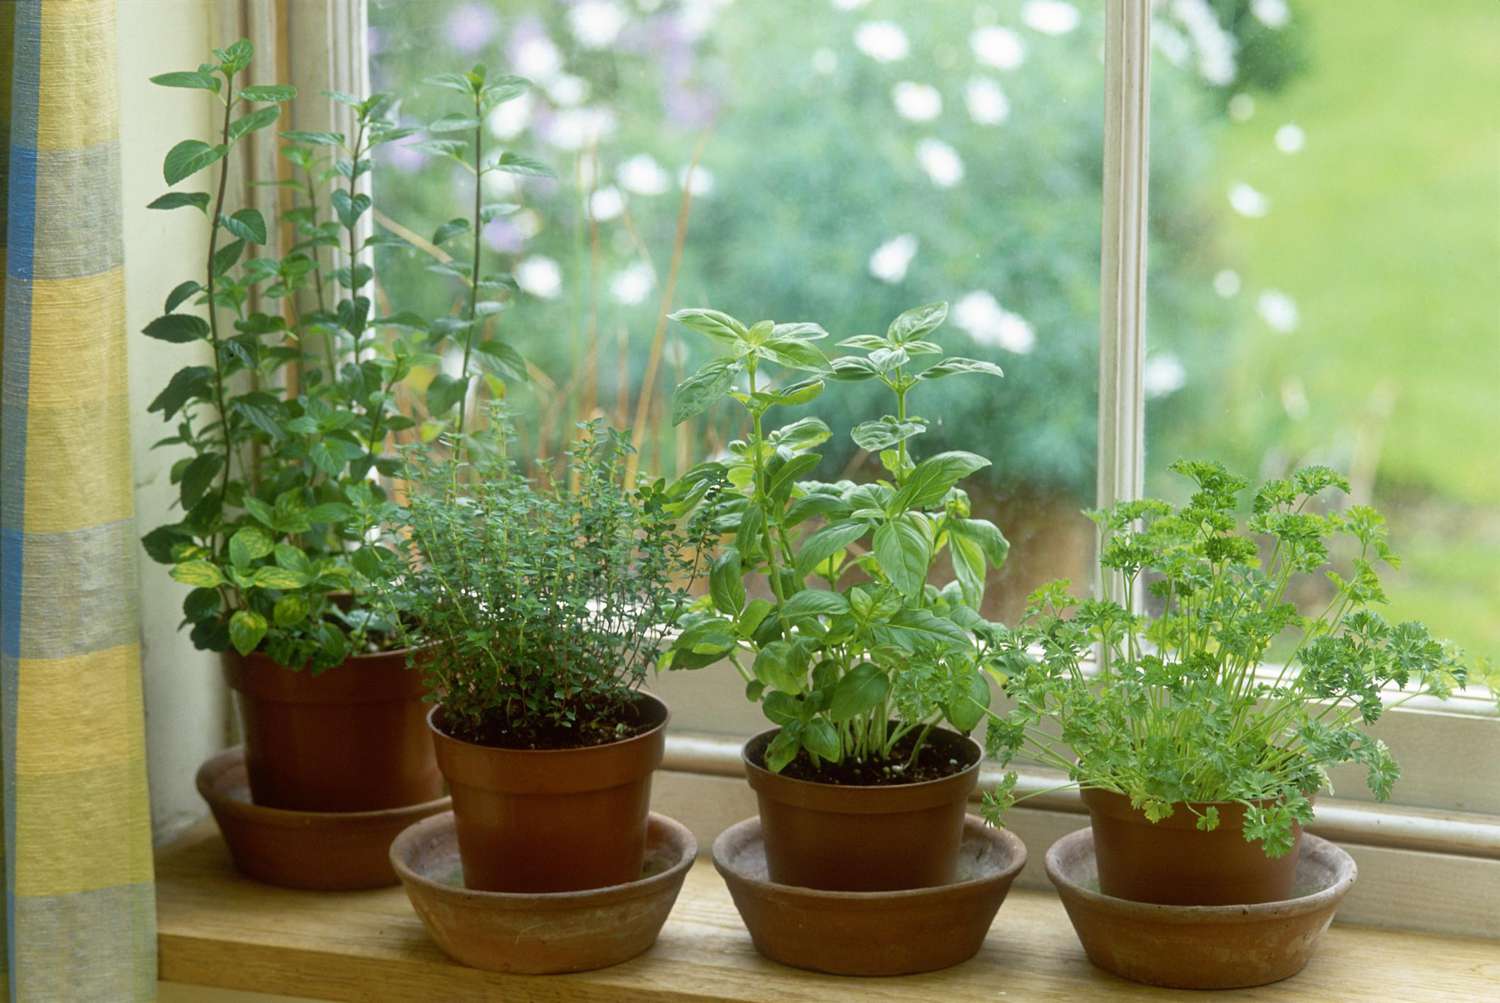
9. Place in Ideal Location: Find a suitable spot for your mason jar herb garden that receives the appropriate level of sunlight for the chosen herbs. Most herbs require at least 6 hours of direct sunlight per day, so choose a location near a sunny window or provide supplementary grow lights if needed.
By following these steps, you’ll have properly prepared mason jars for planting your herbs. In the next section, we’ll delve into a step-by-step guide on how to plant your chosen herbs in the mason jars.
Planting Herbs in Mason Jars Step-by-Step Guide
Planting herbs in mason jars is a straightforward process that allows you to enjoy the beauty and fragrance of your own herb garden. Follow these step-by-step instructions to ensure successful planting:
Step 1: Prepare the Mason Jars: Clean and sterilize the mason jars as outlined in the previous section, “Preparing the Mason Jars for Herb Planting.”
Step 2: Select the Herbs: Choose the herbs you want to plant in your mason jars based on your culinary preferences, available space, and growing requirements. Consider herbs such as basil, mint, thyme, or parsley, which are well-suited for container gardening.
Step 3: Fill the Jars: Fill the mason jars with a well-draining potting mix or specific container gardening soil, leaving about an inch of space at the top for watering.
Step 4: Plant the Herbs: Carefully remove each herb seedling or cutting from its nursery container, gently loosening the roots if necessary. Dig a small hole in the soil of the mason jar and place the herb into it, ensuring the roots are covered with soil. Press the soil gently around the base of the herb to secure it.
Step 5: Water Thoroughly: After planting, thoroughly water the herbs, ensuring that the soil is evenly moist. Water should freely drain from the drainage holes, avoiding waterlogging the roots.
Step 6: Place in Ideal Location: Position the mason jars in a location that receives the recommended amount of sunlight for the specific herbs you’ve planted. Most herbs thrive in at least 6 hours of direct sunlight per day. Near a sunny window or using supplementary grow lights are ideal options if natural light is limited.
Step 7: Provide Care: Regularly monitor the moisture levels in the soil and water the herbs accordingly. Avoid overwatering, as it can lead to root rot. Additionally, trim or pinch back the herbs periodically to promote bushier growth and prevent legginess.
Step 8: Harvest and Enjoy: As your herbs grow, harvest leaves or sprigs as needed for culinary use. Regular harvesting encourages new growth and ensures a continuous supply of fresh herbs for your recipes.
Following these steps will help you successfully plant your chosen herbs in mason jars. In the next section, we will explore how to care for your mason jar herb garden to ensure its health and longevity.
Caring for Your Mason Jar Herb Garden
To ensure the health and vitality of your mason jar herb garden, proper care is essential. Follow these guidelines to keep your herbs thriving:
1. Watering: Regular and consistent watering is crucial for herb growth. Check the moisture level of the soil regularly by inserting your finger about an inch deep into the soil. If it feels dry, water the herbs thoroughly, allowing the excess water to drain through the drainage holes. Avoid waterlogging the herbs, as it can lead to root rot.
2. Sunlight: Most herbs require at least 6 hours of direct sunlight per day to thrive. Place your mason jar herb garden in a sunny location such as a south-facing window, or use supplementary grow lights if natural light is limited. Rotate the jars periodically to ensure even light exposure for all sides of the plants.
3. Temperature and Air Circulation: While herbs generally adapt well to room temperatures, they may suffer in extreme heat or cold. Avoid placing the jars near drafts, air conditioning units, or heating vents. Proper air circulation also helps prevent the growth of mold or mildew, so ensure there is enough space between the jars for good ventilation.
4. Fertilizing: Container-grown herbs may benefit from regular fertilization. Use a balanced, water-soluble fertilizer at half the recommended strength every 2-4 weeks during the growing season. Follow the instructions on the fertilizer packaging and avoid over-fertilization, which can lead to excessive foliage growth without sufficient flavor.
5. Pruning and Harvesting: Regular pruning not only helps maintain the shape and size of your herbs but also encourages new growth. Pinch or trim the herbs regularly, removing any yellowing or wilting leaves. Additionally, harvest leaves or sprigs as needed for culinary use, ensuring to leave enough foliage for the plant to continue growing.
6. Pest Control: Monitor your mason jar herb garden for pests such as aphids, mealybugs, or spider mites. If you notice any signs of infestation, employ organic pest control methods such as neem oil or insecticidal soap. Regularly inspect the plants and gently remove any pests by hand.
7. Maintenance: Inspect the mason jars regularly for any signs of damage, such as cracks or chips. Replace the jars if necessary to ensure the long-term health of your herbs. Additionally, remove any debris or dead leaves from the soil’s surface to prevent mold or fungal growth.
By providing adequate water, sunlight, and care, your mason jar herb garden will flourish, providing you with a constant supply of fresh and flavorful herbs. In the next section, we’ll uncover the joys of harvesting and using herbs from your mason jar garden.
Harvesting and Using Herbs from Mason Jars
One of the most rewarding aspects of growing herbs in mason jars is the joy of harvesting and using your homegrown herbs in various culinary delights. Here’s a guide to help you make the most of your herb harvest:
1. Timing: It’s best to harvest herbs in the morning when the essential oils are most concentrated. Harvest leaves or sprigs when the plants are healthy, vibrant, and have reached a size suitable for use. Avoid harvesting more than one-third of the plant at a time to ensure continued growth.
2. Cutting: Use a pair of clean, sharp scissors or garden shears to make clean cuts just above a set of leaves or node. This encourages new growth and keeps the herbs looking tidy. For leafy herbs, such as basil or mint, pinch off the leaves individually or harvest the entire stem if needed.
3. Storage: Fresh herbs can be used immediately or stored for future use. To store fresh herbs, gently wash and dry them thoroughly, removing excess moisture. Place the herbs in a damp paper towel or wrap them in a slightly damp kitchen towel, then store them in a sealed plastic bag in the refrigerator. Most herbs can last for up to a week using this method.
4. Drying: Drying herbs is a great way to preserve their flavors and extend their shelf life. Tie a small bunch of herbs together at the stem and hang them upside down in a cool, dry, well-ventilated area. Alternatively, you can place the herbs on a drying rack or tray. Once dry, store the herbs in airtight containers away from direct sunlight.
5. Freezing: Freezing herbs is another excellent method for storing them long-term. Chop the herbs or leave them as whole leaves and place them in ice cube trays. Fill the trays with water and freeze. Once frozen, transfer the herb-infused ice cubes into a freezer-safe bag or container. Use these frozen herb cubes in soups, stews, or sautés.
6. Culinary Uses: The possibilities for using your homegrown herbs are endless. Add fresh herbs to salads, dressings, marinades, or garnish your dishes with them. Use them to infuse oils, vinegar, or butter for added flavor. Fresh herbs also work well in teas, herbal infusions, or homemade herb blends.
7. Experiment and Enjoy: Don’t be afraid to experiment with different herb combinations and recipes. Each herb adds its unique flavor profile, allowing you to create culinary masterpieces that showcase the freshness and aroma of your mason jar garden. Embrace the joy of homegrown herbs and let your creativity flourish.
With these guidelines, you can confidently harvest and use the herbs from your mason jar garden to elevate your culinary creations. In the next section, we’ll address common issues that may arise during the process of growing herbs in mason jars and how to troubleshoot them.
Troubleshooting Common Herb Growing Issues in Mason Jars
While growing herbs in mason jars is generally straightforward, you may encounter some common issues along the way. Here are some troubleshooting tips to help you address and overcome these challenges:
1. Overwatering: Overwatering is a common issue that can lead to root rot and other fungal diseases. Ensure that your mason jars have proper drainage holes and allow the soil to dry out slightly between waterings. Adjust your watering schedule based on the specific needs of each herb.
2. Underwatering: On the other hand, underwatering can cause herbs to wilt and dry out. Check the moisture level of the soil regularly, and water your herbs when the top inch or so of soil feels dry. Maintain a consistent watering schedule to prevent dehydration.
3. Insufficient Sunlight: If your herbs are not receiving enough sunlight, they may become leggy or weak. Place your mason jar herb garden in a spot that gets at least 6 hours of direct sunlight per day. If natural light is limited, consider using supplementary grow lights to provide the necessary light intensity and duration.
4. Nutrient Deficiency: Yellowing leaves or stunted growth may indicate a nutrient deficiency. Feed your herbs regularly with a balanced water-soluble fertilizer, following the package instructions. This will replenish essential nutrients and promote healthy growth.
5. Pests: Keep a close eye on your herbs for signs of pest infestation, such as tiny crawling insects or yellowing leaves. Common herb pests include aphids, mealybugs, and spider mites. Use organic pest control methods like neem oil or insecticidal soap to combat these pests and protect your herbs.
6. Powdery Mildew: Powdery mildew appears as a white powdery coating on the surface of leaves. It can occur due to high humidity or poor air circulation. To prevent powdery mildew, ensure proper ventilation around your herbs, and avoid overcrowding in the mason jars. Applying a fungicidal spray specifically designed for herbs may also help control this issue.
7. Leggy Growth: If your herbs are growing tall and leggy, it may be due to insufficient light. Make sure they are receiving enough direct sunlight or adjust the intensity and duration of your grow lights. Regularly pinch or trim the herbs to encourage bushier growth and maintain a compact shape.
8. Herb Crowding: Overcrowding herbs in a mason jar can negatively impact their growth and overall health. If you notice that herbs are competing for space, consider transplanting them into separate jars or larger containers to provide adequate room for their root systems to grow.
By addressing these common issues promptly and taking appropriate measures, you can ensure the health and vitality of your mason jar herb garden. Remember that each herb has unique needs, so staying observant and proactive in caring for your herbs is key to their success.
Now that you are equipped with troubleshooting tips, you can confidently navigate any challenges that may arise as you cultivate your mason jar herb garden. In the next section, we’ll wrap up this guide with a summary and final thoughts.
Conclusion
Congratulations on embarking on your journey into the world of growing herbs in mason jars! With their charm, convenience, and versatility, mason jar herb gardens offer a delightful way to bring nature indoors and enjoy the flavors and aromas of homegrown herbs. By following the steps outlined in this guide, you can create a thriving and bountiful herb garden in even the smallest of spaces.
We explored the benefits of growing herbs in mason jars, such as space-saving capabilities, customization options, and year-round availability. We discussed how to choose the right mason jars for your herb garden, considering factors like size, material, and lid type. The guide also walked you through the process of planting herbs in mason jars, preparing the jars, and caring for your herb garden.
We learned about the joy of harvesting and using herbs from your mason jar garden, from the best time to harvest to various methods of preservation. We also covered common herb growing issues that may arise, providing troubleshooting tips to overcome challenges and ensure the well-being of your herbs.
Remember, growing herbs in mason jars is not just about adding beauty and fragrance to your space; it’s a journey of discovery, nurturing, and self-sufficiency. Experiment with different herbs, get creative in the kitchen, and savor the satisfaction of using your own homegrown herbs in your culinary creations.
With a little patience, care, and attention, your mason jar herb garden will reward you with an abundance of fresh and flavorful herbs. So, grab your mason jars, gather your herbs, and let nature thrive in your cozy indoor garden.