Home>Types of Gardening>Edible Gardening>How Do You Prepare A Cherry Seed For Planting?
Edible Gardening
How Do You Prepare A Cherry Seed For Planting?
Modified: February 9, 2024
Learn how to prepare a cherry seed for planting in your edible garden. Follow our step-by-step guide for successful cherry tree cultivation.
(Many of the links in this article redirect to a specific reviewed product. Your purchase of these products through affiliate links helps to generate commission for Chicagolandgardening.com, at no extra cost. Learn more)
Table of Contents
Introduction
Welcome to the world of edible gardening! If you’re a food lover and nature enthusiast, there’s nothing quite as satisfying as growing your own food. And what better way to start than with a delicious and versatile fruit like cherries? Whether you have a sprawling garden or just a small balcony, growing cherry trees from seeds can be a rewarding and enjoyable experience.
Not only does growing cherry trees provide you with a bountiful harvest of juicy fruits, but it also allows you to connect with nature, cultivate a sense of patience, and nurture a living organism from its humble beginnings. However, it’s important to note that planting cherry seeds requires some preparation and care to ensure successful germination and growth.
In this article, we will guide you through the process of preparing cherry seeds for planting. You will learn about selecting the right cherry seed, removing the outer shell, stratification techniques, preparing a suitable planting medium, and caring for the cherry seedling as it sprouts and grows. So, let’s dive in and discover the exciting world of cherry seed preparation!
Choosing the Right Cherry Seed
When it comes to growing cherry trees from seeds, choosing the right cherry seed is crucial for a successful gardening endeavor. While you can purchase cherry seeds from nurseries or online suppliers, it’s important to select seeds from a reliable source or a reputable cherry tree variety to ensure quality and viability.
Here are a few factors to consider when choosing cherry seeds:
- Variety: There are various cherry tree varieties, each with its own unique characteristics, such as size, flavor, and growth habit. Determine the type of cherry tree you desire, whether it’s a sweet cherry (Prunus avium) variety or a tart cherry (Prunus cerasus) variety.
- Freshness: Opt for fresh cherry seeds to maximize the chances of successful germination. Fresh seeds tend to have a higher viability rate compared to older seeds.
- Quality: Inspect the cherry seeds for any signs of damage or disease. Look for plump and fully developed seeds that are free from mold or discoloration.
- Regional Adaptability: Consider the climate and growing conditions of your region. Some cherry tree varieties are better suited to specific climates or soil types. Consult with local gardening experts or research cherry tree varieties that are known to thrive in your area.
Additionally, you may also want to consider obtaining cherry seeds from a local source, such as a neighbor or a nearby cherry orchard. Local seeds have a higher chance of success as they are already adapted to the local growing conditions.
Remember, choosing the right cherry seed is the first step towards a successful edible garden. Take your time to research and select the best cherry seed that aligns with your preferences and growing conditions. With the right seed, you’re already on your way to a fruitful harvest!
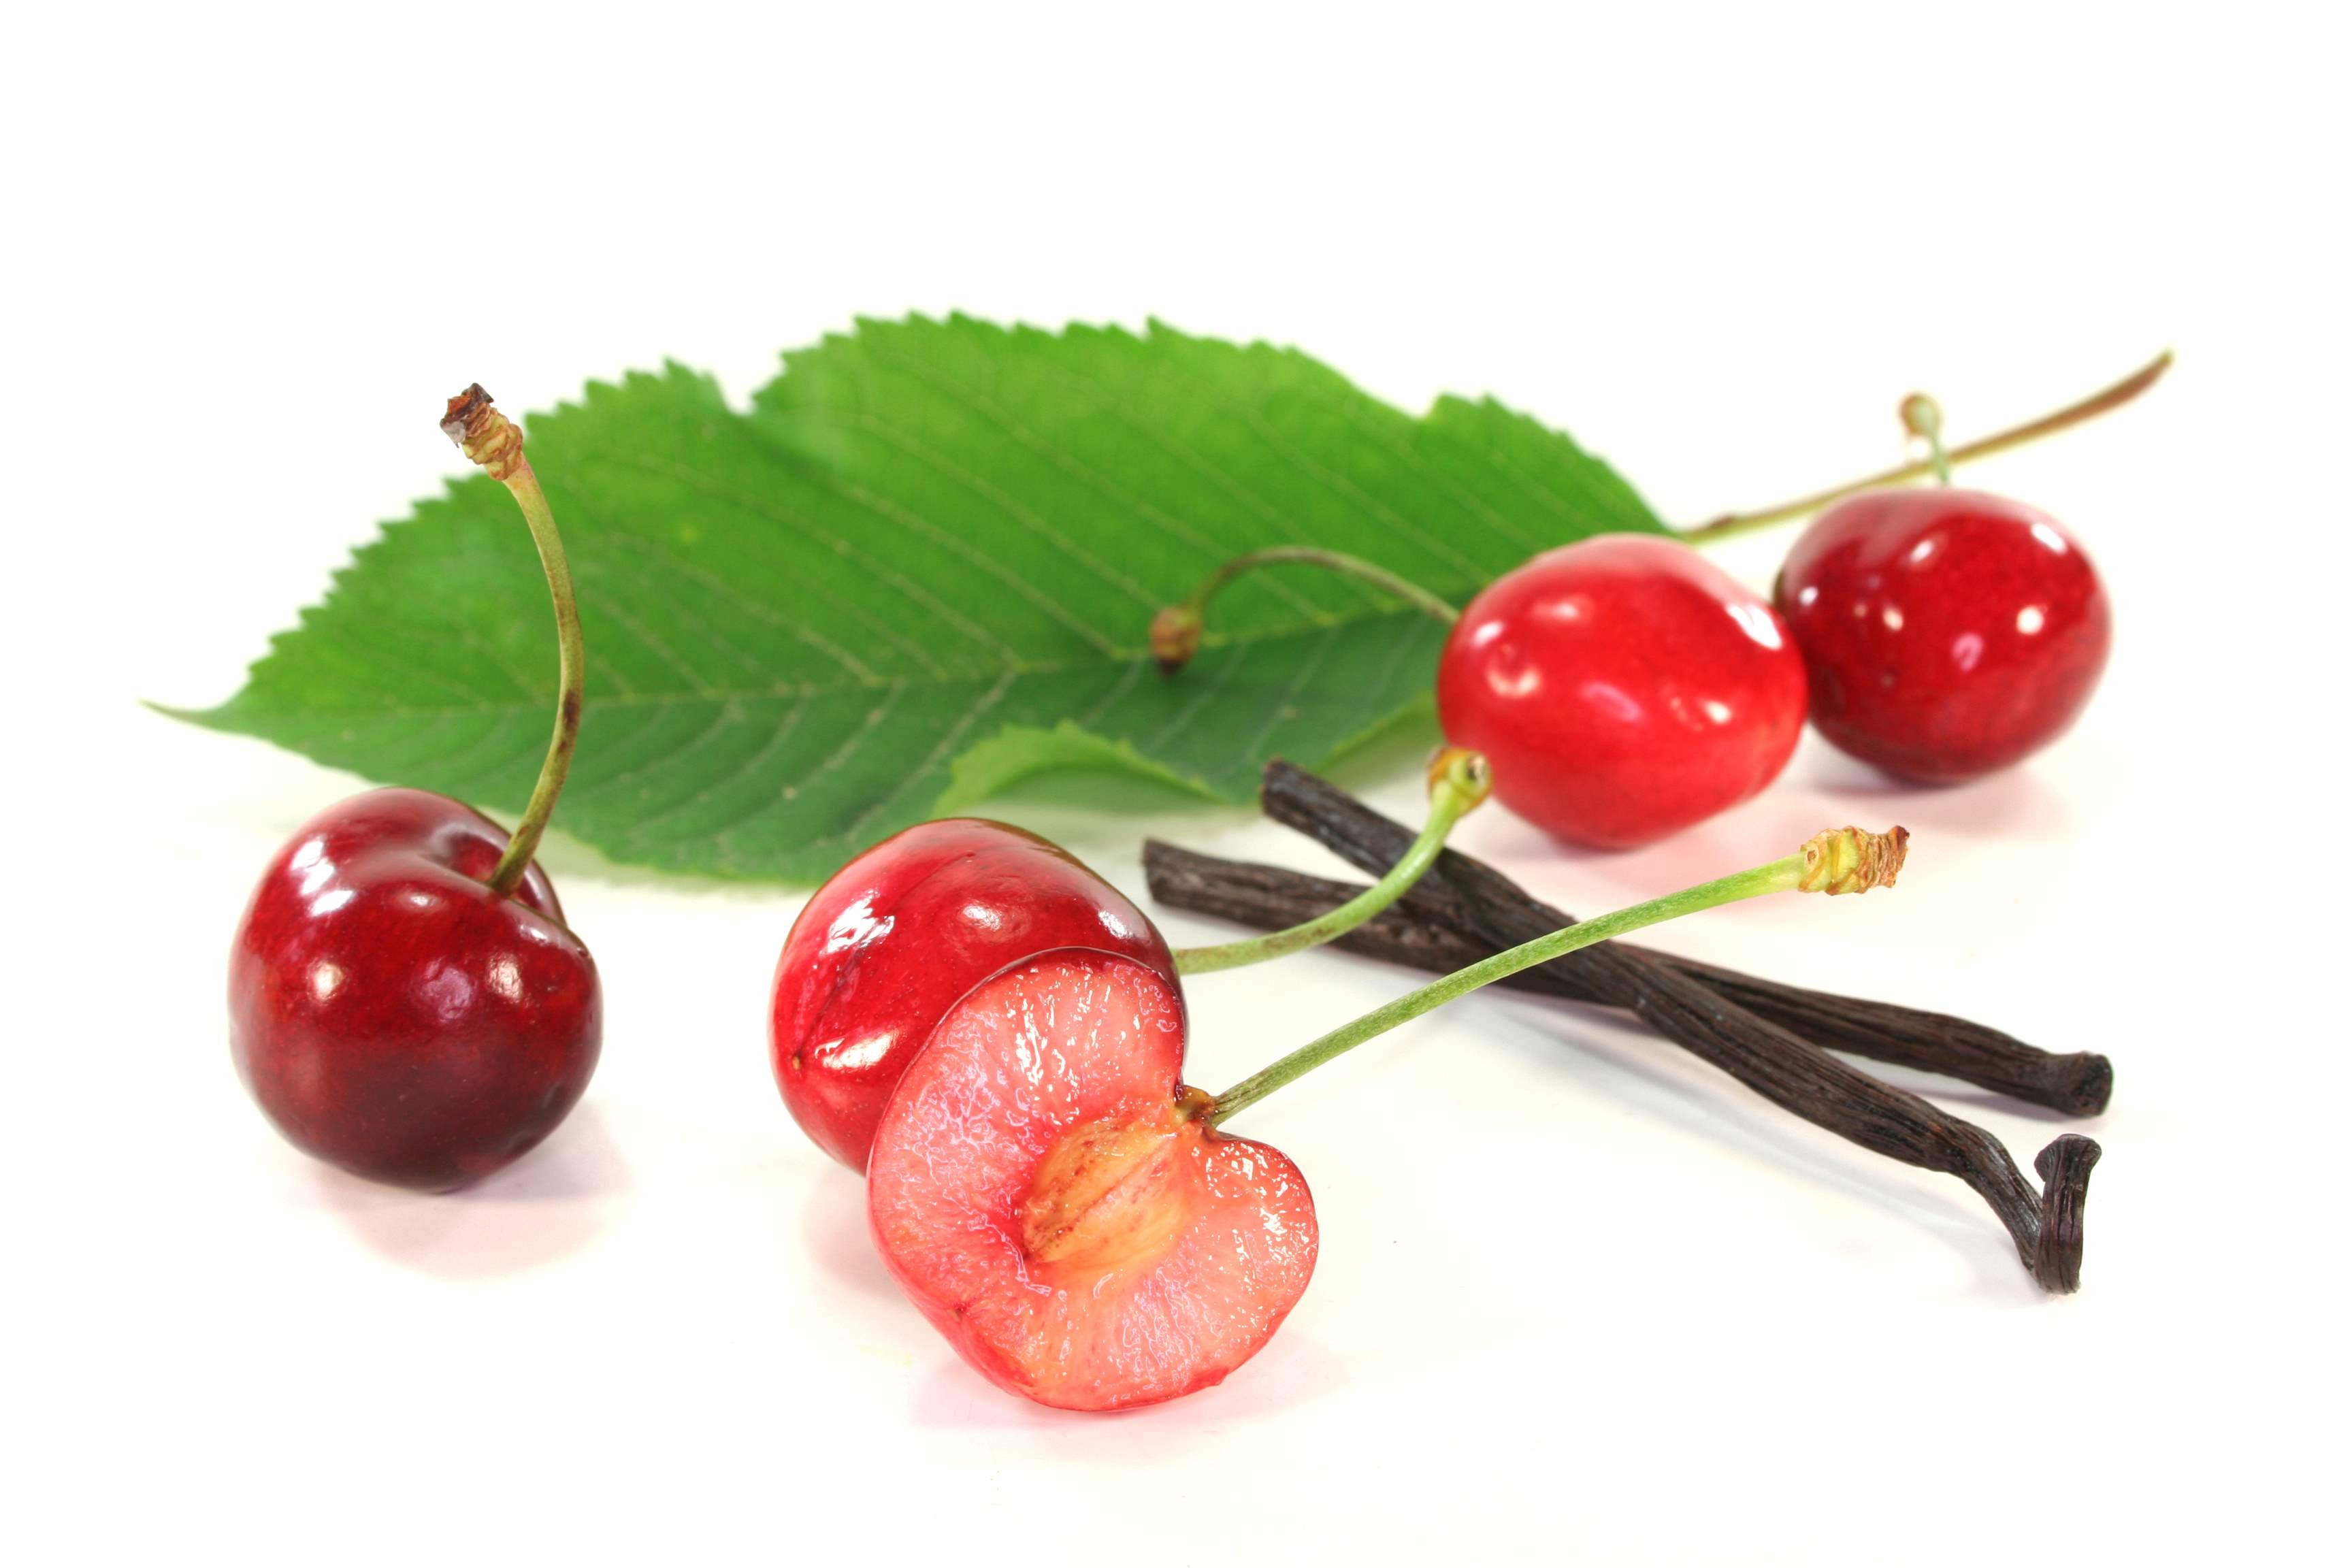
Removing the Outer Shell of the Cherry Seed
Once you have obtained the perfect cherry seed, the next step is to remove its outer shell. The outer shell, also known as the cherry pit, protects the seed and can hinder germination if not properly prepared.
Follow these steps to remove the outer shell of the cherry seed:
- Soaking: Start by soaking the cherry seeds in a bowl of water for 24 to 48 hours. This helps to soften the outer shell and makes it easier to remove.
- Manual Extraction: After soaking, take each seed and use your fingers or a small knife to gently pry open the outer shell. Be careful not to damage the inner seed while doing this. Alternatively, you can use a nutcracker to crack open the seed, but exercise caution to prevent crushing the inner seed.
- Thorough Cleaning: Once you have removed the outer shell, rinse the cherry seeds under running water to remove any remaining pulp or debris. This ensures a clean and healthy seed for germination.
Removing the outer shell of the cherry seed helps to expedite the germination process. It allows moisture to penetrate the inner seed and triggers the activation of growth hormones necessary for germination.
Remember, not all cherry seeds will sprout, so it’s important to collect and prepare multiple seeds to increase your chances of success. Additionally, keep in mind that cherry seeds require a period of cold stratification to mimic the natural conditions required for germination, which we will discuss in the next section.
By properly removing the outer shell of the cherry seed, you are setting the stage for successful germination and the growth of a healthy cherry seedling.
Stratification of Cherry Seeds
After removing the outer shell of the cherry seed, it’s time to initiate the stratification process. Stratification is a technique that mimics the natural winter conditions necessary for cherry seed germination. This process breaks the seed’s dormancy and prepares it for sprouting in the upcoming growing season.
Here’s how to stratify cherry seeds:
- Damp Paper Towel Method: Moisten a paper towel with water, ensuring it is damp but not soaking wet. Place the cherry seeds on one half of the paper towel, leaving some space between each seed. Fold the towel over the seeds to cover them completely.
- Seal and Label: Gently place the folded paper towel with the seeds inside a Ziploc bag or a sealed container. This helps to maintain moisture and create a controlled environment. Label the bag or container with the date to keep track of the stratification period.
- Refrigeration: Place the sealed bag or container in the refrigerator, which serves as a cold and dark environment for stratification. The ideal temperature for cherry seed stratification is around 32 to 40°F (0 to 4°C).
- Stratification Period: Allow the cherry seeds to stratify in the refrigerator for a period of 60 to 90 days. During this time, check the moisture level of the paper towel periodically and remoisten if needed to prevent drying out.
Stratification breaks the seed’s dormancy by exposing it to the chilling temperatures it would experience in nature during winter. This process triggers internal changes within the seed, preparing it for germination when the conditions are right.
After the stratification period, the cherry seeds are ready to be planted. The next section will guide you on preparing a suitable planting medium to provide optimal conditions for seed germination and growth.
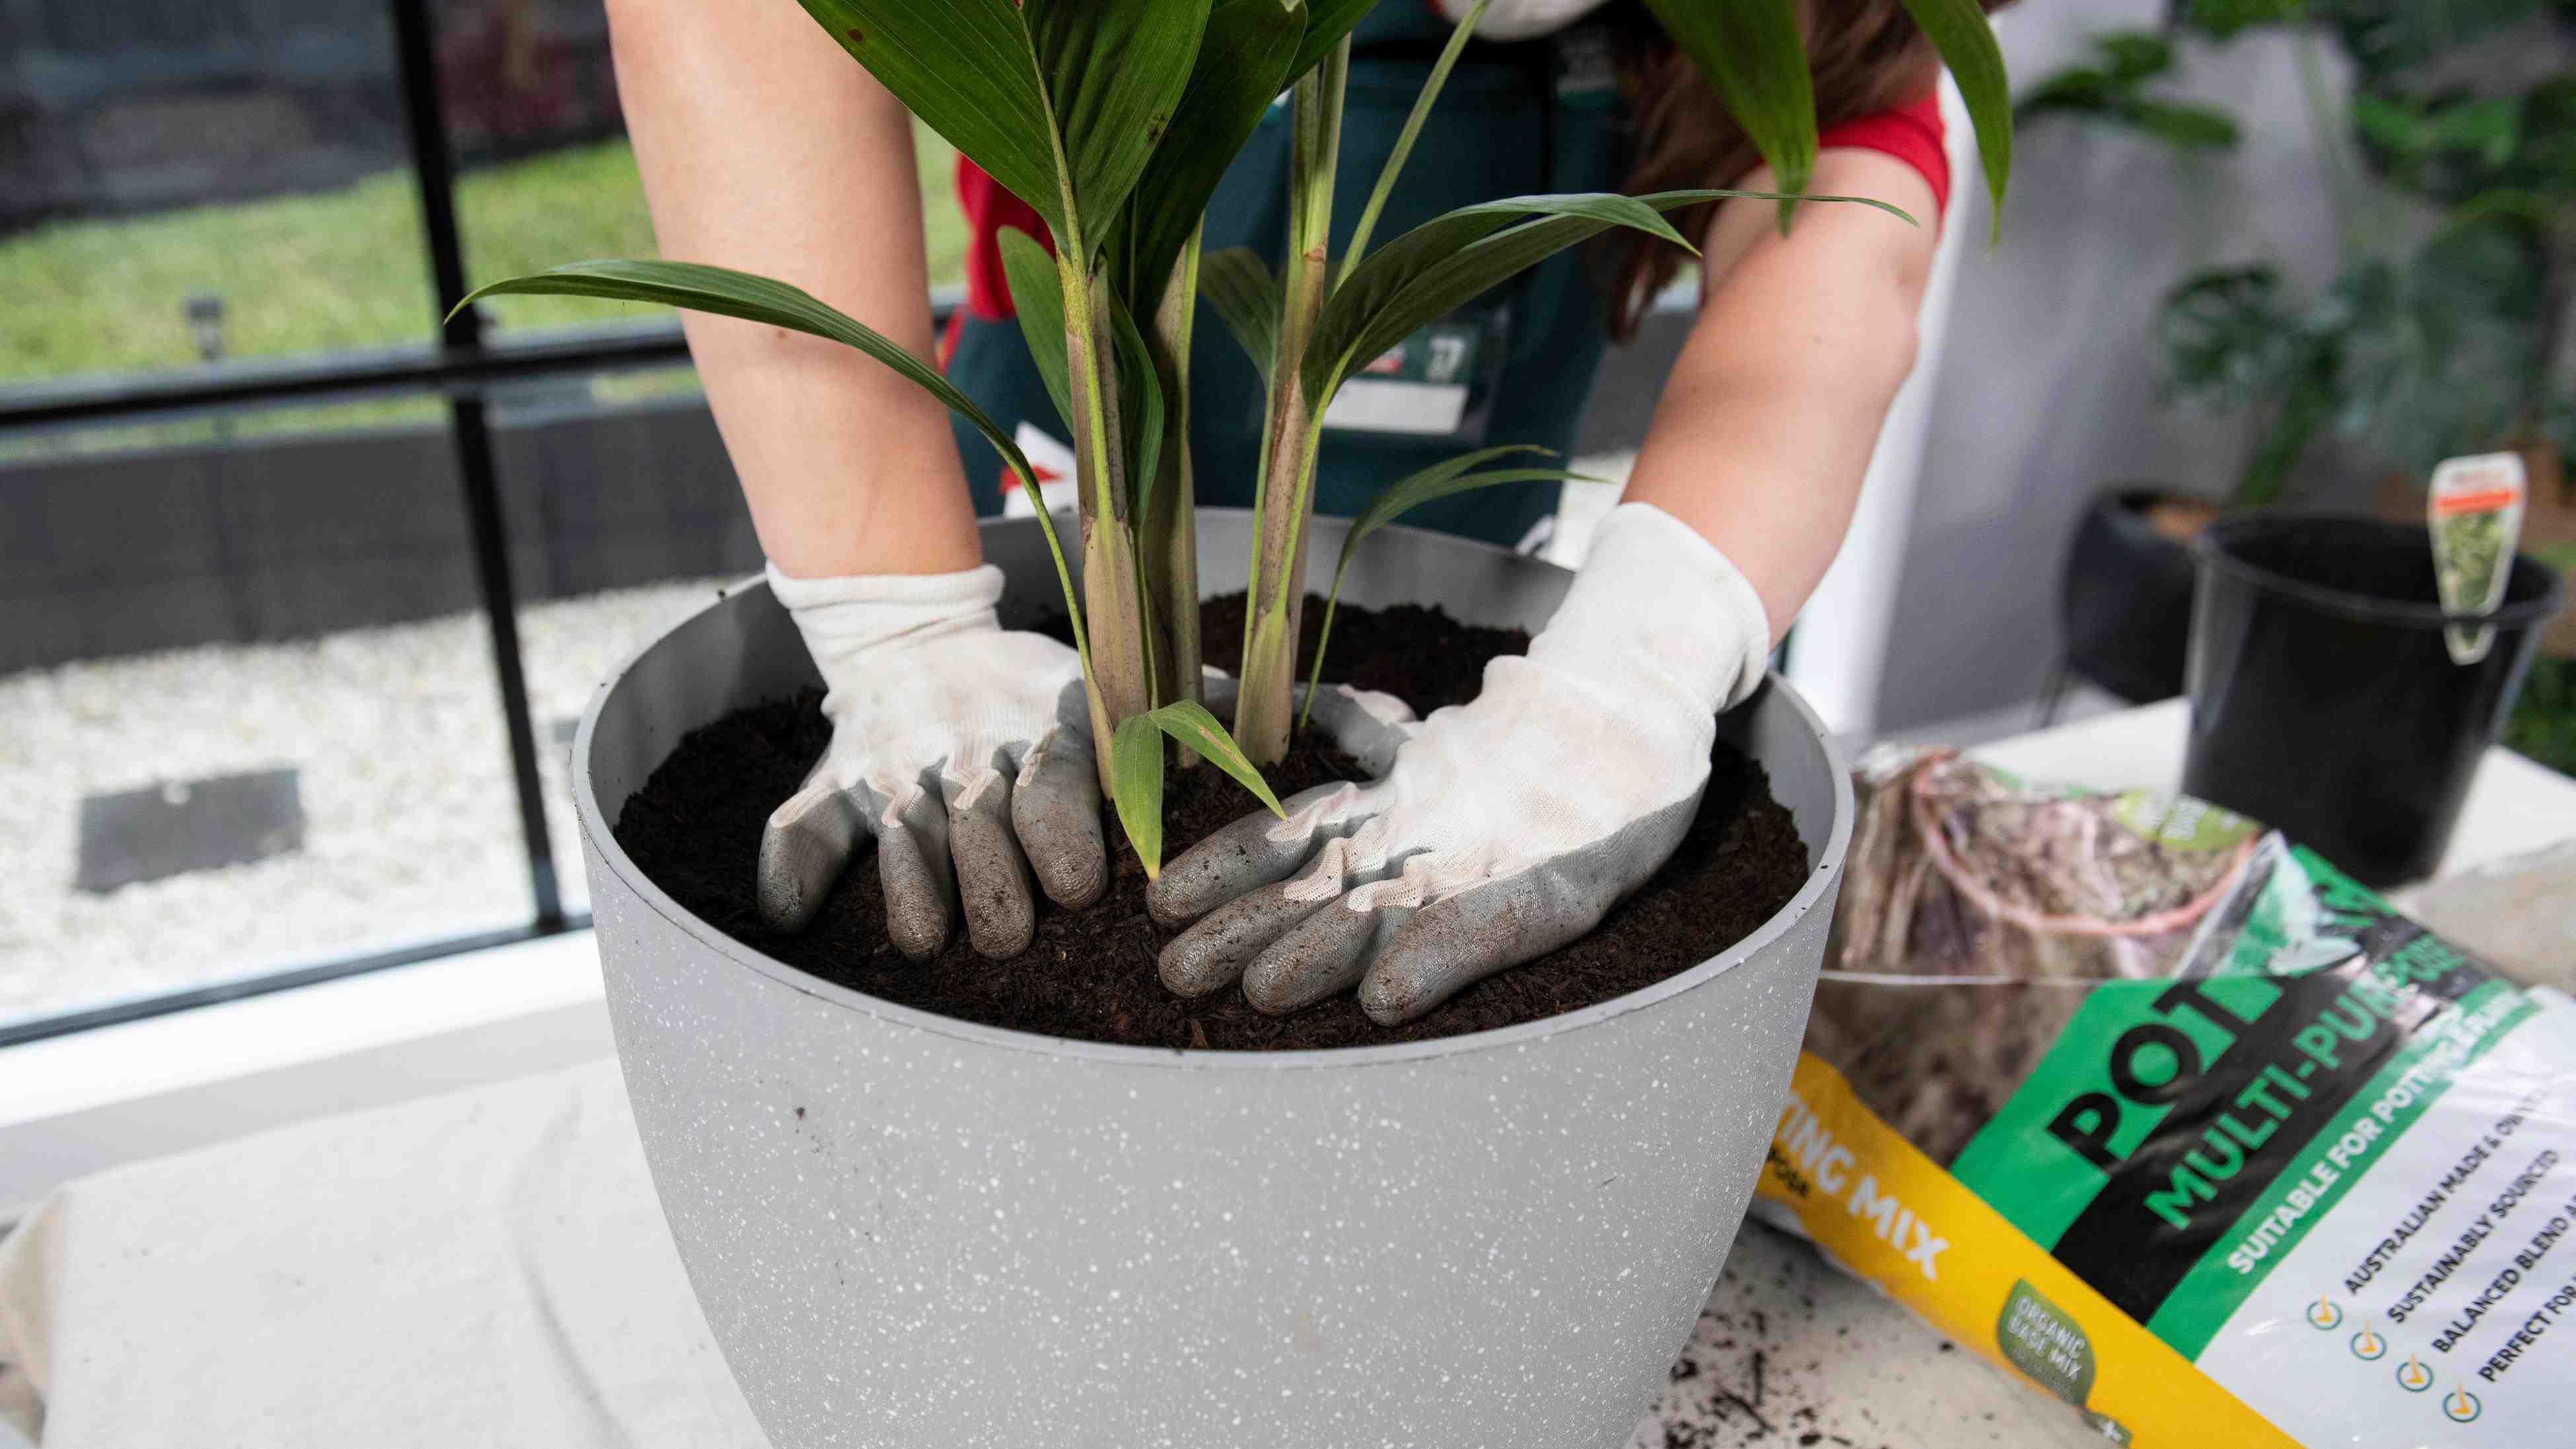
Preparing a Planting Medium
Creating an ideal planting medium is essential for successful germination and growth of cherry seeds. The right combination of nutrients, moisture retention, and aeration will provide an optimal environment for the seeds to sprout and develop into healthy seedlings.
Here are the steps to prepare a suitable planting medium:
- Choose a Well-Draining Soil: Start by selecting a well-draining soil mix. Cherry seeds prefer soil that retains moisture without becoming waterlogged. A mix of garden soil, compost, and sand is a good option for ensuring adequate drainage.
- Amend the Soil: Mix in organic matter such as compost or well-rotted manure into the soil to improve fertility and provide essential nutrients. This will support the initial growth of the cherry seedling.
- Ensure Proper pH: Check the soil’s pH level and aim for a slightly acidic to neutral pH range of 6.0 to 7.0. Adjust the pH if necessary using organic amendments or additives specific to adjusting pH levels.
- Provide Good Aeration: Incorporate perlite or vermiculite into the soil mix to improve aeration and prevent compaction. This will allow the roots to breathe and access oxygen efficiently.
- Prepare Containers: Choose suitable containers for planting the cherry seeds. Ensure that the containers have drainage holes at the bottom to prevent waterlogging.
Once you have prepared the planting medium, fill the containers with the soil mix, leaving some space at the top for watering. The planting medium should be moist, but not overly saturated.
Proper preparation of the planting medium sets the foundation for healthy seedling development. It provides essential nutrients, aeration, and moisture retention to support the germination and growth process of the cherry seeds.
Now that you’ve prepared the planting medium, it’s time to plant the cherry seeds and embark on your edible gardening journey.
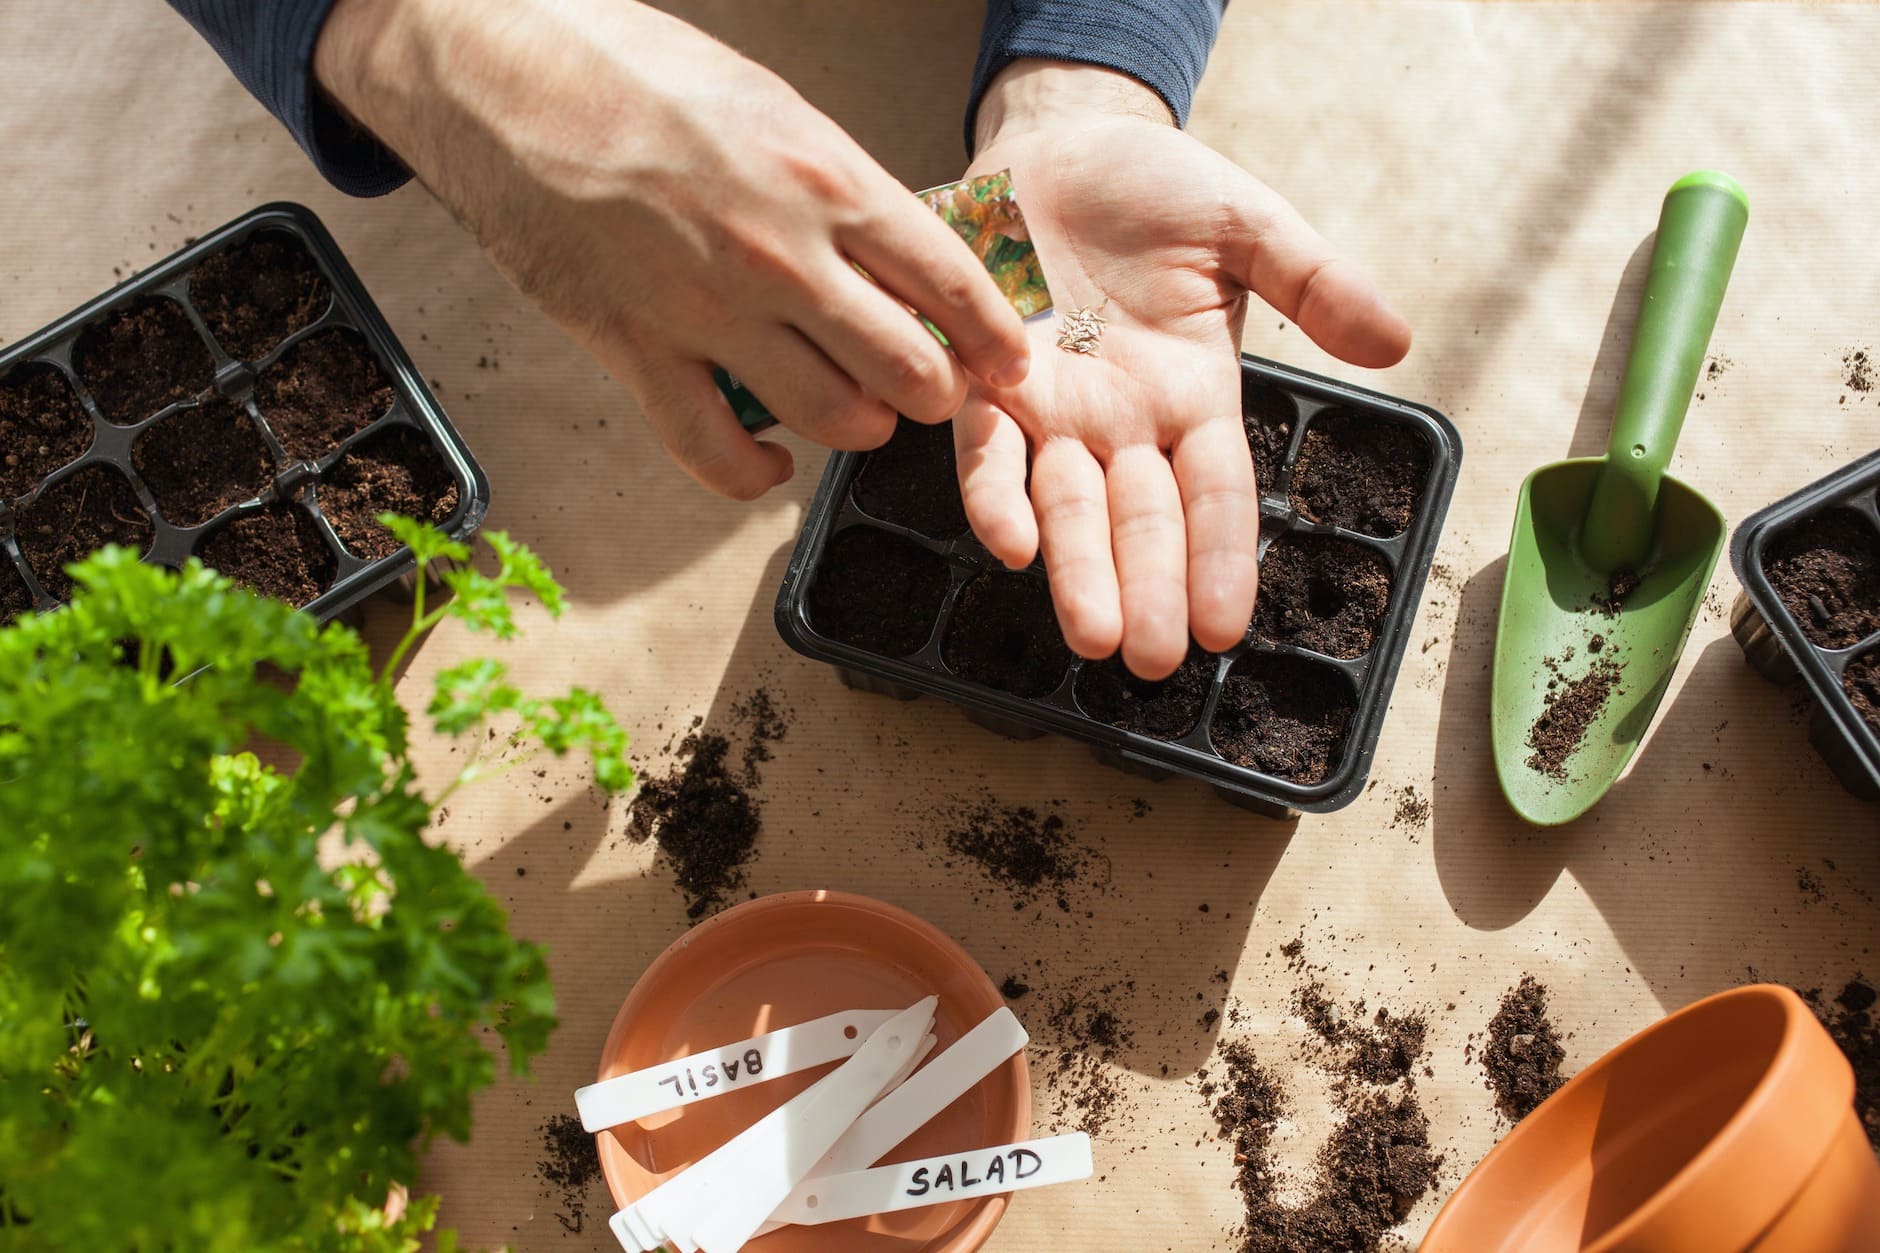
Planting the Cherry Seed
Now that you have carefully prepared the planting medium, it’s time to plant the cherry seeds and watch them grow into magnificent cherry trees. Follow these steps to ensure proper planting:
- Select the Right Time: The best time to plant cherry seeds is in early spring when the soil has thawed and the risk of frost has passed. This allows the seeds to take advantage of the warming temperatures and optimal growing conditions.
- Choose the Planting Location: Select a location with full sun exposure, as cherry trees thrive in sunlight. Ensure the soil in the chosen area is well-draining to prevent waterlogging.
- Sow the Seeds: Make a small indentation in the planting medium in each container, about twice the depth of the seed. Place the cherry seed into the hole and cover it with a thin layer of soil. Gently press the soil down to ensure good seed-to-soil contact.
- Watering: Use a gentle spray or misting technique to water the planted seeds. Avoid overwatering, as excessive moisture can lead to rotting. Keep the soil slightly moist throughout the germination period.
- Provide Warmth and Light: Place the containers in a warm location with indirect sunlight or under grow lights. Maintain a temperature of around 60 to 70°F (15 to 21°C) to promote germination.
- Patience: It’s important to note that cherry seeds can take several weeks or even months to germinate. Be patient and provide consistent care and attention to your seedlings.
As your cherry seeds germinate and begin to sprout, continue to provide them with regular watering, proper light exposure, and a suitable temperature. Keep an eye on the moisture level of the soil, ensuring it remains moist but not waterlogged.
Remember, each cherry seed has its own timeline for germination, so don’t be discouraged if some seeds take longer to sprout. With time, patience, and proper care, you will soon witness the magical emergence of cherry seedlings.
Now that your cherry seeds are planted, it’s time to nurture and care for the seedlings as they grow. The next section will guide you through the essential steps in caring for your cherry seedlings.
Caring for the Cherry Seedling
Once the cherry seeds have successfully germinated and sprouted into seedlings, it’s important to provide them with proper care and attention to ensure healthy growth and development. Here are some essential tips for caring for your cherry seedlings:
- Watering: Proper watering is essential for the growth of your cherry seedlings. Keep the soil consistently moist, but avoid overwatering. Ensure that the containers have good drainage to prevent waterlogged soil, which can lead to root rot.
- Light and Temperature: Place the seedlings in a location that receives full sunlight for at least six hours per day. If growing indoors, use grow lights to provide adequate light. Maintain a temperature of around 60 to 75°F (15 to 24°C) during the day and slightly cooler temperatures at night.
- Support and Pruning: As the seedlings grow taller, provide support with stakes or a trellis to prevent them from bending or breaking. Regularly check for any damaged or diseased branches and prune them to promote healthy growth.
- Fertilization: Begin fertilizing the cherry seedlings once they have developed a few sets of true leaves. Use a balanced, organic fertilizer and follow the manufacturer’s instructions for application rates. Avoid over-fertilization, as this can lead to excessive leaf growth at the expense of fruit production.
- Weed Control: Keep the area around the seedlings free from weeds that can compete for nutrients and water. Regularly remove any weeds or grass around the base of the seedlings to maintain a clean growing environment.
- Pest and Disease Management: Monitor your cherry seedlings for any signs of pests or diseases. Aphids, caterpillars, and powdery mildew are common threats to cherry trees. Use organic pest control methods or consult with a local gardening expert to address any issues.
- Patience and Observation: Remember that it takes time for cherry seedlings to grow into mature trees that produce fruit. Be patient and observe the progress of your seedlings. With proper care and attention, your cherry seedlings will gradually develop into beautiful and productive trees.
Continue to provide consistent care throughout the growing season, adjusting watering and fertilization as needed. As your cherry seedlings mature, they will require larger pots or a transplant to a suitable outdoor location. Ensure they have ample space to spread their roots and receive optimal sunlight.
Caring for your cherry seedlings is a rewarding process that allows you to witness the transformation from tiny seeds to flourishing trees. By dedicating time and effort, you’ll soon be rewarded with the sweet taste of homegrown cherries.
Conclusion
Growing cherry trees from seeds can be a rewarding and fulfilling experience, allowing you to connect with nature and enjoy the fruits of your labor. By following the steps outlined in this guide, you can successfully prepare cherry seeds for planting and nurture them into healthy seedlings.
Remember to choose the right cherry seeds, carefully remove the outer shell, stratify the seeds to break dormancy, and create a suitable planting medium. Plant the cherry seeds with care, provide the necessary attention, and watch as they transform into beautiful cherry seedlings.
Throughout the process, patience is key. Cherry seeds may take weeks or even months to germinate, but with consistent care, they will sprout and grow into delightful cherry trees.
As your cherry seedlings thrive, continue to provide them with proper watering, adequate light exposure, and a supportive environment. Prune and fertilize them as they mature, and be vigilant against pests and diseases that can hinder their growth.
With time, dedication, and a bit of patience, your cherry seedlings will flourish into magnificent trees that offer a bountiful harvest of delicious cherries for you to enjoy. Embrace the joy and satisfaction of growing your own food and revel in the beauty of nature as you embark on your edible gardening journey.
So, don’t hesitate – grab some cherry seeds, roll up your sleeves, and let the magic of edible gardening begin!