Home>Types of Gardening>Edible Gardening>How Long Do You Soak Pumpkin Seeds

Edible Gardening
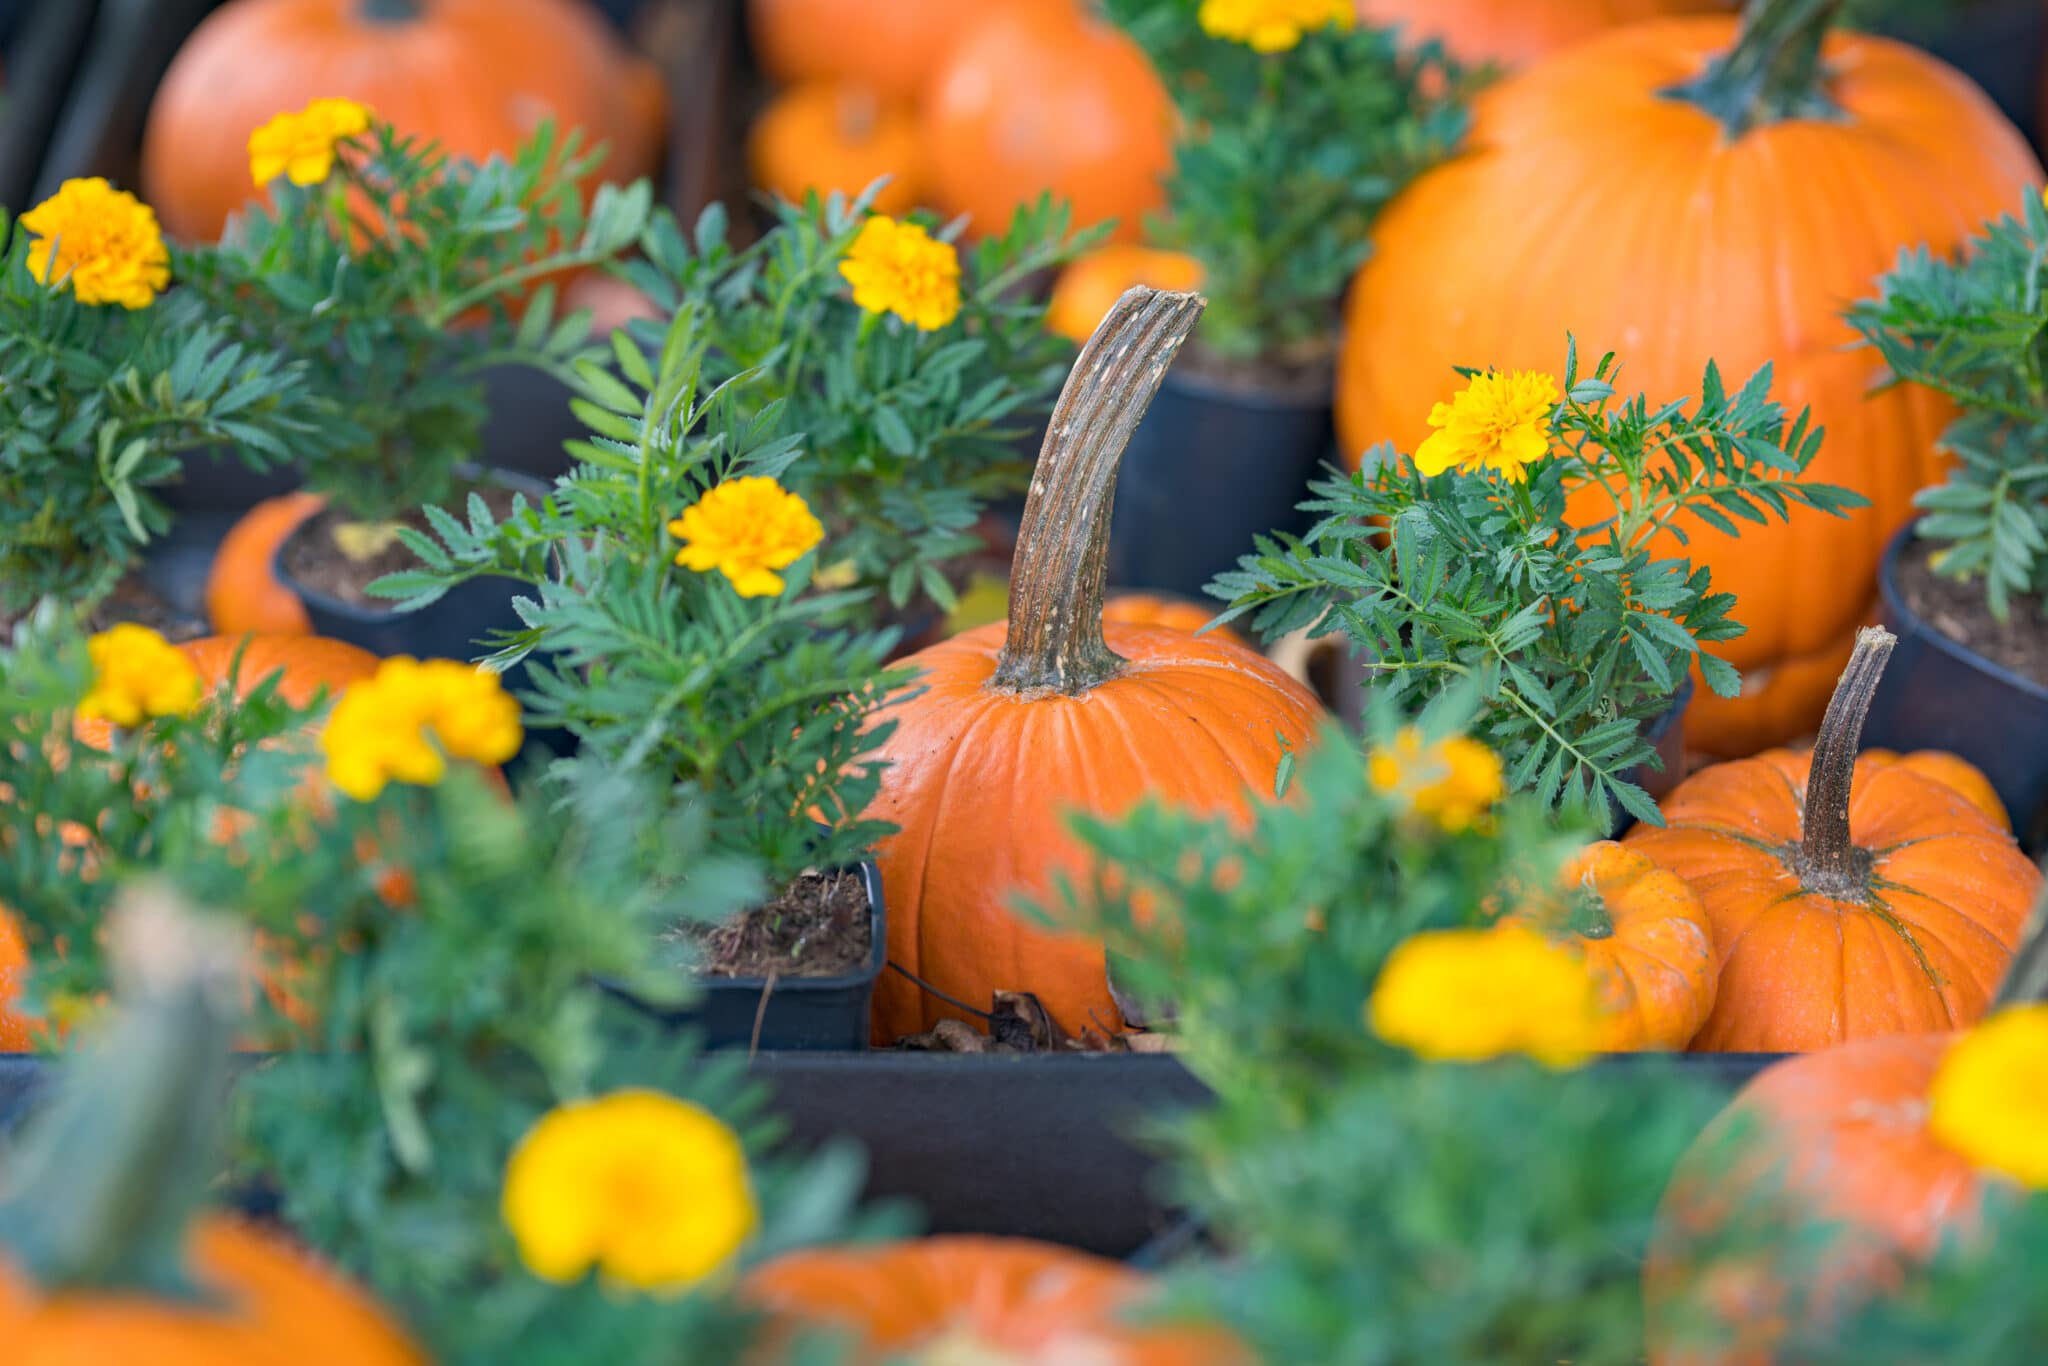
How Long Do You Soak Pumpkin Seeds
Modified: January 22, 2024
Learn how long to soak pumpkin seeds for optimal results in your edible gardening. Find out the best methods for preparing these nutritious seeds.
(Many of the links in this article redirect to a specific reviewed product. Your purchase of these products through affiliate links helps to generate commission for Chicagolandgardening.com, at no extra cost. Learn more)
Table of Contents
Introduction
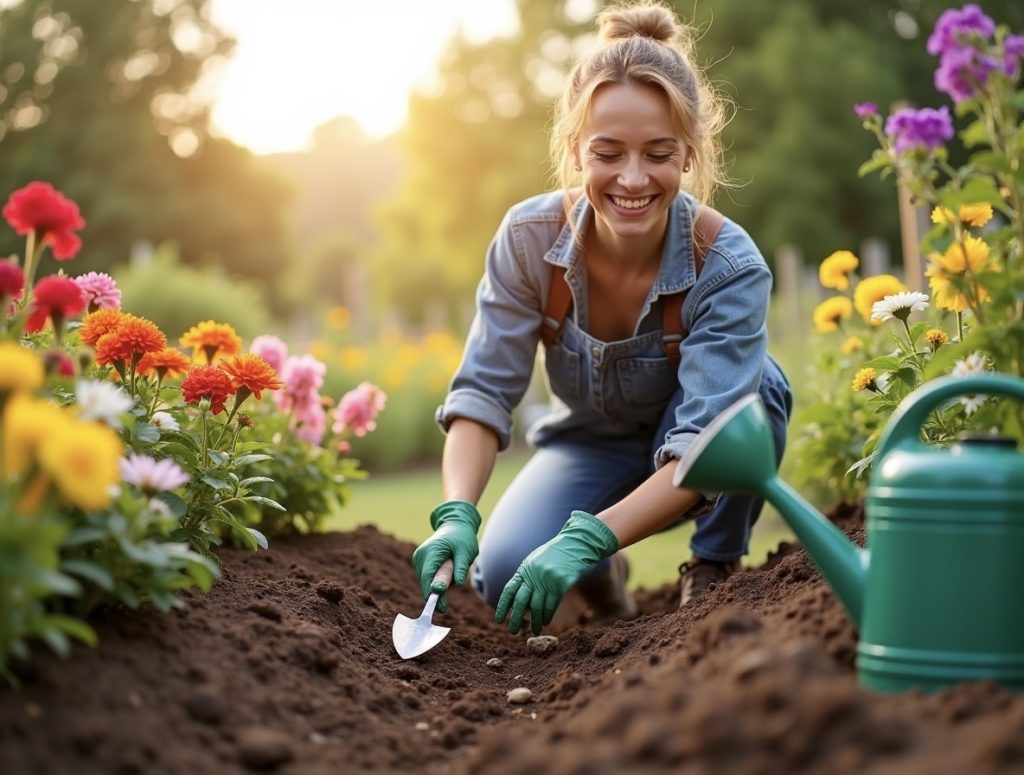
Are you a gardening enthusiast looking to grow your own pumpkins? One important step in the process is soaking the pumpkin seeds before planting them. Soaking pumpkin seeds can offer several benefits that can help improve the success rate of your pumpkin plants. In this article, we will explore the significance of soaking pumpkin seeds, how to properly soak them, and the recommended soaking time. Additionally, we will discuss the various benefits you can expect from this simple yet effective gardening technique.
Whether you are a seasoned gardener or just starting out, understanding the importance of soaking pumpkin seeds is crucial for achieving optimal growth and development of your pumpkin plants. Soaking the seeds helps to initiate the germination process, which is the first step in the growth cycle. By soaking the seeds, you are essentially providing them with the necessary moisture and nutrients required for sprouting.
But why do pumpkin seeds need to be soaked? When pumpkin seeds are soaked, they absorb water and activate enzymes that break down the seed coat. This process, known as imbibition, softens the outer layer of the seed and makes it easier for the tiny plant embryo inside to break through and emerge.
Furthermore, soaking the seeds can help in removing any potential coating or residue that may hinder germination. Additionally, it can also help to speed up the germination process, ensuring that your pumpkin plants sprout quickly and uniformly.
So, if you want to give your pumpkin plants the best chance of thriving and producing a bountiful harvest, soaking the seeds is an essential step to incorporate into your gardening routine. In the following sections, we will guide you on the proper method of soaking pumpkin seeds and provide useful tips to ensure successful germination.
Why Soak Pumpkin Seeds?
Soaking pumpkin seeds before planting them offers several advantages that can greatly benefit the growth and development of your pumpkin plants. Let’s explore some of the key reasons why soaking pumpkin seeds is a recommended practice:
- Improved Germination: Soaking pumpkin seeds helps to kickstart the germination process. By providing them with moisture, the seeds are able to absorb water and activate enzymes that break down the seed coat. This softens the outer layer, allowing the tiny plant embryo to emerge more easily.
- Enhanced Nutrient Uptake: Soaking pumpkin seeds allows them to absorb extra nutrients from the water, which can significantly boost their nutrient content. This nutrient-rich environment gives the seeds a head start and provides the young plants with a readily available source of nourishment.
- Increased Seed Viability: Soaking pumpkin seeds can help increase their overall viability. Older seeds may have a harder seed coat and may require a longer soaking period to improve their chances of successful germination. Soaking can also help identify seeds that are less likely to germinate, allowing you to focus your efforts on the ones that are more likely to thrive.
- Prevention of Fungal Diseases: Soaking pumpkin seeds in a mild solution of water and hydrogen peroxide can help eliminate any potential fungal spores or pathogens that may be present on the seed surface. This simple step can significantly reduce the risk of fungal diseases and increase the chances of healthy seedlings.
Overall, soaking pumpkin seeds is a valuable technique that can greatly enhance the success of your pumpkin plants. It improves germination rates, boosts nutrient uptake, increases seed viability, and prevents fungal diseases. By taking the time to soak your pumpkin seeds before planting, you are giving them the best possible start and setting the stage for a successful and fruitful harvest.
How to Soak Pumpkin Seeds
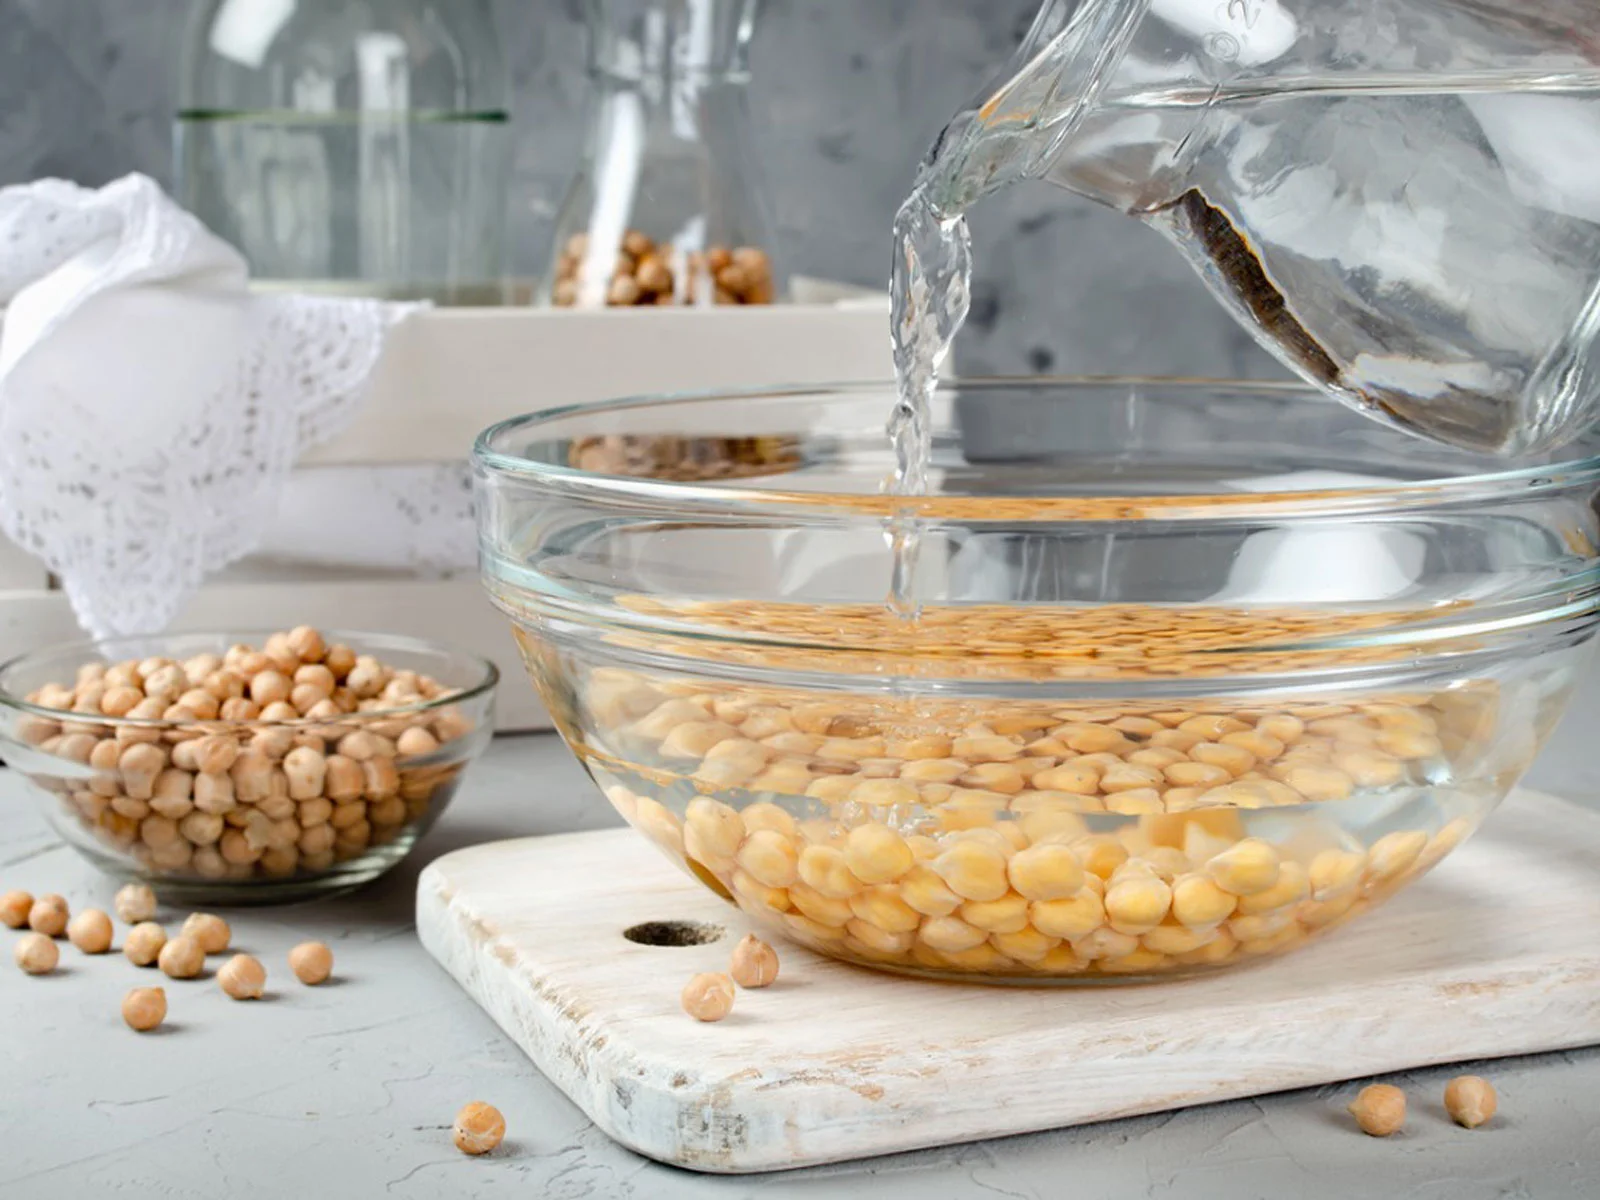
Soaking pumpkin seeds is a straightforward process that requires minimal effort. Follow these simple steps to ensure that you soak your pumpkin seeds correctly:
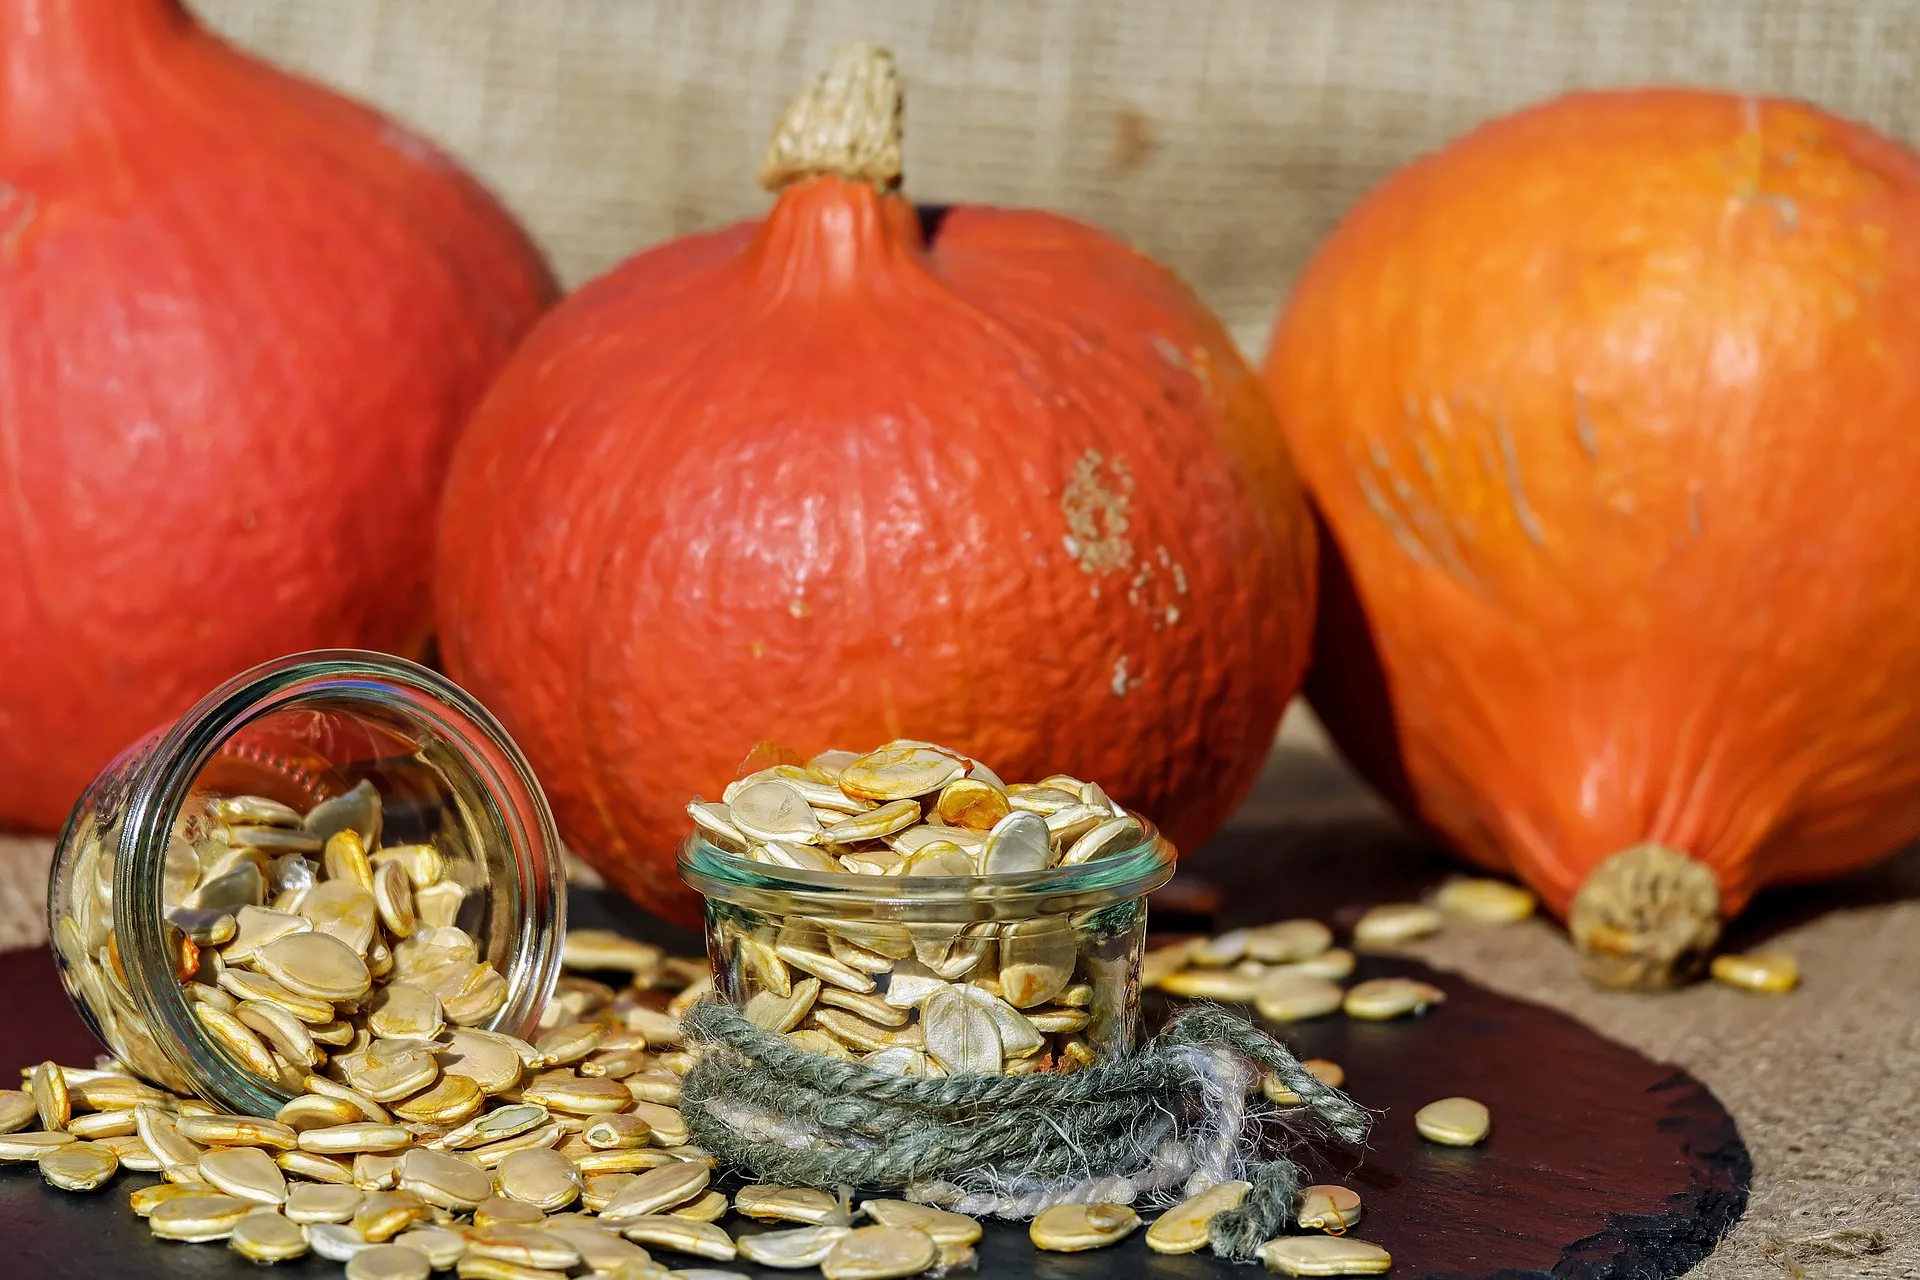
- Collect your pumpkin seeds: Harvest the seeds from a mature and healthy pumpkin. Scoop out the seeds and place them in a clean bowl.
- Clean the seeds: Rinse the seeds under cool running water to remove any remaining pumpkin pulp or debris. Gently swish the seeds around in the water to ensure they are thoroughly clean.
- Prepare a soaking solution: Fill a bowl or container with lukewarm water. You can also add a pinch of salt to the water to help prevent the growth of any potential pathogens.
- Soak the seeds: Place the cleaned pumpkin seeds into the bowl of water. Ensure that the seeds are fully submerged and allow them to soak for the recommended time (which we will discuss in the next section).
- Stir occasionally: Give the seeds a gentle stir every few hours to help evenly distribute the moisture and nutrients. This will ensure that all seeds in the batch have an equal opportunity to absorb the necessary elements for germination.
- Drain and dry: After the recommended soaking time, carefully drain the water from the bowl. Spread the soaked pumpkin seeds on a clean towel or paper towel and allow them to air dry. Make sure they are spread out in a single layer to prevent clumping.
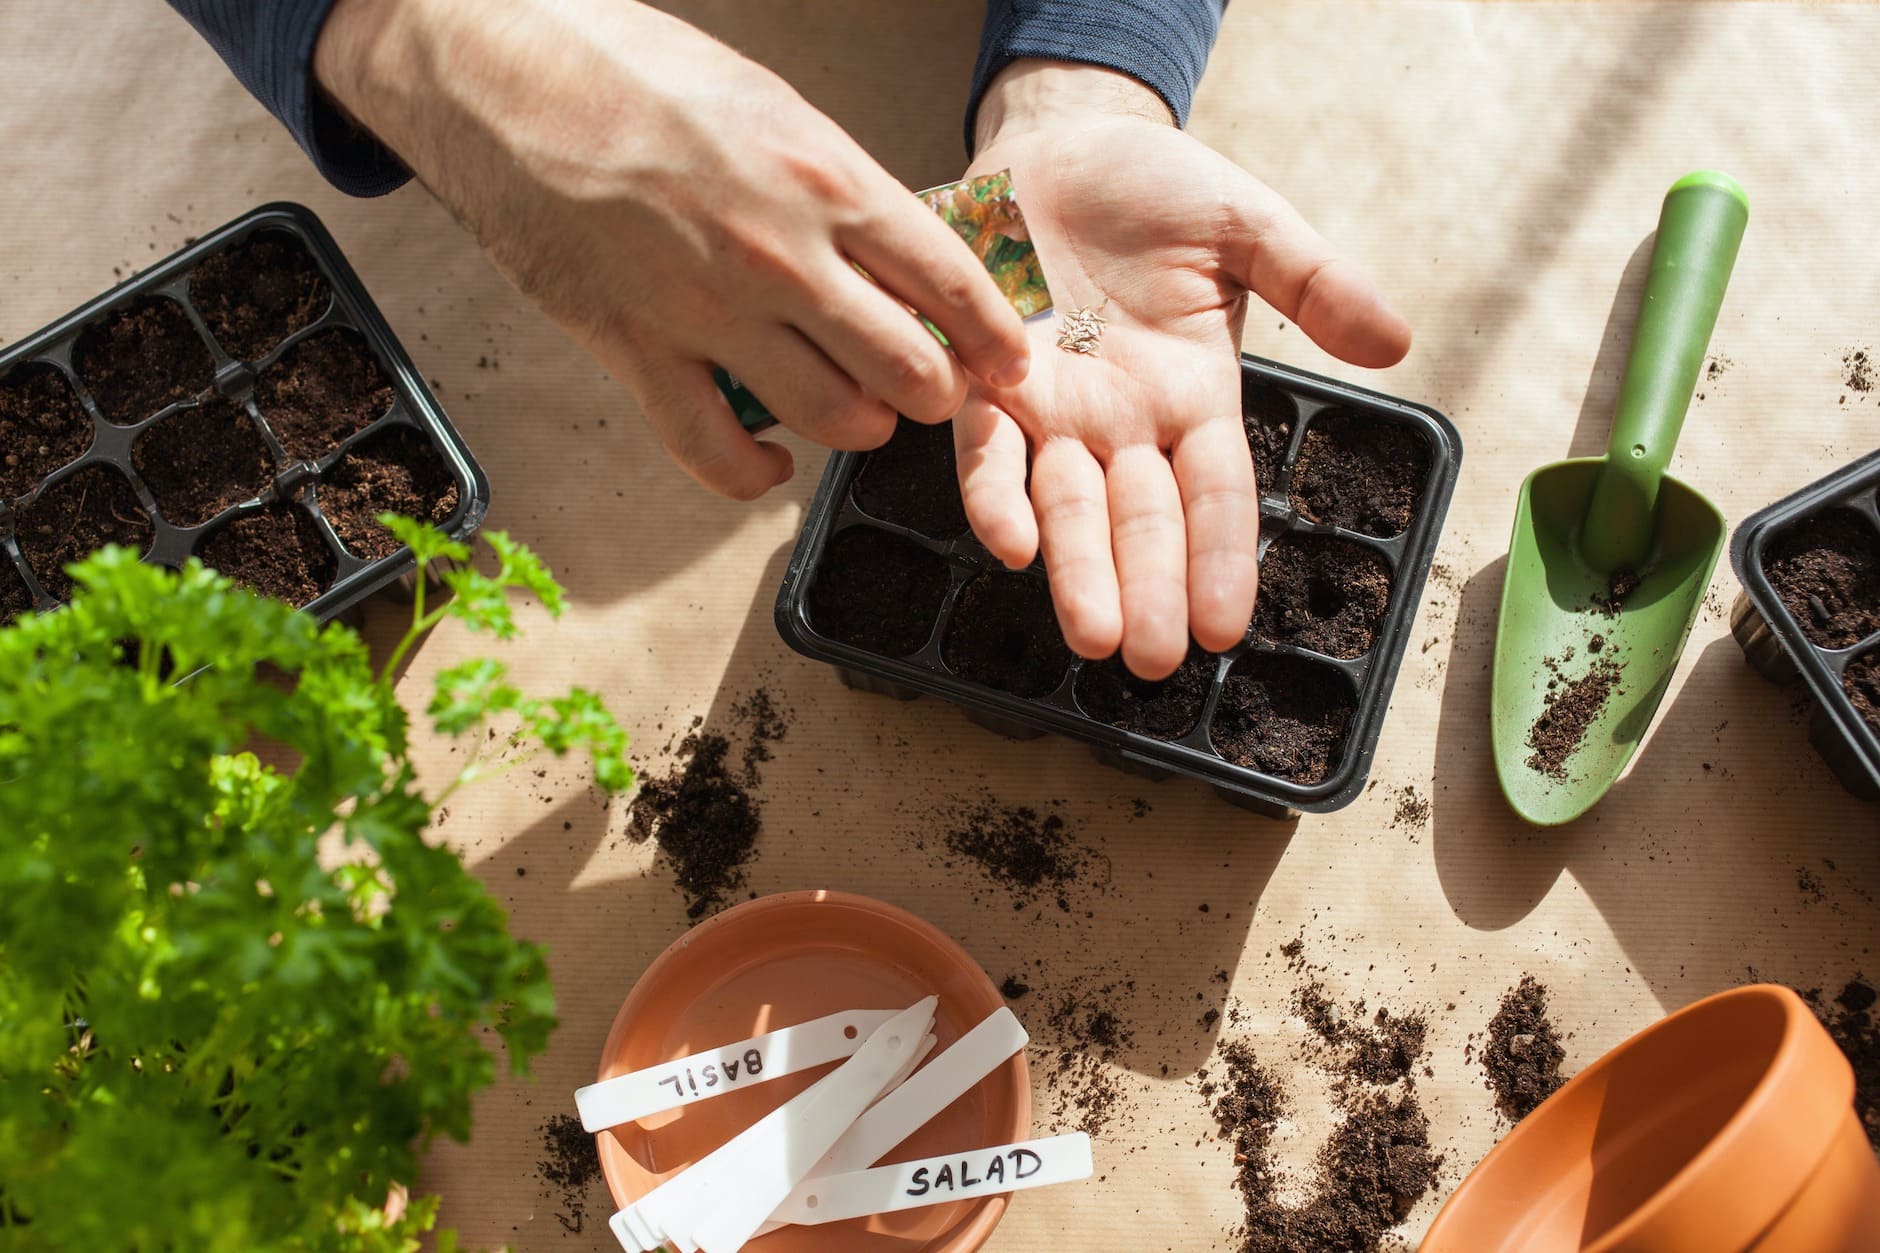
Once your pumpkin seeds are dry, they are ready to be planted in your garden or seed-starting tray. By following these simple steps, you can ensure that your pumpkin seeds are properly soaked and primed for successful germination.
Soaking Time for Pumpkin Seeds
The ideal soaking time for pumpkin seeds can vary depending on several factors, including the specific variety of pumpkin and the age of the seeds. Here are some general guidelines to follow:
- Short Soaking: In most cases, soaking pumpkin seeds for 6 to 8 hours is sufficient for optimal results. This duration allows the seeds to absorb enough moisture to kickstart the germination process without causing them to become overly saturated.
- Long Soaking: Some pumpkin seeds, particularly older ones with harder seed coats, may benefit from a longer soaking period. If you notice that your seeds are not germinating well or have a low viability rate, you can extend the soaking time to 12 to 24 hours. However, avoid soaking them for more than 48 hours, as this can lead to rotting or mold growth.
- Saltwater Soak: For added protection against fungal diseases, you can soak pumpkin seeds in a saltwater solution. Mix 1 tablespoon of salt with 4 cups of water and soak the seeds for about 8 hours. The saltwater soak can help suppress fungal growth and improve the overall health of the seeds.
It’s important to note that soaking times are not set in stone and can be adjusted based on your observations and experience. If you find that your pumpkin seeds are consistently germinating well with a certain soaking duration, feel free to stick with that timeframe.
Remember to keep track of the soaking time and avoid excessive soaking, as this can lead to the seeds losing their viability or becoming waterlogged. By finding the right balance, you can maximize the chances of successful germination and ensure healthy growth for your pumpkin plants.
Benefits of Soaking Pumpkin Seeds
Soaking pumpkin seeds before planting offers several notable benefits that can greatly improve the overall success of your pumpkin plants. Let’s explore some of the key advantages of this simple gardening technique:
- Improved Germination Rate: Soaking pumpkin seeds helps initiate the germination process by softening the seed coat and allowing the plant embryo to emerge more easily. This leads to a higher germination rate and faster seedling development.
- Enhanced Nutrient Absorption: Soaking pumpkin seeds allows them to absorb extra moisture and nutrients from the water. This jumpstarts their growth and provides the young plants with a head start in terms of nutrient availability, leading to stronger and healthier seedlings.
- Increased Disease Resistance: Soaking pumpkin seeds in a saltwater solution can help protect them against fungal diseases. The saltwater soak inhibits the growth of harmful pathogens, reducing the risk of seedling damping-off and other fungal infections.
- Higher Viability: Soaking can help identify seeds that are less likely to germinate. If a seed fails to absorb water and show signs of germination after soaking, it may indicate that the seed is not viable and can be discarded. This allows you to focus your efforts on the seeds that have a higher chance of success.
- Uniform Germination: Soaking pumpkin seeds ensures that they all have an equal opportunity to absorb moisture and initiate germination. This results in more uniform seedling emergence, making it easier to manage and care for your pumpkin plants as they grow.
- Increased Seed Success: By giving your pumpkin seeds a healthy head start through soaking, you are setting them up for overall success in their growth and development. This translates to stronger plants, more prolific vines, and ultimately, a better harvest of flavorful and vibrant pumpkins.
By taking the time to soak your pumpkin seeds before planting, you are giving them the best possible chance to thrive. Improved germination rates, enhanced nutrient absorption, increased disease resistance, higher viability, uniform germination, and increased overall seed success are all compelling reasons to incorporate soaking into your pumpkin-growing routine.
Tips for Soaking Pumpkin Seeds
To ensure the best results when soaking pumpkin seeds, it’s helpful to keep the following tips in mind:
- Select Healthy Seeds: Start with fresh, healthy pumpkin seeds from a reputable source. Avoid using damaged or shriveled seeds, as they may have a lower viability rate.
- Use Filtered Water: If possible, use filtered or distilled water for soaking. This helps eliminate any potential impurities or chemicals that may hinder seed germination.
- Watch Soaking Duration: Pay attention to the recommended soaking times based on seed age and variety. Avoid soaking for too long, as it may lead to waterlogged seeds or reduce viability.
- Allow Proper Air Circulation: After soaking, ensure that the seeds are spread out in a single layer to air dry. This allows for proper air circulation, preventing the growth of mold or fungal pathogens.
- Label Seed Varieties: If you are soaking seeds from different pumpkin varieties, label them accordingly. This will help you keep track of the specific characteristics and traits of each variety during the later stages of growth.
- Observe Seed Swelling: Take note of any visible changes in the soaked seeds. Look for signs of swelling or cracking, which indicate that the seeds have absorbed water and are preparing for germination.
- Experiment with Soaking Methods: While soaking in water is the most common method, you can also experiment with other techniques. For example, some gardeners swear by soaking in compost tea or seaweed extract to provide additional nutrients for the seeds.
- Monitor Seed Health: During the soaking process, keep an eye out for any signs of mold or decay. If you notice any unhealthy seeds, remove them from the batch to prevent the spread of disease.
- Follow Seed Packet Instructions: If you purchased your pumpkin seeds, check the seed packet for any specific instructions regarding soaking. Different varieties may have unique requirements or recommendations.
- Enjoy the Process: Soaking pumpkin seeds is not only beneficial for your plants but can also be an enjoyable part of the gardening journey. Take the time to observe and appreciate the transformation of the seeds as they prepare for their journey towards becoming thriving pumpkin plants.
By following these tips, you can maximize the benefits of soaking pumpkin seeds and increase the chances of successful germination. Remember that gardening is a continuous learning experience, so don’t be afraid to experiment and find the techniques that work best for you and your pumpkin patch.
Conclusion
Soaking pumpkin seeds before planting is a simple yet effective technique that can greatly enhance the success of your pumpkin plants. By providing moisture and nutrients, soaking initiates the germination process, improves nutrient uptake, increases seed viability, and prevents fungal diseases. With just a little extra effort, you can set the stage for healthy seedlings and a bountiful harvest of vibrant pumpkins.
Remember to follow the proper steps for soaking pumpkin seeds, including cleaning them, preparing a soaking solution, and allowing for adequate drying time. Additionally, be mindful of the recommended soaking times based on seed age and variety. By observing these guidelines and incorporating some helpful tips, such as using filtered water and monitoring seed health, you can optimize the soaking process and increase your chances of successful germination.
So go ahead and give your pumpkin plants the best start possible by soaking their seeds before planting. Enjoy the process of nurturing and watching your pumpkin patch come to life. The rewards will be worth it as you witness the growth of strong, healthy vines and delight in the harvest of delicious pumpkins for your culinary creations and autumn decorations.