Home>Types of Gardening>Ornamental Gardening>How To Cold Stratify Seeds
Ornamental Gardening
How To Cold Stratify Seeds
Modified: January 22, 2024
Learn how to cold stratify seeds for successful ornamental gardening. Increase your chances of germination and grow beautiful flowers and plants.
(Many of the links in this article redirect to a specific reviewed product. Your purchase of these products through affiliate links helps to generate commission for Chicagolandgardening.com, at no extra cost. Learn more)
Table of Contents
- Introduction
- What is Seed Stratification?
- Why Cold Stratify Seeds?
- When to Cold Stratify Seeds
- Methods of Cold Stratification
- Choosing the Right Seeds for Cold Stratification
- Preparing Seeds for Cold Stratification
- Cold Stratification Techniques
- Monitoring and Caring for Cold Stratified Seeds
- Transplanting Cold Stratified Seeds
- Conclusion
Introduction
Ornamental gardening is a beloved pastime for many enthusiasts who enjoy adding beauty and charm to their outdoor spaces. One of the essential aspects of successful gardening is starting with healthy and robust plants. While purchasing young seedlings from nurseries is a common practice, it can limit the variety and uniqueness of the plants in your garden.
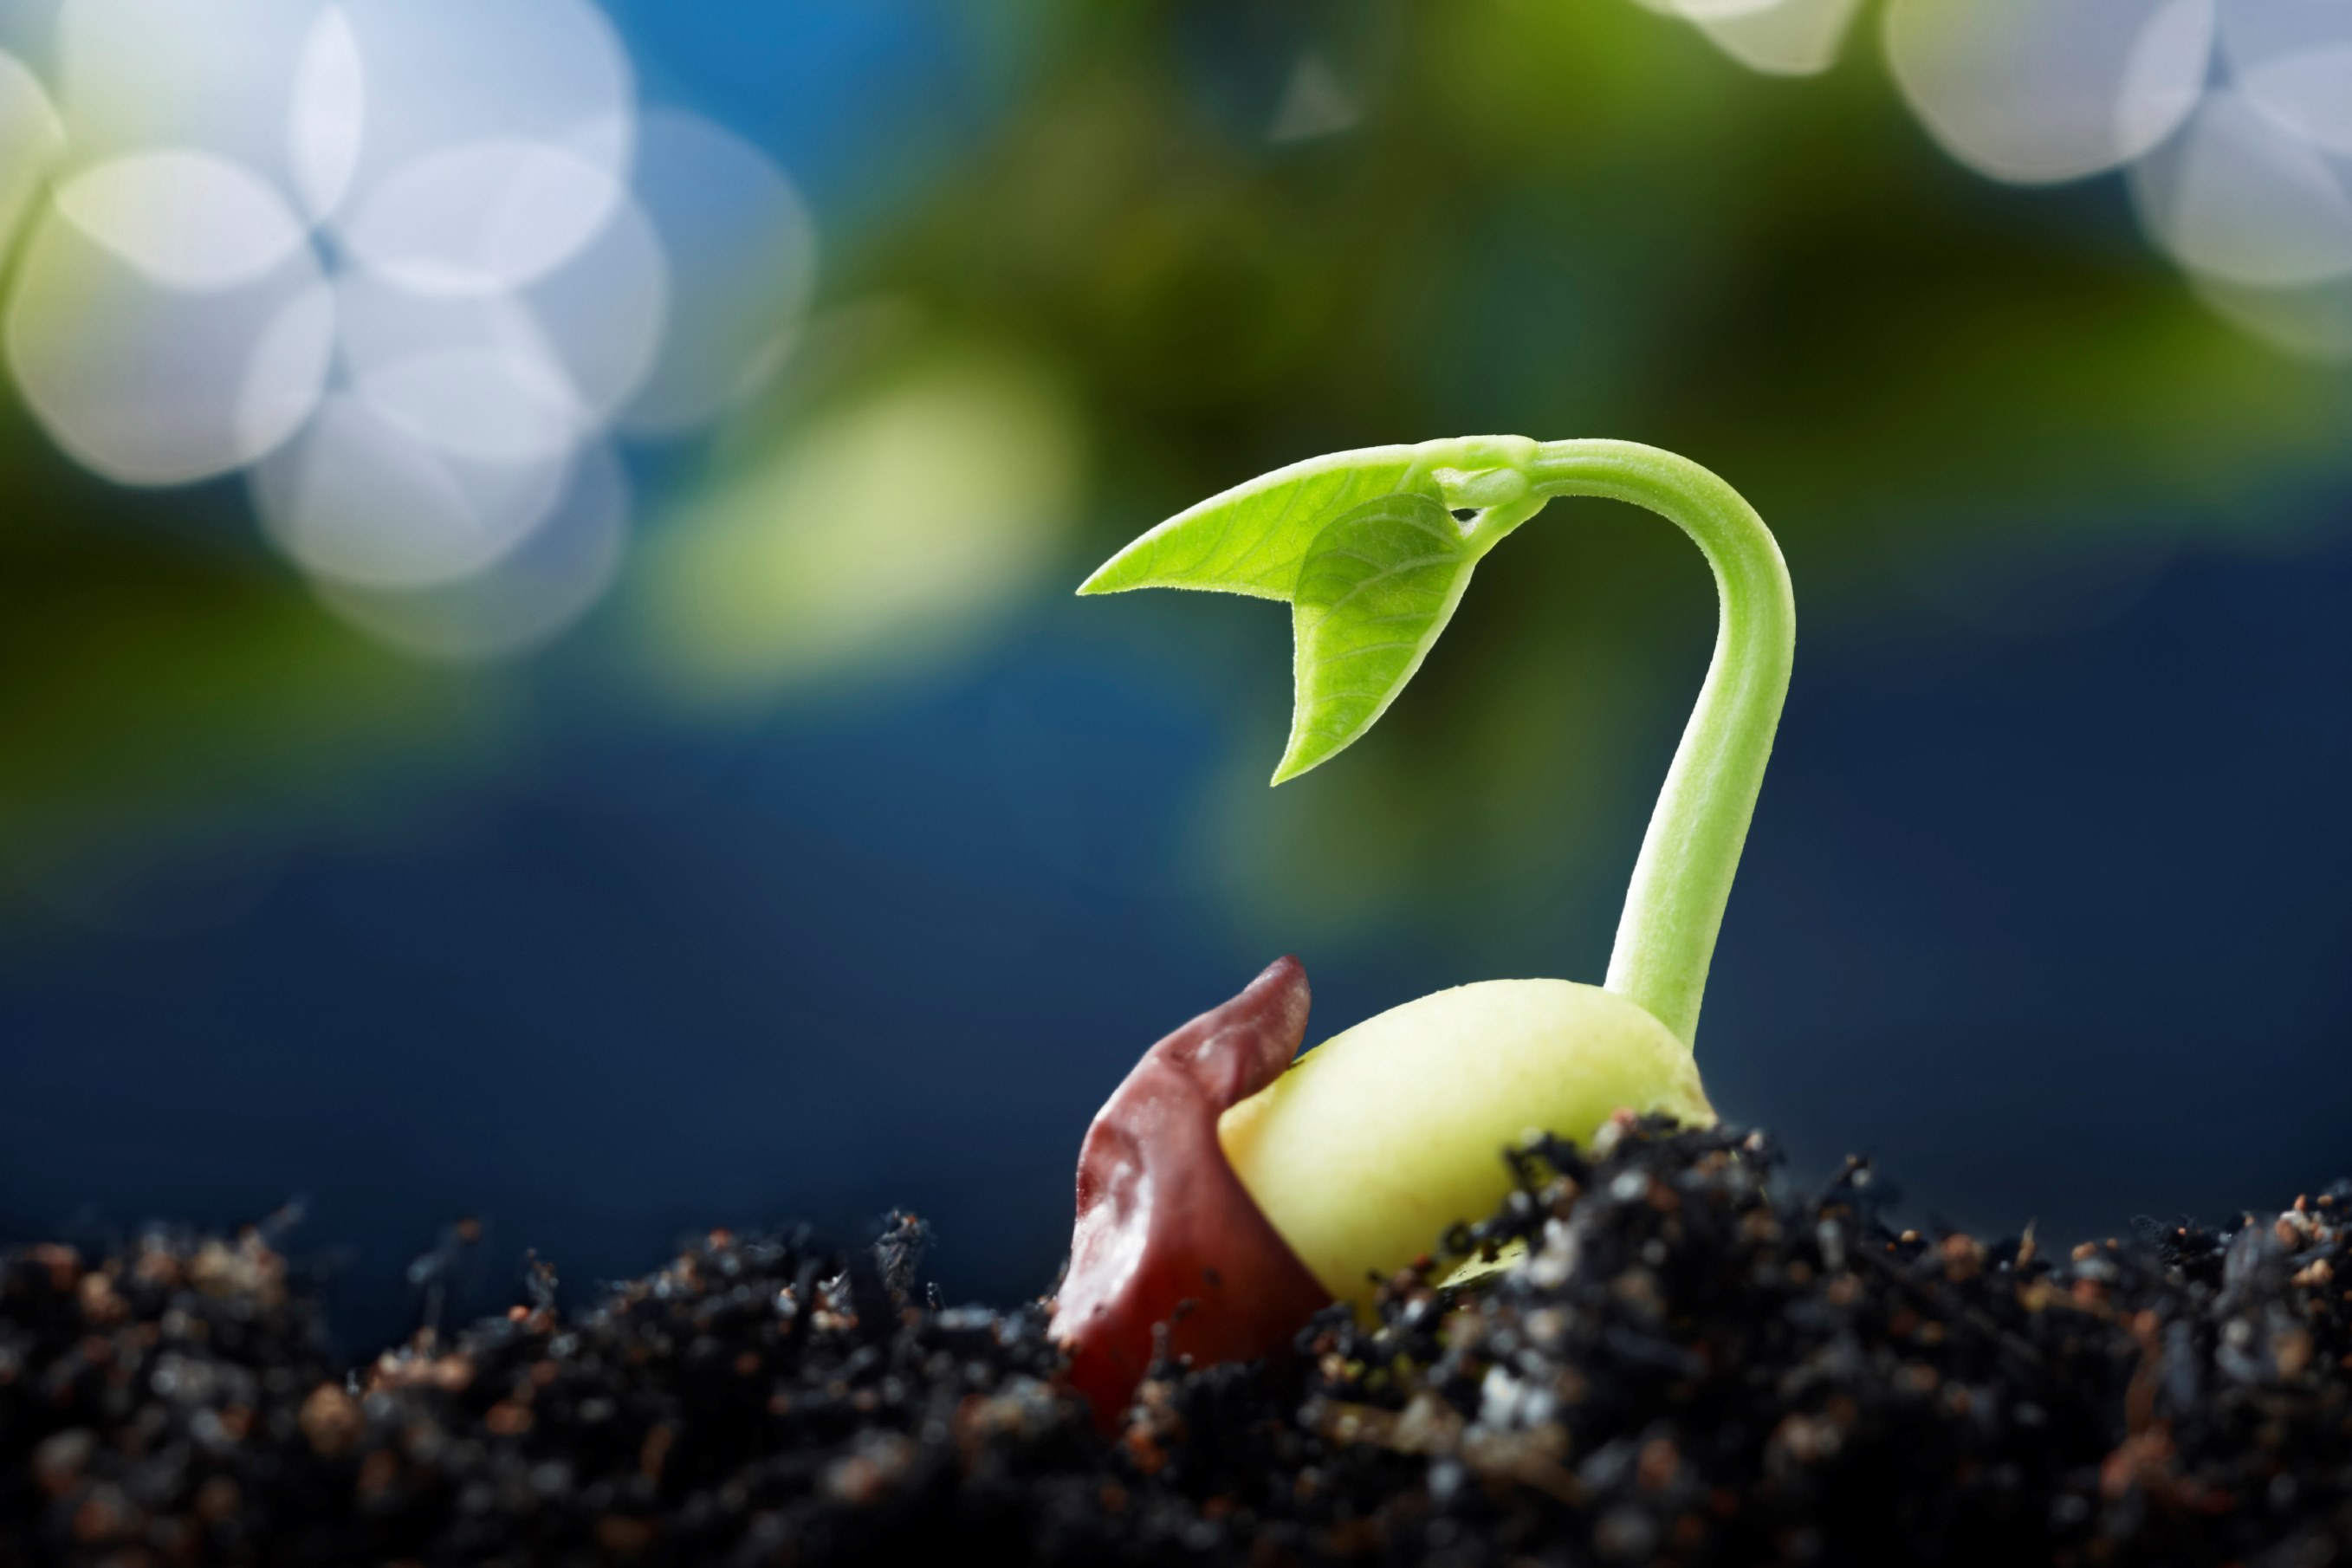
This is where seed stratification comes into play. Seed stratification is a technique used to mimic the natural conditions seeds require to germinate in the wild. By subjecting seeds to specific temperature and moisture conditions, we can break their dormancy, stimulate germination, and ensure a higher success rate when growing plants from seeds.
Cold stratification, in particular, is a process that utilizes low temperatures to imitate the winter conditions that many seeds experience before sprouting. This method is especially crucial for seeds that need a prolonged chilling period to break their dormancy.
Why is cold stratification important, you may ask? Well, various plant species have evolved to ensure their seeds go through a specific period of cold temperatures before germinating. This adaptation helps the seeds survive freezing temperatures during winter and increases their chances of successful growth when spring arrives.
In this article, we will dive into the fascinating world of cold stratification and explore the reasons behind its importance. We will also discuss when and how to cold stratify seeds, as well as the techniques and care required during the stratification process. By the end, you will have all the knowledge you need to successfully cold stratify your seeds, resulting in healthy and thriving plants for your ornamental garden.
What is Seed Stratification?
Seed stratification is a process used to mimic the conditions that seeds naturally encounter in the wild to stimulate germination. It involves subjecting seeds to specific temperature and moisture conditions to break their dormancy and allow them to sprout. By providing seeds with the optimal conditions necessary for germination, seed stratification ensures a higher success rate when growing plants from seeds.
Seeds have evolved a variety of dormancy mechanisms to prevent germination under unfavorable conditions. Some seeds may have hard seed coats that need to be softened or scarified to allow water and air to reach the embryo. Others may have physiological dormancy, where internal chemical processes inhibit germination until specific conditions are met.
In the case of cold stratification, the process involves exposing seeds to a period of cold temperatures. This mimics the winter period that many plants go through in their natural habitat. The cold temperature acts as a signal to the seed to break its dormancy so that it can germinate when the conditions are more favorable in the spring.
Cold stratification is particularly important for plants native to cold climates or those that require a prolonged chilling period before germination. These seeds have evolved to rely on the cold temperatures of winter to trigger the germination process. By artificially recreating these conditions through cold stratification, gardeners can increase the chances of successful germination for these plants.
It’s worth noting that not all seeds require cold stratification. Some seeds, particularly those from warmer climates or with a shorter dormancy period, do not need cold stratification to germinate successfully. However, for many ornamental plants, such as certain perennial flowers, shrubs, and trees, cold stratification is crucial for ensuring optimal germination and healthy plant growth.
In the next section, we will explore the reasons why cold stratification is necessary and the benefits it brings to the overall success of your ornamental gardening endeavors.
Why Cold Stratify Seeds?
Cold stratification is a crucial process for many ornamental plants that have evolved to rely on the natural cycle of temperature fluctuation to trigger seed germination. Here are several reasons why cold stratifying seeds is important for successful plant growth:
1. Breaking Seed Dormancy: Many plant species have a natural dormancy period that prevents their seeds from germinating immediately after dispersal. Cold stratification helps break this dormancy by simulating the winter conditions that the seeds would naturally experience in their native habitats. By subjecting the seeds to specific chilling temperatures, you can effectively break their dormancy and improve the germination rate.
2. Enhancing Germination Success: Some seeds, particularly those from perennial plants and trees, have complex seed structures or protective coatings that can hinder germination. Cold stratification softens the seed coat, making it easier for water and air to penetrate and reach the embryo, increasing the chances of successful germination and seedling establishment.
3. Overcoming Germination Barriers: Certain seeds have built-in inhibitors or growth regulators that prevent germination until specific conditions are met. Cold stratification can help overcome these barriers by providing the seeds with the necessary temperature signals to break their dormancy. This allows the seeds to germinate when the conditions are ideal, ensuring better seedling establishment.
4. Adapting to Cold Climates: Many plant species native to colder climates have evolved to rely on cold stratification to ensure successful germination and survival. These seeds need exposure to cold temperatures to trigger physiological changes within the embryo, preparing it for growth when the warmer spring weather arrives. By cold stratifying these seeds, you are mimicking their natural environment and setting the stage for healthy plant development.
5. Increasing Genetic Diversity: Cold stratifying seeds allows you to grow a wider range of plant species and varieties in your garden. By carefully selecting and cold stratifying seeds from different plants, you can introduce a diverse array of genetic traits and characteristics into your ornamental garden. This adds beauty and variety to your landscape while also enhancing its resilience and adaptability.
Overall, cold stratifying seeds provides numerous benefits for ornamental gardening. It helps overcome seed dormancy, enhances germination success, and allows for the growth of a wider variety of plant species. By understanding the importance of cold stratification and implementing this technique, you can ensure optimal germination and healthy plant growth in your ornamental garden.
When to Cold Stratify Seeds
The timing for cold stratifying seeds depends on the specific plant species and its natural germination requirements. In general, cold stratification is most effective when performed during the dormant season, typically in late winter or early spring. However, there may be variations based on the plant’s natural habitat and germination requirements. Here are some guidelines to help you determine when to cold stratify your seeds:
1. Native Plant Species: If you are working with native plant species, it’s best to research their natural germination requirements. Determine if they naturally undergo a period of dormancy and if they require cold stratification. Native plants have adapted to the local climate and environmental conditions, so mimicking their natural germination process will yield the best results.
2. Perennial Flowers, Shrubs, and Trees: Many perennial plants, such as delphiniums, lavender, or peonies, benefit from cold stratification. These plants often require a chilling period to break seed dormancy and trigger germination. Start cold stratification for perennial seeds a few months before the expected last frost date in your region. This will ensure that the seeds have sufficient time to stratify and be ready to sprout when the weather conditions become favorable for growth.
3. Biennial Plants: Biennials, like foxgloves or hollyhocks, have a two-year life cycle. These plants typically require cold stratification to ensure successful germination. Start cold stratification for biennial seeds in the late winter, about 8-12 weeks before the last frost date. This will provide enough time for the seeds to undergo the required chilling period and be ready to germinate when spring arrives.
4. Seeds with Long Dormancy Periods: Some seeds have a naturally long dormancy period and require extended cold stratification. This includes certain tree seeds, such as oaks or maples. For these seeds, start the cold stratification process several months in advance. Place the seeds in a moist stratification medium, such as peat moss or vermiculite, and store them in a cool and dark location, such as a refrigerator, for the recommended duration.
5. Seeds with Specific Germination Requirements: Some seeds have specific seed coat or environmental requirements that can be met through cold stratification. For example, seeds of some wildflowers or alpine plants may have hard seed coats that need to be softened by the cold temperatures. Research the specific requirements of these seeds and follow the recommended cold stratification procedures to maximize germination success.
Remember that each plant species has its own unique requirements, so it’s important to conduct research or consult reliable gardening references for specific guidelines on when to cold stratify seeds. By timing the cold stratification process correctly, you can ensure that the seeds break dormancy and germinate at the optimal time for healthy plant growth in your ornamental garden.
Methods of Cold Stratification
Cold stratification can be achieved using various methods, each suited to the specific needs of different plant species. Here are some common methods of cold stratification:
1. Refrigerator Method: This is the most widely used method of cold stratification. Place your seeds in a moist stratification medium, such as peat moss or vermiculite, in a sealed plastic bag. Label the bag with the seed type and the date of stratification. Then, store the bag in the refrigerator for the recommended duration, usually 4-12 weeks, depending on the seed. Be sure to maintain a consistent temperature of around 1-5°C (34-41°F) during this period.
2. Pots or Trays Outdoors: For larger quantities of seeds or seeds that naturally experience outdoor conditions during winter, you can sow them directly in pots or trays. Choose a location in your garden with well-drained soil. Sow the seeds at the recommended depth and cover them with a thin layer of mulch or straw. The trays or pots can then be left outdoors throughout the winter. The natural temperature fluctuations will provide the necessary cold stratification.
3. Cold Frames or Greenhouses: If you have access to a cold frame or unheated greenhouse, you can utilize these structures for cold stratification. Sow your seeds in pots or trays filled with a seed starting mix or a stratification medium. Place them in the cold frame or greenhouse and ensure they receive regular moisture. The temperature inside these structures will generally mimic outdoor winter conditions, providing the necessary cold stratification.
4. Outdoor Winter Sowing: Some hardy plant species can be directly sown in the garden during late fall or winter. Choose a location suitable for the particular plant’s requirements. Prepare the soil as needed and sow the seeds at the recommended depth. Cover the seeds lightly with mulch or a protective layer of straw to provide insulation during freezing temperatures. The seeds will naturally undergo cold stratification when exposed to the outdoor winter conditions.
5. Natural Fall/Winter Conditions: For plant species that naturally rely on the changing seasons for germination, you can mimic their natural conditions by sowing the seeds directly outdoors in late fall. The seeds will be exposed to the natural temperature fluctuations of winter, which will provide the required cold stratification. However, keep in mind that this method may be less predictable or effective for certain plant species.
The specific method of cold stratification will depend on the seeds you are working with, the space you have available, and the resources at your disposal. Consider the natural habitat and germination requirements of the plants you want to grow and choose the most suitable stratification method accordingly. Properly applied cold stratification will help break seed dormancy and increase the chances of successful germination in your ornamental garden.
Choosing the Right Seeds for Cold Stratification
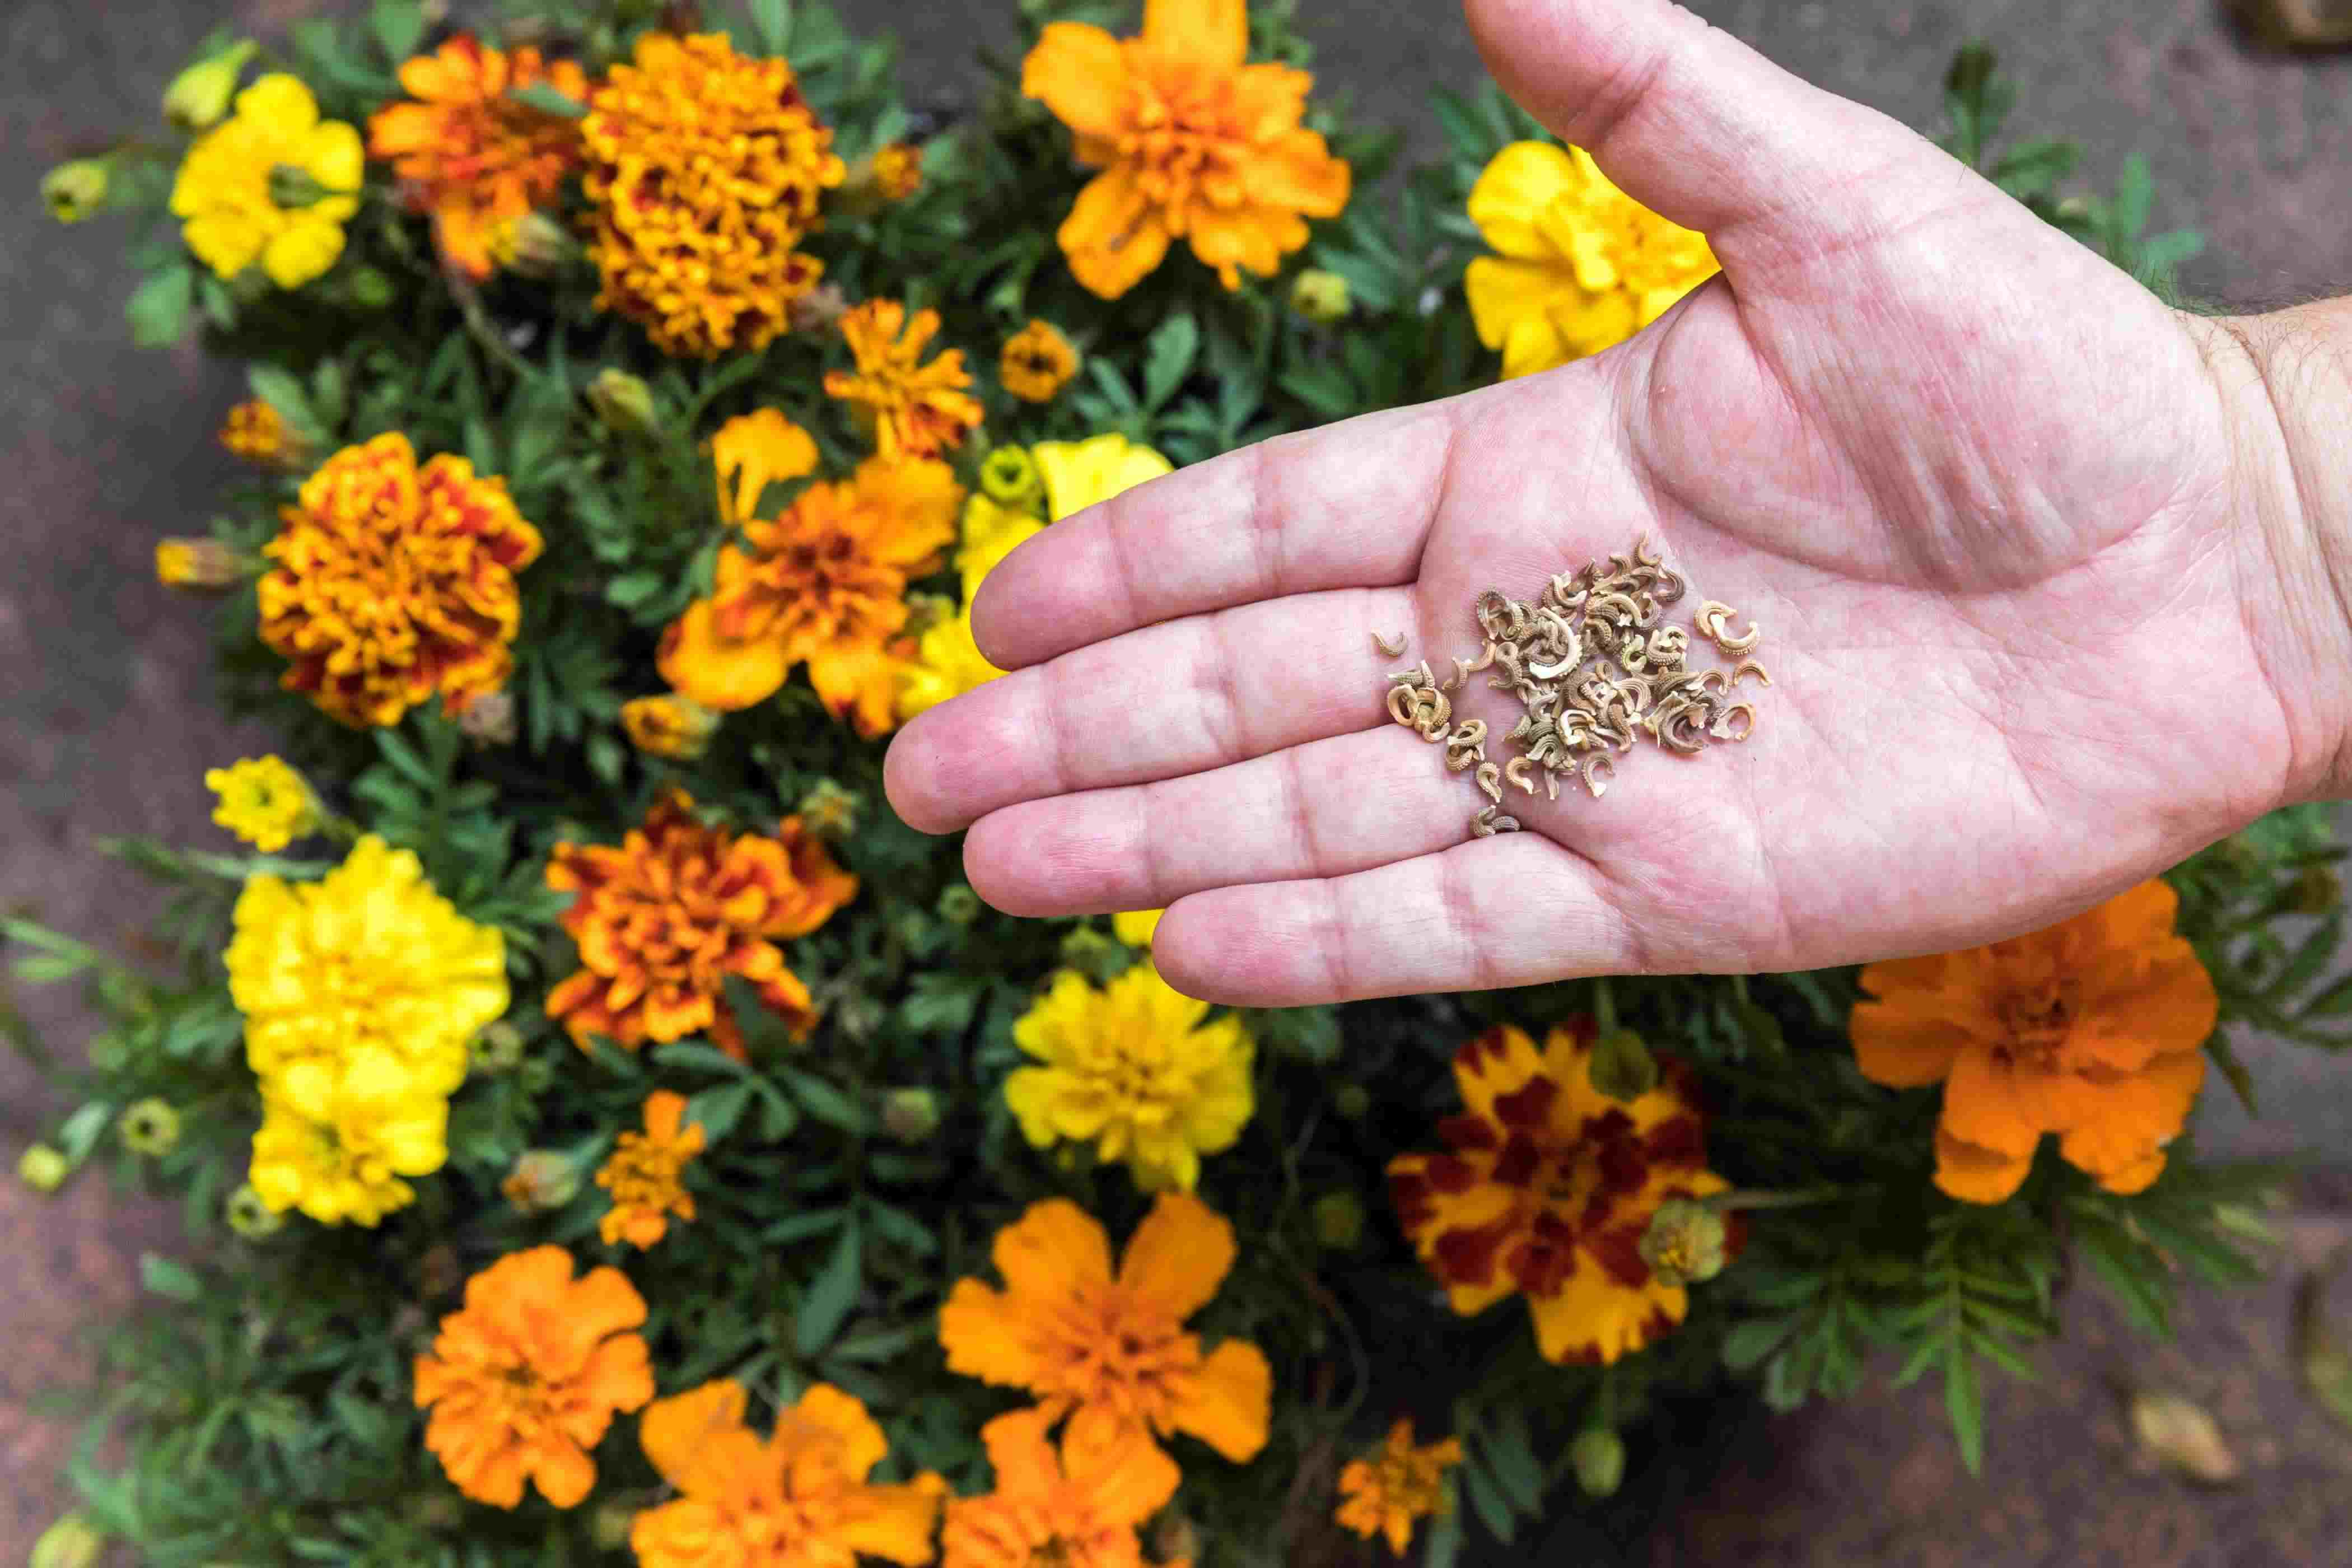
Not all seeds require cold stratification, so it’s essential to choose the right seeds for this process. Here are some factors to consider when selecting seeds for cold stratification:
1. Natural Habitat: Consider the natural habitat of the plant species you want to grow. If the plant is native to a colder climate or requires a chilling period to break dormancy, then it is a good candidate for cold stratification.
2. Perennial and Biennial Plants: Many perennial flowers, shrubs, and biennial plants benefit from cold stratification. These plants often have specific dormancy requirements that can be met through the chilling process. Select seeds from these types of plants if you want to ensure a higher success rate of germination and healthy growth.
3. Seeds with Long Dormancy Periods: Some seeds have a naturally long dormancy period and benefit from extended cold stratification to improve germination rates. Examples include certain tree seeds or native wildflowers. If you have access to longer-term stratification methods, such as the refrigerator method, consider selecting seeds that require a longer chilling period.
4. Seed Freshness: Choose fresh seeds for cold stratification. Fresh seeds generally have higher viability rates and are more likely to germinate successfully. If you are unsure about the freshness of the seeds, consider purchasing them from reputable nurseries or seed suppliers.
5. Personal Preference: Ultimately, choose seeds that interest you and align with your gardening preferences. Consider the desired aesthetic, growth habit, and characteristics of the plants you want to grow in your ornamental garden. Selecting seeds that spark your interest and enthusiasm will make the cold stratification process more enjoyable and rewarding.
Remember to read seed packets or consult reliable gardening references for specific information on each seed’s germination requirements. This will ensure that you choose the right seeds for cold stratification and provide them with the optimal conditions for successful germination and growth.
By carefully selecting the right seeds for cold stratification, you can ensure a higher success rate of germination and enjoy the satisfaction of growing healthy and robust plants in your ornamental garden.
Preparing Seeds for Cold Stratification
Before subjecting seeds to cold stratification, it is important to properly prepare them to ensure optimal germination success. Here are some steps to follow when preparing seeds for cold stratification:
1. Seed Collection: If you are collecting seeds from your own garden or sourcing them from other locations, ensure that the seeds are fully mature and properly dried. Collect seeds when they are mature but before they start to disperse naturally. Avoid collecting seeds that are damaged, moldy, or shriveled. Clean and remove any debris or chaff from the collected seeds.
2. Seed Scarification: Some seeds have hard seed coats or protective layers that can inhibit germination. To enhance germination rates, consider scarifying the seeds before cold stratification. This can be done by gently scratching the seed coat with sandpaper or using a small knife to create small nicks on the seed surface. Be careful not to damage the embryo inside. Scarification allows water to penetrate the seed coat and enhances germination.
3. Seeds with Stratification Requirements: Some seeds have specific stratification requirements, such as light or moisture treatments, before undergoing cold stratification. Read the seed packet or reference materials to understand if any pre-treatments are necessary. Follow the recommended pre-treatment procedures, such as soaking the seeds in water for a specific duration or exposing them to light, before moving on to the cold stratification process.
4. Preparation for Cold Stratification: Before placing the seeds in the chosen stratification method, prepare a suitable medium. This could be a mixture of peat moss, vermiculite, perlite, or a commercial seed-starting mix. Moisten the medium, ensuring it is damp but not overly saturated. Excess moisture can lead to seed rot or fungal growth.
5. Labeling and Packaging: Properly label the containers or plastic bags used for cold stratification. Include information such as the seed type, collection date, and duration of stratification. This will help you keep track of the seeds and ensure their proper care throughout the process. Place the prepared seeds in the labeled containers or bags, making sure they are evenly distributed and not overcrowded.
Properly preparing seeds before cold stratification sets the stage for successful germination and healthy plant growth. Following these steps will help ensure that the seeds are in the best condition to respond to the cold stratification process and eventually sprout into thriving plants for your ornamental garden.
Cold Stratification Techniques
There are several techniques you can use to cold stratify seeds, depending on the plant species and the resources available to you. Here are some common cold stratification techniques:
1. Refrigerator Method: The refrigerator method is a popular and convenient technique for cold stratification. Place the prepared seeds in a moist stratification medium, such as peat moss or vermiculite, inside a sealed plastic bag labeled with the seed type and date. Store the bag in the refrigerator at a consistent temperature of around 1-5°C (34-41°F) for the recommended duration. Check the seeds periodically to ensure the medium remains moist but not excessively wet.
2. Natural Outdoor Stratification: Some plant seeds can undergo cold stratification through exposure to the natural temperature fluctuations of the outdoors during winter. This method is suitable for seeds that naturally disperse in late fall or early winter. Sow the seeds directly in prepared soil and cover them lightly with mulch or straw for protection. Nature will provide the required chilling period as the seeds experience winter conditions.
3. Pots or Trays Outdoors: This method is suitable for smaller quantities of seeds. Fill pots or trays with a seed starting mix or stratification medium, sow the seeds at the recommended depth, and water thoroughly. Place the pots or trays outdoors in a protected area, such as against a wall or under a cold frame. Ensure that they receive regular moisture and are not exposed to extreme freezing temperatures.
4. Cold Frames or Greenhouses: If you have access to a cold frame or unheated greenhouse, you can utilize these structures for cold stratification. Fill pots or trays with a suitable medium, sow the seeds, and place them inside the cold frame or greenhouse. Provide regular moisture and adequate ventilation to prevent seed rot or fungal growth. The structures will help maintain a more stable and controlled environment for the seeds.
5. Winter Sowing: Winter sowing is a technique where seeds are sown directly in containers outdoors during winter, exposing them to natural temperature fluctuations. This method is suitable for hardy plants that can tolerate cold temperatures. Use transparent milk jugs or plastic containers with drainage holes to create small mini-greenhouses. Sow the seeds in a seed-starting mix, water them, and close the containers. Place them in a sheltered location, allowing nature to provide the required cold stratification.
It’s important to note that the duration of cold stratification varies for different plant species. Research the specific requirements for the seeds you are working with to determine the suitable duration and method of cold stratification. Providing the proper conditions and following the recommended techniques will increase the chances of successful germination and healthy plant growth in your ornamental garden.
Monitoring and Caring for Cold Stratified Seeds
Once you have started the cold stratification process for your seeds, it is important to monitor and care for them properly to ensure their successful germination. Here are some key considerations when monitoring and caring for cold stratified seeds:
1. Temperature Control: Maintain a consistent temperature within the chosen stratification environment. If using a refrigerator, regularly check and adjust the temperature to keep it within the recommended range for the specific seeds. For outdoor methods, monitor the weather conditions to ensure the seeds are not exposed to extreme temperatures or fluctuations that could disrupt the stratification process.
2. Moisture Management: Regularly check the moisture level of the stratification medium to ensure it remains consistently damp but not overly wet. Moisture is crucial for seed germination, but excessive moisture can lead to fungal issues or seed rot. If the medium feels dry, lightly mist it with water to provide adequate hydration.
3. Periodic Inspection: Regularly inspect the stratified seeds for any signs of mold, disease, or pest infestation. Remove any affected seeds to prevent the spread of issues to other seeds. A routine inspection allows you to catch any problems early on and take appropriate actions to ensure the health and viability of the remaining seeds.
4. Labeling and Organization: Keep track of the seeds by maintaining clear labels on the containers or bags. This will help you monitor the duration of cold stratification and ensure proper care and attention for each batch of seeds. Keep the labeled containers or bags organized in a designated area to minimize confusion and mix-ups.
5. Patience and Timing: Cold stratification is a process that requires patience. Different plant species have varying durations for stratification, ranging from a few weeks to several months. Follow the recommended stratification period to ensure that the seeds receive the appropriate chilling hours needed to break dormancy. Avoid prematurely removing seeds from stratification, as it may hinder their germination potential.
6. Transitioning Out of Stratification: Once the recommended stratification period is complete, gradually transition the seeds to warmer conditions. For refrigerator-stratified seeds, move them to a slightly warmer location, such as a cool room indoors or a sheltered area outdoors. Allow the seeds to acclimate gradually before transplanting them into the final growing location.
By actively monitoring and caring for cold stratified seeds, you can create the optimal conditions for successful germination. Regular temperature control, moisture management, and periodic inspections ensure that the seeds remain healthy and free from potential issues. Remember to exercise patience and follow the recommended stratification period to maximize the germination potential of your ornamental plants.
Transplanting Cold Stratified Seeds
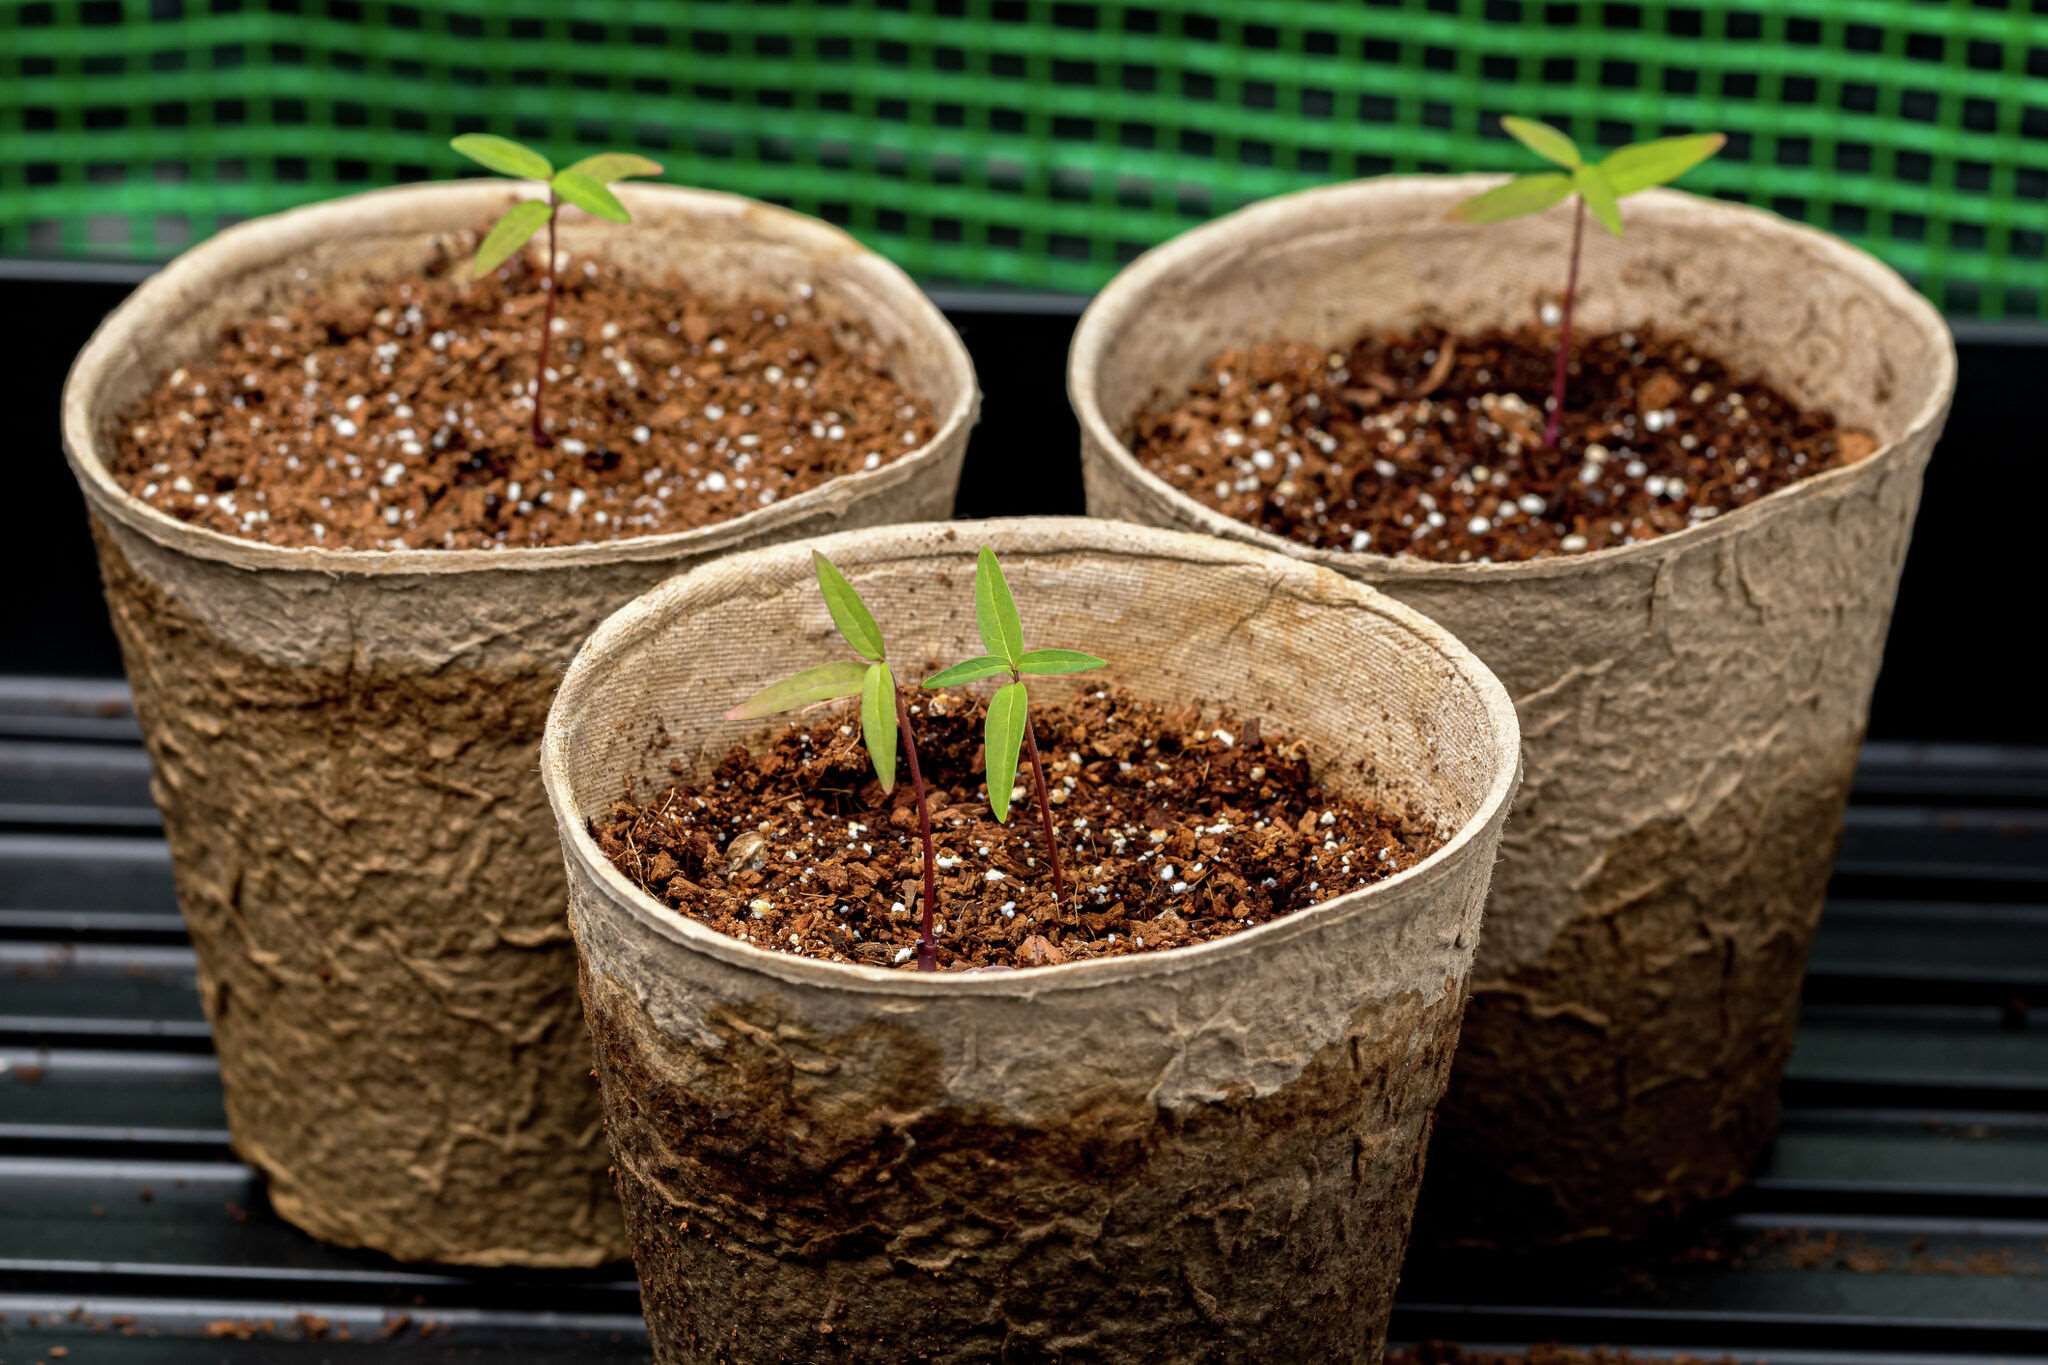
After successfully cold stratifying your seeds and ensuring their germination, it’s time to transplant them into their permanent growing locations. Here are some key considerations when transplanting cold stratified seeds:
1. Timing: Choose the appropriate timing for transplanting based on the specific plant species and local climate conditions. Transplant the seedlings when the risk of frost has passed and the soil has warmed up adequately for optimal growth. Consult gardening references or local gardening experts for guidance on the best transplanting timing for your particular plants.
2. Prepare the Planting Area: Before transplanting, prepare the planting area by removing any weeds, loosening the soil, and improving its fertility if necessary. Incorporate organic matter, such as compost or well-rotted manure, to provide nutrients and improve soil structure. Ensure that the planting area has adequate drainage to prevent waterlogging around the young seedlings.
3. Handle Seedlings Carefully: When removing the cold-stratified seedlings from their stratification containers or pots, handle them gently to avoid damaging the delicate roots. Hold the seedlings by their leaves, not the stems, as the stems are more vulnerable to damage. If the seedlings are tightly packed, gently separate them, being careful not to disturb the roots excessively.
4. Planting Depth: Plant the seedlings at the appropriate depth according to the specific plant’s requirements. Generally, it is recommended to plant seedlings at the same depth they were growing in their stratification containers. Make sure to provide enough space between the seedlings to allow for proper air circulation and future growth.
5. Watering and Mulching: After transplanting the cold-stratified seedlings, water them thoroughly to help settle the soil around the roots. Provide adequate moisture to keep the soil consistently damp but not waterlogged. Apply a layer of organic mulch, such as straw or wood chips, around the seedlings to help retain moisture, suppress weed growth, and regulate soil temperature.
6. Protective Measures: Depending on the specific plant and local conditions, you may need to take protective measures to shield the newly transplanted seedlings. This could include using row covers, cloches, or providing shade to protect them from intense sunlight or extreme weather conditions. Monitor the seedlings closely during the initial weeks after transplanting and take timely action to address any potential issues.
7. Care and Maintenance: After transplanting, continue to provide appropriate care for the seedlings, including regular watering, fertilizing as needed, and monitoring for any signs of pests or diseases. Follow recommended cultural practices for the specific plant species to ensure optimal growth and development.
By following these guidelines, you can successfully transplant cold stratified seedlings into their permanent growing locations. With proper care and attention, these seedlings will continue to thrive and contribute to a vibrant and beautiful ornamental garden.
Conclusion
Cold stratification is a valuable technique for enhancing the germination success of seeds in ornamental gardening. By mimicking the natural conditions that seeds require to break dormancy, cold stratification allows gardeners to grow a wider range of plant species and increase genetic diversity in their gardens. Whether you are working with perennial flowers, biennials, or seeds with long dormancy periods, cold stratification can significantly improve the chances of successful germination and healthy plant growth.
Throughout this article, we have explored the importance of cold stratification, the methods available for stratifying seeds, and the care required during the process. We have learned that preparing seeds properly, choosing the right seeds for cold stratification, and following the recommended techniques are crucial for successful germination.
Monitoring and caring for cold stratified seeds, including temperature control, moisture management, and periodic inspection, ensure that the seeds remain healthy and free from potential issues. Once the seeds have germinated, proper timing and careful handling during transplanting, along with providing the necessary care, set the stage for the growth and development of strong and vibrant plants in your ornamental garden.
Remember that each plant species may have unique requirements for cold stratification. Researching and understanding the specific needs of the seeds you are working with will greatly contribute to their successful growth.
By implementing the techniques discussed in this article, you will be equipped with the knowledge and skills to cold stratify seeds effectively. As you embark on this process, embrace the beauty and excitement of growing plants from seeds, and enjoy the rewards of a flourishing and diverse ornamental garden.