Home>Types of Gardening>Edible Gardening>How To Thin Lettuce Seedlings
Edible Gardening
How To Thin Lettuce Seedlings
Published: January 2, 2024
Learn how to thin lettuce seedlings in your edible gardening journey and improve plant health and productivity. Expert tips and techniques explained.
(Many of the links in this article redirect to a specific reviewed product. Your purchase of these products through affiliate links helps to generate commission for Chicagolandgardening.com, at no extra cost. Learn more)
Table of Contents
Introduction
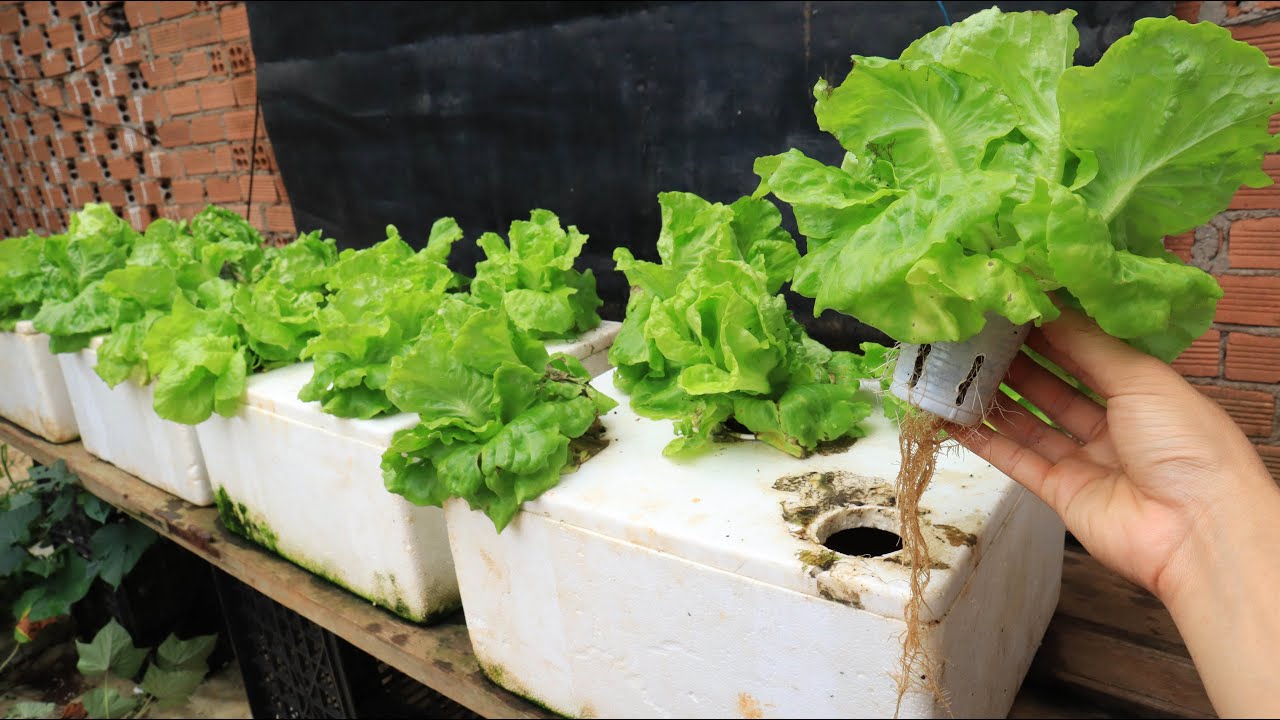
Welcome to the world of edible gardening! There’s something incredibly satisfying about growing your own food, and one of the most popular crops to cultivate is lettuce. If you’ve recently started your lettuce seeds indoors or in a greenhouse, you may have noticed that they’ve sprouted into a cluster of seedlings. While it’s exciting to see new growth, it’s important to thin the lettuce seedlings to ensure healthy and vigorous plants.
Thinning lettuce seedlings refers to the process of removing some of the seedlings from the cluster, giving the remaining ones plenty of space and resources to grow and thrive. While it may seem counterintuitive to remove healthy-looking seedlings, overcrowding can lead to weak plants, stunted growth, and inadequate air circulation, which can invite pests and diseases.
By thinning your lettuce seedlings, you’ll be helping them reach their full potential and ultimately improve your harvest. This article will guide you through the process of thinning lettuce seedlings, providing valuable tips and insights along the way.
Why Thinning Lettuce Seedlings is Important
Thinning lettuce seedlings may seem like an extra step in the gardening process, but it plays a crucial role in the overall success of your lettuce crop. Here are the key reasons why thinning lettuce seedlings is important:
- Promotes proper spacing: Lettuce plants need adequate space to grow and develop a robust root system. When seedlings are overcrowded, they compete for resources such as water, nutrients, and sunlight. Thinning allows the remaining seedlings to have enough room to spread out and establish healthy root systems.
- Prevents overcrowding: Overcrowded seedlings are more susceptible to diseases and pests. The lack of airflow and increased humidity can create a favorable environment for fungal diseases to thrive. Thinning reduces the risk of disease by improving air circulation, which helps to keep your lettuce plants healthy and vigorous.
- Reduces competition for nutrients: In a densely packed seedling cluster, each plant must compete for nutrients from the soil. Thinning helps to reduce this competition, allowing the remaining seedlings to have access to a sufficient amount of nutrients. This leads to stronger and more nutrient-rich lettuce plants.
- Encourages optimal growth: Thinning lettuce seedlings helps to ensure that each plant has access to ample sunlight. Sunlight plays a vital role in photosynthesis, the process by which plants convert light into energy. By thinning, you provide the remaining seedlings with the optimal conditions for growth, resulting in healthier and more productive plants.
By understanding the importance of thinning lettuce seedlings, you can take proactive steps towards growing a successful lettuce crop. The next section will guide you on when to thin lettuce seedlings and the tools and materials you’ll need for the task.
When to Thin Lettuce Seedlings
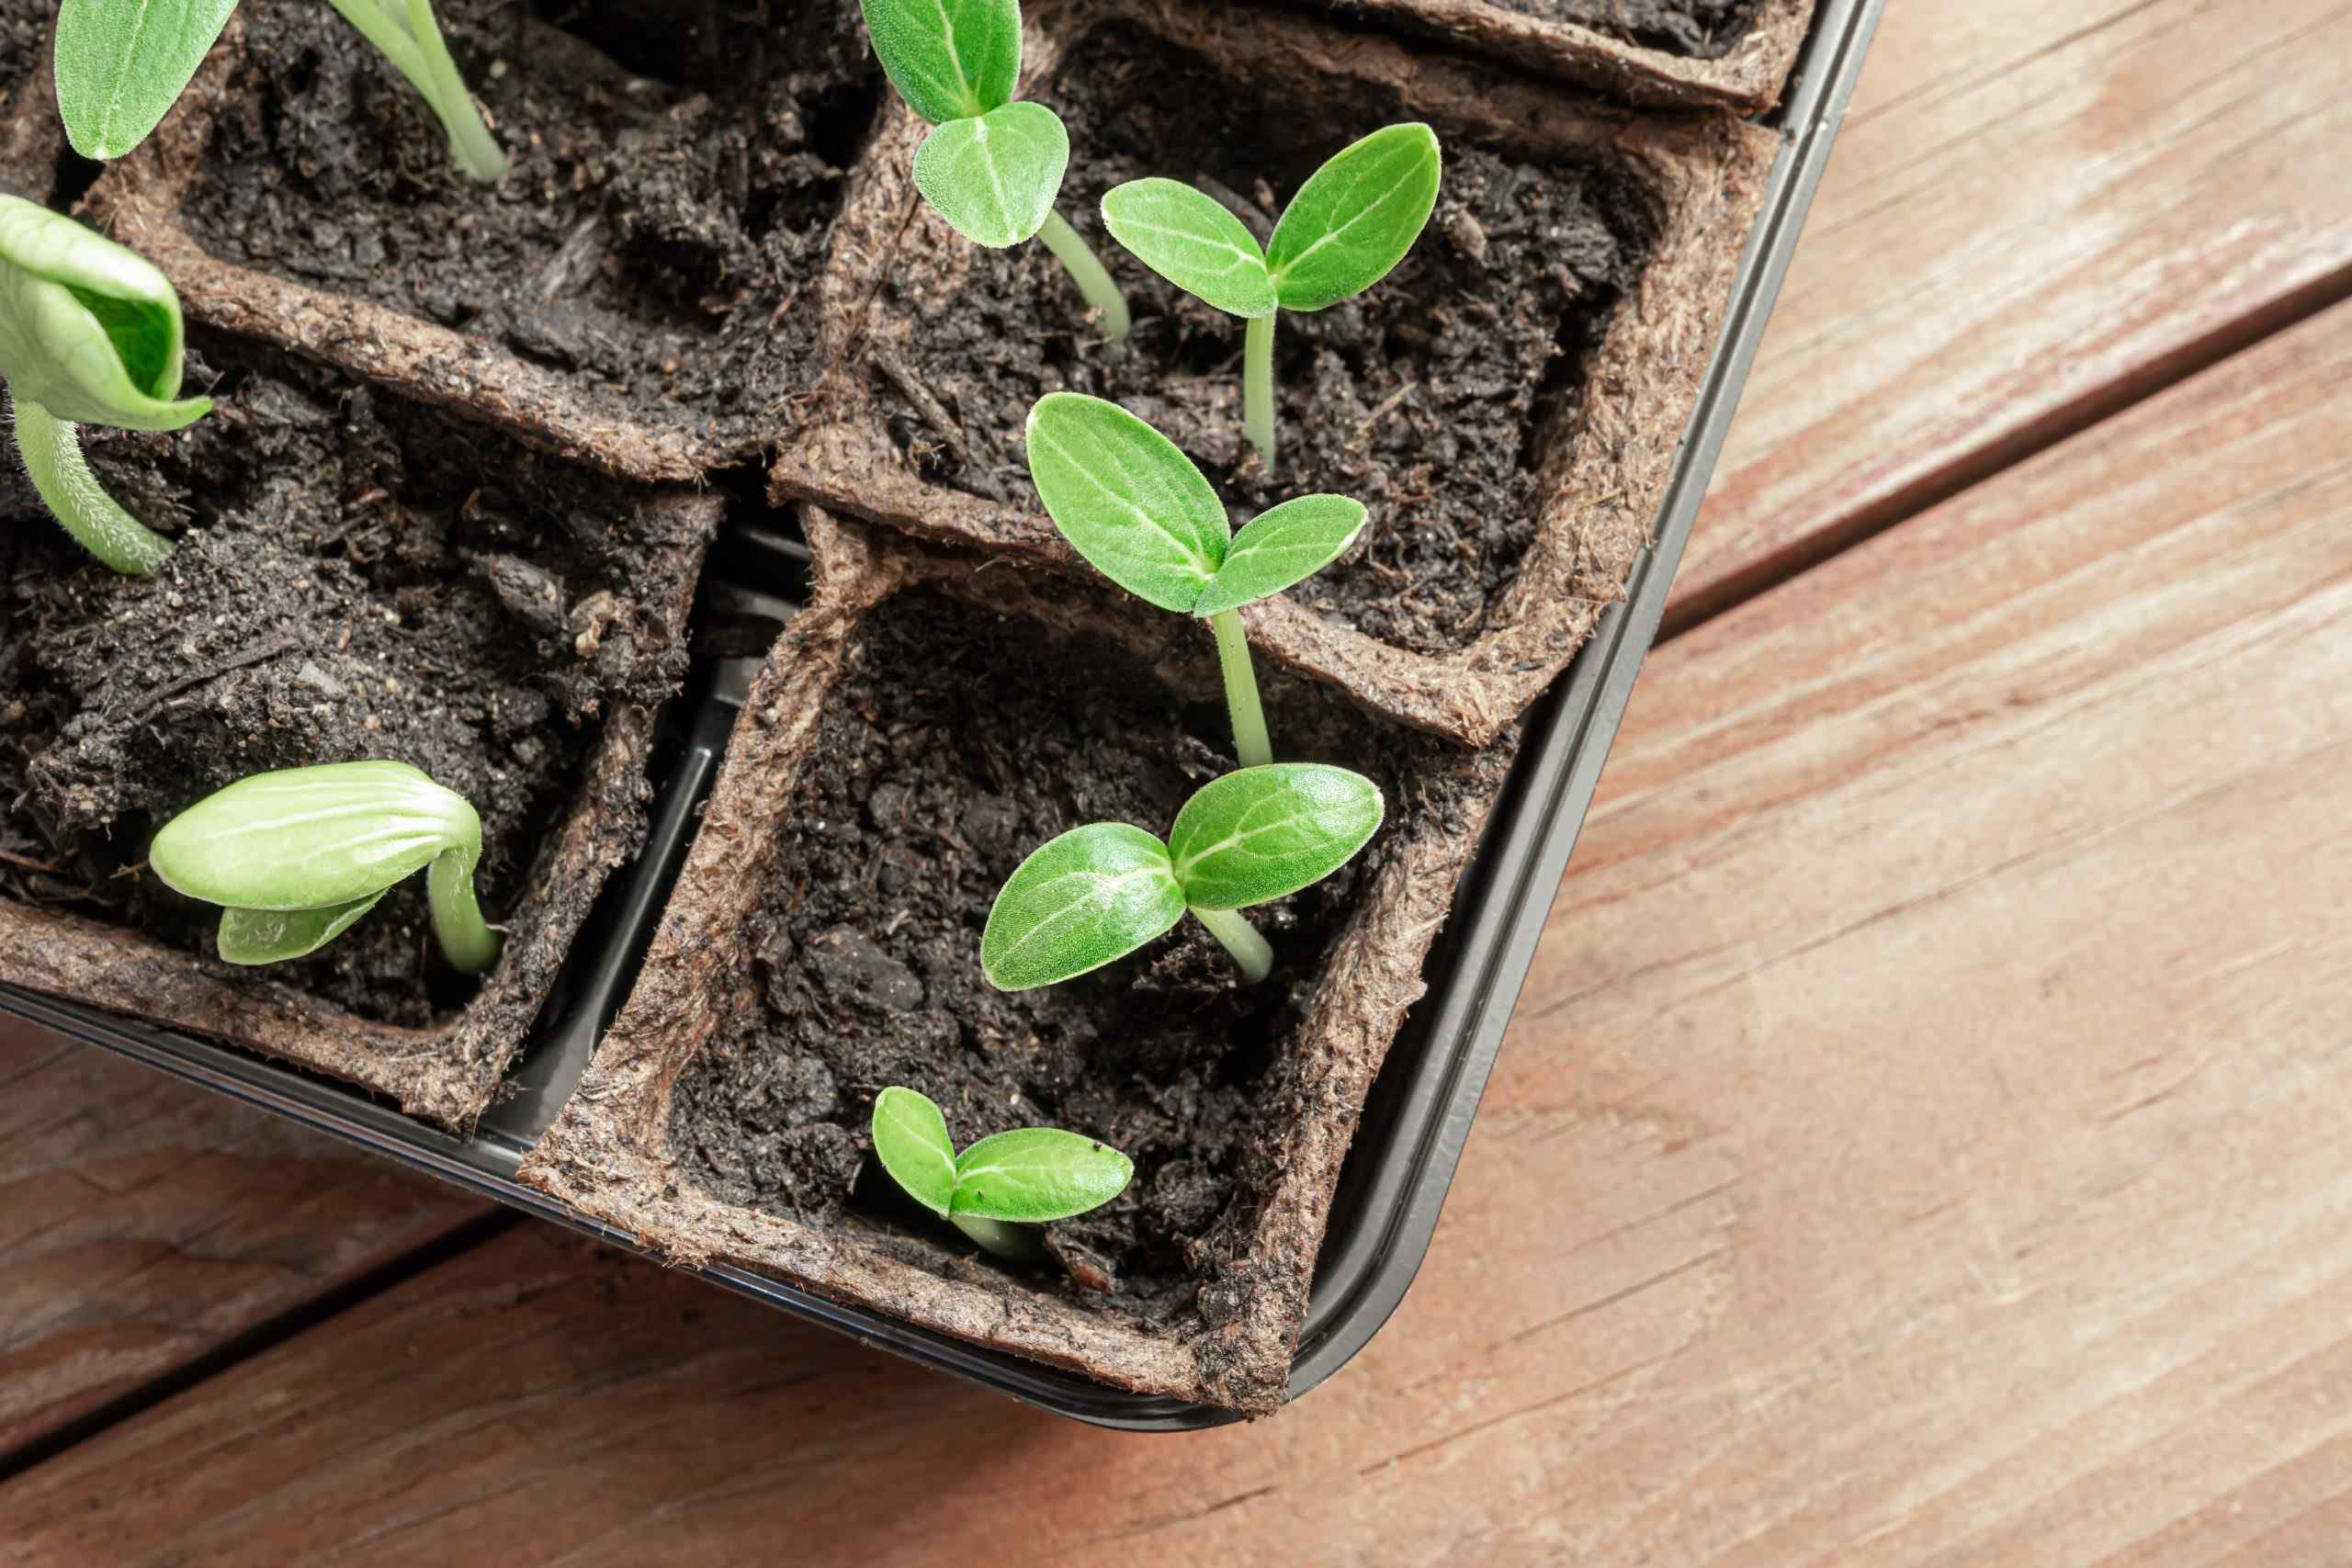
Knowing the right time to thin your lettuce seedlings is crucial to ensure optimal growth and development. The timing can vary depending on various factors, including the lettuce variety and growing conditions. However, as a general guideline, it’s best to thin your lettuce seedlings when they have reached a certain size.
Typically, lettuce seedlings should be thinned when they have grown to about 2-4 inches in height and have developed their first few true leaves. At this stage, the seedlings are still small enough to easily remove without damaging the remaining plants.
Thinning too early can lead to a higher risk of disturbing the roots of the remaining seedlings. On the other hand, delaying thinning can result in overcrowding and stunted growth. Pay close attention to the growth rate of your lettuce seedlings and thin them as soon as they meet the recommended height and leaf development.
If you’re unsure about the right time to thin, gently lift a few seedlings and observe their root structure. If the roots appear tangled and densely packed, it’s a clear indication that thinning is necessary.
It’s important to note that lettuce seedlings grow quickly, so it’s essential to regularly monitor their progress. Set a calendar reminder or keep a close eye on their growth every few days to ensure you thin them at the right time.
Now that you know when to thin lettuce seedlings, let’s move on to the tools and materials you’ll need for the task.
Tools and Materials Needed
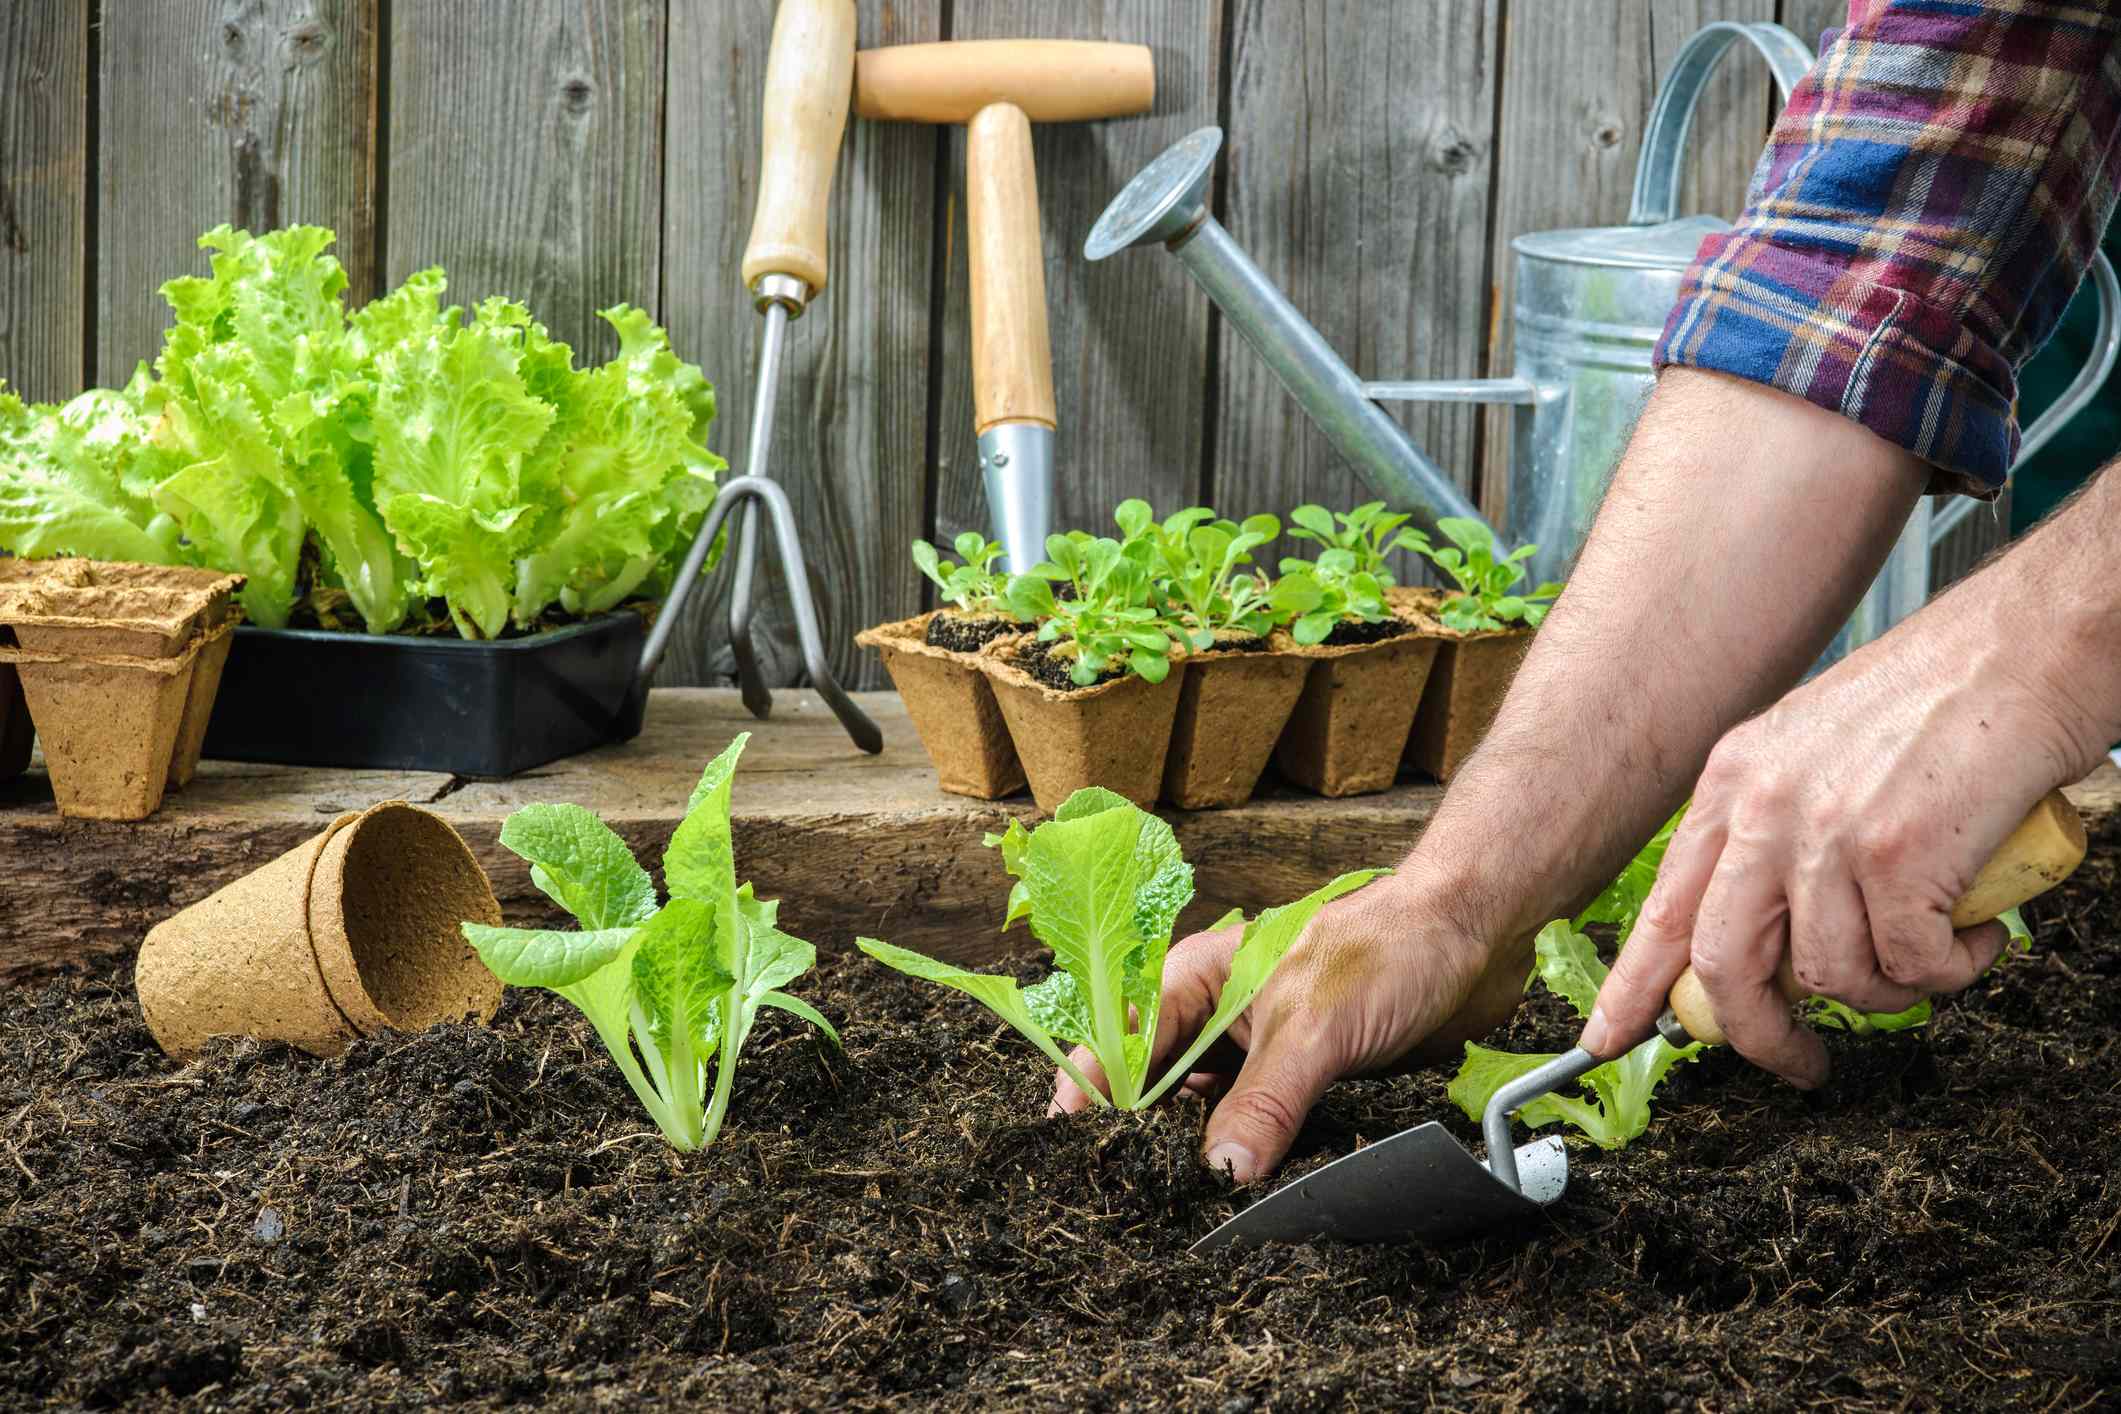
Thinning lettuce seedlings requires a few basic tools and materials to make the process efficient and hassle-free. Here are the essential items you’ll need:
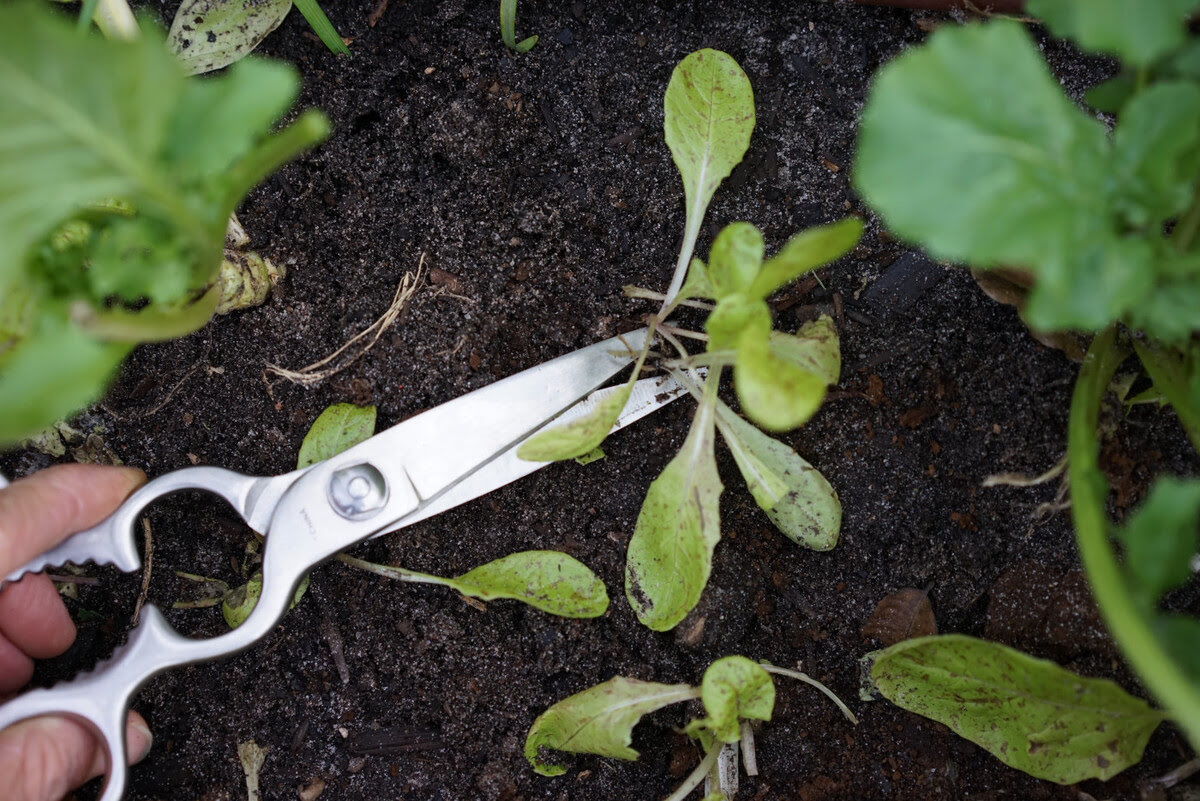
- Garden shears or scissors: These tools will come in handy for cutting the undesired seedlings at the base. Choose a sharp pair of shears or scissors to make clean cuts without causing any damage to the remaining plants.
- Gloves: It is always a good idea to wear gardening gloves to protect your hands from any potential thorns, prickles, or irritants that may be present in the surrounding soil or plants.
- Watering can or spray bottle: Before and after thinning, it’s important to keep the soil moist. A watering can or a spray bottle can help in gently watering the seedlings without disturbing the delicate root systems.
- Compost or soil amendment: After thinning, there may be empty spaces in the soil where the seedlings were removed. You can fill these spaces with compost or a suitable soil amendment to enrich the soil and provide nutrients to the remaining plants.
- Marker or plant labels: If you have different lettuce varieties or want to keep track of specific plants, having markers or plant labels will help you identify them in the future. This can be especially useful if you’re growing multiple lettuce varieties in the same area.
These tools and materials are readily available at most garden centers or online gardening stores. Having them on hand will ensure that you’re well-prepared to thin your lettuce seedlings efficiently.
With your tools and materials ready, let’s move on to the step-by-step guide for thinning lettuce seedlings.
Step-by-Step Guide to Thinning Lettuce Seedlings
Thinning lettuce seedlings may seem intimidating, but with the right approach, it can be a straightforward and rewarding task. Follow these steps to thin your lettuce seedlings effectively:
- Prepare the area: Start by watering the soil thoroughly a day before thinning. Moist soil will make it easier to remove the seedlings without causing excessive disruption.
- Select the seedlings: Identify the seedlings that you want to remove. Look for thin and weak seedlings or those that are growing too closely together. Aim to leave the healthiest and most robust seedlings with enough space for optimal growth.
- Hold the seedling: Gently hold the seedling you want to remove between your thumb and index finger, close to the soil level. Avoid pulling them from the stem, as this can damage the surrounding plants.
- Cut or lift: Depending on the seedling’s size and root structure, you can choose to either cut it at the base using garden shears or scissors or carefully lift it out of the soil with a small transplanting tool. Be cautious not to disturb the neighboring seedlings.
- Discard or transplant: Once the unwanted seedlings are removed, you have a couple of options. You can either discard them or consider transplanting them to another area of your garden if suitable. Just make sure to provide them with adequate space and soil conditions to continue growing.
- Water and adjust: After thinning, water the remaining seedlings gently to settle the soil and provide them with moisture. If necessary, adjust the spacing between the remaining seedlings to ensure they have enough room to grow.
- Consider plant labels: If you have multiple lettuce varieties or want to keep track of specific plants, now is the time to place plant labels or markers in the soil near the remaining seedlings.
Following these steps will ensure that your lettuce seedlings are thinned effectively, allowing the remaining plants to thrive. Keep in mind that the exact process may vary depending on your specific growing conditions and preferences.
Now that you’ve successfully thinned your lettuce seedlings, it’s important to keep a few tips in mind for a successful outcome. We’ll explore these tips in the next section.
Tips for Successful Thinning
Thinning lettuce seedlings is a delicate task that requires attention to detail. To ensure the best results, consider the following tips:
- Start with the weakest seedlings: When thinning, prioritize removing the thin and weak seedlings first. This allows the healthier plants to have more resources and grow stronger.
- Space them adequately: Leave enough space between the remaining lettuce seedlings to accommodate their mature size. Refer to the recommended spacing guidelines for the specific lettuce variety you are growing.
- Water before and after: Water the soil before thinning to loosen it and make the process easier. After thinning, gently water the remaining seedlings to help them settle into their new spacing.
- Consider microgreens: If you have an abundance of thinned lettuce seedlings, rather than discarding them, you can use them as microgreens for salads, sandwiches, or garnishes. Simply harvest them when they reach the desired size.
- Thin in stages: If you planted a large number of lettuce seeds and the seedlings are still closely packed, thinning in stages can help minimize the shock to the remaining plants. Space them out over a few days to gradually achieve the desired spacing.
- Compost unwanted seedlings: If you choose to discard the thinned seedlings, consider adding them to your compost pile. This helps reduce waste and provides nutrient-rich compost for your garden.
- Monitor growth: Keep a close eye on your lettuce seedlings after thinning. Observe their growth patterns, pest and disease resistance, and overall health. This will allow you to make any necessary adjustments to your gardening practices.
By applying these tips, you’ll increase your chances of success when thinning lettuce seedlings. Remember, practice makes perfect, so don’t be discouraged if you encounter any challenges along the way. Each gardening experience is an opportunity to learn and improve.
Now, let’s explore some common mistakes to avoid when thinning lettuce seedlings.
Common Mistakes to Avoid
Thinning lettuce seedlings is a critical step in promoting healthy growth, but it’s important to be aware of common mistakes that can hinder the process. By avoiding these mistakes, you can increase the likelihood of success in your edible garden:
- Over-thinning: Removing too many seedlings can lead to gaps in your lettuce bed, leaving the remaining plants susceptible to pests or sunburn. Be mindful of how many seedlings you remove and aim for a balanced spacing.
- Thinning too late: Delaying the thinning process can result in crowded seedlings competing for resources. Start thinning when the seedlings reach the recommended size to ensure optimal growth and development.
- Damage to neighboring plants: when removing a seedling, be careful not to disturb the surrounding plants. Rough handling can damage the roots of the remaining seedlings and compromise their growth.
- Ignoring proper spacing: It’s important to adhere to the recommended spacing guidelines for your specific lettuce variety. Planting the remaining seedlings too closely together will result in crowded growth and potentially inhibit their overall potential.
- Forgetting to water: Watering is crucial before and after thinning to prepare the soil and help the remaining seedlings adjust. Forgetting to water can stress the plants and hinder their growth after thinning.
- Lack of labeling: If you have multiple lettuce varieties or want to identify specific plants, it’s essential to use markers or plant labels. Failure to label can create confusion and make it challenging to track the progress of each plant.
- Not thinning in stages: If your lettuce bed is densely packed, thinning all the seedlings at once may create too much open space. Thinning in stages allows for a gradual adjustment and minimizes the impact on the remaining plants.
Awareness of these common mistakes will help you minimize any potential setbacks and optimize the success of your lettuce crop. Remember to take your time and pay attention to each step of the thinning process.
With these tips and insights, you’re now equipped with the knowledge to successfully thin your lettuce seedlings. Happy gardening!
Conclusion
Thinning lettuce seedlings is a crucial step in achieving healthy and productive lettuce plants. By removing the excess seedlings, you provide the remaining plants with adequate space, resources, and optimal growing conditions. Thinning promotes proper spacing, reduces competition for nutrients, and prevents overcrowding and disease. Following a step-by-step guide, using the right tools, and implementing tips for success will ensure a successful thinning process.
Remember to thin your lettuce seedlings when they have reached the appropriate size, typically around 2-4 inches in height with a few true leaves. Use tools like garden shears or scissors to cut or lift the undesired seedlings, taking care not to damage the roots of the remaining plants. Water before and after thinning to keep the soil moist, and consider utilizing the thinned seedlings as microgreens or adding them to your compost pile.
Avoid common mistakes such as over-thinning, delaying the thinning process, damaging neighboring plants, ignoring proper spacing, forgetting to water, omitting plant labels, and not thinning in stages. By avoiding these pitfalls, you can ensure the best possible outcome for your lettuce crop.
So put on your gardening gloves, grab your tools, and get ready to thin your lettuce seedlings. With proper thinning, you’ll be well on your way to growing healthy, vibrant, and delicious lettuce plants that will enhance your edible gardening experience and provide you with a bountiful harvest.