Home>Types of Gardening>Edible Gardening>How To Germinate Seeds In Paper Towels

Edible Gardening
How To Germinate Seeds In Paper Towels
Modified: January 22, 2024
Learn how to germinate seeds in paper towels for your edible gardening project. This step-by-step guide will help you achieve successful seed germination and healthy plant growth.
(Many of the links in this article redirect to a specific reviewed product. Your purchase of these products through affiliate links helps to generate commission for Chicagolandgardening.com, at no extra cost. Learn more)
Table of Contents
Introduction
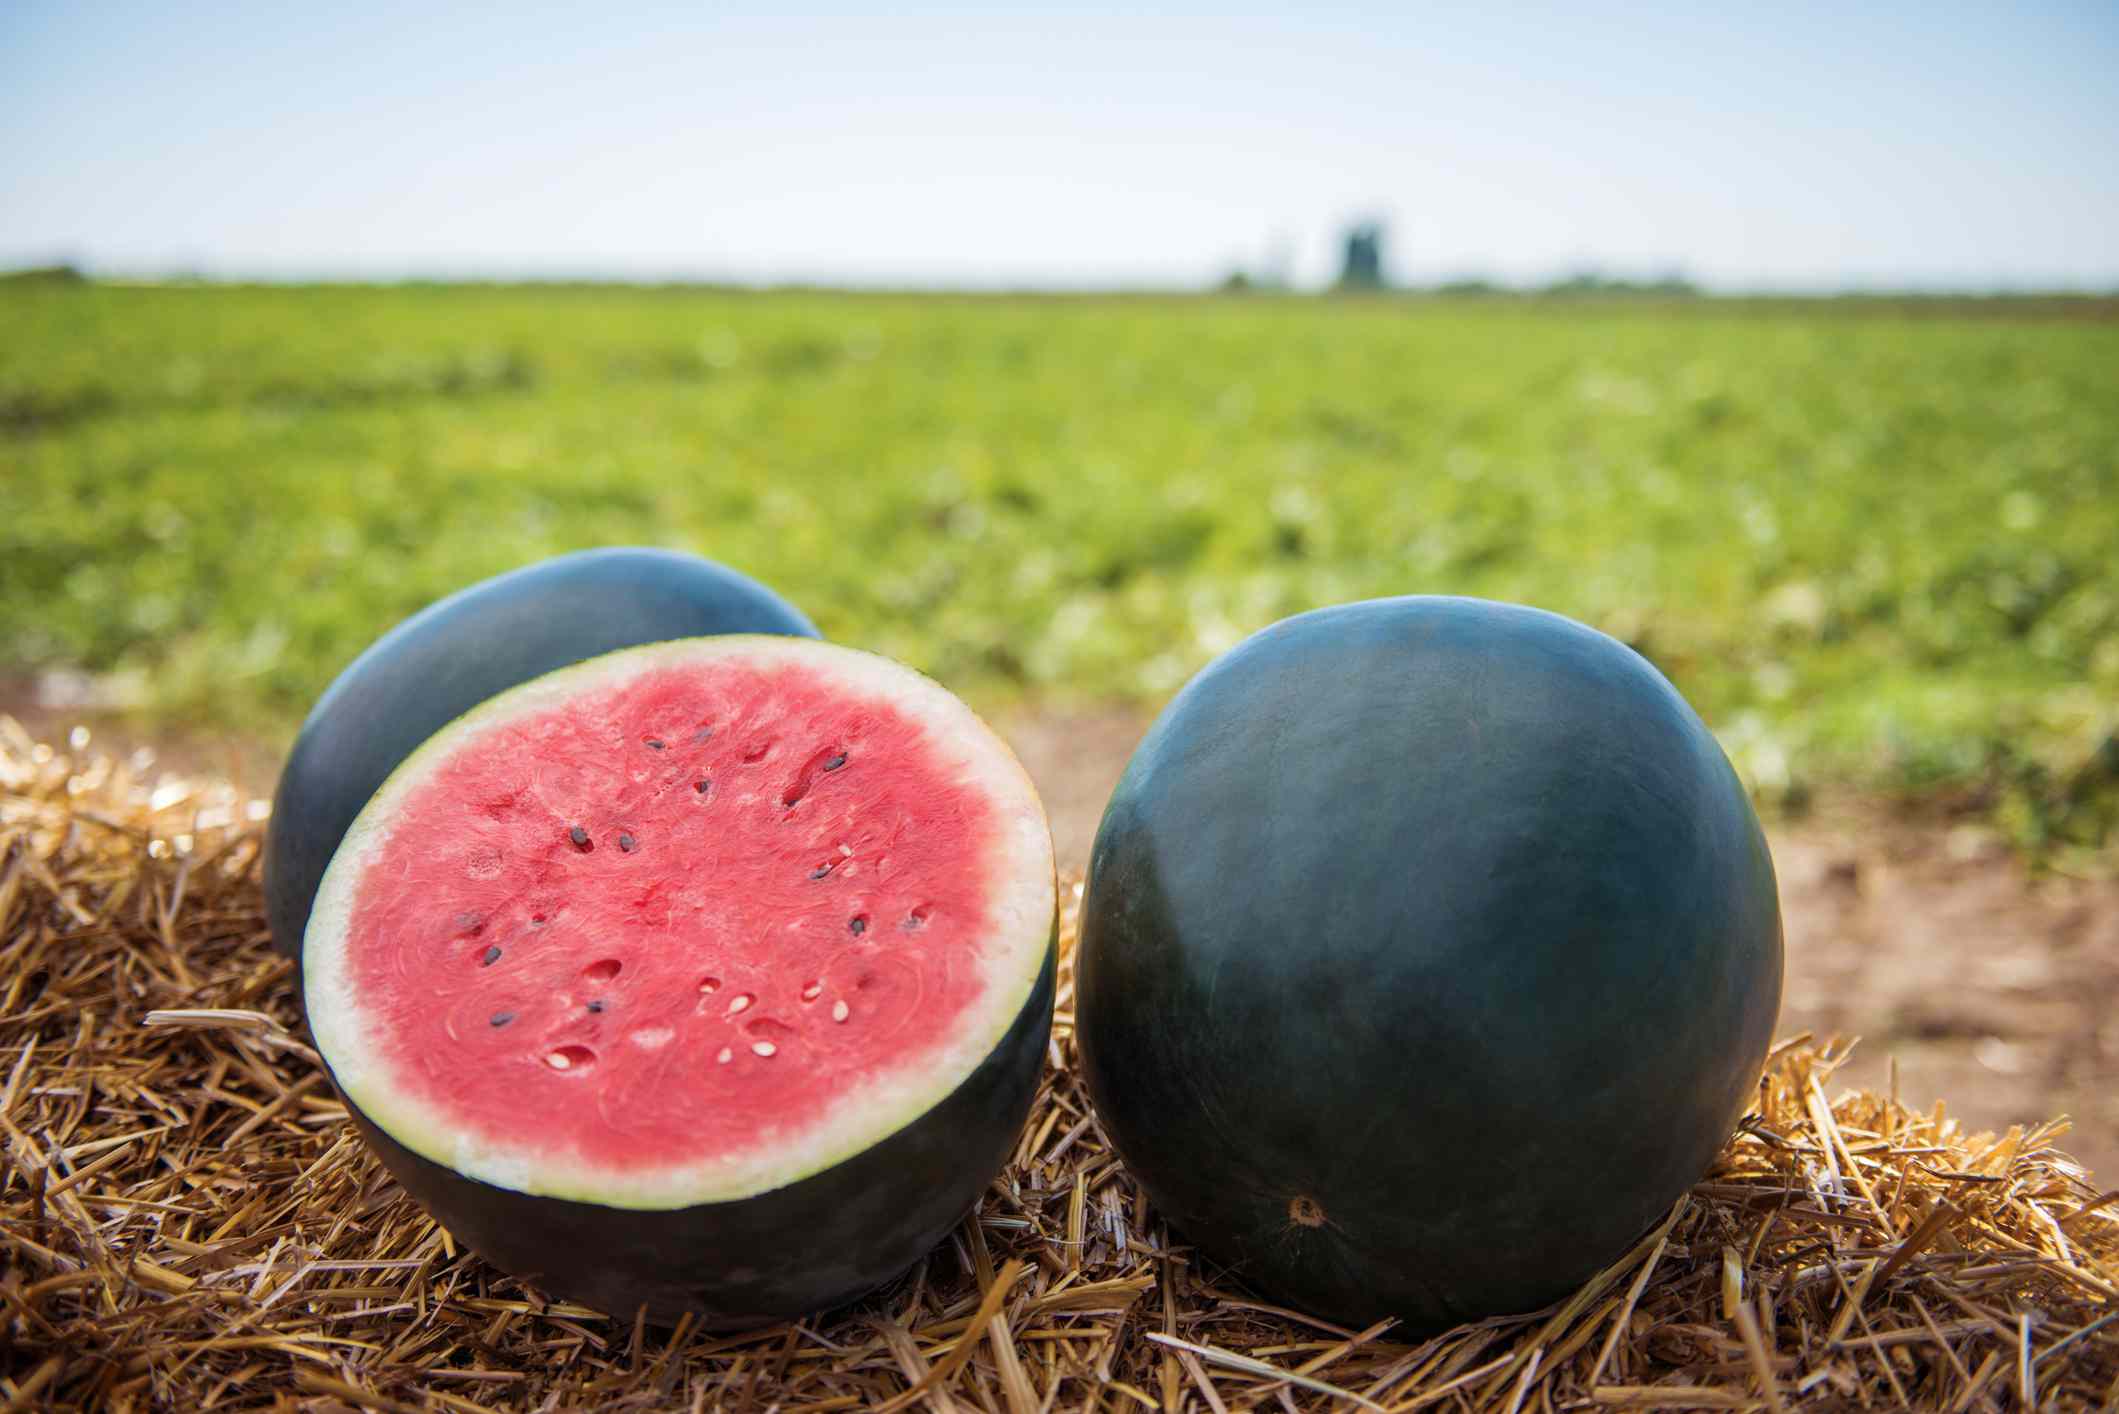
Welcome to the world of edible gardening! If you’ve ever dreamed of picking fresh, delicious fruits, vegetables, and herbs straight from your own backyard, then you’re in the right place. Edible gardening is not only a rewarding and eco-friendly hobby, but it also allows you to have control over what you and your family consume.
One of the fundamental aspects of edible gardening is starting from seed. While buying seedlings from a nursery is convenient, there’s something special about growing plants from seed. It’s a journey that begins with a small, lifeless seed and unfolds into a vibrant, thriving plant.
In this guide, we’ll focus on one particular method of germinating seeds: using paper towels. This simple and effective technique is perfect for beginners and experienced gardeners alike. By following the steps outlined in this article, you’ll be able to successfully germinate a variety of seeds and kickstart your edible garden.
By germinating seeds in paper towels, you have greater control over the germination process and can ensure optimal conditions for your seeds to sprout. This method also allows you to easily monitor the progress of each seed, making it easier to identify any issues and take corrective action.
Whether you’re interested in growing juicy tomatoes, crisp lettuce, aromatic herbs, or any other edible plants, this guide will provide you with the knowledge and confidence to start your own seedlings. So, grab your gardening gloves, prepare your paper towels, and let’s get started on this exciting journey of edible gardening!
Materials Needed
Before you begin the process of germinating seeds in paper towels, it’s essential to gather all the necessary materials. Luckily, you won’t need anything too fancy or expensive. Here’s a list of the basic supplies you’ll need:
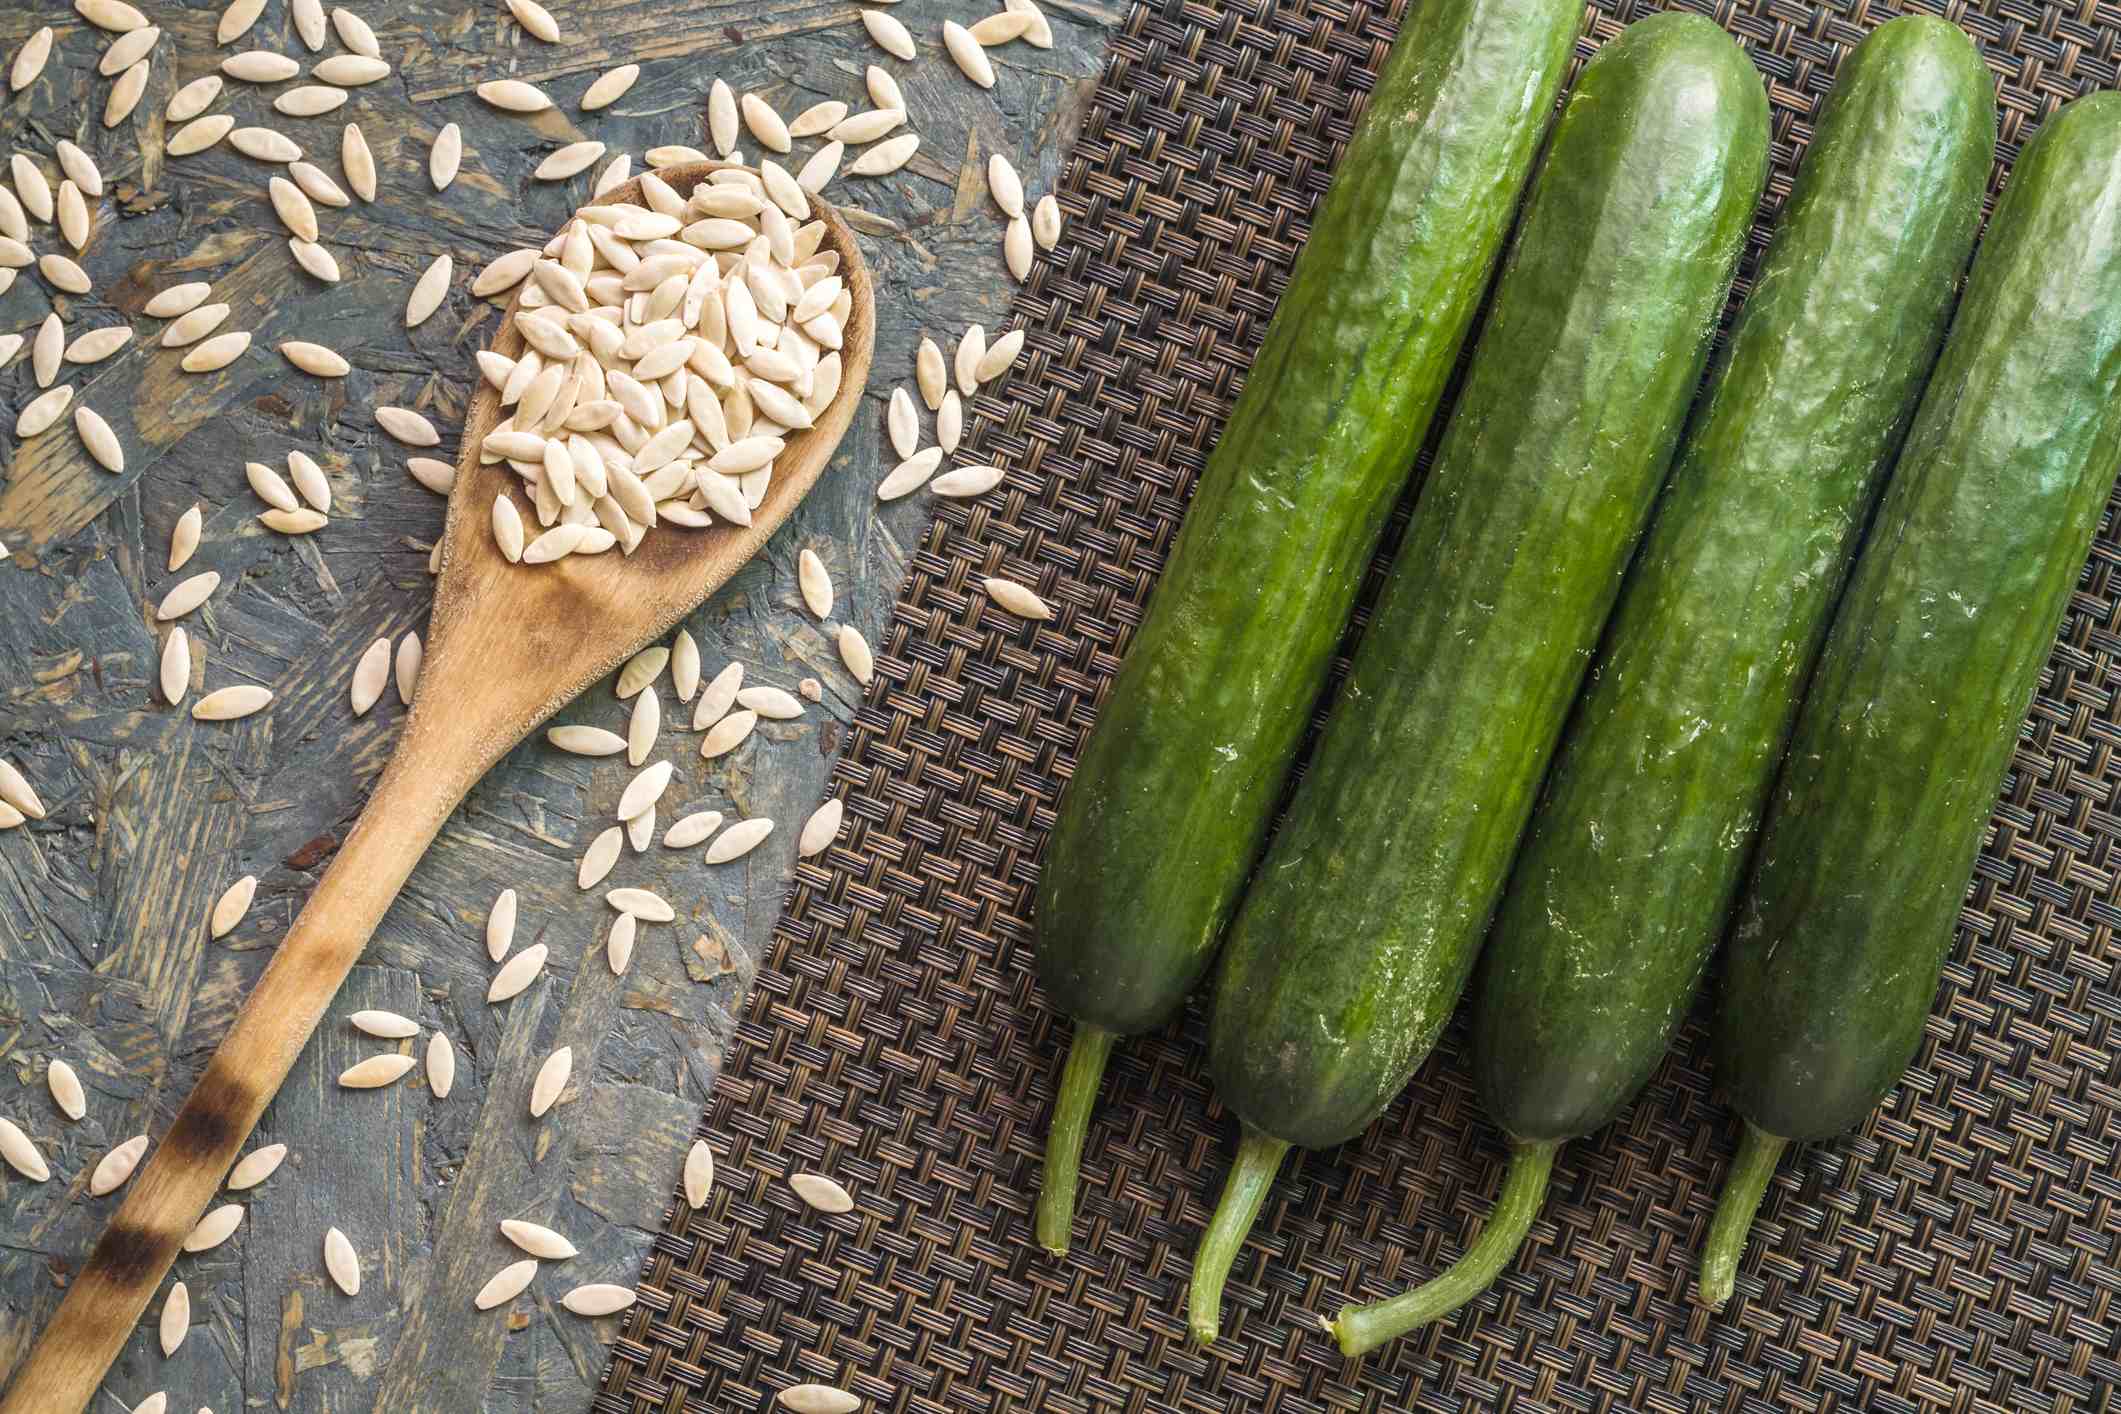
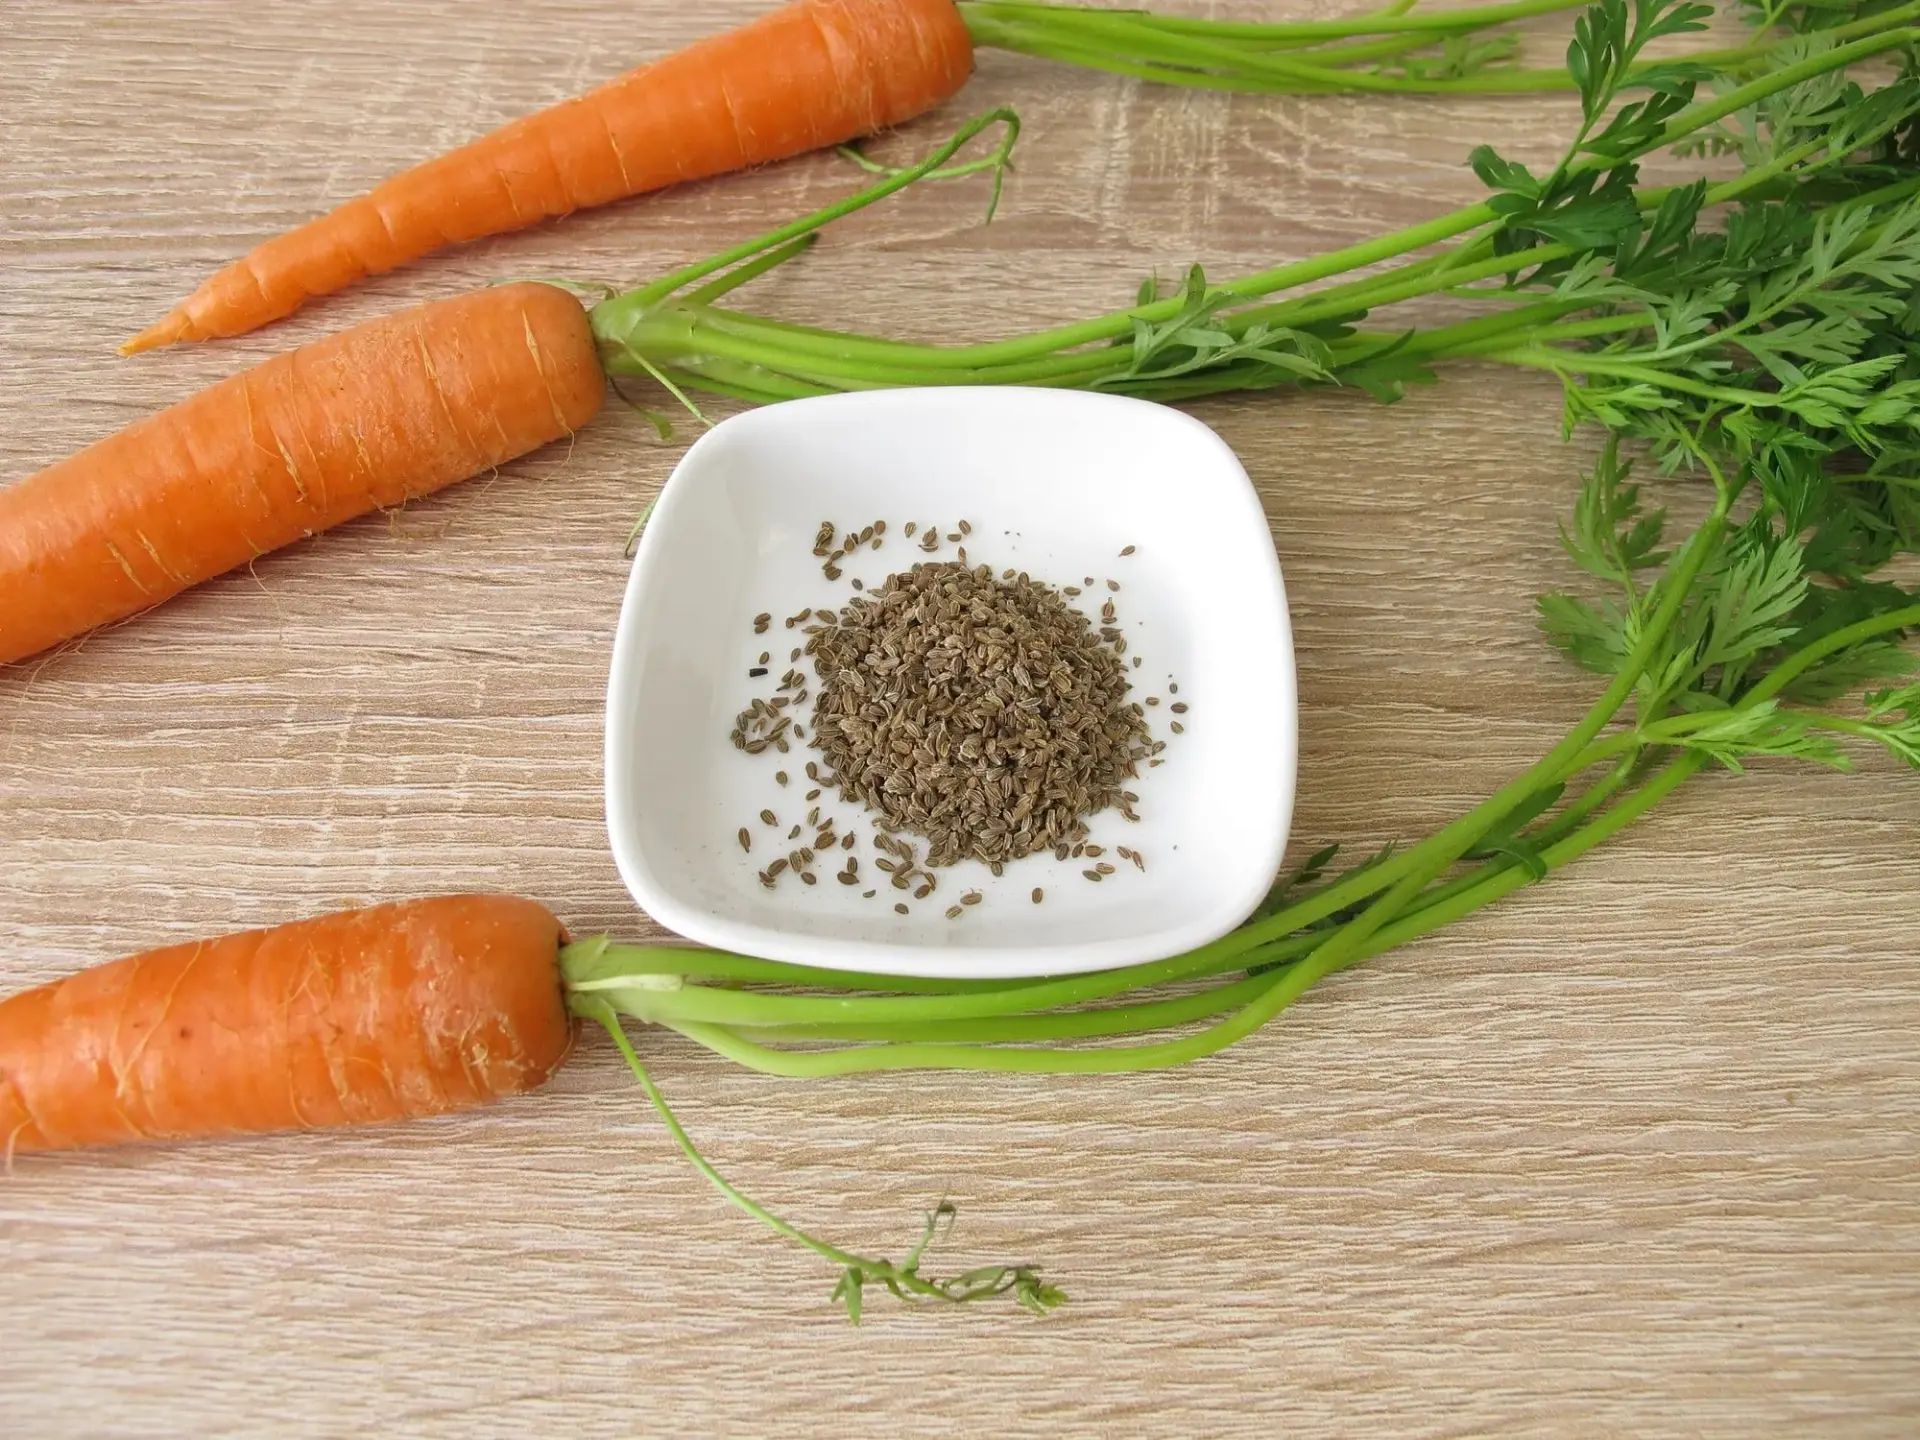
- Seeds of your choice: Choose high-quality seeds that are suitable for your climate and gardening preferences. You can select a variety of vegetables, herbs, or even fruits.
- Paper towels: Opt for white, unbleached paper towels as they are gentler on the seeds and allow for better moisture retention.
- Ziplock bags or plastic containers: These will be used to create a mini greenhouse environment for the seeds.
- Water: Have a spray bottle or a small watering can for moistening the paper towels.
- Labels or markers: It’s crucial to label each seed variety to avoid confusion later on.
- Optional: Grow lights or a sunny windowsill: If you don’t have access to ample natural light, you can use artificial lighting to provide the necessary light intensity for germination.
Once you have gathered these materials, you’ll be well-prepared to begin the process of germinating seeds in paper towels. Remember, the success of your edible garden heavily relies on the quality of your seeds, so always opt for reputable seed suppliers who offer a wide range of organic and non-GMO options.
Step 1: Prepare the Seeds
Before you begin germinating seeds in paper towels, it’s crucial to properly prepare them. Follow these steps to ensure the seeds are ready to kickstart the germination process:
- Select high-quality seeds: Choose seeds that are fresh, organic, and appropriate for your region and growing conditions. High-quality seeds have a higher germination rate and are more likely to yield healthy plants.
- Read the seed packets: Each seed variety has specific requirements for planting depth, spacing, and germination conditions. Carefully read the instructions on the seed packets to familiarize yourself with the needs of your chosen seeds.
- Perform a germination test (optional): If you’re unsure about the viability of your seeds, you can conduct a germination test. Place a few seeds between damp paper towels and keep them in a warm, dark place for a few days. If a high percentage of seeds sprout, they are likely viable.
- Pre-soak larger seeds (optional): Some larger seeds, such as beans or peas, benefit from pre-soaking. Soaking them in water for a few hours or overnight can help soften the seed coat and promote quicker germination.
- Handle the seeds with care: Seeds are delicate, so it’s essential to handle them gently to avoid any damage. Avoid touching the rootlets or emerging shoot to prevent hampering the germination process.
- Label the seeds: Use labels or markers to clearly identify the type of seeds you’re working with. This step is crucial to avoid confusion later on when it’s time to transplant the germinated seeds into individual containers.
By properly preparing the seeds, you set the foundation for successful germination and healthy plant growth. Taking these steps ensures that your seeds are in optimum condition and ready to thrive.
Step 2: Moisten the Paper Towel
Now that you have your seeds ready, it’s time to prepare the paper towels for germination. Follow these steps to moisten the paper towel properly:
- Choose the right paper towel: Opt for white, unbleached paper towels as they are gentle on seeds and allow for better moisture retention.
- Cut the paper towel: Cut the paper towel into squares or rectangles, depending on the size of your seeds. Aim for pieces that are slightly larger than the length and width of your open hand.
- Moisten the paper towel: Place the paper towel squares in a shallow tray or on a clean, flat surface. Use clean water to moisten the paper towel until it is evenly damp, but not soaking wet. Ensure that every inch of the paper towel is moist, as this will provide the necessary hydration for the seeds to germinate.
- Drain excess water: If you notice any excess water pooling in the tray or on the paper towel, carefully tilt the tray to drain off the excess water. The paper towel should be damp but not dripping.
- Wipe away any excess water: If necessary, gently blot the paper towel with a clean cloth or paper towel to remove any excess water. The surface should be evenly moist, but not overly saturated.
Keeping the paper towel properly moistened is crucial for successful seed germination. It provides the ideal environment for the seeds to absorb water and initiate the germination process. Remember that different seeds have different moisture requirements, so be sure to adjust accordingly if you’re working with seeds that prefer drier or wetter conditions.
Step 3: Arrange the Seeds
Now that your paper towel is properly moistened, it’s time to arrange the seeds in an organized manner. Follow these steps to ensure each seed has ample space and can germinate freely:
- Lay out the paper towel: Place the damp paper towel on a clean, flat surface such as a tray or plate. Make sure it is spread out evenly and without any folds or wrinkles.
- Space out the seeds: Gently place the seeds on the paper towel, leaving adequate space between each seed. This spacing will allow the seeds to grow without competing for resources and ensure proper airflow.
- Position the seeds: Carefully position each seed with the root or shoot facing downwards, following the recommended planting depth mentioned on the seed packet. This ensures that the seedlings will emerge in the correct orientation.
- Avoid overcrowding: Be mindful of not overcrowding the paper towel with too many seeds. This can lead to competition for nutrients and light, hindering the growth and development of the seedlings.
- Group similar seeds together: If you’re germinating multiple varieties of seeds, consider grouping similar seeds together on the paper towel. This will help you keep track of each variety and make it easier during the transplanting process.
By arranging the seeds with care and precision, you set the stage for successful germination and give each seed the best chance to thrive. Take your time during this step to ensure that each seed is placed correctly and has enough space to germinate and grow.
Step 4: Seal the Paper Towel
After arranging the seeds on the moistened paper towel, it’s important to create a sealed environment to facilitate germination. Follow these steps to properly seal the paper towel:
- Prepare ziplock bags or plastic containers: Depending on the size of your paper towel and seeds, choose an appropriate-sized ziplock bag or plastic container. These will act as mini greenhouses, providing a controlled environment for germination.
- Place the paper towel inside: Carefully transfer the paper towel with the seeds into the ziplock bag or plastic container. Arrange it in a way that the seeds are spread out evenly and not clustered together.
- Seal the bag or container: Zip the bag closed or securely close the lid of the plastic container. Make sure the seal is tight to prevent any moisture from escaping and to create a humid environment inside.
- Label the bag or container: Use a marker or label to clearly indicate the seed variety and the date of the germination. This will help you keep track of the progress of each seed and make it easier for future reference.
Sealing the paper towel in a bag or container creates a mini greenhouse effect, with the moisture from the damp towel staying within the enclosed space. This elevated humidity promotes optimal conditions for germination by keeping the seeds sufficiently hydrated.
Place the sealed bag or container in a warm location, such as a seedling heat mat or on top of the refrigerator. The gentle warmth will further encourage germination.
Remember to check the bag or container regularly to ensure that the moisture level is maintained and no mold or fungal growth occurs. Adjust the moisture if needed by spritzing a bit of water inside or opening the bag slightly to allow for air circulation.
By sealing the paper towel and creating a controlled environment, you’re providing the ideal conditions for germination and increasing the chances of successful seed sprouting.
Step 5: Provide Optimal Conditions
Creating and maintaining the right conditions is crucial for the successful germination of seeds. Follow these steps to provide the optimal environment for your germinating seeds:
- Temperature: Most seeds thrive in temperatures between 65°F and 75°F (18°C to 24°C). Place the sealed bag or container in a warm location that provides consistent, even temperatures.
- Light: While light is not necessary for germination, some seeds may benefit from a small amount of light. If your seeds require light, place the sealed bag or container in a sunny spot or use a grow light to provide sufficient illumination.
- Air circulation: It’s important to ensure that the seeds have access to fresh air. If using a zipper bag, you can partially unzip it or open the container lids slightly to allow for some air circulation.
- Moisture: Check the paper towel periodically to ensure it remains moist. If it feels dry, you can mist it with water using a spray bottle or lightly dampen it again. Avoid over-saturating the paper towel, as excess moisture can lead to mold or rot.
Remember to maintain a balance of temperature, light, and moisture throughout the germination process. Different seeds have different requirements, so be sure to refer to the instructions on the seed packet for specific guidelines. Regularly monitor the progress of the seeds and make necessary adjustments to ensure they have the best chance of success.
By providing optimal conditions, you’re creating an environment that mimics the natural conditions necessary for seed germination. This will help the seeds break out of dormancy and start their journey towards becoming healthy, vibrant seedlings.
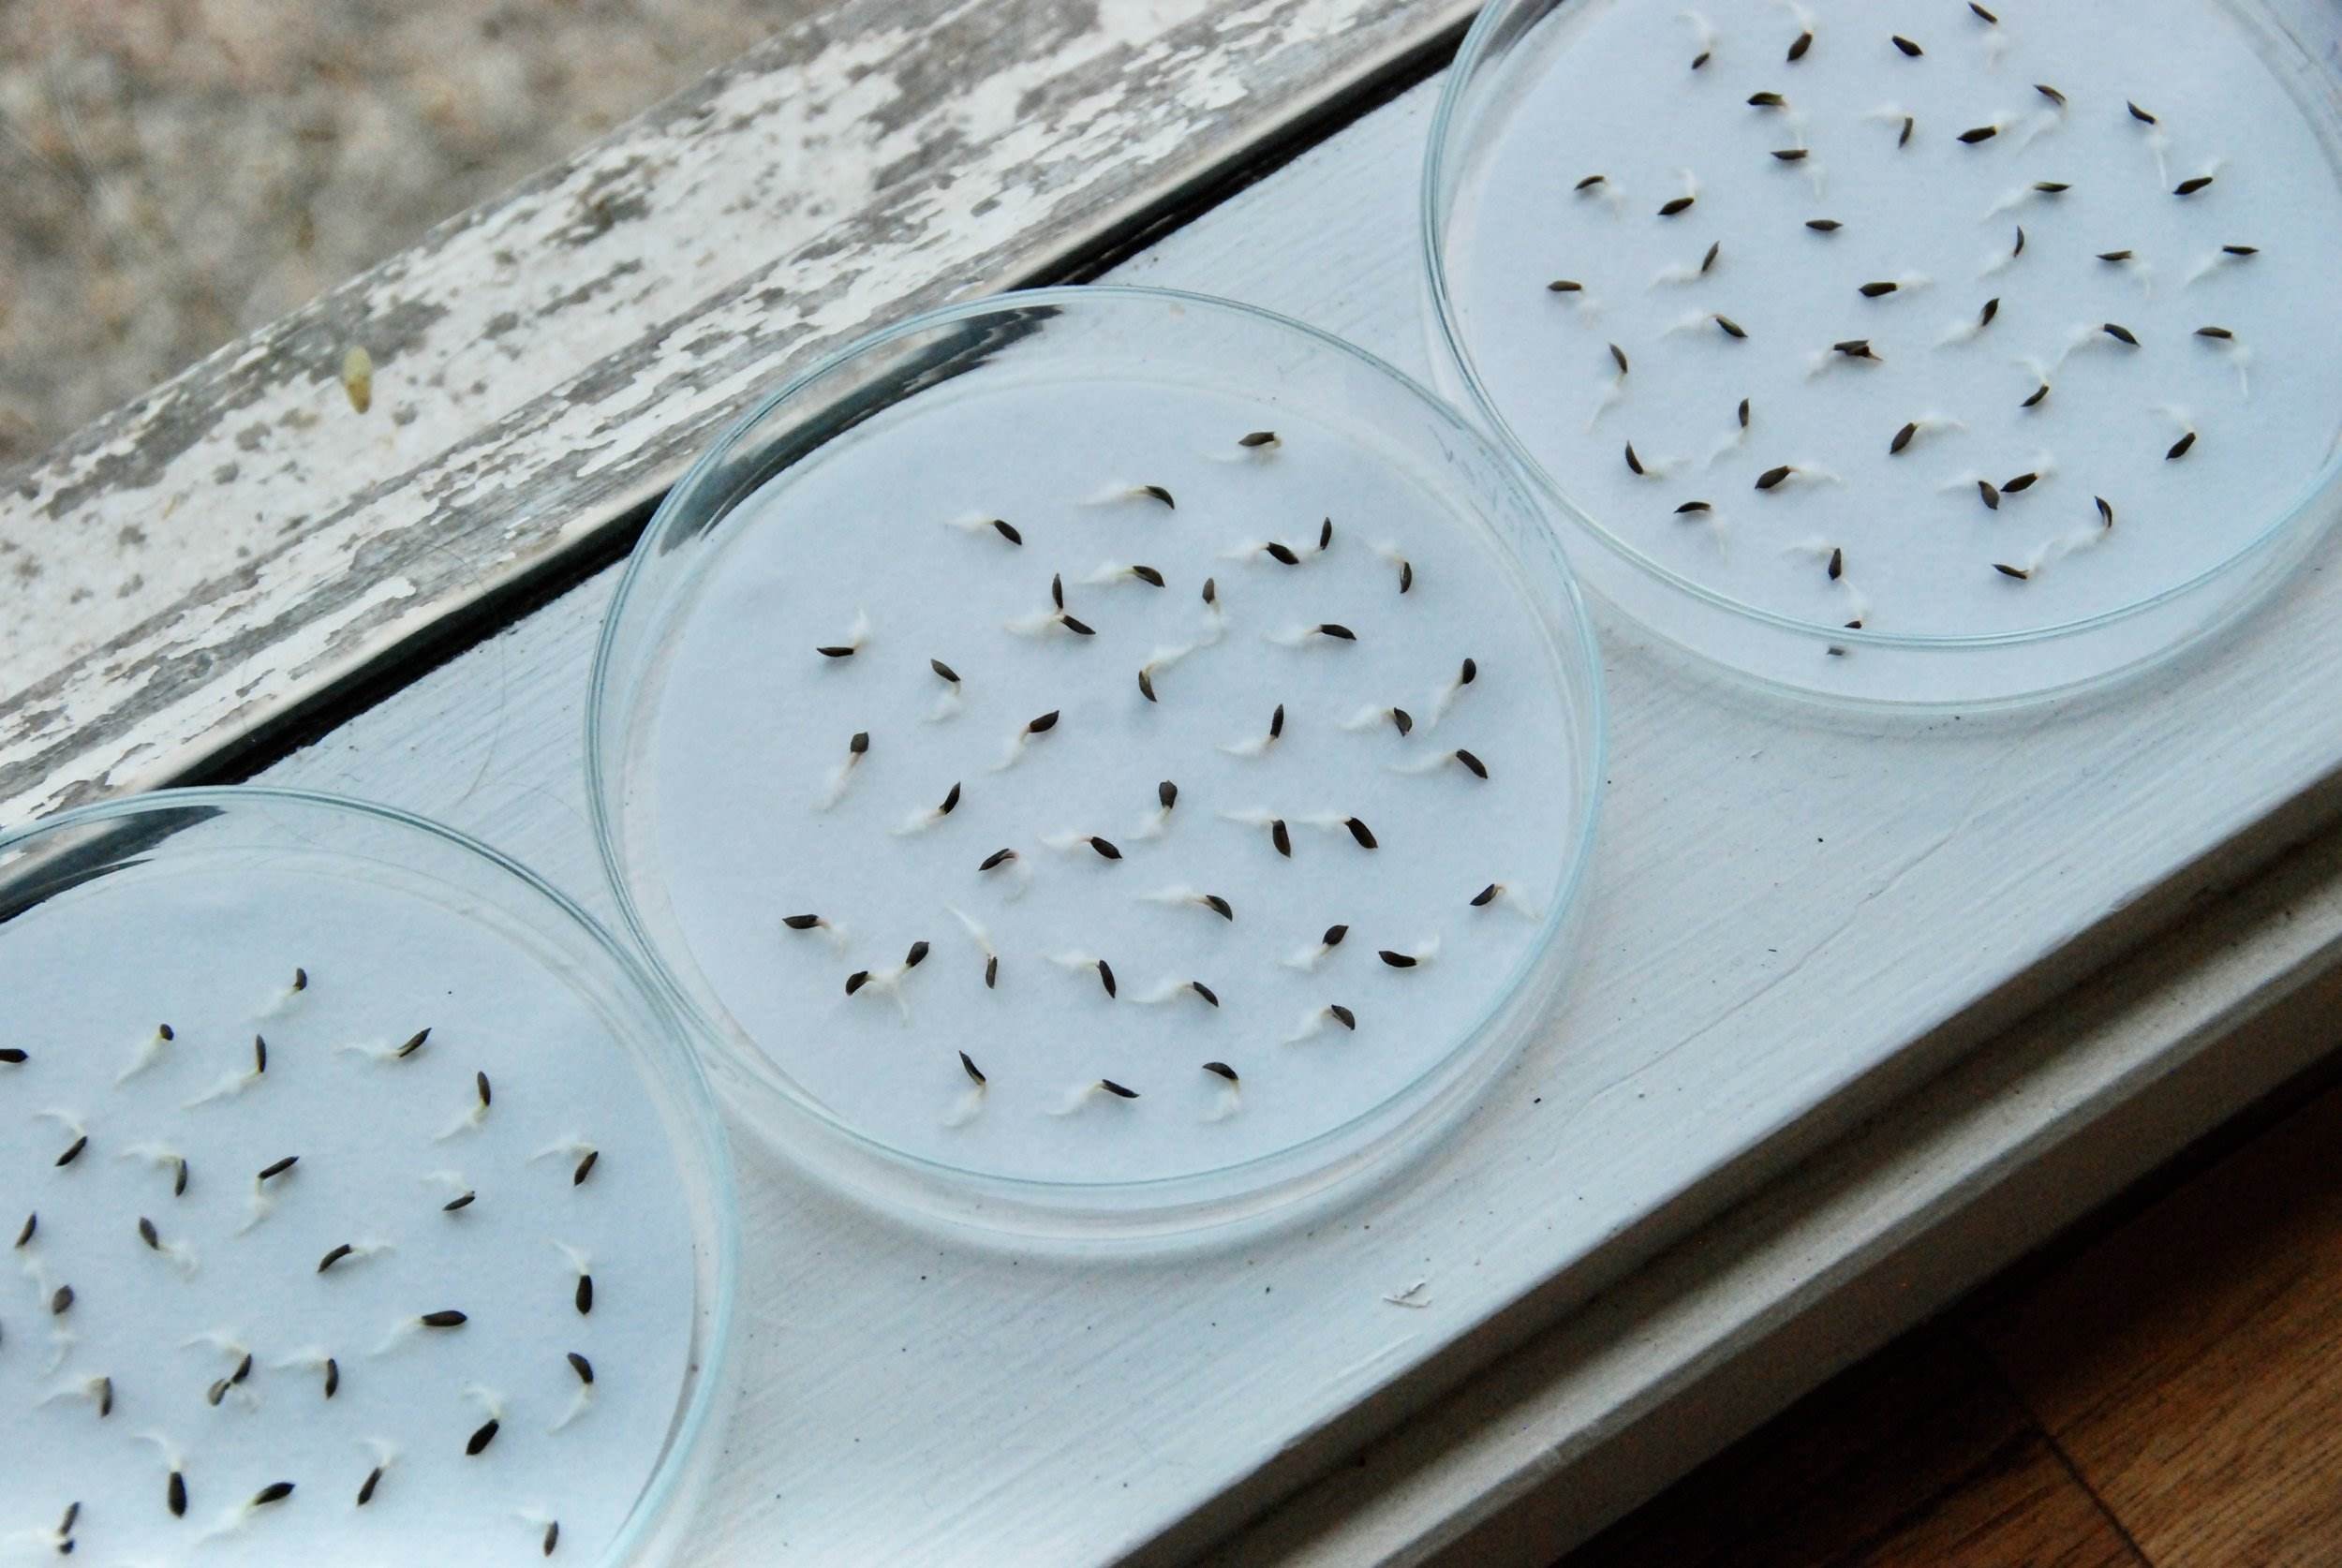
Step 6: Check for Germination
After providing the optimal conditions for your germinating seeds, it’s time to keep a close eye on their progress. Checking for germination allows you to monitor the success of your efforts and take necessary steps to ensure the healthy growth of your seedlings. Follow these steps to check for germination:
- Timing: Different seeds have different germination timelines, so refer to the seed packet for an estimate. Typically, germination can take anywhere from a few days to a couple of weeks.
- Inspect the seeds: Carefully open the sealed bag or container and examine the paper towel. Look for signs of germination, such as tiny rootlets or emerging shoots. Depending on the seed variety, you may also notice other indicators like the seed coat splitting open.
- Document progress: Take note of any visible signs of germination and record the number of seeds that have successfully sprouted. This documentation will help you keep track of the germination rate and the overall success of your efforts.
- Address any issues: If you notice any mold, fungus, or signs of rot, remove the affected seeds immediately. Adjust the moisture levels if necessary and ensure proper air circulation to prevent further issues.
- Discard non-germinated seeds: If there are any seeds that have not germinated after a reasonable period of time, consider removing them from the paper towel. This will prevent them from potentially affecting the growth of the healthy seedlings.
Regularly checking for germination allows you to stay involved in the process and make any needed adjustments to ensure the best outcome. Be patient as the seeds may germinate at different rates, and avoid disturbing the germinated seeds as they continue to grow.
Once you’ve assessed the status of the germination, it’s time to proceed to the next step: transplanting the germinated seeds into individual containers.
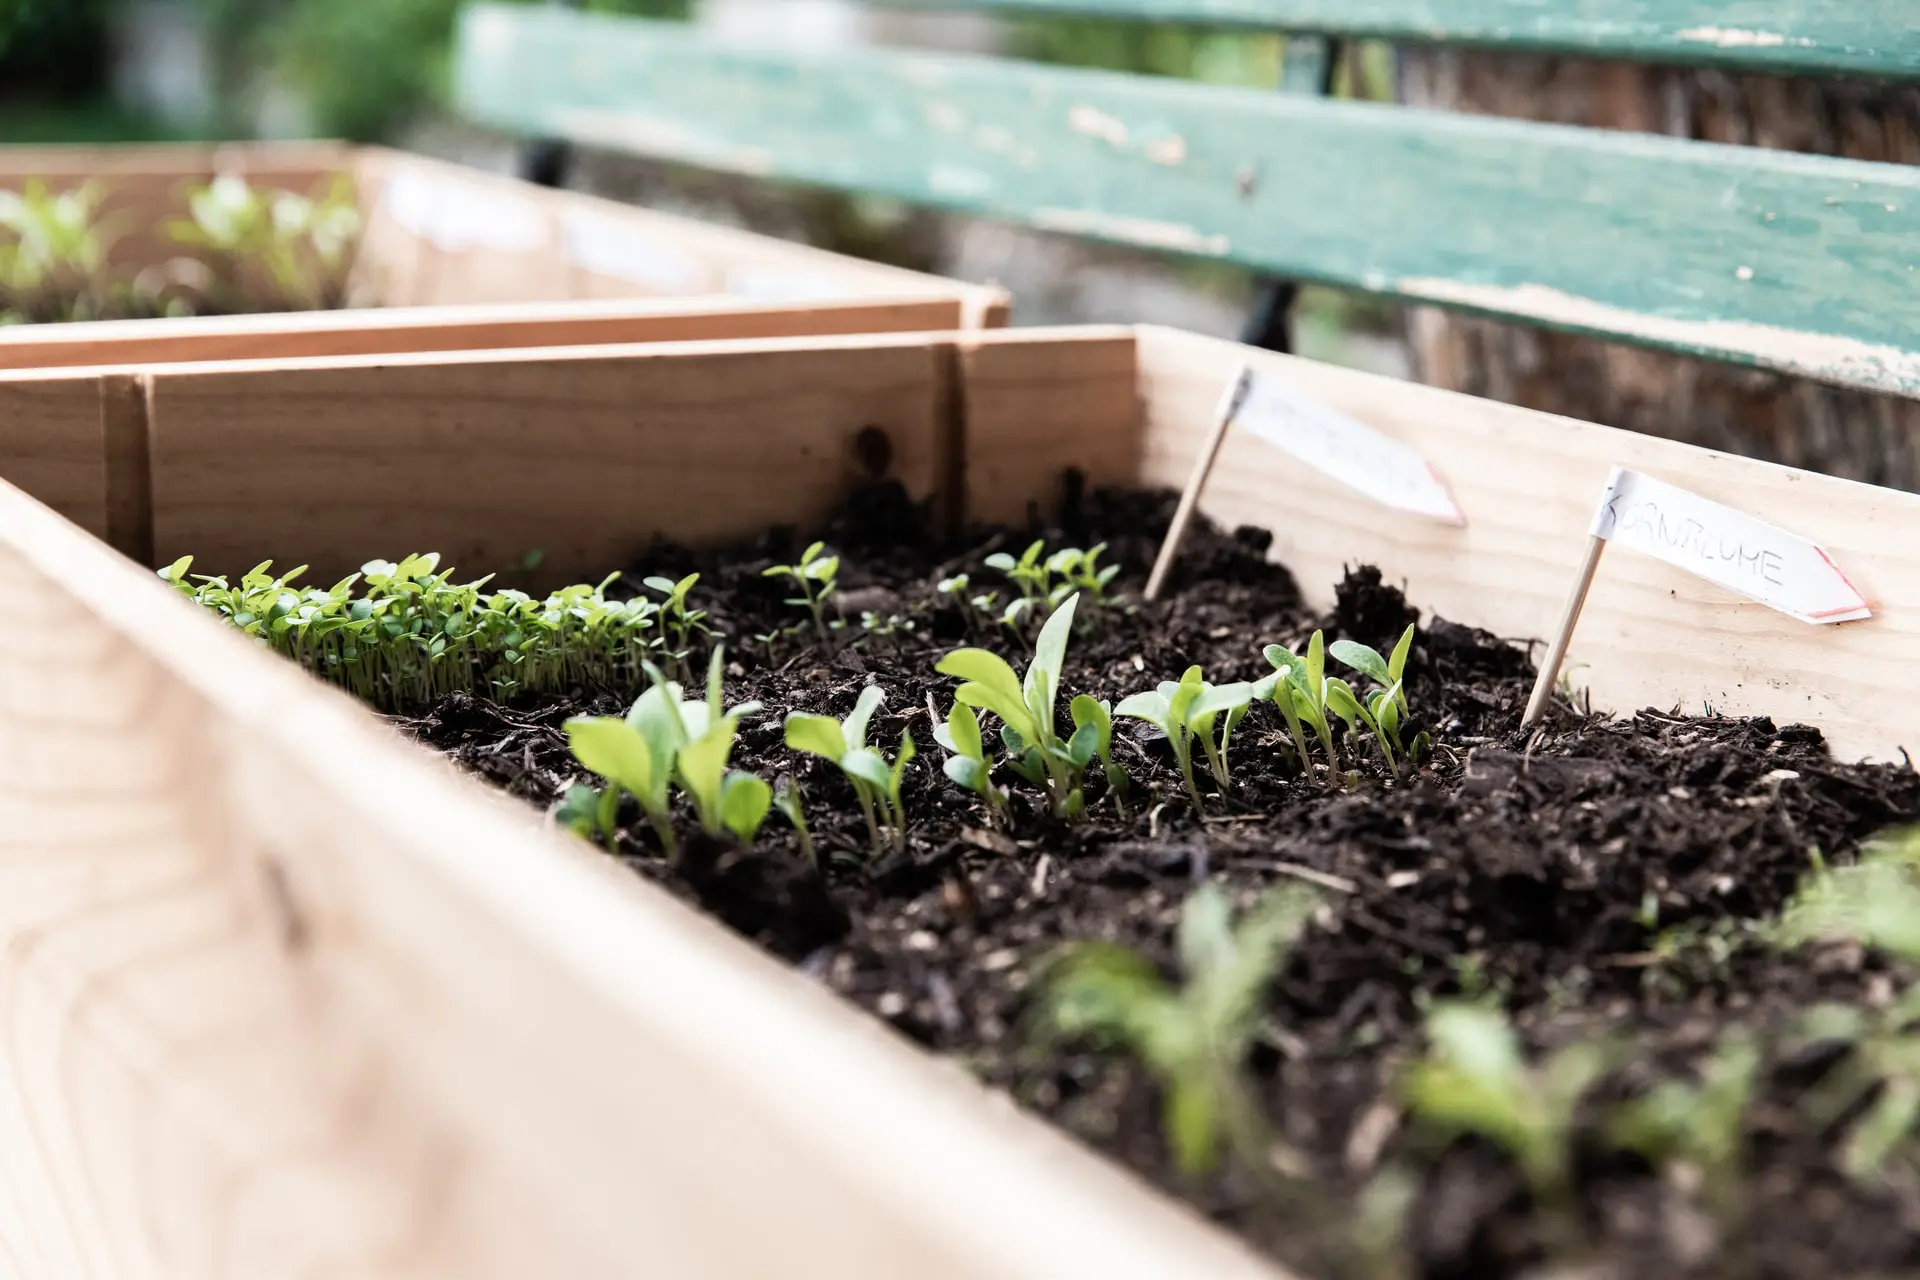
Step 7: Transplant the Germinated Seeds
Once your seeds have successfully germinated and have developed into healthy seedlings, it’s time to transplant them into individual containers. This step allows the seedlings to grow and establish strong root systems. Follow these steps to transplant the germinated seeds:
- Select suitable containers: Choose containers that are spacious enough to accommodate the root system of the seedlings. Use pots with drainage holes to ensure proper water drainage and prevent waterlogging.
- Prepare the potting mix: Use a well-draining potting mix that is rich in organic matter. This provides the necessary nutrients for the young seedlings to thrive.
- Carefully remove the seedlings: Gently separate the seedlings from the paper towel, taking care not to damage their delicate roots. You can use a pair of tweezers or a small spoon to carefully lift the seedlings.
- Plant the seedlings: Create a small hole in the potting mix using your finger or a pencil. Carefully place each seedling in the hole and gently firm the soil around the base to ensure stability.
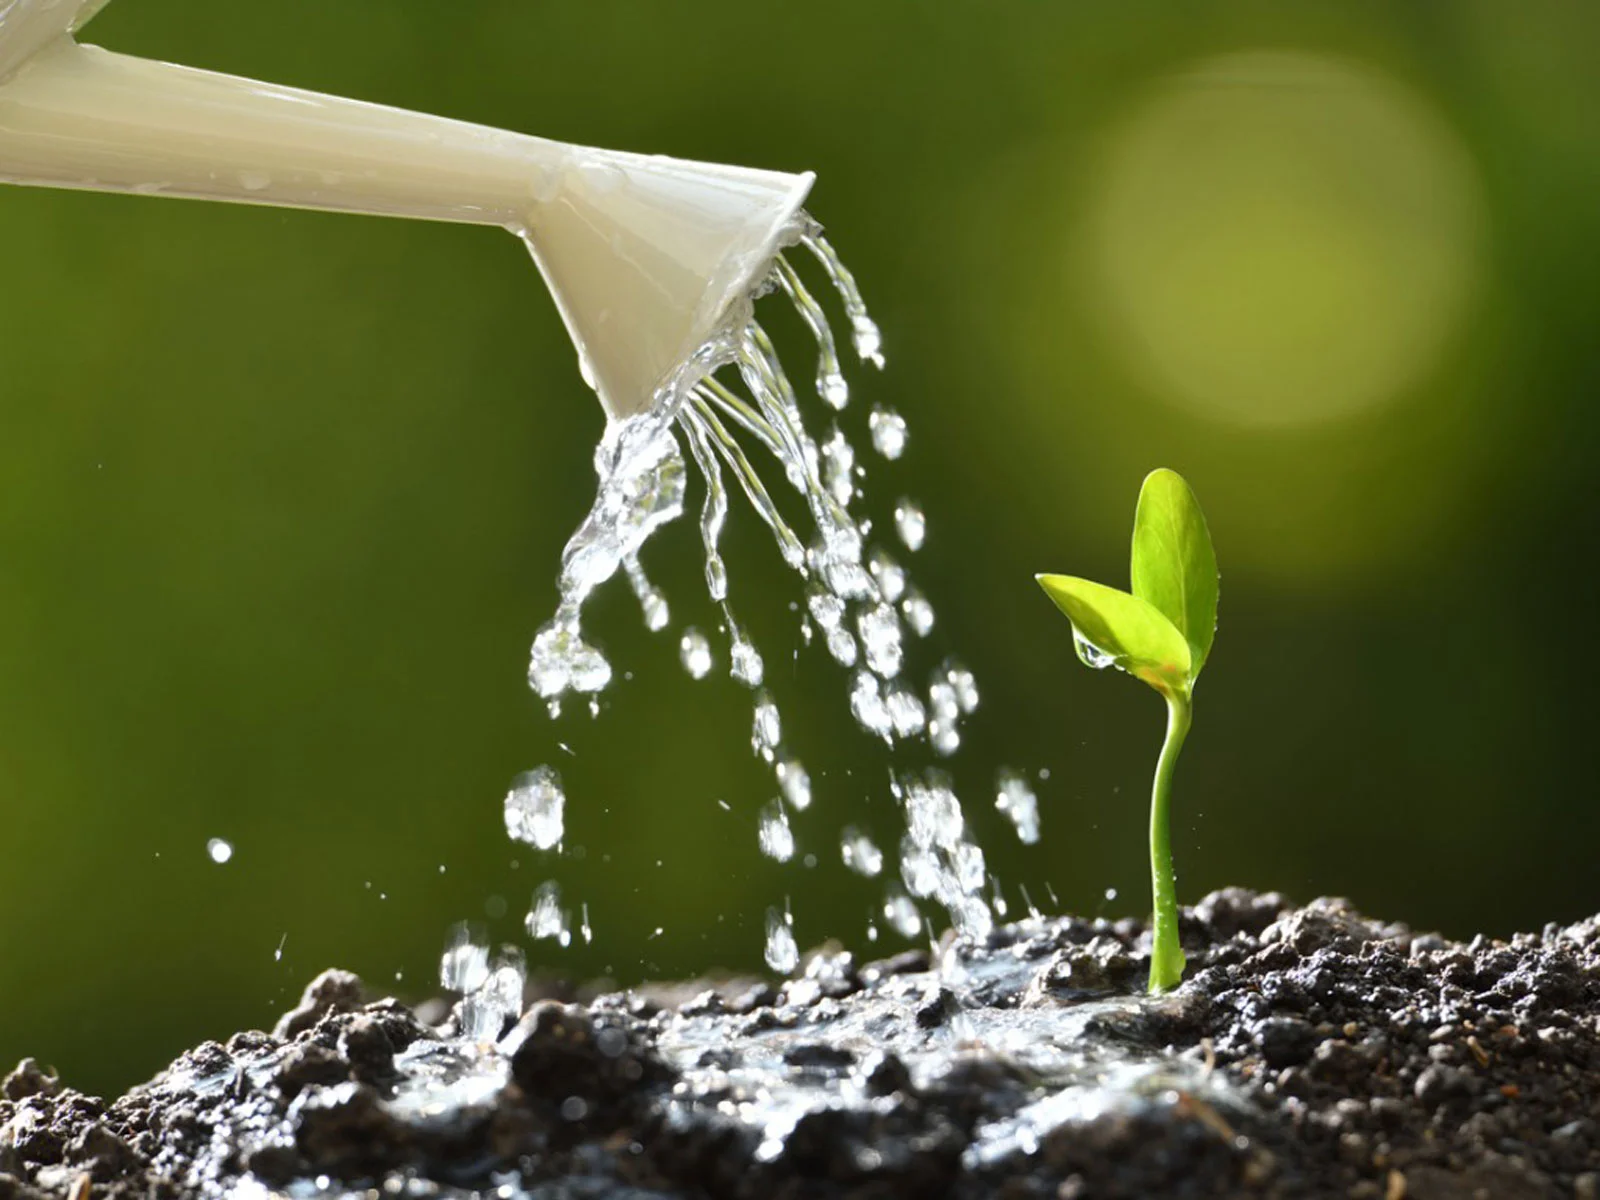
- Water the seedlings: Give the newly transplanted seedlings a thorough watering to help them settle into their new containers. Ensure that the water reaches the root zone without oversaturating the soil.
- Provide appropriate growing conditions: Place the containers in a location with adequate sunlight for your specific plant varieties. Water the seedlings regularly, allowing the soil to dry slightly between waterings.
- Continue care and maintenance: Monitor the growth of your seedlings and provide them with the necessary care, including regular watering, fertilization, and protection from pests and diseases.
Transplanting the germinated seeds into individual containers allows the seedlings to develop strong root systems and continue their growth journey. Remember to handle the delicate seedlings with care and provide them with appropriate growing conditions to ensure their successful transition.
With proper care and maintenance, your seedlings will flourish and grow into healthy, productive plants that will eventually yield a bountiful harvest.
Conclusion
Congratulations! You have successfully learned how to germinate seeds in paper towels, a simple yet effective technique for starting your edible garden. By following the steps outlined in this guide, you have gained the knowledge and confidence to kickstart the germination process and nurture your seedlings into healthy plants.
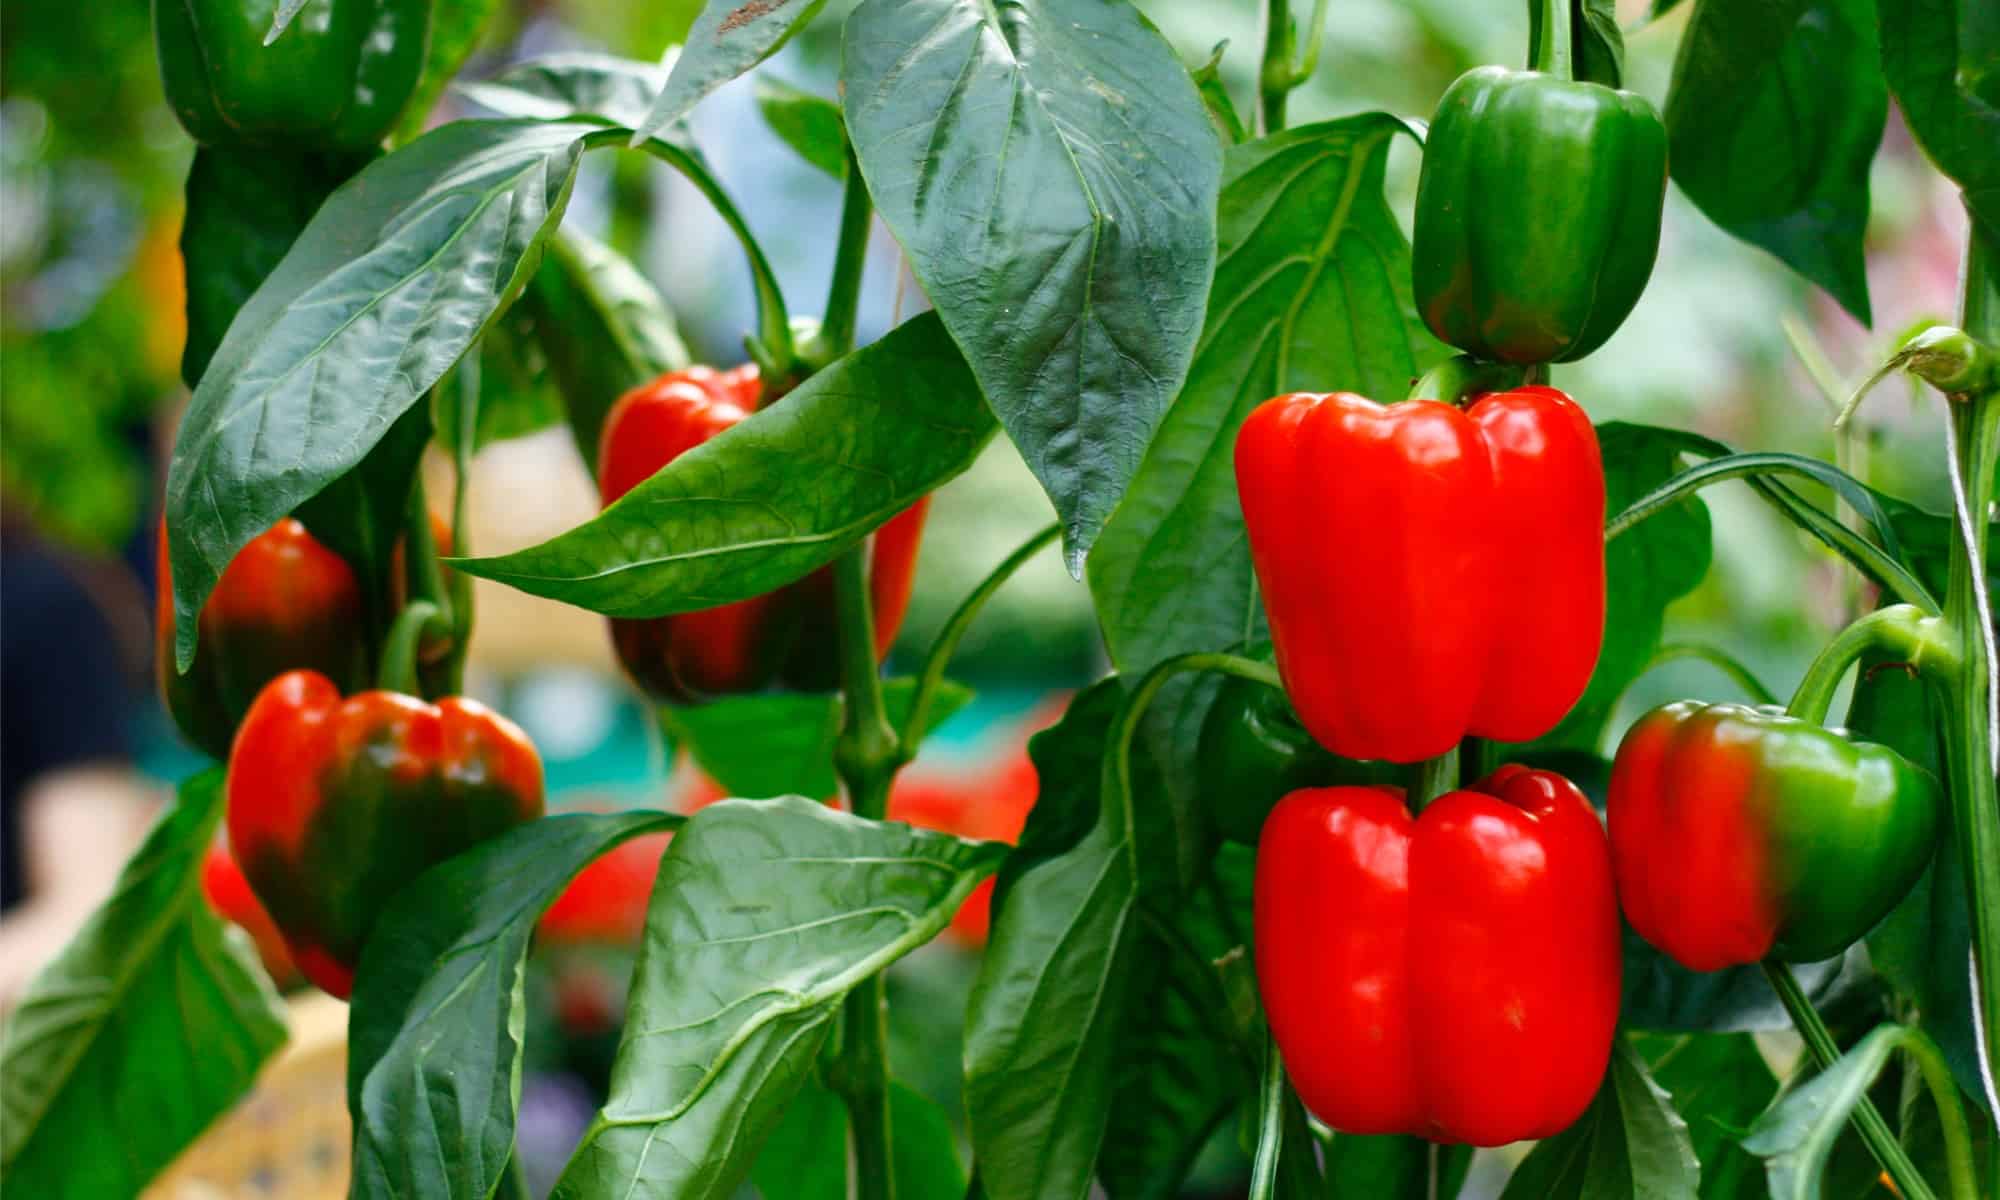
Starting from seeds offers a fantastic opportunity to grow a wide variety of fruits, vegetables, and herbs. It allows you to have control over the quality and source of your food, while also providing a satisfying and rewarding experience as you witness the growth and development of your plants.
Remember to select high-quality seeds, properly prepare them, and provide optimal conditions for germination. By moistening the paper towel, arranging the seeds, sealing the paper towel, and checking for germination, you set a strong foundation for success. Finally, transplant the germinated seeds into individual containers, ensuring they have enough space to flourish.
Throughout the journey, be patient, observant, and proactive in addressing any issues that arise. Gardening is an ongoing learning experience, and each season brings new challenges and joys. Embrace the learning process and have fun nurturing your plants as they grow and contribute to your edible garden.
So, roll up your sleeves, gather your materials, and get ready to witness the miracle of life as your seeds sprout, grow, and eventually produce the fruits of your labor. Enjoy the journey of edible gardening and relish the satisfaction of enjoying delicious, homegrown produce straight from your own backyard!