Home>Types of Gardening>Edible Gardening>How To Germinate Grape Seeds
Edible Gardening
How To Germinate Grape Seeds
Modified: January 22, 2024
Learn how to successfully germinate grape seeds and start your own edible gardening journey. Discover the secrets to growing delicious grapes from seed and enjoy the fruit of your labor
(Many of the links in this article redirect to a specific reviewed product. Your purchase of these products through affiliate links helps to generate commission for Chicagolandgardening.com, at no extra cost. Learn more)
Table of Contents
- Introduction
- Step 1: Gathering Grape Seeds
- Step 2: Preparing the Seeds for Germination
- Step 3: Creating the Ideal Germination Environment
- Step 4: Planting the Grape Seeds
- Step 5: Caring for Germinating Grape Seeds
- Step 6: Transplanting Germinated Seeds
- Step 7: Maintaining Grape Seedlings
- Step 8: Harvesting and Enjoying Grapes from Germinated Seeds
- Conclusion
Introduction
Welcome to the wonderful world of edible gardening! If you’ve ever dreamt of plucking juicy, sun-ripened grapes straight from your own backyard, then learning how to germinate grape seeds is the perfect first step. Growing your own grapes not only allows you to enjoy the satisfaction of harvesting fresh fruit, but it also gives you control over the quality and variety of grapes you cultivate.
Grapes are a versatile and delicious fruit that can be enjoyed fresh, turned into jams and jellies, or even transformed into wine. While most gardeners opt to grow grapes from cuttings or nursery plants, germinating grape seeds can be an exciting and rewarding alternative. Not only does it allow you to explore different grape varieties, but it also offers a greater sense of accomplishment as you witness the transformation from seed to flourishing vine.
Before we dive into the step-by-step process of germinating grape seeds, it’s important to note that growing grapes from seed can be a longer and more unpredictable journey compared to other methods. Grape seeds possess natural variations, meaning that not all seeds will yield the same quality or characteristics as the parent plant. However, this element of surprise can also be an exciting part of the process, as you may discover unique flavors and traits in the grapes you grow.
So, if you’re ready to embark on this adventure of growing grapes from seed, let’s get started with gathering your grape seeds.
Step 1: Gathering Grape Seeds
The first step in germinating grape seeds is to gather the seeds themselves. There are several ways you can obtain grape seeds:
- Harvest from store-bought grapes: If you have recently enjoyed some delicious store-bought grapes, save a few of the seeds from your favorite varieties. Simply remove the seeds from the grapes, rinse them gently to remove any residual fruit, and set them aside for germination.
- Collect from homegrown grapes: If you have a grapevine in your garden, wait until the grapes are ripe and then harvest a few clusters. Carefully remove the seeds from the grapes, making sure to handle them gently to avoid damage. Rinse the seeds and set them aside for germination.
- Obtain seeds from a grape enthusiast: Connect with local grape enthusiasts, gardening clubs, or online grape-growing communities. You may find fellow gardeners who are willing to share or trade grape seeds, allowing you to experiment with different varieties.
It’s important to note that not all grape seeds will successfully germinate. To increase your chances of success, gather a larger quantity of seeds than you intend to plant. This way, you can account for any seeds that do not germinate or fail to produce healthy seedlings.
Now that you have gathered your grape seeds, it’s time to prepare them for germination in the next step.
Step 2: Preparing the Seeds for Germination
Once you have gathered your grape seeds, it’s important to take some preparatory steps to maximize germination success. Follow these guidelines to prepare your grape seeds for germination:
- Remove the seed coat: Grape seeds have a hard outer seed coat that can interfere with germination. To improve the chances of successful germination, carefully scarify the seed coat by gently rubbing the seeds with sandpaper or nicking them with a small knife. This process allows water to penetrate the seed, kickstarting the germination process.
- Soak the seeds: Soaking the scarified grape seeds in water prior to planting can enhance germination rates. Fill a container with room temperature water and place the seeds in it for approximately 24 hours. This soak will help to soften the seeds, making it easier for them to sprout.
- Stratification (optional): Some grape varieties benefit from a process called stratification, where the seeds are exposed to cold temperatures before germination. If you are unsure whether your grape variety requires stratification, research the specific requirements of the grape variety you are working with. If stratification is recommended, place the seeds in a damp paper towel or in a plastic bag with some moist peat moss, and refrigerate them for about 6-8 weeks, mimicking their natural winter dormancy period.
By scarifying, soaking, and optionally stratifying your grape seeds, you are creating the optimal conditions for successful germination. In the next step, we will discuss how to create the ideal germination environment for your prepared seeds.
Step 3: Creating the Ideal Germination Environment
Creating the ideal germination environment is crucial for the successful growth of your grape seeds. Follow these steps to provide the optimal conditions for germination:
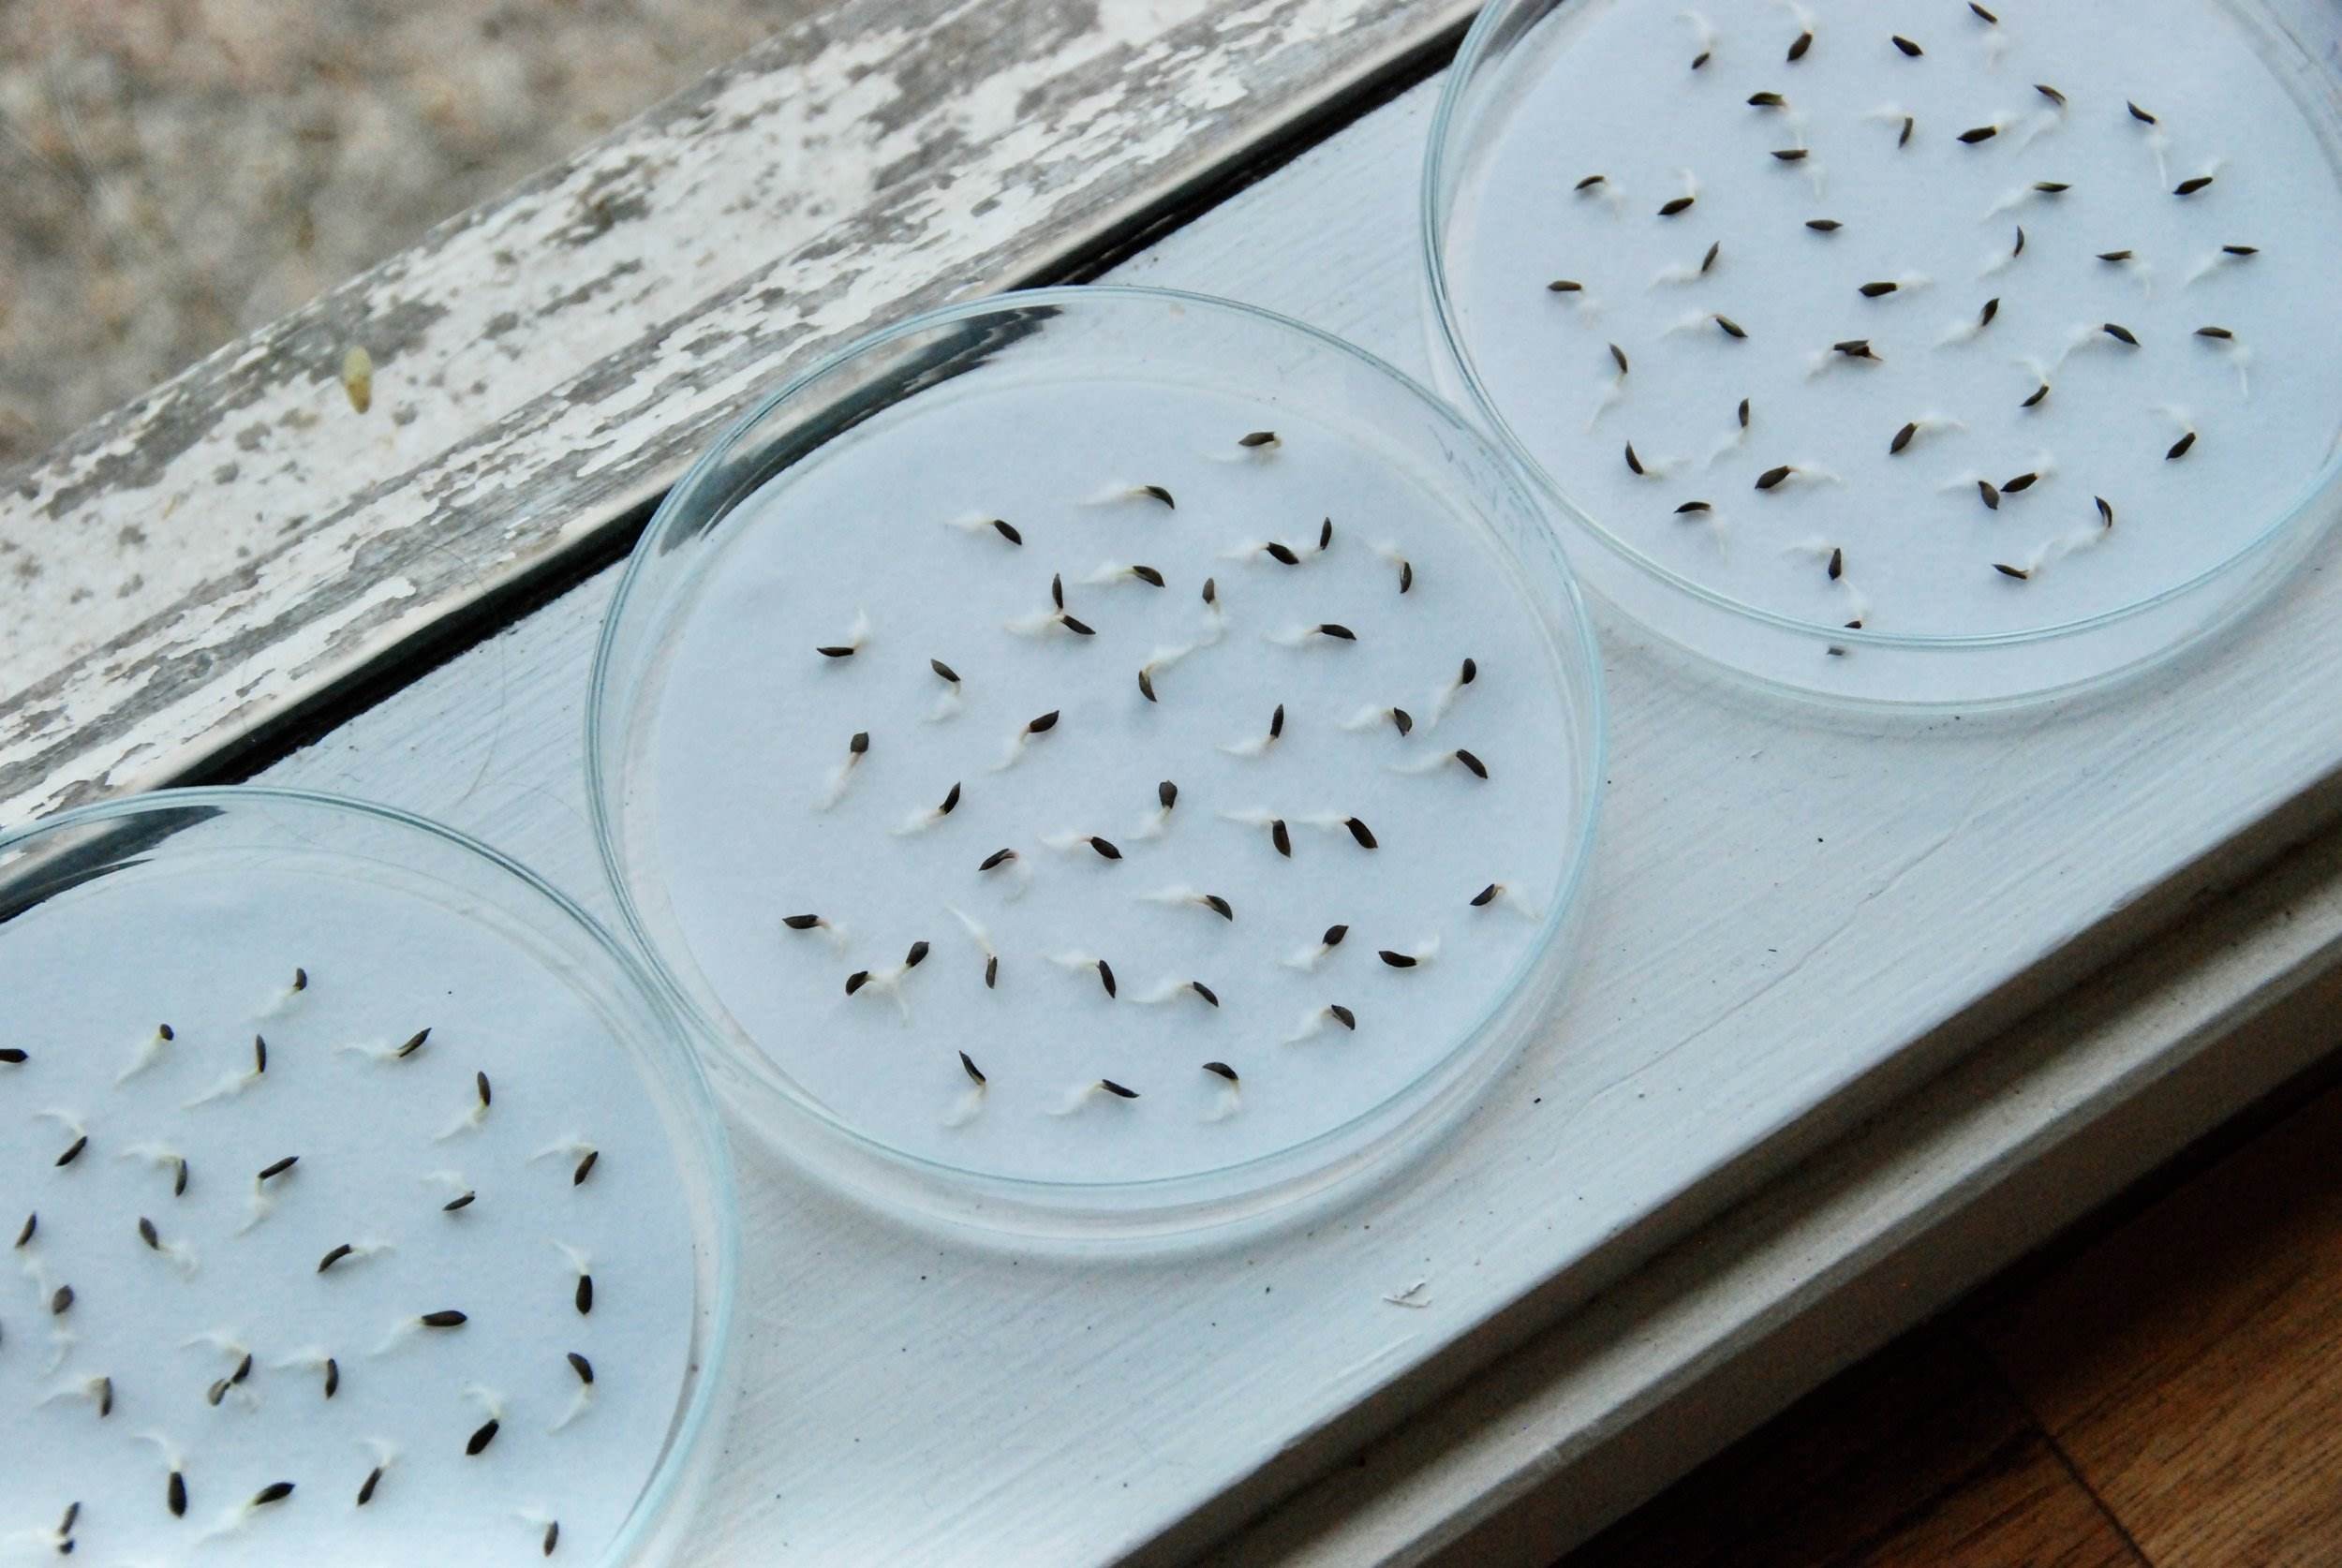
- Choose the right container: Start by selecting a suitable container for germinating your grape seeds. Use shallow trays or seed trays with drainage holes to ensure proper water drainage and prevent waterlogging. Make sure the container is large enough to accommodate the number of seeds you wish to germinate.
- Select a well-draining germination medium: Fill the chosen container with a well-draining germination medium, such as a mixture of seed-starting soil and perlite or vermiculite. This provides a good balance of moisture retention and aeration, preventing the seeds from becoming waterlogged.
- Moisten the germination medium: Before sowing the seeds, lightly moisten the germination medium with water. Avoid soaking it or making it too soggy, as excessive moisture can lead to fungal growth or seed rot.
- Sow the seeds: Gently press the scarified and soaked grape seeds into the moistened germination medium, ensuring they are evenly spaced apart. Cover the seeds with a thin layer of the germination medium, approximately 1/4 inch deep.
- Create a humid environment: Cover the container with a plastic wrap or a clear plastic lid to create a humid environment for the seeds. This helps to retain moisture and create a greenhouse-like effect. Place the container in a warm location, such as near a sunny window or on a heated propagation mat.
- Maintain optimal temperature: Grape seeds require consistent warm temperatures to germinate. Aim for a temperature range of 70-80°F (21-27°C). Avoid exposing the seeds to extreme temperature fluctuations as it can hinder germination.
By creating a suitable container, using a well-draining germination medium, and providing a warm and humid environment, you are setting the stage for successful germination. In the next step, we will explore the process of planting the prepared grape seeds.
Step 4: Planting the Grape Seeds
Now that you have prepared the ideal germination environment for your grape seeds, it’s time to plant them. Follow these steps to plant your prepared grape seeds:
- Make small indentations: Using your finger, pencil, or a small tool, make shallow indentations in the germination medium. These indentations should be spaced apart, allowing enough room for the seeds to grow and develop.
- Place the seeds in the indentations: Carefully place each prepared grape seed into the indentations, ensuring they are nestled securely. Gently cover the seeds with a thin layer of the germination medium, about 1/4 inch deep.
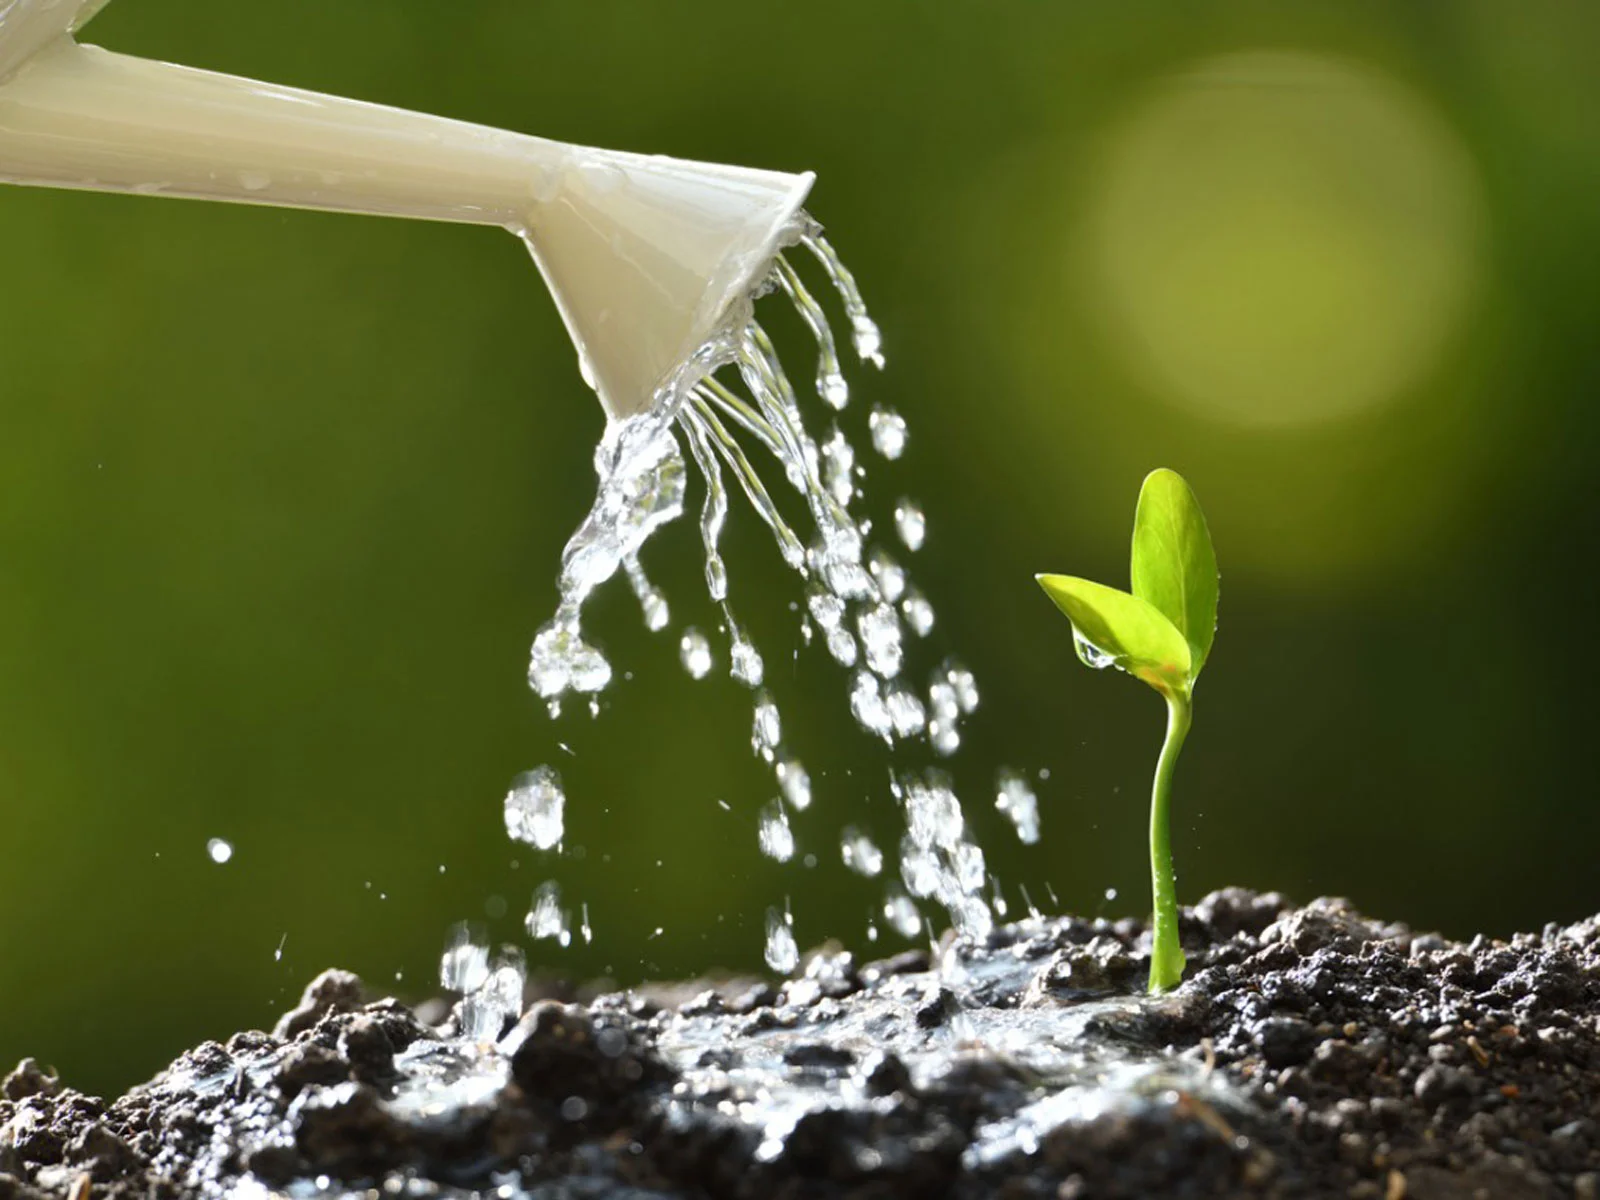
- Water the seeds: After planting, water the seeds lightly using a spray bottle or a gentle watering can. This will help settle the medium around the seeds and provide the initial moisture they need to initiate germination. Avoid overwatering, as it can cause the seeds to rot.
- Label and date the container: To keep track of your grape seeds, label the container with the grape variety and the date of planting. This will help you monitor their progress and make any necessary adjustments to the germination environment.
- Place the container in a warm location: Transfer the container to a warm location with adequate sunlight or use artificial grow lights to provide the necessary light for germination. Ensure the temperature remains consistent within the optimal range of 70-80°F (21-27°C).
Planting the prepared grape seeds in the germination medium and providing adequate moisture and light sets the stage for their growth. In the next step, we will discuss the crucial care needed during the germination phase.
Step 5: Caring for Germinating Grape Seeds
Once you have planted your grape seeds, it’s important to provide proper care to ensure their successful germination. Follow these steps to care for your germinating grape seeds:
- Maintain optimal moisture: It’s essential to keep the germination medium consistently moist but not waterlogged. Check the moisture level regularly and mist the container with water or use a watering can with a fine spout to provide gentle moisture as needed. Be cautious not to oversaturate the medium, as excessive moisture can lead to fungal diseases.
- Monitor temperature and light: Ensure that the germination environment maintains a steady temperature of 70-80°F (21-27°C). Also, provide adequate light either through natural sunlight or by using fluorescent or LED grow lights. A consistent temperature and sufficient light are vital for the germination process.
- Provide ventilation: Although the germination container needs to maintain a humid environment, it’s important to provide some ventilation periodically to prevent fungal growth. Lift the plastic wrap or lid for a short period each day to allow fresh air to circulate.
- Be patient: Germination can take time, and grape seeds may take several weeks to sprout. Patience is key during this stage, as individual seeds may germinate at different rates. Continue to provide the optimal conditions and observe for any signs of growth.
- Thin out seedlings (if necessary): As the seedlings sprout and develop, they may become overcrowded in the container. If this happens, gently thin out the weaker or less vigorous seedlings, allowing the stronger ones to have more space and resources for healthy growth.
Caring for germinating grape seeds requires diligence and attention to ensure the proper conditions for successful sprouting. In the next step, we will discuss the process of transplanting the germinated seeds into larger containers or the garden.
Step 6: Transplanting Germinated Seeds
Once your grape seeds have sprouted and developed into young seedlings, it’s time to transplant them into larger containers or the garden. Follow these steps to successfully transplant your germinated grape seeds:
- Choose the right container or location: Select a suitable container or identify a suitable spot in your garden to transplant the seedlings. Ensure that the location receives adequate sunlight and has well-draining soil.
- Prepare the planting area: If transplanting into the garden, prepare the planting area by loosening the soil and removing any weeds or debris. If using containers, make sure they have proper drainage holes and fill them with well-draining potting mix.
- Carefully remove the seedlings: Gently loosen the germinated grape seedlings from the germination container, being careful not to damage their delicate roots. Use a small tool or your fingers to help lift the seedlings out of the medium.
- Plant at the appropriate depth: Dig a hole or make a small indentation in the planting area that is large enough to accommodate the seedling’s root system. Place the seedling into the hole and gently cover the root system with soil, ensuring that the stem is at the same depth as it was in the germination container.
- Water thoroughly: After transplanting, water the seedlings thoroughly to help them establish in their new environment. Ensure that the soil is evenly moist but not soggy. If using containers, allow excess water to drain out through the drainage holes.
- Provide support (if necessary): Depending on the variety and growth habit of your grape seedlings, they may require support to grow upward. Install stakes or trellises near the seedlings and gently tie the stems to them to encourage vertical growth.
Transplanting the germinated grape seeds into larger containers or the garden provides them with more space and resources to grow and thrive. In the next step, we will discuss the essential care needed to maintain healthy grape seedlings.
Step 7: Maintaining Grape Seedlings
After transplanting your germinated grape seeds into larger containers or the garden, it’s important to provide consistent care to ensure the healthy growth of the seedlings. Follow these steps to maintain your grape seedlings:
- Water regularly: Keep the soil evenly moist but not waterlogged. Check the moisture level frequently and water the seedlings when the top inch of soil feels dry. Water at the base of the plants to avoid wetting the leaves, which can lead to fungal diseases.
- Provide adequate sunlight: Grape seedlings require at least 6-8 hours of direct sunlight daily to thrive. Ensure they are placed in a location that receives ample sunlight or provide supplemental artificial grow lights if growing them indoors.
- Apply mulch: Mulching around the base of the grape seedlings can help conserve moisture, suppress weeds, and maintain a more stable soil temperature. Apply a layer of organic mulch, such as straw or wood chips, but keep it a few inches away from the stems to prevent excess moisture retention and potential rot.
- Support vertical growth: As the grape seedlings grow, continue to provide support for their vertical growth. Secure the stems to trellises or stakes to guide them upward and prevent them from sprawling on the ground.
- Fertilize appropriately: Once the seedlings have established and started to grow, provide them with a balanced fertilizer specifically formulated for grapes or general-purpose fertilizer. Follow the package instructions for application rates and frequency.
- Prune if necessary: As the seedlings develop, monitor their growth and remove any weak or damaged branches. Prune the seedlings during the dormant season to shape their growth and promote healthier development.
- Monitor pests and diseases: Regularly inspect the grape seedlings for any signs of pests or diseases, such as aphids, powdery mildew, or fungal infections. If infestations or diseases are detected, take appropriate measures, such as using organic pest controls or consulting a gardening expert, to address the problem.
By ensuring proper watering, adequate sunlight, mulching, support for vertical growth, appropriate fertilization, pruning, and monitoring for pests and diseases, you can help your grape seedlings thrive. In the next step, we will explore the final stage of the grape growing journey – harvesting and enjoying the fruits of your labor.
Step 8: Harvesting and Enjoying Grapes from Germinated Seeds
After dedicating time and effort to grow grape seedlings from germinated seeds, the rewarding moment arrives when you can finally harvest and enjoy the bountiful grapes. Follow these steps to ensure a successful grape harvest:
- Monitor ripening: Keep a close eye on the grape clusters as they mature. Different grape varieties have varying ripening times, so consult the specific variety’s information to determine when they are ready for harvest.
- Check for color and sweetness: Grapes change color as they ripen, transitioning from green to various shades of red, purple, or green depending on the variety. Additionally, taste a few grapes to assess their sweetness. The grapes should have a balanced and desirable level of sweetness before harvest.
- Harvest carefully: When the grapes are ripe, use a sharp pair of pruning shears or scissors to cut the entire cluster from the vine. Be gentle to avoid any damage to the plant or grapes. Place the clusters in a basket or container, being careful not to crush or bruise the grapes.
- Store properly: If you don’t plan to consume the grapes immediately, store them in a cool and humid place, such as the refrigerator or a root cellar. Place the clusters in a breathable bag or wrap them in a damp paper towel to preserve their freshness and prevent dehydration.
- Enjoy the fruits of your labor: Once harvested, grapes can be enjoyed in various ways. Eat them fresh or use them in salads, desserts, juices, or even in winemaking if you have grown a grape variety suitable for winemaking. Indulge in the delicious flavors of your homegrown grapes!
- Save seeds for future planting: If you discover a particularly delightful grape variety from your germinated seeds, consider saving some of the seeds for future planting. Rinse and dry the seeds thoroughly before storing them in a cool and dry place until the next growing season.
Harvesting and enjoying the grapes from your germinated seeds is the culmination of your gardening journey. savor the flavors and share the fruits of your labor with family and friends. Congratulations on successfully growing grapes from seed!
Conclusion
Growing grapes from germinated seeds is a rewarding and fulfilling experience for any edible gardening enthusiast. Although it may require patience and attentive care, the journey from seed to fruitful vine is well worth the effort. By following the step-by-step process outlined in this guide, you can successfully germinate grape seeds and witness the transformation of those seeds into thriving grapevine seedlings.
Remember, germinating grape seeds allows you to explore different grape varieties and potentially discover unique flavors and characteristics. While not all seeds may successfully germinate or produce the exact traits of the parent plant, the element of surprise adds excitement and intrigue to the process.
From gathering grape seeds to preparing them for germination, creating the ideal germination environment, planting the seeds, caring for the germinating seedlings, transplanting them, and maintaining their growth, each step plays a crucial role in the overall success of your grape-growing journey.
Ultimately, the joy of growing grapes from germinated seeds culminates in the moment of harvest. As you pluck ripe, luscious grapes from your own vines, the satisfaction and pride will be immeasurable. Whether you decide to enjoy the grapes fresh, turn them into delectable treats, or even experiment with winemaking, the choice is yours to savor the fruits of your labor.
So, whether you’re a seasoned gardener or a beginner with a green thumb, take the plunge and explore the world of growing grapes from germinated seeds. Nurture your grape seedlings, witness their growth, and delight in the delicious rewards that await you. Happy gardening!