Home>Gardening Basics>Understanding Soil>How To Add Calcium To Soil

Understanding Soil
How To Add Calcium To Soil
Published: February 6, 2024
Learn how to increase calcium levels in your soil and improve plant health with our comprehensive guide on understanding soil and adding calcium to it.
(Many of the links in this article redirect to a specific reviewed product. Your purchase of these products through affiliate links helps to generate commission for Chicagolandgardening.com, at no extra cost. Learn more)
Table of Contents
- Introduction
- Understanding Calcium Deficiency in Soil
- Testing Soil for Calcium Levels
- Natural Sources of Calcium for Soil
- Adding Lime to Increase Soil Calcium
- Using Gypsum to Add Calcium to Soil
- Incorporating Eggshells as Calcium Amendments
- Mulching with Calcium-Rich Materials
- Organic Fertilizers to Improve Soil Calcium
- Conclusion
Introduction
Welcome to this comprehensive guide on how to add calcium to soil. Calcium is an essential nutrient for plant growth and plays a crucial role in maintaining soil health. However, soils can sometimes become deficient in calcium, leading to various issues such as poor root development, stunted growth, and increased susceptibility to diseases. Therefore, it’s important to understand how to diagnose calcium deficiency in soil and how to effectively increase its levels.
Calcium deficiency in soil can occur due to various reasons, including leaching, acidic soils, excessive rainfall, or certain soil types that naturally lack calcium. Detecting this deficiency early on is vital to prevent long-term damage to plants and ensure optimal growth. In this guide, we will explore different methods to test soil for calcium levels, as well as natural sources and amendments that can be used to increase calcium content in the soil.
The key to successfully adding calcium to soil lies in selecting the right amendments and incorporating them properly. By following the techniques outlined in this guide, you will be able to supplement your soil with the necessary calcium and create an environment that promotes healthy plant growth. So, let’s dive into the world of soil calcium and learn how to give your plants the nutrients they need for thriving.
Understanding Calcium Deficiency in Soil
Calcium is one of the essential nutrients required for proper plant growth and development. It plays a vital role in plant cell structure, enzyme activation, nutrient uptake, and overall plant health. When there is a deficiency of calcium in the soil, plants can struggle to access this crucial nutrient, which can lead to a range of problems.
One of the most common signs of calcium deficiency in plants is the development of nutrient deficiencies in leaves. This can manifest as yellowing or browning of leaf margins, stunted growth, and distorted or wilted leaves. Calcium deficiency can also result in weak stems, reduced root growth, and increased susceptibility to diseases and pests.
Understanding the factors that can contribute to calcium deficiency in soil is essential for effective remediation. Some common causes include leaching, where calcium is washed away from the soil by excessive rainfall or irrigation. Acidic soils can also hinder calcium availability, as high levels of acidity can prevent plants from taking up calcium efficiently. Additionally, certain soil types, such as sandy or loamy soils, may naturally have lower levels of calcium.
Soil pH plays a significant role in calcium availability. When soil pH is too low (acidic), calcium may become locked up in the soil and unavailable to plants. Conversely, when soil pH is too high (alkaline), calcium can also become less accessible to plants. Therefore, maintaining the optimal pH range for your specific plants is crucial to ensure proper calcium uptake.
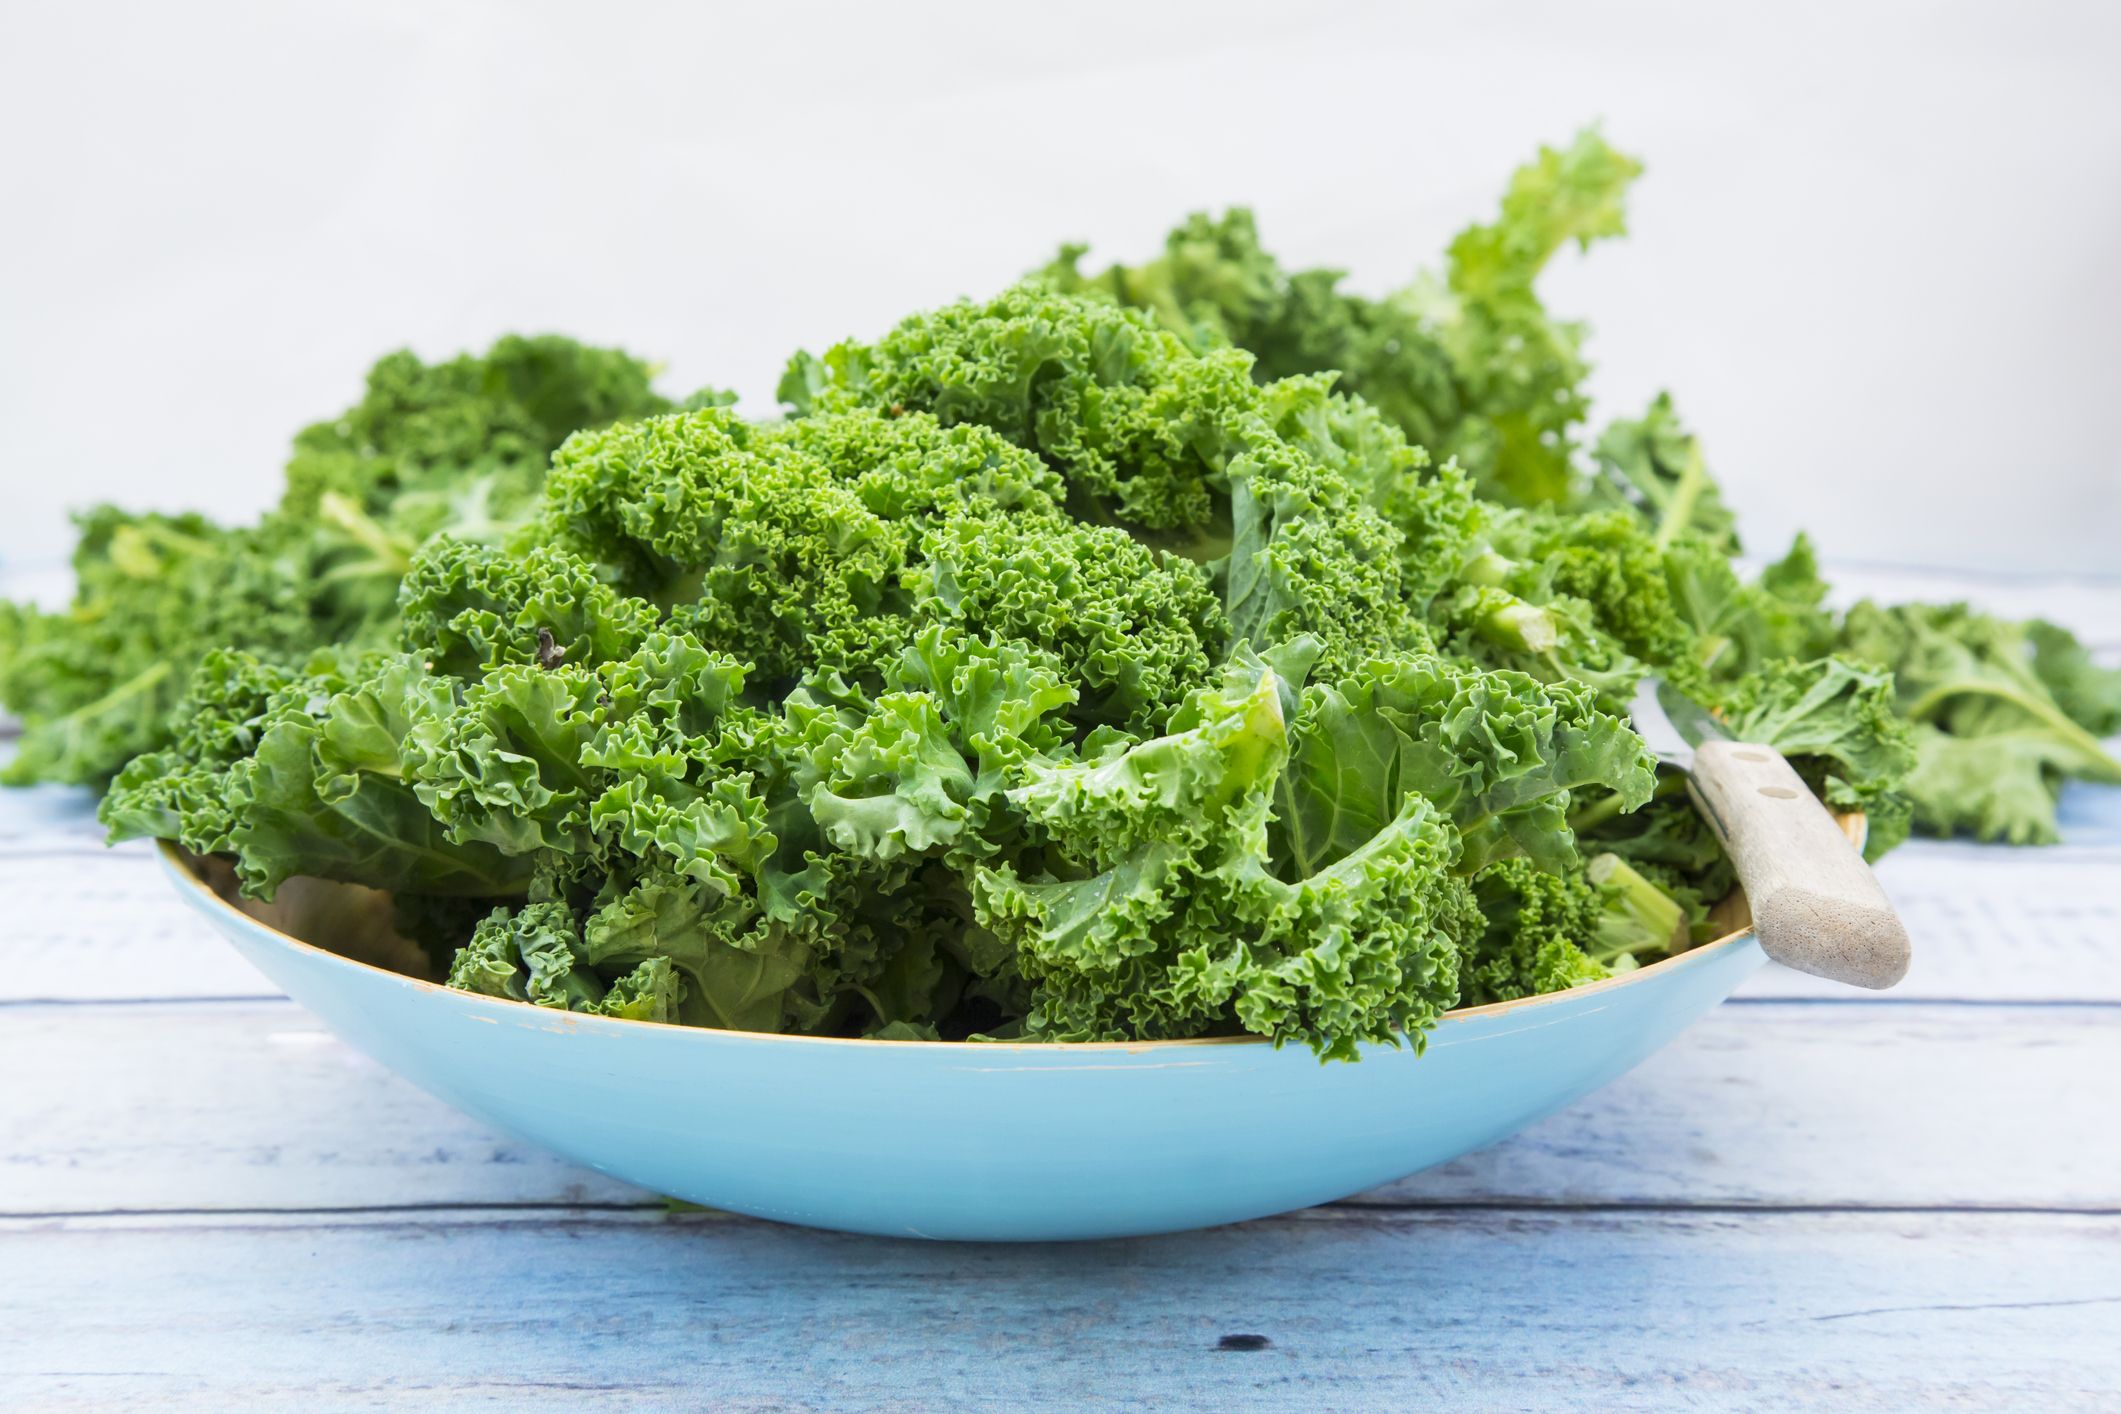
It’s important to note that calcium deficiency in soil is not solely a concern for calcium-loving plants like tomatoes and peppers. While these plants may show more obvious symptoms of calcium deficiency, it can impact a wide range of plants, including fruits, vegetables, ornamentals, and even lawn grasses.
In the next section, we will explore the various methods available for testing the calcium levels in your soil. By understanding how to diagnose calcium deficiency, you can take appropriate measures to correct the imbalance and provide your plants with the nutrients they need to flourish.
Testing Soil for Calcium Levels
Before implementing any amendments or treatments, it’s crucial to accurately assess the calcium levels in your soil. Soil testing allows you to determine the current calcium content and identify any deficiencies or excesses.
There are several methods available for testing soil calcium levels. The most common approach is to send a soil sample to a reputable soil testing laboratory. They will conduct a comprehensive analysis that includes calcium and other nutrient levels, as well as soil pH and other important parameters. This information will enable you to make informed decisions about how much calcium your soil needs and what amendments or treatments can help you achieve the desired levels.
If you prefer a DIY approach, you can use a soil testing kit available at garden centers or online. These kits typically provide a simple and quick way to assess the pH level and basic nutrient content of your soil, including calcium. However, keep in mind that the accuracy of these kits may vary, and they may not provide as detailed information as a professional laboratory analysis.
When collecting soil samples, it’s important to follow the instructions provided by the testing kit or laboratory. Typically, you will need a clean gardening trowel or soil probe to collect multiple samples from the desired area. Mix the samples in a clean container, remove any debris, and allow the soil to air dry. Once dry, transfer the soil to a sample bag or airtight container and label it with the necessary information.
It’s generally recommended to collect samples from multiple areas within your garden or yard to account for any variations in soil composition. This will provide a more representative picture of the overall calcium levels in your soil.
Once you have received your soil test results, pay close attention to the calcium levels. The results may indicate whether your soil is deficient, sufficient, or surplus in calcium. With this information, you can determine the appropriate amendments or treatments to correct any imbalances and optimize the calcium levels for your plants’ needs.
In the following sections, we will explore different natural sources and methods for adding calcium to your soil. By addressing calcium deficiencies promptly, you can create an environment that promotes healthy plant growth and maximizes yield.
Natural Sources of Calcium for Soil
Nature provides us with various natural sources of calcium that can be utilized to increase calcium levels in soil. These sources not only help correct deficiencies but also improve overall soil structure and nutrient availability.
One of the most accessible and readily available sources of calcium is agricultural limestone, also known as calcitic or dolomitic lime. Limestone is rich in calcium carbonate and can effectively raise soil pH while providing a slow-release source of calcium. It is commonly used in gardens and agricultural fields to maintain optimal calcium levels and improve soil fertility.
Eggshells are another natural source of calcium that can be utilized to amend soil. Crushed eggshells can be sprinkled directly onto the soil surface or added to compost. Over time, they will break down, releasing calcium and other beneficial minerals into the soil. It’s important to crush the eggshells finely for quicker decomposition and effective calcium release.
Seashells and shellfish meal are also rich sources of calcium. These can be ground into a powder and incorporated into the soil or used as a top dressing. Apart from providing calcium, seashells can improve soil drainage and add trace minerals to enrich the soil.
Gypsum, a naturally occurring mineral, contains calcium and sulfur. It not only adds calcium to the soil but can also improve soil structure and reduce compaction. Gypsum is particularly useful in clay soils due to its ability to encourage better water penetration and root development.
Using bone meal in soil is another effective way to increase calcium levels. Bone meal is made from finely ground animal bones and is a great source of calcium, phosphorus, and trace minerals. It can be broadcasted or worked into the soil to release nutrients over time.
It’s worth mentioning that organic matter, such as compost and manure, can also contribute to soil calcium levels. While they may not be as concentrated as other calcium sources, they improve overall soil fertility and structure, allowing for better nutrient uptake.
By incorporating these natural sources of calcium into your soil, you can gradually improve calcium levels and provide a sustainable source of this essential nutrient for your plants.
In the next sections, we will delve into specific methods and techniques for adding these natural calcium amendments to your soil.
Adding Lime to Increase Soil Calcium
One of the most commonly used methods to increase soil calcium levels is by adding lime. Lime, also known as agricultural limestone, is a calcium-rich material that helps neutralize soil acidity and provides a slow-release source of calcium.
When it comes to lime, there are two main types: calcitic lime and dolomitic lime. Calcitic lime is primarily composed of calcium carbonate, while dolomitic lime contains both calcium carbonate and magnesium carbonate. The choice between the two depends on your soil’s pH and nutrient needs.
Prior to adding lime, it is crucial to conduct a soil test to determine the correct amount to apply. The test results will indicate the soil’s pH and the recommended application rate for raising calcium levels. Applying too much lime can lead to excessively alkaline soil, while under-application may not effectively correct calcium deficiency.
Lime can be applied to the soil using various methods. For small garden beds, it can be evenly spread by hand and then incorporated into the top few inches of soil using a garden fork or tiller. Larger areas, such as lawns or agricultural fields, may require the use of a spreader for uniform coverage.
It’s important to note that lime takes time to break down and release calcium into the soil. Therefore, it’s recommended to apply lime several months before planting or incorporating it into the soil during fall or winter for spring planting.
Regular soil tests should be conducted to monitor the pH and calcium levels over time. Based on the test results, additional lime applications may be needed to maintain optimal calcium levels in the soil.
Incorporating lime into your soil is an effective method to increase calcium levels and improve overall soil fertility. However, it’s essential to carefully calculate the right application rate and follow proper soil testing guidelines to prevent overuse and potential harm to your plants.
In the following sections, we will explore other methods, such as using gypsum and incorporating eggshells, to add calcium to your soil and address calcium deficiency effectively.
Using Gypsum to Add Calcium to Soil
Gypsum is a natural mineral that can be used to increase calcium levels in soil. It is particularly beneficial for soils with high clay content or those that suffer from compaction issues.
One of the significant advantages of gypsum is its ability to improve soil structure. It works by breaking up compacted soil particles, allowing for better water drainage and root penetration. By improving soil structure, gypsum enhances overall nutrient availability, including calcium.
Gypsum contains calcium sulfate, which provides an excellent source of calcium. When applied to the soil, gypsum dissolves and releases calcium ions, making them readily available for plant uptake.
The application of gypsum should be based on a soil test to determine the appropriate amount needed. It’s essential to follow the recommended application rate to avoid overuse, as excessive amounts of gypsum can lead to imbalanced nutrient ratios and negatively impact plant growth.
Gypsum can be spread on the soil surface and then lightly incorporated into the top few inches with a rake or garden fork. It’s best to apply gypsum several months before planting or during fall or winter, allowing it sufficient time to break down and release calcium into the soil.
It’s important to note that gypsum is not a suitable option for all soil types. It is most effective in soils with high clay content since clay particles tend to compact easily. Sandy soils, which already have good drainage, may not benefit as much from gypsum application.
Regular soil testing should be conducted to monitor the pH and calcium levels in the soil. Based on the test results, additional gypsum applications may be necessary to maintain optimum calcium levels.
Using gypsum as a calcium amendment can improve soil structure, promote nutrient availability, and increase calcium levels for healthier plant growth. However, it’s essential to assess soil conditions and employ gypsum as a suitable option for the specific needs of your soil.
In the following sections, we will explore other natural sources, such as eggshells and calcium-rich mulch, that can also be utilized to increase calcium levels in soil.
Incorporating Eggshells as Calcium Amendments
Eggshells are a fantastic natural source of calcium that can be incorporated into the soil to improve calcium levels. Instead of throwing away your eggshells, you can repurpose them to benefit your garden.
To utilize eggshells as a calcium amendment, start by collecting and thoroughly rinsing them to remove any residue. Once clean, you have a few options for incorporating them into the soil.
One method is to crush the eggshells into small pieces. You can use a mortar and pestle, a rolling pin, or even a blender to grind them into a fine powder. The finer the powder, the faster it will break down and release calcium into the soil.
Once the eggshells are crushed, you can sprinkle them directly onto the soil surface around your plants. Lightly work them into the top layer of soil using a garden fork or rake. Alternatively, you can add the crushed eggshells to your compost pile, allowing them to decompose naturally and enrich the compost with calcium.
Over time, the eggshells will break down, releasing calcium and other beneficial minerals into the soil. This gradual release ensures a steady supply of calcium for your plants, promoting healthy growth and preventing calcium deficiency.
Eggshells not only provide calcium but also offer other benefits to the soil. They can help improve soil structure, enhance water retention and airflow, and deter pests like slugs and snails that dislike the rough texture of eggshells.
It’s worth noting that the calcium release from eggshells is relatively slow compared to other amendments. Therefore, it’s recommended to incorporate them into the soil well in advance of planting. This allows sufficient time for the eggshells to break down and release their calcium content.
Incorporating eggshells as a calcium amendment is an easy and cost-effective method to boost soil calcium levels naturally. It’s a great way to utilize a common household waste product and support the health and vitality of your plants.
In the next section, we will explore another approach to increase soil calcium by mulching with calcium-rich materials.
Mulching with Calcium-Rich Materials
Mulching your soil with calcium-rich materials is an effective way to increase calcium levels and improve soil fertility. Calcium-rich mulches not only add a valuable nutrient to the soil but also provide numerous other benefits for plant health and soil structure.
There are several options for calcium-rich mulch materials that you can use in your garden. One popular choice is using crushed oyster shells or clamshells. These shells are rich in calcium carbonate and can slowly release calcium into the soil as they break down over time.
Another calcium-rich mulch option is using agricultural by-products like calcitic or dolomitic limestone screenings. These screenings are finely crushed limestone and contain high levels of calcium carbonate. They can serve as an excellent mulch material, releasing calcium into the soil gradually.
Applying a layer of calcium-rich mulch around your plants offers various benefits. First and foremost, it helps regulate soil temperature and moisture levels, reducing water evaporation and protecting plants from extreme temperature fluctuations. Mulching also suppresses weed growth, minimizing competition for nutrients and water.
Moreover, calcium-rich mulches can improve soil structure by promoting better water infiltration and aeration. They act as a barrier between the soil and the environment, preventing soil erosion and compaction. This facilitates root development and nutrient uptake, leading to healthier and more robust plants.
To mulch with calcium-rich materials, spread a layer of the chosen mulch around your plants, ensuring a thickness of around 2-4 inches. Leave a small gap around the plant stem to prevent moisture buildup and potential rotting. Replenish the mulch as needed to maintain the desired thickness.
It’s important to note that the calcium release from mulches might be slower compared to other amendments. Therefore, regular soil testing is recommended to monitor calcium levels and make adjustments if necessary. Additionally, avoid piling the mulch directly against plant stems to prevent potential disease or pest issues.
Mulching with calcium-rich materials not only improves calcium availability but also provides numerous benefits for soil health and plant growth. By incorporating this technique into your gardening practices, you can create an enriched and optimal growing environment for your plants.
In the next section, we will explore the use of organic fertilizers to improve soil calcium levels and promote overall soil fertility.
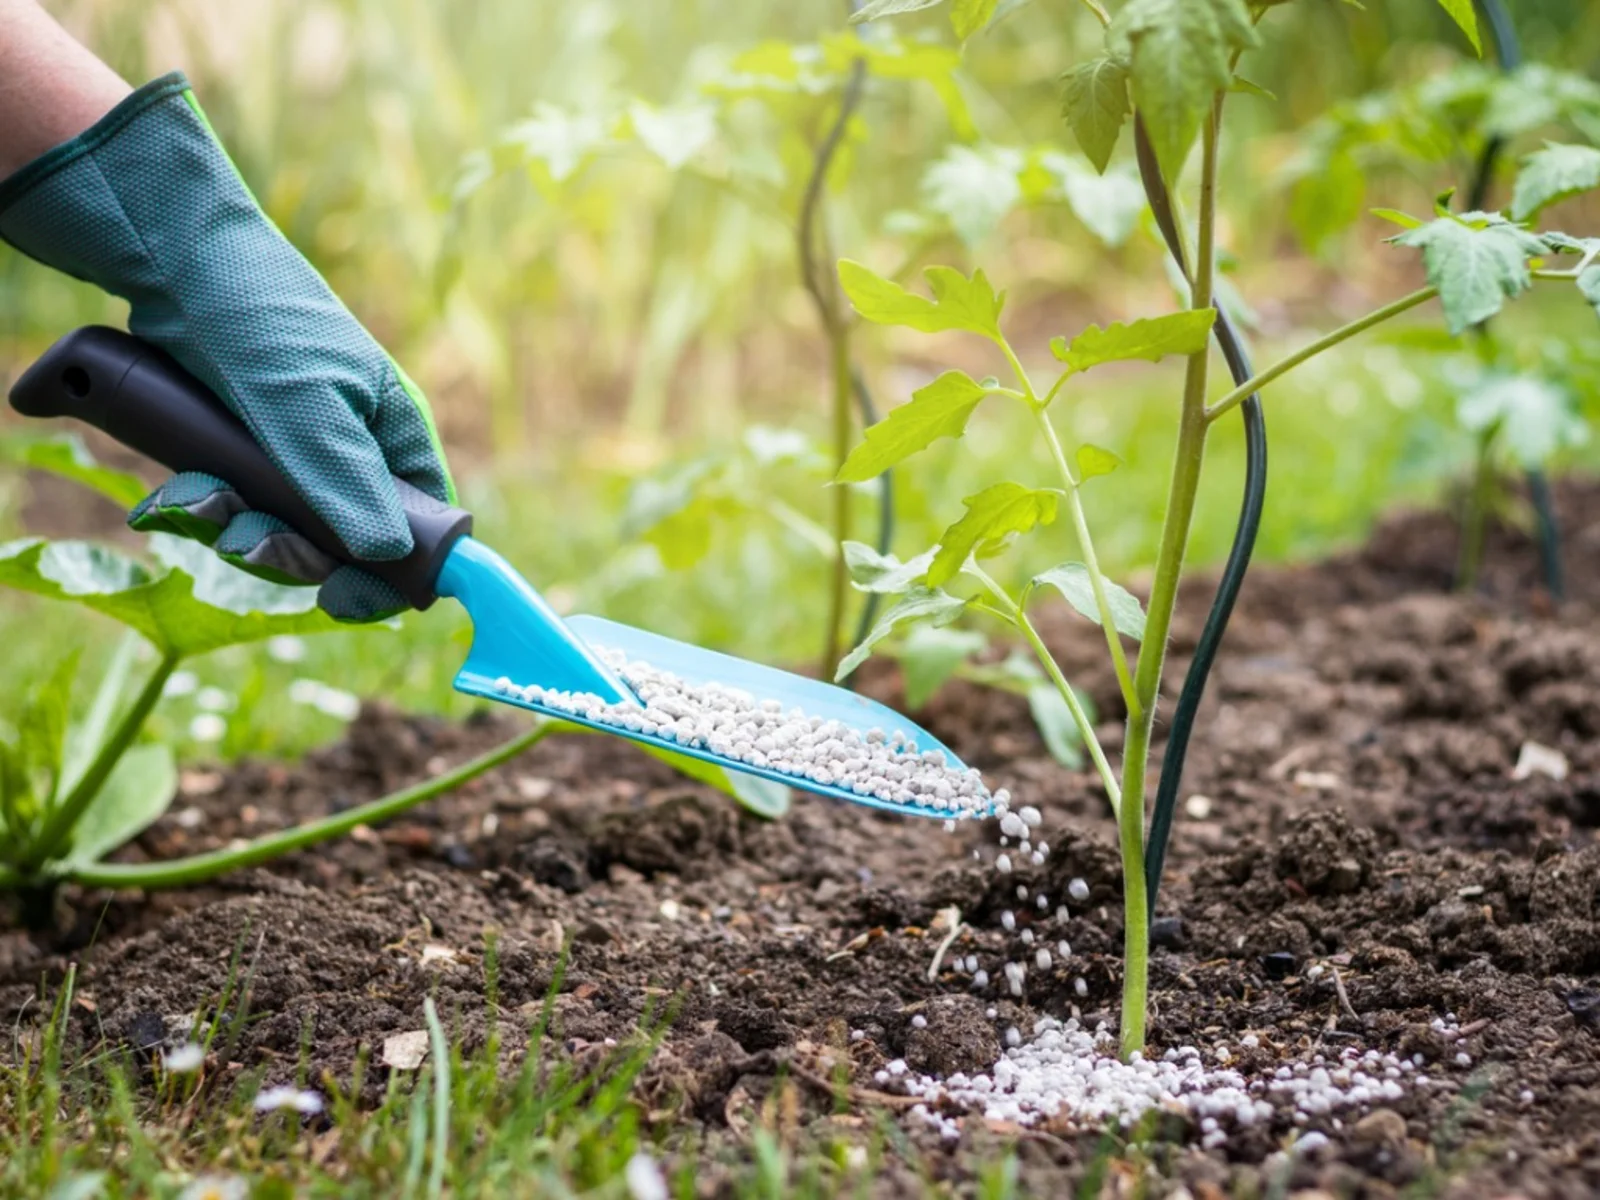
Organic Fertilizers to Improve Soil Calcium
Organic fertilizers can be valuable tools for increasing soil calcium levels while enhancing overall soil fertility. These natural amendments not only provide calcium but also contribute to the long-term health and sustainability of the soil.
One type of organic fertilizer that can help improve soil calcium is bone meal. Bone meal is made from finely ground animal bones, which are rich in calcium and other minerals. When applied to the soil, bone meal gradually breaks down, releasing calcium and other essential nutrients that are readily available for plant uptake.
Another organic fertilizer option is rock phosphate. Rock phosphate contains calcium phosphate, a compound that provides calcium for plants along with phosphorus, another crucial nutrient. The slow-release nature of rock phosphate ensures a continuous supply of calcium to plant roots over an extended period.
In addition to bone meal and rock phosphate, there are organic fertilizers derived from plant-based materials that can increase soil calcium levels. For instance, compost and well-decomposed manure contain a range of essential nutrients, including calcium. These organic matter additions not only provide calcium but also improve soil structure, water retention, and nutrient availability.
When using organic fertilizers to improve soil calcium, it’s essential to follow the recommended application rates and timing instructions provided on the packaging. Applying excessive amounts of fertilizers can lead to nutrient imbalances or potential damage to plants.
As with any amendments, regular soil testing is crucial to monitor calcium levels and make necessary adjustments. Understanding the specific calcium requirements of your plants will help you determine the appropriate organic fertilizers to use and when to apply them.
To incorporate organic fertilizers into your soil, spread them evenly around the base of your plants. Gently work them into the topmost layer of soil using a garden fork or rake. Water the area thoroughly after application to help the nutrients penetrate the soil and become available to plant roots.
It’s important to note that organic fertilizers may take some time to break down and release their nutrients. Therefore, these products are best applied well in advance of planting or during the growing season to allow for proper nutrient availability.
By incorporating organic fertilizers into your gardening practices, you can improve soil calcium levels while promoting overall soil health and fertility. The use of these natural amendments aligns with sustainable gardening practices and can lead to healthier, more vibrant plants.
Conclusion
Understanding how to add calcium to soil is crucial for promoting healthy plant growth and maintaining optimal soil health. Calcium deficiency in soil can lead to various issues, including poor root development, stunted growth, and increased susceptibility to diseases. It’s essential to address calcium deficiencies promptly to ensure the long-term success of your plants.
In this comprehensive guide, we explored various methods to increase soil calcium levels. We learned about the importance of testing soil for calcium and other nutrient levels, using soil testing kits or professional laboratory analysis. This step is crucial for accurately assessing the calcium deficiency and determining the appropriate remediation methods.
We also explored natural sources of calcium for soil, such as limestone, gypsum, eggshells, and calcium-rich mulches. These organic materials provide a sustainable way to add calcium to the soil while enhancing soil structure and nutrient availability.
Furthermore, we discussed the usage of organic fertilizers like bone meal and rock phosphate to improve soil calcium levels. These natural amendments not only supply calcium but also contribute to the overall health and sustainability of the soil.
By incorporating these methods and materials into your gardening practices, you can create an environment that supports optimal plant growth and maximizes yield. Remember to always consider the specific needs of your plants and conduct regular soil testing to monitor calcium levels and make necessary adjustments.
Adding calcium to soil is a continuous process, and it requires attention and ongoing care. By staying proactive and addressing calcium deficiencies, you can ensure the long-term health and vitality of your garden. So, get started with these techniques, and watch your plants thrive in calcium-rich soil!