Home>Gardening Techniques>DIY Projects>How To Make A Bonsai Avocado Tree

DIY Projects
How To Make A Bonsai Avocado Tree
Modified: January 22, 2024
Learn how to create your own Bonsai Avocado Tree with this easy DIY project. Enhance your gardening skills and enjoy the beauty of nature at home.
(Many of the links in this article redirect to a specific reviewed product. Your purchase of these products through affiliate links helps to generate commission for Chicagolandgardening.com, at no extra cost. Learn more)
Table of Contents
Introduction:
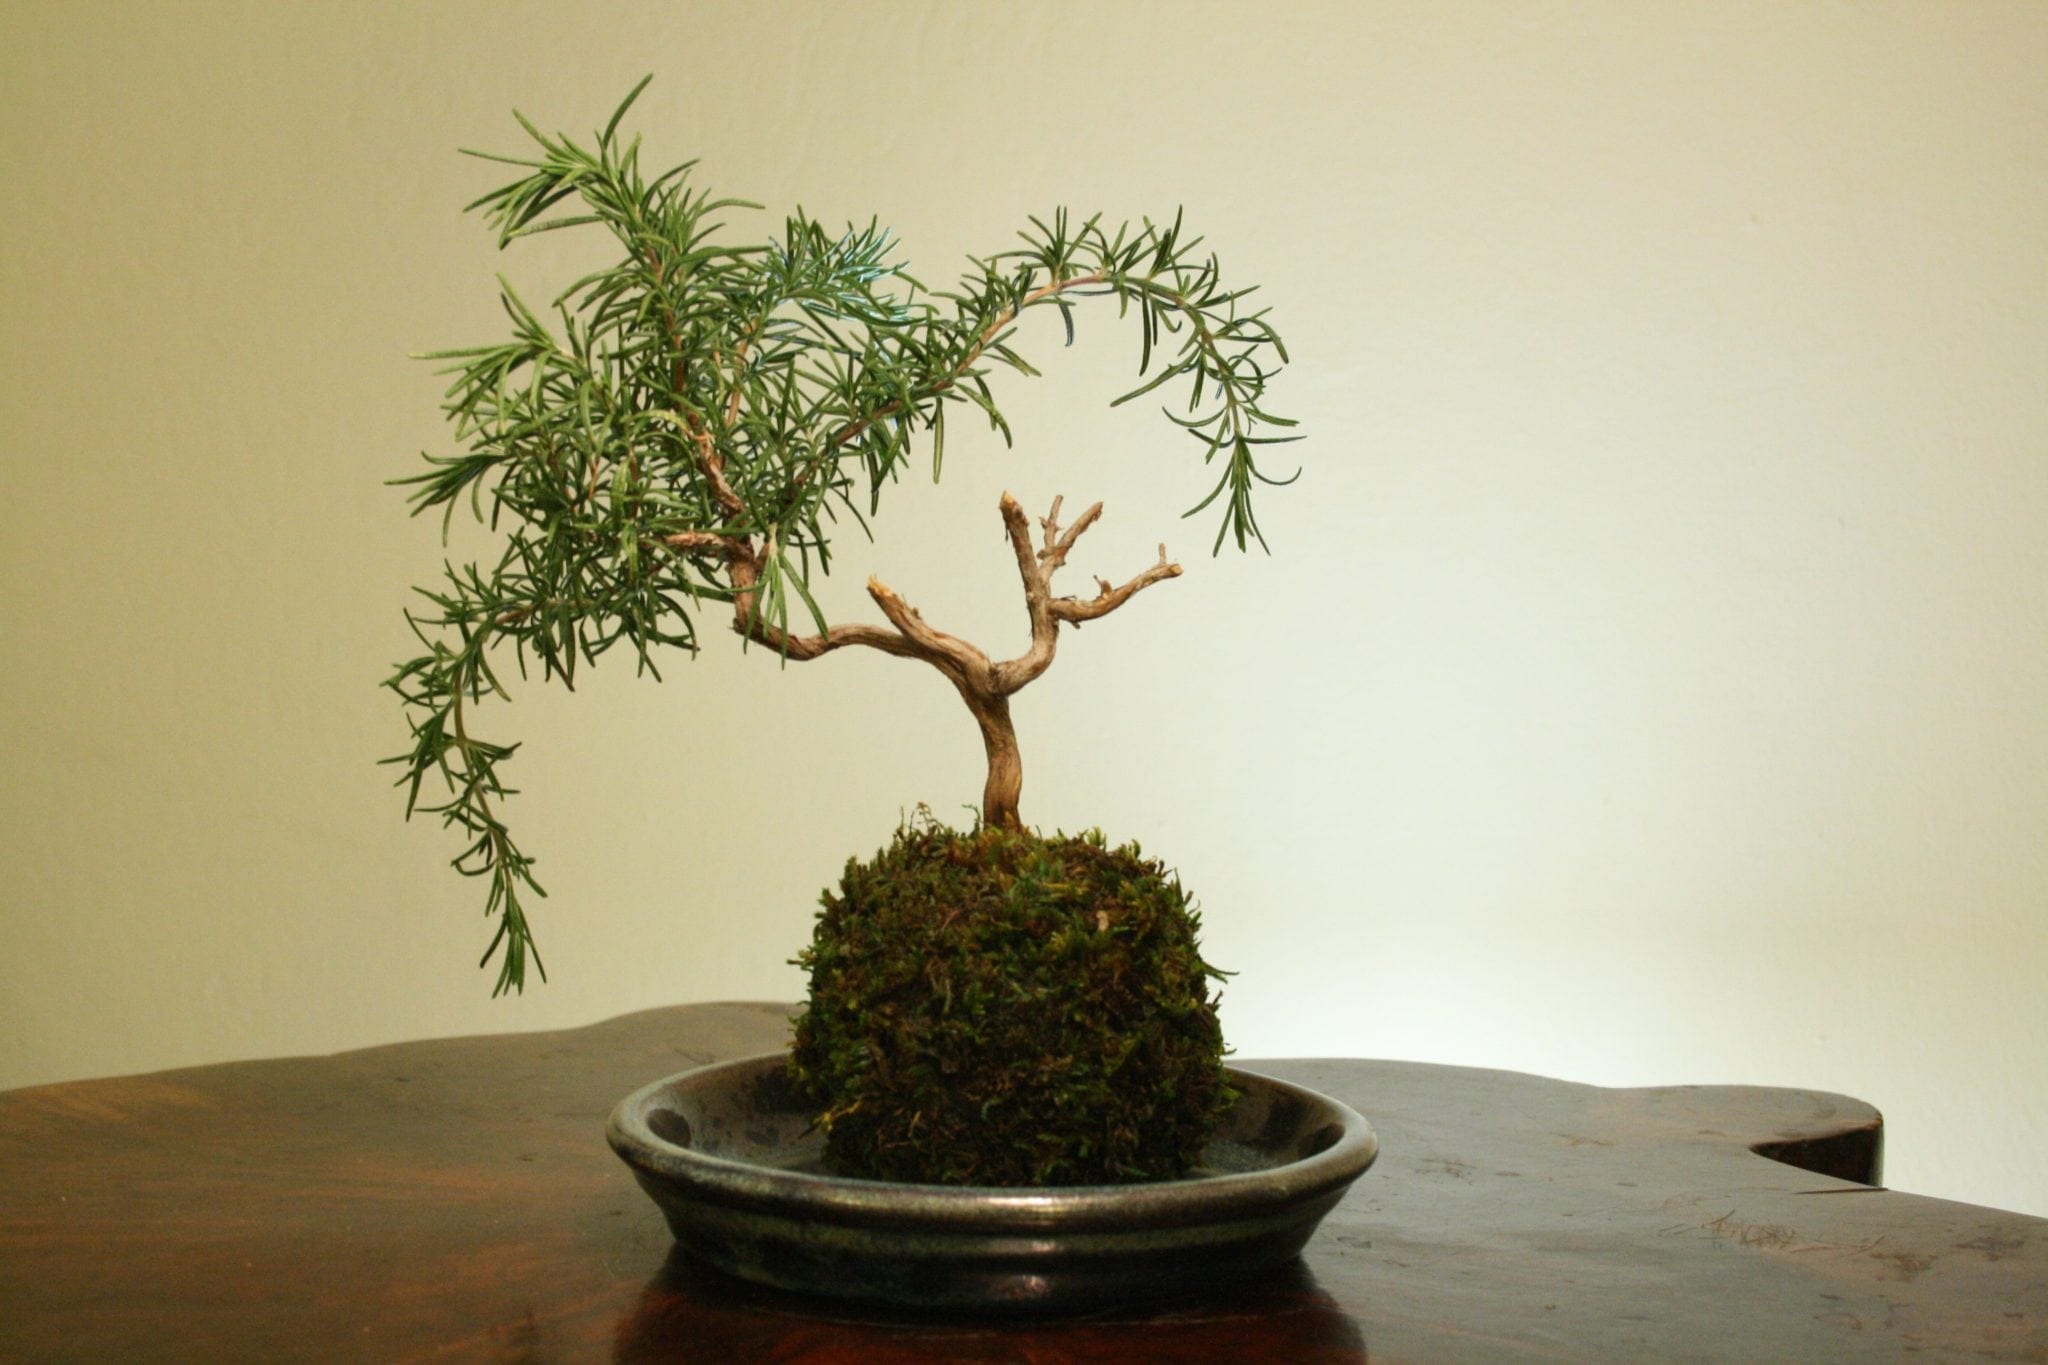
Welcome to the wonderful world of DIY bonsai projects! If you have a love for gardening and a passion for creating unique and artistic displays, then making a bonsai avocado tree might just be the perfect project for you. Bonsai, which translates to “tray planting” in Japanese, is the art of growing miniature trees in containers. It requires patience, creativity, and a bit of horticultural knowledge, but the end result is a stunning work of living art.
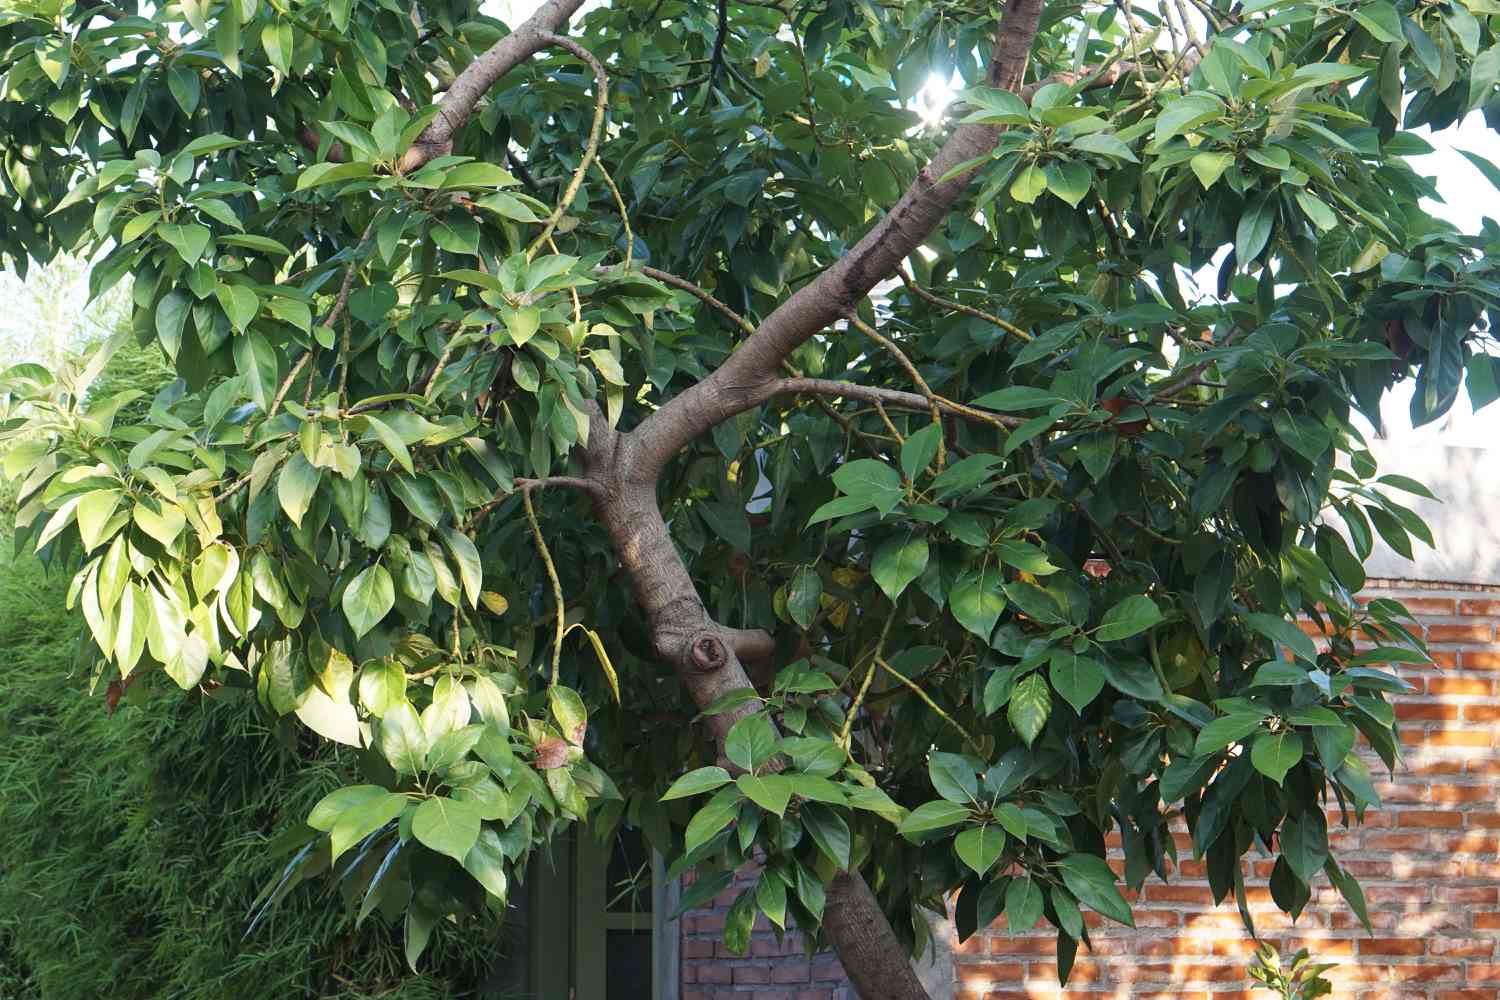
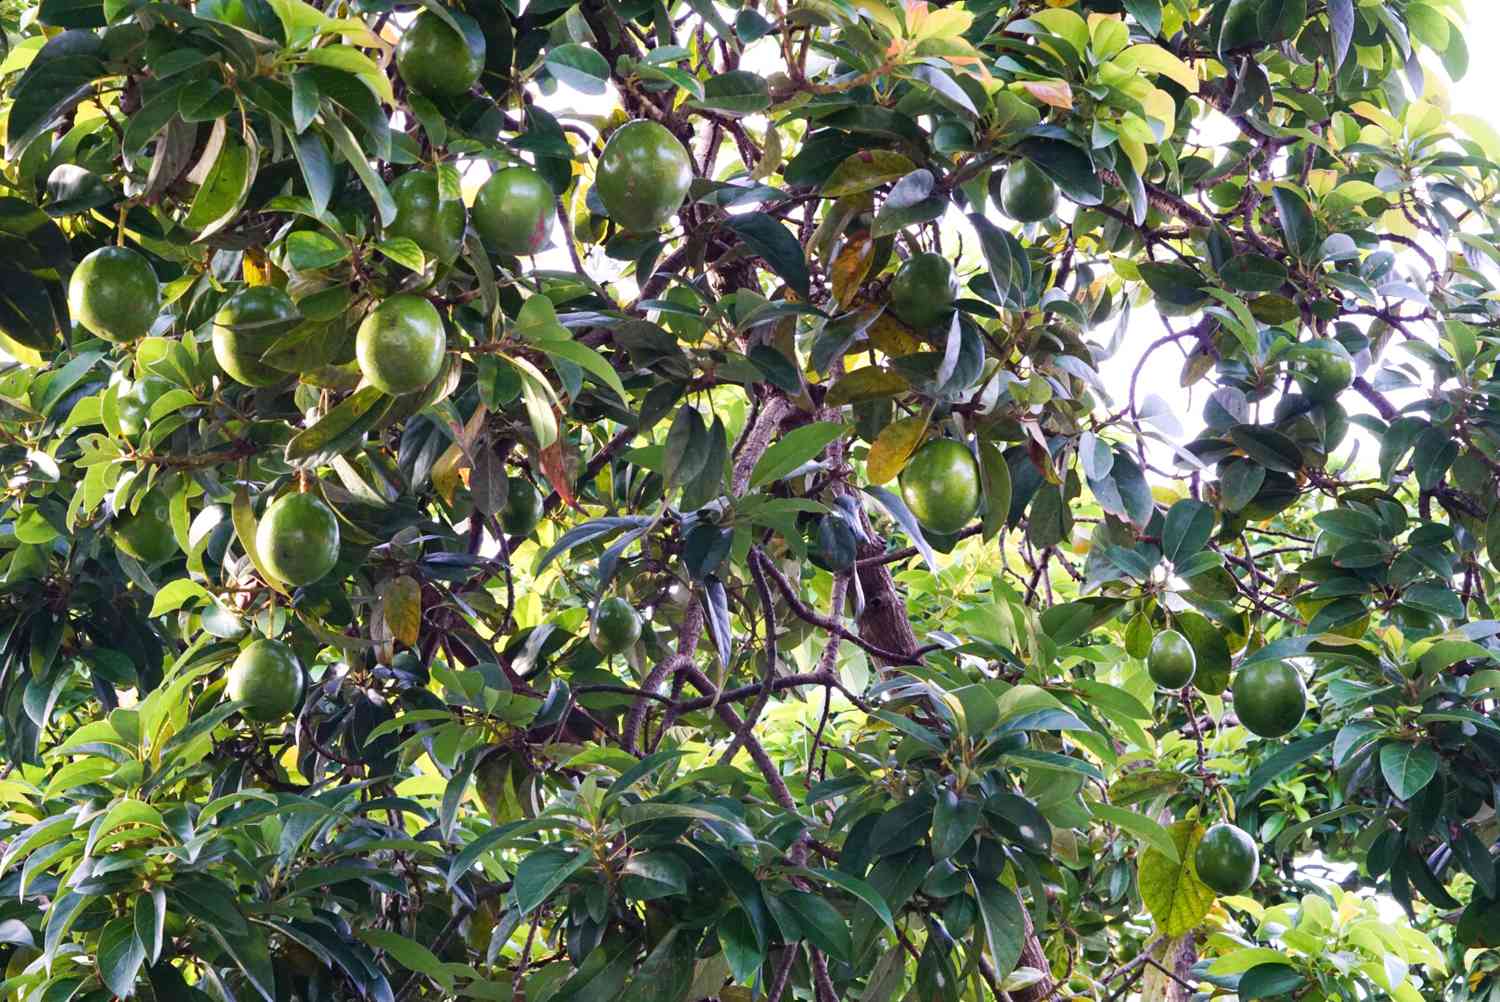
Avocado trees, with their lush green foliage and delicious fruit, make an excellent choice for a bonsai project. The process of transforming an avocado seed into a bonsai tree is not only rewarding but also educational. You get to witness the life cycle of a plant, from germination to maturity, all within the confines of a beautiful and carefully shaped container.
In this article, we will guide you through the step-by-step process of making a bonsai avocado tree. We will cover everything from selecting the right avocado seed to nurturing and shaping the tree into a work of art. Whether you are a seasoned bonsai enthusiast or a beginner looking to embark on your first project, this guide is here to help you every step of the way.
So, roll up your sleeves, get your gardening tools ready, and let’s embrace the art of bonsai by creating your very own avocado masterpiece!
Step 1: Choosing the Right Avocado Seed
The first step in creating a bonsai avocado tree is selecting the right avocado seed. While you may be tempted to use the seed from your last delicious avocado, it’s important to choose a seed that is suitable for bonsai cultivation.
Here are some key factors to consider when choosing an avocado seed:
- Maturity: Select a seed that has fully ripened. Look for a dark brown or black skin color that indicates maturity. An immature seed may not sprout or grow properly.
- Size: Choose a medium-sized seed that is not too large or too small. Seeds that are too large may take longer to germinate, while smaller seeds may lack the necessary nutrients for growth.
- Shape: Look for a seed that is symmetrical and without any major deformities. This will ensure a more aesthetically pleasing bonsai tree in the future.
Once you’ve selected the perfect avocado seed, gently remove it from the fruit, being careful not to damage the seed itself. Rinse off any excess flesh or residue and pat it dry with a clean cloth.
Keep in mind that avocado seeds can vary in their viability, so it’s a good idea to choose a few seeds to increase your chances of success. Not all seeds will sprout, but by selecting multiple seeds, you increase your chances of obtaining at least one healthy seedling.
Now that you have the perfect avocado seed, it’s time to move on to the next step: preparing the seed for germination.
Step 2: Preparing the Seed for Germination
Now that you have selected a suitable avocado seed for your bonsai project, it’s important to prepare the seed for germination. By taking the time to properly prepare the seed, you will increase the chances of successful germination and ensure healthy growth for your bonsai avocado tree.
Here are the steps to prepare the avocado seed for germination:
- Clean the Seed: Start by thoroughly cleaning the seed to remove any remaining flesh. Gently rub the seed with a soft brush or cloth to remove any debris. This will help prevent the growth of mold or fungi during the germination process.
- Soak the Seed: To help speed up the germination process, it’s recommended to soak the seed in water. Fill a glass or bowl with room temperature water and place the seed inside, making sure it is fully submerged. Allow the seed to soak for 24 to 48 hours.
- Remove the Outer Skin: After soaking, carefully remove the outer skin of the seed. You can do this by gently rubbing it with your fingers or using a soft cloth. Be sure not to remove the brown seed coat underneath.
- Identify the Top and Bottom: Look closely at the seed and identify which end is the top and which end is the bottom. The top end, also known as the ‘pointy end,’ is where the shoot will emerge, while the bottom end, or ‘flat end,’ is where the roots will develop.
- Prepare the Germination Medium: Fill a small container or seed tray with a well-draining germination medium, such as a mix of peat moss and perlite. Moisten the medium slightly, ensuring it is damp but not overly saturated.
- Plant the Seed: Gently place the avocado seed flat end down into the germination medium, burying it about an inch deep. Make sure the top of the seed is still exposed.
Now that the avocado seed is properly prepared and planted, you are ready to move on to the next step: germinating the seed.
Step 3: Germinating the Avocado Seed
With the avocado seed properly prepared, it’s time to move onto the exciting process of germination. This step is all about providing the right conditions for the seed to sprout and establish its root system. Follow these steps to successfully germinate your avocado seed:
- Provide Warmth: Avocado seeds thrive in warm temperatures. Place the container with the planted seed in a warm location, such as near a window with direct sunlight or on top of a heat mat set to a low temperature. The ideal temperature for germination is around 70-75°F (21-24°C).
- Keep Moist: It’s crucial to keep the germination medium moist, but not soaking wet. Check the moisture level regularly and mist the medium with water to maintain the right amount of dampness. Avoid overwatering, as it can lead to rotting.
- Be Patient: Germination can take anywhere from 2 to 8 weeks, so be patient and allow nature to take its course. During this time, monitor the seed periodically for any signs of sprouting.
- Watch for Sprouting: Eventually, you will notice the emergence of a small shoot from the top of the avocado seed. This is a sign that germination has occurred, and your bonsai avocado tree is on its way to life.
Once the seed has sprouted, it’s essential to provide adequate sunlight to promote healthy growth. Move the container to a bright location with indirect sunlight, or use artificial grow lights to ensure the seedlings receive sufficient light energy.
As the seedling grows, it will develop leaves and establish a root system within the germination medium. At this stage, you can begin transitioning your avocado seedling into a bonsai pot. But before that, make sure to learn about the next step: planting the seedling in a bonsai pot.
Step 4: Planting the Seedling in a Bonsai Pot
Now that your avocado seedling has sprouted and developed its first leaves and roots, it’s time to transfer it to a bonsai pot. This step is critical in shaping the long-term growth and aesthetic appeal of your bonsai avocado tree. Follow these steps to successfully plant your seedling in a bonsai pot:
- Select the Right Pot: Choose a bonsai pot that is proportionate to the size of your seedling. It should be shallow and have drainage holes to prevent waterlogging.
- Prepare the Potting Mix: Use a well-draining bonsai potting mix that is rich in organic matter. A mixture of akadama, pumice, and lava rock is commonly used for bonsai cultivation.
- Trim the Roots: Carefully remove the seedling from the germination medium and gently trim the roots to encourage compact growth. Be cautious not to damage the delicate roots.
- Position the Seedling: Place the seedling in the bonsai pot, positioning it slightly off-center to create an appealing design. Ensure that the roots are evenly spread out and in contact with the potting mix.
- Fill with Potting Mix: Carefully fill the gaps in the pot with the potting mix, gently pressing it down to secure the seedling in place. Leave a small space at the top to allow for watering.
- Water Thoroughly: After planting, give your bonsai avocado tree a thorough watering to ensure the potting mix is evenly moistened. Water until you see water flowing out of the drainage holes, indicating proper drainage.
Once your bonsai avocado tree is potted, place it in a location with bright, indirect sunlight. Rotate the pot regularly to ensure even growth and prevent the tree from leaning towards the light source.
Now that your avocado seedling is snugly planted in its bonsai pot, it’s time to focus on pruning and shaping to create the desired bonsai form. Read on to learn more about step 5: pruning and shaping the bonsai avocado tree.
Step 5: Pruning and Shaping the Bonsai Avocado Tree
Pruning and shaping are crucial steps in the development of a bonsai tree, including your bonsai avocado tree. By carefully pruning and shaping the branches and foliage, you can create the desired form and aesthetic appeal of your bonsai. Here’s how to prune and shape your bonsai avocado tree:
- Establish the Trunkline: Observe the growth of your avocado tree and select the strongest and most upright shoot as the future trunkline. This main branch will form the backbone of your bonsai tree’s structure.
- Remove Unwanted Shoots: Identify any unwanted shoots or branches that are growing too close to the trunk or crossing each other. Use a sterile bonsai pruning shear to carefully remove these shoots, ensuring clean and precise cuts.
- Create Branching Structure: To achieve a balanced and pleasing shape, encourage the growth of lateral branches. This can be done by pruning the top growth to redirect energy towards lower branches.
- Promote Ramification: As your bonsai avocado tree grows, regular pruning and pinching of the new growth will promote ramification, which is the development of a dense network of fine branches. This will give your tree a more mature and refined appearance.
- Wire and Shape: If necessary, you can use bonsai wire to gently guide the branches into the desired position. Avoid applying too much pressure to prevent branch breakage.
- Aim for Proportions: Consider the overall proportions and balance of your bonsai tree while pruning and shaping. Aim for a tapered trunk, well-distributed foliage, and an open crown to achieve a natural and aesthetically pleasing bonsai form.
Remember that pruning and shaping are ongoing processes in bonsai cultivation. Regularly monitor the growth of your bonsai avocado tree and make necessary adjustments to maintain its desired form. With time and patience, you will witness the transformation of your bonsai into a stunning work of art.
Now that you have expertly pruned and shaped your bonsai avocado tree, it’s time to focus on providing the right care to ensure its continued health and vitality. Read on to learn more about step 6: providing the right care for your bonsai avocado tree.
Step 6: Providing the Right Care for Your Bonsai Avocado Tree
Now that you have successfully pruned and shaped your bonsai avocado tree, it’s crucial to provide the right care to ensure its continued health and vitality. Bonsai trees require specific care guidelines to thrive in a containerized environment. Here are some essential care tips for your bonsai avocado tree:
- Watering: Proper watering is vital for the health of your bonsai. Check the soil regularly and water when the top layer feels slightly dry. Avoid overwatering, as it can lead to root rot. Allow the soil to drain well after watering.
- Fertilizing: Bonsai trees have limited access to nutrients, so regular fertilization is necessary. Use a balanced, slow-release bonsai fertilizer according to the manufacturer’s instructions. Apply fertilizer during the growing season to promote healthy growth and leaf development.
- Sunlight: Avocado trees love sunlight. Place your bonsai avocado tree in a location that receives at least 6 hours of direct or indirect sunlight per day. If necessary, supplement with artificial grow lights to ensure adequate light exposure.
- Temperature and Humidity: Avocado trees thrive in a warm and humid environment. Keep your bonsai avocado tree in a room with a temperature range of around 60-75°F (15-24°C). Mist the foliage occasionally to increase humidity levels, especially during dry periods.
- Pruning and Maintenance: Regularly inspect your bonsai avocado tree for any unwanted growth, dead branches, or foliage. Prune and trim as necessary to maintain its desired shape and remove any diseased or damaged parts.
- Protection from Extreme Weather: Avocado trees are sensitive to cold temperatures. During winter months, protect your bonsai avocado tree from freezing temperatures by moving it to a well-insulated location or using protective coverings.
- Repotting: As your bonsai avocado tree grows, it will need to be repotted every 2-3 years. This allows you to refresh the soil, trim the roots, and promote healthy growth. Repotting is best done during the early spring before the new growth begins.
Following these care guidelines will ensure the longevity and well-being of your bonsai avocado tree. Remember to observe your tree closely and make adjustments as necessary based on its individual needs. With proper care, your bonsai avocado tree will continue to flourish and bring joy for years to come.
Conclusion
Congratulations on completing your journey to create a bonsai avocado tree! Throughout this DIY project, you have learned the art of transforming an avocado seed into a miniature work of living art. By carefully selecting the right seed, preparing it for germination, and providing the necessary care and maintenance, you have nurtured your bonsai avocado tree to thrive in its unique bonsai form.
Remember, bonsai cultivation is a continuous process that requires patience, creativity, and a deep understanding of your tree’s needs. As your bonsai avocado tree continues to grow and develop, take the time to prune, shape, and provide the appropriate care to maintain its health and beauty.
Creating and maintaining a bonsai tree is not only a rewarding gardening activity but also a meditative and artistic practice. The art of bonsai teaches us to appreciate the beauty of nature in miniature form and cultivates a sense of tranquility as we connect with these living artworks.
So, take pride in your bonsai avocado tree and continue to nurture it with passion and dedication. Share your journey with fellow bonsai enthusiasts, and don’t be afraid to experiment and explore new techniques and styles in creating your bonsai masterpieces. With time, your bonsai skills will grow, and you will witness the evolution of not just the tree, but yourself as an artist and cultivator of natural beauty.
Now, go ahead and showcase your stunning bonsai avocado tree to the world and inspire others to embark on their own DIY bonsai projects. Happy bonsai gardening!