Home>Gardening Techniques>DIY Projects>When To Cut Down Sunflowers
DIY Projects
When To Cut Down Sunflowers
Modified: January 22, 2024
Learn when to cut down sunflowers and discover DIY projects to make the most of their beauty and seeds.
(Many of the links in this article redirect to a specific reviewed product. Your purchase of these products through affiliate links helps to generate commission for Chicagolandgardening.com, at no extra cost. Learn more)
Table of Contents
Introduction
Welcome to the fascinating world of DIY projects! If you’re someone who loves getting your hands dirty and taking on new challenges, then you’ve come to the right place. DIY projects not only allow you to bring creativity and personalization to your home, but they also give you the satisfaction of completing something with your own two hands.
Whether you’re a seasoned DIY enthusiast or just starting out, this article is here to provide you with valuable insights and tips on various DIY projects. From simple home repairs to more complex renovations, we’ll cover a wide range of topics to help you tackle whatever project you set your sights on.
But before we dive into the specific projects, it’s important to understand the factors to consider when embarking on a DIY journey. From the right tools and materials to safety precautions, having a solid foundation of knowledge will set you up for success.
Once you’ve got the basics down, we’ll explore the best timing for cutting down sunflowers. Sunflowers are not only beautiful additions to any garden, but they also provide an opportunity for a satisfying harvest. We’ll discuss the signs that indicate your sunflowers are ready to be cut, as well as tips for properly cutting them down.
Of course, once you’ve cut your sunflowers, you’ll want to know what to do with them. We’ll explore ways to keep your sunflowers fresh and beautiful, as well as how to properly harvest the seeds for future planting or culinary use.
So, grab your tools, put on your DIY hat, and get ready to embark on a journey of creativity and accomplishment. Let’s dive into the world of DIY projects and discover the endless possibilities that await.
Factors to Consider
Before embarking on any DIY project, it’s important to carefully consider a few key factors. These considerations will help ensure that your project is successful and that you achieve the desired results. Let’s take a closer look at the factors you should keep in mind:
- Skill Level: Assess your own skill level and choose projects that align with your capabilities. It’s always a good idea to start with smaller, more manageable projects if you’re new to DIY. As you gain experience and confidence, you can gradually take on more challenging endeavors.
- Budget: Determine your budget for the project. Research the cost of materials and tools to ensure you’re not caught off guard by unexpected expenses. Consider sourcing materials from local stores or repurposing items you already have to save money.
- Time Commitment: Evaluate the amount of time you can dedicate to the project. Some DIY projects require a few hours, while others may take weeks or even months to complete. Be realistic about your availability to avoid unfinished projects.
- Space: Consider the available space in your home or outdoor area. Ensure you have enough room to work comfortably and safely. If necessary, make temporary adjustments or clear out clutter to create a suitable workspace.
- Safety Precautions: Prioritize safety by wearing appropriate protective gear, such as goggles, gloves, and masks. Familiarize yourself with the correct usage of tools and equipment. If a project involves electricity or other potentially hazardous elements, consult a professional if you’re unsure.
- Environmental Impact: Think about the environmental impact of your project. Opt for eco-friendly materials and practices whenever possible. Consider how your project may affect energy consumption, water usage, waste generation, and overall sustainability.
By taking these factors into account, you’ll be better prepared to tackle your DIY projects successfully. Remember, the journey is just as important as the end result. Embrace the learning process, have fun, and enjoy the satisfaction of creating something with your own hands.
Timing for Cutting Down Sunflowers
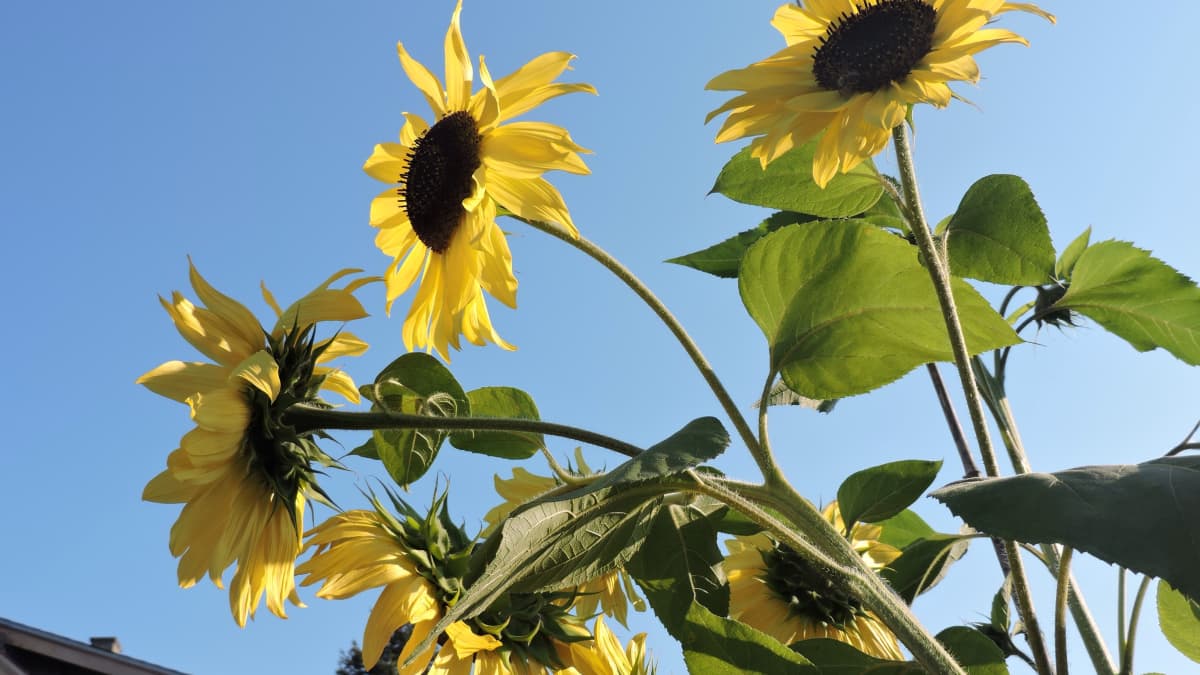
Knowing the right time to cut down your sunflowers is crucial to ensure a bountiful harvest and prolonged beauty. While sunflowers may be visually stunning in their full bloom, it’s important to wait for the optimal time before cutting them down. Here are a few key considerations when determining the timing:
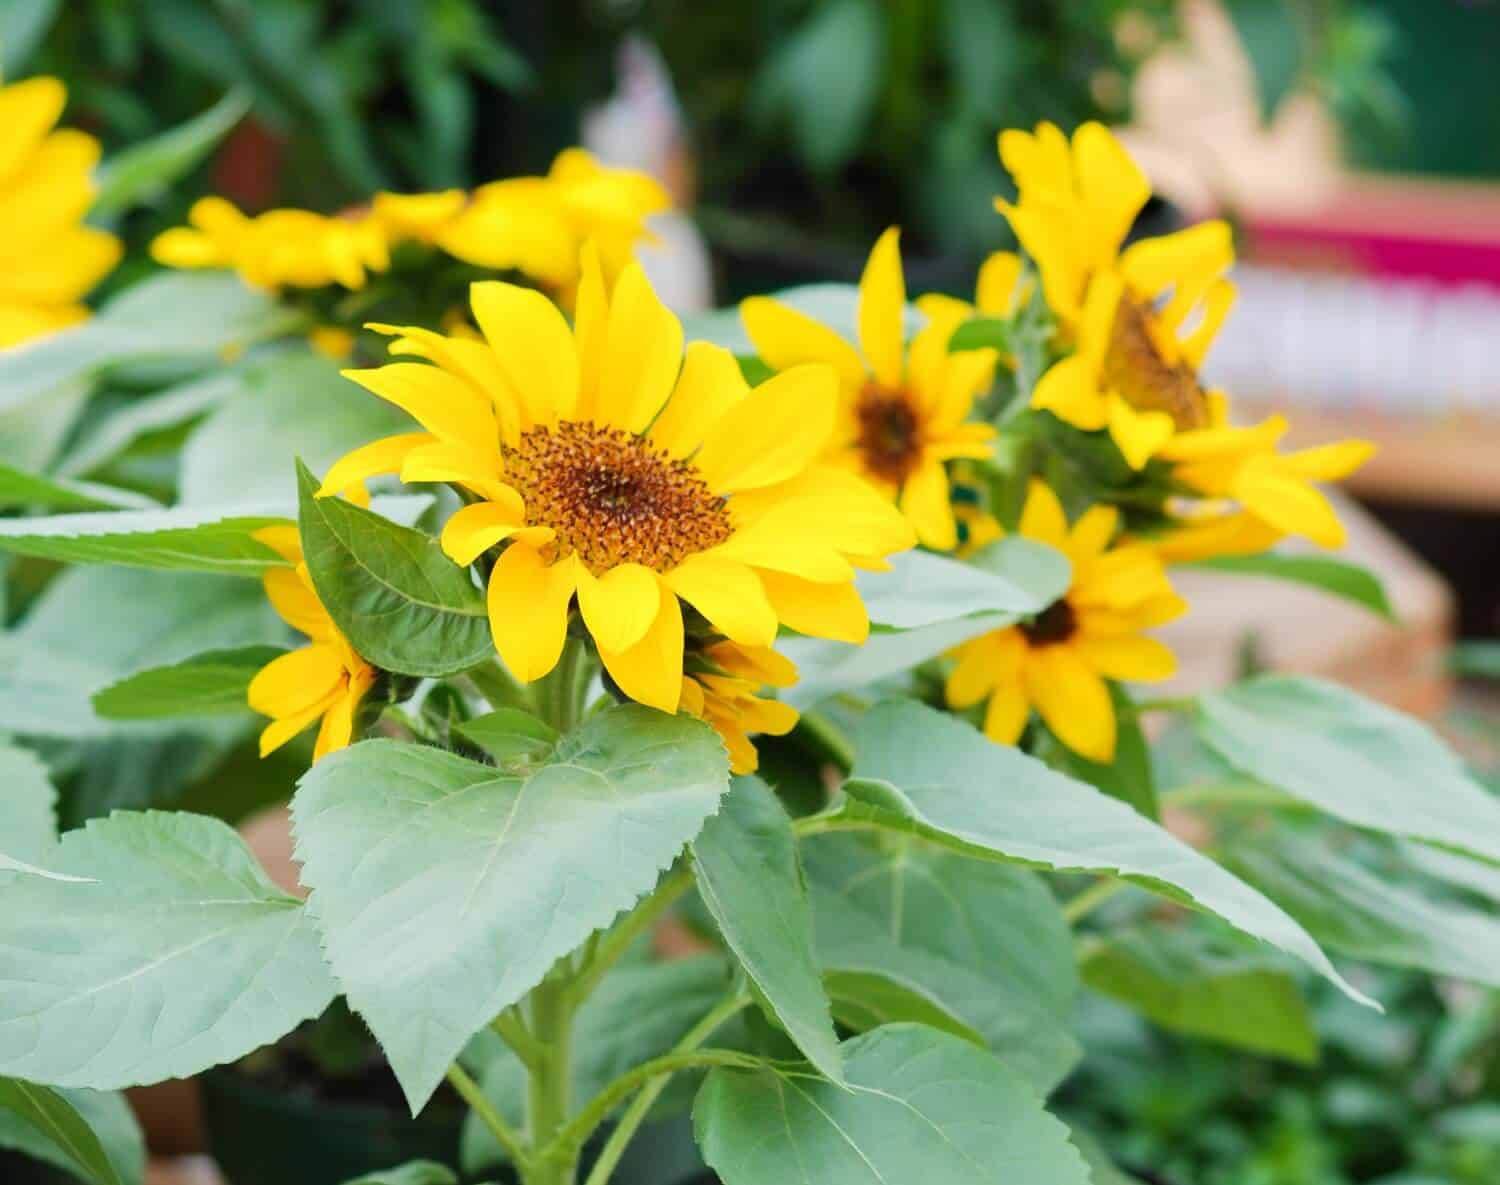
- Blooming Stage: Ideally, you should wait until your sunflowers have fully bloomed before cutting them down. This is when they are at their peak beauty and have reached their maximum size. Additionally, mature sunflowers will have developed a vibrant color and a firm stalk.
- Seeds Formation: Sunflowers produce seeds that can be harvested and used for various purposes. One way to determine whether your sunflowers are ready to be cut is to check if the seeds have started to form. The back of the sunflower head will change from yellow to brown as the seeds mature, indicating that it’s time to harvest.
- Petals Falling Off: As the sunflower begins to naturally reach the end of its lifecycle, the petals will start to wilt and fall off. This is a good indication that the sunflower is ready to be cut. However, it’s important to note that waiting too long can result in seed loss, so it’s best to cut them down when the petals are still intact but beginning to wither.
By paying attention to these signs, you’ll be able to determine the perfect timing for cutting down your sunflowers. However, keep in mind that every sunflower variety may have slightly different characteristics, so it’s always a good idea to research specific details for the variety you are growing.
Now that you know when to cut down your sunflowers, let’s move on to the next section to learn some important tips for properly cutting them and ensuring a successful harvest.
Signs That Sunflowers are Ready to be Cut
When it comes to harvesting sunflowers, it’s essential to look for certain signs that indicate they are ready to be cut. Harvesting sunflowers at the right time ensures that you get the most out of your plants. Here are some signs to keep an eye out for:
- Petals Drooping and Wilting: As the sunflower reaches maturity, its vibrant petals will start to droop and wilt. This is a clear sign that the flower has completed its bloom and is ready to be cut.
- Seeds Developing: The formation of seeds is a primary reason for growing sunflowers. Once the flower head begins to turn downward and the seeds start to develop, it’s a good indication that the sunflower is ready for harvest.
- Back of the Flower Head: The back of the sunflower head, known as the “receptacle,” undergoes changes as the seeds mature. It will eventually turn brown or yellow-brown, indicating that the seeds are fully developed. This is another sign that it’s time to cut the sunflower.
- Stalk and Stem: When the sunflower is ripe, the stalk and stem will become dry and firm. Gently press the stem, and if it feels sturdy and no longer green, it’s a good indication that the sunflower is ready for cutting.
- Timing of Other Sunflowers: If you have multiple sunflowers in your garden, observe the maturity of the surrounding flowers. If they have started to wilt and their petals are falling off, it’s likely that your sunflowers are at a similar stage and ready to be harvested.
Keep in mind that while these signs can provide guidance, it’s also a matter of personal preference. If you prefer a more vibrant and fresh look, you may choose to harvest your sunflowers before the petals start to droop too much. However, if you’re more interested in collecting mature seeds, wait until the back of the flower head has turned brown.
By paying attention to these signs, you’ll be able to identify the perfect time to cut your sunflowers for maximum enjoyment and yield. In the next section, we’ll explore some useful tips for cutting down sunflowers to ensure a successful harvest.
Tips for Cutting Down Sunflowers
Cutting down sunflowers requires a gentle hand and some careful techniques to ensure a successful harvest. Here are some helpful tips to keep in mind when it comes to cutting down your sunflowers:
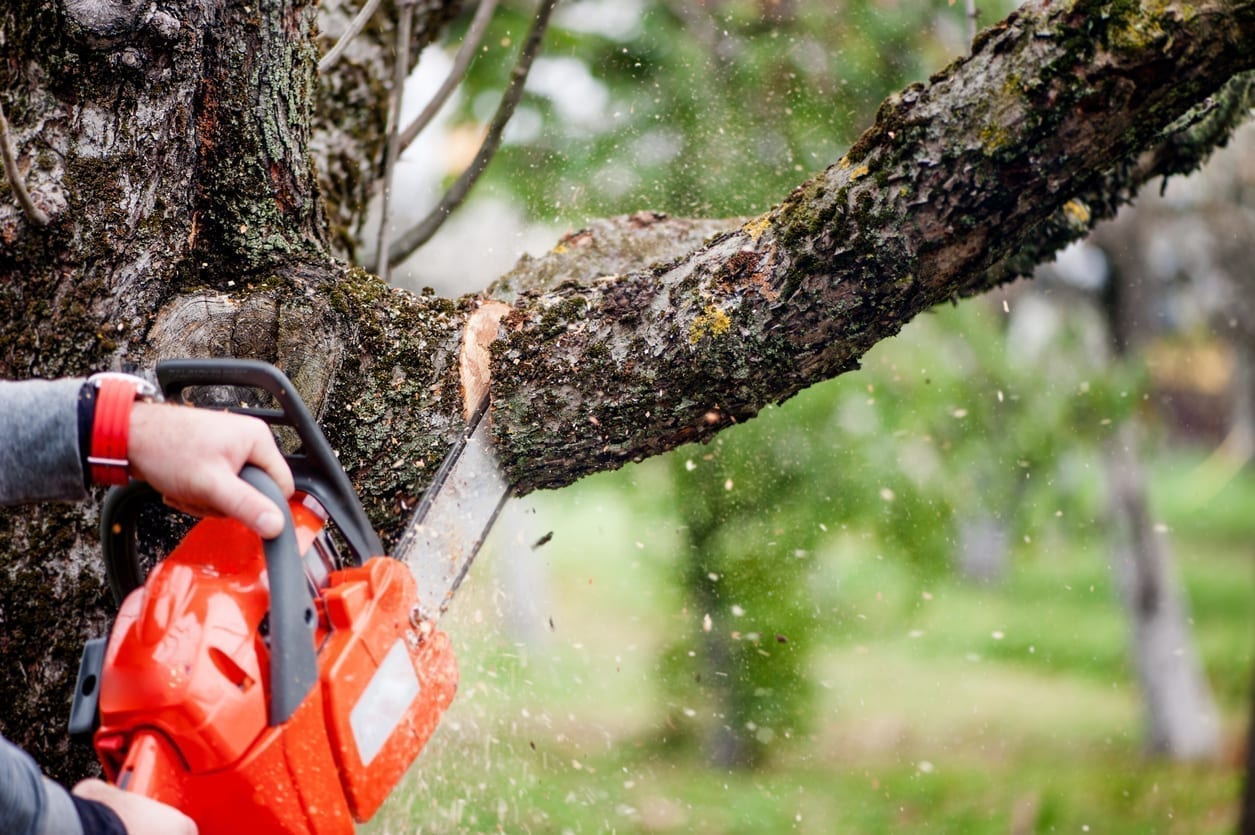
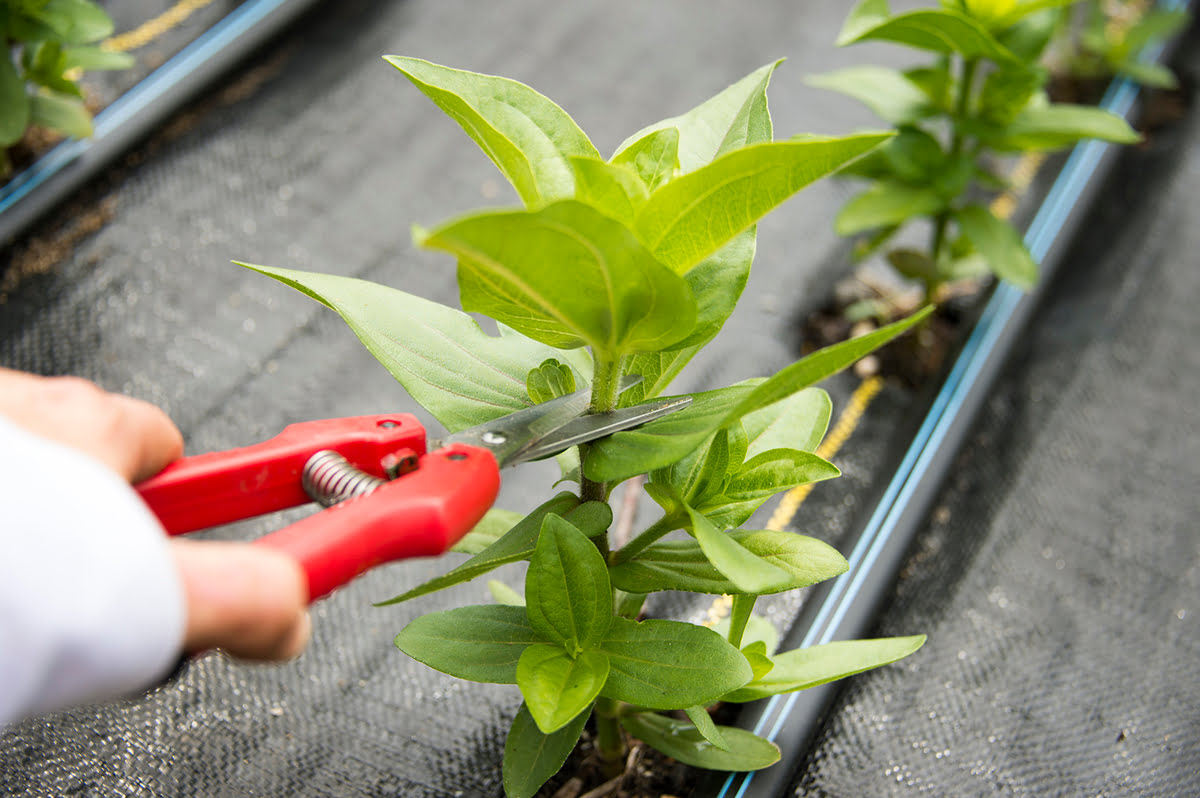
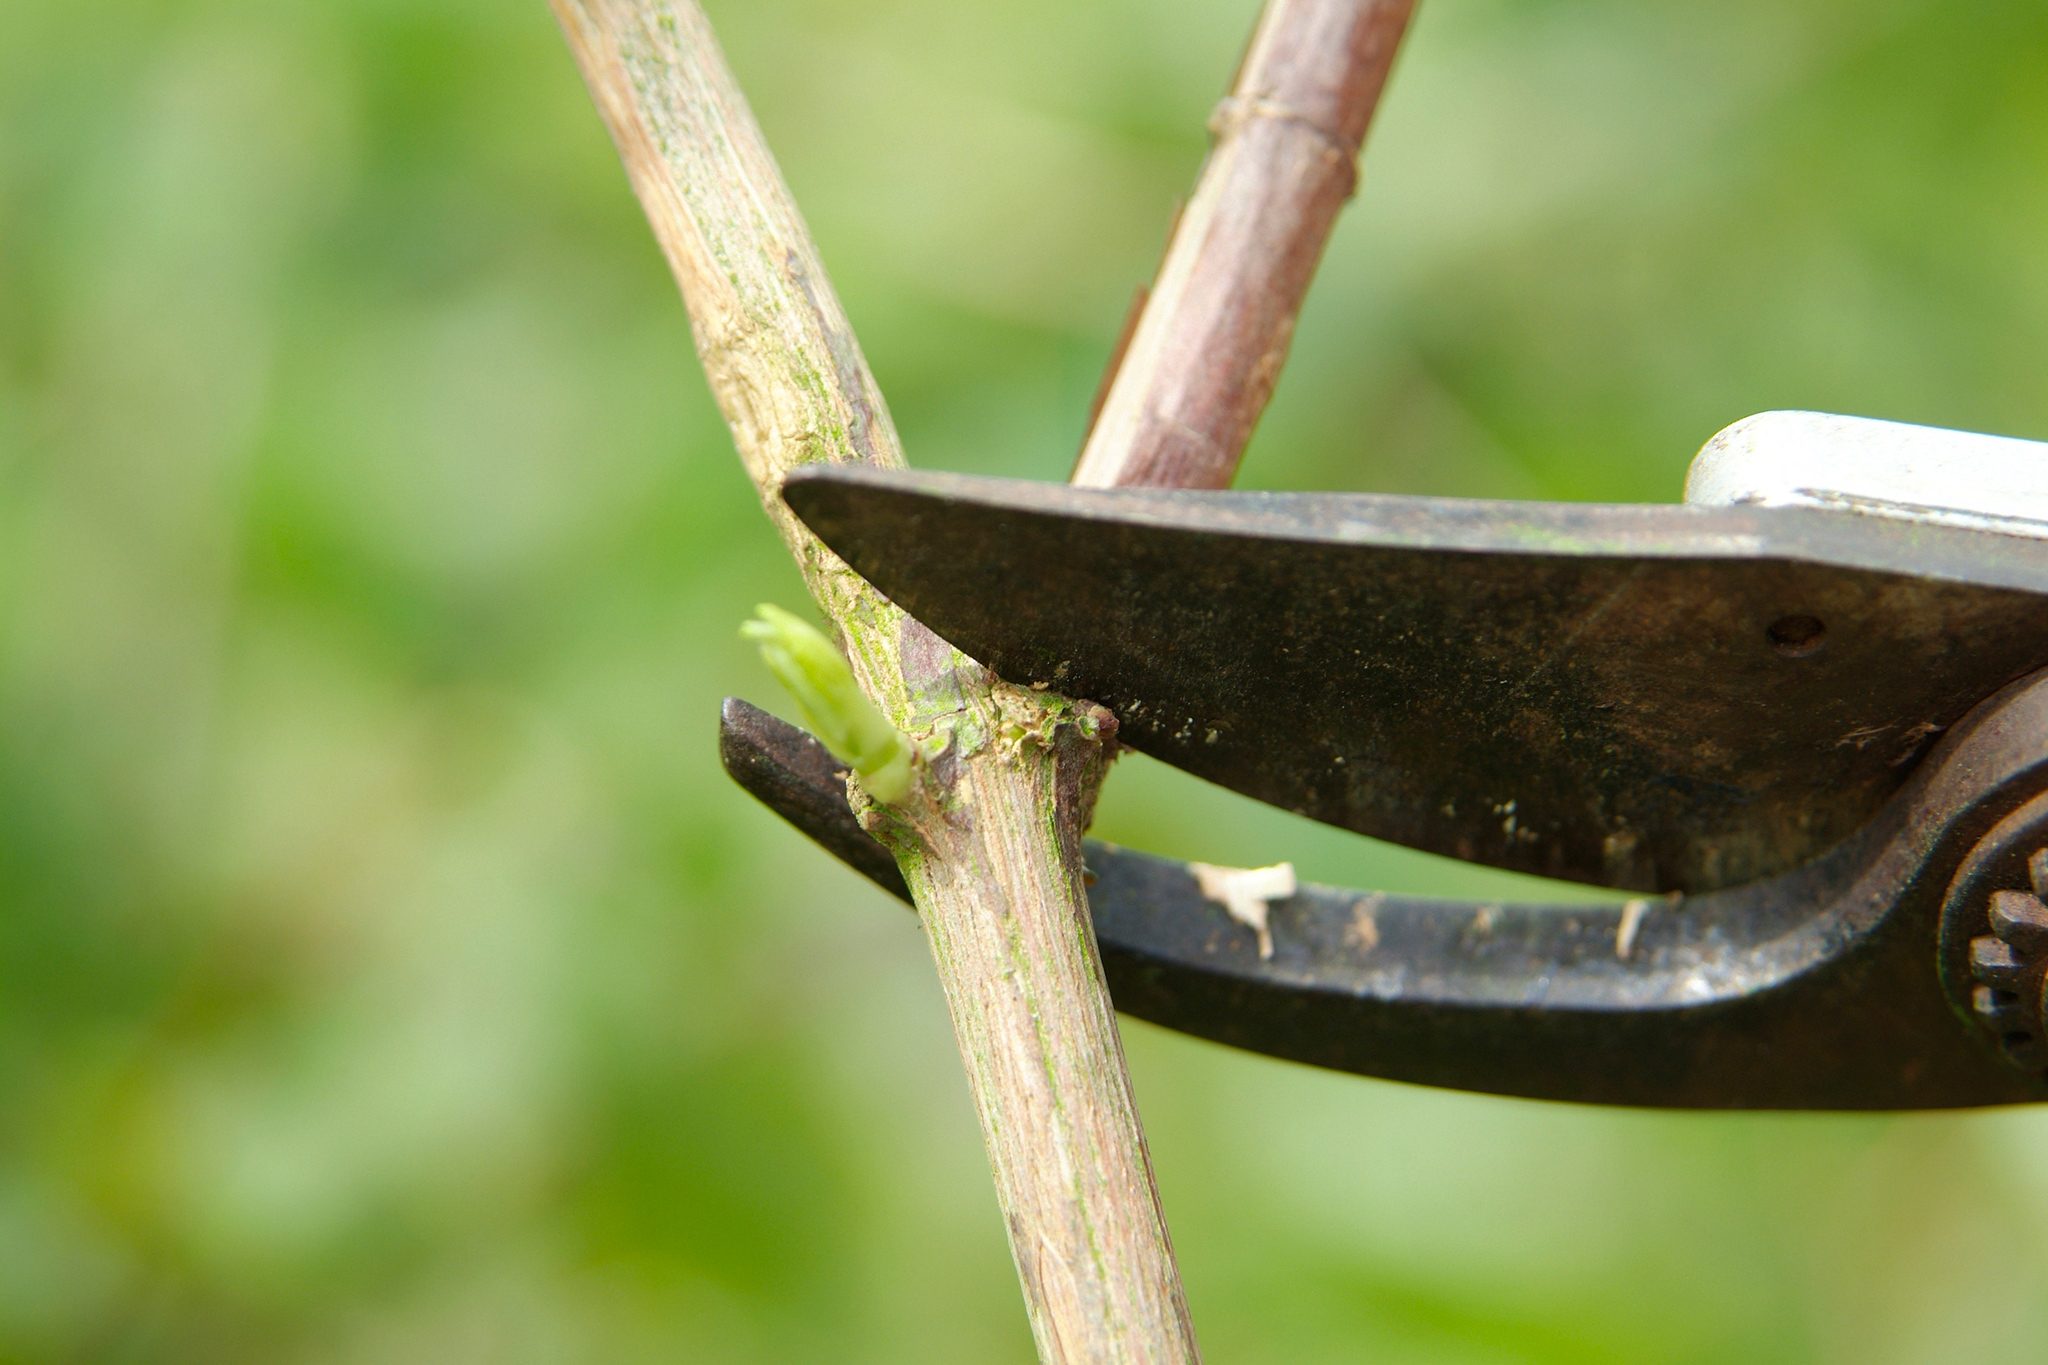
- Use Sharp Tools: Use sharp and clean pruning shears or a sharp knife to cut the sunflower stem. Dull tools can damage the stem and make it more susceptible to diseases or pests.
- Choose the Right Time of Day: It’s best to cut sunflowers in the early morning or late evening when the temperatures are cooler. This helps preserve the flowers’ freshness and prevents wilting due to excessive heat.
- Select the Right Stem Length: Depending on your preference, choose a stem length that suits your intended use. If you’re planning to display the sunflowers in a vase, select a longer stem. If you want to use them for dried arrangements, then shorter stems may be more suitable.
- Hold the Stem Securely: Grasp the stem firmly near the base to avoid damaging the flower head or accidentally breaking the stem. Gently support the sunflower as you cut it to ensure a clean and even cut.
- Remove Excess Leaves: After cutting the sunflower, remove any excess leaves from the stem. You can leave a few bottom leaves if desired, but removing most of them will help the cut flower to absorb water more efficiently.
- Place in Water Immediately: As soon as you’ve cut the sunflowers, place their stems in a bucket or vase filled with clean water. This helps them stay hydrated and prolongs their freshness.
- Display or Store Properly: Depending on your intention, ensure you display the cut sunflowers in a cool location away from direct sunlight and drafts. If you’re storing them for later use, hang them upside down in a dry, well-ventilated area to dry them out completely.
By following these tips, you’ll be able to cut down your sunflowers with ease and ensure that they stay fresh and beautiful for as long as possible. Now that you’ve successfully harvested your sunflowers, let’s move on to the next section to learn how to properly harvest the sunflower seeds.
How to Properly Harvest Sunflower Seeds
Harvesting sunflower seeds is an exciting part of growing these stunning flowers. Sunflower seeds are not only delicious and nutritious, but they can also be used for planting in the future. Follow these steps to properly harvest sunflower seeds:
- Wait for Seeds to Mature: Allow the sunflower heads to fully mature on the stem. The back of the flower head should turn brown or yellow-brown, and the seeds should be plump and developed.
- Protect the Seeds: As the sunflower head matures, it’s important to protect the seeds from birds or animals that may try to eat them. Cover the flower heads with a light mesh bag or fabric to prevent damage.
- Begin Harvesting: Once the flower heads have fully matured and the back has turned brown, it’s time to start harvesting. Cut the entire flower head off the stem, leaving a few inches of stalk attached.
- Drying the Sunflower Heads: Hang the harvested sunflower heads upside down in a dry, well-ventilated area. This allows the seeds to dry out and prevents moisture or mold from developing. Leave them to dry for several weeks until the seeds are fully dried and easy to remove.
- Removing the Seeds: Once the sunflower heads are completely dry, gently rub the back of the flower head to loosen the seeds. Use your fingers or a small tool to remove the seeds from the head. Be patient and take your time to ensure you collect as many seeds as possible.
- Separating the Seeds: After removing the seeds from the flower head, you may notice some debris or chaff mixed in. Use a sieve or colander to separate the seeds from the unwanted debris. Gently shake the seeds to remove any remaining chaff.
- Store and Enjoy: Once the seeds are clean and free from debris, store them in airtight containers or sealable bags. Keep the seeds in a cool, dry place away from moisture and direct sunlight. You can enjoy the seeds as a healthy snack or save them for future planting.
Harvesting sunflower seeds is a rewarding process that allows you to enjoy the fruits of your labor while also giving you the opportunity to grow more sunflowers in the future. Now that you know how to properly harvest the seeds, let’s explore some ideas on what to do with the cut sunflowers.
What to Do with Cut Sunflowers
Once you have cut down your sunflowers, it’s time to decide what to do with them. Here are some creative and practical ideas to make the most of your cut sunflowers:
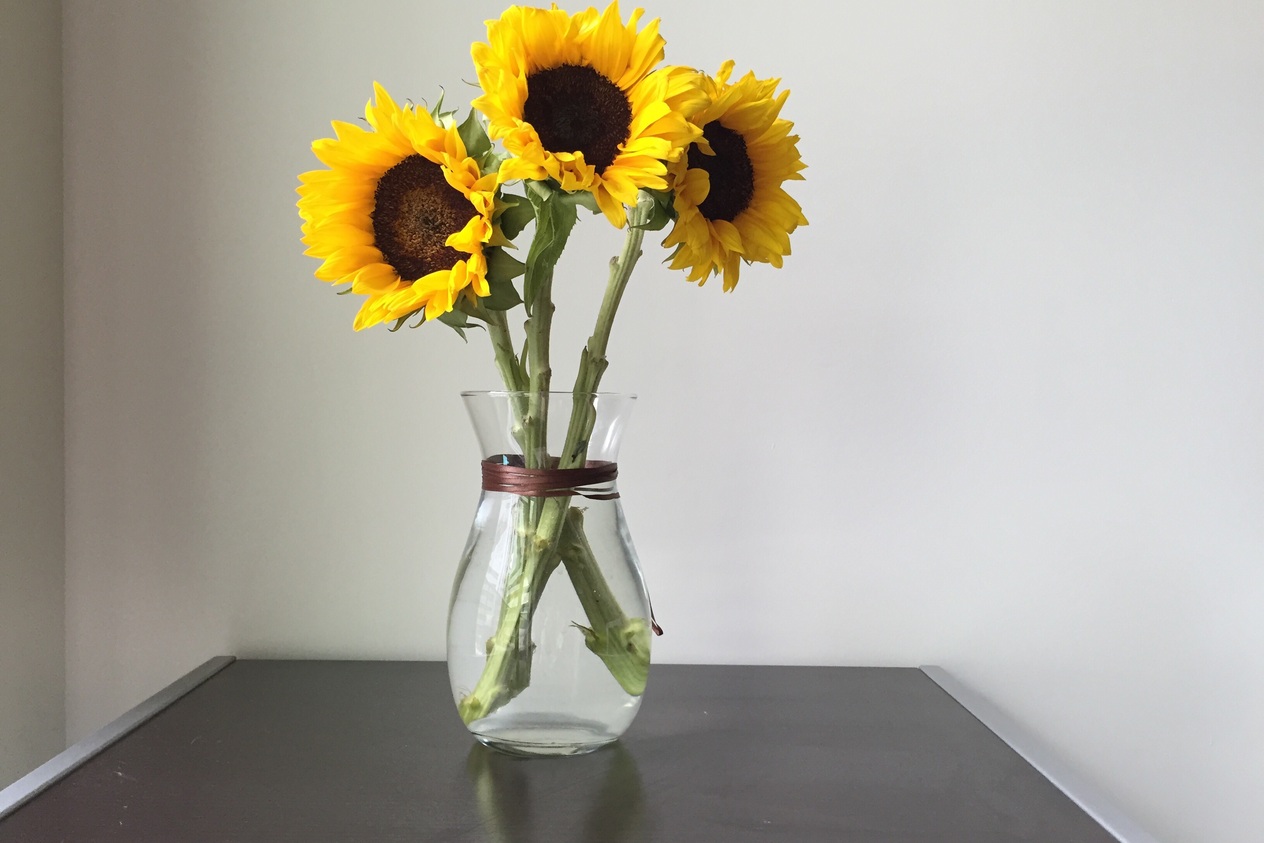
- Display Them Indoors: Bring the beauty of your sunflowers indoors by creating stunning floral arrangements. Place them in vases or mason jars filled with water to keep them fresh for longer. Add some greenery or other complementary flowers to create eye-catching centerpieces or decorative accents throughout your home.
- Dry Them for Long-Lasting Beauty: If you wish to preserve your sunflowers, consider drying them. Hang them upside down in a dry and well-ventilated area, away from direct sunlight. As they dry, the sunflowers will retain their shape and color, making them perfect for rustic decorations, wreaths, or dried flower arrangements.
- Press and Preserve: If you enjoy crafting or want to preserve the beauty of your sunflowers in a more compact form, you can press them. Place the sunflowers between the pages of heavy books and leave them to dry for a few weeks. Once dried, the sunflowers can be used for scrapbooking, creating greeting cards, or making floral art pieces.
- Share with Friends and Family: Spread joy by giving cut sunflowers to your friends, family, or neighbors. Sunflowers make delightful gifts and are guaranteed to brighten someone’s day. Wrap them in a beautiful bouquet or create small flower arrangements to surprise your loved ones.
- Enjoy Sunflower Seeds: Don’t forget about the sunflower seeds! Roast the seeds in the oven with some salt or your favorite seasoning for a tasty and nutritious snack. You can also use them in baking, salads, or as a topping for yogurts and cereals.
- Compost the Remaining Plant Material: After you have harvested the sunflower heads and enjoyed their beauty, you can compost the remaining plant material. Sunflower stalks and leaves decompose relatively quickly and add valuable organic matter to your compost pile.
With these ideas, your cut sunflowers can continue to bring joy and beauty long after they’ve been harvested. Whether you choose to display them in your home, dry them for a lasting effect, or share them with others, the possibilities are endless.
Conclusion
Embarking on DIY projects is an incredible journey that allows you to unleash your creativity and showcase your skills. Whether you’re cutting down sunflowers, tackling home repairs, or taking on any other DIY project, ensuring you have the right knowledge and strategies is key to success.
We’ve explored the factors to consider before diving into DIY projects, helping you make informed decisions about skill level, budget, time commitment, and safety precautions. Understanding these factors will set you on the path to accomplishing your goals.
When it comes to cutting down sunflowers, timing is everything. By recognizing the signs of readiness, such as drooping petals, seed development, and the color change of the sunflower head, you can ensure a fruitful and satisfying harvest. Remember to use sharp tools, choose the right time of day, and handle the sunflowers with care.
Harvesting sunflower seeds is an exciting part of growing sunflowers. Knowing when and how to properly do this allows you to enjoy the seeds for snacking or future planting. Drying the sunflower heads, removing the seeds, and storing them correctly will ensure their freshness and viability.
And let’s not forget about the endless possibilities with cut sunflowers. From creating beautiful arrangements and decorations to preserving their beauty through drying or pressing, there’s no shortage of ways to enjoy the beauty of sunflowers beyond their growth in the garden.
So, whether you’re a seasoned DIY enthusiast or just starting your journey, armed with the information and tips provided in this article, you can confidently take on various DIY projects and make them truly your own. The world of DIY projects is waiting to be explored, so grab your tools, let your creativity soar, and enjoy the satisfaction of bringing your visions to life. Happy DIY-ing!