Home>Gardening Techniques>DIY Projects>How To Attach Greenhouse Plastic
DIY Projects
How To Attach Greenhouse Plastic
Modified: January 22, 2024
Learn how to attach greenhouse plastic with this informative DIY project. Transform your garden with this step-by-step guide.
(Many of the links in this article redirect to a specific reviewed product. Your purchase of these products through affiliate links helps to generate commission for Chicagolandgardening.com, at no extra cost. Learn more)
Table of Contents
Introduction
Welcome to the world of DIY greenhouse projects! If you’re a gardening enthusiast or simply enjoy growing your own plants, a greenhouse is a fantastic addition to your home. Not only does it provide a controlled environment for your plants to thrive in, but it also extends the growing season, protects your plants from harsh weather conditions, and allows you to grow a wider variety of plants.
One crucial step in building a greenhouse is attaching the greenhouse plastic. The plastic acts as a covering that seals the greenhouse, creating a warm and insulated environment for your plants. While it may seem daunting at first, with the right materials and a step-by-step approach, you can easily secure the plastic to your greenhouse frame.
In this guide, we will take you through the process of attaching greenhouse plastic in a simple and efficient manner. You don’t need to be a construction expert to accomplish this task; with a little time and effort, you’ll have a secure and functional greenhouse ready to nurture your plants.
Before we dive into the steps, let’s quickly go over the materials you will need for this project. Gathering all the necessary items beforehand will save you time and ensure a smooth installation process.
Materials Needed
Before you begin attaching the greenhouse plastic, make sure you have the following materials on hand:
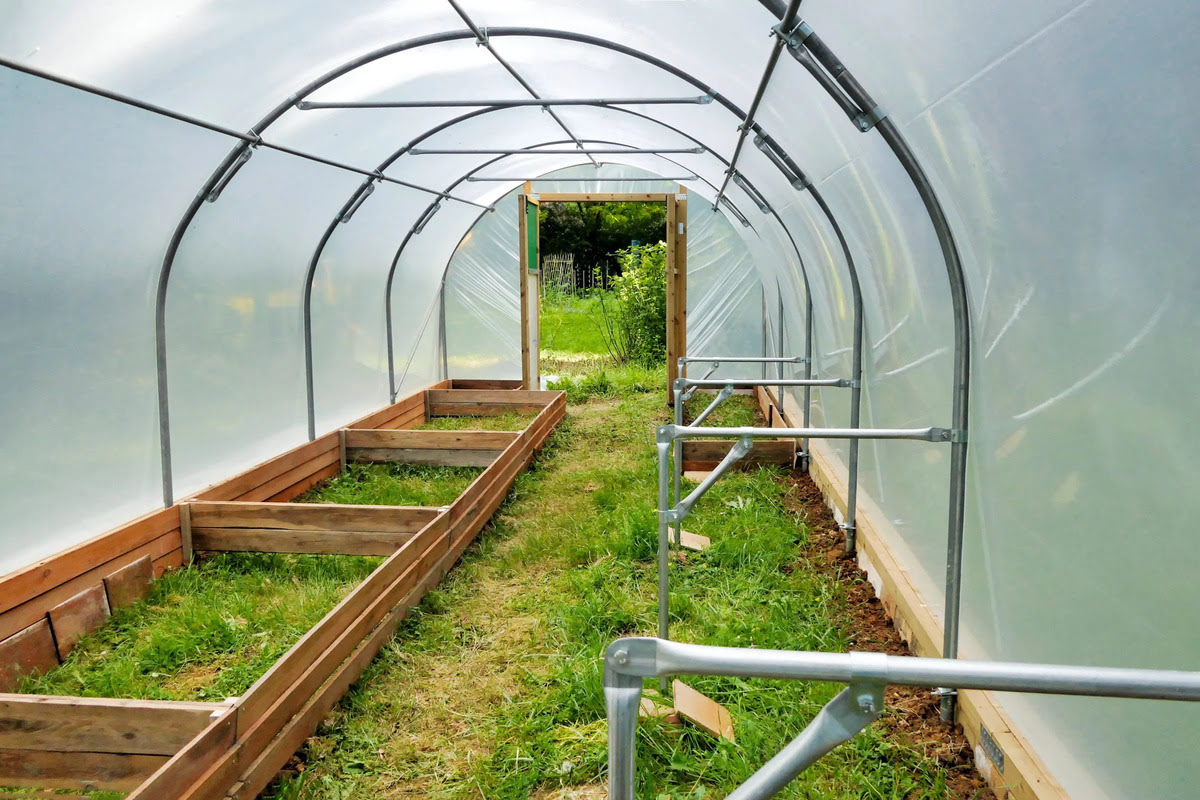
- Greenhouse Frame: This is the skeleton of your greenhouse, which can be made of wood, metal, or PVC pipes. Ensure that the frame is sturdy and securely set up before proceeding with the plastic installation.
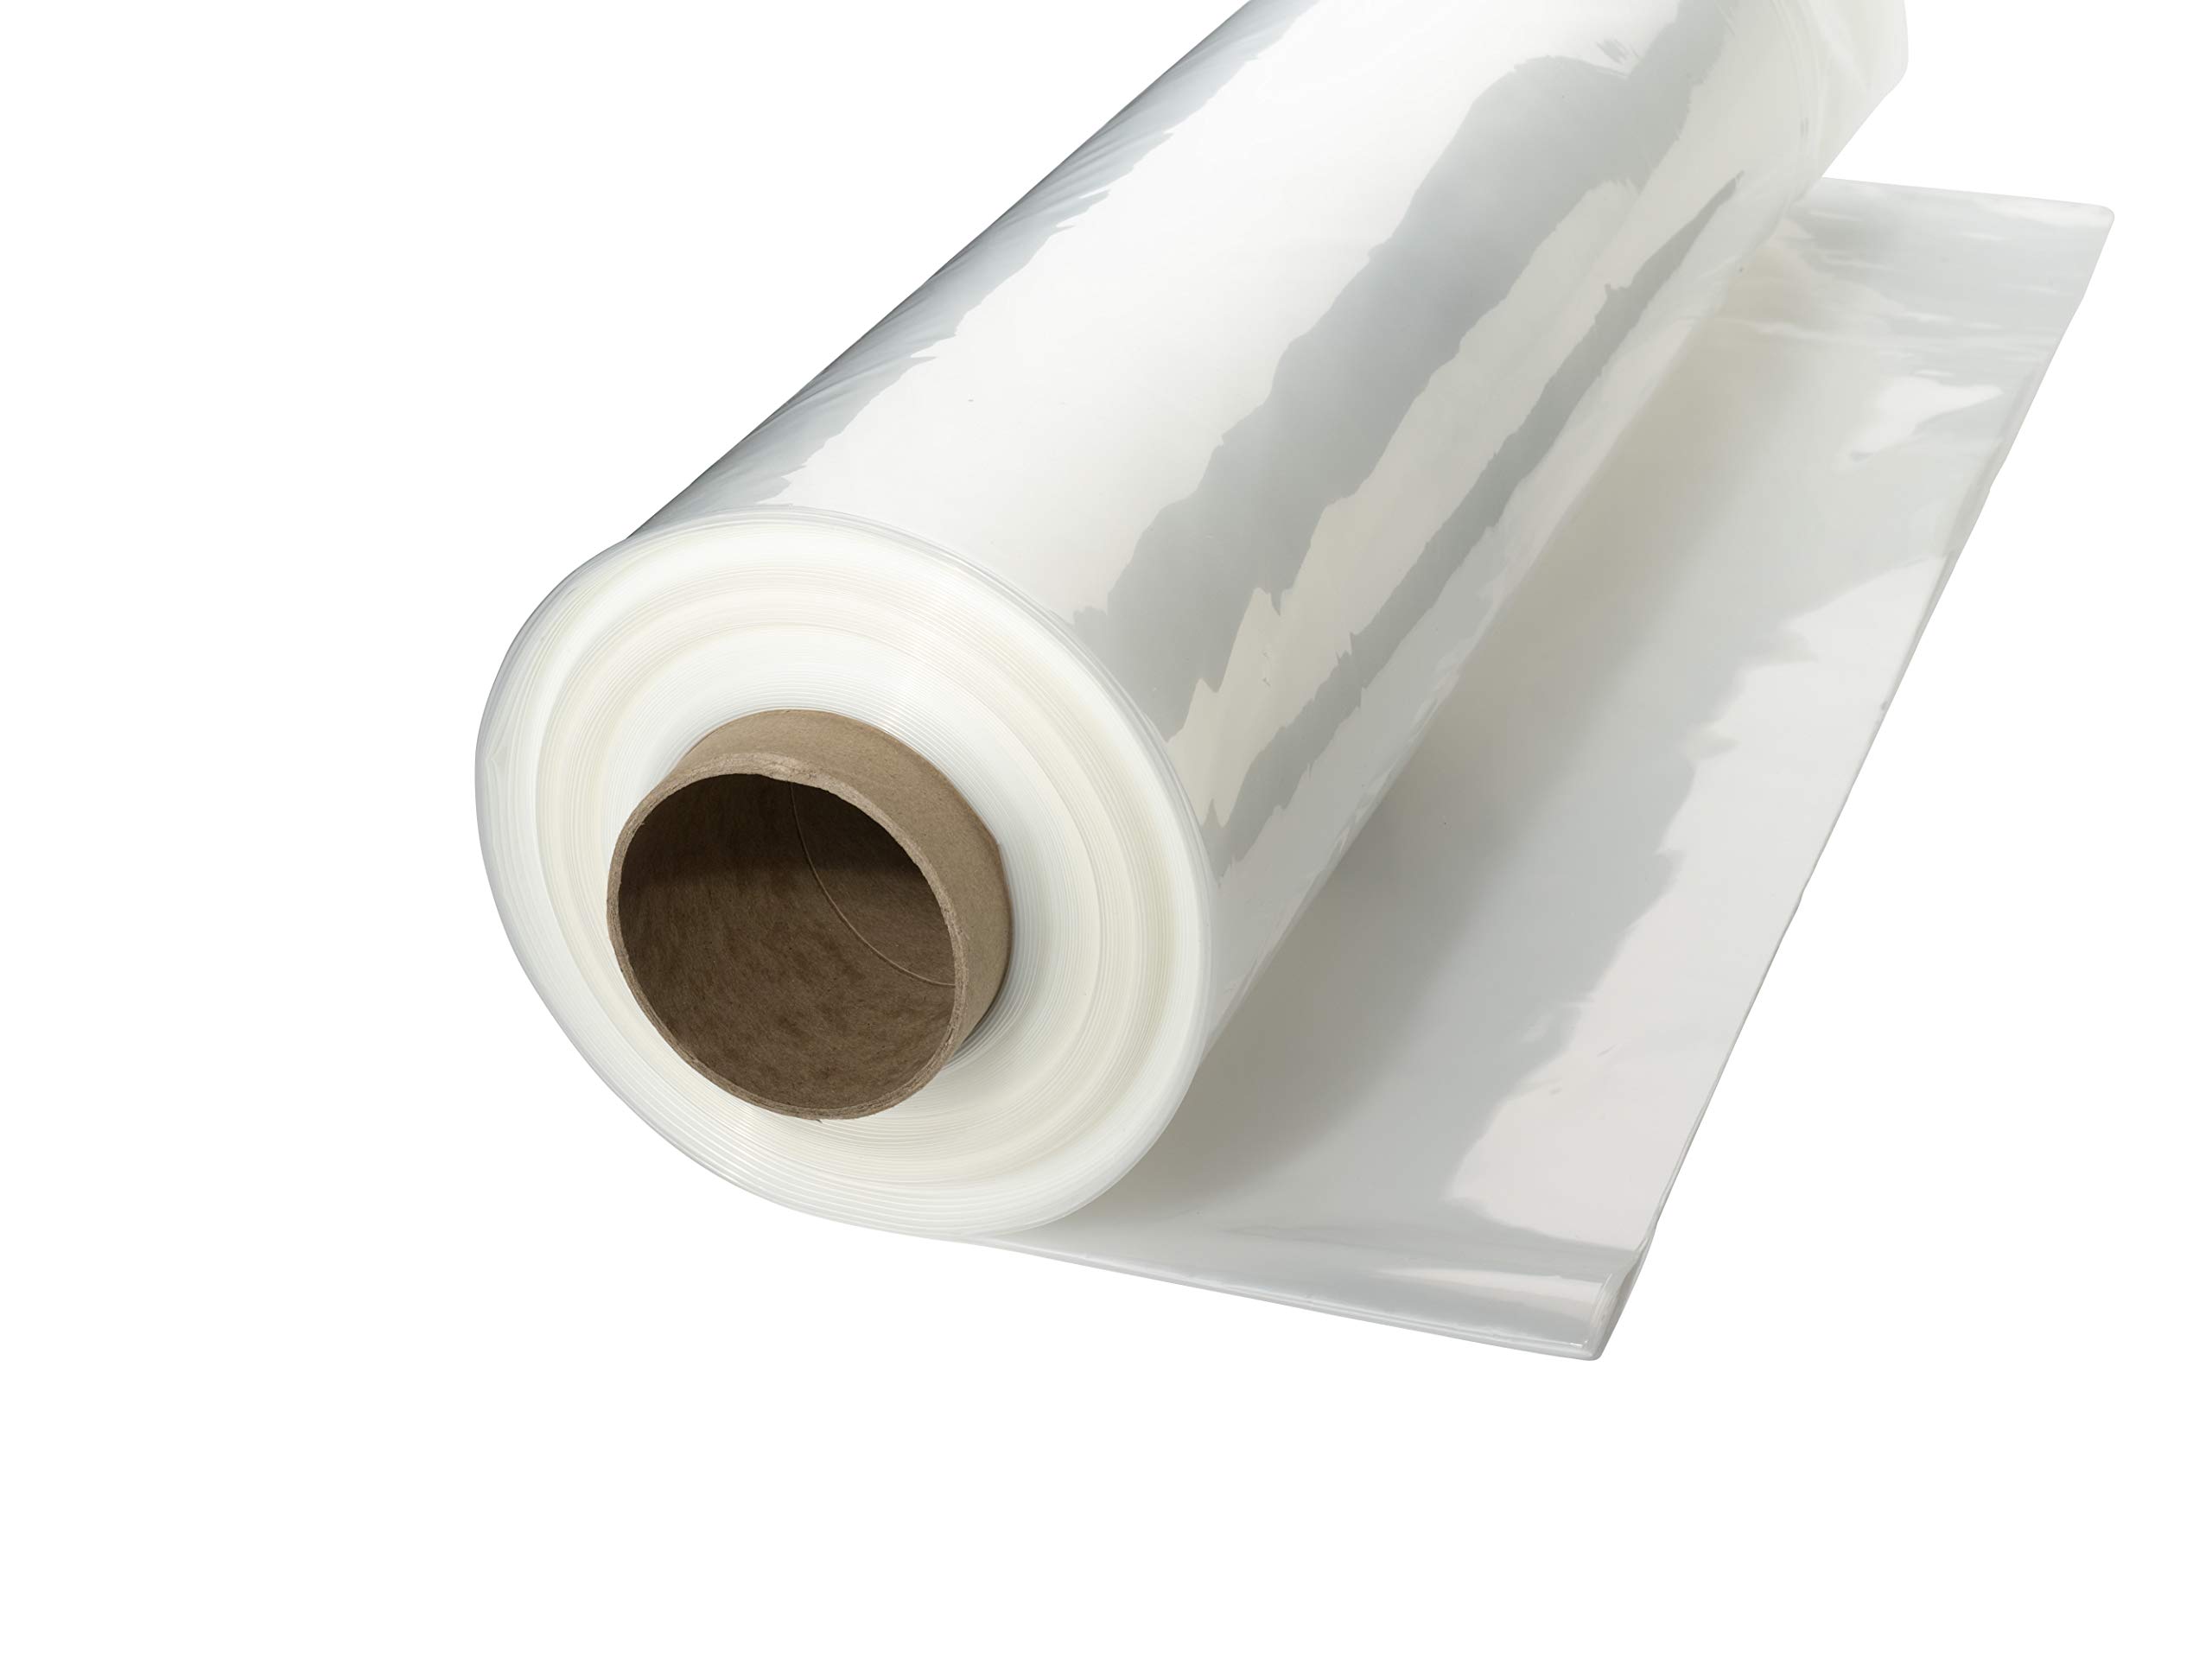
- Greenhouse Plastic: Look for a high-quality greenhouse plastic that is UV-resistant and durable. It should be able to withstand the elements and provide insulation for your plants. Measure the dimensions of your greenhouse frame to determine how much plastic you’ll need.
- Protective Gear: It’s important to prioritize safety during the installation process. Wear gloves to protect your hands, safety goggles to shield your eyes from debris, and a mask to prevent inhalation of any dust or particles.
- Fasteners: Choose the right fasteners for your greenhouse frame material. If you have a wooden frame, use exterior-grade screws or nails. For metal frames, opt for self-tapping screws or clips. PVC frames may require specialized snap clamps or pipe straps for fastening.
- Measuring Tape: Accurate measurements are crucial to ensure a proper fit of the greenhouse plastic. Use a measuring tape to measure the dimensions of your frame and cut the plastic accordingly.
- Utility Knife or Scissors: A sharp utility knife or a pair of sturdy scissors will come in handy for cutting the greenhouse plastic to the correct size.
- Staple Gun or Adhesive: Depending on your preference and the type of greenhouse plastic you have, you can use a staple gun to secure the plastic to the frame or opt for an adhesive specifically designed for attaching plastics to surfaces.
- Ladder or Step Stool: If your greenhouse is taller or has a roof that requires reaching, a sturdy ladder or step stool will ensure you can safely access all areas of the greenhouse during the installation process.
Gathering these materials beforehand will make the process smoother and more efficient, allowing you to complete the greenhouse plastic attachment with ease.
Step 1: Prepare the Greenhouse Frame
Before attaching the greenhouse plastic, it’s essential to prepare the greenhouse frame. This step ensures that the frame is structurally sound and ready to hold the plastic securely in place. Follow these steps to prepare the greenhouse frame:
- Inspect the Frame: Examine the frame to check for any loose or damaged parts. Tighten screws or bolts and repair any broken sections. A solid and stable frame is the foundation for a successful greenhouse plastic installation.
- Clean the Frame: Remove any dirt, residue, or debris from the frame. Use a brush or cloth to clean the surfaces thoroughly. This will provide a clean and smooth surface for attaching the greenhouse plastic.
- Apply Protective Coating: If your greenhouse frame is made of wood, consider applying a protective coating or paint that is weather-resistant. This extra layer of protection will extend the lifespan of the frame and prevent it from rotting or decaying over time.
- Check Alignment: Ensure that the greenhouse frame is level and properly aligned. Use a level tool to check for evenness. Adjust the frame if necessary to ensure an even distribution of weight.
- Add Reinforcements: For larger or taller greenhouse structures, adding reinforcements such as cross braces or additional supports can provide added stability. This is especially important if you live in an area with strong winds or heavy snowfall.
By taking the time to prepare and maintain the greenhouse frame, you’ll create a sturdy foundation for attaching the greenhouse plastic. This step sets the stage for a successful and long-lasting greenhouse structure.
Step 2: Cut the Greenhouse Plastic
Now that you have prepared the greenhouse frame, it’s time to cut the greenhouse plastic to the appropriate size. Properly measuring and cutting the plastic ensures a snug and secure fit. Follow these steps to cut the greenhouse plastic:
- Measure the Dimensions: Use a measuring tape to determine the dimensions of each side of the greenhouse frame. Measure the width and height accurately, accounting for any overlaps or excess material for securing the plastic.
- Add Extra Length: To ensure proper coverage, add a few extra inches to each side when cutting the plastic. This will allow for a secure attachment to the frame and prevent any gaps or openings that could compromise the insulation of the greenhouse.
- Mark the Measurements: Use a marker or pencil to mark the measurements on the greenhouse plastic. Make sure the marks are clearly visible and won’t fade or smudge during the installation process.
- Cut the Plastic: Using a sharp utility knife or a pair of scissors, carefully cut along the marked lines. Take your time and make smooth, precise cuts to achieve clean edges. Remember to exercise caution to avoid injury.
- Label the Pieces: As you cut each piece of greenhouse plastic, label them accordingly for easy identification during the installation. Mark them with “Front,” “Back,” “Left Side,” and “Right Side” to ensure you attach each piece to the correct side of the frame.
By accurately measuring and cutting the greenhouse plastic, you’ll ensure a proper fit and minimize any potential gaps or loose areas. This step lays the foundation for a well-sealed and effective greenhouse.
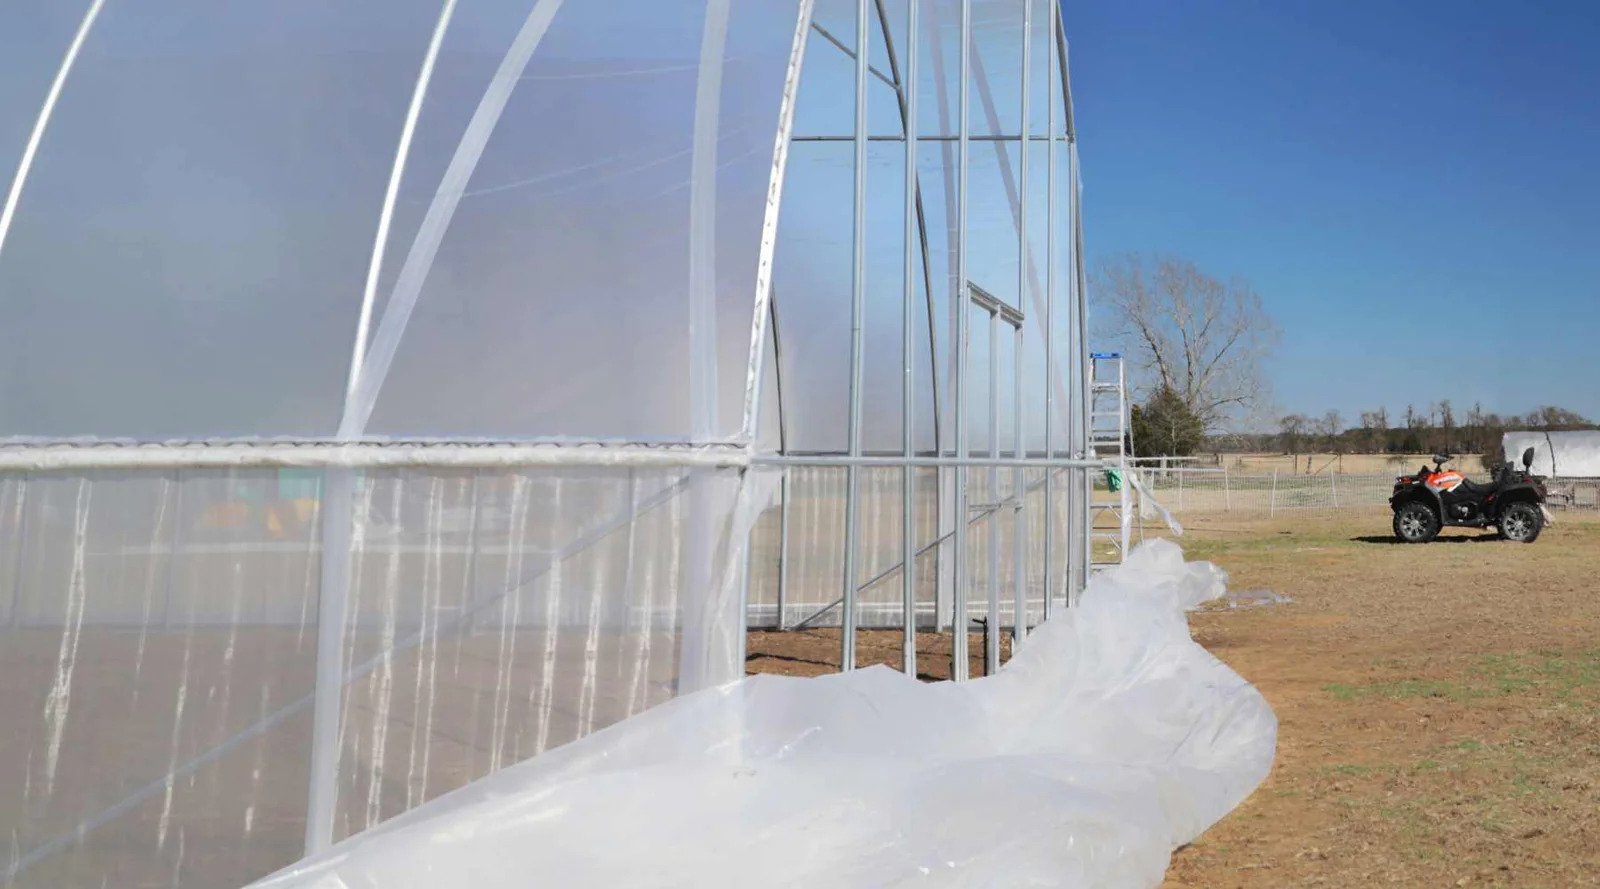
Step 3: Secure the Plastic to the Frame
Now that you have cut the greenhouse plastic to the correct dimensions, it’s time to secure it to the greenhouse frame. Properly securing the plastic will ensure that it stays in place and provides a tight seal. Follow these steps to securely attach the plastic to the frame:
- Start at a Corner: Begin by positioning one corner of the greenhouse plastic over the corresponding corner of the frame. Ensure that the plastic covers the entire side and extends slightly beyond the frame for a secure attachment.
- Use Fasteners: Depending on the type of frame material, use the appropriate fasteners to secure the plastic to the frame. For wooden frames, use exterior-grade screws or nails. Metal frames may require self-tapping screws or clips, while PVC frames may need snap clamps or pipe straps. Use a suitable tool to fasten the plastic securely without damaging it.
- Space the Fasteners: Space the fasteners evenly along each side of the frame, leaving approximately 12 to 18 inches between them. This will ensure that the plastic is evenly secured and will prevent sagging or slack.
- Pull Tautly: As you fasten the plastic to the frame, make sure to pull it tautly. This will eliminate any wrinkles or slack and ensure a smooth appearance. Use gentle even pressure to avoid overstretching or tearing the plastic.
- Repeat for Each Side: Move on to the next side of the greenhouse frame and repeat the process. Position the plastic over the frame, secure it with fasteners, and pull it tautly. Work your way around the greenhouse, attaching and securing one side at a time.
By securely attaching the greenhouse plastic to the frame, you’ll create a tight seal that keeps the elements out and the heat in. This step is crucial in maintaining the insulation and stability of your greenhouse.
Step 4: Attach the Plastic to the Sides
With the greenhouse plastic securely fastened to the frame, it’s time to focus on attaching it to the sides of the greenhouse. This step ensures that the plastic remains in place and provides an effective barrier against outdoor elements. Follow these steps to attach the plastic to the sides:
- Starting at the Top: Begin at the top of one side of the greenhouse. Align the plastic with the edge of the frame and make sure it covers the entire side.
- Secure with Fasteners: Use the appropriate fasteners, such as staples, to secure the plastic to the frame. Place the fasteners along the top edge, driving them through the plastic and into the frame. Space the fasteners evenly to ensure a secure attachment.
- Work Downward: Gradually work your way down the side, securing the plastic to the frame with fasteners spaced approximately 12 to 18 inches apart. Pull the plastic tautly as you go to eliminate any wrinkles or slack.
- Repeat for Remaining Sides: Move on to the remaining sides of the greenhouse, following the same process. Start at the top, align the plastic, secure it with fasteners, and work downward, ensuring a tight and even fit.
- Trim Excess Plastic: Once all sides are attached, carefully trim any excess plastic using a utility knife or scissors. Be cautious not to cut too close to the frame, as it may loosen the plastic. Leave a small overhang for a neat finish.
By securely attaching the greenhouse plastic to the sides, you’ll ensure that it remains in place, creating a tight seal that protects your plants and maintains optimal growing conditions.
Step 5: Secure the Plastic at the Bottom
As you near the completion of attaching the greenhouse plastic, it’s important to secure it at the bottom to provide a tight and secure seal. This step helps to prevent drafts, ensure proper insulation, and keep pests out. Follow these steps to secure the plastic at the bottom:
- Cut the Plastic to Fit: Measure and cut the plastic to fit along the bottom edge of the greenhouse frame. Leave a bit of extra material to ensure a secure attachment.
- Position the Plastic: Carefully position the cut piece of plastic along the bottom edge of the frame. Make sure it covers the entire bottom section, providing a seal around the base of the greenhouse.
- Secure with Fasteners: Use the appropriate fasteners, such as staples or screws, to secure the plastic to the bottom edge of the frame. Space the fasteners evenly, ensuring that the plastic is held firmly in place.
- Pull Tautly: As you secure the plastic, gently pull it tautly to eliminate any wrinkles or slack. This will ensure a smooth and snug fit.
- Trim Excess Plastic: Once the plastic is securely attached at the bottom, trim any excess material using a utility knife or scissors. Make clean cuts, maintaining a neat and tidy appearance.
- Consider Ground Anchors: If you live in an area prone to high winds or if you want extra security, you may consider using ground anchors or stakes to further secure the bottom of the plastic. This will provide additional stability and prevent lifting or shifting.
By securing the greenhouse plastic at the bottom, you’ll create a tight seal that enhances insulation and keeps the greenhouse protected from external elements. This step completes the installation process and ensures the longevity and effectiveness of your greenhouse.
Step 6: Add Finishing Touches
With the greenhouse plastic securely attached and the main installation complete, it’s time to add the finishing touches to your greenhouse. These final steps will enhance the functionality and aesthetics of your greenhouse. Follow these steps to add the finishing touches:
- Ventilation: Install vents or windows on the sides or roof of your greenhouse to provide proper airflow and temperature regulation. This will help prevent overheating and allow for better control of the greenhouse environment.
- Door Installation: If your greenhouse doesn’t already have a door, consider installing one for easy access. Choose a door that is weather-resistant and provides a good seal to maintain the greenhouse’s internal conditions.
- Sealing and Insulation: Inspect the edges and seams of the greenhouse plastic for any gaps or openings. Use an appropriate sealant or insulation tape to seal these areas and prevent drafts or heat loss.
- Organize and Arrange: Take some time to organize the interior of your greenhouse. Install shelves, hanging baskets, or hanging hooks to maximize space and keep your plants well-organized. Consider a workbench for potting and gardening tasks.
- Irrigation System: Install an irrigation system or set up a watering method that suits your plants’ needs. This can include drip irrigation, soaker hoses, or a watering can system.
- Monitor and Maintain: Regularly inspect and maintain your greenhouse. Monitor temperature and humidity levels, check for any signs of damage or wear, and address any issues promptly. Regular cleaning and maintenance will help ensure the longevity of your greenhouse.
By adding these finishing touches, you’ll create a functional and well-organized space for your plants to thrive. These final steps will enhance the overall performance and enjoyment of your greenhouse.
Conclusion
Congratulations! You have successfully completed the process of attaching greenhouse plastic to your DIY project. By following the steps outlined in this guide, you have created a secure and insulated environment for your plants to flourish.
The greenhouse plastic serves as a protective barrier, shielding your plants from harsh weather conditions, extending the growing season, and providing optimal growing conditions. With a well-attached plastic covering, you can control temperature and humidity levels, ensuring the ideal environment for your plants’ growth.
Remember, proper preparation of the greenhouse frame, accurate cutting of the plastic, secure attachment to the frame, and finishing touches are all essential in creating a functional and efficient greenhouse. Pay attention to detail and take the time to inspect and maintain your greenhouse regularly to ensure its longevity.
As you continue your gardening journey, take advantage of the benefits and opportunities that your greenhouse provides. Experiment with different plant varieties, explore various cultivation techniques, and enjoy the satisfaction of growing your own fresh produce or beautiful flowers all year round.
Now that you have completed attaching the greenhouse plastic, it’s time to sit back, relax, and watch your plants thrive in their new home. So grab your gardening tools, put on your gloves, and enjoy the fruits of your labor in your very own DIY greenhouse!