Home>Gardening Techniques>Plant Care>How To Mulch Around Shrubs
Plant Care
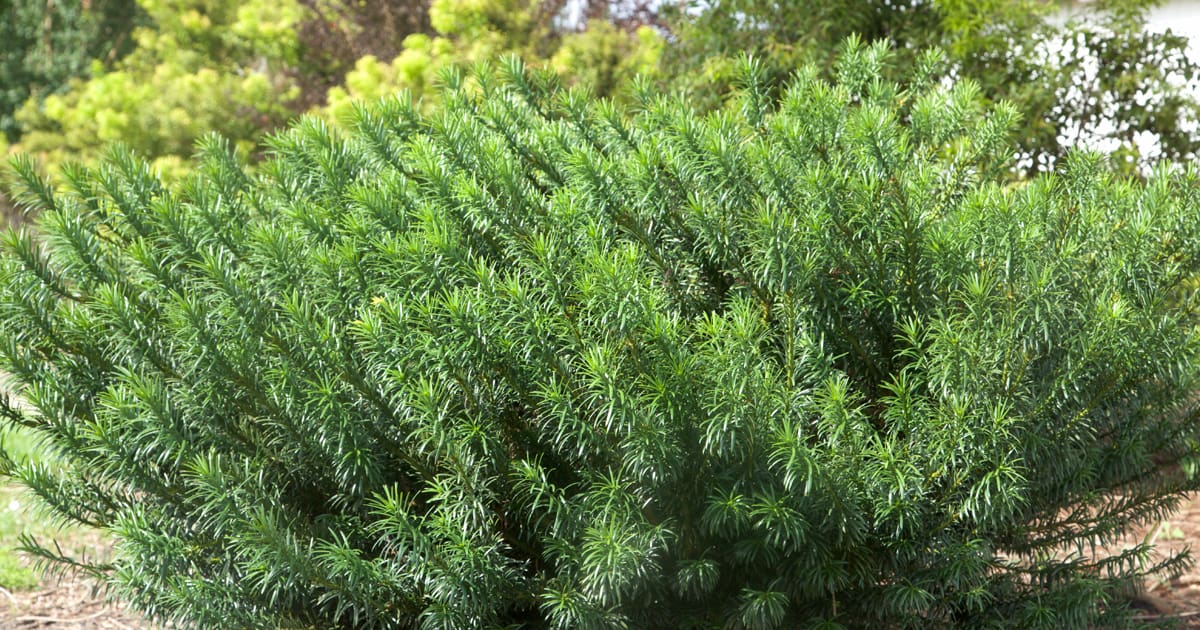
How To Mulch Around Shrubs
Modified: February 8, 2024
Learn the best plant care practices for mulching around shrubs. Discover how to properly apply mulch to promote healthy growth and protect your plants.
(Many of the links in this article redirect to a specific reviewed product. Your purchase of these products through affiliate links helps to generate commission for Chicagolandgardening.com, at no extra cost. Learn more)
Table of Contents
Introduction
Welcome to the world of plant care! Whether you’re a seasoned gardener or just starting out, properly caring for your plants is essential for their growth and vitality. One important aspect of plant care is mulching around shrubs. Mulching not only enhances the aesthetic appeal of your garden, but it also provides numerous benefits for the health of your plants.
In this article, we will explore the significance of mulching around shrubs and provide you with valuable tips and techniques to ensure your plants thrive. From choosing the right type of mulch to proper application methods, we’ve got you covered.
So, why is mulching so important? Mulch acts as a protective layer that covers the soil around your shrubs. It helps to retain moisture, regulate soil temperature, suppress weed growth, and improve soil fertility. Mulching also acts as a barrier between the soil and the surrounding environment, offering insulation during extreme weather conditions.
By keeping the soil consistently moist, mulch encourages healthy root development and reduces water evaporation. Additionally, the layer of mulch prevents competing weeds from robbing your shrubs of essential nutrients and water, giving your plants the best chance to thrive.
Furthermore, mulching serves as a natural buffer from temperature fluctuations. During hot summers, it keeps the soil cool, preventing overheating and reducing the stress on the shrubs. In colder months, mulch acts as insulation, providing a buffer against freezing temperatures and protecting the roots from damage.
Choosing the right mulch and applying it correctly are crucial for optimum results. Throughout this article, we will guide you in making informed decisions about the type of mulch that suits your needs and help you master the proper mulching techniques.
So let’s dive in and discover how mulching can transform your garden and promote the overall health and vitality of your shrubs!
Benefits of Mulching Around Shrubs
When it comes to the health and longevity of your shrubs, mulching offers a myriad of benefits. Here are some of the key advantages you can expect:
- Moisture Retention: One of the primary benefits of mulching around shrubs is its ability to retain moisture. The layer of mulch acts as a barrier, reducing evaporation and keeping the soil consistently moist. This is especially crucial during hot summer months or in dry climates where water conservation is essential.
- Weed Control: Mulch serves as a natural weed suppressor. By applying a thick layer of mulch around your shrubs, you create an inhospitable environment for weeds to germinate and grow. This reduces the need for constant weeding, saving you time and effort in maintaining your garden.
- Temperature Regulation: Mulch acts as a natural insulator, protecting your shrubs’ roots from extreme temperature fluctuations. In hot weather, it helps to keep the soil cool, preventing heat stress on the plants. Conversely, during colder periods, mulch acts as a buffer, providing insulation and protecting roots from freezing temperatures.
- Soil Fertility: Over time, organic mulches break down and add valuable nutrients to the soil. As mulch decomposes, it enriches the soil with organic matter, improving its fertility and creating a healthy environment for your shrubs to thrive.
- Prevent Soil Erosion: Mulching helps prevent soil erosion by acting as a protective layer. It minimizes the impact of heavy rain or strong winds, preventing the soil from washing away or being blown off. This is particularly beneficial if you have sloping or uneven areas in your garden.
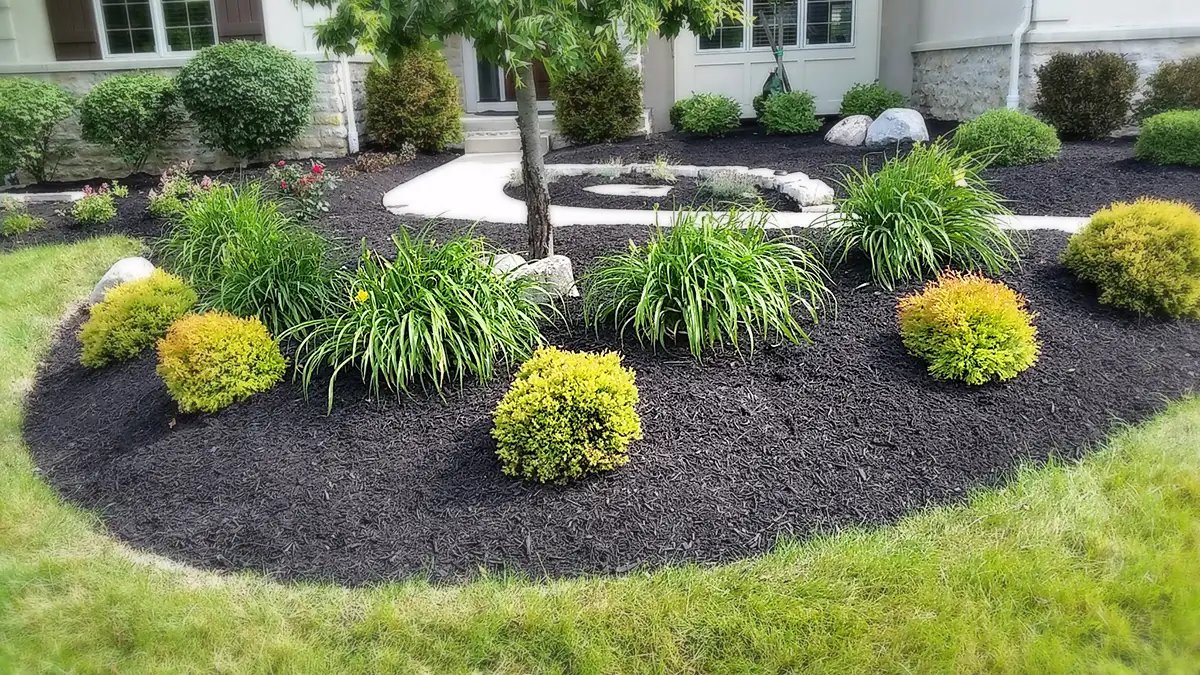
- Enhances Aesthetic Appeal: Mulching adds a finishing touch to your garden’s overall appearance. With a variety of mulch options available, you can choose a color and texture that complements your shrubs, creating a visually appealing landscape that showcases your plants.
By mulching around your shrubs, you provide them with a hospitable environment that promotes healthy growth and reduces unnecessary stress. The benefits of mulching are not only functional, but they also enhance the beauty and enjoyment of your garden.
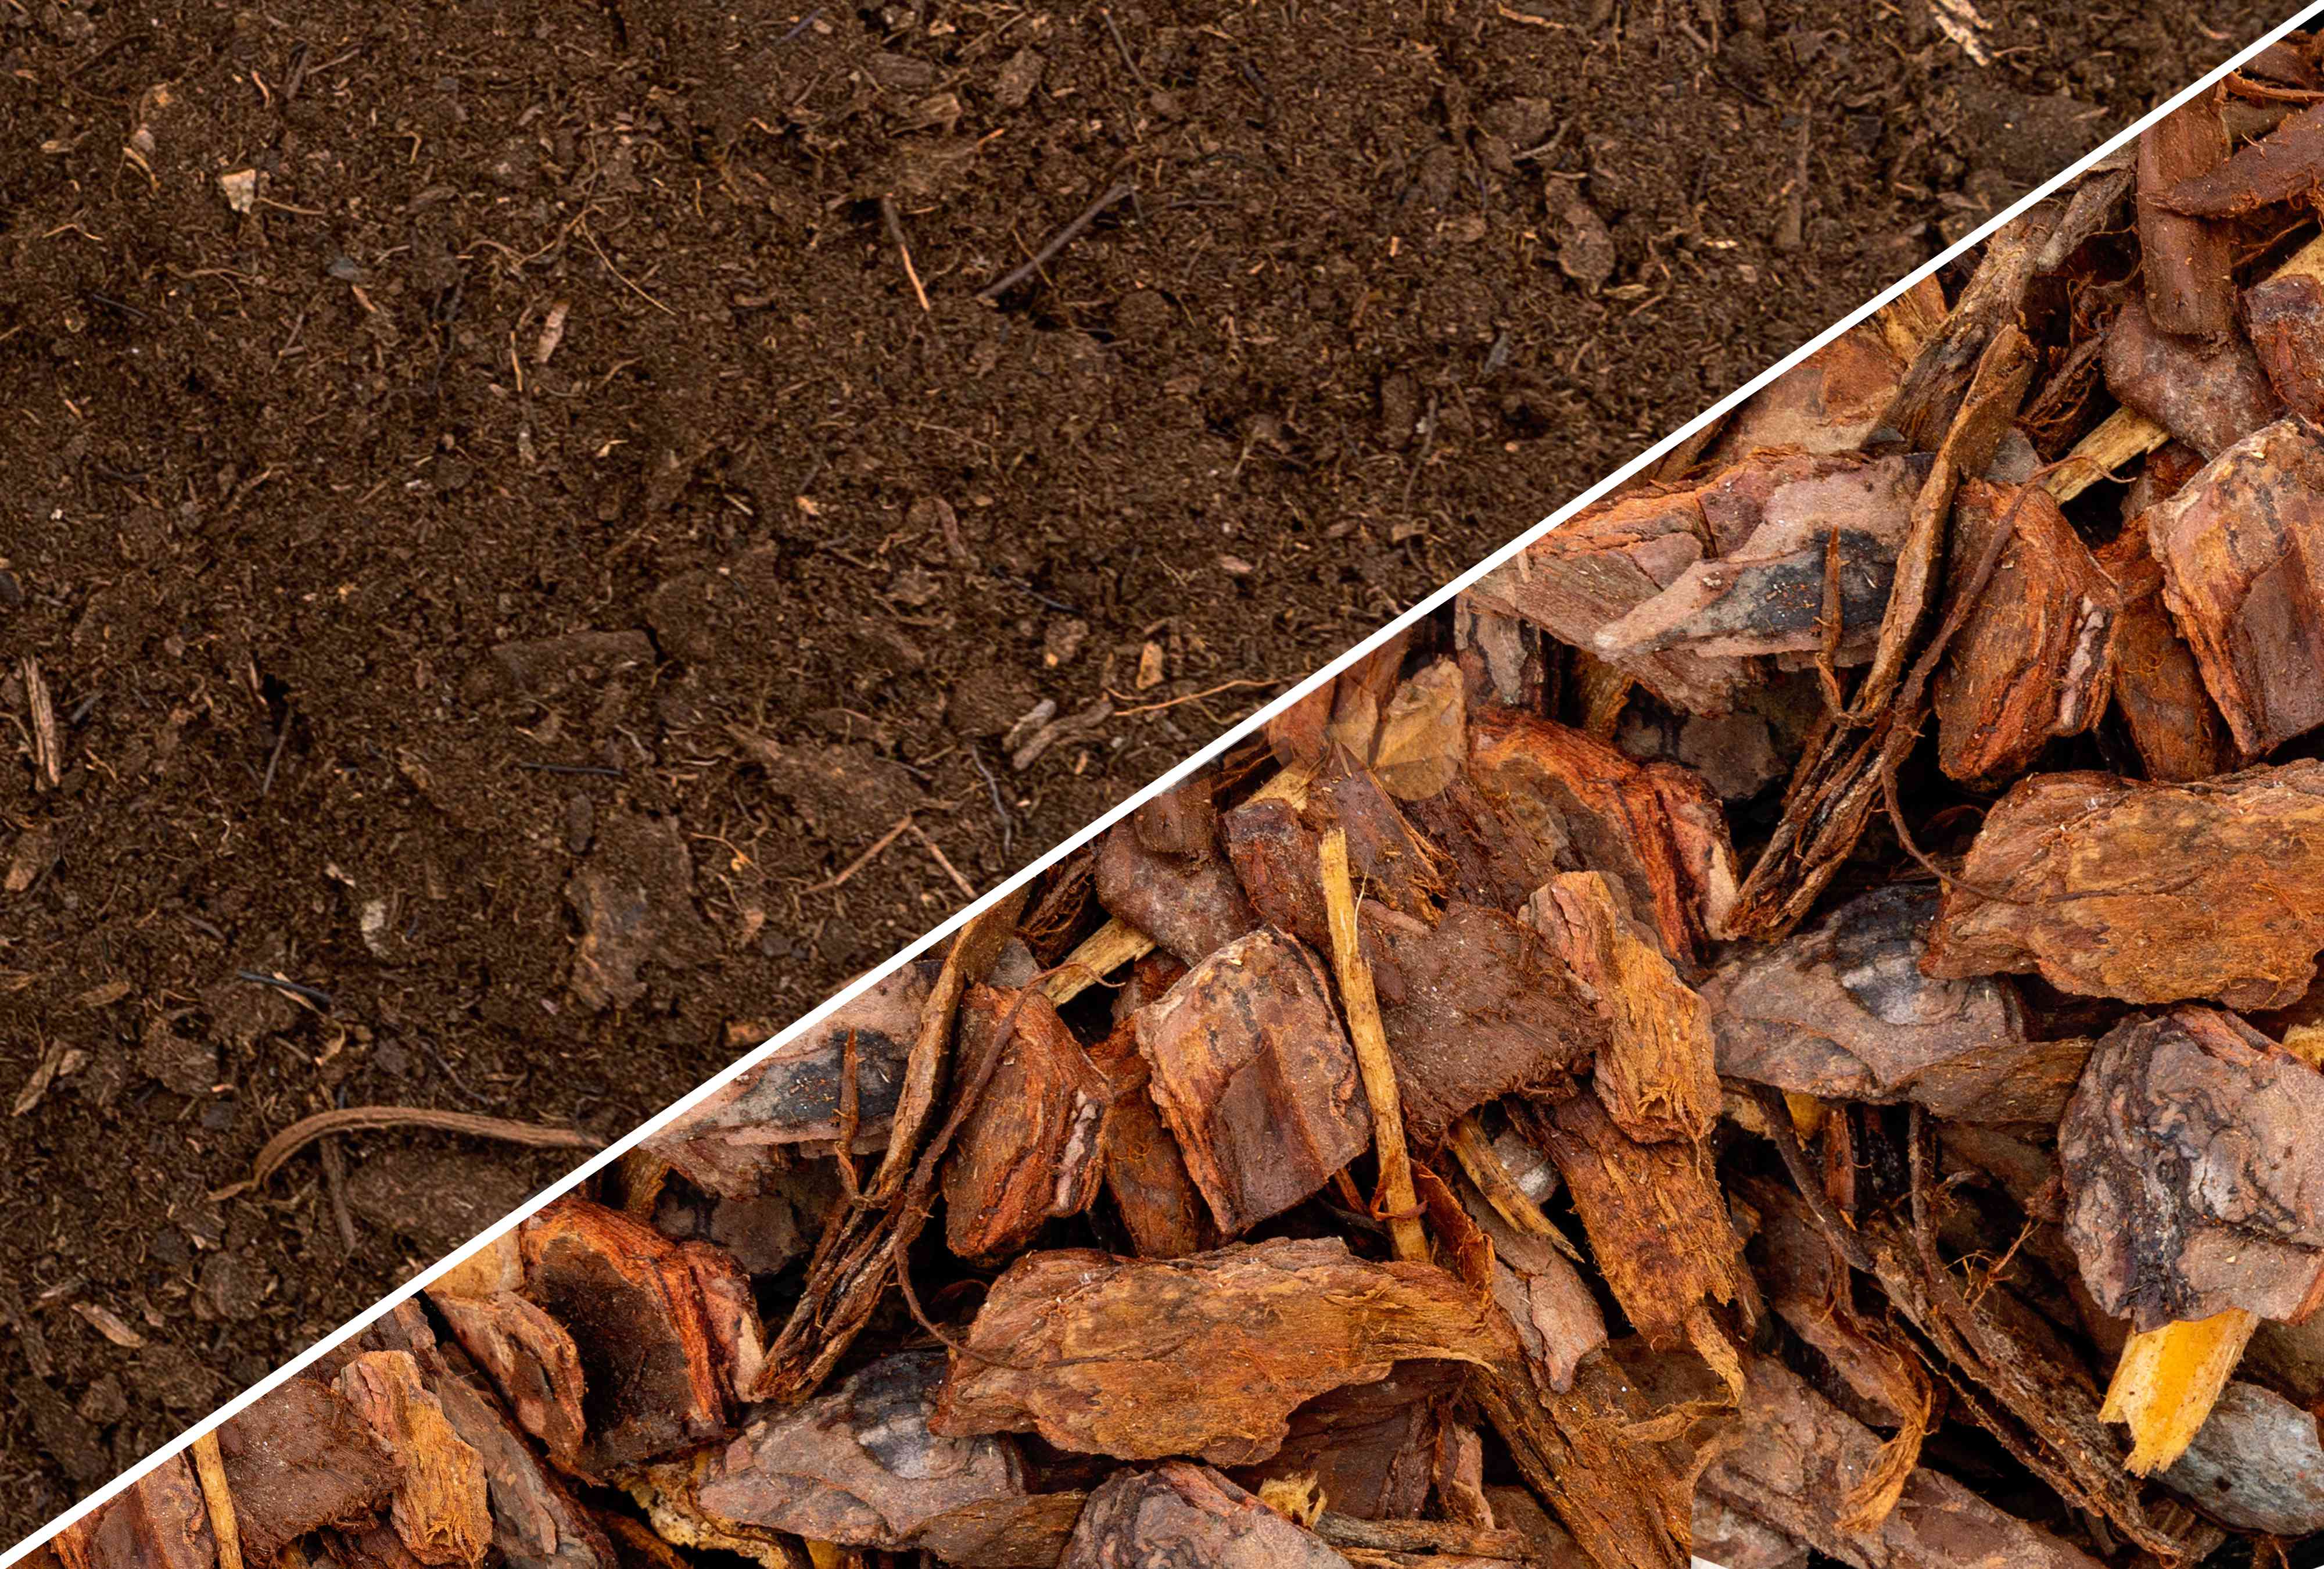
Types of Mulch to Use
Choosing the right type of mulch is crucial for the health and aesthetics of your shrubs. Here are some popular types of mulch:
- Organic Mulch: This type of mulch is made from natural materials, such as shredded bark, wood chips, straw, or leaves. Organic mulch not only enriches the soil as it breaks down but also helps retain moisture and suppress weed growth. It’s an excellent choice for shrubs that prefer slightly acidic soil, like azaleas or rhododendrons.
- Inorganic Mulch: Inorganic mulch, such as stones, gravel, or rubber mulch, offers low maintenance and long-lasting benefits. It does not decompose and provides good drainage. While it doesn’t add nutrients to the soil, inorganic mulch is perfect for contemporary or drought-tolerant gardens.
- Living Mulch: Some plants, like creeping thyme or clover, can be used as living mulches. These groundcovers not only provide erosion control and weed suppression but also add beauty and diversity to your garden. Be sure to choose living mulch that complements your shrubs’ growth habits and light requirements.
- Compost: Compost can be used as mulch to provide nutrients and improve soil structure. It helps with moisture retention and weed suppression. If you have your own compost pile, it’s a cost-effective and sustainable option for mulching around shrubs.
When selecting mulch, consider factors such as the specific needs of your shrubs, climate, soil type, and personal preferences. Opt for mulches that are readily available in your area and fit within your budget. Remember to avoid using dyed mulch, as the additives used in the dye may not be beneficial for your plants.
It’s also important to note that the depth of mulch can vary depending on the type you choose. Generally, apply a 2-4 inch layer of mulch, keeping it away from the base of the shrubs to prevent rotting or pest problems.
By understanding the different types of mulch available and their benefits, you can make an informed decision that suits your shrubs’ needs and enhances the overall health and beauty of your garden.
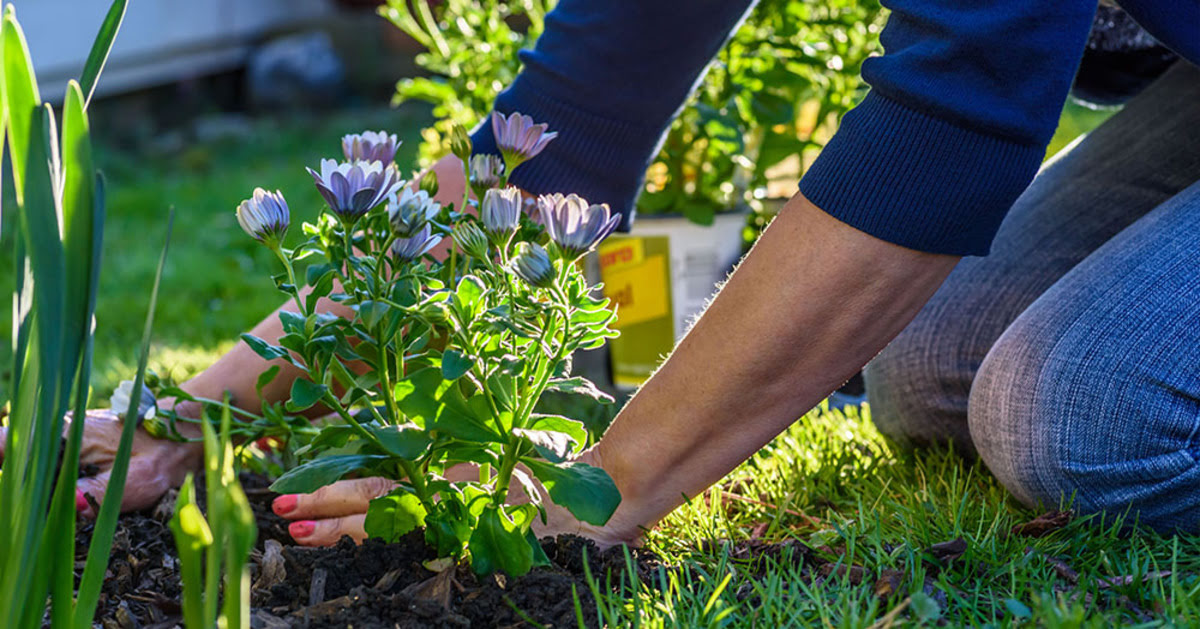
Proper Mulching Techniques
To ensure the effectiveness of mulching around your shrubs, it’s important to follow proper mulching techniques. Here are some key steps to consider:
- Clear the Area: Before applying mulch, remove any existing weeds or grass from around the base of the shrubs. This helps prevent weed growth and ensures that the mulch is in direct contact with the soil.
- Prepare the Soil: Loosen the soil around the shrubs to improve water penetration and root growth. Rake the soil gently and remove any large debris, rocks, or roots.
- Apply a Weed Barrier (Optional): If weed control is a priority, you can lay down a weed barrier fabric before applying the mulch. This will further inhibit weed growth while still allowing water, air, and nutrients to reach the soil.
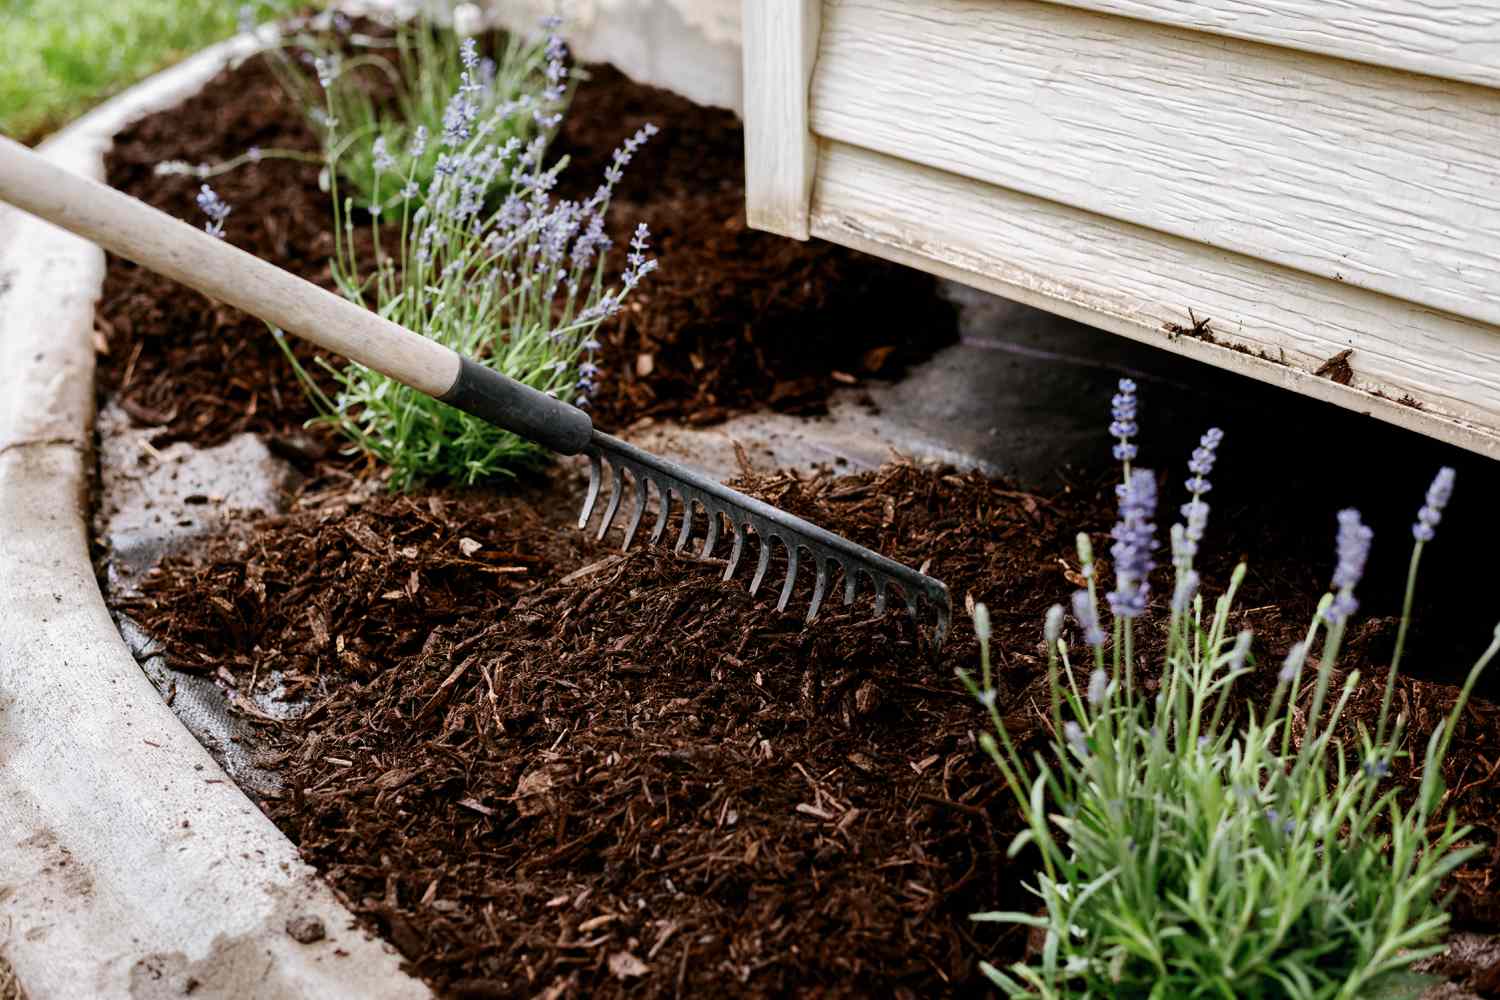
- Apply Mulch: Spread a layer of mulch around the shrubs, ensuring a thickness of 2-4 inches. Be careful not to pile mulch directly against the stems or trunks of the shrubs, as this can cause rot or encourage pests. Leave a small space around the base to allow for airflow.
- Spread Evenly: Use a rake or garden fork to spread the mulch evenly across the desired area. Avoid clumping or piling the mulch in certain spots, as this can lead to water runoff and uneven moisture distribution.
- Leave Space Near Trunks: Create a mulch-free zone around the base of the shrubs, about 2-3 inches in diameter. This prevents excess moisture retention, prevents rot, and discourages pests from nesting near the trunk.
- Monitor Moisture Levels: After mulching, monitor the moisture levels regularly by checking the soil. Adjust watering as needed to maintain an appropriate level of moisture for your shrubs.
- Replenish Mulch Annually: Mulch breaks down over time, so it’s essential to replenish it annually. Before adding new mulch, remove any old or decomposed mulch to maintain an appropriate layer thickness around the shrubs.
By following these proper mulching techniques, you provide your shrubs with optimal growing conditions, preventing weed growth, retaining moisture, and protecting the roots from extreme temperatures. Remember, proper mulching is an ongoing process that requires regular maintenance and monitoring to ensure the health and vitality of your shrubs.
Step-by-Step Guide to Mulching Around Shrubs
Mulching around shrubs is a straightforward process that can significantly benefit the health and appearance of your plants. Follow this step-by-step guide to achieve optimal results:
- Prepare the Area: Start by clearing any weeds, debris, or grass from around the shrubs. This ensures that the mulch comes into direct contact with the soil and prevents weed growth.
- Loosen the Soil: Use a hand rake or garden fork to gently loosen the soil around the shrubs. This helps improve water infiltration, allowing for better drainage and root penetration.
- Choose the Right Mulch: Select the type of mulch that best suits your shrubs and garden aesthetics. Consider factors such as organic or inorganic mulch, available options in your area, and the specific needs of your plants.
- Calculate the Amount: Measure the area you need to cover with mulch to determine the quantity required. A general rule of thumb is to apply a 2-4 inch layer of mulch around the shrubs.
- Apply the Mulch: Start by spreading a thin layer of mulch around the base of the shrubs. Gradually build up the thickness, ensuring a uniform layer without clumps or mounds. Leave a small gap around the trunk or stems to prevent moisture accumulation.
- Spread Evenly: Use a garden rake or gloved hands to spread the mulch evenly, covering the desired area. This helps maintain a consistent moisture level and prevents water runoff.
- Check for Adequate Depth: Measure the depth of the mulch to ensure it falls within the recommended range. Adjust if necessary, adding more mulch to achieve the desired thickness.
- Leave Space Near Trunk: Create a small ring or space around the base of the shrubs, about 2-3 inches in diameter, free from mulch. This allows for airflow and helps prevent diseases or rot from affecting the trunk.
- Monitor Moisture: After mulching, monitor the moisture levels regularly. Ensure that the soil beneath the mulch remains consistently moist without becoming saturated.
- Maintain and Replenish: Mulch breaks down over time, so it’s important to replenish it annually. Before adding new mulch, remove any decomposed or compacted mulch to maintain the proper layer thickness.
By following this step-by-step guide, you can successfully mulch around your shrubs and provide them with the optimal growing conditions they need for healthy and thriving development. Remember, regular maintenance and monitoring are key to ensuring the long-term benefits of mulching.
Common Mistakes to Avoid When Mulching
Mulching is a beneficial practice for shrubs, but it’s important to avoid common mistakes that can hinder its effectiveness. By keeping these mistakes in mind, you can ensure that your shrubs receive the maximum benefits from mulching:
- Over-mulching: Applying too much mulch can suffocate the roots of your shrubs and prevent water from reaching the soil. Avoid piling mulch high against the base of the shrubs, as this can cause rot or encourage pests.
- Using the Wrong Mulch Type: Choosing the wrong mulch can have negative consequences. For instance, using an organic mulch that releases excessive nitrogen may harm plants that prefer low-nitrogen environments. Always select a mulch that is appropriate for your shrubs’ specific needs.
- Mulching Too Close to the Trunk: Leaving space around the base of shrubs is crucial to prevent moisture accumulation and potential rot. Avoid placing mulch directly against the bark or stems of the plants.
- Using Dyed or Chemical-laden Mulch: While dyed mulch may add an aesthetic appeal, the chemicals used in the dye may not be suitable for plant health. Stick to natural mulch options to avoid any potential harm to your shrubs.
- Ignoring Weed Control: Mulching is an effective weed control method, but it’s essential to clear existing weeds before applying mulch. Failure to do so may result in weed growth beneath the mulch, competing with your shrubs for nutrients and moisture.
- Neglecting Regular Maintenance: Mulch decomposes over time and may become compacted or lose its effectiveness. It’s important to regularly monitor the mulch depth, remove any decomposed material, and replenish as needed to maintain the optimal thickness.
- Applying Mulch Too Late: Mulching too late in the growing season may prevent the shrubs from benefiting fully during the growing season. Aim to apply mulch in spring or early summer after the soil has warmed up but before the heat of summer sets in.
- Not Adjusting Irrigation: Mulch helps retain moisture, so it’s essential to adjust your watering schedule accordingly. Be mindful not to overwater, as the mulch retains moisture longer, potentially leading to root rot.
By avoiding these common mulching mistakes, you can ensure that your shrubs receive the maximum benefits from mulching. Remember to choose the appropriate type of mulch, apply it correctly, and maintain it regularly for healthy and thriving shrubs in your garden.
Maintenance and Replenishing Mulch
Mulching is not a one-time task; it requires regular maintenance to ensure its effectiveness and provide ongoing benefits to your shrubs. Here are some essential maintenance tips to keep in mind:
- Monitor Mulch Depth: Over time, mulch can break down and become compacted, reducing its effectiveness. Regularly check the mulch depth and replenish as needed to maintain a layer of 2-4 inches around your shrubs.
- Remove Decomposed Mulch: As mulch decomposes, it may form a dense layer that hinders water and air penetration. Periodically remove any decomposed mulch, such as wood chips or shredded bark, to prevent compaction and ensure proper mulch performance.
- Clear Weeds: Weeds can still find their way through the mulch layer. Regularly inspect your mulched area and remove any weeds that manage to germinate and grow. This will prevent them from competing with your shrubs for essential nutrients and water.
- Reapply Annually: Mulch gradually breaks down, particularly organic mulch. It’s advisable to replenish your mulch annually, usually in the spring. Before adding new mulch, remove any old or decomposed material, creating space for the fresh layer.
- Water Properly: Mulch helps retain moisture, but it’s important to water your shrubs appropriately. Avoid overwatering, as the mulch may retain moisture for longer periods. Monitor the soil moisture levels and adjust your watering schedule accordingly.
- Inspect for Pests and Diseases: Regularly inspect the area around your mulched shrubs for signs of pests or diseases. Mulch can provide a conducive environment for pests, so be proactive in identifying and addressing any issues that may arise.
- Avoid Mulch “Volcanoes”: One common mistake is piling mulch against the base of the shrubs, resembling a volcano shape. This practice can lead to excessive moisture retention and root rot. Always maintain a small gap around the base of your shrubs to promote proper airflow.
By consistently maintaining and replenishing your mulch, you provide ongoing benefits to your shrubs, such as moisture retention, weed suppression, and temperature regulation. Regular maintenance ensures that your mulch continues to perform optimally and enhances the overall health and beauty of your shrubs.
Conclusion
Mulching around shrubs is a simple yet powerful practice that offers numerous benefits for the health and vitality of your plants. By understanding the importance of mulching and following proper techniques, you can create an optimal growing environment and enhance the overall appearance of your garden.
From retaining moisture and suppressing weeds to regulating soil temperature and improving soil fertility, mulching provides a range of advantages. It helps your shrubs thrive by promoting healthy root development, reducing water evaporation, and protecting against extreme weather conditions.
When choosing the type of mulch, consider factors such as the specific needs of your shrubs, climate, and personal preferences. Whether organic or inorganic, living or compost, select the mulch that suits your garden best.
Proper mulching techniques are essential for achieving optimal results. Clearing the area, preparing the soil, applying mulch evenly, and leaving space around the trunk are key steps to follow. Regular maintenance, including monitoring mulch depth, removing decomposed material, and addressing weeds or pests, ensures the long-term benefits of mulching.
Remember that mulching is an ongoing process, and it’s necessary to replenish the mulch annually to maintain its effectiveness. By staying attentive to your shrubs’ needs and consistently maintaining your mulch, you will provide them with a healthy and vibrant environment to thrive.
So, go ahead and grab your gardening tools. Start mulching around your shrubs and witness the transformation it brings to your garden. With proper mulching, you can ensure the long-term health and beauty of your beloved shrubs, creating a garden oasis that you can enjoy for years to come.