Home>Gardening Techniques>Plant Care>How To Plant Holly Shrubs
Plant Care
How To Plant Holly Shrubs
Modified: February 10, 2024
Learn essential plant care techniques for planting holly shrubs and ensure their healthy growth. Discover expert tips and advice to cultivate beautiful and thriving holly shrubs.
(Many of the links in this article redirect to a specific reviewed product. Your purchase of these products through affiliate links helps to generate commission for Chicagolandgardening.com, at no extra cost. Learn more)
Table of Contents
Introduction
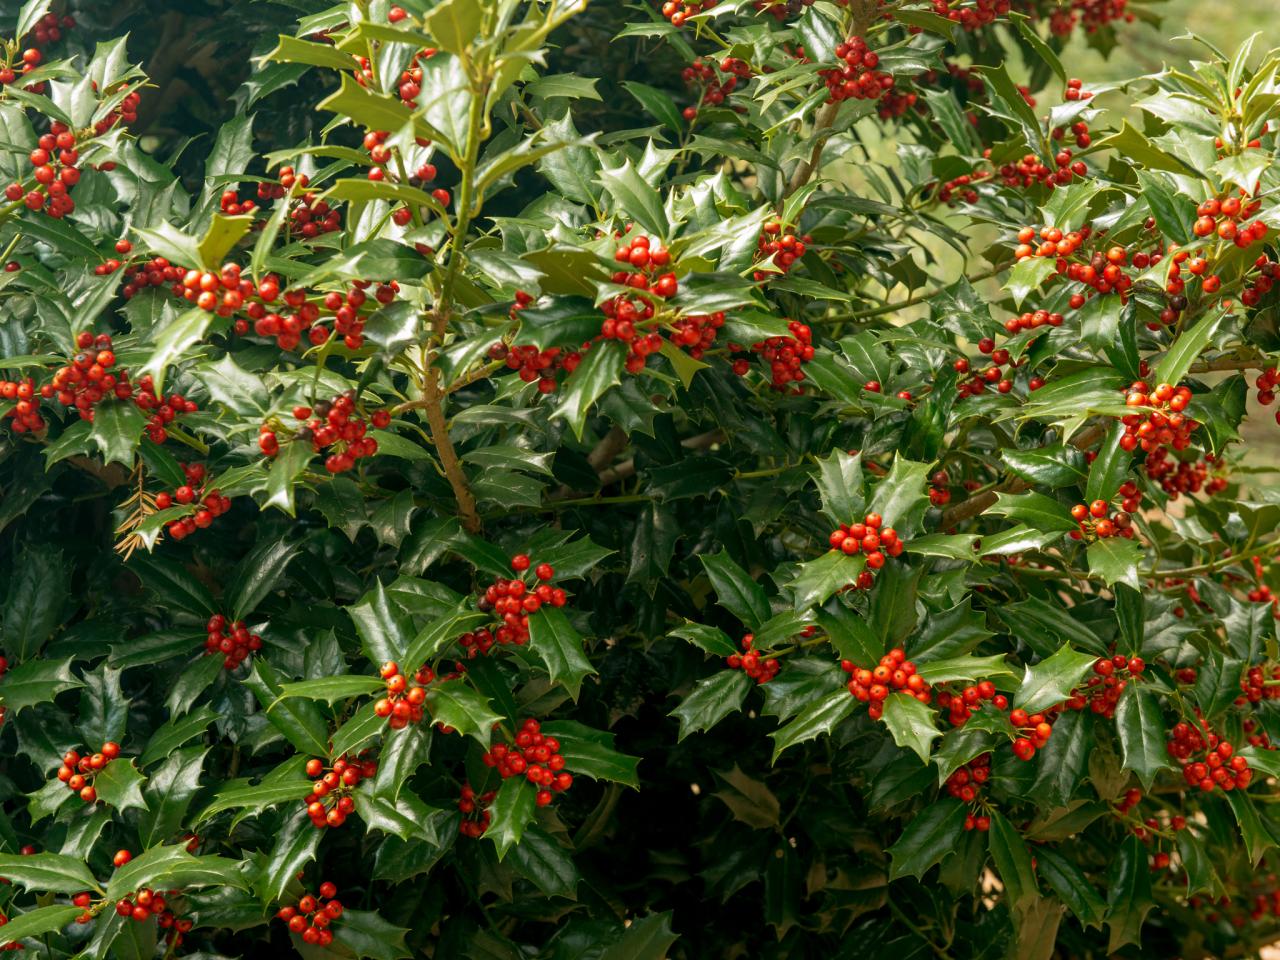
Welcome to the world of plant care, where we dive into the art and science of cultivating and nurturing stunning holly shrubs. Holly shrubs are a timeless and elegant addition to any garden or landscape. With their glossy green leaves and vibrant red berries, these versatile plants bring beauty and cheer all year round.
Whether you’re a seasoned gardener or just starting your plant care journey, this comprehensive guide will provide you with the knowledge and tips you need to successfully plant and care for holly shrubs. From selecting the perfect shrub to maintaining optimal growth conditions, we’ve got you covered.
But before we delve into the specifics, let’s take a moment to appreciate the enchanting qualities of holly shrubs. Holly shrubs belong to the genus Ilex and are part of the Aquifoliaceae family. They are native to various regions around the world and have been admired for centuries for their symbolic significance and aesthetic appeal.
One of the most fascinating aspects of holly shrubs is their dioecious nature, which means that each plant is either male or female. The female plants produce the iconic red berries that are often associated with the holiday season. However, to ensure berry production, both male and female plants are needed in close proximity for effective pollination.
Throughout history, holly shrubs have been revered for their cultural and spiritual significance. In many cultures, they are considered symbols of fertility, protection, and good luck. In Christianity, holly is often associated with Christmas and is said to represent the crown of thorns worn by Jesus. The sharp leaves and vibrant berries are seen as symbolic of his sacrifice.
Aside from their symbolic meanings, holly shrubs also offer practical benefits. They provide year-round greenery and privacy, making them excellent choices for hedges and borders. Additionally, their dense foliage provides a safe haven for birds and other wildlife, making your garden a haven for biodiversity.
Now that we’ve established the allure of holly shrubs, it’s time to dive into the practicalities of planting and caring for these remarkable plants. Join us as we explore the various aspects of holly shrub care, from choosing the right variety to maintaining their beauty for years to come.
Choosing the Right Holly Shrubs
When it comes to choosing the right holly shrubs for your garden, there are several factors to consider. From size and growth habit to leaf color and berry production, each variety offers its own unique characteristics. Here are some key considerations to help you make the best choice:
1. Size: Holly shrubs come in various sizes, ranging from compact dwarf varieties to larger upright or spreading ones. Consider the available space in your garden and how you want the shrub to fit into the overall landscape. Smaller varieties like Ilex Crenata ‘Sky Pencil’ are perfect for tight spaces, while larger types like Ilex Aquifolium ‘Argentea Marginata’ make a statement as a focal point.
2. Growth Habit: Pay attention to the growth habit of different holly shrubs. Some have a more upright form, while others are more spreading. Choose a growth habit that suits your aesthetic preferences and the layout of your garden. For example, Ilex Cornuta ‘Carissa’ has a compact, mounding habit that works well as a low hedge or border.
3. Leaf Color and Texture: Holly shrubs exhibit a wide array of leaf colors and textures. While the classic glossy green leaves are popular, there are also varieties with variegated foliage, such as Ilex x meserveae ‘Blue Princess’, which features dark green leaves with blue-purple highlights. Consider the color palette of your garden and choose a holly shrub that complements it.
4. Berry Production: If you desire the iconic red berries that holly shrubs are known for, make sure to select a female variety that will produce fruit. Keep in mind that for berry production, a male pollinator plant is required in close proximity. Varieties like Ilex x attenuata ‘Fosteri’ produce abundant berries when paired with a suitable male counterpart.
5. Adaptability: Consider the climate and conditions in your area. Some holly shrubs are more adaptable to different soil types and tolerate a wider range of temperatures, while others have specific requirements. If you live in a colder region, opt for winter-hardy varieties like Ilex verticillata ‘Winter Red’ that can withstand sub-zero temperatures.
By carefully considering these factors, you can choose holly shrubs that not only enhance the beauty of your garden, but also thrive in the specific conditions of your environment. Take your time to research different varieties and make an informed decision based on your preferences and the unique characteristics of each holly shrub.
Selecting the Planting Location
Choosing the right planting location for your holly shrubs is crucial to ensuring their long-term health and vitality. Here are some essential considerations to keep in mind when selecting the ideal spot:
1. Sunlight: Most holly shrubs thrive in full sun to partial shade, receiving at least 4-6 hours of direct sunlight each day. Make sure to choose a location that provides the appropriate amount of sunlight for the specific variety you have selected. Insufficient sunlight can lead to sparse growth and reduced berry production.
2. Soil Drainage: Holly shrubs prefer well-drained soil to prevent waterlogging, which can result in root rot. Avoid planting them in areas with heavy clay or compacted soil. If your soil is heavy, consider amending it with organic matter, such as compost, to improve drainage. Additionally, avoid planting holly shrubs in areas prone to standing water.
3. Soil pH: Holly shrubs generally prefer slightly acidic to neutral soil with a pH range of 5.0 to 7.0. Conduct a soil test to determine the pH level of your soil and make any necessary adjustments using soil amendments. This will create optimal conditions for the shrubs to thrive and absorb nutrients efficiently.
4. Air Circulation: Good air circulation is important for preventing diseases and promoting healthy growth. Avoid planting holly shrubs in areas with restricted airflow, such as tight corners or close to structures. Ensure there is sufficient space between shrubs and other plants to allow for adequate air circulation.
5. Protection from Extreme Conditions: While holly shrubs are generally hardy, extreme weather conditions, such as strong winds or intense heat, can stress the plants. Choose a planting location that offers some protection from these elements, such as near a fence or on the leeward side of your property.
6. Proximity to Pollinators: If you are planting female holly shrubs for the purpose of berry production, ensure that a suitable male pollinator shrub is located within close proximity, typically within 30-50 feet. This will facilitate cross-pollination and increase the chances of berry production.
By carefully selecting the planting location for your holly shrubs, you can provide them with the ideal conditions for healthy growth and vibrant foliage. Taking the time to assess the sunlight, soil drainage, pH level, air circulation, protection from extreme conditions, and proximity to pollinators will set the foundation for a thriving holly shrub garden.
Preparing the Soil
Preparing the soil before planting your holly shrubs is a crucial step in ensuring their successful establishment and long-term health. Good soil preparation provides a nutrient-rich and well-drained environment for the roots to thrive. Here are some essential steps to follow when preparing the soil:
1. Clear the Area: Begin by removing any existing weeds, grass, or debris from the planting area. This will reduce competition for nutrients and prevent unwanted plants from encroaching on your holly shrubs. Use a rake or hand tools to clear the area effectively.
2. Soil Test: Conduct a soil test to determine the nutrient levels and pH of your soil. This will help you identify any deficiencies or imbalances and allow you to make the necessary amendments. Soil test kits are readily available at garden centers or through your local agricultural extension office.
3. Amend the Soil: Based on the results of your soil test, amend the soil as needed to create optimal growing conditions for your holly shrubs. Add organic matter, such as compost or well-rotted manure, to improve soil structure, fertility, and moisture-retention capabilities. Incorporate the amendments into the top 6-8 inches of soil using a garden fork or tiller.
4. Adjust the pH: If the soil test reveals that the pH level is outside the desired range for holly shrubs (slightly acidic to neutral, pH 5.0-7.0), make the necessary adjustments using soil amendments. Add elemental sulfur to lower the pH or agricultural lime to raise it. Follow the recommended application rates on the product packaging and mix the amendments thoroughly into the soil.
5. Improve Drainage: Ensure that the soil has good drainage to prevent waterlogging and root rot. If your soil is heavy clay or tends to retain water, consider adding coarse sand or perlite to improve drainage. Work these amendments into the soil to a depth of at least 6 inches, ensuring thorough incorporation.
6. Level the Soil: After incorporating the amendments, use a garden rake to level the soil surface. This will create an even planting bed and provide a stable foundation for your holly shrubs. Remove any large clumps, rocks, or debris that may hinder root growth.
7. Water the Soil: Prior to planting, thoroughly water the soil to ensure proper moisture distribution and settlement. This will help eliminate air pockets and provide a moist environment for your holly shrubs to establish their roots.
By following these steps, you can create a nutrient-rich and well-drained soil environment that will support the healthy growth of your holly shrubs. Proper soil preparation lays the foundation for a thriving garden and sets your holly shrubs up for success.
Digging the Planting Hole
When it comes to planting holly shrubs, properly preparing the planting hole is essential for their successful establishment and growth. The size and depth of the hole are crucial factors that will ensure the roots have enough room to spread and access the necessary nutrients and moisture. Here are some important steps to follow when digging the planting hole for your holly shrubs:
1. Measure the Root Ball: Before you start digging, measure the width and depth of the root ball of your holly shrub. This will give you a better idea of the size of the planting hole needed. The width of the hole should be about twice the diameter of the root ball, while the depth should be slightly shallower than the height of the root ball.
2. Mark the Area: Use stakes and twine or a hand-held soil auger to mark the boundaries of the planting hole. This will help guide you while digging and ensure that the hole is the correct size and shape.
3. Dig the Hole: Start by removing the top layer of grass or vegetation within the marked area. Then, using a shovel or a garden spade, begin digging the hole. Dig straight down, creating a hole with sloping sides that gradually widens towards the bottom. The hole should be deep enough to accommodate the root ball without burying the trunk or stem.
4. Break Up the Sides and Bottom: After digging the initial hole, use the shovel or a garden fork to break up the sides and bottom of the hole. This will loosen the soil and promote better root penetration and growth. Be sure to remove any large rocks, roots, or debris that may obstruct root development.
5. Check the Depth: Once the hole is dug, place the root ball in the hole to check if it sits at the proper depth. The top of the root ball should be level with or slightly above the surrounding soil. Adjust the hole depth if needed by adding or removing soil.
6. Backfill the Hole: Gently backfill the hole with the soil that was excavated, making sure to avoid compacting the soil around the roots. Gently firm the soil around the root ball to provide stability. Avoid using excessive force or compacting the soil too tightly, as this can impede root growth.
7. Water Thoroughly: After planting, water the holly shrub thoroughly to settle the soil and eliminate air pockets around the root ball. This will ensure that the roots make good contact with the soil and have access to the necessary moisture. Continue to water regularly after planting to maintain proper hydration.
By following these steps, you can ensure that your holly shrubs are planted at the proper depth and in a well-prepared hole. This will promote strong root development and provide a solid foundation for the shrub to thrive in its new environment.
Planting the Holly Shrubs
Now that you have prepared the soil and dug the planting hole, it’s time to plant your holly shrubs. Proper planting techniques will ensure that the shrubs have a smooth transition and establish themselves successfully. Here are the essential steps to follow when planting your holly shrubs:
1. Gently Remove the Shrub: Carefully remove the holly shrub from its container or burlap wrapping. If the roots are tightly bound, gently tease them apart with your fingers or a garden tool to encourage outward growth.
2. Place the Shrub in the Hole: Lower the holly shrub into the planting hole, ensuring that the top of the root ball is level with or slightly above the surrounding soil. Position the shrub so that it is upright and centered within the hole.
3. Backfill the Hole: Begin backfilling the hole with the soil that was excavated, gradually filling in around the root ball. Gently tamp down the soil with your hands or a gardening tool to remove any air pockets. Avoid packing the soil too tightly, as this can hinder root growth.
4. Water Thoroughly: After planting, thoroughly water the holly shrub until the soil is evenly saturated. This will help settle the soil and provide necessary moisture for the roots to establish. Continue to water regularly during the first few weeks after planting to ensure proper hydration.
5. Mulch the Base: Apply a layer of organic mulch, such as wood chips or bark, around the base of the holly shrub. This will help conserve moisture, suppress weed growth, and regulate soil temperature. Maintain a mulch layer of about 2-3 inches, ensuring that it does not touch the stem or trunk of the shrub.
6. Stake if Necessary: Depending on the size and stability of the shrub, staking may be required to provide extra support. Use sturdy stakes and soft ties to gently secure the shrub to prevent it from leaning or being damaged by strong winds. Monitor the shrub’s growth and remove the stakes once it becomes self-supporting.
7. Monitor and Maintain: Regularly monitor your holly shrubs for signs of growth and health. Water the shrubs deeply during dry spells and feed them with a balanced fertilizer according to the manufacturer’s instructions. Prune selectively to maintain shape and remove any damaged or diseased branches.
By following these steps, you can ensure that your holly shrubs are planted correctly, allowing them to establish strong root systems and thrive in their new environment. With proper care and attention, your holly shrubs will bring beauty and joy to your garden for years to come.
Watering and Mulching
Proper watering and mulching are vital components of successful holly shrub care. These practices help maintain optimal moisture levels, regulate soil temperature, suppress weed growth, and provide essential nutrients. By following these guidelines, you can ensure the health and vitality of your holly shrubs:
1. Watering:
Watering is crucial during the establishment period and throughout the life of the holly shrubs. Here are some key points to keep in mind:
- Water deeply and infrequently: Rather than shallow, frequent watering, it is better to deeply water your holly shrubs less often. This encourages the roots to grow deeper into the soil, resulting in a stronger and more resilient plant.
- Check soil moisture levels: Before watering, check the moisture levels of the soil by sticking your finger about an inch into the soil. If it feels dry, it’s time to water. Avoid overwatering, as excessive moisture can lead to root rot and other issues.
- Water at the base of the shrub: Direct the water towards the base of the holly shrub, aiming to reach the root zone. Avoid watering the foliage, as wet leaves can promote fungal diseases.
- Water in the morning: Water your holly shrubs in the morning to allow ample time for the foliage to dry before nighttime. This helps prevent fungal growth and disease.
2. Mulching:
Mulching is essential to conserve moisture, regulate soil temperature, and suppress weed growth. Follow these tips for effective mulching:
- Apply organic mulch: Use organic materials such as wood chips, bark, or compost to create a layer of mulch around the base of your holly shrubs. This helps retain moisture in the soil and provides a barrier against fluctuations in temperature.
- Keep mulch away from the trunk: Avoid piling mulch too close to the trunk of the shrub, as it can lead to excessive moisture retention and the risk of rot. Leave a small gap between the mulch and the base of the shrub to allow for air circulation.
- Maintain an adequate thickness: Apply a layer of mulch that is about 2-3 inches thick. This helps to suppress weeds, retain moisture, and insulate the soil. Avoid piling the mulch too high, as it can create a harbor for pests and diseases.
- Refresh the mulch annually: As mulch breaks down over time, it becomes less effective. Refresh the mulch layer annually to ensure its continued benefits.
By following these watering and mulching practices, you will provide your holly shrubs with the necessary moisture, temperature regulation, and weed suppression to help them thrive and maintain their health and beauty.
Pruning and Maintenance
Pruning and regular maintenance play a crucial role in keeping your holly shrubs healthy, well-shaped, and aesthetically pleasing. By following proper pruning techniques and implementing routine maintenance practices, you can ensure the long-term vitality of your holly shrubs. Here are some essential guidelines to follow:
1. Pruning:
- Remove dead, damaged, or diseased branches: Regularly inspect your holly shrubs and remove any dead, damaged, or diseased branches. This helps promote healthy growth and prevents the spread of diseases.
- Prune for shape and size: Prune holly shrubs to maintain a desired shape and size. Use sharp and clean pruning tools to make precise cuts just above a bud or lateral branch.
- Prune after flowering: For holly shrubs that produce berries, it is best to prune them after the berries have dropped or before the new growth begins. This preserves the maximum visual impact of the berries while still allowing time for new growth to emerge.
- Thin out dense growth: If your holly shrub becomes overly dense, selectively prune some inner branches to improve air circulation and light penetration. This will promote overall health and minimize the risk of foliar diseases.
- Know your holly shrub’s growth habit: Different holly shrub varieties have varying growth habits, including upright, columnar, or spreading. Understanding the growth habit of your specific shrub will inform your pruning decisions for maintaining its natural form.
2. General Maintenance:
- Fertilize appropriately: Feed your holly shrubs with a balanced slow-release fertilizer in early spring or late winter, following the manufacturer’s instructions. This provides essential nutrients for healthy growth and berry production.
- Monitor for pests and diseases: Regularly inspect your shrubs for signs of pests or diseases, such as leaf discoloration, wilting, or unusual growth. Take appropriate measures, such as using organic pest control methods, to prevent infestations or treat any issues promptly.
- Provide adequate water: Though holly shrubs are generally drought-tolerant, they still require regular watering, especially during dry spells or in the early stages of establishment. Ensure they receive adequate moisture, but avoid overwatering to prevent root rot.
- Monitor and adjust mulch: Regularly check the mulch around your holly shrubs and adjust as needed. Maintain the proper thickness and keep the mulch from touching the stems to prevent moisture and pest problems.
- Monitor for frost protection: During frosty periods, monitor the weather forecasts and protect your holly shrubs with frost blankets or burlap if necessary. This helps prevent frost damage to the foliage or berries.
By incorporating regular pruning and maintenance into your holly shrub care routine, you can enhance their beauty, promote healthy growth, and mitigate potential issues. Remember to approach pruning with discretion and care, as holly shrubs are relatively slow-growing and may take time to recover from overly aggressive pruning.
Conclusion
Congratulations on mastering the art of planting and caring for holly shrubs! By following the guidelines outlined in this comprehensive guide, you are well-equipped to create a beautiful and thriving holly shrub garden. From selecting the right shrub and planting location to properly preparing the soil, watering, mulching, and maintaining the shrubs, you have gained valuable knowledge in every aspect of holly shrub care.
Holly shrubs, with their lush green foliage and vibrant berries, bring year-round beauty and a touch of elegance to any landscape. They are not only visually appealing but also rich in symbolism and cultural significance. By adding holly shrubs to your garden, you are embracing a timeless tradition and inviting nature’s marvel right to your doorstep.
Remember to regularly assess and address the needs of your holly shrubs. Pruning for shape, monitoring for pests and diseases, and providing adequate watering and nutrition are all part of the ongoing maintenance required to ensure their well-being. With your dedication and care, your holly shrubs will thrive, enhancing your garden’s aesthetics and the overall ambiance of your outdoor space.
As you embark on this plant care journey, continue to expand your plant knowledge and experiment with different varieties of holly shrubs. Each shrub has its own unique characteristics and can bring a specific charm to your garden. Consider expanding your collection with different leaf colors, growth habits, and berry production to create a diverse and visually engaging landscape.
Remember, gardening is an ongoing process of learning and adaptation, so don’t hesitate to seek additional resources and advice when needed. Engage with fellow gardeners, join plant care communities, and explore the rich world of horticulture to broaden your plant care expertise.
Now, go forth and bring life and splendor to your garden with the stunning holly shrubs. Enjoy the journey as you witness the growth, beauty, and resilience of these remarkable plants. May your garden be a haven of greenery and joy, and may your holly shrubs be a source of inspiration and enchantment for years to come.