Home>Gardening Tips and Tricks>Eco-Friendly Gardening>How To Cut Polycarbonate Greenhouse Panels
Eco-Friendly Gardening
How To Cut Polycarbonate Greenhouse Panels
Modified: January 22, 2024
Learn how to cut polycarbonate greenhouse panels in an eco-friendly way for your gardening needs. Discover tips and techniques to ensure a successful and sustainable project.
(Many of the links in this article redirect to a specific reviewed product. Your purchase of these products through affiliate links helps to generate commission for Chicagolandgardening.com, at no extra cost. Learn more)
Table of Contents
Introduction
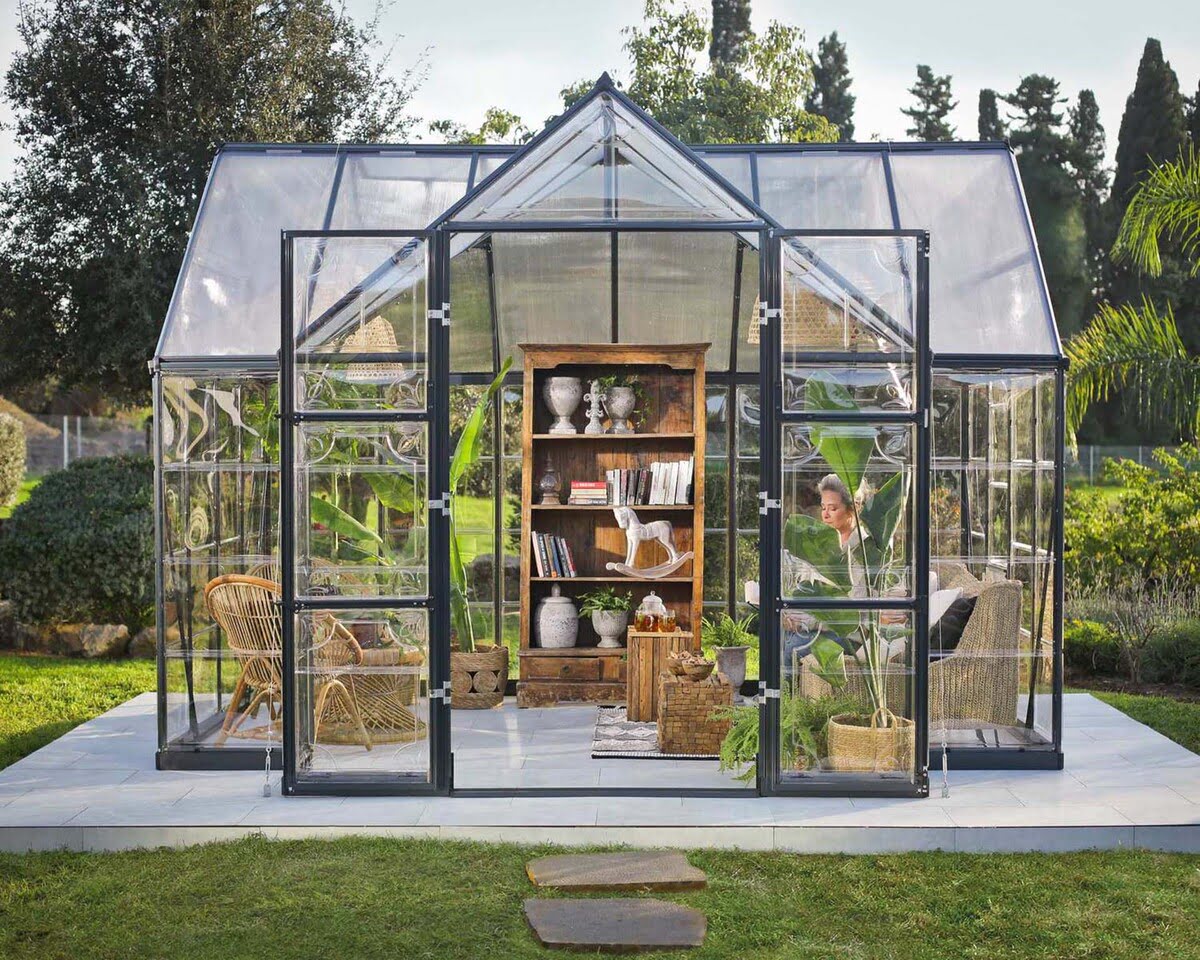
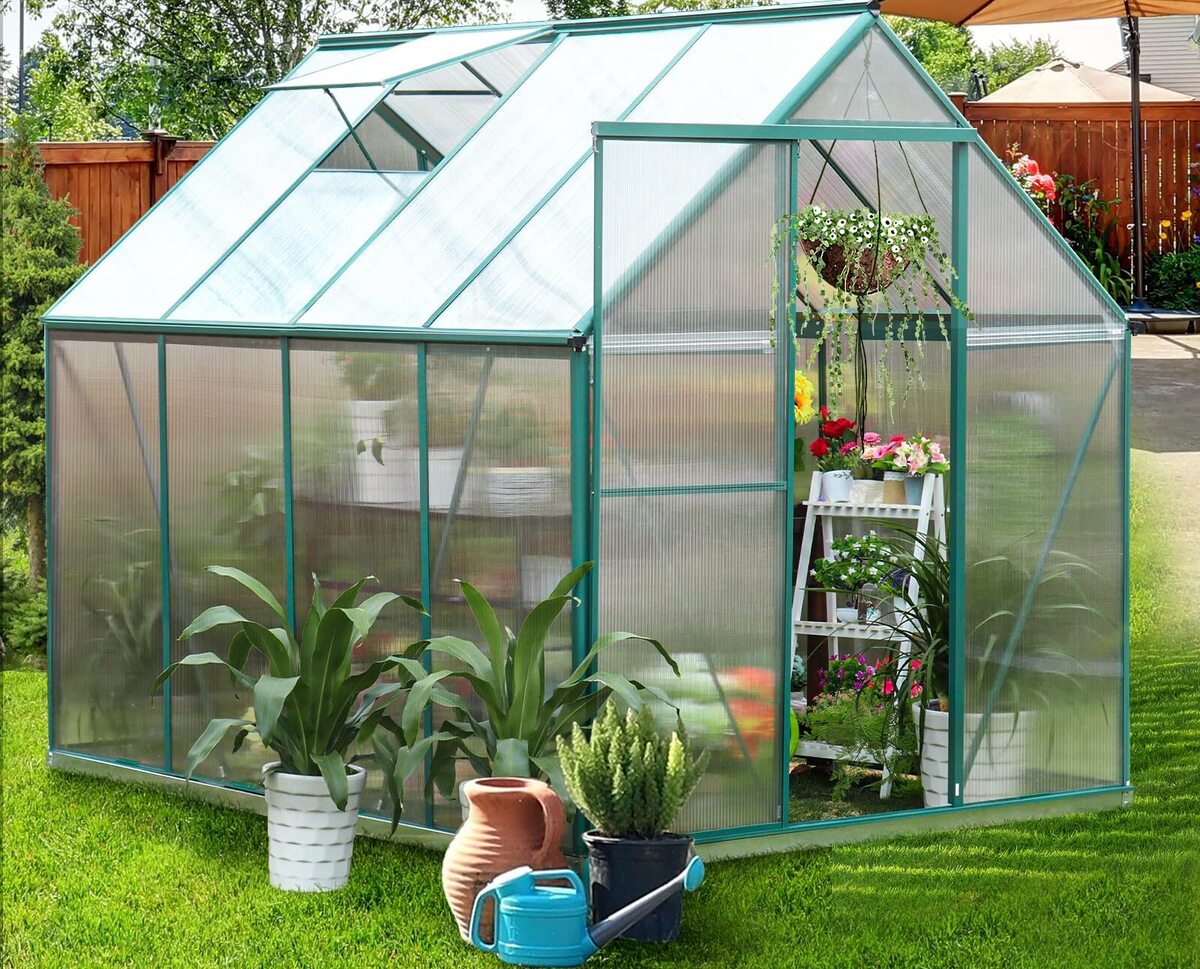
Welcome to our guide on how to cut polycarbonate greenhouse panels! If you’re an eco-conscious gardener looking to set up your own greenhouse, polycarbonate panels are a popular and sustainable choice. Not only are they lightweight and durable, but they also provide excellent insulation and UV protection for your plants.
However, when it comes to installing or replacing greenhouse panels, you might find that the standard sizes available don’t fit your needs exactly. That’s where cutting polycarbonate panels comes in handy. Whether you’re creating custom-sized panels or making adjustments for windows and ventilation, having the ability to cut these panels to the desired dimensions is essential.
Before diving into the cutting process, it’s important to familiarize yourself with some safety precautions. Working with polycarbonate panels requires care and attention to avoid any accidents or damage. Additionally, gathering the necessary tools and materials will ensure a smooth and successful cutting experience.
In this guide, we’ll walk you through the step-by-step process of cutting polycarbonate greenhouse panels, from measuring and marking to installing the panels. By following this guide, you’ll be equipped with the knowledge and skills to achieve the perfect fit for your greenhouse project.
Safety Precautions
Before you start cutting polycarbonate greenhouse panels, it’s important to prioritize safety. Here are some key safety precautions to keep in mind:
- Protective Gear: Wear safety goggles to protect your eyes from flying debris and gloves to prevent any cuts or injuries.
- Work Area: Ensure that your work area is well-ventilated and free from any clutter or obstacles that may cause accidents.
- Secure Panels: Make sure the panels are properly secured before cutting to prevent any movement or slippage that could lead to mishaps.
- Sharp Tools: Use sharp cutting tools specifically designed for polycarbonate panels to achieve clean and precise cuts. Dull tools can cause rough edges and may splinter the material.
- Take Breaks: Cutting polycarbonate panels can be a time-consuming task. Remember to take regular breaks to avoid fatigue and maintain focus.
- Read Instructions: Familiarize yourself with the manufacturer’s guidelines and instructions for cutting the specific type of polycarbonate panels you are working with.
By adhering to these safety precautions, you’ll minimize the risk of accidents and ensure a safer working environment. It’s always better to prioritize safety over speed to protect both yourself and the integrity of the panel being cut.
Tools and Materials Needed
Before you start cutting polycarbonate greenhouse panels, it’s important to gather all the necessary tools and materials. Having the right equipment will make the cutting process smoother and more efficient. Here’s a list of what you’ll need:
- Measuring Tape: A measuring tape is essential for accurately measuring the dimensions of the panels.
- Straight Edge: A straight edge will help you create clean and straight cuts. A ruler or level can serve as a straight edge, or you can invest in a specialized cutting guide.
- Marker or Pencil: Use a marker or pencil to mark the cutting lines on the panel. Make sure to choose a marker that will easily wash off or a pencil that will be visible on the panel.
- Poli-Cut Tool: A poli-cut tool is a specialized cutting tool designed specifically for cutting polycarbonate panels. It ensures clean and precise cuts without causing damage to the material.
- Sawhorses or Work Table: You will need a stable surface to support the panels while cutting. Sawhorses or a sturdy work table are ideal options.
- Safety Goggles: Protect your eyes from flying debris with a pair of safety goggles.
- Gloves: Wear gloves to protect your hands from cuts and injuries.
- Dust Mask: Breathing in dust particles can be harmful, so wearing a dust mask is recommended to protect your respiratory system.
- Vacuum or Broom: Cleaning up the debris after cutting is essential. Use a vacuum or broom to remove any leftover plastic shards.
Having these tools and materials ready before you start cutting the polycarbonate greenhouse panels will ensure a smooth and successful cutting process. Remember to follow the safety precautions and take your time to achieve accurate and clean cuts.
Step 1: Measure and Mark
The first step in cutting polycarbonate greenhouse panels is to accurately measure and mark the dimensions you need. Here’s how to do it:
- Measure the Panel: Use a measuring tape to determine the length and width needed for your panel. Measure multiple times to ensure accuracy.
- Mark the Cutting Lines: Once you have the measurements, transfer them onto the panel using a marker or pencil. Use a straight edge to ensure straight and even lines.
- Consider Overlapping: If you’re replacing an existing panel, consider adding an extra inch or two to the dimensions to allow for overlapping with the frame.
- Double-Check the Measurements: Before proceeding to cut, double-check your measurements to ensure they are accurate. Mistakes can be costly, so it’s important to be thorough.
Take your time during this step to ensure the measurements are precise. Cutting a panel too short can result in gaps, while cutting it too large can lead to an improper fit. Remember, it’s always better to measure twice and cut once!
Step 2: Prepare the Cutting Area
Before you start cutting the polycarbonate greenhouse panels, it’s important to prepare your cutting area for a smooth and safe process. Here’s what you need to do:
- Clean and Clear the Area: Clear any clutter or obstacles from your work area to ensure a clean and safe space. Remove any loose debris or tools that could interfere with the cutting process.
- Set Up Sawhorses or Work Table: If you’re working with larger panels, set up a pair of sturdy sawhorses or a work table to support the panel during the cutting process. Make sure they are level and stable.
- Ensure Adequate Ventilation: Cutting polycarbonate panels can create dust particles, so working in a well-ventilated area is important. Open windows or set up fans to ensure proper airflow.
- Protect the Floor: Lay down a protective covering, such as a tarp or drop cloth, to catch any debris or shavings from the cutting process. This will make clean-up much easier.
By properly preparing your cutting area, you’ll create a safe and efficient workspace. Clearing the area and protecting the floor will not only prevent accidents but also make the cleanup process easier. Setting up sawhorses or a work table will provide a stable surface to support the panel during cutting and ensure accurate cuts. Lastly, ensuring adequate ventilation will keep the air clear of dust particles.
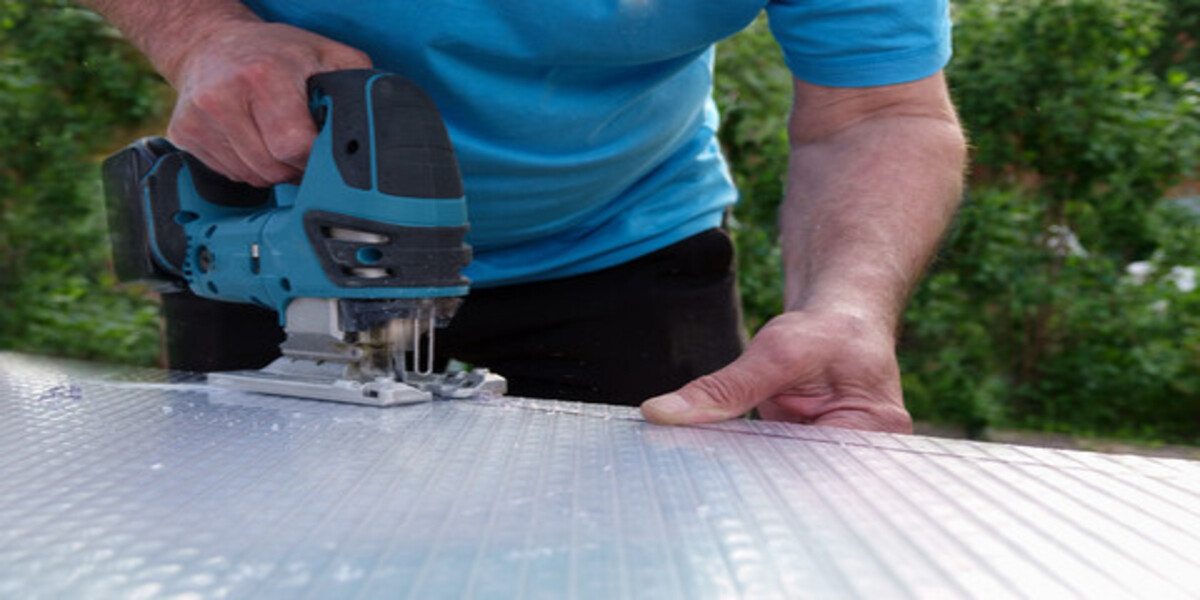
Step 3: Cutting the Panels
Now that you have measured, marked, and prepared your cutting area, it’s time to cut the polycarbonate greenhouse panels. Follow these steps for a successful cutting process:
- Secure the Panel: Place the panel on the sawhorses or work table, ensuring it is stable and secure. Make sure it is positioned in a way that allows you to easily reach the cutting area.
- Choose the Right Blade: Select a polycarbonate-specific blade for your cutting tool. These blades are designed to handle the unique properties of polycarbonate and ensure clean, precise cuts.
- Start Cutting: Align the cutting blade with your marked cutting line and slowly start cutting. Apply gentle pressure and let the blade do the work. Avoid forcing the blade, as this can cause uneven cuts or damage to the material.
- Take Breaks: If you’re cutting large panels or multiple panels, take breaks to avoid overheating your cutting tool. This will help maintain the quality of the cuts and prevent overheating of the blade.
- Continue the Cut: Follow along the marked cutting line, moving steadily and smoothly. Take your time to ensure accuracy and maintain control of the cutting tool.
- Clean the Debris: As you cut, debris and shavings may accumulate on the panel. Regularly clear these away to maintain a clear view of the cutting line. Use a vacuum or brush to remove the debris effectively.
- Trim any Excess: After completing the primary cut, check the edges of the panel for any rough or uneven spots. Use a fine-toothed file or sandpaper to smooth out any imperfections.
Remember to work slowly and carefully during the cutting process to achieve clean and precise cuts. Inspect the edges of the panel to ensure a smooth finish before moving on to the installation step.
Step 4: Smooth the Edges
Once you have finished cutting the polycarbonate greenhouse panels, it’s important to smooth the edges to ensure a professional and safe finish. Follow these steps to smooth the edges:
- Inspect the Edges: Carefully examine the cut edges of the panels for any rough or jagged areas. These can occur during the cutting process and may pose a risk of injury or damage to the panel.
- Use Sandpaper or File: Depending on the thickness of the panel, you can use sandpaper or a fine-toothed file to smooth out any rough edges. Start with a coarse-grit sandpaper or file and gradually move to a finer grit for a polished finish.
- File in One Direction: When using a file, make sure to file in one direction only, avoiding back-and-forth motions. This will help achieve a smoother and more even result.
- Gently Sand the Edges: If using sandpaper, lightly sand the edges in a smooth, circular motion. Take care not to apply too much pressure, as this may cause scratches or damage the panel.
- Remove Dust and Debris: After sanding or filing, wipe away any dust or debris that may have accumulated on the edges of the panel. This will ensure a clean and polished finish.
- Inspect the Smoothness: Once you have smoothed the edges, visually inspect them to ensure a smooth and even finish. Run your fingers along the edges to check for any rough spots.
By taking the time to smooth the edges of the cut panels, you’ll create a professional and safe finish. Smooth edges not only enhance the appearance of the greenhouse but also reduce the risk of injury when handling the panels during installation.
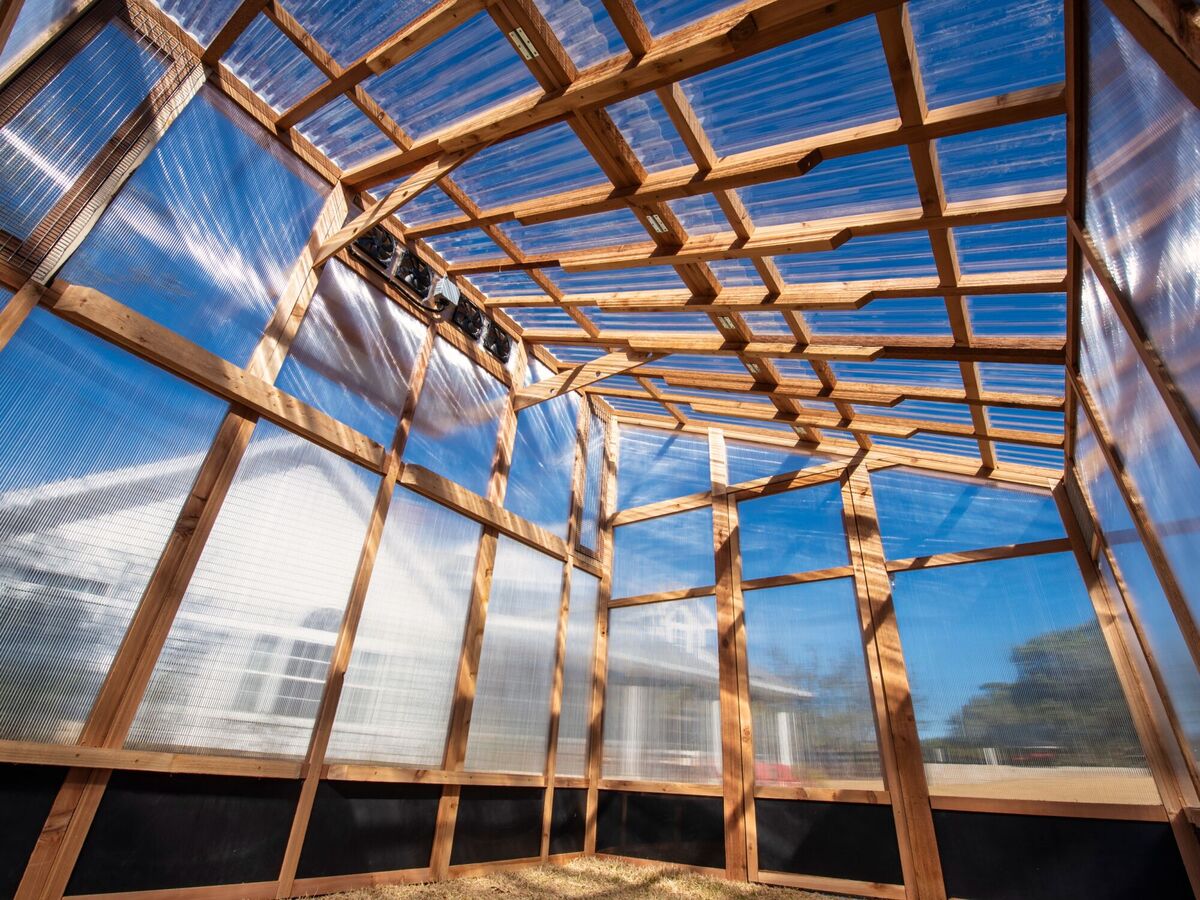
Step 5: Install the Panels
Now that you have successfully cut and smoothed the polycarbonate greenhouse panels, it’s time to install them. Follow these steps to ensure a proper installation:
- Prepare the Frame: Before installing the panels, make sure the greenhouse frame is clean and free of any debris. Check that it is structurally sound and securely fastened.
- Position the Panel: Carefully position the first panel in its designated location within the frame. Ensure that it aligns with the surrounding panels or edges.
- Secure the Panel: Depending on the type of greenhouse frame you have, secure the panel according to the manufacturer’s instructions. This may involve using clips, screws, or other fastening methods.
- Continue Installing: Move on to the next panel and repeat the process, ensuring a snug and secure fit. Make sure each panel is properly aligned and attached to the frame.
- Overlap Panels (if needed): If you are using panels that overlap, make sure each panel overlaps the adjacent one by the appropriate amount. This will create a watertight seal and prevent leaks.
- Check for Gaps: After installing all the panels, carefully inspect the greenhouse for any gaps or openings between the panels and the frame. Fill any gaps with weather-resistant sealant to ensure proper insulation and protection.
- Test for Stability: Once all the panels are installed, check the stability of the greenhouse structure. Gently shake the frame to ensure it is securely fastened and can withstand winds or other external forces.
Proper installation of the panels is crucial for the functionality and longevity of your greenhouse. Take your time during this step to ensure each panel is securely fastened and properly aligned. By following these steps, you’ll create a well-insulated and sturdy greenhouse that provides the perfect environment for your plants to thrive.
Conclusion
Cutting and installing polycarbonate greenhouse panels is a rewarding and essential task for any eco-friendly gardener. By following the step-by-step guide outlined in this article, you can achieve the perfect fit and create a functional and sustainable greenhouse for your plants.
Remember, safety should always be the top priority when working with polycarbonate panels. Take the necessary precautions, such as wearing protective gear and working in a well-ventilated area, to avoid accidents and ensure a smooth cutting process.
Gathering the right tools and materials before starting the project will make the cutting process more efficient. Using a poli-cut tool and a straight edge, along with other essential tools like safety goggles and gloves, will help you achieve clean and precise cuts.
After cutting the panels, make sure to smooth the edges to create a professional finish and reduce the risk of injuries or damage to the panels. Sandpaper or a fine-toothed file will help you achieve smooth edges that enhance the overall appearance of the greenhouse.
Finally, installing the panels securely and properly within the greenhouse frame is crucial. Take your time to position and fasten each panel accurately, ensuring a tight fit and proper alignment. Check for gaps and apply sealant as needed to ensure effective insulation and protection.
By following these steps and guidelines, you can confidently create a customized and eco-friendly greenhouse. With your new knowledge and skills, you’ll be well on your way to providing the optimal growing environment for your plants while reducing your environmental impact.