Home>Gardening Tips and Tricks>Problem Solving>How To Get Rid Of Perennials
Problem Solving
How To Get Rid Of Perennials
Modified: January 22, 2024
Learn effective techniques for problem solving and removing perennials from your garden. Get expert tips and advice to tackle this common gardening issue.
(Many of the links in this article redirect to a specific reviewed product. Your purchase of these products through affiliate links helps to generate commission for Chicagolandgardening.com, at no extra cost. Learn more)
Table of Contents
Introduction
Welcome to the world of perennial plants! These beautiful and long-lasting flowers can bring joy, color, and vitality to your garden year after year. However, there may come a time when you need to remove them, whether it’s to make space for new plants or to address issues like overgrowth or disease. But fear not, because in this article, we will guide you on how to get rid of perennials effectively.
Perennials are plants that live for multiple years, blooming and regrowing each season. They often have deep root systems and can spread quickly, making their removal a bit more challenging than annual plants. It’s crucial to approach the task with a well-thought-out plan to ensure success.
In this comprehensive guide, we will explore various methods to remove perennials from your garden. We will discuss techniques such as digging up the plants, cutting them back, and using herbicides. Additionally, we will provide tips on managing re-growth, disposing of debris, and preventing their return.
Whether you’re a seasoned gardener or a beginner looking for guidance, this article will equip you with the knowledge and tools to tackle the task at hand. So, let’s dive in and learn how to bid farewell to those perennials!
Understanding Perennials
Before you begin the process of removing perennials, it’s essential to have a good understanding of these resilient plants. Perennials are plants that live for more than two years, and unlike annuals that complete their life cycle in one season, perennials regrow year after year. This characteristic makes them a popular choice for gardeners who want sustainable and long-lasting plantings.
One key feature of perennials is their deep root system, which allows them to survive harsh weather conditions, droughts, and even periods of neglect. These deep roots contribute to their survival and make their removal more challenging than cutting down annuals.
Perennials come in various shapes, sizes, and colors, providing a wide range of options for gardeners to choose from. Popular examples include daylilies, coneflowers, hostas, and peonies. Each perennial has unique features, growth habits, and care requirements, so it’s crucial to identify the specific type of perennial you are dealing with before proceeding with removal.
One significant advantage of perennials is their ability to spread and fill in empty spaces in the garden. While this can be desirable in some cases, it can also lead to overgrowth and crowding if left unchecked. Therefore, removing perennials becomes necessary to maintain a well-balanced and visually pleasing garden.
Understanding the growth patterns and life cycles of your perennials is essential in planning the best removal method. Some perennials spread primarily through their roots, while others produce seeds that can germinate and create new plants. Identifying these traits will guide you in determining how to prevent their re-growth and ensure successful removal.
Now that you have a better understanding of perennials, it’s time to assess your garden and decide which plants need to be removed. In the next section, we will discuss the importance of assessing your perennial garden and selecting the appropriate removal method.
Assessing Your Perennial Garden
Before diving into the removal process, it’s crucial to assess your perennial garden thoroughly. By doing so, you can determine which plants need to be removed, identify any underlying issues, and plan for the most effective removal method.
Start by taking a walk through your garden and observe the condition of your perennials. Look for signs of overgrowth, disease, or plants that are past their prime. Consider factors such as overcrowding, competition for resources, and overall aesthetic appeal.
Overgrown perennials can have a negative impact on the health and appearance of your garden. They may shade out other plants, impede air circulation, and create a haven for pests and diseases. Take note of any perennials that have overtaken their neighboring plants or have spread beyond their intended boundaries.
In addition to assessing the physical condition of your perennials, consider the overall design and layout of your garden. Ask yourself if the arrangement is still cohesive and if any changes need to be made. Sometimes, removing certain perennials can open up space for new plants or provide a fresh start for redesigning your garden.
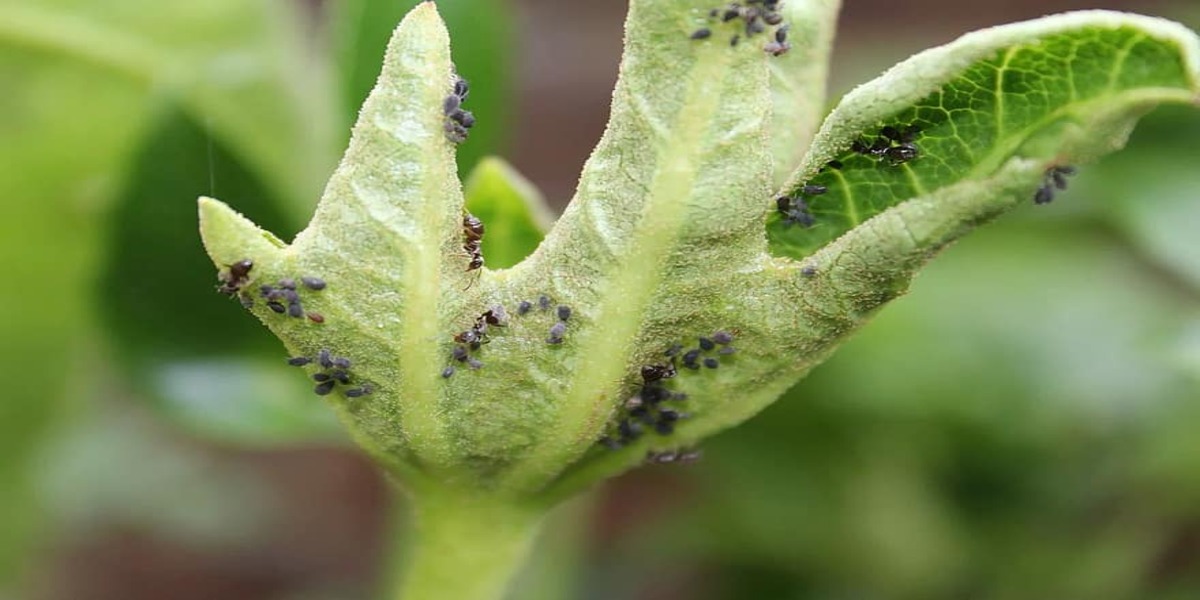
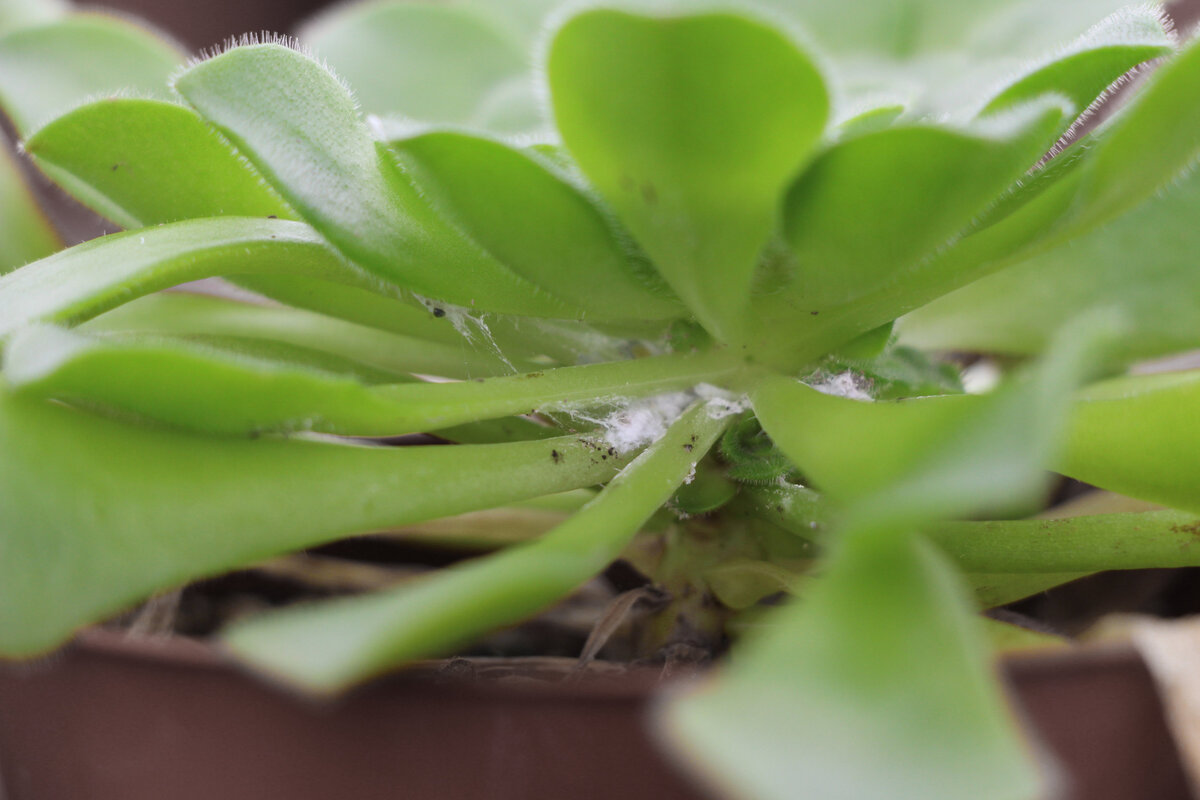
During the assessment, keep an eye out for any signs of pests or diseases affecting your perennials. If you notice widespread issues, it might be necessary to remove the affected plants to prevent further damage and maintain the overall health of your garden. Consult with a local plant expert or extension service if you need help identifying and addressing any specific problems.
Once you have assessed your perennials and identified which ones need to be removed, you can move on to selecting the most appropriate removal method. This could involve digging up the plants, cutting them back, or using herbicides. Each method has its advantages and considerations, which we will discuss in the following sections.
By taking the time to assess your perennial garden, you can make informed decisions about which plants to remove and how to proceed. This step will set the foundation for successful removal and ensure the overall health and beauty of your garden. Let’s explore the different removal methods in the next section.
Selecting the Right Removal Method
When it comes to removing perennials, there are several methods to choose from. The selection of the right removal method depends on various factors, including the type of perennial, its growth habit, and the desired outcome. Let’s explore some of the most common removal methods to help you make an informed decision.
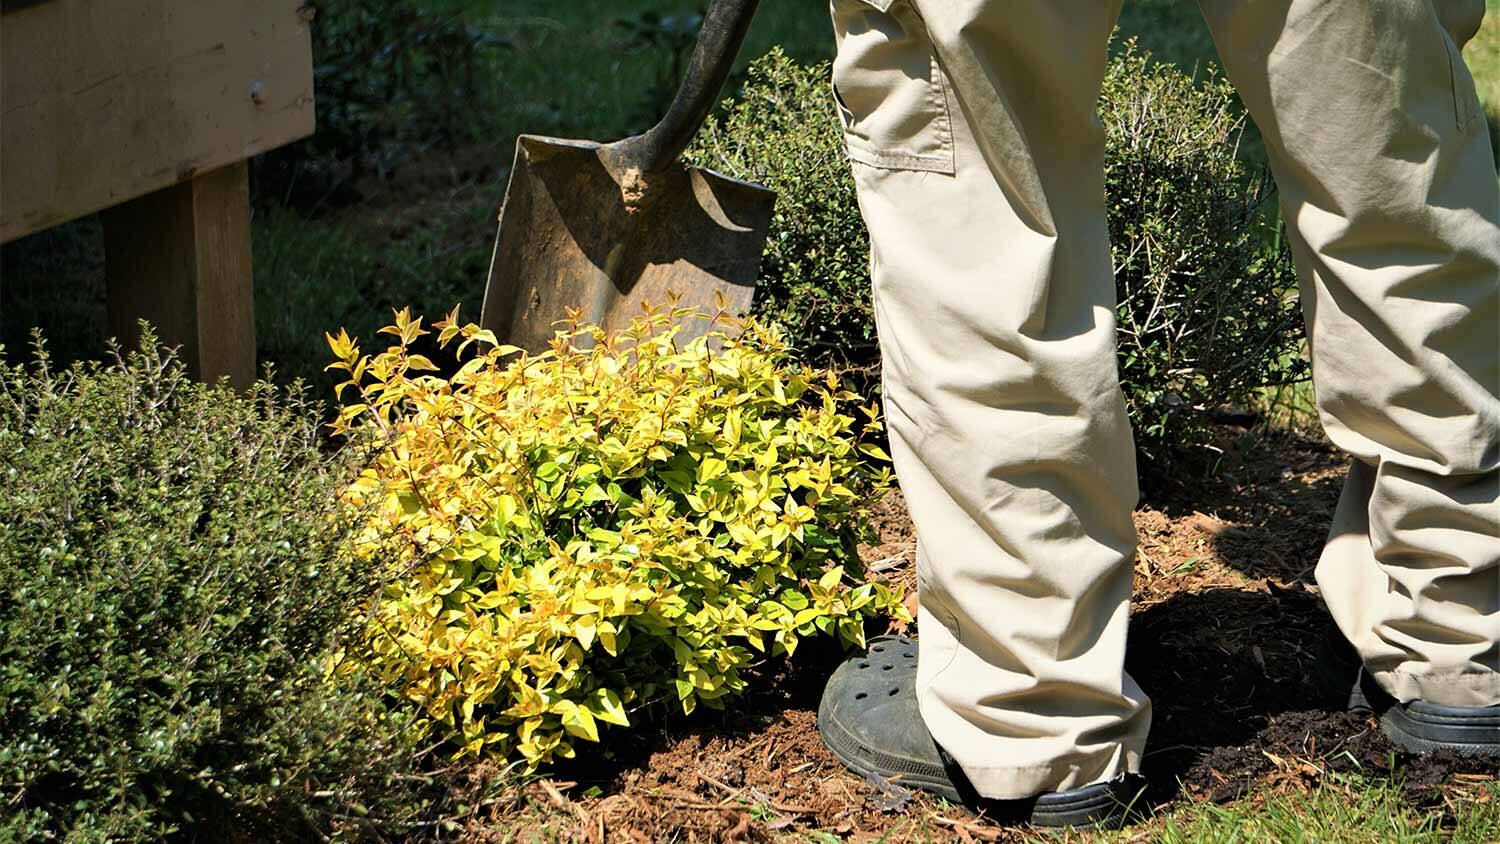
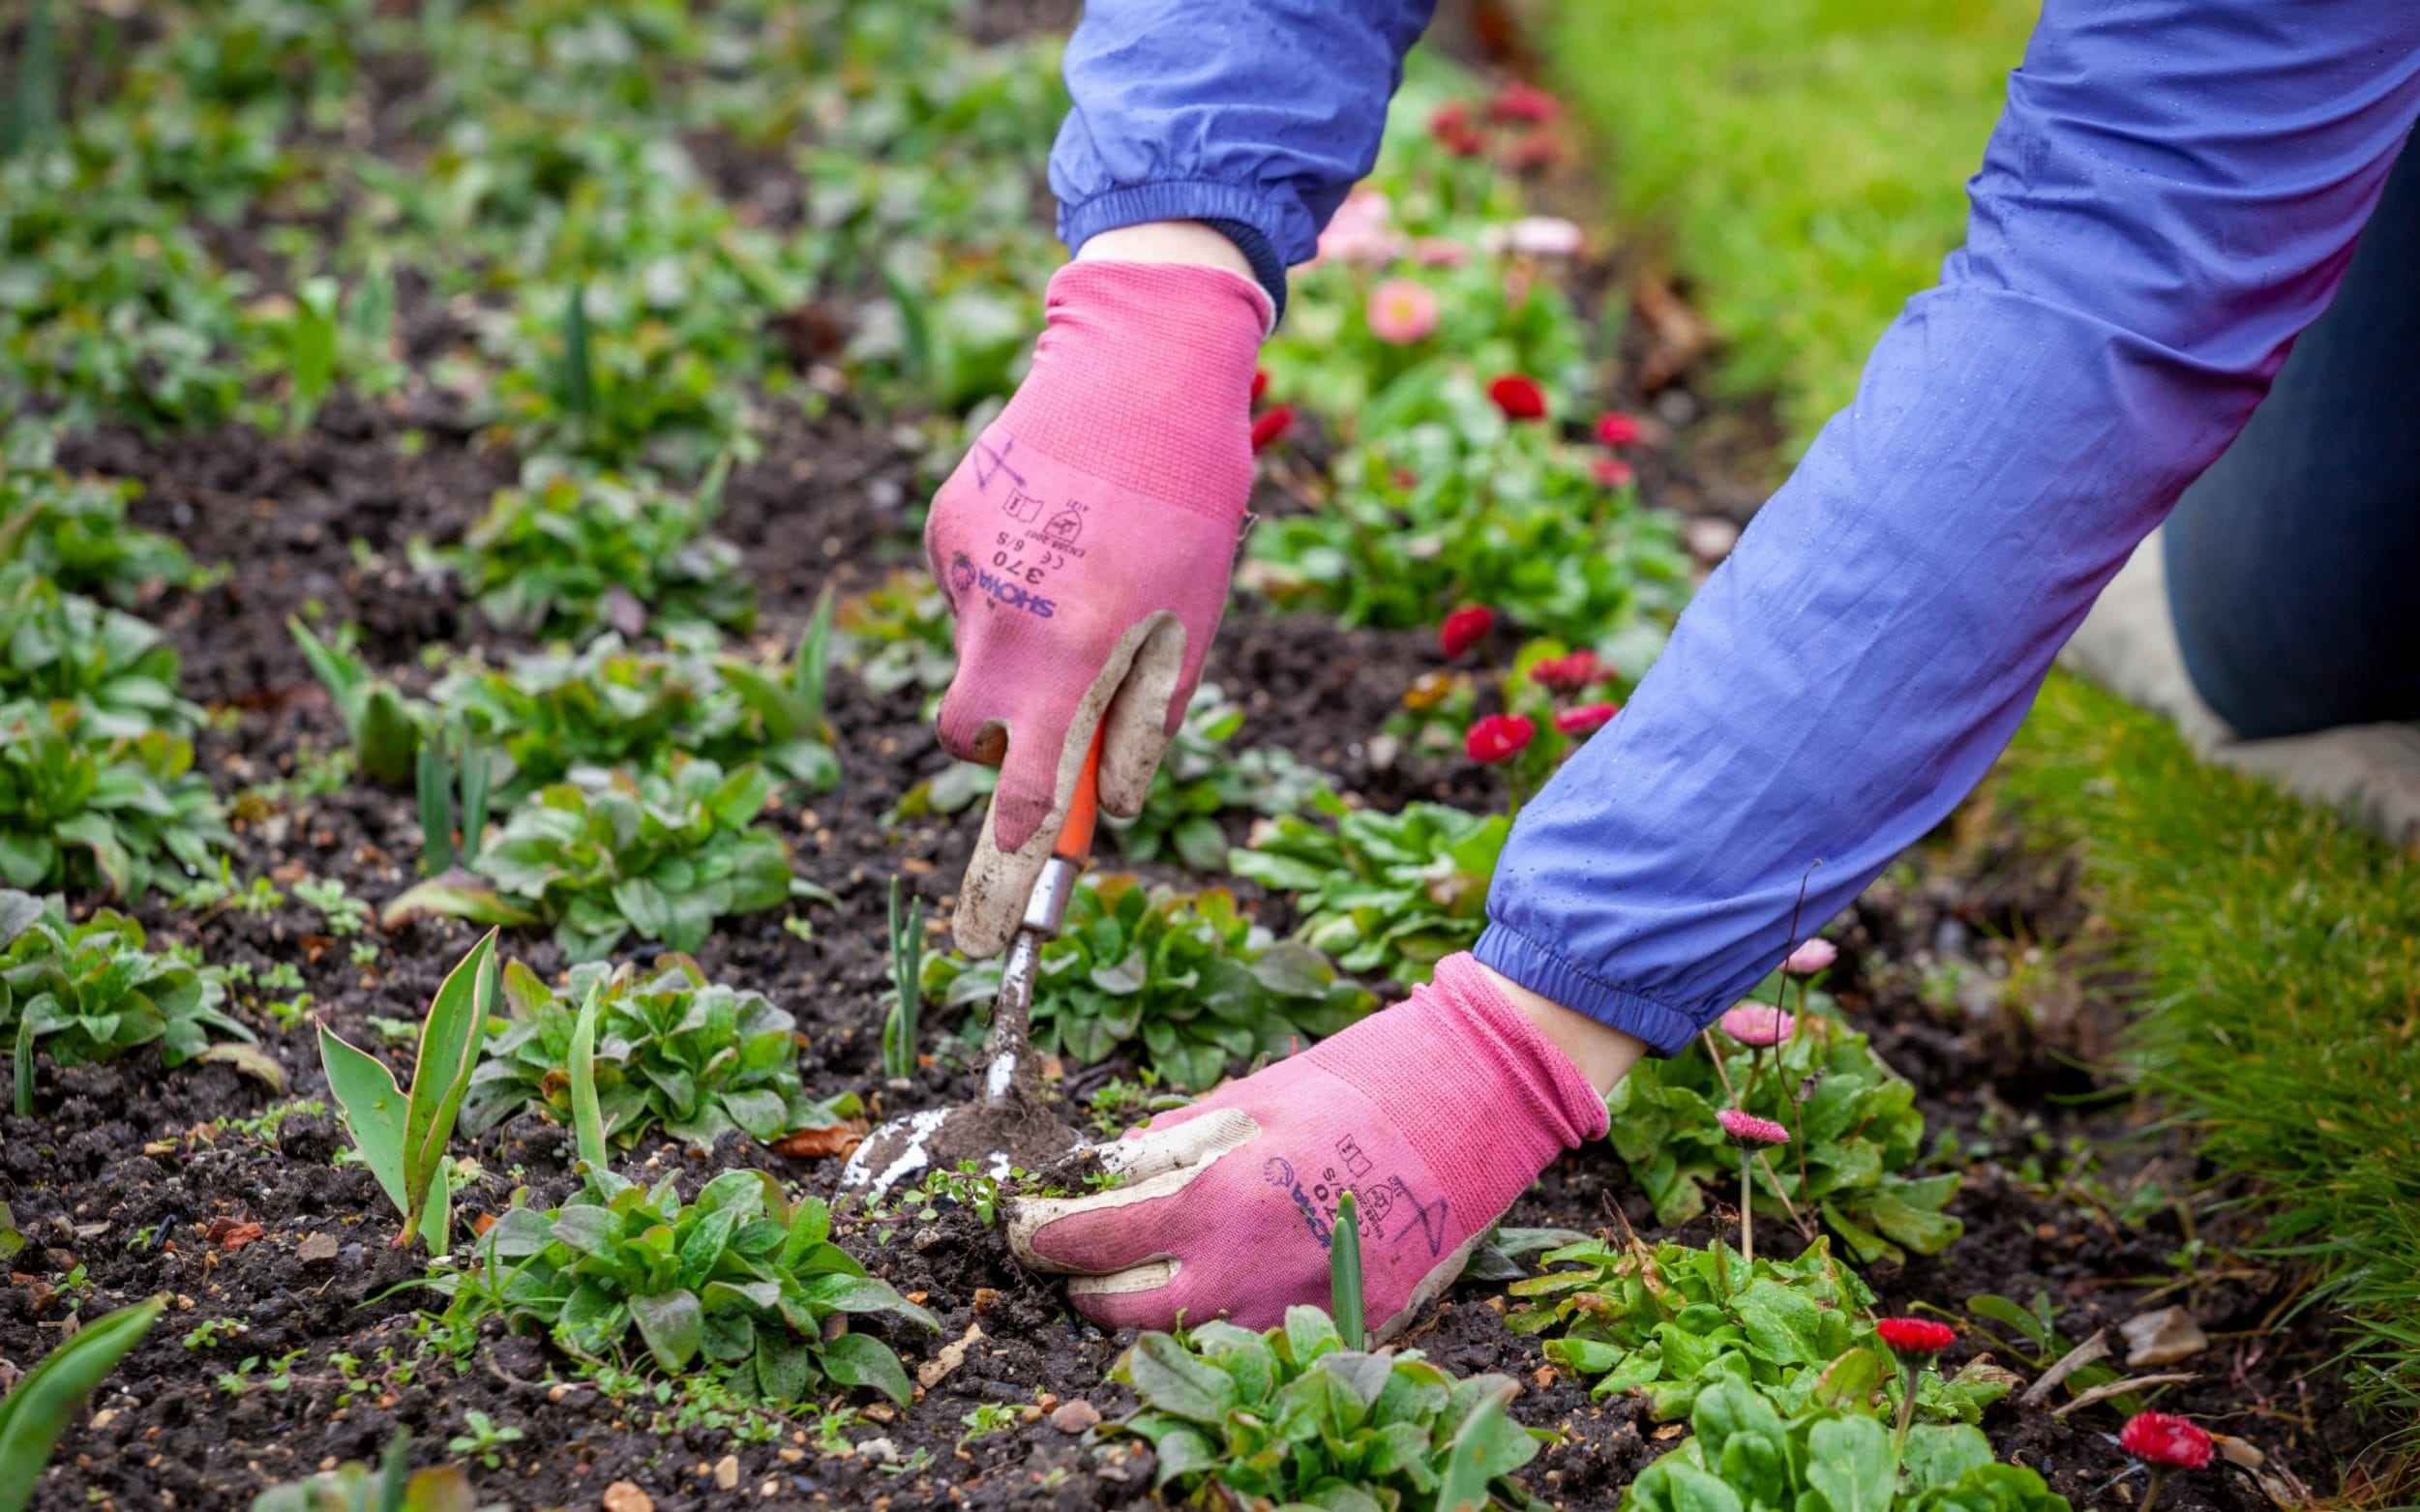
1. Digging Up Perennials: This method involves physically removing the entire plant, including its root system. It is best suited for perennials with deep roots or those that tend to spread vigorously. To dig up a perennial, start by loosening the soil around the plant using a garden fork or shovel. Gently lift the plant from the ground, ensuring that you dig deep enough to extract the entire root system. Shake off excess soil and place the plant in a suitable container for disposal or relocation.
2. Cutting Back Perennials: If the main goal is to control the size and prevent overgrowth, cutting back the perennials might be sufficient. This method involves trimming the foliage and stems of the plants, usually in the late fall or early spring. Use clean and sharp pruning shears to remove any dead or damaged parts and reduce the overall size of the plant. This method is effective for perennials that have shallow root systems or those that tend to produce new shoots from the base.
3. Using Herbicides to Remove Perennials: Herbicides can be an effective solution for removing persistent and difficult-to-control perennials. However, it’s important to use them responsibly and follow all safety precautions. Select a herbicide specifically designed for perennial plant control, and carefully follow the instructions on the label. Apply the herbicide at the right time, when the target plant is actively growing, to maximize effectiveness. Keep in mind that using herbicides should be a last resort, as it can have unintended effects on other plants and the environment.
When choosing the right removal method, consider the nature of the perennial, the extent of its growth, and your overall gardening goals. Some perennials may require a combination of methods, while others can be effectively controlled with just one. Assess the pros and cons of each method and select the one that best fits your needs and preferences.
Now that you have a better understanding of the various removal methods available, it’s time to put them into action. In the following sections, we will explore each method in more detail, providing step-by-step instructions for successful removal of perennials.
Digging Up Perennials
One effective method for removing perennials from your garden is by physically digging them up. Digging up perennials ensures the complete removal of the plant, including its root system, which is crucial for preventing re-growth. This method is particularly useful for perennials with deep taproots or those that tend to spread aggressively.
To begin, gather the necessary tools for the task. You will need a garden fork or shovel, a trowel, and a bucket or container for disposing of the removed plants. Ensure that your tools are clean and sharp to ease the digging process and minimize damage to other plants in the area.
Here’s a step-by-step guide on how to dig up perennials:
- Select the perennial you want to remove and clear away any surrounding foliage or debris that may obstruct your work.
- Using a garden fork or shovel, loosen the soil around the plant in a circular motion, starting from the outer edges and working your way towards the center. Be careful not to damage the roots of nearby plants.
- Once the soil is loosened, gently lift the plant from the ground, applying upward pressure from beneath the root ball. If the plant is large or has an extensive root system, you may need to use a trowel or garden spade to carefully sever any connecting roots.
- Shake off excess soil from the roots and inspect them for any signs of damage or disease. Dispose of any plants or roots that appear unhealthy.
- If you wish to replant the perennial elsewhere, prepare a new planting hole that is suitable for its root size and spacing requirements. Amend the soil as needed and carefully transfer the plant to its new location.
- If you do not plan to replant the perennial, place it in a bucket or container designated for garden waste or compost. Avoid composting perennial plants that may have diseases or viable seeds, as this can lead to their unintentional spread in your garden.
After removing the perennials, fill any gaps in your garden with soil and consider planting new perennials or other desired plants to maintain the aesthetic and health of your garden. Proper disposal of the removed plants and thorough cleaning of your tools will help prevent the unintentional spread of diseases or pests.
Keep in mind that some perennials have persistent root systems or may have deep, extensive taproots that prove challenging to remove entirely. In such cases, repeated digging and monitoring may be necessary to ensure complete removal.
Now that you are familiar with the process of digging up perennials, let’s move on to the next section, where we will discuss cutting back perennials as another removal method to consider.
Cutting Back Perennials
If you prefer to control the size and growth of your perennials rather than completely removing them, cutting back can be an effective method. Cutting back perennials involves trimming the foliage and stems of the plants, typically in the late fall or early spring, to promote a more compact and healthy growth.
Before you start cutting back your perennials, it’s important to assess their growth habit and the specific needs of each plant. Some perennials benefit from a complete pruning, while others require a more selective approach. Consider the following steps to successfully cut back your perennials:
- Choose the appropriate time: Late fall or early spring is the best time to cut back perennials. By waiting until the plants have become dormant or are just starting to regrow, you minimize the risk of damaging new growth.
- Prepare the tools: Ensure your pruning shears or scissors are clean and sharp. Dull blades can crush the stems, making it harder for the plants to heal and potentially causing damage.
- Identify the growth points: Take a close look at your perennials and locate the growth points, where new stems and foliage emerge. These are typically located near the base of the plant.
- Begin cutting: Using your pruning shears, start trimming back the foliage and stems of the plant. Remove any dead, damaged, or diseased parts first. Then, decide on the desired height and shape of the plant and make your cuts just above a growth point, leaving enough healthy foliage to support the plant’s overall health.
- Avoid cutting too much: While it’s important to reduce the size of your perennials, avoid cutting back more than one-third of the plant’s total foliage in one pruning session. Severe pruning can weaken the plant and delay or inhibit new growth.
- Cleanup and disposal: Collect the trimmings and dispose of them in your garden waste bin or compost pile. If you suspect any plants to be diseased, it’s best to discard them to prevent the spread of infection.
By cutting back your perennials, you can manage their size, shape, and overall appearance. This method also encourages healthier growth, as it removes dead or decaying foliage that can attract pests and diseases. Additionally, cutting back perennials can help rejuvenate the plants, promoting the development of new stems and blooms.
It’s important to note that not all perennials respond well to cutting back. Some may require different pruning techniques or may not tolerate severe pruning. Therefore, it’s essential to research the specific pruning requirements of each type of perennial before getting started.
Now that you know how to effectively cut back your perennials, it’s time to explore another removal method: using herbicides. We will discuss this method in more detail in the next section.
Using Herbicides to Remove Perennials
When other methods of removal prove ineffective or impractical, using herbicides can be an alternative solution for eliminating persistent perennial plants. Herbicides are chemical substances specifically designed to control and kill weeds, including certain types of perennials. However, it’s important to approach herbicide use with caution, following all safety guidelines and considering the potential impact on surrounding plants and the environment.
Before using herbicides, it’s crucial to identify the specific type of perennial you want to remove. This will help you choose the appropriate herbicide product and ensure its effectiveness. Select a herbicide that targets perennial plants and avoid broad-spectrum herbicides that may harm desirable plants in your garden.
Follow these guidelines when using herbicides to remove perennials:
- Choose the right time: Apply herbicides when the target perennials are actively growing. This is usually during the spring or early summer months. Avoid applying herbicides on windy days to prevent drift onto desirable plants.
- Prepare the herbicide: Read the instructions on the herbicide label carefully and mix the product according to the recommended dilution rates. Use a sprayer or applicator specifically designed for herbicide application to ensure precise and even coverage.
- Apply the herbicide: Spray the herbicide onto the foliage and stems of the target perennials, taking care to thoroughly wet all plant parts. The herbicide will be absorbed by the leaves and transported to the roots, effectively killing the plant. Be cautious not to spray neighboring plants or other desirable vegetation.
- Monitor and reapply if necessary: After application, monitor the treated perennials for signs of wilting and decline. Some herbicides may require multiple applications to completely eliminate the plants. Follow the instructions on the herbicide label for any necessary reapplication.
- Dispose of the plants: Once the perennials have died off, remove them from your garden. Place the dead plants in a designated garden waste or compost bin, avoiding any areas where the seeds or roots may come into contact with the soil and potentially re-establish.
It’s important to note that while herbicides can be effective in removing perennials, they should be used as a last resort due to their potential negative impacts on the environment. Always read and follow the instructions and safety precautions provided by the herbicide manufacturer to minimize any potential risks.
When using herbicides, be mindful of any legal restrictions or regulations in your area regarding their application and disposal. If you have concerns or questions about using herbicides, consult a local gardening expert, extension service, or professional landscaper for guidance.
Now that you have learned about using herbicides as a removal method, let’s move on to the next section, where we will discuss managing perennial re-growth to prevent their return.
Managing Perennial Re-growth
After removing perennials from your garden, it’s essential to take steps to manage their re-growth and prevent their return. Perennials are known for their ability to bounce back, and without proper management, they can quickly reclaim the space you’ve cleared. By implementing effective strategies, you can keep your garden free from unwanted perennials and maintain the desired look and balance you desire.
Here are some tips to help you manage perennial re-growth:
- Monitor the area: Keep a close eye on the garden area where you have removed perennials. Look out for any signs of growth or re-emergence, such as new shoots or leaves. Early intervention is key to preventing further spread.
- Regularly remove new growth: Whenever you spot new growth from the removed perennials, promptly remove it. This can be done by hand-pulling the shoots or cutting them off at ground level. Be diligent and consistent in this practice to discourage re-growth.
- Maintain good garden hygiene: Clear away any fallen leaves, stems, or plant debris regularly. Perennial plants can sometimes spread through seeds or through fragments of roots left behind. Cleaning up the area will minimize the chance of re-establishment.
- Implement physical barriers: Use physical barriers such as landscape fabric or a thick layer of mulch to suppress re-growth. Place these barriers around the perimeter of the garden bed or in specific areas prone to perennial re-emergence. This will help smother any remaining root fragments and prevent them from reaching the surface.
- Consider companion planting: Some companion plants can deter or suppress the growth of certain perennials. Research and plant companion species that have natural properties to repel or compete with the perennials you want to control. This can help create a more balanced and resilient garden ecosystem.
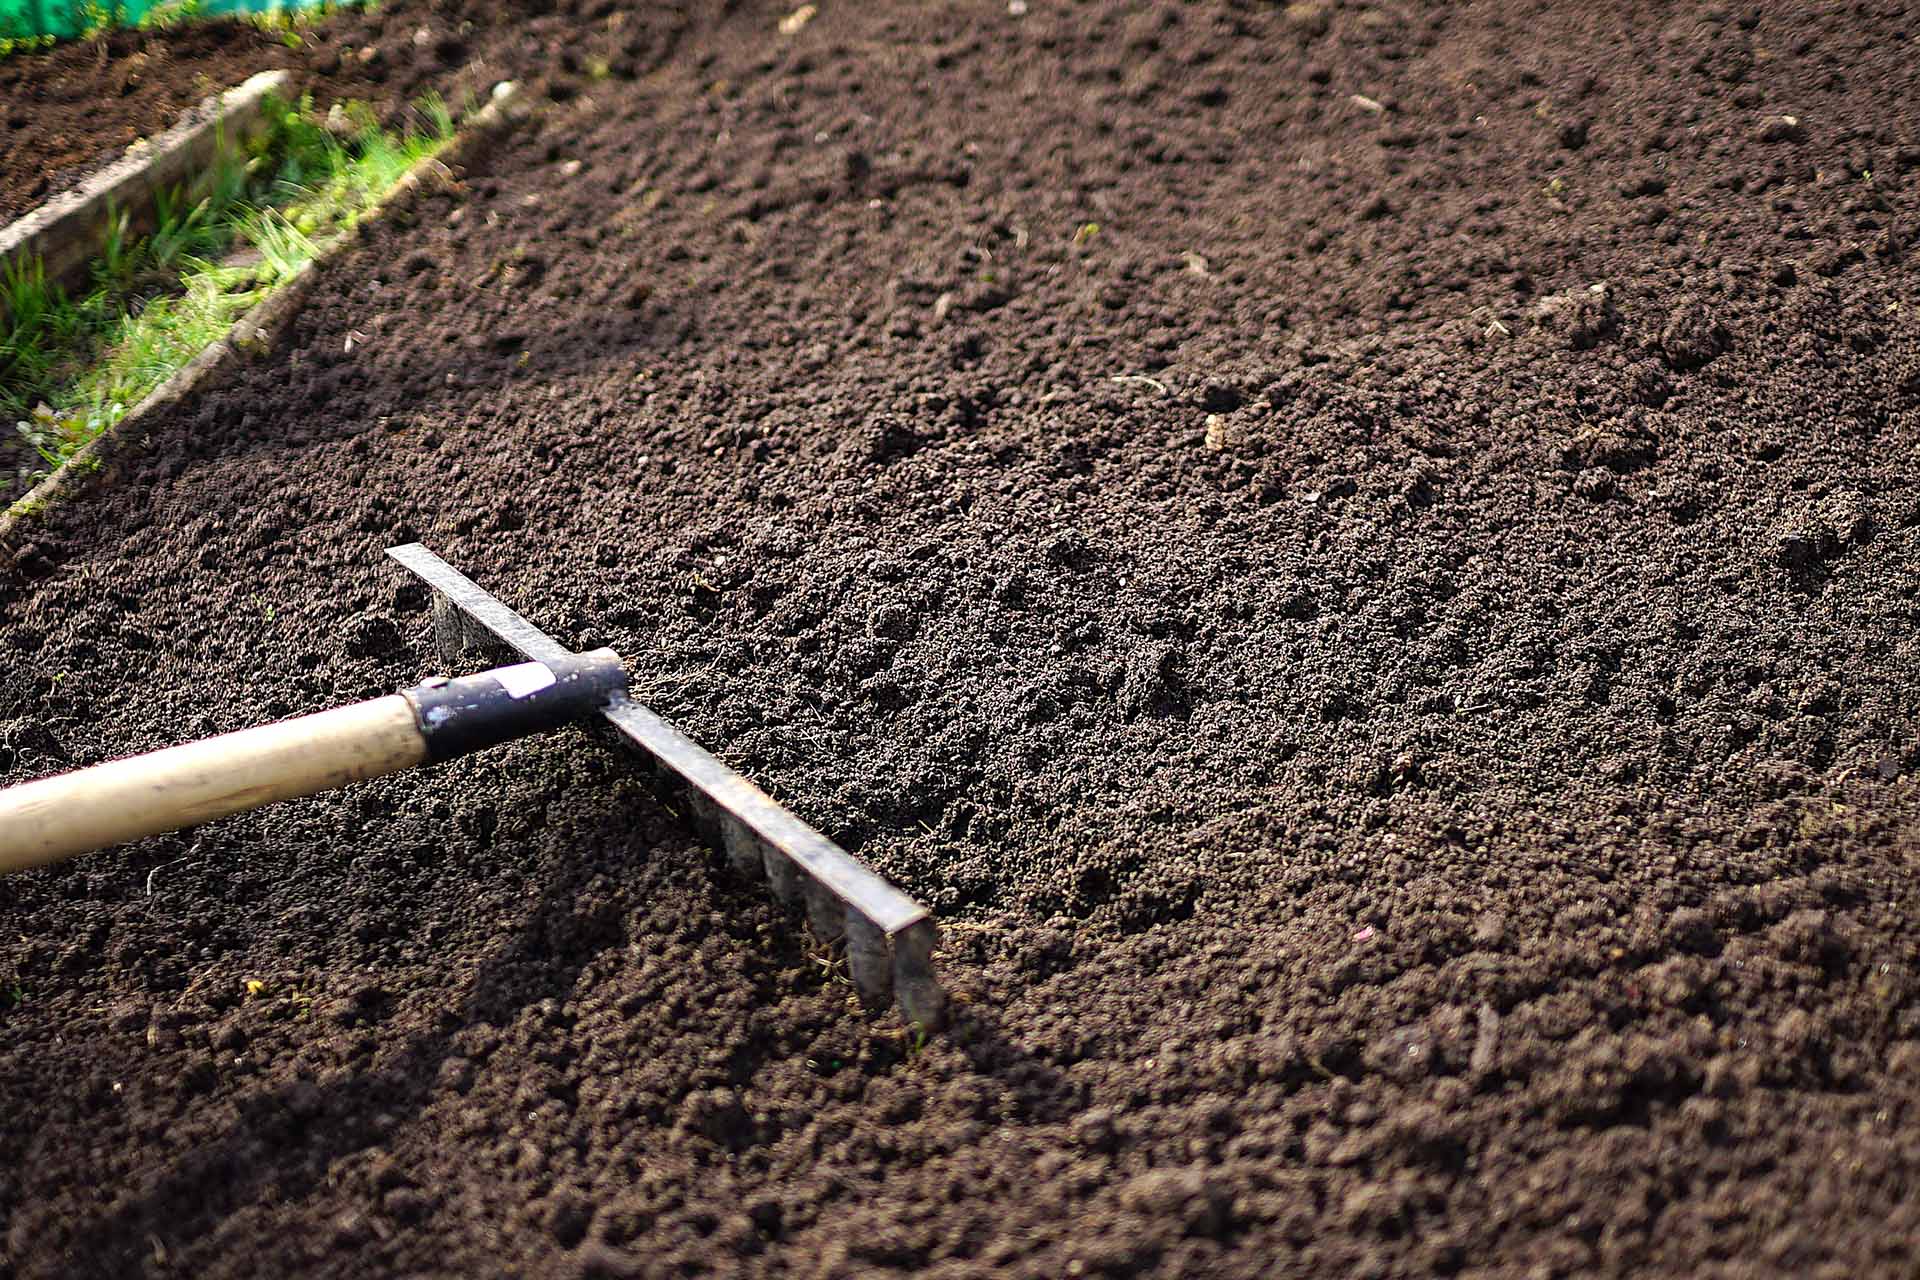
- Regularly maintain and cultivate: Stay on top of garden maintenance by cultivating the soil regularly. This will disrupt the growth of any remaining perennial roots and make it harder for them to establish. Cultivating also helps to improve soil health and prevent weed growth.
Remember, managing perennial re-growth requires ongoing effort and vigilance. Even with the best practices in place, some re-emergence may still occur. However, with consistent monitoring and proper management techniques, you can keep the re-growth under control and maintain the integrity of your garden.
In the next section, we will discuss the proper disposal of perennial debris to ensure that no remnants of the plants contribute to their unintended spread.
Disposing of Perennial Debris
After removing perennials from your garden, proper disposal of the debris is essential to prevent their unintended spread and reestablishment in your garden or other areas. Perennial debris, including stems, leaves, and roots, can contain viable seeds or fragments that have the potential to regenerate and create new plants if not disposed of correctly. Here are some guidelines to help you dispose of perennial debris properly:
- Separate the debris: Keep the debris from the removed perennials separate from other garden waste or compost piles. This will help to prevent any viable seeds or fragments from spreading and taking root elsewhere.
- Avoid composting: If you suspect the debris contains seeds or fragments that can potentially re-establish and cause unwanted growth, it’s best to avoid composting them. Opt for municipal green waste pick-up if available in your area, or dispose of the debris in a designated garden waste bin or facility.
- Dry out the debris: To further prevent any possibility of re-growth, let the debris dry out thoroughly before disposal. Storing the debris in a well-ventilated area or under direct sunlight can expedite the drying process.
- Bagging and sealing: Once the debris is dry, bag it in heavy-duty plastic bags, ensuring that the bags are securely sealed. This will contain any remaining seeds or fragments, preventing them from escaping and causing unintended spread if they were to somehow germinate.
- Proper disposal methods: Check with your local waste management facilities or guidelines to determine the specific disposal methods for perennial plant debris. Some areas may have specific regulations or recommendations for the disposal of gardening waste.
- Professional disposal services: If you have a substantial amount of perennial debris or if you’re dealing with invasive perennial plants, you may consider consulting professional disposal services. They are equipped to handle and dispose of plant debris properly, ensuring that it doesn’t contribute to unwanted re-growth in your garden or elsewhere.
By following these disposal practices, you can help minimize the chances of perennial debris causing issues in your garden or spreading to neighboring areas. Proper disposal not only prevents the re-establishment of removed perennials but also contributes to overall garden cleanliness and reduces the risk of pest or disease outbreaks.
In the next section, we will discuss preventive measures you can take to minimize the re-appearance of perennials in your garden and maintain its desired look and health.
Preventing Perennial Reappearance
Now that you’ve successfully removed and disposed of the perennial debris, it’s vital to take preventive measures to minimize the re-appearance of these plants in your garden. Preventing the re-establishment of perennials will help maintain the desired look and health of your garden space. Here are some effective strategies to consider:
- Soil solarization: If you have areas in your garden where perennial growth was particularly persistent, consider using a technique called soil solarization. This involves covering the soil with a clear plastic tarp to trap heat and solar energy, effectively killing any remaining plant material and seeds in the soil. Leave the tarp in place for several weeks during the peak of the summer heat to achieve optimal results.
- Improving soil health: Perennials tend to thrive in nutrient-rich soil, so maintaining healthy soil can help deter their re-growth. Regularly amend your soil with organic matter, such as compost or well-rotted manure, to improve its fertility and structure. This will promote the growth of desired plants and make it more challenging for perennial weeds to establish.
- Mulching: Apply a thick layer of organic mulch around your plants and in bare areas of your garden. Mulch helps suppress weed growth, including perennial re-growth, by blocking sunlight and providing a protective barrier. Additionally, organic mulch breaks down over time and enriches the soil, further benefiting your garden plants.
- Regular maintenance: Stay on top of garden maintenance by regularly weeding and cultivating the soil. Remove any emerging perennial shoots or seedlings as soon as you notice them to prevent them from becoming established. Consistent and thorough garden maintenance will help keep re-growth in check.
- Dividing and transplanting: Some perennial plants have a natural tendency to spread, and they can become invasive if left unchecked. To prevent their re-establishment, regularly divide and transplant these plants to control their growth and maintain their desired presence in your garden.
- Monitor neighboring areas: Keep an eye on nearby areas, such as neighboring yards or vacant lots, where perennial plants may be present. The wind, birds, or other wildlife can carry seeds and fragments into your garden, leading to re-growth. Be proactive in removing any perennial weeds that may appear from these external sources.
By implementing these preventive measures, you can significantly reduce the chances of perennial re-appearance in your garden. Consistency and attentiveness are key in maintaining a weed-free and well-managed garden space.
With the knowledge and techniques shared in this article, you are now equipped to confidently and effectively remove perennials from your garden. Remember to tailor the approach based on the specific needs and characteristics of the perennials you’re dealing with. By combining proper removal methods, appropriate disposal, and preventive measures, you can successfully manage and control the presence of perennials in your garden.
Conclusion
Removing perennials from your garden may be necessary to make room for new plants, control overgrowth, or address issues of disease or pests. It’s essential to approach this task with careful planning and the right techniques to ensure successful removal and prevent re-establishment.
In this article, we discussed the various methods of removing perennials, including digging up the plants, cutting them back, and using herbicides. Each method has its advantages and considerations, and the choice depends on factors such as the type of perennial, its growth habits, and your gardening goals.
We also emphasized the importance of assessing your perennial garden before removal, considering factors such as overgrowth, competition, and aesthetic appeal. Understanding the nature of perennials and their growth patterns is crucial in selecting the most appropriate removal method.
Proper disposal of perennial debris is essential to prevent their unintended spread and re-growth. By separating and disposing of the debris responsibly, you can help maintain a clean and healthy garden environment.
To prevent perennial re-appearance, implementing strategies such as soil solarization, improving soil health, mulching, regular maintenance, and monitoring neighboring areas can make a significant difference. By taking these preventive measures, you can minimize the chances of perennials re-establishing themselves in your garden.
Remember, successful perennial removal requires ongoing effort, consistent monitoring, and diligent maintenance. By applying the knowledge and techniques shared in this article, you can maintain a beautiful and thriving garden free from unwanted perennial plants.
So, roll up your sleeves, put on your gardening gloves, and confidently tackle the task of removing perennials. With the right approach, you’ll create a vibrant and balanced garden space for years to come.