Home>Gardening Tips and Tricks>Problem Solving>How To Get Rid Of Shrubs
Problem Solving
How To Get Rid Of Shrubs
Modified: January 22, 2024
Learn effective problem-solving techniques for getting rid of shrubs and reclaiming your outdoor space. Discover expert tips and step-by-step methods to tackle this common landscaping challenge.
(Many of the links in this article redirect to a specific reviewed product. Your purchase of these products through affiliate links helps to generate commission for Chicagolandgardening.com, at no extra cost. Learn more)
Table of Contents
Introduction
Shrubs can add beauty and greenery to your garden, but there are times when you may need to get rid of them. Whether they have outgrown their space, become diseased, or simply no longer fit your landscape design, removing shrubs can be a challenging task. However, with proper planning and the right techniques, you can successfully remove shrubs from your garden.
In this article, we will provide you with a step-by-step guide on how to get rid of shrubs effectively. We will discuss methods for assessing the shrubs, determining the removal method, manual removal techniques, using chemicals for removal, stump removal, cleaning up the area, and disposing of the shrubs.
Before you start the removal process, it’s crucial to assess the condition of the shrubs and determine the best approach for removal. Identifying the size, health, and root system of the shrubs will guide you in selecting the most appropriate removal technique. Additionally, considering the surrounding landscape, such as nearby plants, structures, or utilities, is essential to ensure a safe and efficient removal.
Once you have evaluated the shrubs and assessed the removal method, it’s time to roll up your sleeves and get to work. Manual removal is often the preferred option, especially for smaller shrubs or those with shallow root systems. This method involves digging around the shrub, cutting the roots, and pulling out the plant from the ground. We will provide you with detailed instructions on how to execute this process effectively and safely.
If the shrubs are larger or have extensive root systems, using chemicals for removal may be a more practical approach. We will discuss the various types of herbicides available and provide guidelines on how to properly use them. However, it’s important to exercise caution and follow all safety regulations when working with chemicals.
After removing the shrubs, you will also need to address the remaining stumps. We will share methods for stump removal, including grinding or digging out the stump, to ensure a smooth and level surface in your garden. Additionally, we will provide tips on cleaning up the area, such as raking up debris, filling any holes, and restoring the landscape to its original state.
Finally, we will guide you on how to dispose of the shrubs responsibly. Depending on your location, there may be specific guidelines for disposing of green waste. We will provide you with eco-friendly options, such as composting or recycling, to minimize the impact on the environment.
By following the steps outlined in this article, you will be equipped with the knowledge and techniques to successfully remove unwanted shrubs from your garden. Let’s dive into the detailed process of getting rid of shrubs and transform your landscape into a space that reflects your vision and style.
Step 1: Assessing Your Shrubs
Before you jump into removing your shrubs, it’s important to assess their condition and determine the best approach for removal. This step will help you understand the size and health of the shrubs, as well as the complexity of their root systems. By taking the time to evaluate these factors, you can choose the most appropriate removal method for a successful outcome.
Start by examining the size of the shrubs. If they are small and manageable, manual removal may be the most practical option. On the other hand, if the shrubs have grown large and are deeply rooted, you may need to consider using chemicals or mechanical methods for removal.
Next, inspect the health of the shrubs. Diseased or infested shrubs may require different removal techniques to prevent the spread of pests or diseases to other plants in your garden. If the shrubs are healthy, you can proceed with the removal process with confidence.
Take a closer look at the root system of the shrubs. Are the roots shallow and easily accessible, or do they run deep into the ground? This will determine the amount of effort and equipment needed for removal. If the roots are shallow, manual removal by digging around the shrub and cutting the roots might be sufficient. However, if the roots are extensive and difficult to access, you may need to consider using chemicals or hiring professionals with specialized equipment for stump removal.
Consider the surrounding landscape when assessing your shrubs. Are there other plants, structures, or utilities nearby that could be affected by the removal process? Take note of any potential obstructions that could hinder the removal or cause damage. It’s important to plan the removal carefully to minimize any unintended consequences.
Lastly, think about your long-term landscape vision. Are you planning to replace the shrubs with new plants or redesign the area entirely? Understanding your future plans will help you determine how thorough the removal process should be and whether additional steps, like leveling the ground or amending the soil, need to be taken.
By thoroughly assessing your shrubs, you will have a clear understanding of their size, health, root system, and the impact their removal may have on the surrounding landscape. Armed with this information, you can proceed to the next step of determining the appropriate removal method.
Step 2: Determining the Removal Method
Once you have assessed your shrubs and have a clear understanding of their size, health, and root system, it’s time to determine the most suitable removal method. The removal method you choose will depend on various factors such as the shrub’s size, root depth, accessibility, and your personal preferences. Let’s explore some common removal methods to help you make an informed decision.
1. Manual Removal: This method is ideal for small to medium-sized shrubs with shallow root systems. It involves digging around the shrub, cutting the roots, and pulling the plant out from the ground. To manually remove a shrub, follow these steps:
- Start by wearing protective gloves and eyewear to safeguard yourself.
- Use a sharp spade or shovel to dig a trench around the shrub, ensuring you cut through the roots.
- Gradually work your way around the shrub, loosening the soil and detaching the roots as you go.
- Once you have loosened the shrub, firmly grip the main stem or trunk and pull it out of the ground.
2. Chemical Removal: This method is suitable for larger shrubs with deep root systems that may be difficult to remove manually. Herbicides can be used to kill the shrub, making it easier to remove. When using herbicides, it’s crucial to follow the instructions carefully and consider any environmental impacts. Here’s how to use herbicides to remove a shrub:
- Select a herbicide specifically designed for woody plants and follow the recommended application rate.
- Using a spray bottle or paintbrush, apply the herbicide directly to the foliage and exposed parts of the stump.
- Avoid overspray and take care not to harm surrounding plants or desirable vegetation.
- Allow the herbicide to take effect, typically over a period of several weeks, until the shrub dies.
- Once the shrub is dead, proceed with manual or mechanical removal methods to extract the lifeless plant.
3. Mechanical Removal: This method involves using specialized equipment to remove shrubs, making it suitable for larger, stubborn shrubs with deep root systems. Mechanical removal methods include stump grinders and excavators. If you opt for mechanical removal, it’s recommended to consult a professional or rent the necessary equipment to ensure safe and effective removal.
Consider your shrub’s characteristics and your comfort level with each removal method to determine the best approach. Keep in mind that some methods may require more time and effort than others, so choose the method that aligns with your preferences and resources.
Once you have determined the most suitable removal method, you can proceed with the actual removal process. In the following steps, we will provide detailed information on manual removal techniques, chemical removal, stump removal, cleaning up the area, and disposing of the shrubs, ensuring a smooth and successful shrub removal process.
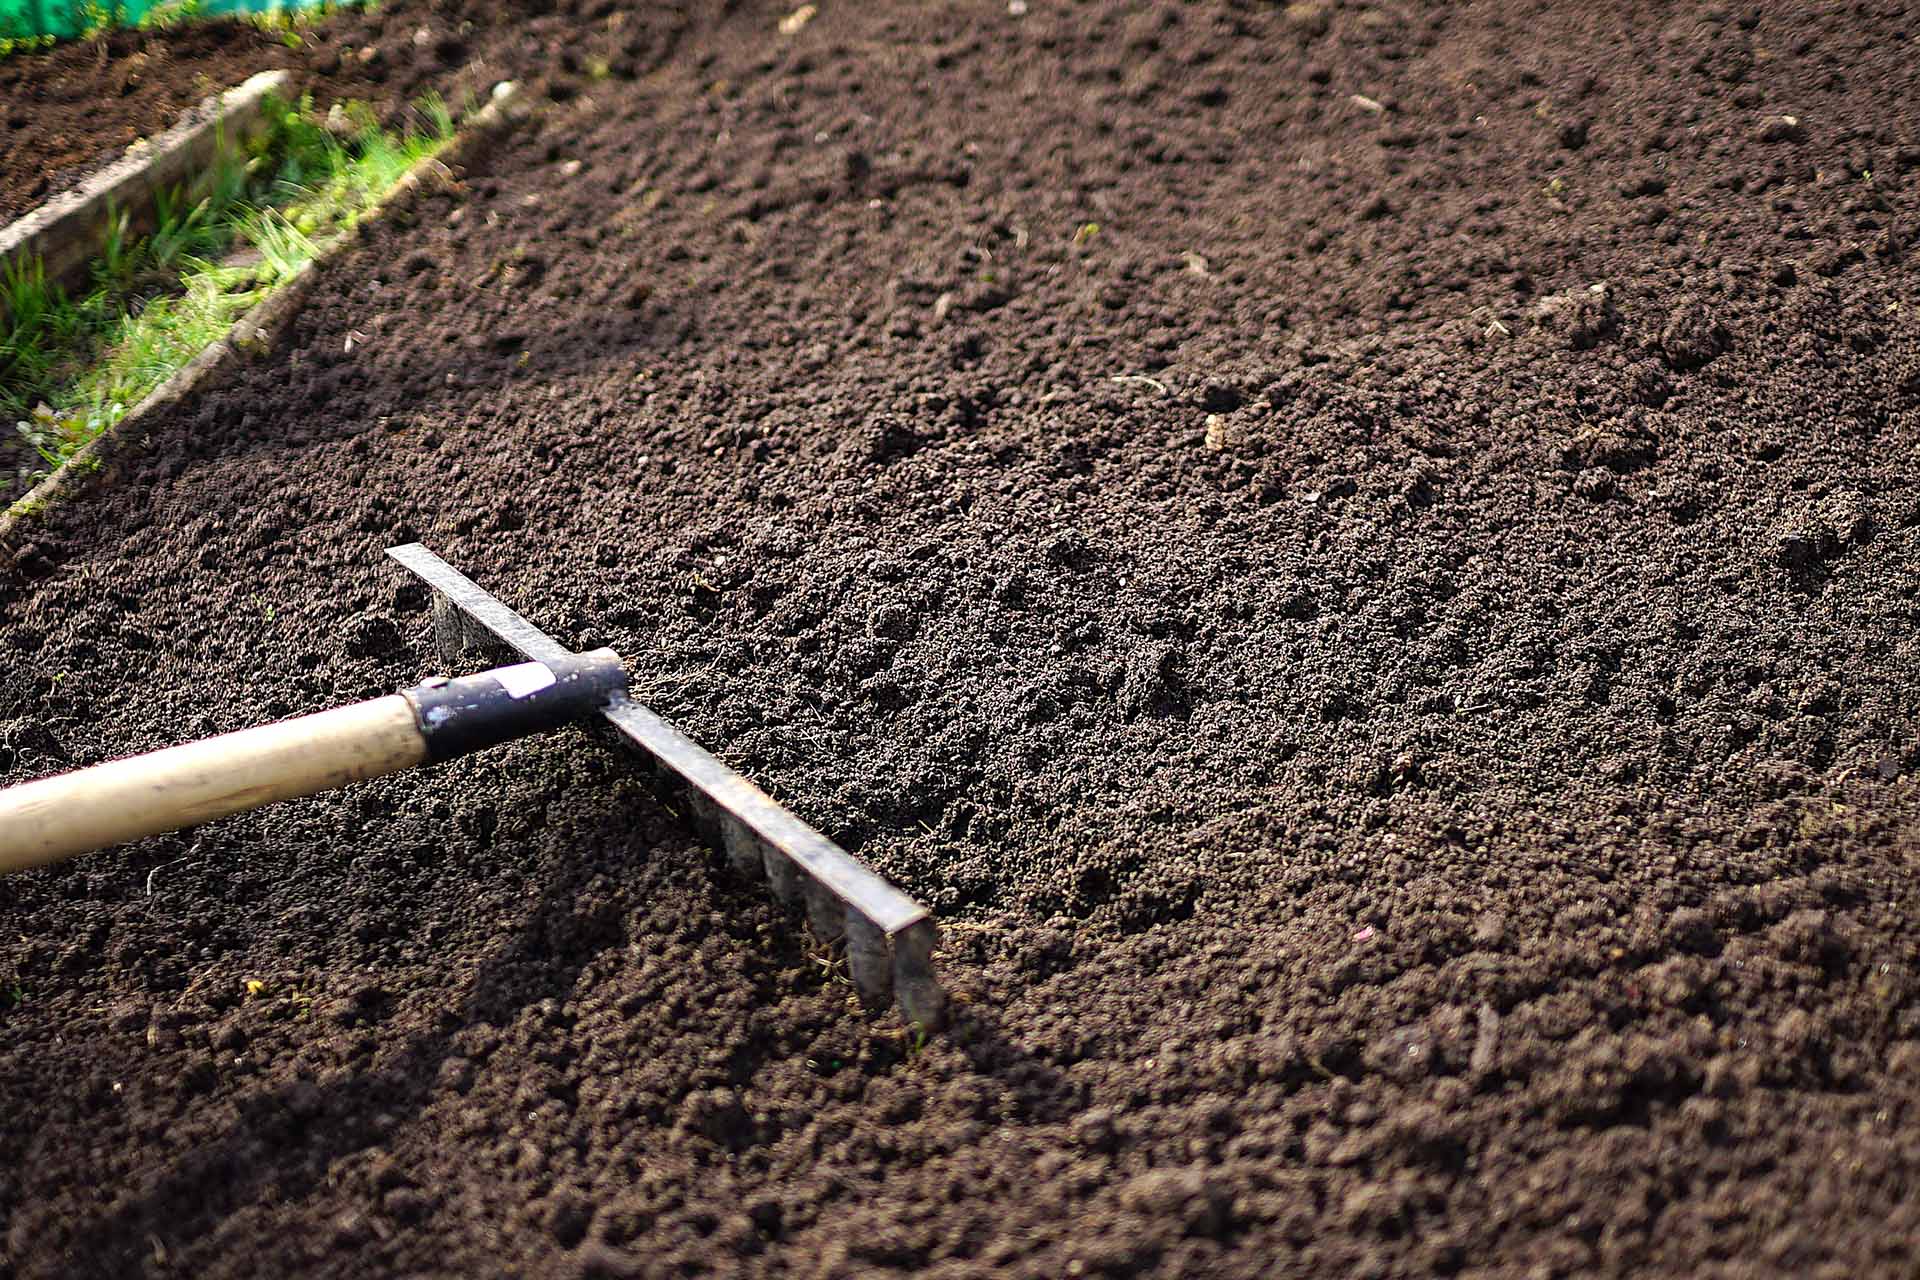
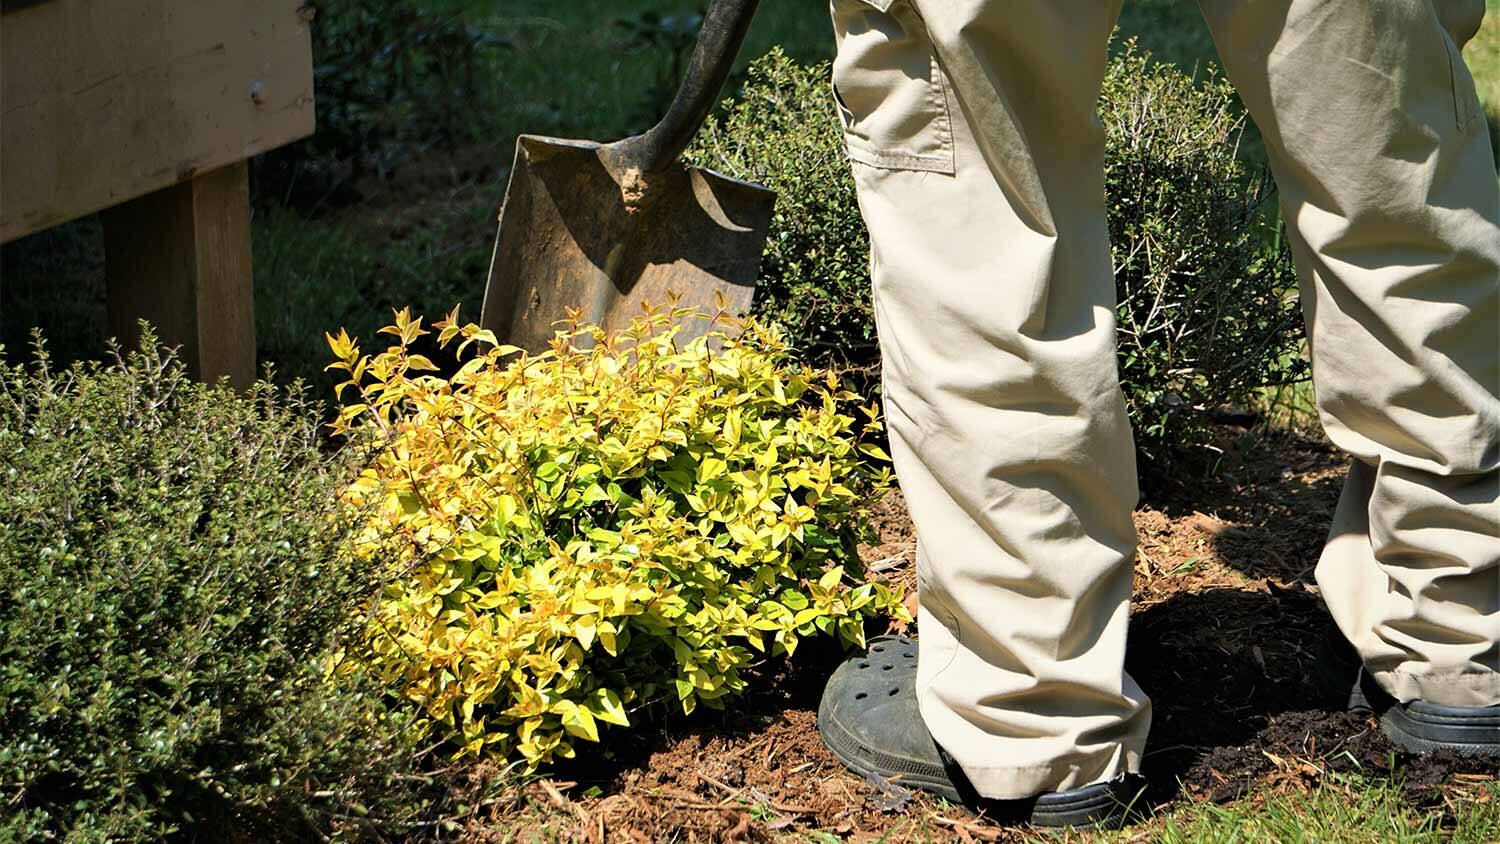
Step 3: Manual Removal
Manual removal is a practical and cost-effective method for removing shrubs, especially for smaller ones or those with shallow root systems. This method allows you to have more control over the removal process and minimizes the need for chemicals or specialized equipment. Follow these steps for effective manual removal of shrubs:
- Start by wearing protective gloves, eyewear, and sturdy clothing to protect yourself from scratches or injuries during the removal process.
- Prepare the necessary tools such as a sharp spade, shovel, pruning shears, hand saw, and a mattock or pickaxe if needed.
- Before digging around the shrub, make sure to mark any nearby utilities or irrigation lines to avoid damaging them.
- Use the pruning shears or hand saw to trim off any branches or foliage from the shrub, making it easier to work with.
- Take the sharp spade or shovel and start digging a trench around the shrub, maintaining a distance of at least eight inches from the main stem or trunk.
- Gradually work your way around the shrub, cutting through the roots with the spade or shovel as you go.
- If the root system is too extensive or difficult to cut through, use a mattock or pickaxe to help loosen the soil and expose the roots.
- Continue digging and cutting roots until the shrub becomes loose and can be easily pulled out from the ground.
- Once the shrub is loose, firmly grip the main stem or trunk and gently pull it out of the ground, using your body weight if necessary.
- Inspect the hole left behind and remove any remaining roots or debris to ensure a clean and clear area for future landscaping.
Throughout the manual removal process, be mindful of nearby plants, structures, or utilities to prevent any accidental damage. Take breaks as needed and work at a pace that is comfortable for you. If the shrubs are stubborn or have a complex root system, you may need to seek professional assistance or consider alternative removal methods.
Remember to properly dispose of the removed shrubs according to local regulations. Composting or recycling the plant material are environmentally friendly options, while some areas may require specific green waste disposal methods.
By following these steps, you can successfully remove shrubs manually, reclaiming your garden space and creating opportunities for a new landscape design. Now that you have mastered manual removal, let’s explore other removal techniques, including using chemicals for removal, stump removal, cleaning up the area, and disposing of the shrubs.
Step 4: Using Chemicals for Removal
Using chemicals for shrub removal can be an effective method, especially for larger shrubs with deep root systems. Chemicals can help kill the shrub, making it easier to remove. However, it’s important to approach chemical removal with caution, following safety guidelines and considering any potential environmental impacts. Here’s how to use chemicals for effective shrub removal:
- Start by selecting a herbicide specifically designed for woody plants. Consult with a garden center or professional to determine the most suitable herbicide for your specific shrub.
- Read and carefully follow the instructions provided with the herbicide. Pay close attention to the recommended application rate, dilution ratios, and safety precautions.
- Put on protective gloves, eyewear, and clothing to avoid direct contact with the herbicide.
- Choose a calm, dry day to apply the herbicide. Avoid windy conditions to prevent drift and accidental damage to surrounding plants.
- If the shrub has foliage, use a spray bottle or garden sprayer to apply the herbicide directly to the leaves, ensuring full coverage.
- If the shrub has been cut down, use a brush or sponge to apply the herbicide to the freshly cut surface of the stump.
- Avoid overspray or excessive application, as this can harm desirable vegetation nearby.
- Allow the herbicide to take effect, typically over a period of several weeks. The shrub will gradually wilt and die.
- Once the shrub is dead, proceed with the removal. Depending on your preference, you can either manually remove the shrub or use mechanical methods like stump grinders for stump removal.
- Dispose of the shrub and any contaminated materials according to local regulations. Consider composting or recycling the plant material if possible.
It’s important to exercise caution when using chemicals for shrub removal. Avoid skin contact with the herbicide and keep pets and children away from the treated area. Follow all safety guidelines provided by the manufacturer and dispose of any used herbicide containers appropriately.
Additionally, consider the potential impacts on the environment. Some herbicides can be harmful to desirable plants or may leach into nearby water sources. If you have concerns about the environmental impact, consider alternative removal methods or consult with a professional to explore environmentally friendly options.
Using chemicals for removal can be a convenient and effective method, but it should be approached with care and responsibility. With the right precautions and considerations, chemical removal can aid in successfully eliminating unwanted shrubs from your garden.
Step 5: Stump Removal
Once you have removed the above-ground portion of the shrub, you may be left with an unsightly stump in your garden. Stump removal is crucial to ensure a smooth and level surface and to prevent future regrowth. There are several methods you can use to remove shrub stumps, depending on your preference and the tools available:
- Stump Grinding: This is a common and efficient method for stump removal. Stump grinders are heavy-duty machines that can quickly grind down the stump to below ground level. You can rent a stump grinder from a local equipment rental store or hire a professional tree service to do the job. Follow the safety instructions and guidelines provided by the equipment rental or the professionals, wearing protective gear and operating the machine carefully.
- Stump Digging: If you prefer a more manual approach, you can dig out the stump using a shovel, mattock, or pickaxe. Start by digging a trench around the stump, exposing the roots. Use a pruning saw or loppers to cut the roots as you uncover them. Once the roots are severed, use a pry bar or shovel to lift and remove the stump from the ground. This method requires physical exertion and can be time-consuming, especially for larger stumps with extensive root systems.
- Chemical Stump Removal: Another option is to use chemicals to aid in stump removal. There are commercial stump removal products available that help speed up the decomposition process. Follow the instructions provided on the label carefully, drilling holes into the stump and applying the chemical product. The chemicals will break down the stump over time, allowing for easier removal.
- Natural Decomposition: If you are not in a hurry to remove the stump, you can opt for natural decomposition. This method involves allowing the stump to break down naturally over time. It can take several years for the stump to decompose completely, but it requires minimal effort. To speed up the process, you can cover the stump with a tarp or black plastic to create a warm and moist environment, promoting fungal growth and decay.
Regardless of the method you choose, it’s important to fill the hole left behind after stump removal. Use soil or fill material to level the ground and create a smooth surface. This will not only improve the aesthetics of your garden but also prevent accidents or trips caused by uneven terrain.
Always consider safety precautions when removing stumps, especially when using power tools or heavy machinery. If you are unsure or uncomfortable with the stump removal process, it’s advisable to seek professional help. They have the experience, tools, and expertise to remove stumps efficiently and safely.
By successfully removing the stump, you will eliminate potential hazards, create a clean and level landscape, and open up space for new planting or landscaping projects.
Step 6: Cleaning Up the Area
Once you have removed the shrubs and stumps, it’s time to clean up the area and restore your garden to its original state. Cleaning up after shrub removal will not only enhance the visual appeal of your landscape but also create a safe environment for future gardening and landscaping activities. Here are some essential steps for cleaning up the area:
- Rake up all the debris: Use a garden rake to remove any fallen leaves, twigs, or small branches that may have accumulated during the removal process. Collect them into a pile or compost bin for disposal.
- Remove any leftover roots or plant material: Inspect the area for any remaining roots or plant fragments. Use a shovel or hand trowel to carefully dig them out and remove them from the site.
- Fill in any holes or depressions: If the removal process left behind any holes or depressions in the ground, fill them in with topsoil or compost. This will ensure a smooth and level surface for future landscaping.
- Inspect for and remove any unwanted sprouts or regrowth: Sometimes, shrubs have a tendency to send up new shoots or suckers even after removal. Keep an eye out for any sprouts or regrowth and promptly remove them to prevent the shrubs from reestablishing.
- Inspect surrounding plants and structures: Check for any damages or disturbances caused during the removal process. This includes adjacent plants, fences, walls, or utility lines. Address any issues and make the necessary repairs or adjustments.
- Consider adding mulch or ground cover: To enhance the aesthetic appeal and improve soil moisture retention, consider applying a layer of organic mulch or planting ground cover plants around the area where the shrubs were removed. This will help suppress weed growth and create a cohesive look in your garden.
By taking the time to clean up the area after shrub removal, you will create a fresh and tidy canvas for future gardening endeavors. It’s important to note that maintaining the cleaned area is essential to prevent weed growth and ensure long-term landscape health. Regular weeding and proper maintenance practices will help maintain the beauty and integrity of your garden.
Now that you have cleaned up the area, it’s time to dispose of the removed shrubs responsibly.
Step 7: Disposing of the Shrubs
Proper disposal of the removed shrubs is important to ensure environmental responsibility and comply with local regulations. The disposal method you choose may depend on factors such as the size of the shrubs, the availability of recycling facilities, and any specific guidelines in your area. Here are some options for disposing of shrubs:
- Green Waste Recycling: Many communities have green waste recycling programs where you can dispose of your shrubs. Check with your local municipality or waste management facility to find out where and how to drop off the shrubs for recycling. This method is environmentally friendly and promotes the reuse of organic materials.
- Composting: If you have a home composting system, you can compost the shrubs. However, keep in mind that some shrubs may take longer to decompose, especially if they are woody or contain tough fibers. Chop or shred the shrubs into smaller pieces to speed up the decomposition process.
- Curbside Pickup: In some areas, you may be able to arrange for curbside pickup of the shrubs. Contact your local waste management department to inquire about any pickup services they offer. Make sure to follow their guidelines for preparing the shrubs for collection, such as bundling or bagging them securely.
- Hire a Green Waste Removal Service: If you don’t have the means or time to dispose of the shrubs yourself, consider hiring a green waste removal service. They will collect and dispose of the shrubs in an environmentally responsible manner, saving you time and effort.
- Wood Recycling or Reuse: If the shrubs have been cut into manageable pieces, you can explore options for wood recycling or reuse. Some recycling facilities or woodworking enthusiasts may be interested in turning the shrubs into mulch, firewood, or other useful products.
When disposing of shrubs, it’s important to avoid dumping them in natural areas or public spaces, as this can contribute to the spread of invasive species or create an eyesore. By following proper disposal methods, you can contribute to a cleaner environment while maintaining good stewardship of your community.
Remember to clean up any leftover debris or materials used during the removal process and restore the area to its original appearance. This will help ensure that your garden looks tidy and inviting.
Congratulations! By following these step-by-step instructions for shrub removal, you have successfully transformed your garden and created space for new landscaping possibilities. With proper assessment, the right removal method, and responsible disposal, you have taken control of your landscape and made it more beautiful and functional.
Conclusion
Removing unwanted shrubs from your garden can be a challenging task, but with proper planning and the right techniques, it is achievable. By following the step-by-step guide outlined in this article, you can successfully get rid of shrubs, reclaim your garden space, and create opportunities for new landscaping projects.
Assessing your shrubs is the first step in the removal process. By understanding their size, health, and root system, you can determine the most suitable removal method. Manual removal is ideal for smaller shrubs with shallow roots, while larger shrubs may require the use of chemicals or mechanical methods for removal.
Manual removal involves digging around the shrub, cutting the roots, and pulling the plant out of the ground. It offers more control over the process and limits the use of chemicals or specialized equipment. Chemical removal, on the other hand, involves using herbicides to kill the shrub, making it easier to remove. However, it’s important to handle chemicals with care and consider any environmental impacts.
Once the shrubs are removed, it’s essential to address any remaining stumps. Stump removal can be done through grinding, digging, or natural decomposition. Select the method that suits your preferences and resources, ensuring a smooth and level surface in your garden.
After removing the shrubs and stumps, it’s time to clean up the area. Rake up debris, remove any leftover roots or plant material, and fill in any holes or depressions. This will create a clean and safe environment for future gardening activities.
Finally, disposing of the shrubs responsibly is crucial. Explore options such as green waste recycling, composting, curbside pickup, or hiring a green waste removal service. By following proper disposal methods, you can contribute to a cleaner environment and uphold good stewardship of your community.
With the completion of these steps, you have successfully removed unwanted shrubs, transformed your garden, and set the stage for a fresh and inviting landscape. Enjoy the newfound space and consider exploring new planting possibilities or designing a more aesthetically pleasing garden.
Remember, shrub removal requires effort and patience. Take your time, follow the instructions carefully, and prioritize safety throughout the process. If you find the task too daunting, don’t hesitate to seek professional assistance.
Now it’s time to embark on your shrub removal journey and create the garden of your dreams!