Home>Gardening Tips and Tricks>Problem Solving>How To Know If Chia Seeds Have Gone Bad

Problem Solving
How To Know If Chia Seeds Have Gone Bad
Modified: January 22, 2024
Discover effective problem-solving techniques to determine if your chia seeds have spoiled. Learn how to identify signs of spoilage within 160 characters.
(Many of the links in this article redirect to a specific reviewed product. Your purchase of these products through affiliate links helps to generate commission for Chicagolandgardening.com, at no extra cost. Learn more)
Table of Contents
Introduction
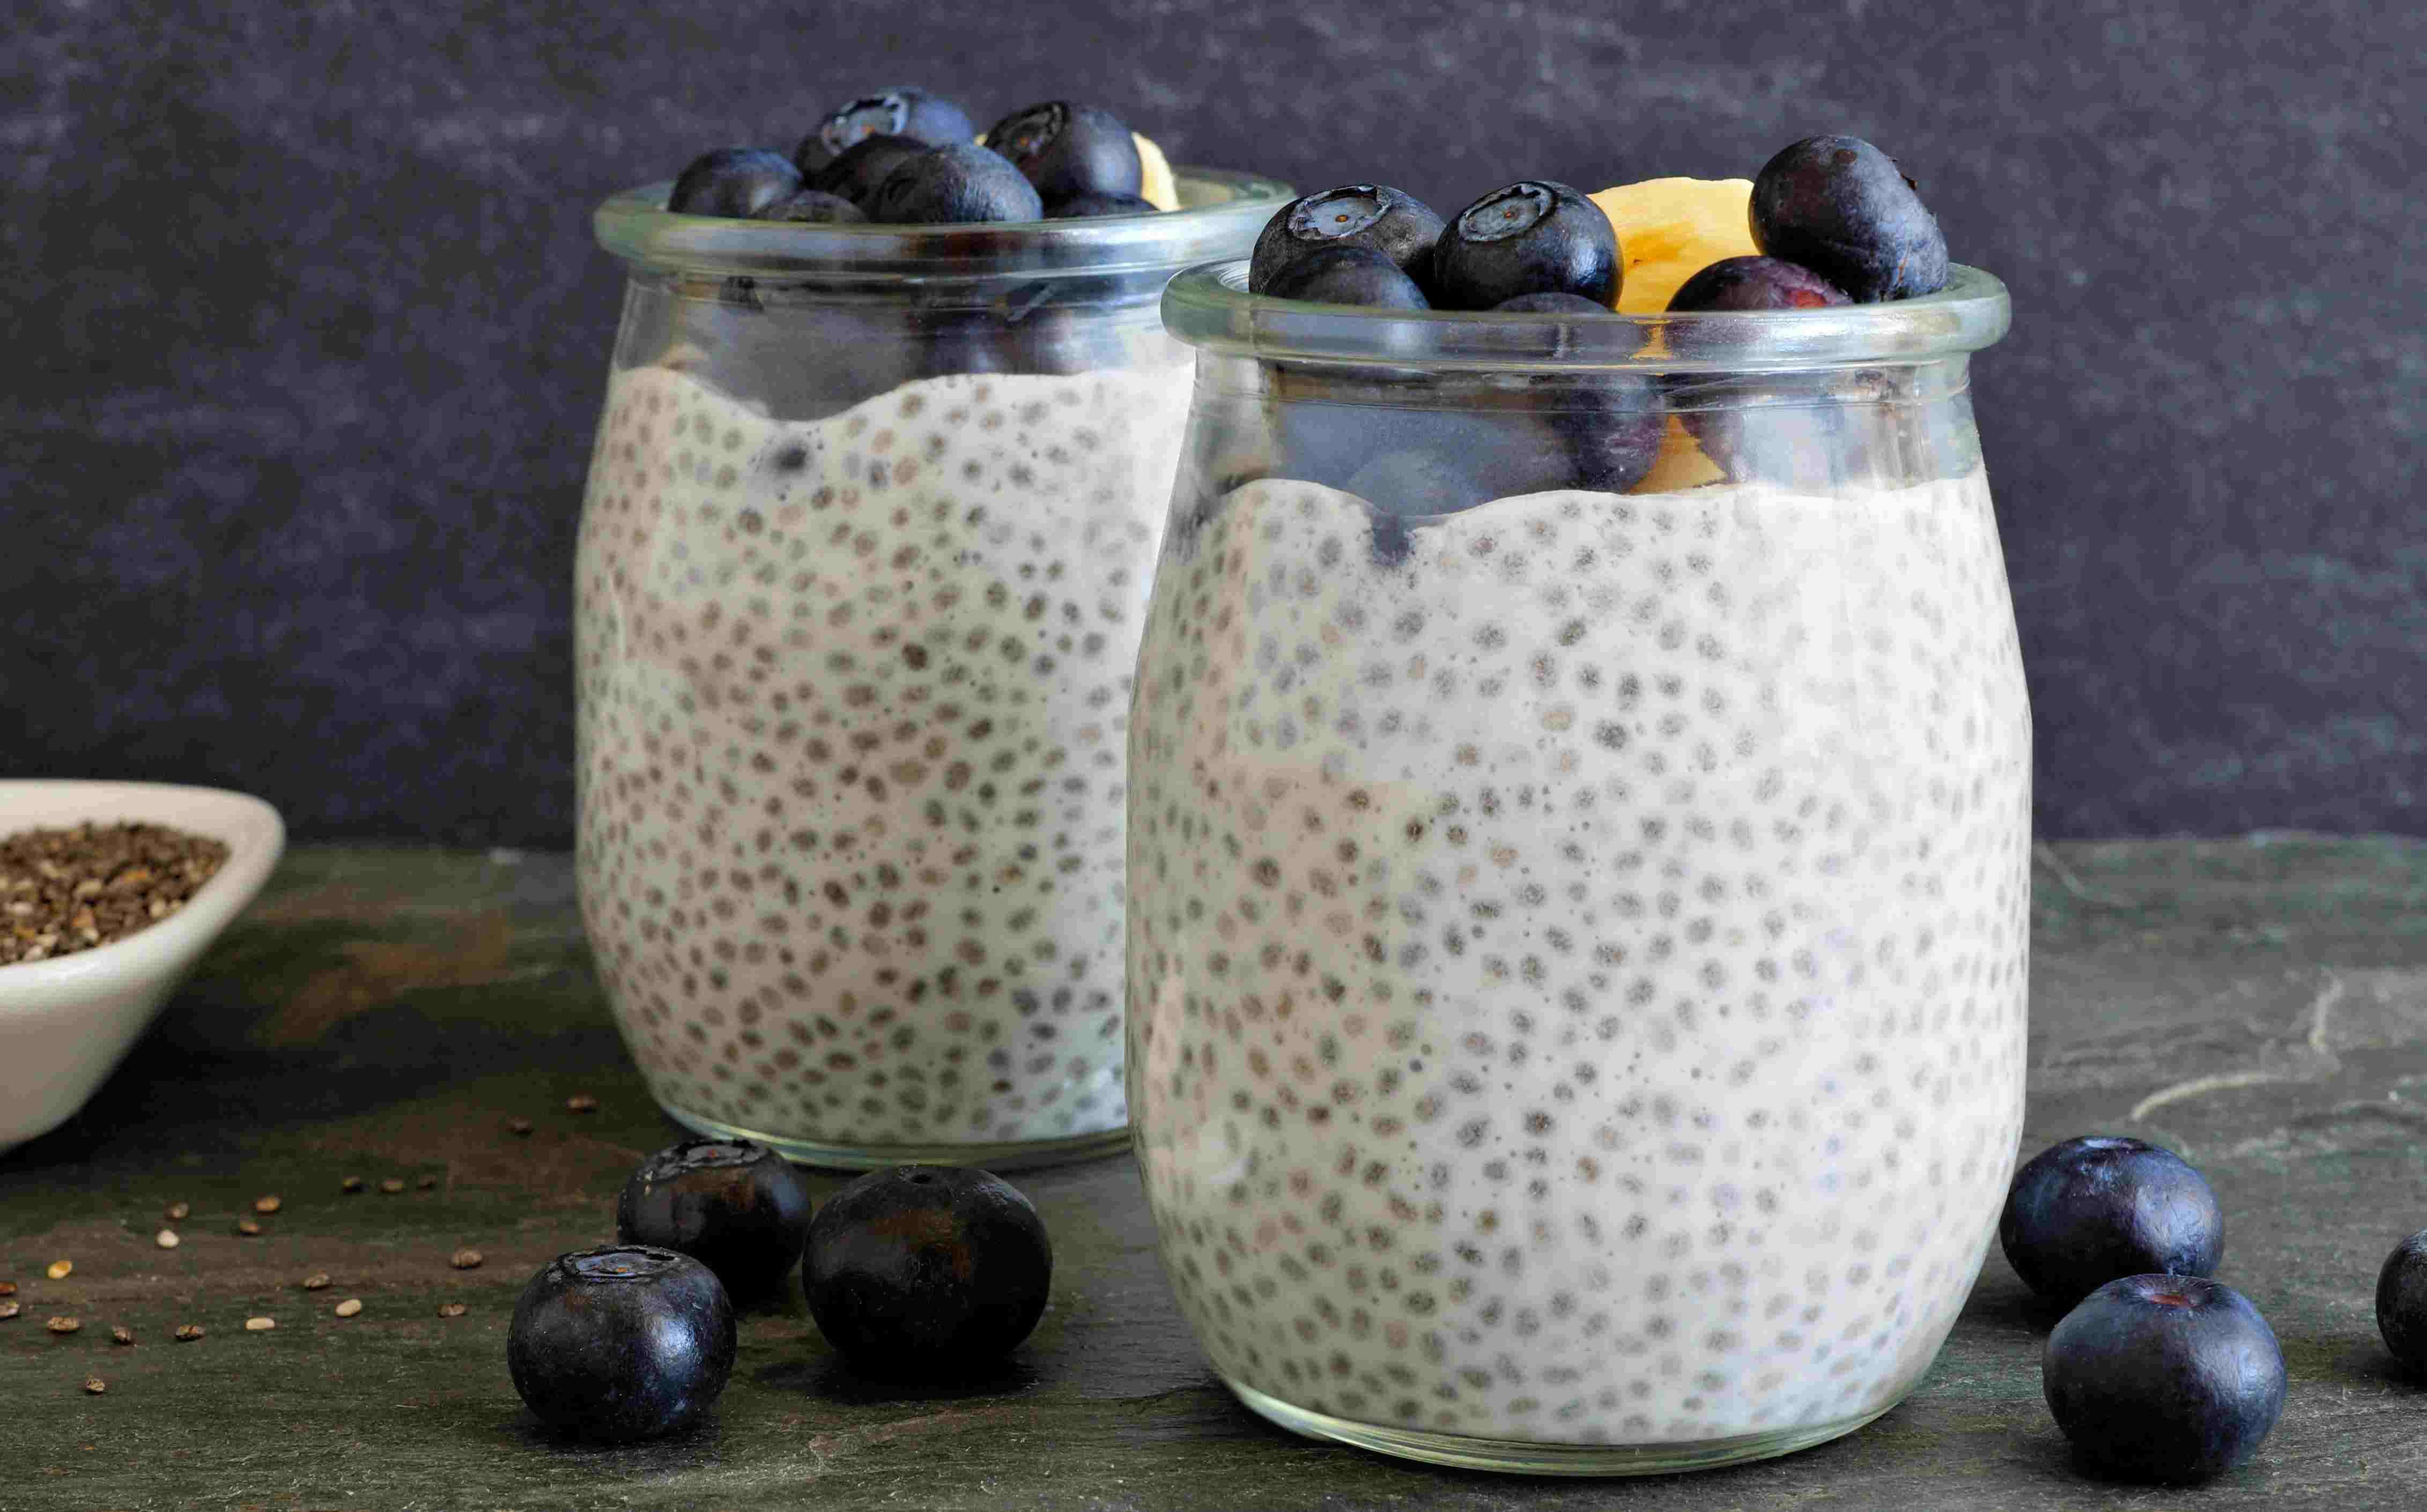
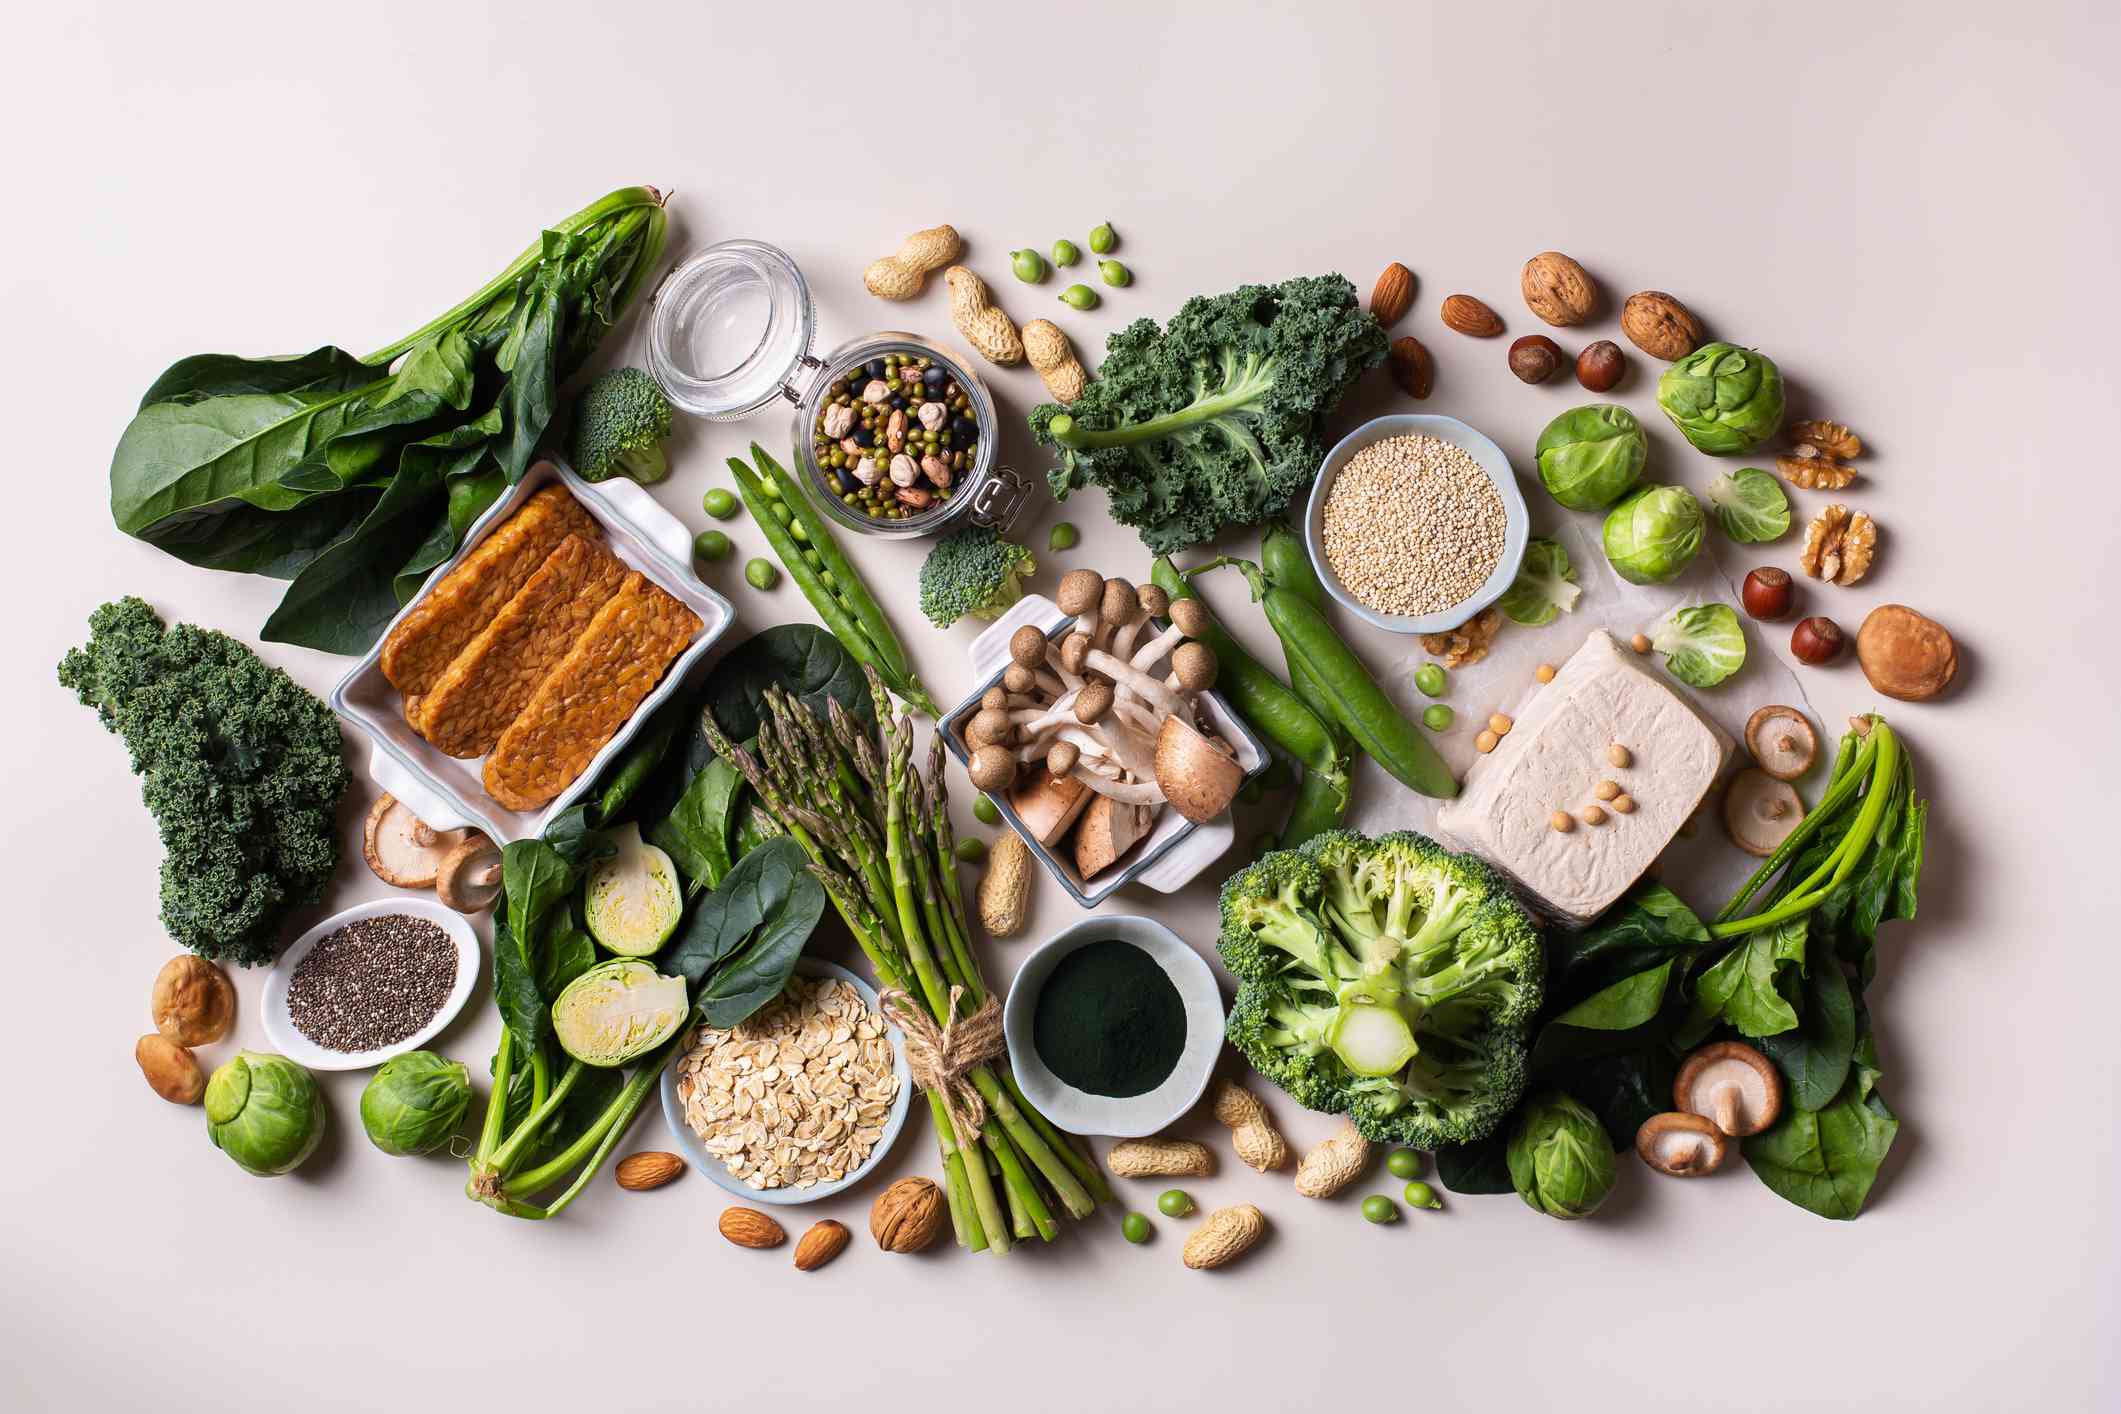
Chia seeds have gained immense popularity in recent years due to their numerous health benefits. Packed with omega-3 fatty acids, fiber, and antioxidants, these tiny seeds have become a staple in many people’s diets. But like any food product, chia seeds can go bad over time.
Knowing how to determine if your chia seeds have gone bad is essential to ensure that you are consuming fresh and safe food. In this article, we will explore the signs that indicate chia seeds may have spoiled, as well as provide tips on proper storage to prolong their shelf life.
It’s important to note that chia seeds have a remarkably long shelf life compared to other perishable foods. However, improper storage and exposure to moisture can cause them to go rancid or develop mold. By learning how to identify these signs, you can confidently incorporate chia seeds into your diet without any concerns.
Signs that Chia Seeds Have Gone Bad
While chia seeds have a long shelf life, they can still go bad under certain conditions. Here are some signs that indicate your chia seeds may have spoiled:
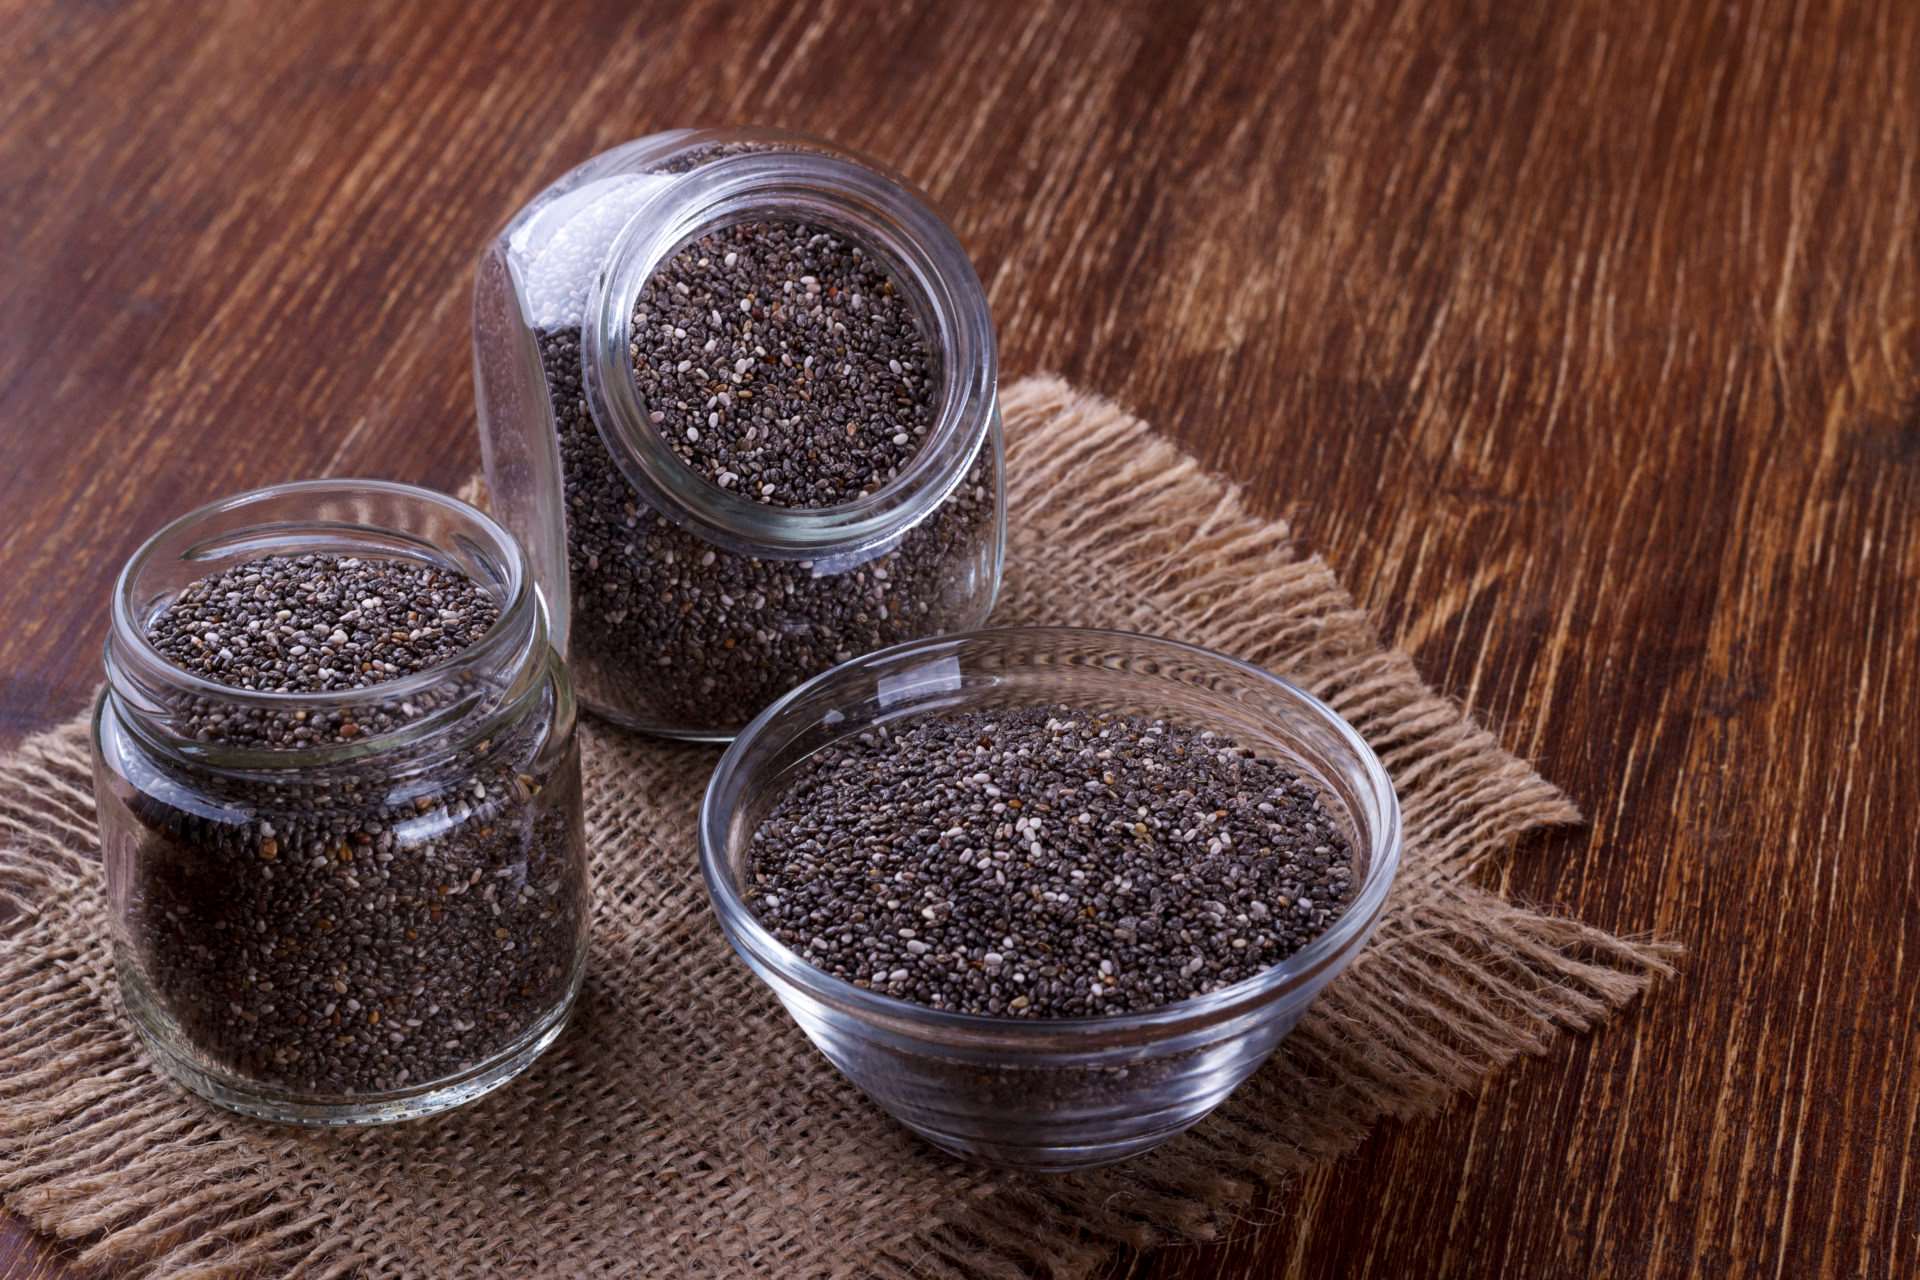
- Discoloration: Fresh chia seeds are typically dark in color, ranging from black to dark brown. If you notice any significant discoloration, such as a lighter shade or a greenish tint, it could be a sign of spoilage.
- Foul Odor: Chia seeds have a neutral or slightly nutty smell. If you detect an unpleasant or musty odor, it is a clear indication that the seeds have gone bad.
- Off Taste: Chia seeds have a mild and slightly nutty flavor. If you notice any bitterness, sourness, or an overall unpleasant taste, it is likely that the seeds have deteriorated.
- Texture Changes: Fresh chia seeds have a crunchy texture when soaked in liquid. If you find that the seeds have become soft, mushy, or slimy, it is a sign that they have spoiled.
- Mold or Fungus Growth: The presence of mold or fungus is a definite indicator that your chia seeds have gone bad. If you spot any visible signs of mold, like green, blue, or white growth, it is crucial to discard the entire batch.
It’s essential to carefully examine your chia seeds for any of these signs before consuming them. Consuming spoiled chia seeds can lead to digestive issues and may have adverse effects on your health.
Visual Inspection
A visual inspection is the first step in determining if your chia seeds have gone bad. Here are some visual cues to look out for:
- Discoloration: Examine the color of the chia seeds. Fresh, good-quality chia seeds are typically dark in color, ranging from black to dark brown. If you notice a significant change in color, such as a lighter shade or a greenish or grayish tint, it is a clear indicator that the seeds have deteriorated and should not be consumed.
- Presence of Foreign Particles: Check for any foreign particles or debris mixed in with the chia seeds. If you notice anything unusual, such as dirt, insects, or other contaminants, it is best to discard the seeds as they may be compromised.
- Moisture: Chia seeds should be dry and free from moisture. If you observe any clumping or moisture on the surface of the seeds, it could be a sign of improper storage or moisture intrusion, which can lead to spoilage.
It’s important to note that chia seeds naturally have small black or white specks on their surface, which is normal and not a sign of spoilage. These specks are part of the seed’s natural composition and do not affect their quality or taste.
If you notice any of these visual signs of spoilage, it is best to err on the side of caution and discard the chia seeds. Consuming spoiled chia seeds can lead to digestive issues and may have adverse effects on your health.
Smell Test
Another reliable method to determine if your chia seeds have gone bad is by conducting a smell test. Follow these steps to assess the odor of your chia seeds:
- Take a Whiff: Open the container of chia seeds and take a deep breath to evaluate the smell. Fresh chia seeds should have a neutral or slightly nutty aroma.
- Identify Off Odors: If you detect any unpleasant or foul odors, such as a musty, rancid, or sour smell, it indicates that the chia seeds have deteriorated and are no longer suitable for consumption.
It’s important to note that chia seeds have a mild aroma, and if stored properly, they should not emit any strong or offensive smells. Any strong or unusual odor is an indication that the seeds have gone bad.
If you notice any off smells during the smell test, it is best to discard the chia seeds. Consuming spoiled chia seeds can lead to digestive discomfort and may have detrimental effects on your health.
Taste Test
Performing a taste test can help confirm whether your chia seeds have gone bad. Follow these steps to assess the taste:
- Take a Small Sample: Take a small portion of the chia seeds and place them on your tongue.
- Observe the Flavor: Fresh chia seeds have a mild, slightly nutty flavor. Pay attention to any unusual tastes, such as bitterness, sourness, or an overall unpleasant flavor.
If the chia seeds taste off or have a disagreeable flavor, it is a strong indication that they have spoiled and should not be consumed.
It’s important to note that consuming spoiled chia seeds can lead to digestive discomfort and other potential health issues.
If you detect any abnormal taste during the taste test, it is best to discard the chia seeds to prevent any negative effects on your health.
Texture Test
An important aspect to consider when evaluating the freshness of chia seeds is their texture. Here’s how you can perform a texture test to determine if your chia seeds have gone bad:
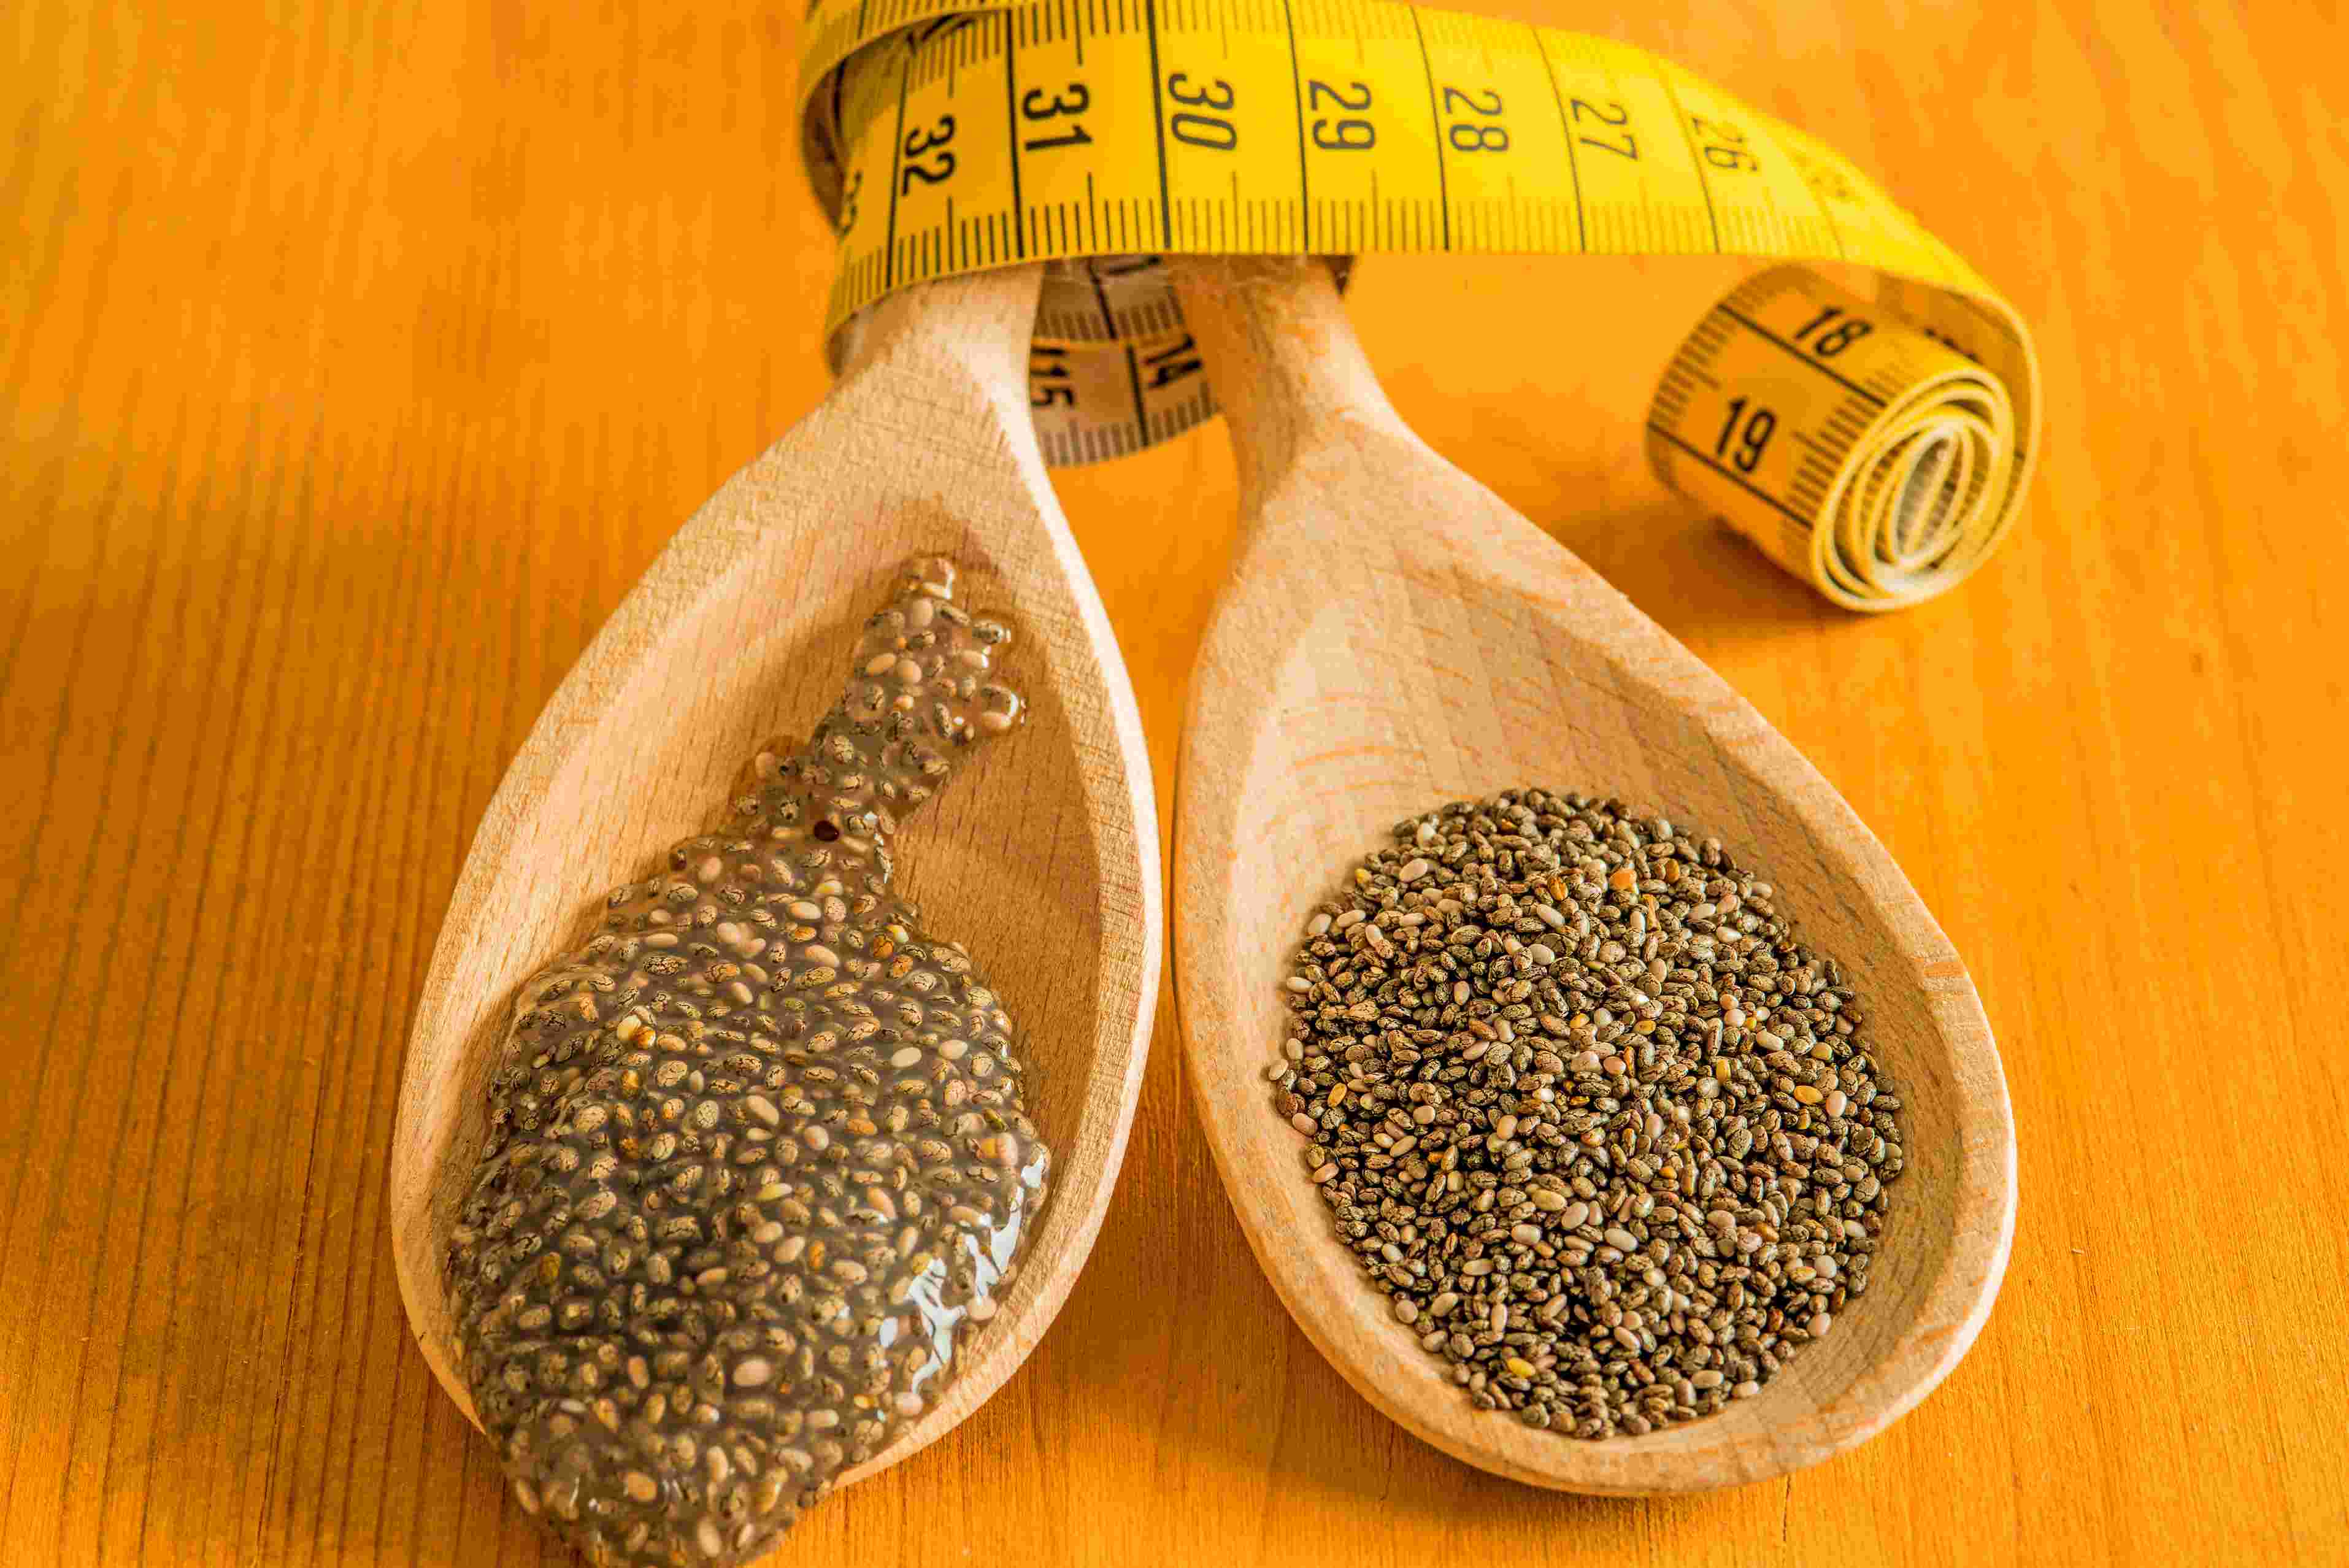
- Assess the Dry Texture: Before soaking the chia seeds, feel them between your fingers. Fresh chia seeds should have a dry, crisp texture.
- Soak the Chia Seeds: Next, place a small amount of chia seeds in a bowl and add water. Let them soak for a few minutes.
- Observe the Texture: After the soaking period, check the texture of the chia seeds. They should have absorbed the liquid and become gelatinous but still maintain their size and shape.
- Check for Sliminess or Mushiness: If the chia seeds feel slimy, mushy, or excessively soft, it is a clear indication that they have gone bad.
Fresh chia seeds, when properly stored, will maintain their crunchy texture when soaked. Any significant changes in texture could be a sign of spoilage.
If you notice any undesirable texture during the texture test, it is recommended to discard the chia seeds. Consuming spoiled chia seeds may lead to digestive issues and could impact your overall health.
Mold or Fungus Growth
One of the most obvious signs that chia seeds have gone bad is the presence of mold or fungus growth. Mold thrives in damp environments and can contaminate chia seeds if they have been improperly stored or exposed to moisture. Here’s what to look out for:
- Visible Mold: Inspect the chia seeds closely for any visible signs of mold. Look for patches of green, blue, white, or black growth on the seeds. Even small spots of mold indicate spoilage, and the entire batch should be discarded.
- Unusual Smell: Mold growth often emanates a musty or off-putting odor. If you notice an unusual smell coming from the chia seeds, it may be an indication of mold or fungus presence.
If you discover any mold or fungus growth in your chia seeds, it is crucial to discard them immediately. Consuming mold-contaminated chia seeds can lead to health issues, including allergic reactions and respiratory problems.
Preventing mold and fungus growth is essential for maintaining the freshness and quality of chia seeds. Proper storage in an airtight container in a cool and dry place is key to minimizing the risk of spoilage.
Regularly inspect your chia seeds for any signs of mold or fungus, even if you haven’t detected any off smells or visual cues. It’s better to be safe than sorry when it comes to consuming chia seeds.
Best Practices for Storing Chia Seeds
Proper storage is crucial for extending the shelf life of your chia seeds and ensuring their freshness. Here are some best practices to follow:
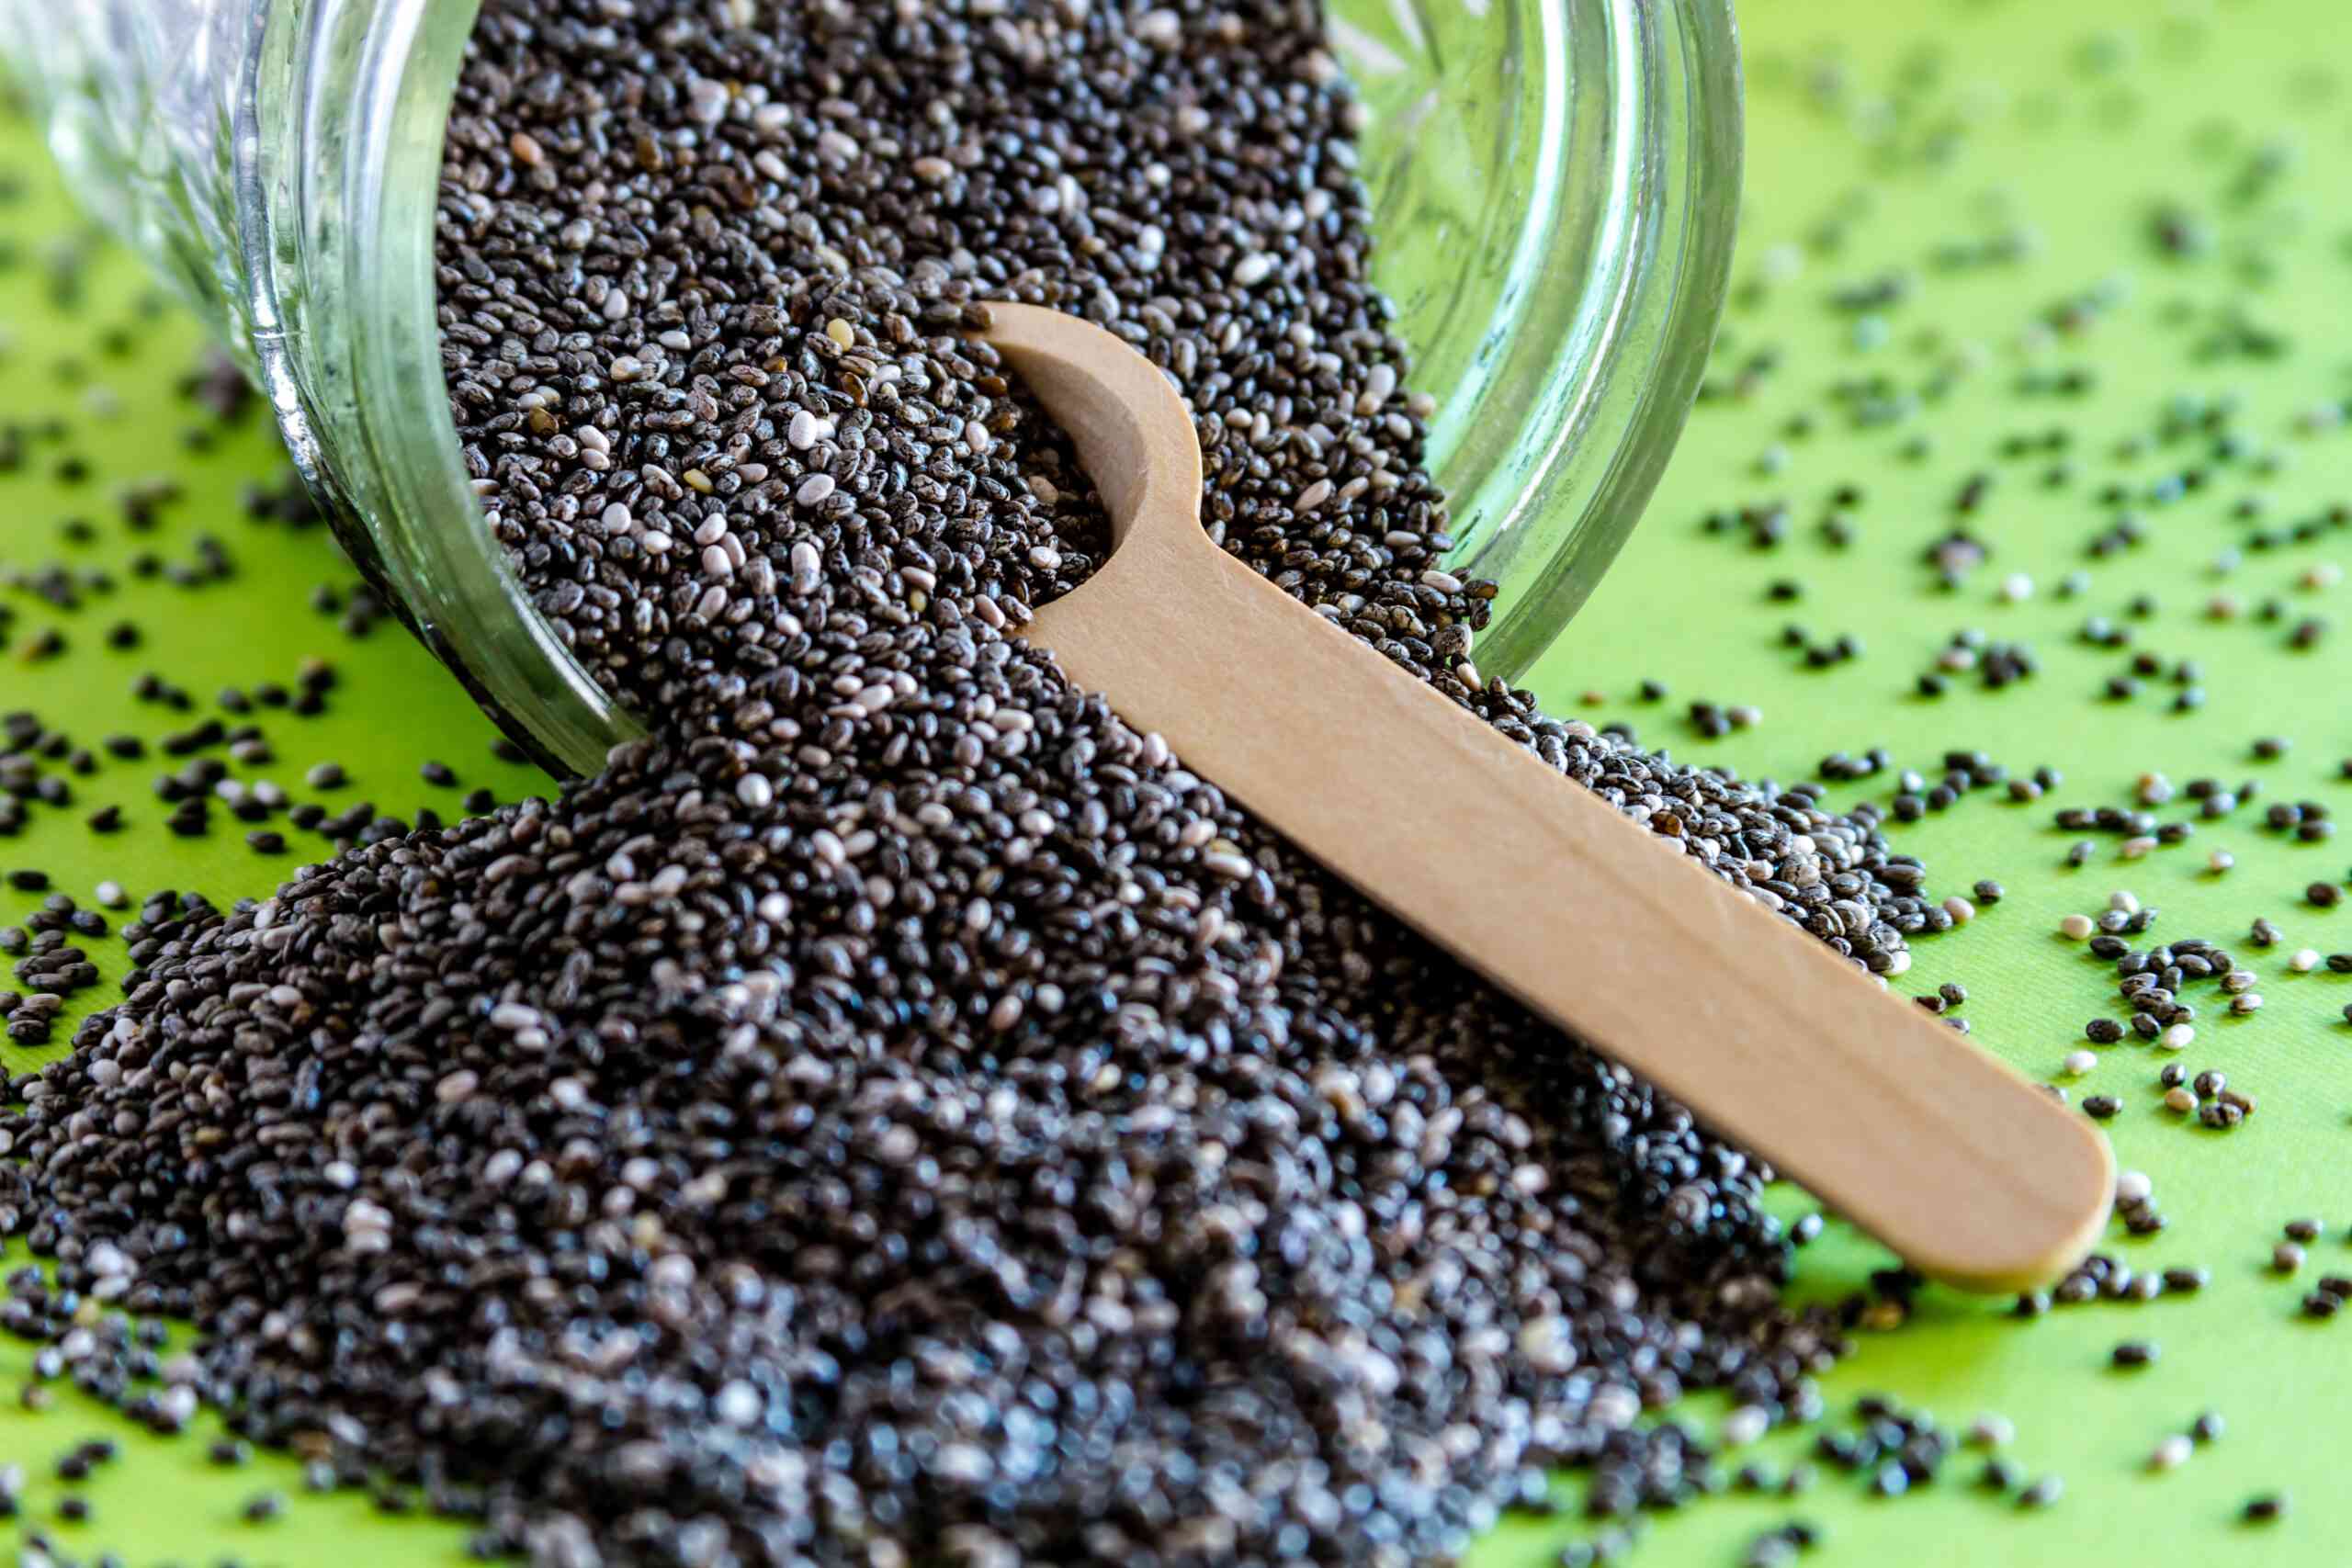
- Store in an Airtight Container: Transfer your chia seeds into an airtight container to protect them from moisture, air, and potential contaminants. This will help preserve their quality and prevent spoilage.
- Keep in a Cool and Dry Place: Chia seeds should be stored in a cool, dry place away from direct sunlight and heat. The ideal temperature range for chia seed storage is between 20°C to 25°C (68°F to 77°F).
- Avoid Exposure to Moisture: Moisture is the enemy when it comes to chia seed storage. Protect your chia seeds from exposure to moisture by ensuring that the container is tightly sealed and keeping them away from areas prone to humidity, such as the kitchen sink or bathroom.
- Minimize Oxygen Exposure: Oxygen can contribute to the oxidation and degradation of chia seeds. Keep the container tightly sealed to minimize oxygen exposure and maintain the freshness of the seeds.
- Rotate Stock: If you use chia seeds regularly, try to rotate your stock. This means using the older batch first before opening a new package. This way, you ensure that you are always consuming the freshest chia seeds.
By following these best practices, you can prolong the shelf life of your chia seeds and maintain their quality. It’s important to routinely check the condition of your stored chia seeds to ensure they are still suitable for consumption.
Remember, even when properly stored, chia seeds will eventually lose their freshness over time. It’s recommended to check the expiration date on the packaging and consume the seeds within that timeframe for the best quality.
With the right storage practices, you can enjoy the benefits of chia seeds in a safe and flavorful manner.
Conclusion
Knowing how to determine if your chia seeds have gone bad is essential for ensuring your safety and maintaining the quality of the seeds. By conducting visual inspections, smell tests, taste tests, texture tests, and checking for mold or fungus growth, you can easily identify signs of spoilage. Discoloration, off odors, unpleasant tastes, unusual textures, and the presence of mold or fungus are all indicators that your chia seeds have deteriorated and should be discarded.
Proper storage is crucial for maximizing the shelf life of chia seeds. Storing them in an airtight container, keeping them in a cool and dry place, avoiding exposure to moisture, minimizing oxygen exposure, and rotating stock are all effective practices to ensure the freshness and quality of the seeds.
Remember to regularly check your chia seeds for any signs of spoilage and consume them within their expiration date for the best quality. When in doubt, it is always better to err on the side of caution and discard the seeds to avoid any potential health risks.
By following these guidelines, you can confidently incorporate chia seeds into your diet, knowing that you are consuming fresh and safe food that offers numerous health benefits. Enjoy the nutty, nutritious goodness of chia seeds and make them a staple in your healthy eating routine.