Home>Types of Gardening>Edible Gardening>How Long Should You Use A Heat Mat For Seedlings
Edible Gardening
How Long Should You Use A Heat Mat For Seedlings
Modified: January 22, 2024
Discover the ideal duration for using a heat mat to nurture your seedlings in edible gardening. Gain expert insights and maximize your yield with effective seedling care.
(Many of the links in this article redirect to a specific reviewed product. Your purchase of these products through affiliate links helps to generate commission for Chicagolandgardening.com, at no extra cost. Learn more)
Table of Contents
Introduction
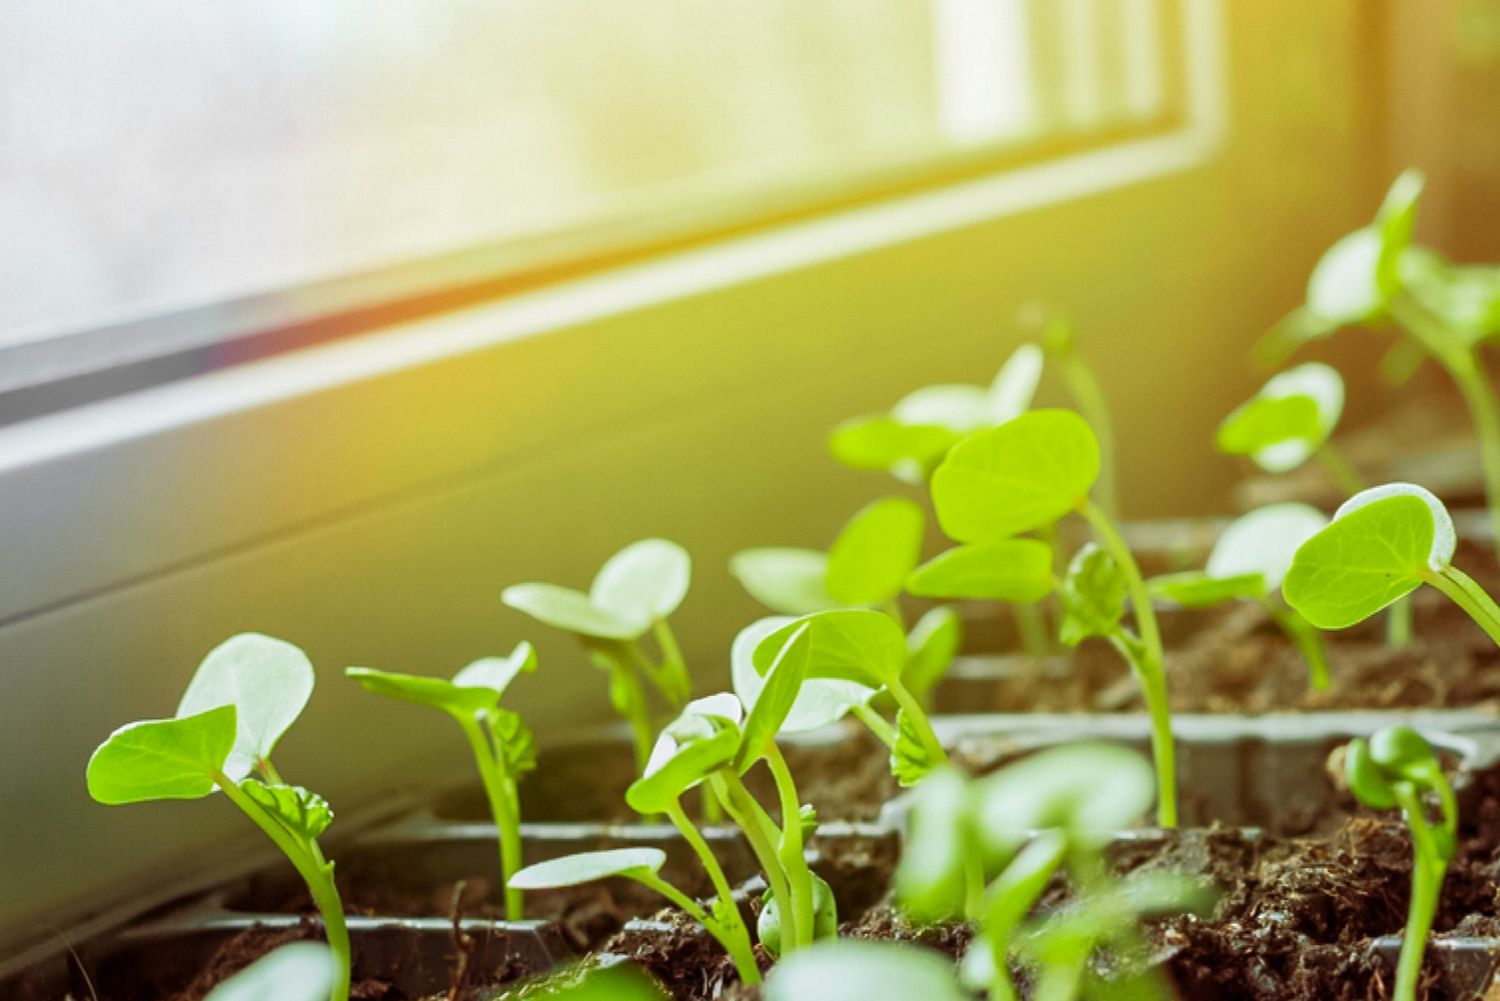
Welcome to the exciting world of edible gardening! If you’ve recently embarked on the journey of growing your own fruits, vegetables, herbs, or flowers, you might have come across the term “heat mat” in your research. A heat mat, also known as a seedling heat mat or propagation mat, is a valuable tool that can provide optimal conditions for seed germination and early seedling growth.
So, how does a heat mat work? Essentially, it is a specialized mat that emits a gentle and consistent heat to create a warm environment for your seeds and seedlings. This warmth mimics the natural conditions of soil temperature, which is crucial for successful germination and healthy plant development.
Using a heat mat can offer several benefits to your seedlings. Firstly, it helps to speed up the germination process. By providing the ideal temperature, seeds are encouraged to sprout and emerge from the soil more quickly. This is especially beneficial for plants that have longer germination periods or those that require warmer soil temperatures to kick-start their growth.
Moreover, a heat mat can promote uniform and consistent germination. Different seeds have varying temperature requirements for optimal germination. By using a heat mat, you can ensure that all your seeds are exposed to the same temperature range, increasing the chances of synchronized sprouting and reducing the risk of uneven growth.
Another advantage of using a heat mat is that it helps to prevent damping off – a common fungal disease that affects young seedlings. Damping off occurs when the soil remains too moist for an extended period, creating a favorable environment for fungal growth. The gentle warmth generated by a heat mat aids in drying out the soil surface, reducing the risk of fungal infections and promoting healthier seedlings.
Before diving into the specifics of how long you should use a heat mat for your seedlings, it’s important to consider a few key factors. These factors will help you determine the optimal duration and ensure you provide the right conditions for your plants at each stage of their growth. Let’s explore these factors in the next section.
Benefits of using a heat mat for seedlings
Using a heat mat for your seedlings can provide numerous benefits, contributing to their overall health and success. Let’s delve into some of the advantages that this simple yet powerful tool offers:
- Promotes faster and more reliable germination: The warmth provided by a heat mat accelerates the germination process. By maintaining an optimal soil temperature, seeds are encouraged to sprout sooner, leading to faster and more reliable germination rates. This is particularly advantageous for plants that have longer germination periods or those that require warmer soil conditions.
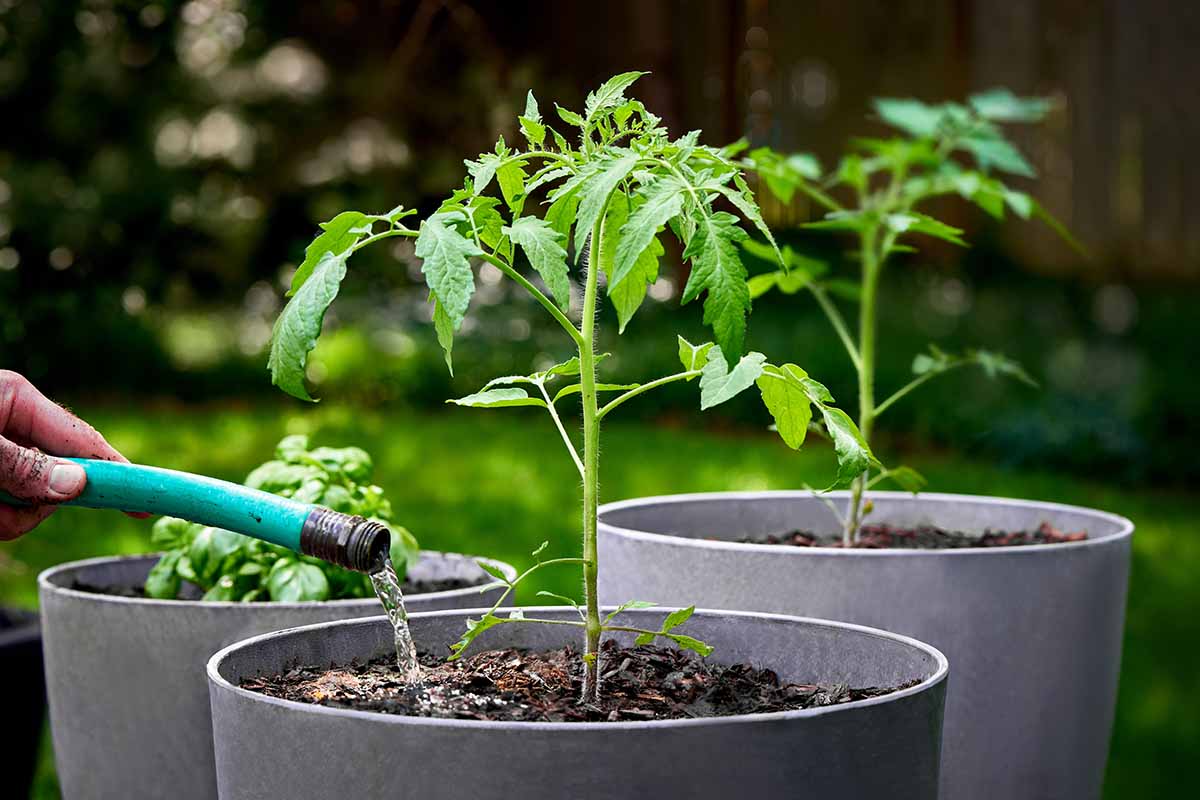
- Enhances seedling growth: Along with faster germination, a heat mat also promotes robust seedling growth. The steady heat encourages the development of healthy root systems, essential for nutrient absorption and overall plant vigor. This, in turn, results in stronger and more resilient seedlings.
- Reduces the risk of fungal diseases: Damping off, a common fungal disease that affects young seedlings, can be significantly reduced with the use of a heat mat. The warmth provided by the mat aids in drying out the soil surface, preventing excessive moisture and creating an environment less favorable for fungal growth. By minimizing the risk of damping off, you can improve the overall survival and health of your seedlings.
- Creates uniform growth: One challenge that gardeners often face is achieving consistent and uniform growth across their seedlings. With a heat mat, you can ensure that all your seeds experience the same temperature range for germination. This promotes synchronized sprouting, resulting in seedlings that are more evenly developed in terms of size and maturity.
- Increases success rates with challenging seeds: Some seeds have specific temperature requirements for germination. These can be difficult to achieve in regular room conditions. By using a heat mat, you can provide the precise temperature needed for these challenging seeds, maximizing your chances of successful germination and increasing your overall seedling success rate.
Using a heat mat for your seedlings offers significant advantages that can greatly improve the success of your gardening endeavors. However, it’s important to consider various factors to ensure optimal usage. In the next section, we will explore these factors and determine the recommended duration for using a heat mat for seedlings.
Factors to consider when using a heat mat
While using a heat mat for your seedlings can provide numerous benefits, it’s essential to consider several factors to ensure optimal usage and avoid any potential drawbacks. Take these factors into account when using a heat mat for your seedlings:
- Seed type: Different types of seeds have varying temperature requirements for optimal germination. Some seeds prefer warmer temperatures, while others thrive in cooler conditions. Before using a heat mat, research the specific temperature needs of the seeds you are germinating. This will help you determine if a heat mat is necessary and what temperature range to set it at.
- Germination stage: The duration for using a heat mat can vary depending on the stage of germination. Seeds generally require warmer temperatures during the initial germination phase to kick-start the process. Once the seedlings have emerged, they may not need the continuous warmth provided by the mat. It’s important to monitor the progress of your seedlings and adjust heat mat usage accordingly.
- Ambient temperature: Consider the temperature conditions of the environment in which you are germinating your seeds. If your surroundings are consistently warm, such as a greenhouse or a heated growing area, you may not need to rely heavily on a heat mat. On the other hand, if you are germinating seeds in a cooler environment, a heat mat can be especially beneficial in maintaining the ideal temperature range for successful germination.
- Size of heat mat: Take into account the size of your heat mat in relation to the number and size of your seedling trays. Ensure that the mat is large enough to provide even warmth to all the seedlings. If you have multiple trays, consider using a larger mat or multiple mats to ensure consistent heating throughout.
- Duration of usage: It’s important not to overuse a heat mat. While it is beneficial for the initial stages of germination, excessive heat can hinder the growth of seedlings once they have emerged. As a general guideline, once the majority of your seedlings have sprouted and are showing healthy growth, it’s time to gradually reduce or remove the heat mat.
By considering these factors and adapting your use of the heat mat accordingly, you can provide the optimal conditions for your seedlings’ growth. In the next section, we will explore the recommended duration for using a heat mat before it’s time to remove it.
Recommended duration for using a heat mat
The duration for using a heat mat for your seedlings can vary depending on various factors, including seed type, germination stage, and ambient temperature. While there isn’t a one-size-fits-all answer, here are some guidelines to help you determine the recommended duration for using a heat mat:
- Initial germination phase: During the initial germination phase, when the seeds are in the process of sprouting, it is crucial to provide consistent warmth to encourage successful germination. Typically, this phase lasts anywhere from 1 to 3 weeks, depending on the specific seeds being grown. Monitor the progress of your seedlings and ensure that the soil temperature remains within the recommended range for germination.
- Emergence of seedlings: Once the majority of your seedlings have emerged from the soil and are showing healthy growth, it is usually safe to begin gradually reducing or removing the heat mat. At this point, the seedlings can thrive in slightly cooler temperatures, and excessive warmth can hinder their growth. Keep an eye on the overall development of your seedlings and adjust the heat mat usage accordingly.
- Ambient temperature: Take into consideration the ambient temperature of the environment in which your seedlings are growing. If the surrounding temperature is consistently warm, such as in a greenhouse or a heated indoor space, you may be able to remove the heat mat earlier than if you are germinating seedlings in a cooler environment. The goal is to maintain a stable and optimal temperature range for your seedlings.
- Seedling growth: Observe the growth of your seedlings as an indicator of their readiness to transition away from the heat mat. Once the seedlings have developed strong root systems and their second set of true leaves (beyond the initial cotyledons), they are usually more resilient and can tolerate a wider temperature range. Gradually reducing the heat mat usage will prepare them for their eventual transfer to an outdoor garden or larger containers.
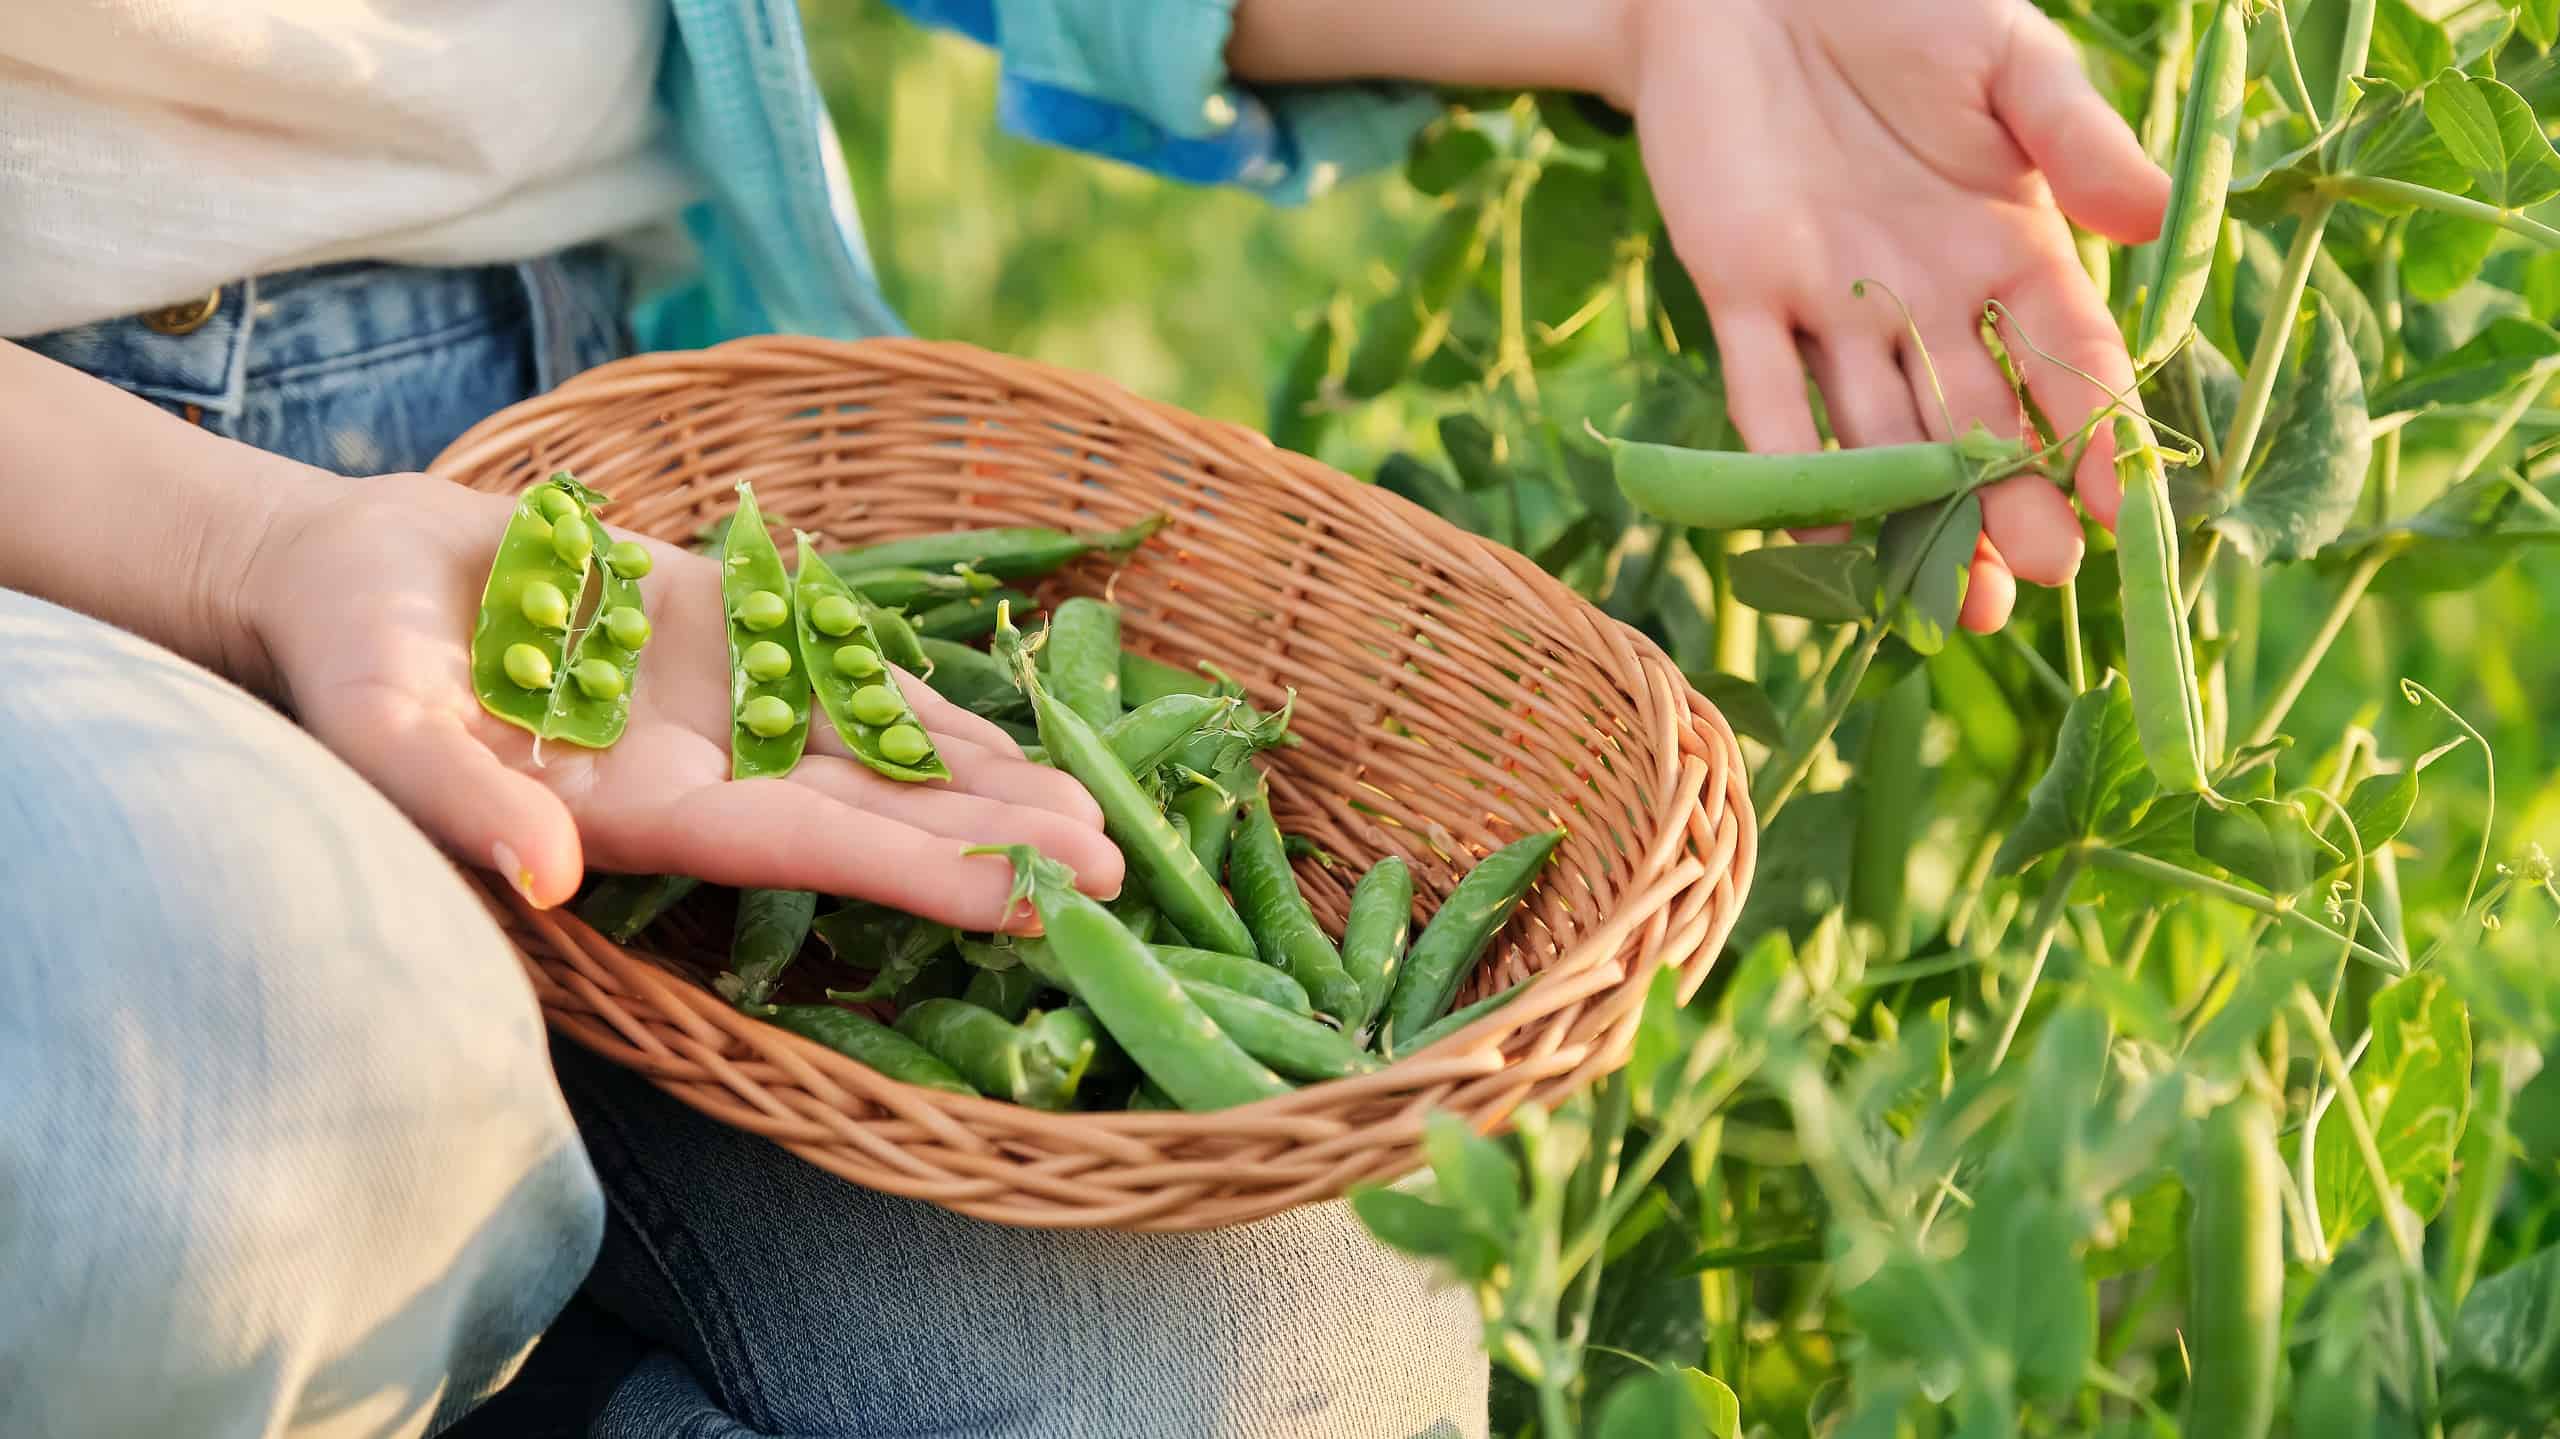
- Transitioning to outdoor conditions: If you are planning to transfer your seedlings to an outdoor garden, it’s important to harden them off gradually by exposing them to outdoor conditions, including fluctuating temperatures. Start by reducing the heat mat usage a few days before moving them outdoors. This gradual transition helps the seedlings adjust to the temperature variations and strengthens their resilience against temperature shocks.
Remember, these guidelines are general recommendations, and it’s crucial to observe the progress and condition of your seedlings to make informed decisions about when to remove the heat mat. Each plant species may have specific temperature requirements and growth characteristics, so it’s important to research and understand their individual needs.
Now that we have explored the recommended duration for using a heat mat, let’s move on to the next section, where we will discuss the signs that indicate it’s time to remove the heat mat from your seedlings.
Signs that it’s time to remove the heat mat
Knowing when to remove the heat mat from your seedlings is crucial to ensure their successful transition to mature plants. As your seedlings grow and develop, there are several signs that indicate it’s time to remove the heat mat:
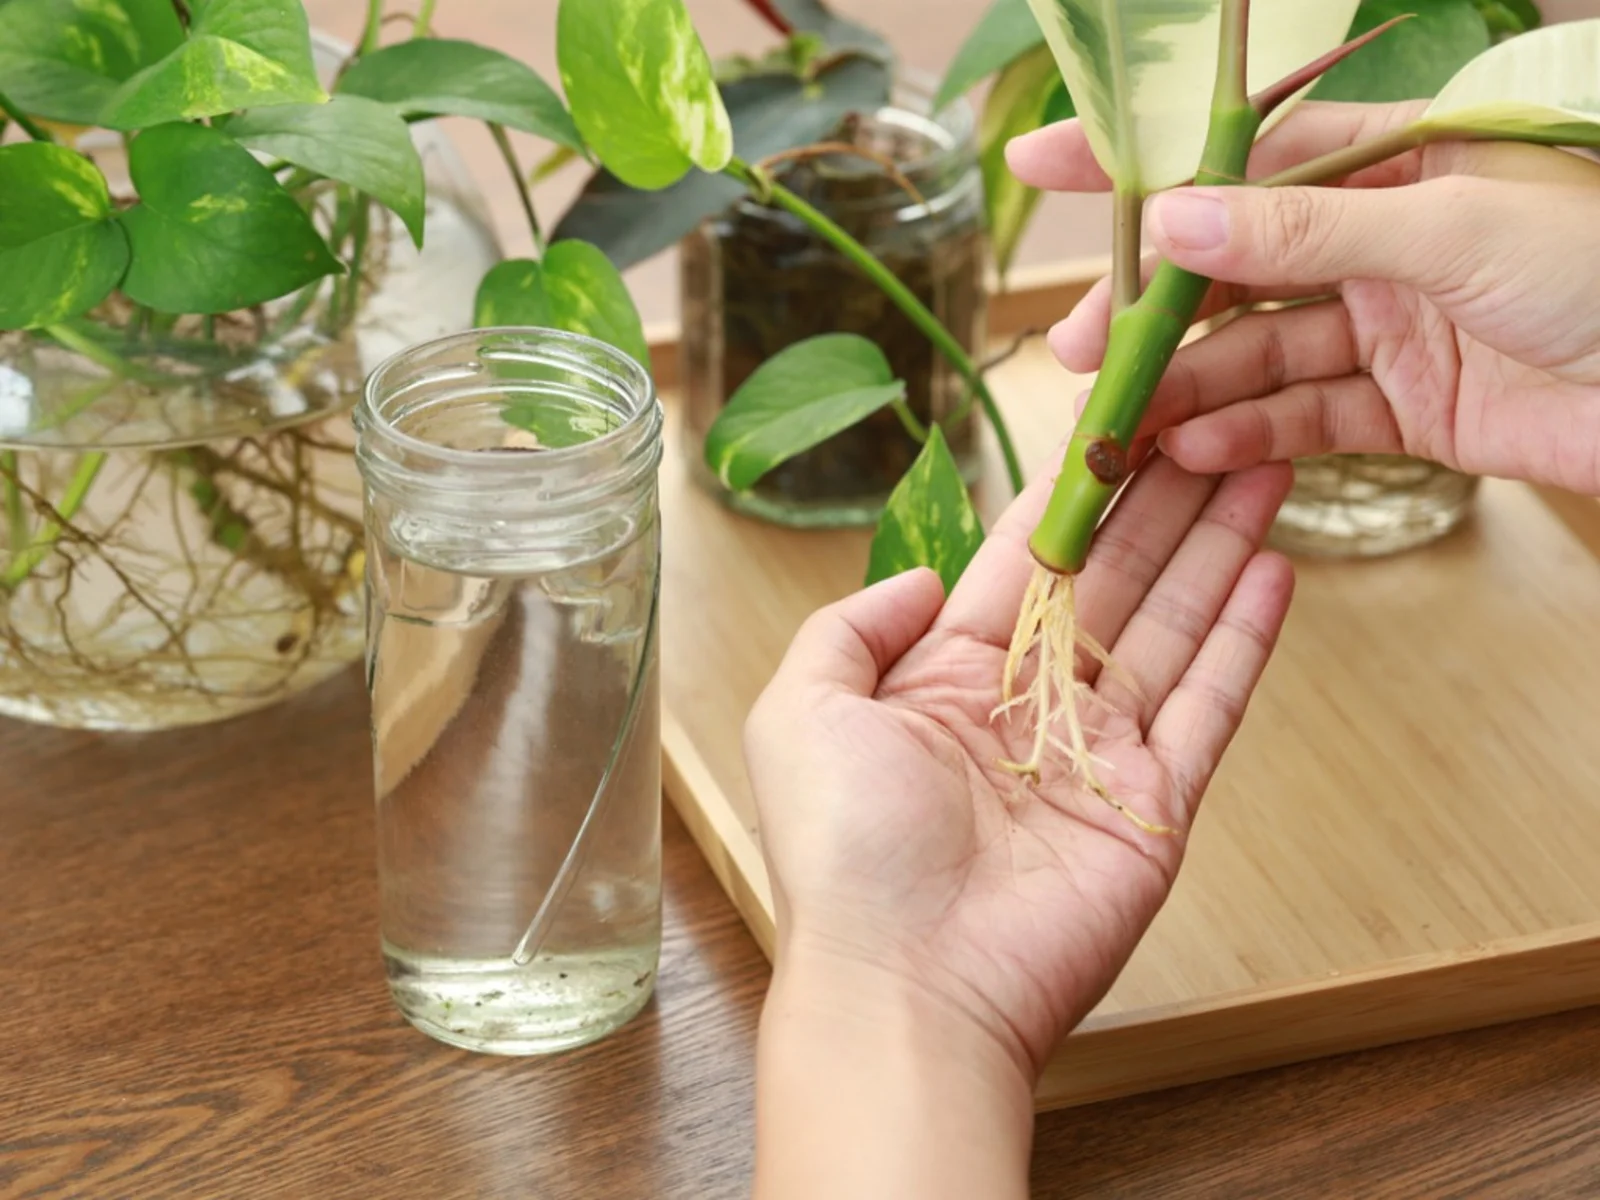
- Strong and well-developed root systems: One of the indicators that your seedlings are ready to have the heat mat removed is the presence of strong and well-developed root systems. Once the roots have established themselves and are spreading throughout the container or root ball, your seedlings have a better ability to extract nutrients and water from the soil, making them less reliant on the additional warmth provided by the heat mat.
- Healthy stem and leaf growth: Another sign that it’s time to remove the heat mat is when your seedlings have developed healthy and sturdy stems and leaves. As they grow, their foliage becomes larger and lusher, indicating that they are thriving in their current environment. This indicates that the seedlings are no longer dependent on the heat mat for accelerated growth.
- Second set of true leaves: The appearance of the second set of true leaves is a significant milestone in a seedling’s development. True leaves are the leaves that grow after the initial cotyledons, which are the first pair of embryonic leaves. The emergence of the second set of true leaves indicates that your seedlings have entered a more mature growth stage and can withstand a wider range of temperatures, signaling that the heat mat can now be removed.
- Gradual exposure to cooler temperatures: As your seedlings approach the time for transplanting to an outdoor garden or larger containers, it’s important to expose them gradually to cooler temperatures to harden them off. This process prepares them for the outdoor environment and helps strengthen their resistance to temperature variations. During this period, you can start reducing the usage of the heat mat and eventually remove it entirely to acclimatize the seedlings to the transition.
It’s important to note that the exact timing for removing the heat mat may vary depending on the specific plant species and the environmental conditions in which you are growing them. Monitoring the growth and overall health of your seedlings will give you valuable insights into when they are ready to thrive without the assistance of the heat mat.
In the next section, we will explore some alternatives to using a heat mat for seedlings, providing you with additional options to support the healthy growth and development of your plants.
Alternatives to using a heat mat for seedlings
While a heat mat is an effective tool for providing consistent warmth to your seedlings, there are alternative methods you can explore if you do not have access to or prefer not to use a heat mat. These alternatives can still provide the necessary conditions for successful seed germination and seedling growth:
- Warm location: Find a warm location in your home or growing space to place your seed trays. Look for areas that receive ample sunlight or are near a heat source, such as a radiator or a heating vent. This can create a naturally warmer environment for your seedlings.
- Grow lights: In addition to warmth, your seedlings also need sufficient light for healthy growth. Consider using grow lights specifically designed for plant propagation. These lights emit the right spectrum and intensity to support robust seedling development, and they also generate a gentle amount of heat, providing additional warmth to your plants.
- Covering the trays: Place clear plastic or a transparent lid over your seed trays to create a mini greenhouse effect. This helps to trap heat and moisture, creating a warm and humid environment conducive to germination. Make sure to monitor the moisture levels and remove the cover once the majority of the seedlings have emerged, to avoid excess humidity and reduce the risk of damping off.
- Germination station: Create a DIY germination station by using common household items. You can use a plastic bag or a clear plastic storage container to cover the seed trays, creating a mini greenhouse. Place the trays on top of a warm surface, such as a water heater or a heating pad set to a low temperature. This setup can mimic the conditions provided by a heat mat, ensuring the necessary warmth for germination.
- Seedling heat mat alternatives: If you do not have access to a dedicated heat mat, you can use other household items to generate warmth. For example, you can place your seed trays on top of a warm appliance like a refrigerator or a television that emits gentle heat. Just make sure to monitor the temperature to prevent overheating or fluctuations.
Remember, the key is to provide consistent and suitable temperature conditions for your seedlings. Experiment with these alternatives and find the method that works best for your gardening setup and the specific needs of your plants.
Now that we’ve explored some alternatives to using a heat mat, let’s summarize the key points and insights in the concluding section.
Conclusion
Using a heat mat for your seedlings can be a valuable tool in your edible gardening journey. It provides the optimal temperature conditions for successful germination and early seedling growth. By understanding the benefits of a heat mat, considering factors like seed type and germination stage, and monitoring the signs that indicate when to remove it, you can ensure the healthy development of your seedlings.
While a heat mat is a popular choice, there are alternatives available if you don’t have access to one or prefer not to use it. Creating a warm environment through placement near heat sources, using grow lights, covering trays to create a mini greenhouse effect, and exploring DIY germination stations are viable options to provide the necessary warmth for your seeds.
Remember to consider the specific needs of your plants and adjust your approach accordingly. Each plant has its own temperature preferences and growth requirements, so research and understanding their individual needs is essential for successful cultivation.
Whether you choose to use a heat mat or explore alternative methods, providing the right conditions for your seedlings’ growth will set them up for a strong start and increase their chances of healthy, thriving plants that will eventually grace your garden or provide a bounty of delicious homegrown food.
So, embrace the exciting world of edible gardening, experiment with different techniques, and watch your seedlings flourish under your nurturing care.