Home>Types of Gardening>Edible Gardening>How Long Can Seedlings Stay In Seed Starting Mix
Edible Gardening
How Long Can Seedlings Stay In Seed Starting Mix
Modified: January 22, 2024
Learn how long seedlings can stay in seed starting mix for successful edible gardening. Get tips and guidance for optimal growth and transplanting.
(Many of the links in this article redirect to a specific reviewed product. Your purchase of these products through affiliate links helps to generate commission for Chicagolandgardening.com, at no extra cost. Learn more)
Table of Contents
How Long Can Seedlings Stay in Seed Starting Mix
Knowing how long seedlings can stay in seed starting mix is crucial for the success of your edible gardening endeavors. While it may be tempting to keep your seedlings in the starting mix for as long as possible, it’s important to understand that they have a limited amount of time before they need to be transplanted into a larger container or directly into the garden.
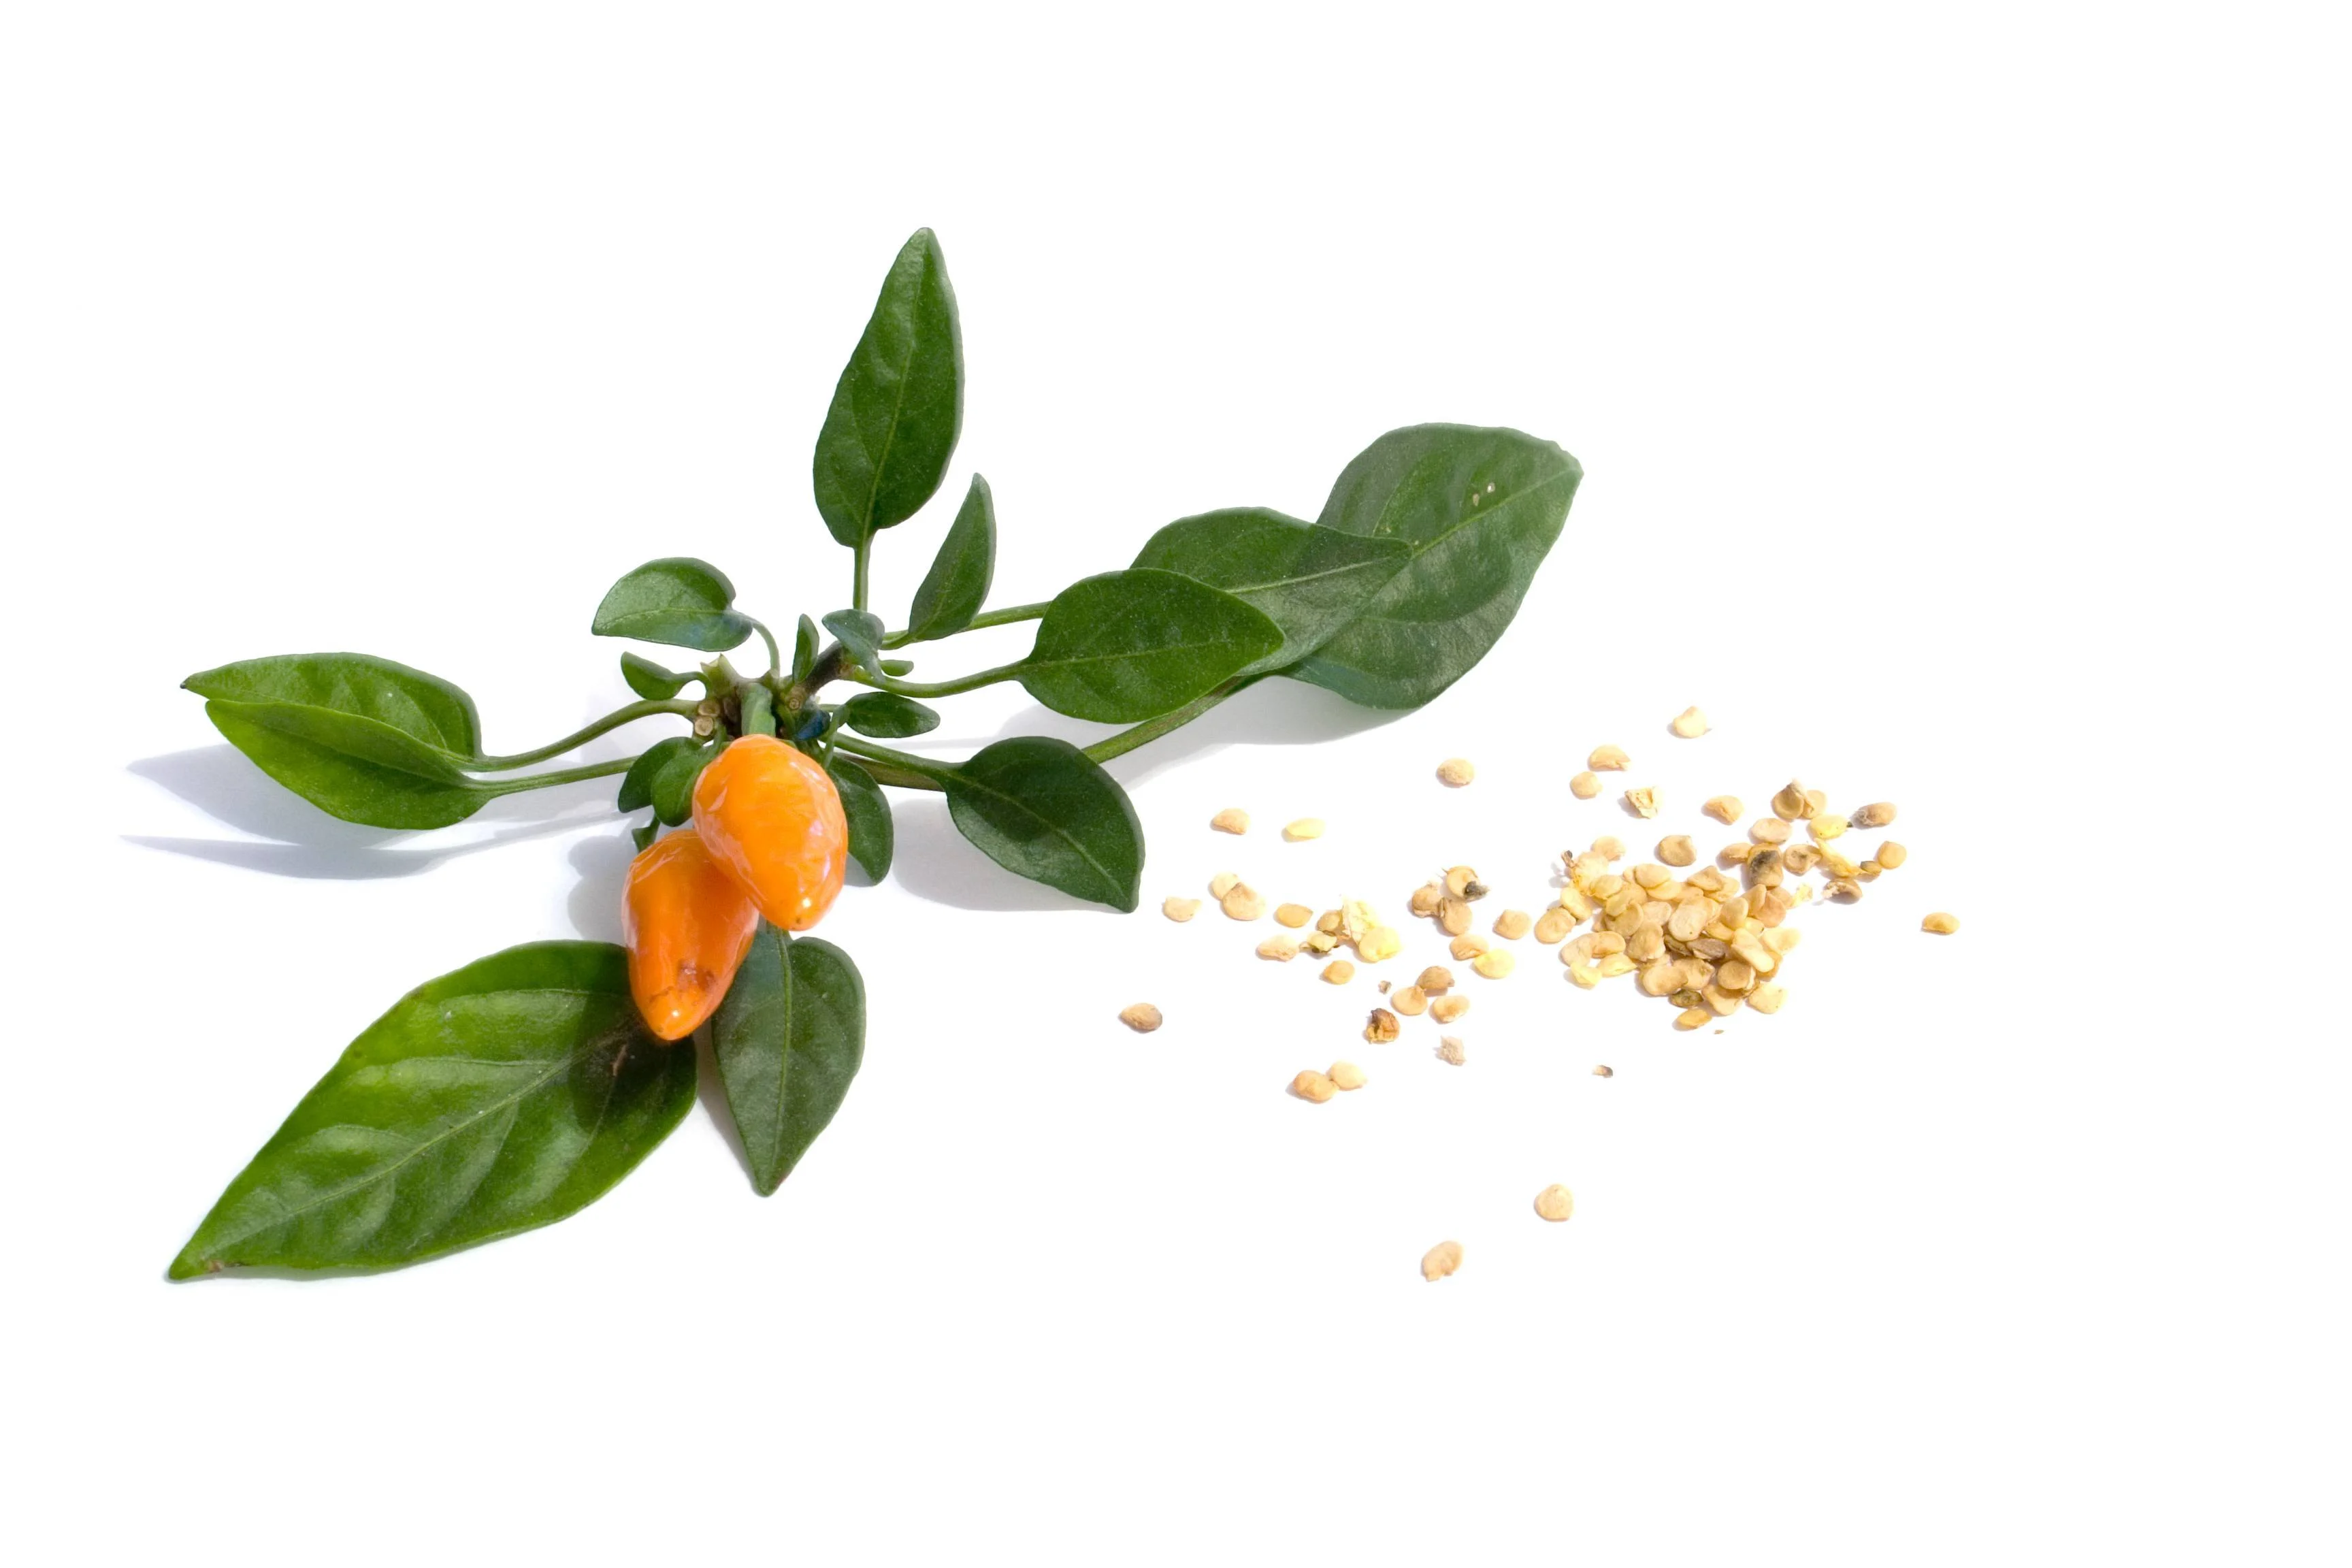
Several factors affect the time that seedlings can stay in the starting mix. Firstly, it depends on the type of plant you are growing. Some seedlings, like tomatoes or peppers, tend to outgrow their starting mix more quickly than others. Additionally, the specific seed starting mix you use can also play a role. Some mixes have more nutrients and a looser texture, allowing for better root development and a longer stay.
The age and size of the seedlings is another important factor to consider. As they grow, their root systems become more developed and require more space for optimal growth. If left in the starting mix for too long, the roots can become cramped, leading to stunted growth and ultimately affecting the plant’s overall health.
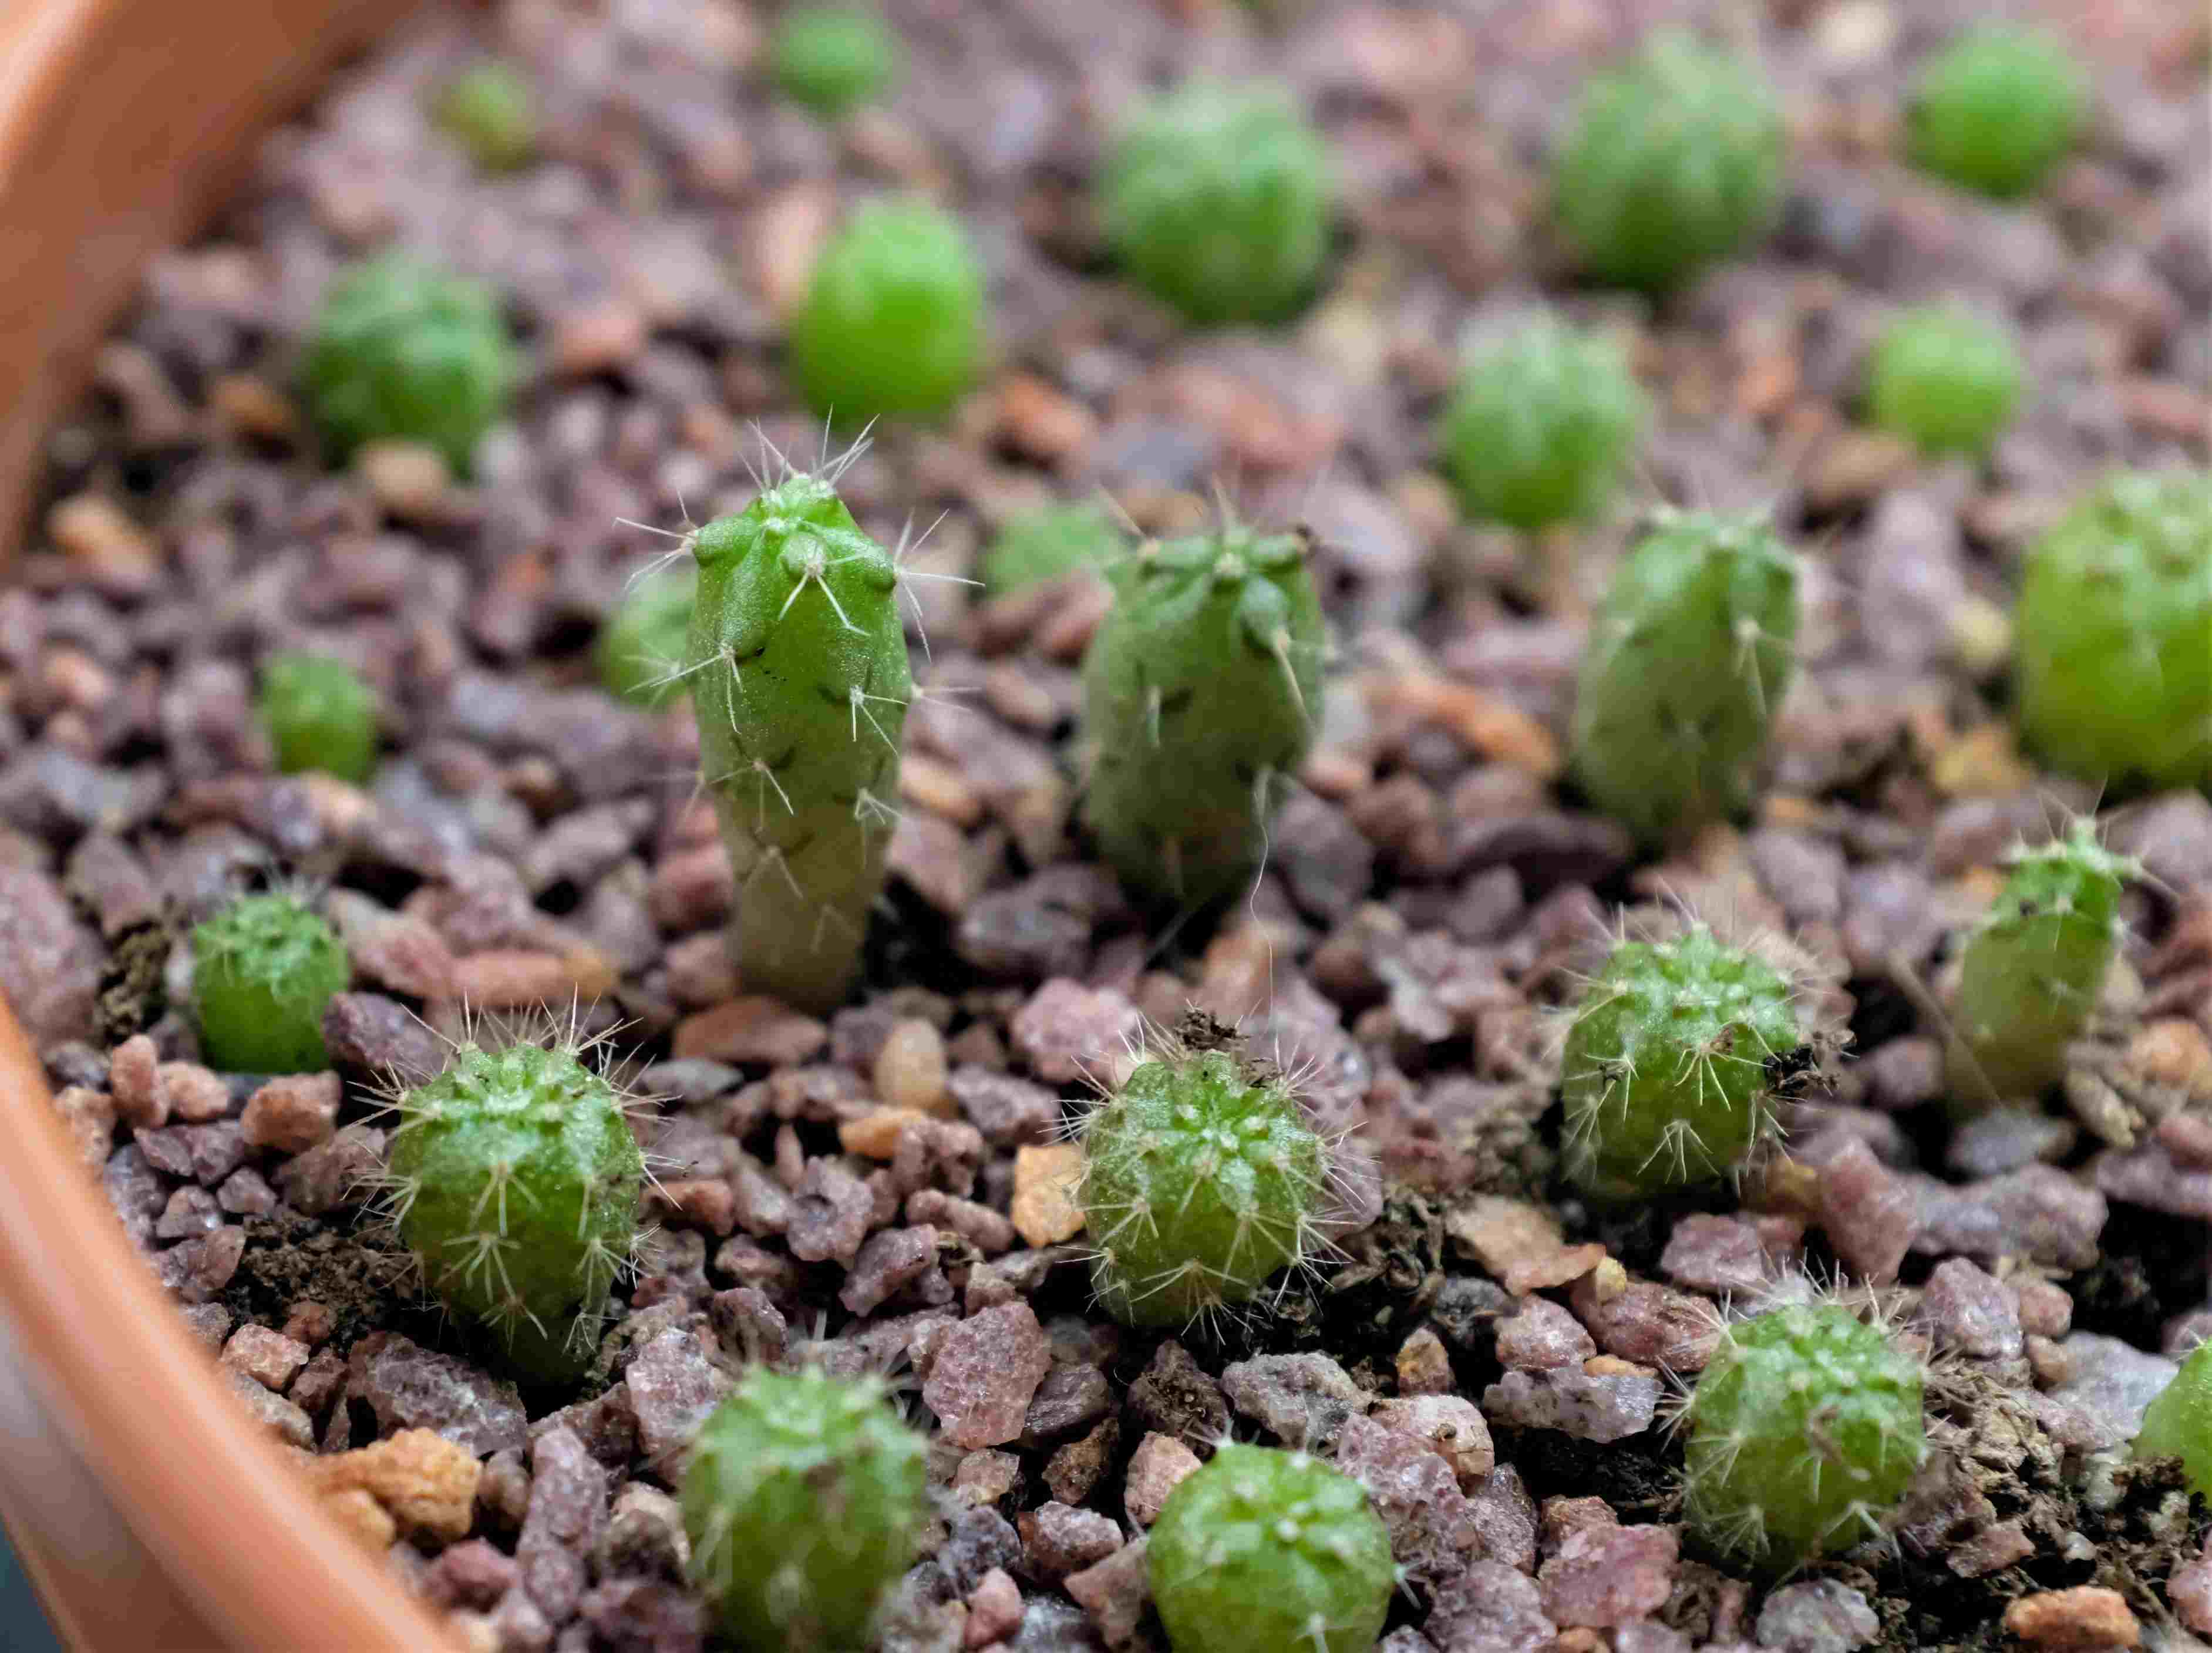
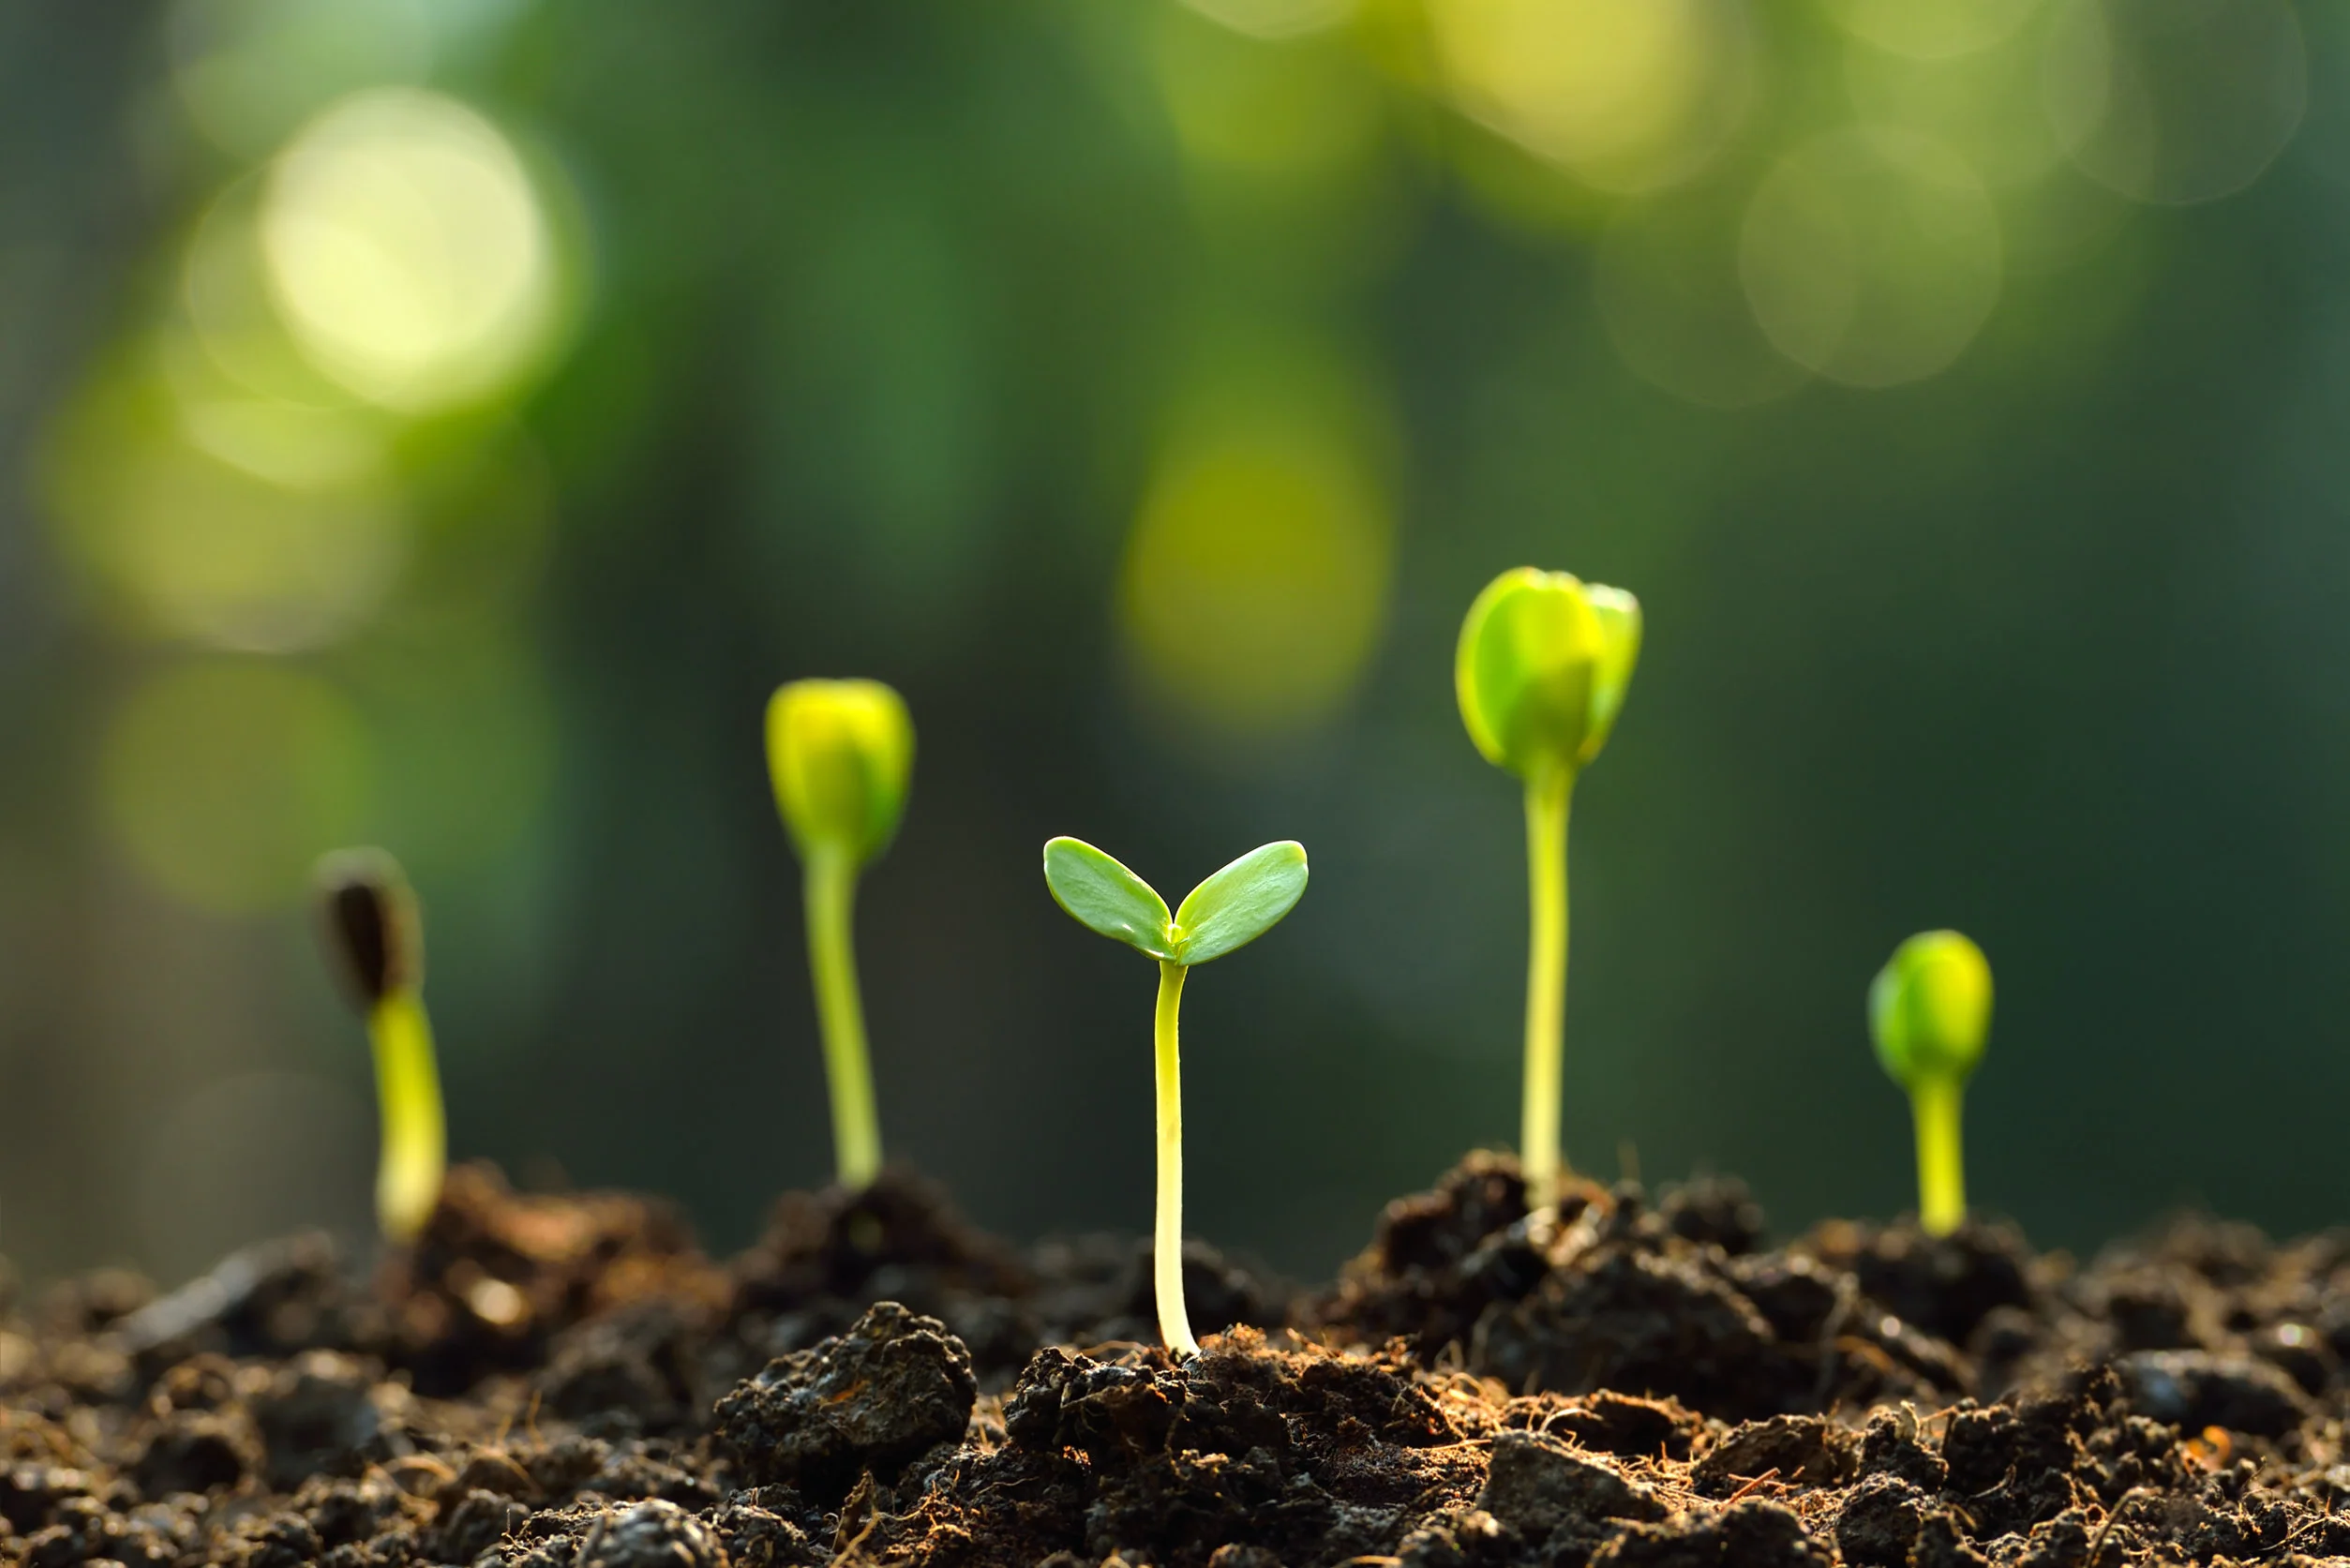
It is generally recommended to transplant seedlings once they have developed their first set of true leaves. These leaves are different from the initial seedling leaves, known as cotyledons, and are a good indicator that the seedling is ready to be moved. This usually occurs around 2 to 4 weeks after germination, but can vary depending on the specific plant and growing conditions.
It’s important to keep an eye out for any signs that indicate your seedlings have outgrown their starting mix. If you notice roots poking out of the bottom of the container or circling around within it, it’s a clear indication that they need more space. Additionally, if you start to see stunted growth or yellowing leaves, it’s a sign that the seedlings are not getting enough nutrients and it’s time to transplant.
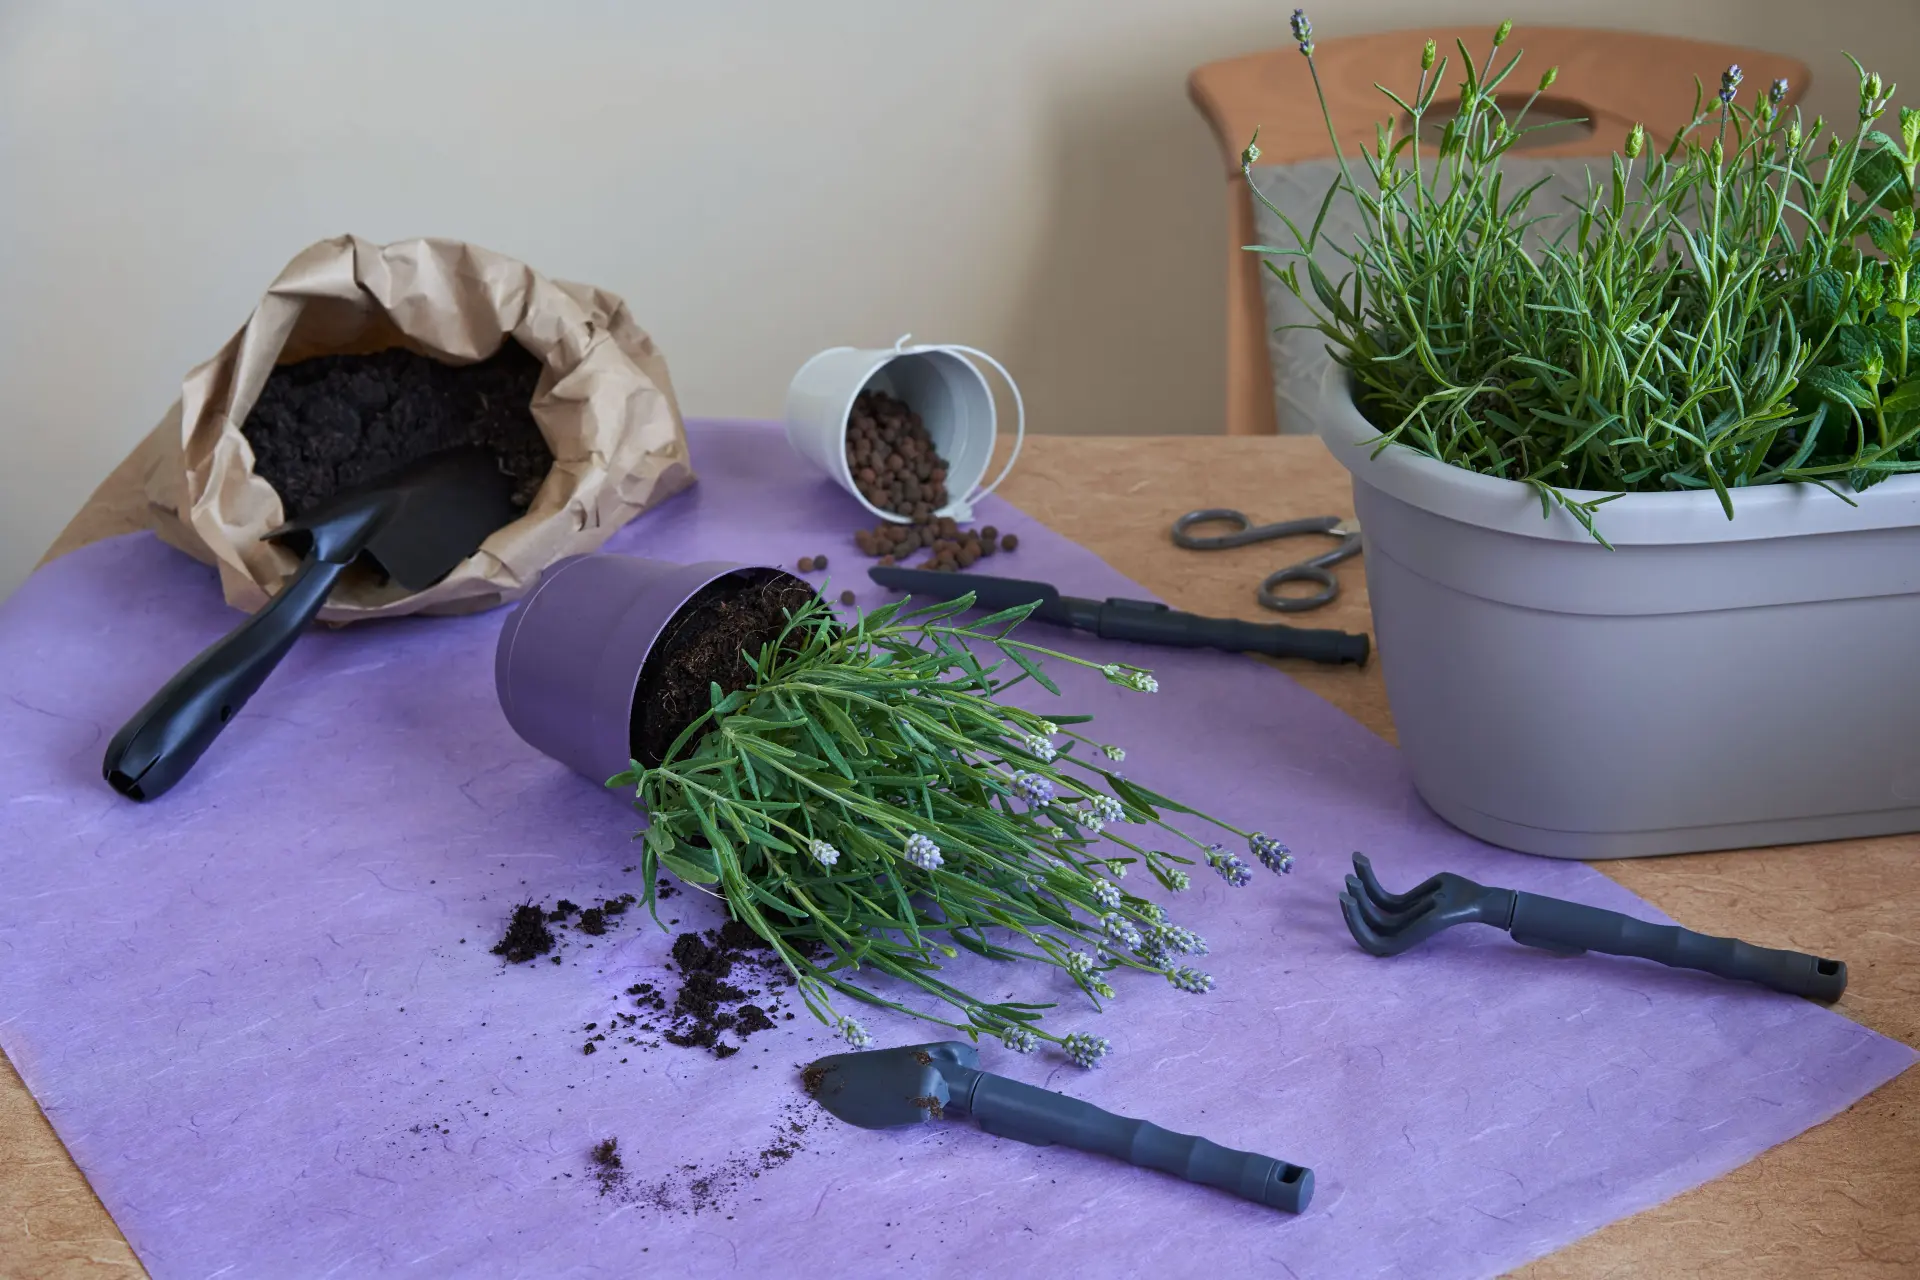
When transplanting seedlings, it’s essential to do it gently to avoid damaging the delicate roots. Carefully remove the seedling from the starting mix, being cautious not to break the stem or damage the roots. Transplant into a larger container or directly into the garden, ensuring that the roots are covered with soil and the seedling is well-supported.
To summarize, the length of time seedlings can stay in the seed starting mix varies depending on the plant type, starting mix quality, and the size and age of the seedlings. It is generally recommended to transplant seedlings once they have developed their first true leaves, which typically occurs around 2 to 4 weeks after germination. Keep an eye out for signs of overgrowth, such as roots poking out of the container or stunted growth. By transplanting your seedlings at the appropriate time, you can ensure their continued health and success in your edible garden.
Introduction
Edible gardening is a rewarding and satisfying hobby that allows you to have a direct connection with nature and enjoy the fruits of your labor. Whether you have a spacious backyard or a small balcony, growing your own food provides numerous benefits, such as access to fresh and nutritious produce, cost savings, and the opportunity to create a beautiful and sustainable garden.
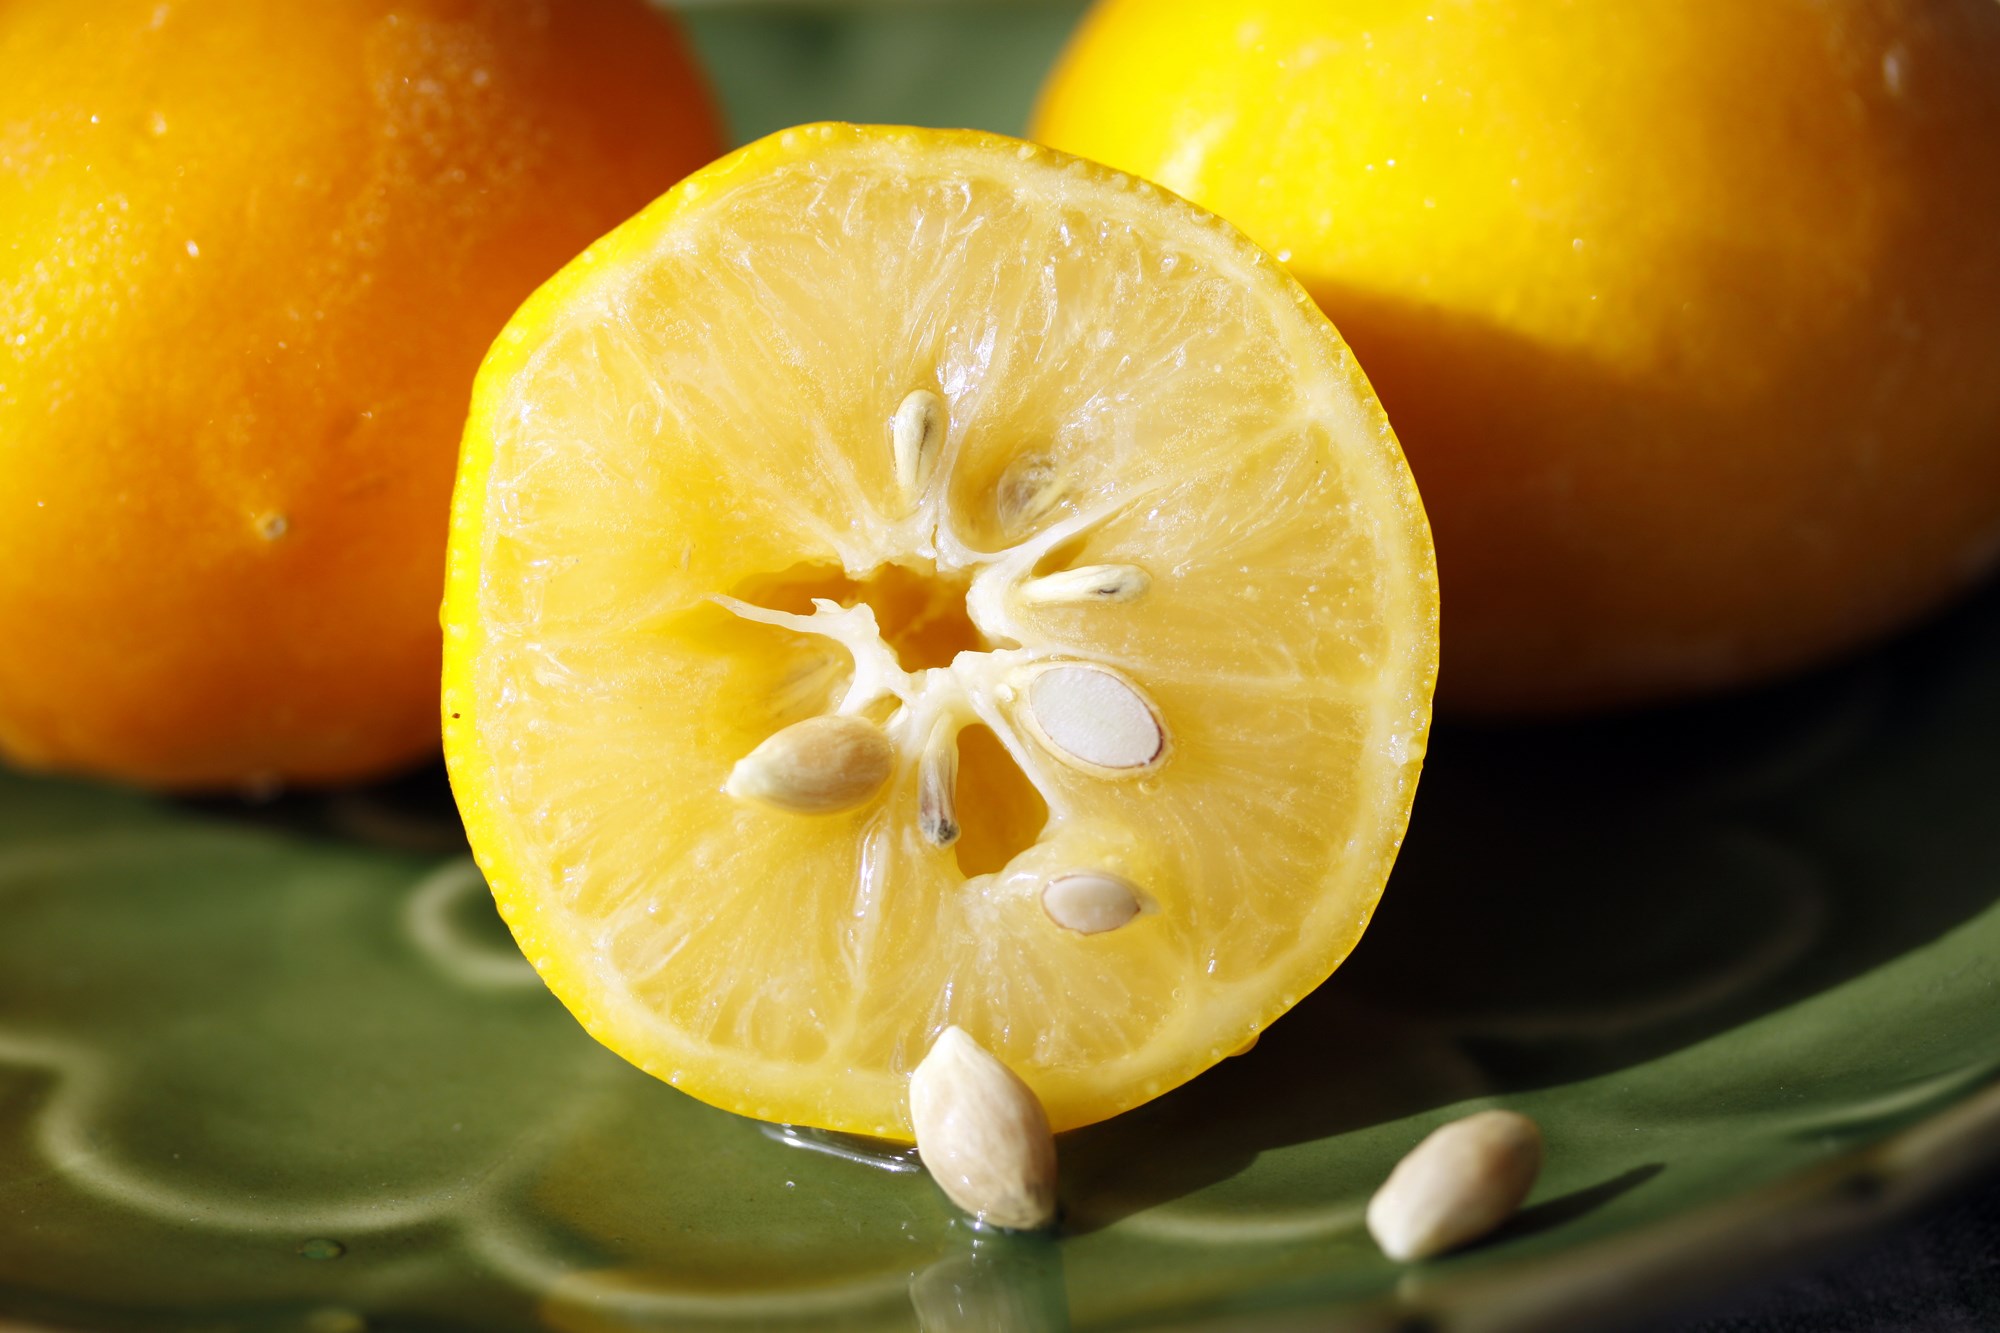
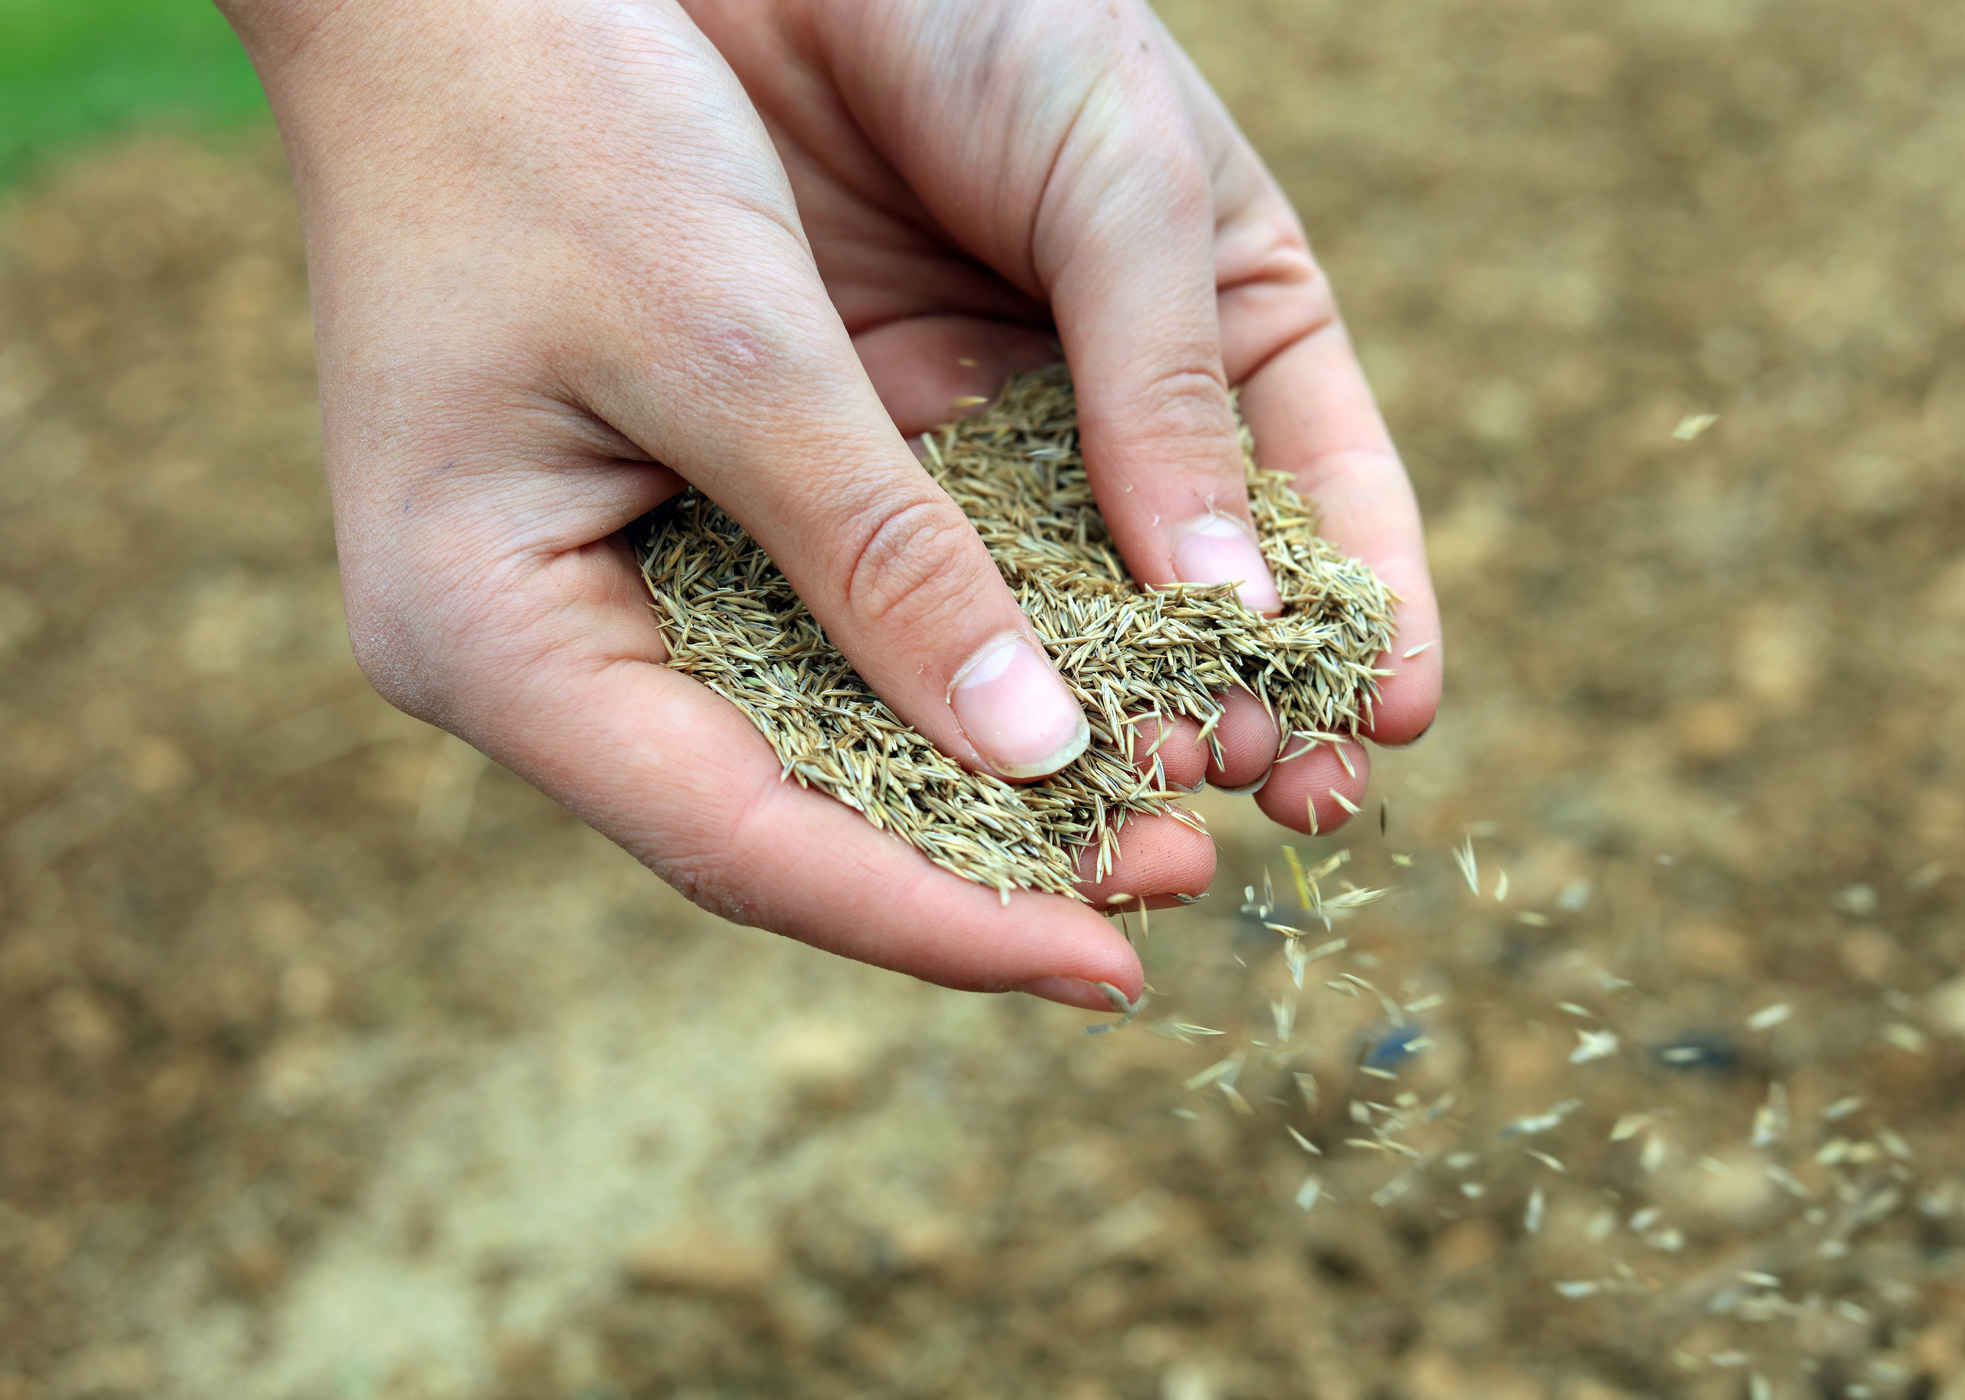
One of the key aspects of successful edible gardening is starting your plants from seeds. This process begins with sowing the seeds in a seed starting mix, which provides the ideal conditions for germination and early growth. However, once the seedlings start to grow and develop, it’s important to know how long they can stay in the seed starting mix before they need to be transplanted.
In this article, we will explore the factors that affect the length of time seedlings can stay in the seed starting mix, as well as the signs that indicate it’s time for transplantation. We will also provide valuable tips for ensuring a successful transplanting process and the long-term health and productivity of your plants.
Understanding the optimal timing for transplanting is crucial because leaving the seedlings in the starting mix for too long can hinder their growth and development. On the other hand, transplanting them too early can result in shock and poor establishment. By finding the right balance and knowing the signs to watch out for, you can support your seedlings’ transition into larger containers or the garden, ensuring their continued growth and productivity.
Whether you are a seasoned gardener or a beginner, this article will provide valuable insights and guidelines to help you make informed decisions on when to transplant your seedlings. By giving your plants the right conditions and care, you can enjoy a bountiful harvest and the satisfaction of growing your own fresh and delicious food.
Factors Affecting Seedling Growth
Several factors can influence the growth and development of seedlings in the seed starting mix. Understanding these factors will help you determine how long your seedlings can stay in the starting mix before they need to be transplanted.
1. Plant Type: Different plant species have different growth rates and requirements. Some plants, like tomatoes and peppers, tend to grow more quickly and may outgrow the starting mix sooner than others. It’s important to research the specific needs of the plants you are growing to ensure you provide the appropriate care and transplant them at the right time.
2. Starting Mix Quality: The quality of the seed starting mix can greatly impact seedling growth. A good starting mix should be well-draining, providing aeration and preventing root rot. It should also be nutrient-rich to support healthy root development. Using a high-quality starting mix will ensure that your seedlings have the necessary nutrients and growing conditions for optimal growth.
3. Light and Temperature: Adequate lighting and temperature are crucial for seedling growth. Insufficient light can lead to leggy and weak seedlings, while extreme temperatures can cause stress and hinder growth. Place your seedlings in a location with ample sunlight or use artificial lighting to ensure they receive the required amount of light. Additionally, maintain appropriate temperature levels to promote healthy growth.
4. Watering and Moisture: Proper watering is essential for seedling growth. Overwatering can lead to root rot, while underwatering can stunt growth and cause nutrient deficiencies. Maintain a consistent moisture level in the seed starting mix by regularly checking the soil’s moisture content and watering accordingly. Avoid letting the starting mix completely dry out or become waterlogged.
5. Nutrients: Seed starting mixes typically contain a small amount of nutrients to support early growth. However, as the seedlings grow and develop, they will require additional nutrients. It’s important to start fertilizing your seedlings when they have developed their first true leaves. Use a balanced fertilizer or organic amendments to provide the necessary nutrients for healthy growth.
By considering these factors, you can ensure that your seedlings have optimal conditions for growth in the seed starting mix. It’s important to monitor their progress and be aware of any signs that indicate they have outgrown the starting mix and need to be transplanted. With proper care and attention, you can foster healthy and robust seedlings ready for transplantation.
Importance of Proper Transplanting
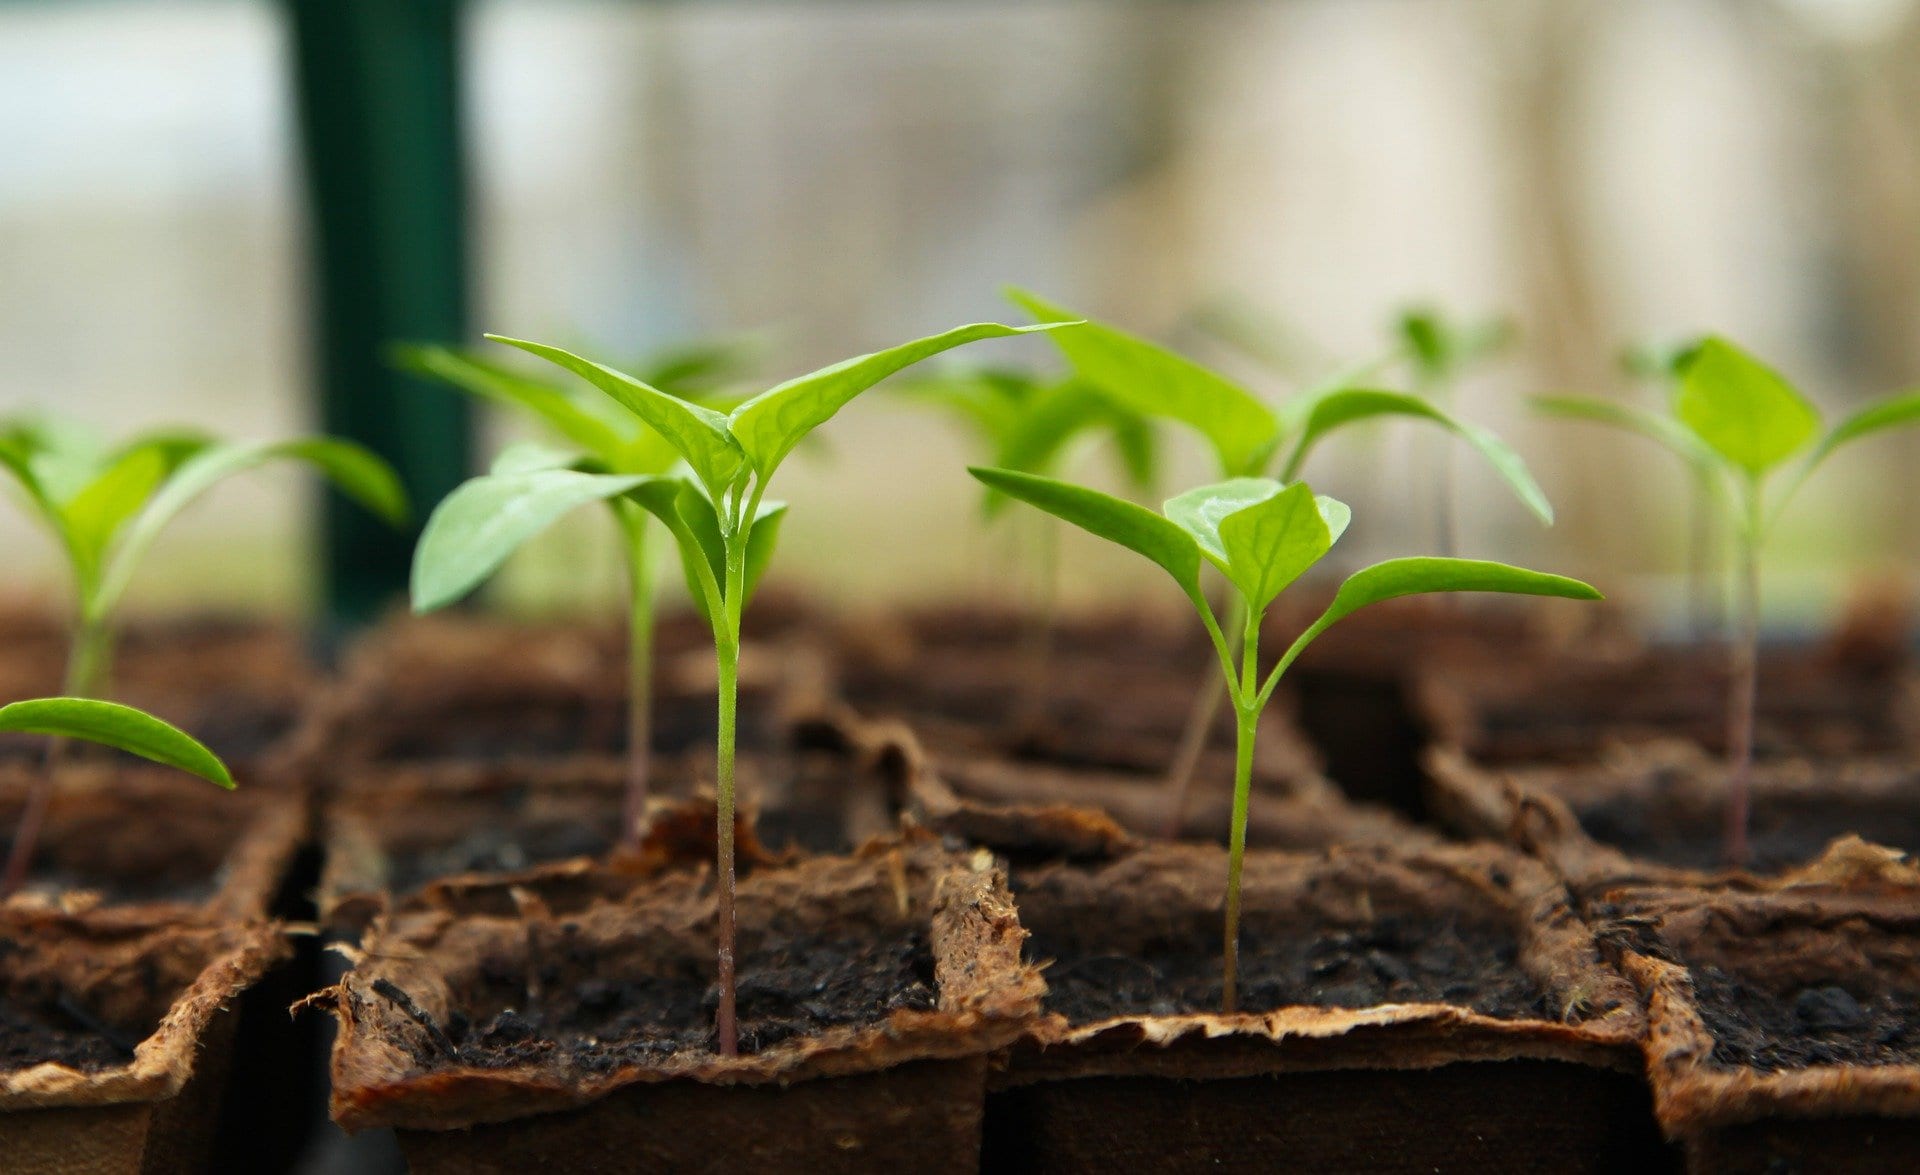
Transplanting seedlings from the seed starting mix to larger containers or directly into the garden is a critical step in the growth process. Proper transplanting ensures that the seedlings have enough space for their roots to grow, access to essential nutrients, and the best chance for long-term health and productivity. Let’s explore the importance of proper transplanting in more detail.
1. Root Development: As seedlings grow, their root systems become more developed and require more space. Transplanting provides them with the room they need to establish a robust root system, which is crucial for nutrient uptake, water absorption, and overall plant stability. When seedlings are overcrowded in the starting mix, their roots can become cramped, leading to stunted growth and weak plants.
2. Nutrient Availability: While the seed starting mix contains some nutrients, they are limited. Transplanting seedlings into nutrient-rich soil or a larger container with fresh potting mix enables them to access a wider range of nutrients. This is especially important as the seedlings transition from relying on the seed’s energy reserves to their own ability to take up nutrients from the soil. Adequate nutrients will support healthy growth, leaf development, flower production, and ultimately, a bountiful harvest.
3. Avoiding Water Stress: Over time, the starting mix can become compacted, impeding proper water drainage and aeration. Transplanting seedlings into a larger container or garden soil allows for better water flow and prevents waterlogged roots. Proper water drainage helps to alleviate the risk of root rot and ensures that the seedlings receive the right amount of moisture, reducing the chances of underwatering or overwatering.
4. Plant Hardening: Transplanting also plays a crucial role in the process of hardening off seedlings. Hardening off is the gradual acclimation of seedlings to outdoor conditions. By gradually exposing the seedlings to sunlight, wind, and fluctuating temperatures before transplanting them into your garden, you help them adapt to the harsher conditions outside the controlled environment of the starting mix. This process strengthens the plants, making them more resilient and better equipped to handle the challenges of the outdoor environment.
5. Space Optimization: Proper transplanting ensures that each plant has sufficient space to grow to its full potential without competing for light, water, and nutrients. By giving each seedling enough room, you can optimize the use of your garden space and prevent overcrowding, which can lead to poor airflow, increased pest and disease susceptibility, and reduced productivity.
In summary, proper transplanting is crucial for the healthy development and long-term success of your seedlings. It supports root development, provides access to essential nutrients, prevents water stress, promotes plant hardening, and optimizes space utilization. By following appropriate transplanting techniques and timing, you can give your seedlings the best chance for thriving in your garden and ultimately, yield a fruitful harvest.
Optimal Time for Transplanting
Knowing the optimal time to transplant your seedlings is crucial for their successful establishment and long-term growth in your garden. Transplanting too early can result in shock and poor survival rates, while transplanting too late can lead to root-bound and stunted plants. Let’s explore how to determine the optimal time for transplanting your seedlings.
1. First True Leaves: The first true leaves are the second set of leaves that appear after the initial seedling leaves, known as cotyledons. These true leaves closely resemble the leaves of the mature plant. Transplanting your seedlings when they have developed their first true leaves is a good indication that they are strong enough to handle the transition. Typically, this occurs around 2 to 4 weeks after germination, but it can vary depending on the plant species and growing conditions.
2. Root Development: Another important factor to consider is the development of the seedling’s root system. When seedlings are young, their root systems are still developing and are not as strong as they will be later on. Transplanting too early can damage these delicate roots. It’s essential to wait until the seedlings have a well-established root system before transplanting to ensure they can successfully adapt to their new growing environment.
3. Size and Vigor: Pay attention to the size and overall vigor of your seedlings. If they are leggy, weak, or slower to grow compared to other seedlings of the same age, it may be a sign that they need more time in the starting mix before transplanting. On the other hand, if your seedlings are growing rapidly and have healthy leaves and stems, it may indicate that they are ready for transplantation. A general rule of thumb is to transplant seedlings when they are 2 to 3 inches tall and have a sturdy, well-developed stem.
4. Outdoor Conditions: Before transplanting your seedlings, consider the outdoor conditions they will be exposed to. Check the weather forecast and ensure that frost and cold temperatures are no longer a concern. Transplanting delicate seedlings into cold soil can shock their roots and hinder their ability to establish in the garden. Optimal transplanting time is usually when the soil has warmed up and frosts are no longer expected.
5. Hardening Off: Before transplanting your seedlings directly into the garden, it’s important to gradually acclimate them to outdoor conditions. This process, known as hardening off, allows the seedlings to adjust to temperature fluctuations, wind, and direct sunlight. Start by placing your seedlings outdoors in a sheltered and shaded area for a few hours a day, gradually increasing their exposure over the course of 7 to 10 days. Once they have hardened off, they are ready for transplanting.
By considering the development of true leaves, root growth, size and vigor, outdoor conditions, and the hardening off process, you can determine the optimal time for transplanting your seedlings. It’s important to monitor your seedlings closely, as timing might vary depending on the specific plant species and growing conditions. Proper timing will ensure that your seedlings have a smooth transition and the best chance for healthy growth and productivity in your garden.
Signs of Seedling Overgrowth in Seed Starting Mix
Seedlings that have stayed in the seed starting mix for too long can experience overgrowth, which can negatively impact their overall health and subsequent transplanting success. It’s important to recognize the signs of seedling overgrowth so that you can take appropriate action before it’s too late. Here are some common signs to look out for:
1. Roots Emerging from Drainage Holes: If you notice roots growing out of the drainage holes of your seedling’s container, it’s a clear indication that the seedling has outgrown its current space. The roots are actively seeking more room to grow and absorb nutrients from the soil. This is a sign that it’s time to transplant the seedling into a larger container or directly into the garden to prevent further root congestion.
2. Circling Roots: When seedlings become root-bound, their roots tend to wrap around the inner edges of the container. These circling roots indicate that the seedling has exhausted the available space and is in need of a larger container with more room for root expansion. If left unaddressed, circling roots can lead to restricted nutrient uptake and stunted growth.
3. Slow Growth or Stunted Appearance: Overgrown seedlings may exhibit slow growth or appear stunted compared to their peers of the same age. This is because their root systems have become cramped and are unable to support optimal growth and nutrient absorption. These seedlings may have a weaker stem, smaller leaves, and overall poor vigor. Transplanting them into a larger container or garden soil will provide the necessary space for their roots to spread out and encourage healthier growth.
4. Yellowing or Wilting Leaves: Seedlings that have outgrown their starting mix may exhibit signs of stress, such as yellowing or wilting leaves. This can be caused by the limited availability of nutrients and water in the crowded environment. The small amount of starting mix may not hold enough moisture or nutrients to sustain the growing seedling adequately. Transplanting the seedling will ensure that it receives the necessary resources for healthy leaf development and overall vitality.
5. Unhealthy Looking Roots: During the transplanting process, gently check the condition of the seedling’s roots. Overgrown seedlings may have root systems that appear cramped, tangled, or matted. These unhealthy-looking roots are a clear indication that the seedling needs more space for proper root development. When transplanting, carefully untangle any root tangles and spread them out in the new growing medium to encourage healthy root growth.
Monitoring your seedlings closely will help you identify these signs of overgrowth in the seed starting mix. It’s important to transplant them in a timely manner to prevent further damage and promote healthy growth. By providing your seedlings with adequate space and resources, you are setting them up for success in their new growing environment.
Tips for Successful Transplanting
Transplanting seedlings is a critical step in their journey from the seed starting mix to their final garden location. Following these tips will help ensure a smooth and successful transplanting process, allowing your seedlings to thrive in their new environment:
1. Choose the Right Timing: Transplant your seedlings at the recommended stage of growth, typically when they have developed their first true leaves. Avoid transplanting during extreme weather conditions, such as high heat or heavy rain, as these can stress the seedlings. Aim for a calm and mild day to minimize shock and increase the chances of successful establishment.
2. Prepare the Transplanting Site: If transplanting into the garden, prepare the soil beforehand. Clear any weeds or debris and incorporate organic matter, such as compost or well-rotted manure, to improve the soil’s fertility and structure. Ensure that the soil is moist but not waterlogged to provide a welcoming environment for the seedlings.
3. Handle Seedlings with Care: When removing seedlings from the starting mix, handle them gently by the leaves, avoiding any unnecessary stress on the stem or delicate root system. If the roots are tangled or circling, carefully untangle them or make small vertical cuts on the sides of the rootball to encourage outward growth. This will promote healthy root development and prevent future issues.
4. Dig Proper Planting Holes: When transplanting into the garden, dig a hole that is deep enough to accommodate the seedling’s root system. Make sure the hole is wide enough to allow the roots to be spread out in a natural manner. This will encourage outward growth and prevent roots from spiraling or becoming congested.
5. Water Thoroughly: After transplanting, water the seedlings thoroughly to settle the soil and ensure good root-to-soil contact. The water will help reduce transplant shock and promote the establishment of the seedlings. Monitor the moisture levels and water regularly, especially during dry spells, to help the seedlings establish their new root systems.
6. Provide Sun Protection: Newly transplanted seedlings can be sensitive to direct sunlight. If the weather is particularly sunny or hot, provide some shade or protect the seedlings with a temporary covering, such as shade cloth or an overturned container. Gradually increase their exposure to sunlight over the course of several days to help them acclimate.
7. Mulch Around Seedlings: Apply a layer of organic mulch, such as straw, wood chips, or compost, around the base of the seedlings. Mulching helps conserve soil moisture, suppresses weeds, regulates soil temperature, and adds nutrients to the soil as it breaks down. Keep the mulch a few inches away from the stem to prevent moisture-related issues.
8. Monitor and Care for Transplants: Regularly monitor your transplanted seedlings for any signs of stress, such as wilting, yellowing leaves, or pest infestations. Provide appropriate care, including watering, fertilizing, and pest control, to ensure the seedlings continue to grow and thrive in their new location. Stay vigilant and address any issues promptly to prevent setbacks.
By following these tips, you can increase the chances of successful transplanting and help your seedlings establish themselves in their new growing environment. Remember to provide ongoing care and attention to optimize their growth and productivity throughout the growing season.
Conclusion
Transplanting seedlings from the seed starting mix to their permanent garden location is a crucial step in the journey of nurturing healthy and productive plants. Understanding the optimal time for transplanting and recognizing the signs of seedling overgrowth are key to ensuring successful establishment and long-term growth. By providing the right conditions, such as adequate space, nutrients, and water, you set your seedlings up for success in their new environment.
Factors such as plant type, starting mix quality, root development, and environmental conditions all play a role in determining when to transplant your seedlings. Waiting for the appearance of the first true leaves and ensuring proper root development are important indicators that your seedlings are ready for transplanting.
Being aware of the signs of seedling overgrowth, such as roots emerging from drainage holes, circling roots, slow growth, wilting leaves, and unhealthy-looking roots, allows you to take timely action and provide the necessary space and resources for healthy growth.
Following tips for successful transplanting, including choosing the right timing, handling seedlings with care, preparing the transplanting site, watering thoroughly, providing sun protection, and monitoring and caring for transplants, will help maximize the chances of successful establishment and long-term growth. Remember to give your seedlings the necessary attention and ongoing care they need as they adjust to their new surroundings.
By transplanting your seedlings at the right time and with proper care, you set the foundation for a thriving edible garden. The fulfilling experience of growing your own food, the joy of harvesting fresh produce, and the satisfaction of seeing your plants flourish will be rewarding reminders of your efforts in edible gardening.