Home>Types of Gardening>Edible Gardening>How To Grow Chestnut Trees
Edible Gardening
How To Grow Chestnut Trees
Published: November 10, 2023
Learn the secrets of growing chestnut trees in your own edible garden. Discover expert tips and techniques for a bountiful harvest.
(Many of the links in this article redirect to a specific reviewed product. Your purchase of these products through affiliate links helps to generate commission for Chicagolandgardening.com, at no extra cost. Learn more)
Table of Contents
- Introduction
- Choosing the Right Chestnut Tree Variety
- Selecting the Ideal Location for Planting
- Preparing the Soil for Chestnut Trees
- Planting Chestnut Trees
- Watering and Fertilizing Chestnut Trees
- Pruning and Training Chestnut Trees
- Controlling Pests and Diseases
- Harvesting Chestnuts
- Storing and Using Chestnuts
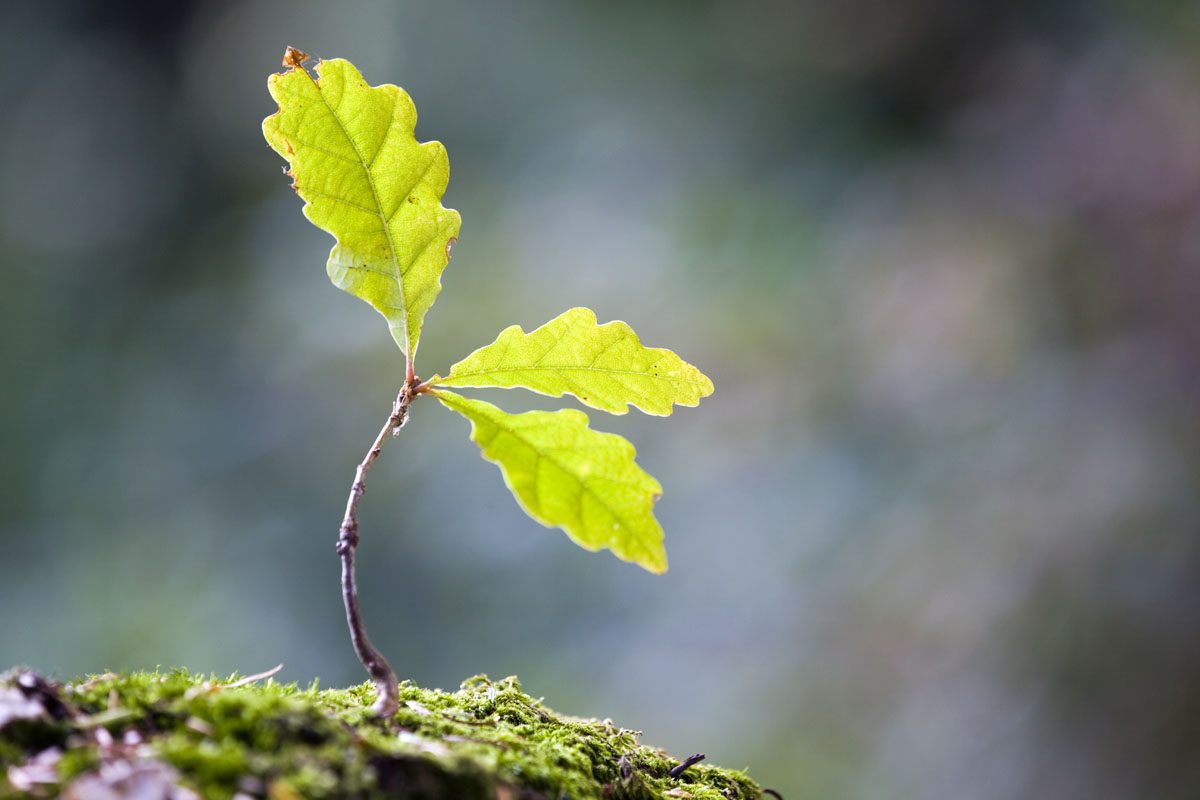
Introduction
Welcome to the wonderful world of growing your own chestnut trees! Whether you’re an experienced gardener or just starting out, edible gardening is a rewarding and fulfilling hobby. And what better way to enjoy the fruits of your labor than by harvesting and savouring your very own chestnuts?
Growing chestnut trees not only beautifies your garden but also provides you with a bountiful supply of delicious and nutritious nuts. Chestnuts are versatile and can be used in various dishes, from savory stews to delightful desserts. Plus, they are packed with vitamins, minerals, and antioxidants, making them a healthy addition to your diet.
In this article, we’ll guide you through the process of growing chestnut trees, from selecting the right variety to harvesting and storing the nuts. Whether you have a spacious backyard or a small balcony, we’ll provide tips and techniques to help you succeed in your edible gardening venture.
Before we delve into the specifics of chestnut tree cultivation, it’s important to note that chestnut trees belong to the genus Castanea and are native to temperate regions of the Northern Hemisphere. They are hardy and can thrive in various climatic conditions, making them suitable for a wide range of gardeners. So, let’s get started and learn how to grow and care for these magnificent trees.
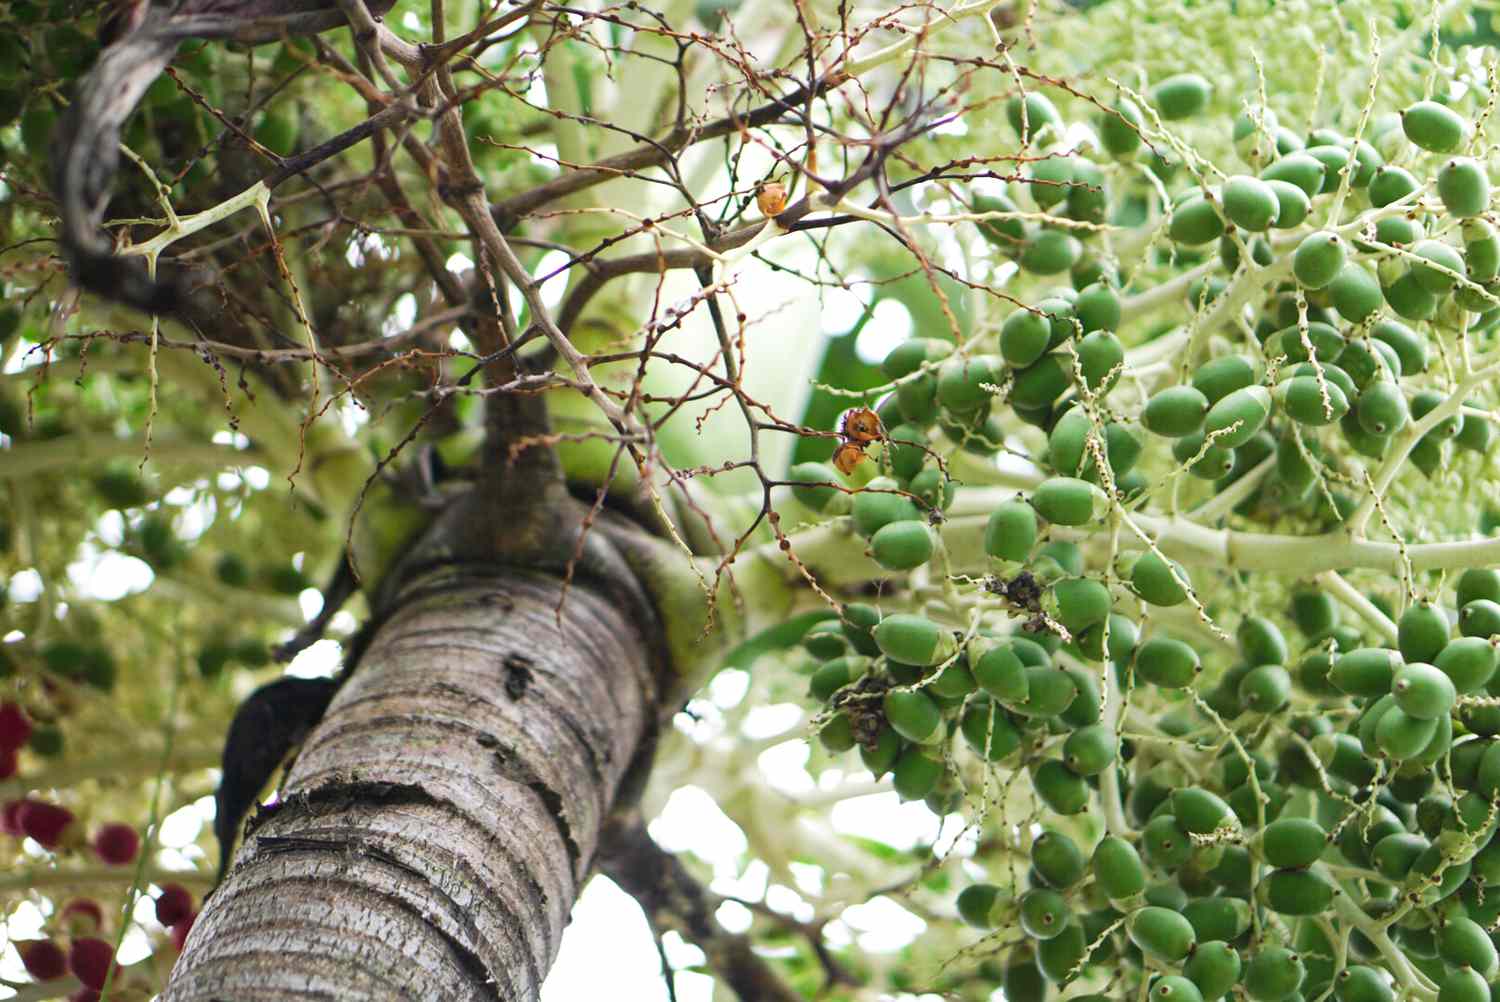
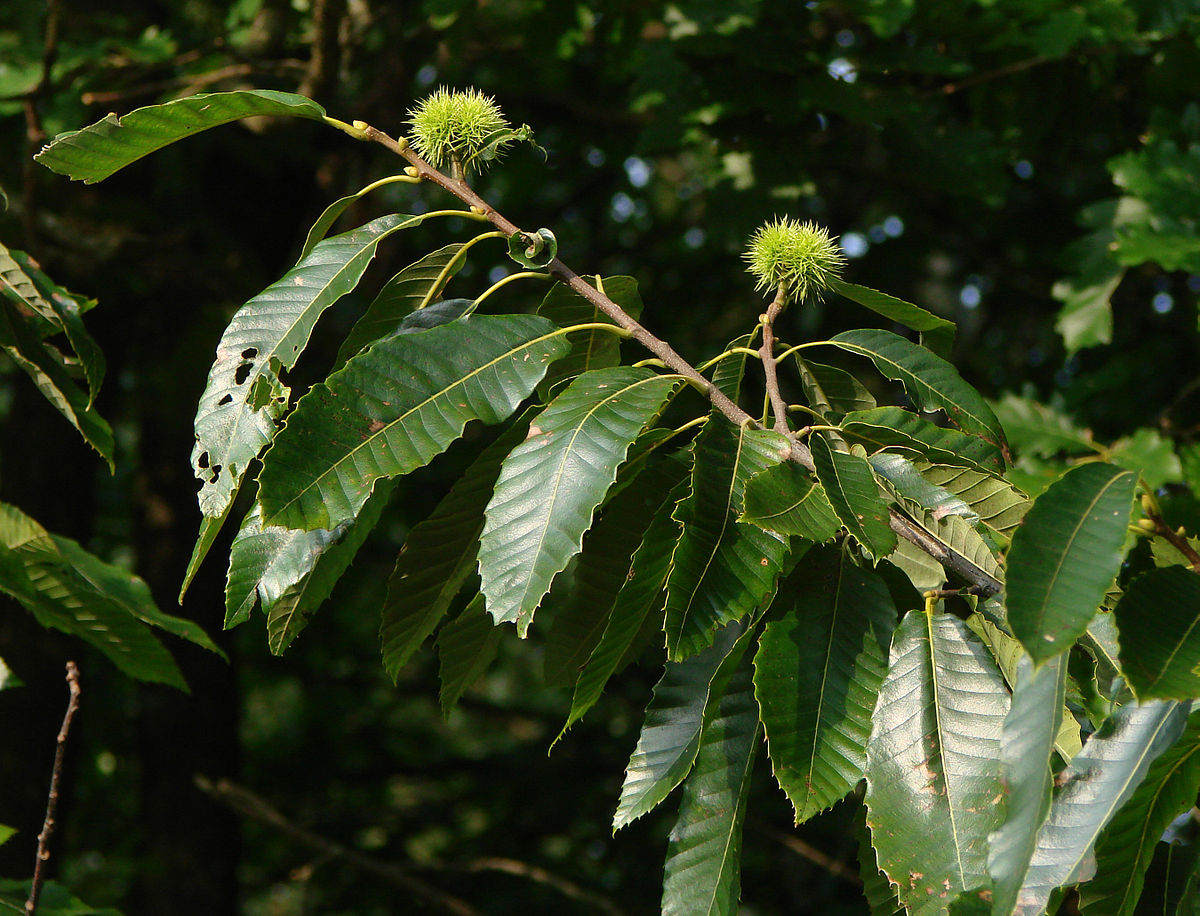
Choosing the Right Chestnut Tree Variety
When it comes to growing chestnut trees, selecting the right variety is crucial for success. There are several different types of chestnut trees to choose from, each with its own unique characteristics and requirements. Here are some factors to consider when deciding on the variety:
1. Climate Adaptability: Chestnut trees come in different varieties, with some being more adapted to specific climates than others. Consider your local climate, including temperature ranges and growing seasons, and choose a variety that is known to thrive in your region.
2. Pollination Needs: Chestnut trees are categorized into two main types: self-pollinating (monoecious) and cross-pollinating (dioecious). Self-pollinating varieties can set fruit with their own pollen, while cross-pollinating varieties require pollen from a different chestnut tree for successful fruit development. Determine whether you have space to plant multiple trees or if a self-pollinating variety is more suitable for your situation.
3. Harvest Timing: Chestnut varieties have different harvesting times, ranging from early to late season. Consider when you prefer to harvest chestnuts and choose a variety that aligns with your preferred timing. This will ensure you can enjoy fresh chestnuts at the desired point in the season.
4. Tree Size and Cultivation Space: Consider the space available in your garden or planting area and the eventual size of the mature chestnut tree. Some varieties naturally grow larger than others, so choose a variety that fits well within your space constraints.
5. Nut Characteristics: Different chestnut varieties produce nuts with varying characteristics, such as size, flavor, and shell thickness. Research and choose a variety that aligns with your preferences and intended use, whether it’s for roasting, cooking, or baking.
It’s important to do thorough research and consult with local experts or nurseries to find chestnut tree varieties that are well-suited to your specific needs and growing conditions. By selecting the right variety, you’ll be setting yourself up for a successful and fulfilling chestnut-growing experience.
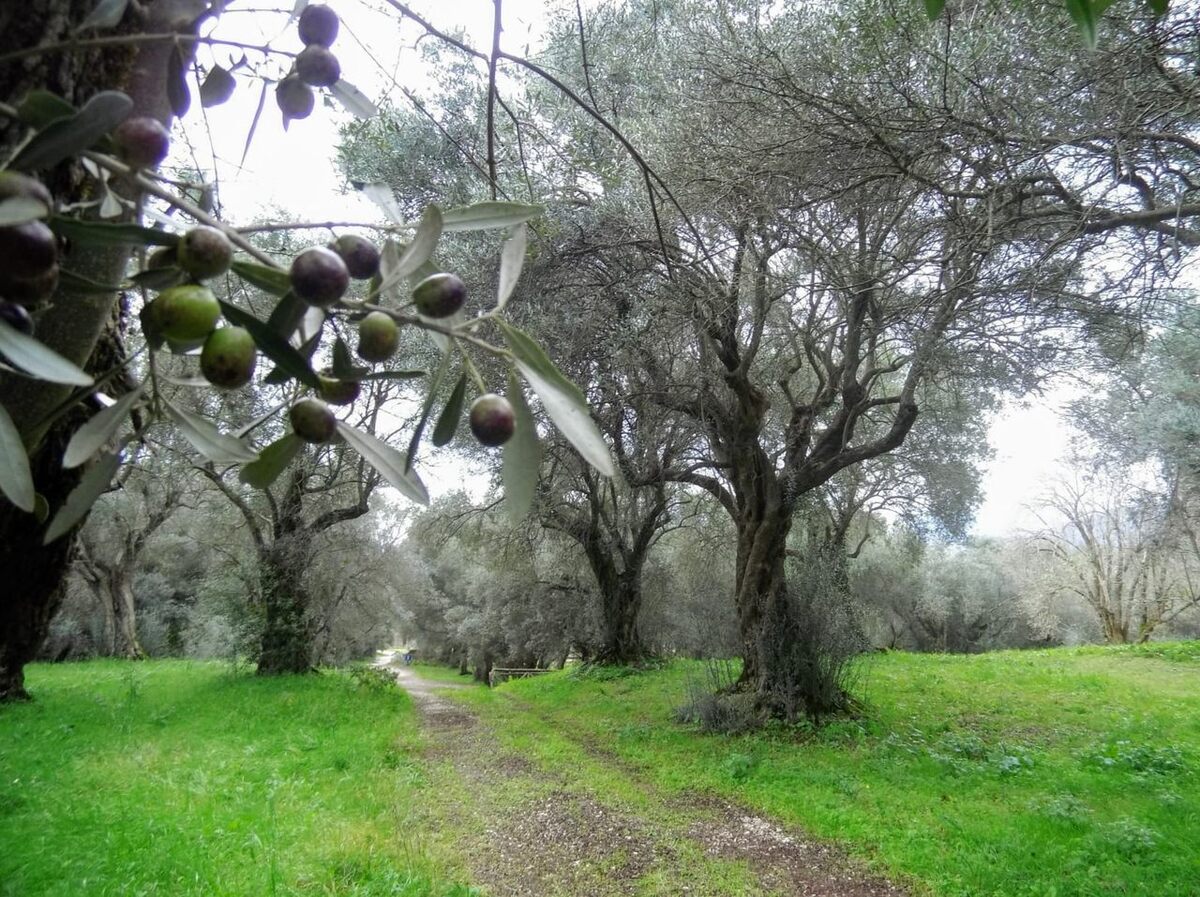
Selecting the Ideal Location for Planting
Choosing the right location for planting your chestnut trees is essential for their growth and overall health. Here are some important factors to consider when selecting the ideal spot:
1. Sunlight: Chestnut trees thrive in full sun, so choose a location that receives at least 6 to 8 hours of direct sunlight each day. Avoid areas that are shaded by buildings, trees, or other structures, as this can hinder the tree’s growth and nut production.
2. Soil Drainage: Chestnut trees prefer well-draining soil to prevent waterlogging and root rot. Avoid planting in areas with heavy clay or compacted soil, as this can lead to poor drainage. If your soil doesn’t drain well, consider amending it with organic matter or planting the tree in a raised bed.
3. Soil pH: Chestnut trees prefer slightly acidic to neutral soil with a pH range of 5.5 to 7.5. Conduct a soil test to determine the pH level of your chosen location. If the soil is too alkaline or acidic, you can adjust it by adding organic matter or using appropriate soil amendments.
4. Wind Protection: Chestnut trees can be susceptible to wind damage, especially when they are young and establishing roots. Choose a location with some wind protection, such as near a fence or a natural windbreak, to ensure the tree’s stability and prevent breakage.
5. Space: Consider the mature size of the chestnut tree when selecting the planting location. Chestnut trees require ample space for their roots to spread and for proper air circulation. Ensure there is enough room for the tree to grow without obstruction from nearby structures or other trees.
6. Proximity to Pollinators: If you’re planting a cross-pollinating variety, it’s important to have other chestnut trees nearby for successful pollination. Make sure there are compatible chestnut tree varieties within a reasonable distance to ensure proper pollination and fruit set.
Take your time to evaluate potential planting locations, considering these factors and any specific conditions unique to your area. By selecting an optimal spot, your chestnut trees will have the best chance to thrive and produce an abundant harvest for years to come.
Preparing the Soil for Chestnut Trees
Preparing the soil before planting your chestnut trees is a crucial step in ensuring their overall health and productivity. Here are some important considerations and steps to follow when preparing the soil:
1. Soil Testing: Before you begin any soil preparation, it’s essential to conduct a soil test. This will provide valuable information about the pH level, nutrient content, and overall fertility of the soil. Based on the results, you can make informed decisions about the necessary amendments to improve the soil conditions for chestnut tree growth.
2. Clearing the Area: Remove any weeds, rocks, or debris from the planting area. This will eliminate competition for nutrients and ensure that the chestnut trees have ample space to establish their roots.
3. Soil Amendments: Based on the soil test results, you may need to make amendments to adjust the pH level or improve nutrient availability. For example, if the soil is too acidic, you can add lime to raise the pH. If it’s too alkaline, you can add organic matter like compost or peat moss to lower the pH. Additionally, incorporating well-rotted manure or compost into the soil will improve its fertility and structure.
4. Drainage Enhancement: Chestnut trees prefer well-draining soil. If your soil has poor drainage, you can improve it by adding organic matter like compost, leaf mold, or perlite. These amendments will help loosen the soil, enhance its water-holding capacity, and promote better drainage.
5. Soil Cultivation: Use a garden fork or tiller to cultivate the soil to a depth of about 12 to 18 inches. This will help break up compacted soil, improve aeration, and create a loose bed for the chestnut tree roots to grow.
6. Mulching: After planting the chestnut trees, apply a layer of organic mulch around the base of the tree. This will help conserve moisture, suppress weed growth, and add nutrients to the soil as it breaks down over time.
Remember that the soil preparation process may vary depending on your specific soil conditions. It’s always a good idea to consult with local experts or extension offices for personalized guidance tailored to your region.
By taking the time to prepare the soil properly, you’ll provide the chestnut trees with a healthy and nutrient-rich environment, setting them up for optimal growth and productivity.
Planting Chestnut Trees
When it comes to planting chestnut trees, following the correct process and techniques is key to ensure successful establishment and growth. Here are the steps to plant your chestnut trees:
1. Timing: Choose the appropriate time to plant your chestnut trees. Ideally, plant them in the early spring or fall when the weather is mild, and the soil is workable. Avoid planting during extreme heat or cold periods.
2. Digging the Hole: Dig a hole that is wide and deep enough to accommodate the chestnut tree’s root system. The hole should be slightly larger than the size of the tree’s root ball or container.
3. Soil Placement: Place the excavated soil on a tarp or nearby surface, as you will need it later to backfill the hole. Take care not to mix the backfill soil with organic matter, as it can create a barrier that inhibits root growth.
4. Tree Placement: Gently remove the chestnut tree from its container or carefully unwrap the burlap around the root ball. Place the tree in the center of the hole, ensuring that it is straight and upright.
5. Backfilling: Gradually backfill the hole with the soil that was set aside earlier, gently firming it around the roots as you go. Avoid compacting the soil too heavily, as it can restrict root growth and water absorption.
6. Watering: After planting, thoroughly water the chestnut tree to settle the soil and remove any air pockets around the roots. Keep the soil consistently moist but not waterlogged during the tree’s establishment period.
7. Mulching: Apply a layer of organic mulch around the base of the tree, leaving a gap between the mulch and the trunk. This will help retain moisture, suppress weed growth, and regulate the soil temperature.
8. Staking: If your chestnut tree is tall or prone to windy conditions, consider staking it for added support. Use sturdy stakes and soft ties to secure the tree, ensuring that they are not too tight to allow for some natural movement.
Remember to follow any specific planting recommendations provided by your nursery or local experts, as different chestnut tree varieties may have unique requirements. By planting your chestnut trees correctly, you’ll provide them with a solid foundation for healthy growth and abundant nut production in the future.
Watering and Fertilizing Chestnut Trees
Proper watering and fertilizing are essential for the healthy growth and development of chestnut trees. Here are some guidelines to help you effectively water and fertilize your chestnut trees:
Watering:
1. Establishing Period: During the first year after planting, it’s crucial to provide regular and consistent watering. Keep the soil evenly moist, but not waterlogged. Water deeply and slowly to ensure that the water reaches the root zone. As the tree establishes, gradually reduce the frequency of watering but ensure deep watering during dry periods.
2. Mulch: Apply a layer of organic mulch around the base of the tree to help retain moisture in the soil. Mulching also helps to suppress weed growth and regulate soil temperature.
3. Irrigation: If rainfall is insufficient, use irrigation methods such as drip irrigation or soaker hoses to deliver water directly to the roots. Avoid overhead watering, as this can promote leaf diseases and wasteful water evaporation.
4. Monitoring: Regularly monitor soil moisture levels by checking the top few inches of soil. This will help you determine when to water. Avoid overwatering, as it can lead to root rot and other issues.
Fertilizing:
1. Soil Testing: Before applying any fertilizers, conduct a soil test to determine the nutrient levels and pH of the soil. This will help you identify any deficiencies and make informed decisions about the appropriate fertilizers to use.
2. Balanced Fertilizer: Chestnut trees generally benefit from a balanced fertilizer with equal or near-equal amounts of nitrogen (N), phosphorus (P), and potassium (K). Look for a slow-release or organic fertilizer suitable for fruit trees.
3. Application Timing: Apply fertilizer in early spring, just as the tree begins to emerge from dormancy. Avoid late-season fertilization, as this can encourage late growth that may not harden off before winter.
4. Proper Application: Follow the instructions on the fertilizer packaging for the correct application rate and method. Apply the fertilizer evenly around the drip line of the tree, making sure not to directly contact the trunk. Water the tree thoroughly after application to help the nutrients dissolve and reach the roots.
5. Organic Alternatives: If you prefer to use organic fertilizers, options include compost, well-rotted manure, or specialty organic fertilizers that meet the nutrient requirements of chestnut trees.
Remember, every tree and soil situation is unique, so it’s important to tailor your watering and fertilizing practices to the specific needs of your chestnut trees. Regular monitoring and adjustments based on tree health and growth will ensure that your chestnut trees receive the necessary nutrients and hydration for optimal development and nut production.
Pruning and Training Chestnut Trees
Pruning and training chestnut trees play a crucial role in shaping their growth, maintaining their health, and promoting optimal nut production. Here are some guidelines for pruning and training your chestnut trees:
1. Pruning Goals:
– Remove Dead and Diseased Wood: Regularly inspect your chestnut trees for any dead, damaged, or diseased branches and promptly remove them to prevent the spread of disease and improve overall tree health.
– Enhance Air Circulation: Thin out crowded branches to allow for better air circulation within the canopy. This helps minimize the risk of fungal or bacterial diseases and improves overall tree vigor.
– Encourage Sunlight Penetration: Prune to open up the canopy and allow sunlight to reach the inner branches. Adequate sunlight exposure promotes fruit development and improves nut quality.
2. Timing: Prune chestnut trees during their dormant season, typically in late winter or early spring before new growth starts. Avoid pruning during periods of extreme cold or when the trees are actively growing.
3. Pruning Techniques:
– Thinning: Remove entire branches that are crossing, rubbing, or growing inward towards the center of the tree. Thinning out branches helps maintain a well-spaced and balanced canopy.
– Heading Back: Prune back excessively long or overgrown branches to enforce a more compact and manageable tree shape. Make cuts just above a bud or lateral branch to encourage new growth.
– Suckering: Chestnut trees are prone to producing suckers, which are shoots that arise from the base of the tree or along the trunk. Remove these suckers promptly to maintain the tree’s desired form and focus growth on the main branches.
4. Training:
– Central Leader Training: If you prefer a single trunk, train your chestnut tree with a central leader by selecting a strong, upright shoot as the leader and removing competing shoots.
– Open Center Training: Alternatively, you can train your chestnut tree with an open center form, also known as a vase-shaped or goblet-shaped canopy. This involves removing the central leader and encouraging multiple main branches to develop.
– Scaffold Branches: Scaffold branches provide the main framework of the tree. Select 3-4 well-spaced and sturdy branches to serve as scaffolds. Aim for a balanced distribution around the tree.
5. Maintenance Pruning: Conduct annual maintenance pruning to remove any new suckers, water sprouts, or weak branches that may have developed during the previous year.
Remember to use clean and sterilized pruning tools to prevent the spread of diseases. If you’re unsure about pruning techniques or the specific needs of your chestnut tree variety, consult with local experts or certified arborists for guidance.
By properly pruning and training your chestnut trees, you’ll not only shape their growth but also enhance their health, longevity, and nut production potential.
Controlling Pests and Diseases
Like any other plants, chestnut trees can be susceptible to various pests and diseases. Implementing proper monitoring and control measures is crucial to keep your trees healthy and productive. Here are some common pests and diseases that can affect chestnut trees and how to control them:
Pests:
1. Chestnut Weevils: These small beetles lay their eggs inside chestnuts, causing damage to the nuts. To control weevils, harvest the nuts as soon as they are mature and put them in a freezer for a few days to kill the larvae. Store harvested nuts in a cool, dry place to prevent re-infestation.
2. Moth Larvae: Moth larvae can tunnel into chestnut kernels, leading to reduced nut quality and yield. Regularly monitor and scout for signs of larvae infestation. Use organic insecticides or pheromone traps to control moth populations and reduce damage.
3. Chestnut Blight: This fungal disease can cause cankers on the branches, trunk, and stems of chestnut trees. Prune and destroy infected branches, ensuring proper sanitation practices to prevent spreading the disease. Planting resistant varieties is also an effective way to combat chestnut blight.
4. Phytophthora Root Rot: Excessive soil moisture can lead to phytophthora root rot, a fungal disease that affects the roots, causing decline and death of the tree. Improve drainage and avoid overwatering to prevent this disease. Fungicides may be used in severe cases, but prevention is key.
Diseases:
1. Ink Disease: Ink disease, caused by the fungus Phytophthora cinnamomi, can lead to dieback and decline of chestnut trees. Remove and destroy infected plants and roots. Avoid planting chestnut trees in areas with a history of ink disease and use disease-free planting materials.
2. Powdery Mildew: Powdery mildew is a common fungal disease that can affect chestnut trees, causing a white powdery growth on leaves and shoots. Improve air circulation and reduce humidity around the tree. Fungicidal sprays may be necessary in severe cases.
3. Bacterial Leaf Spot: Bacterial leaf spot causes dark, necrotic spots on leaves, reducing the tree’s photosynthetic capabilities. Prune and destroy infected leaves and branches. Copper-based sprays can help control the disease, but prevention through good sanitation practices is vital.
Regularly monitor your chestnut trees for signs of pests and diseases. Implement cultural practices such as proper watering, adequate nutrition, and mulching to promote tree health and resilience. Applying organic insecticides and fungicides when necessary can help control pests and diseases effectively. Consulting with local experts or extension offices can provide specific guidance tailored to your area’s pest and disease pressures.
By promptly identifying and addressing pest and disease issues, you can protect the health and vitality of your chestnut trees, ensuring a thriving and productive orchard for years to come.
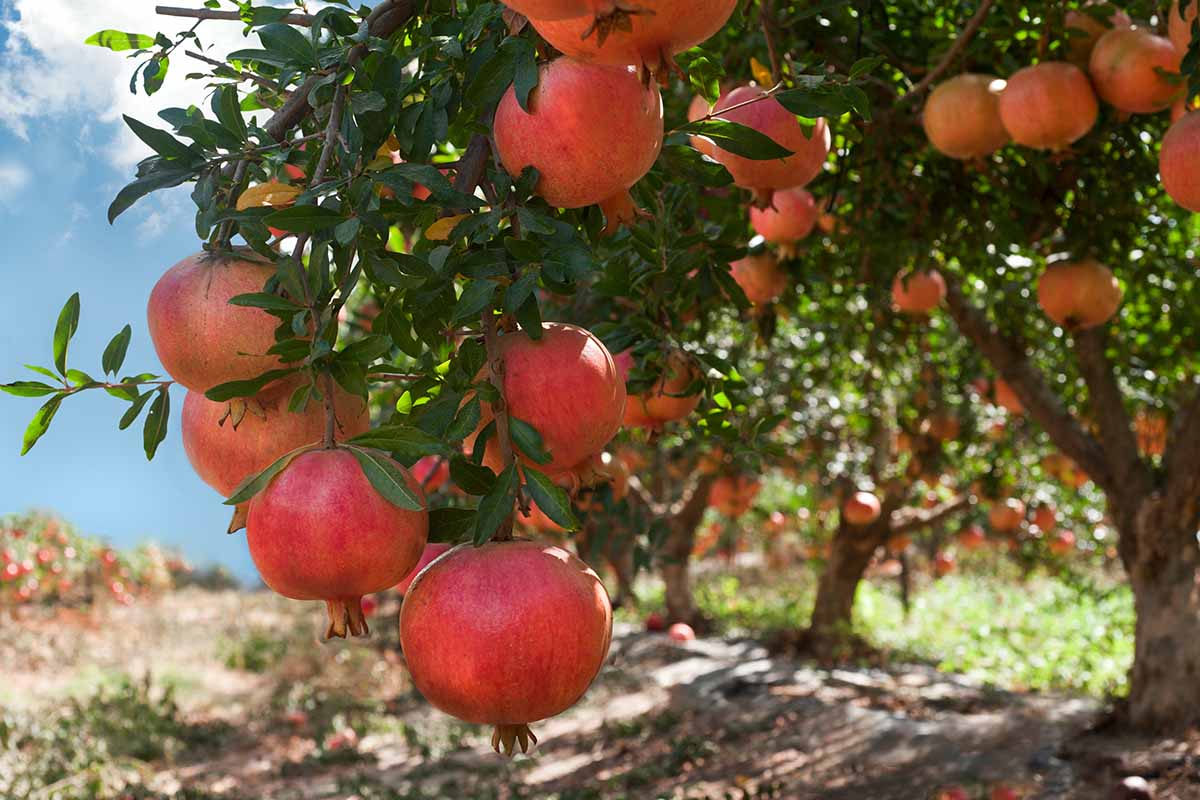
Harvesting Chestnuts
Harvesting chestnuts is an exciting and rewarding experience, as it marks the culmination of your efforts in growing and caring for the trees. Here are some important considerations and steps to follow when harvesting chestnuts:
1. Timing:
Chestnuts are typically ready for harvest in late summer or early fall, depending on the variety and climate. The best indicator of ripeness is the chestnut’s outer shell, which will turn brown and start to open when the nuts are fully matured.
2. Harvesting Technique:
To harvest chestnuts, gently twist or pull the nuts from the tree. Make sure to wear gloves, as the protective husks may have sharp spines. Be careful not to drop or mishandle the nuts, as they can bruise or crack, reducing their quality and shelf life.
3. Gather Fallen Nuts:
Keep an eye on the ground for any fallen chestnuts. Collect them regularly to prevent rotting or infestation from pests. Fallen nuts are still edible as long as they are not damaged or showing signs of decay.
4. Sorting and Grading:
After harvesting, sort the chestnuts by size and quality. Remove any nuts with visible damage, mold, or signs of pests. Grade the nuts based on their size, appearance, and intended use. Larger nuts are often preferred for roasting, while smaller nuts are suitable for cooking or baking.
5. Storing Chestnuts:
Store chestnuts in a cool, dry place with good air circulation. Avoid storing them for too long, as chestnuts tend to lose quality and viability over time. If you plan to consume them within a few days, you can store them in the refrigerator. For longer storage, consider freezing or drying the nuts to extend their shelf life.
6. Using Chestnuts:
Chestnuts are versatile and can be used in a variety of dishes, both sweet and savory. Roast them for a delicious and nutritious snack, or use them in soups, stuffings, desserts, and more. Chestnuts can be boiled, steamed, roasted, or even ground into flour for baking.
Remember that freshness is key when it comes to enjoying chestnuts, so try to use them as soon as possible after harvest. When properly cared for and handled, your harvested chestnuts will provide a delightful culinary experience throughout the season.
Storing and Using Chestnuts
Once you’ve harvested your chestnuts, it’s important to store them properly to maintain their quality and flavor. Additionally, understanding different methods of preparation and usage can enhance your culinary experience. Here are some essential tips for storing and using chestnuts:
Storing Chestnuts:
1. Drying: If you have a surplus of chestnuts, consider drying them for long-term storage. Place them in a well-ventilated area with low humidity, allowing them to air dry for about two weeks. Make sure the nuts are spread out evenly, and rotate them occasionally to ensure even drying.
2. Refrigeration: For short-term storage, place unpeeled chestnuts in a plastic bag, punctured with a few holes to allow for airflow, and store them in the refrigerator. Chestnuts can stay fresh for two to three weeks in the fridge.
3. Freezing: To extend the shelf life, blanch the chestnuts in boiling water for a couple of minutes, then peel them while they’re still warm. Allow them to cool completely before placing them in airtight freezer bags. Frozen chestnuts can last up to a year.
Using Chestnuts:
1. Roasting: Roasting is a popular and delicious way to enjoy chestnuts. Make small incisions on the flat side of each chestnut and roast them in the oven or over an open flame until the shells open and the nuts are tender. Let them cool slightly before peeling and enjoying the creamy, sweet flesh.
2. Boiling: Boiling chestnuts is a common method used for recipes that call for cooked chestnuts. Start by cutting an “X” on the rounded side of each nut, then boil them in water for 15-20 minutes until they become tender. Drain and let them cool before peeling.
3. Purees and Soups: Chestnuts can be puréed and used as a base for soups, sauces, or desserts. Cook the peeled chestnuts until soft, then blend them with stock, cream, or spices to create a smooth and creamy texture.
4. Baking: Whether in bread, cookies, cakes, or stuffing, chestnuts add a unique flavor and texture to baked goods. Try incorporating chestnut flour or chopped chestnuts into your favorite recipes for a delightful twist.
When using stored chestnuts, always check for any signs of spoilage or mold before consuming. And remember, the fresher the chestnuts, the better the flavor and texture will be in your dishes. So, incorporate them into your favorite recipes and savor the delightful taste and aroma of these nutritious nuts.