Home>Types of Gardening>Edible Gardening>When To Take Humidity Dome Off Seedlings
Edible Gardening
When To Take Humidity Dome Off Seedlings
Published: January 1, 2024
Learn when to remove the humidity dome from your seedlings to ensure successful edible gardening. Find out the right timing for optimal plant growth and development.
(Many of the links in this article redirect to a specific reviewed product. Your purchase of these products through affiliate links helps to generate commission for Chicagolandgardening.com, at no extra cost. Learn more)
Table of Contents
- Introduction
- Importance of Humidity Domes
- When to Use Humidity Domes for Seedlings
- Signs that Seedlings are Ready to Have the Humidity Dome Removed
- Factors to Consider When Deciding to Remove the Humidity Dome
- Step-by-Step Guide to Removing the Humidity Dome from Seedlings
- Tips for Transitioning Seedlings after Removing the Humidity Dome
- Conclusion
Introduction
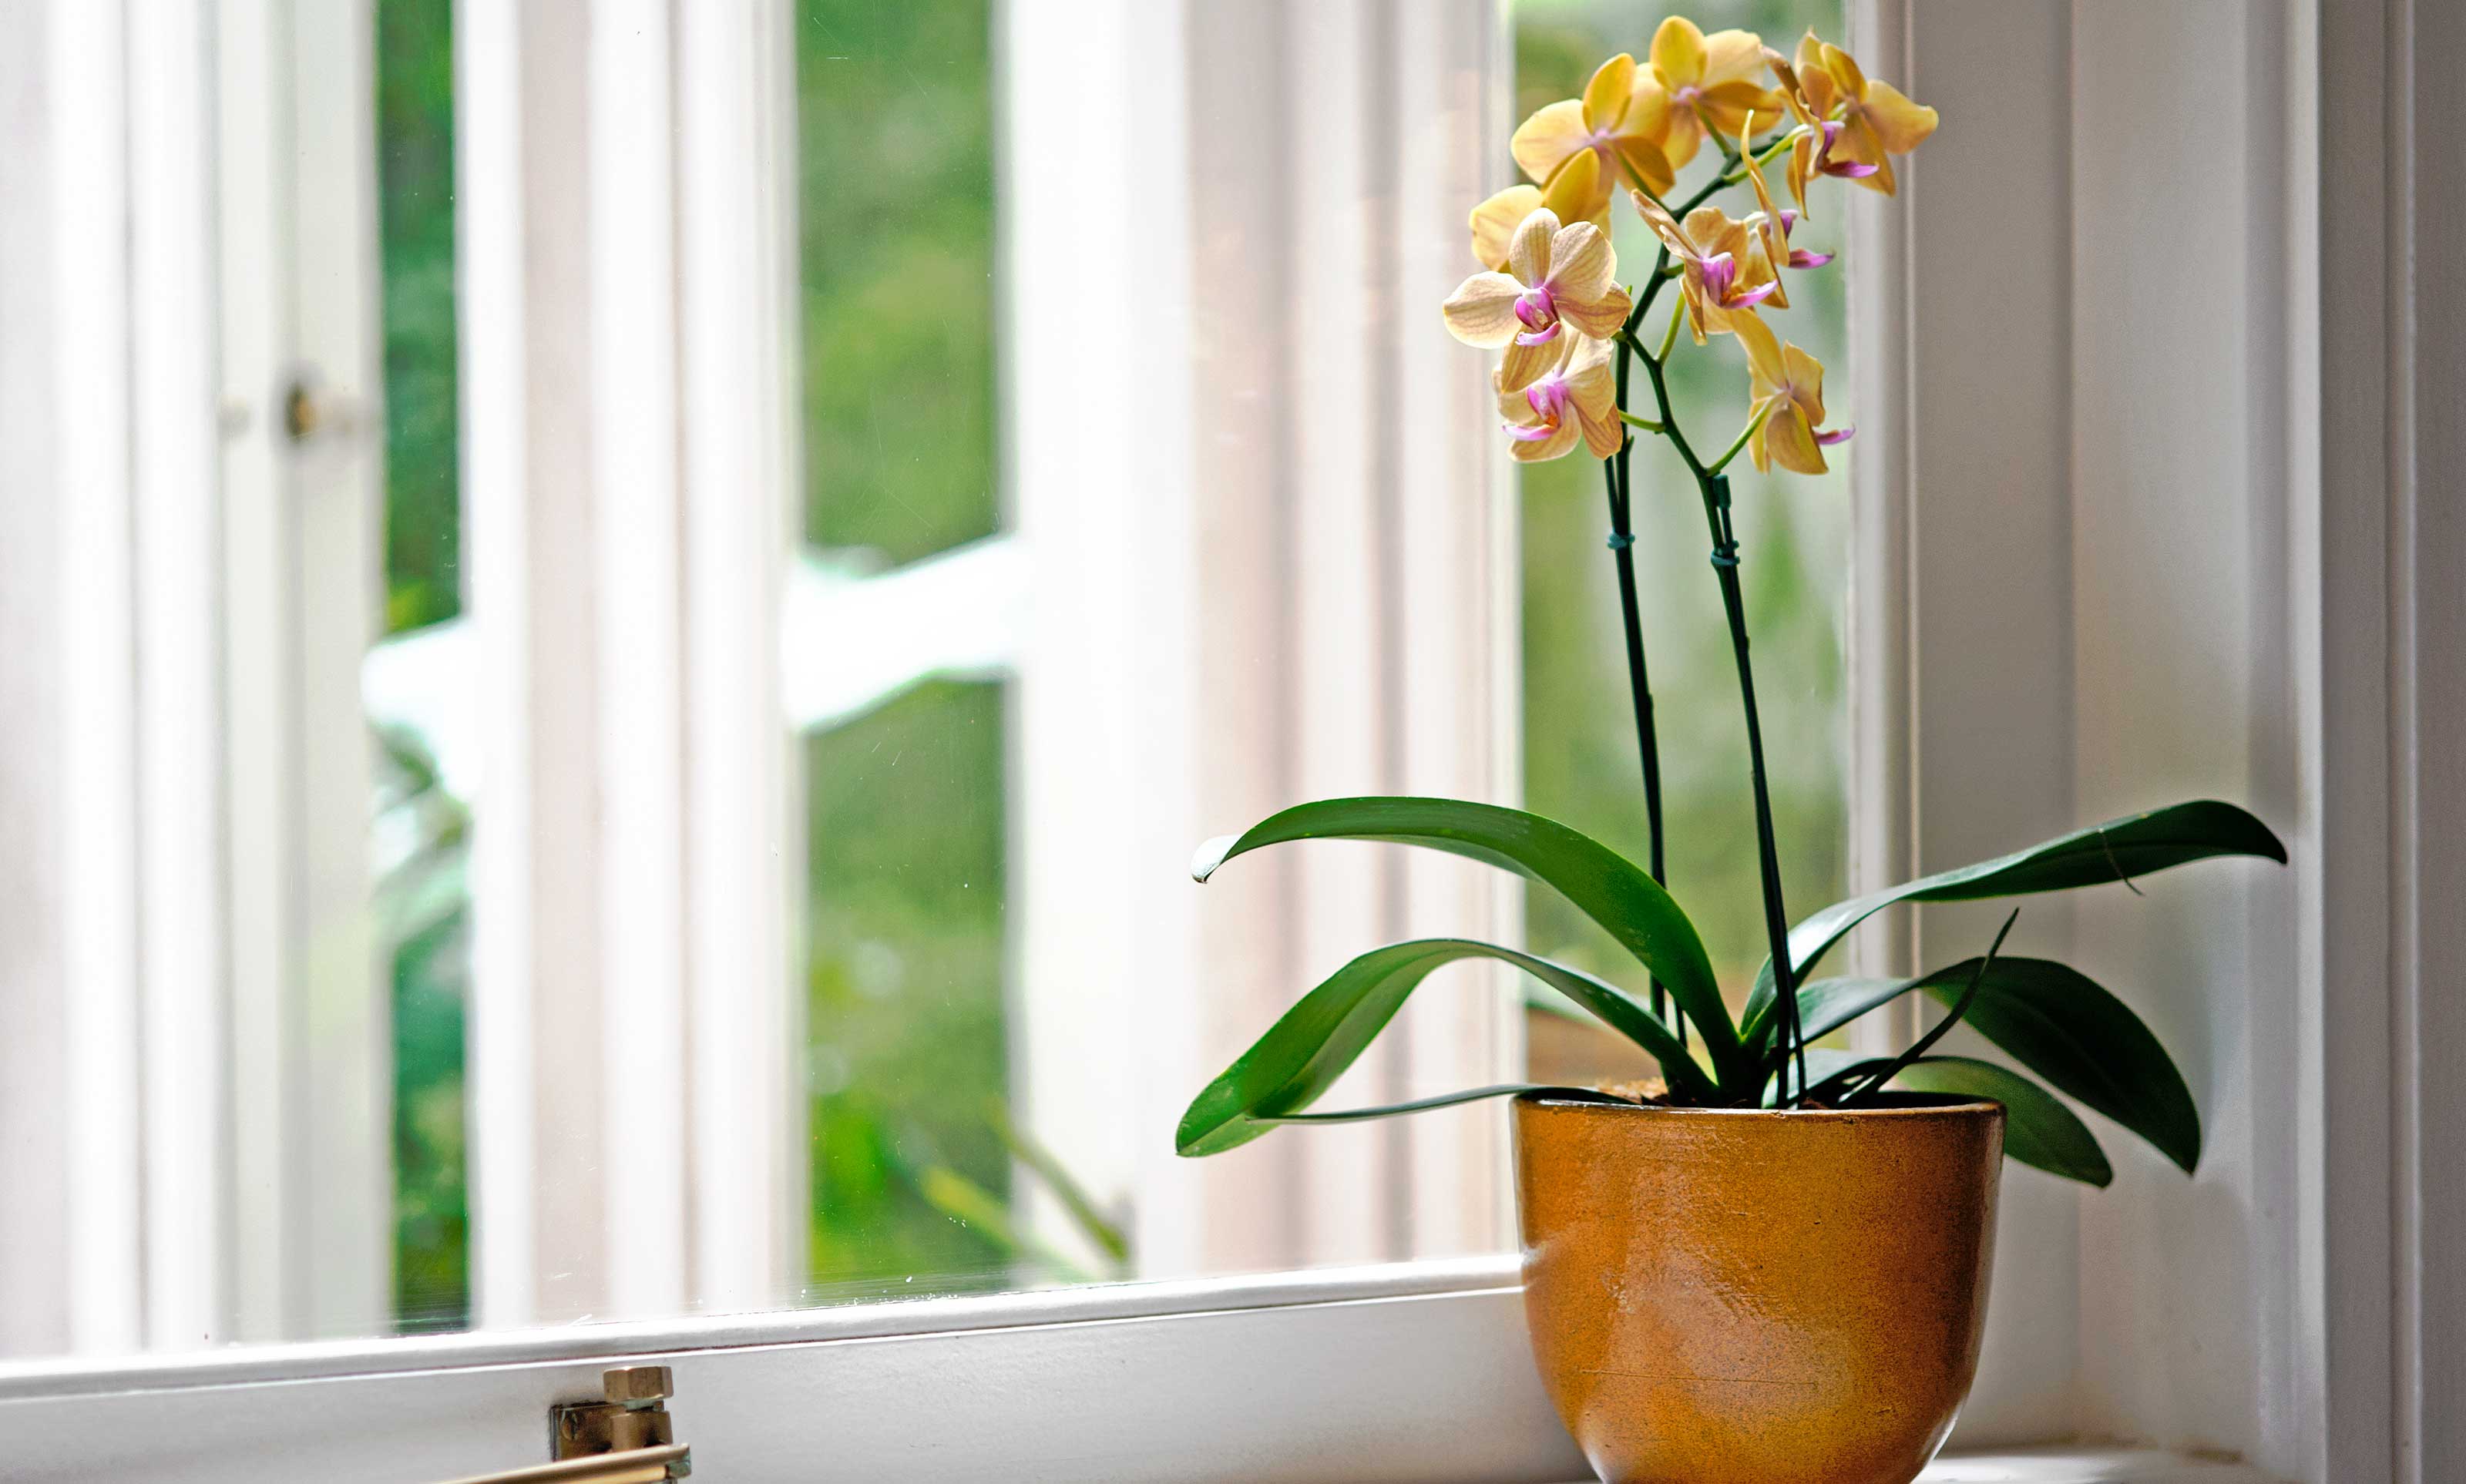
Starting an edible garden is a rewarding and fulfilling endeavor. Whether you have a sprawling backyard or a small balcony, growing your own food allows you to connect with nature, enjoy fresh and nutritious produce, and reduce your carbon footprint. However, successfully growing edible plants requires proper care and attention, especially during their early stages of growth. One essential aspect of nurturing young seedlings is creating the optimal environment to promote healthy growth.
Humidity domes, also known as propagators or seedling trays with covers, play a vital role in creating a greenhouse-like environment for seedlings. These transparent domes capture and retain moisture, ensuring that the soil remains consistently moist and promoting the germination process. Additionally, they help maintain a higher humidity level around the seedlings, mimicking the conditions necessary for their growth and development.
While humidity domes are beneficial for seedling growth, it is crucial to know when to remove them. The duration that the domes should remain on the seedlings varies depending on several factors, such as the type of plant, environmental conditions, and the overall health and growth of the seedlings.
This article aims to guide you in determining the ideal time to take off the humidity dome from your seedlings. We will explore the signs that indicate the seedlings are ready, factors to consider when deciding to remove the dome, and provide a step-by-step guide to safely removing the humidity dome while ensuring the continued healthy development of your seedlings.
Importance of Humidity Domes
Humidity domes are a valuable tool in the early stages of seedling development. They provide a controlled and optimal environment for seeds to germinate and seedlings to grow. Understanding the importance of humidity domes can help maximize the success of your edible garden. Here are some key reasons why humidity domes are important:
- Moisture Retention: Humidity domes help retain moisture in the soil, preventing it from drying out too quickly. This is crucial during the germination process, as dry soil can inhibit seed growth. Additionally, consistent moisture aids in the development of strong and healthy root systems.
- Increased Humidity: Seedlings thrive in higher humidity environments. Humidity domes trap moisture, creating a humid atmosphere around the seedlings. This mimics the conditions found in a greenhouse and promotes optimal growth.
- Protection: By providing a physical barrier, humidity domes protect delicate seedlings from external factors such as strong winds, pests, and sudden temperature changes. This protection allows the seedlings to establish themselves without undue stress or damage.
- Temperature Regulation: Humidity domes also help regulate temperature. They act as insulation, maintaining a stable and slightly warmer environment for the seedlings. This is particularly beneficial during the cooler months or in regions with fluctuating temperatures.
- Easier Monitoring: The transparent nature of humidity domes makes it easier to monitor the progress of your seedlings. You can observe the germination process, keep track of moisture levels, and identify any issues that may arise during this critical stage.
Overall, humidity domes create an optimal microclimate for seedlings, promoting their growth and giving them the best possible start. By using humidity domes, you provide the necessary conditions to ensure healthy, vigorous, and resilient plants as they continue to grow and mature.
When to Use Humidity Domes for Seedlings
Using humidity domes for seedlings is beneficial during the early stages of growth when they are the most vulnerable. However, it’s important to determine the appropriate timing for using humidity domes to ensure optimal results. Here are some guidelines to help you know when to use humidity domes for your seedlings:
- Germination Stage: The initial phase of seedling development is critical. During this stage, humidity domes are particularly beneficial as they help maintain a consistently moist environment, aiding in the germination process. If you’re starting seeds indoors or in a controlled environment, it’s ideal to use humidity domes from the time of sowing until the seeds have germinated.
- Sensitive or Slow-Growing Plants: Certain plants are more delicate or have longer germination times. These include herbs like parsley or thyme, as well as flowers such as petunias. Using humidity domes for these plants can help provide the extra moisture and warmth they need for successful germination.
- Unstable Environmental Conditions: If you’re starting seeds outdoors or in an environment with fluctuations in temperature or humidity, using humidity domes can be beneficial. They provide a protective barrier against sudden temperature changes and help maintain consistent moisture levels, ensuring the seedlings have a stable and favorable environment for growth.
- Seedlings in Seed Trays or Pots: When seedlings are still in small trays or individual pots, they are more susceptible to drying out. Using humidity domes during this period helps prevent soil moisture loss and maintains the necessary humidity levels to promote healthy growth.
- Seedlings in High-Altitude Areas: If you live in high-altitude areas where the air tends to be drier, using humidity domes can be crucial. The dry air can cause the soil to dry out quickly, hindering seedling growth. By using humidity domes, you can create a microclimate with higher humidity levels, giving your seedlings a better chance of success.
It’s important to note that not all plants require humidity domes throughout their entire growth journey. Once the seedlings have established a robust root system and have developed several true leaves, they can generally thrive without the humidity dome. Assessing the specific needs of your seedlings and considering the environmental conditions will help determine the appropriate duration for using humidity domes.
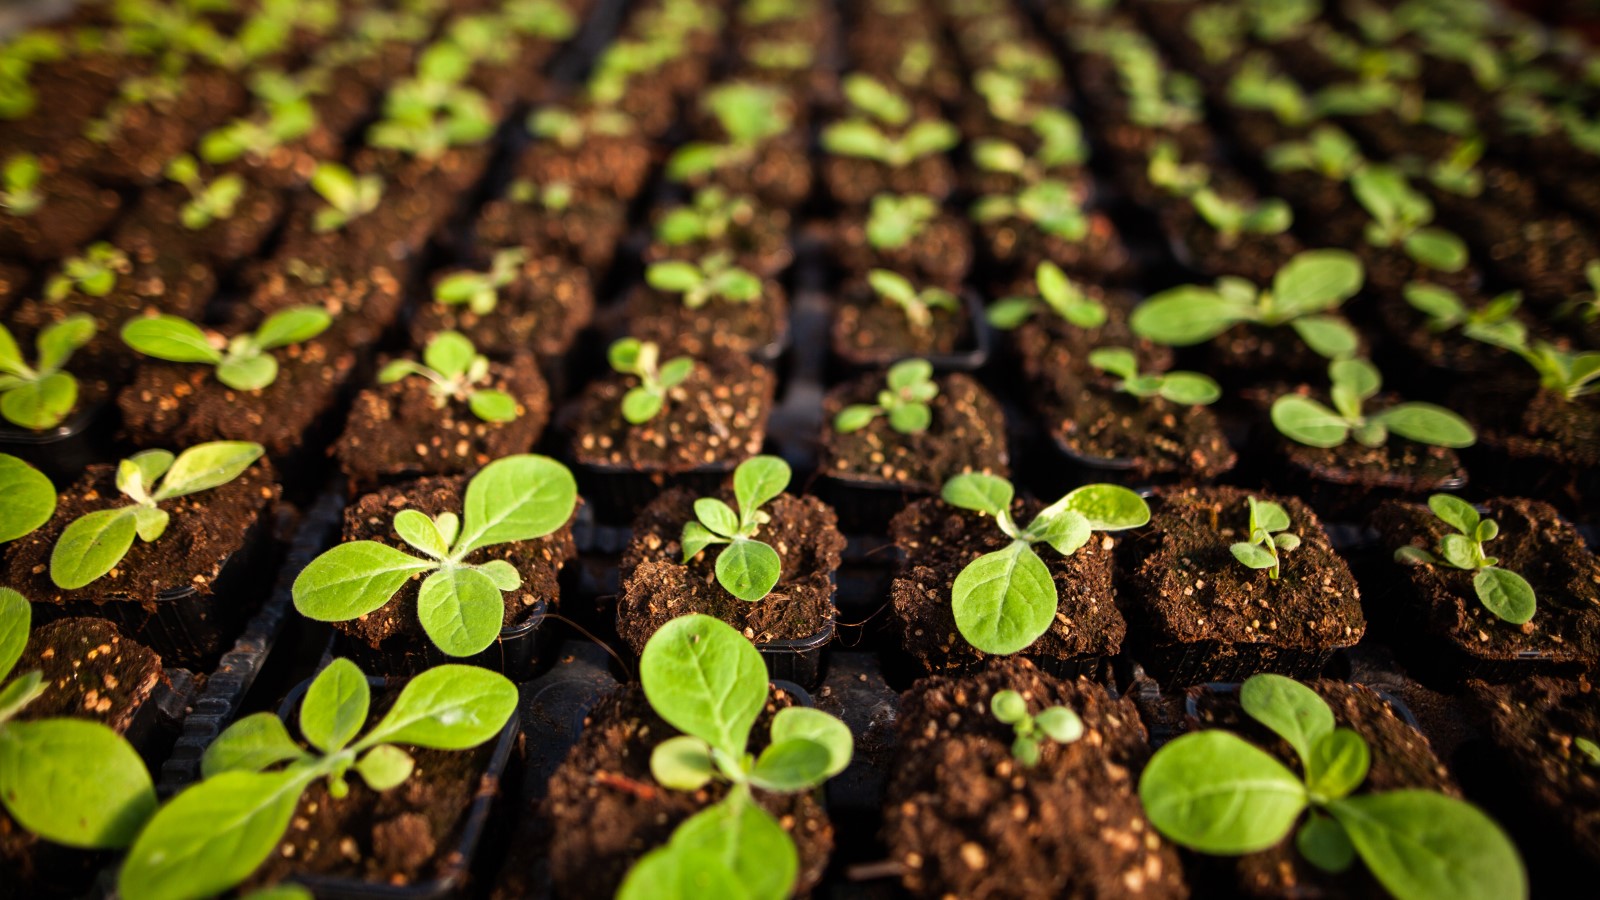
Signs that Seedlings are Ready to Have the Humidity Dome Removed
While humidity domes are beneficial during the early stages of seedling growth, it is important to remove them at the appropriate time to prevent issues such as mold, damping off, or weak and leggy growth. Here are some signs that indicate your seedlings are ready to have the humidity dome removed:
- Strong Root Development: Check the underside of the tray or the drainage holes to assess the root development. If you see healthy, well-established roots growing and spreading, it’s a good indication that the seedlings have developed a strong root system and are ready to have the humidity dome removed.
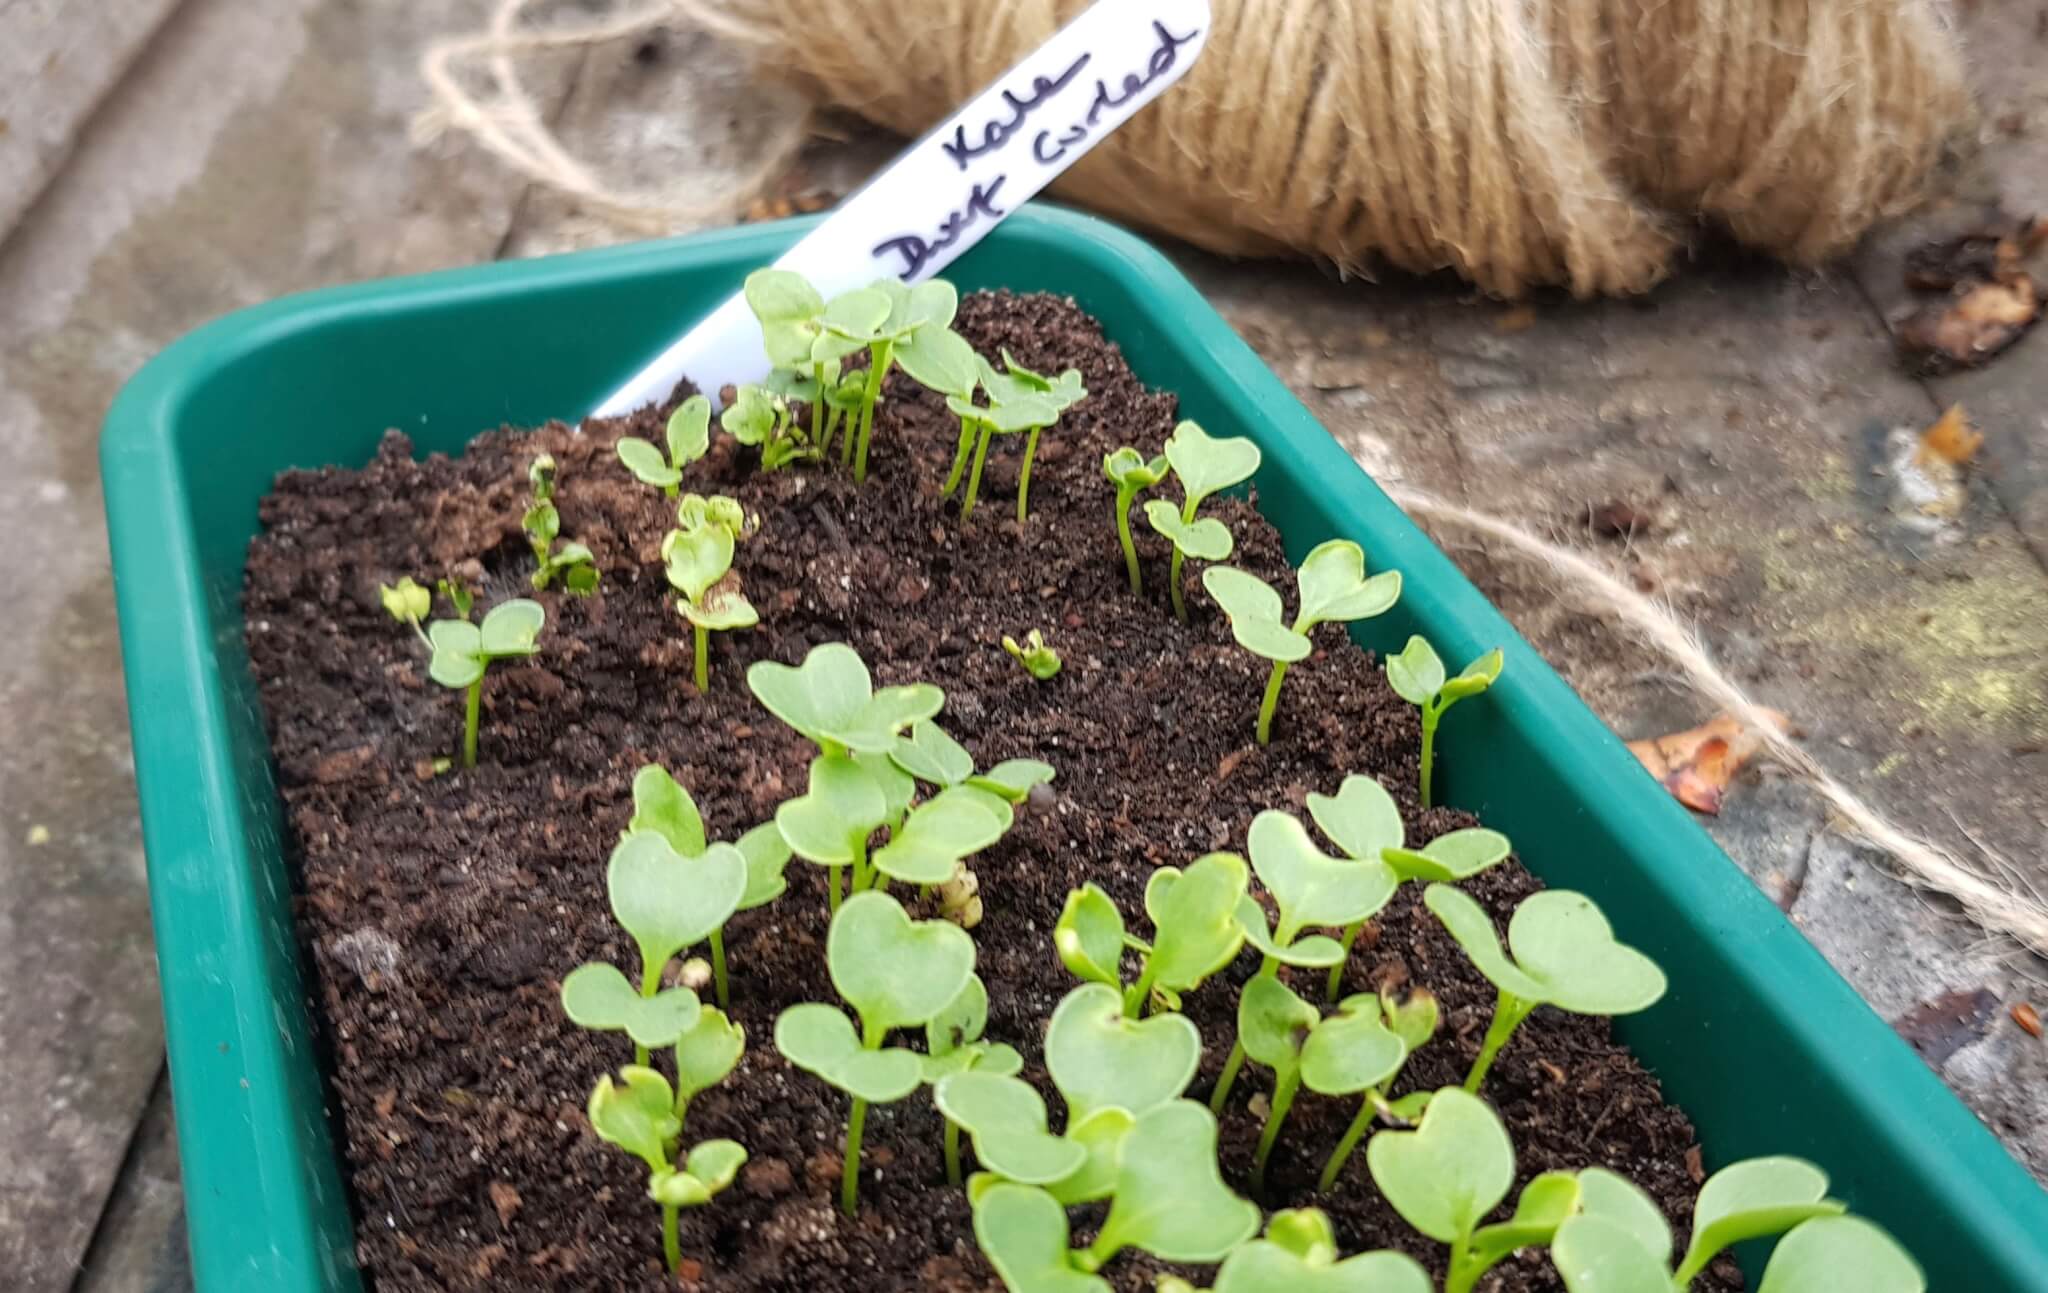
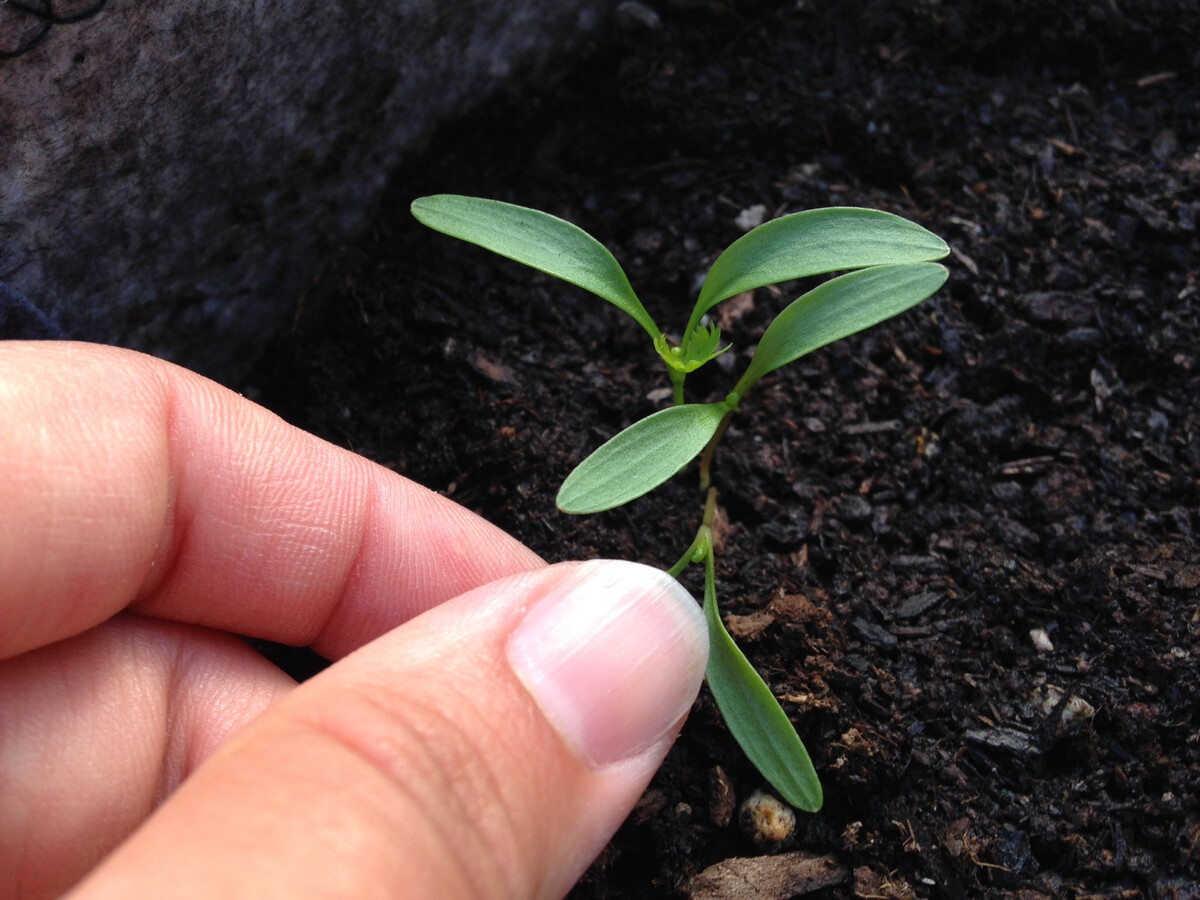
- Vibrant Foliage: Healthy seedlings will have lush, green foliage and well-formed leaves. If you notice that the seedlings are growing vigorously, with vibrant foliage that is reaching towards the top of the dome, it’s a sign that they are thriving and can handle the removal of the humidity dome.
- Sturdy Stems: When seedlings are ready to have the humidity dome removed, their stems will be sturdy and firm. This indicates that they have developed the necessary strength to support their own weight without the extra protection provided by the dome.
- No Condensation: Condensation on the inside of the humidity dome is a clear sign that moisture is being trapped. As the seedlings mature, the humidity levels inside the dome will decrease, leading to less condensation. When you start to notice minimal to no condensation, it means the humidity dome can be safely removed.
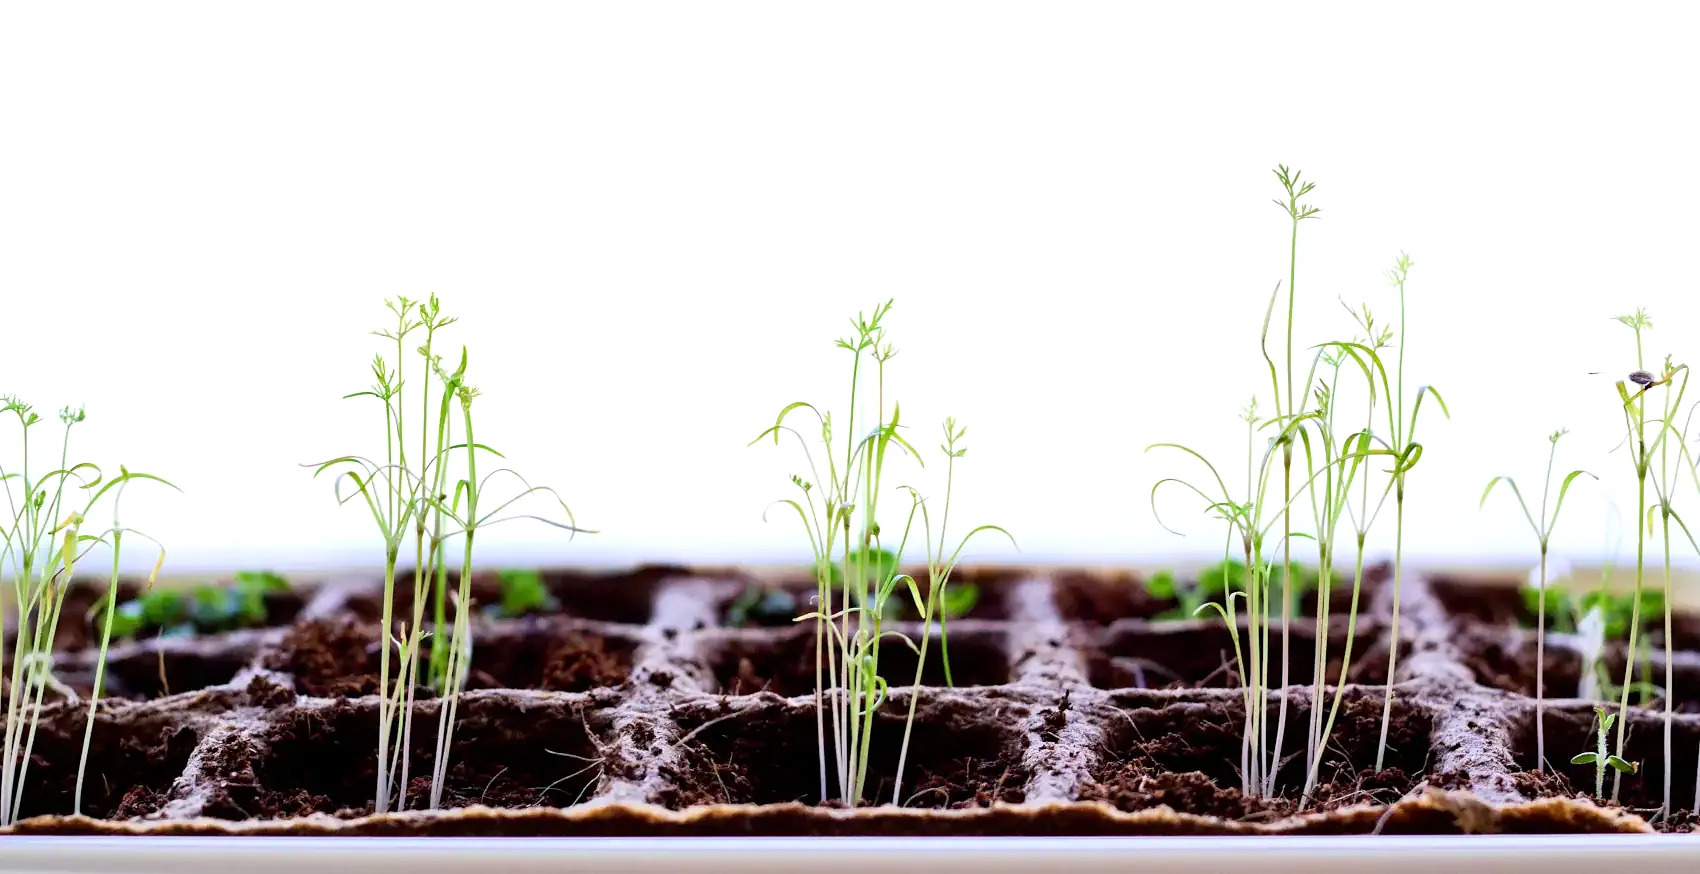
- Sufficient Air Circulation: Adequate air circulation is important for seedling health and hardening off. Once the seedlings have filled the tray or pot, it may be time to remove the humidity dome to allow for better airflow. This will help prevent issues like fungal diseases and promote stronger, more resilient seedlings.
It’s important to monitor your seedlings closely and assess their overall health and development. Each plant and growing environment is unique, so it’s essential to consider these signs collectively rather than relying on a specific timeframe. By paying attention to these signs, you can ensure that your seedlings are ready to thrive without the support of the humidity dome.
Factors to Consider When Deciding to Remove the Humidity Dome
The decision to remove the humidity dome from your seedlings should be based on several factors that can vary depending on the specific plants you are growing and the environmental conditions. Taking these factors into account will help ensure a successful transition for your seedlings. Here are some important factors to consider:
- Seedling Age: The age of your seedlings is an essential consideration. As they mature, seedlings develop a stronger root system and become more resilient. Generally, once the seedlings have grown their first set of true leaves, they are ready to have the humidity dome removed.
- Growth Rate: Different plants have varying growth rates. Some seedlings may grow faster and show more robust development compared to others. It’s important to observe the growth rate of your seedlings and ensure they have reached an adequate size and strength before removing the humidity dome.
- Environmental Conditions: The weather and environmental conditions play a crucial role in determining when to remove the humidity dome. If you are growing seedlings indoors or in a greenhouse, the conditions may be more stable. On the other hand, if you are growing outdoors or in an area with fluctuating temperatures and humidity levels, it is important to consider the prevailing conditions and remove the humidity dome when the seedlings can adapt to these changes.
- Ventilation and Airflow: Adequate ventilation is crucial for seedling health. When deciding to remove the humidity dome, ensure that there is sufficient airflow around the seedlings. Gradually introduce more ventilation by increasing the time the dome is off each day. This will help the seedlings adjust to lower humidity levels and develop stronger stems and foliage.
- Seedling Density: If the seedlings in your tray or pot are densely packed, it may be necessary to remove the humidity dome earlier. Overcrowding can lead to increased humidity and moisture levels, which may create favorable conditions for fungal diseases. Thinning out the seedlings or providing additional space can help reduce humidity levels and prevent the spread of diseases.
It’s important to assess these factors collectively rather than relying on a specific timeframe. Each plant and growing environment is unique, and the readiness of seedlings to have the humidity dome removed can vary. By considering these factors, you can make an informed decision and ensure a smooth transition for your seedlings as they continue to grow and thrive.
Step-by-Step Guide to Removing the Humidity Dome from Seedlings
When the time comes to remove the humidity dome from your seedlings, it’s important to do so gradually and carefully to prevent any shock or stress to the plants. Following a step-by-step approach will ensure a smooth transition for your seedlings. Here’s a guide to help you:
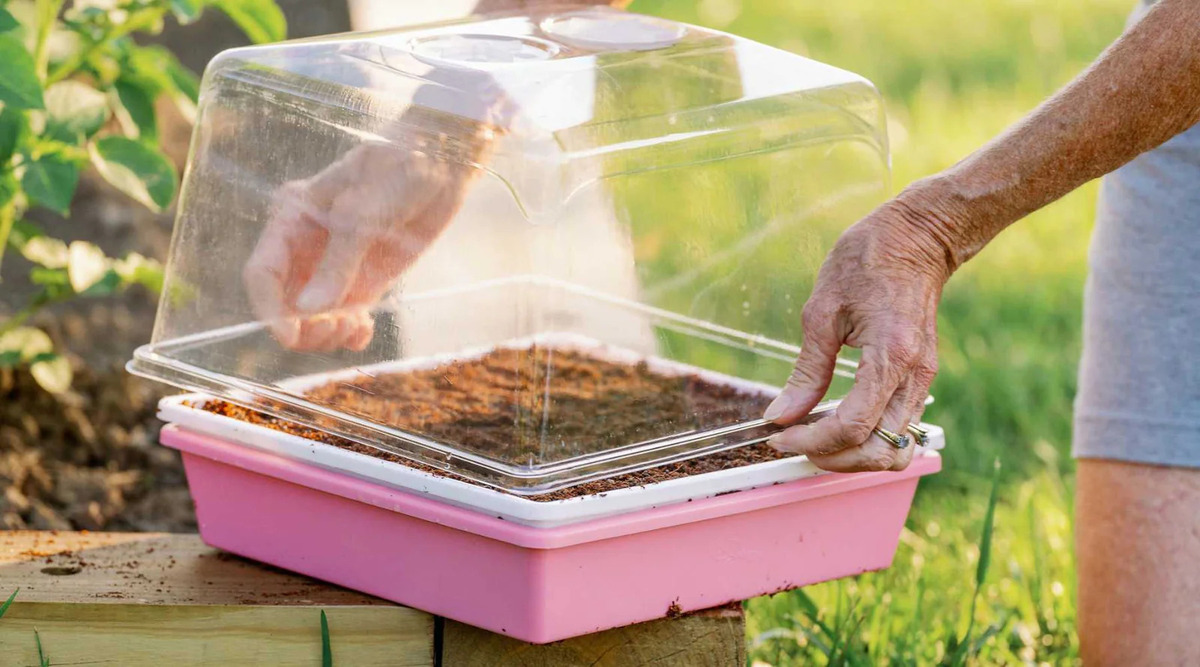
- Start with Partial Removal: Begin by partially opening the vents or lifting one side of the humidity dome for a few hours each day. This will allow the seedlings to acclimate to the lower humidity levels and increased airflow. Gradually increase the duration of ventilation over several days.
- Monitor the Soil Moisture: As you increase ventilation, pay close attention to the moisture levels in the soil. With the humidity dome removed, the soil may dry out more quickly. Ensure that the seedlings are receiving adequate moisture and adjust your watering routine as needed.
- Observe Seedling Response: Monitor the seedlings closely for any signs of stress or wilting. If you notice any negative effects, such as drooping or yellowing leaves, it may indicate that the seedlings need more time to adjust. In this case, reduce the duration of ventilation or increase the humidity temporarily before removing the dome completely.
- Remove the Humidity Dome: Once the seedlings have successfully acclimated to the increased airflow and lower humidity levels, you can remove the humidity dome entirely. Gently lift it off, being cautious not to damage any tender foliage or stems. Set the dome aside for future use or cleaning.
- Continue Monitoring and Care: After removing the dome, continue to monitor the seedlings’ progress. Ensure they are receiving adequate water, sunlight, and nutrients. Maintain good ventilation and airflow around the seedlings, as this will help prevent issues like fungal diseases or damping off.
Remember that the timeline for removing the humidity dome may vary depending on the specific plants and environmental conditions. Observe your seedlings closely and make adjustments as needed to ensure their continued healthy growth.
Tips for Transitioning Seedlings after Removing the Humidity Dome
After you remove the humidity dome from your seedlings, it’s important to provide proper care and monitor their progress to ensure a smooth transition. Here are some helpful tips to help your seedlings thrive:
- Gradually Increase Exposure to Light: Seedlings that have been under the humidity dome are accustomed to lower light levels. Gradually increase their exposure to natural sunlight or grow lights to prevent sunburn or light shock. Start with a few hours of indirect light and gradually increase the duration and intensity over several days.
- Water Seedlings Carefully: Without the humidity dome, the soil may dry out faster. Monitor the moisture levels closely and water the seedlings as needed. Avoid overwatering to prevent root rot and fungal issues. Water the seedlings at the base to keep the foliage dry and reduce the risk of diseases.
- Provide Adequate Air Circulation: Good air circulation is essential for seedling health and prevents the buildup of excess moisture and humid conditions. Use a small fan set on low or gently move the surrounding air to promote airflow. This will help strengthen the seedlings and reduce the risk of fungal diseases.
- Harden Off Seedlings: Before transplanting seedlings into the outdoor garden or larger containers, it’s important to harden them off. Gradually expose the seedlings to outdoor conditions by moving them to a protected area for a few hours a day, gradually increasing the duration and exposure over a week or two. This will help them adjust to changes in temperature, wind, and sunlight.
- Protect Seedlings from Extreme Conditions: After removing the humidity dome, seedlings may be more vulnerable to pests, strong winds, or unfavorable weather conditions. Protect them from extreme temperatures, heavy rain, or hot sun by providing temporary shade, wind protection, or using row covers. This will ensure their continued health and prevent any setbacks.
- Maintain Consistent Care: Even after the humidity dome is removed, continue providing consistent care to your seedlings. Ensure they receive the appropriate amount of water, nutrients, and sunlight. Regularly monitor their growth and address any issues promptly.
Remember that different plants have unique requirements, so it’s important to consider their specific needs during the transition. By following these tips, you’ll help your seedlings adjust to their new environment and enhance their chances of thriving as they continue to grow and mature.
Conclusion
Humidity domes play a crucial role in providing the optimal environment for the early stages of seedling growth. They help retain moisture, increase humidity, protect seedlings, and promote healthy development. However, knowing when and how to remove the humidity dome is equally important for the long-term success of your seedlings.
By paying attention to the signs of readiness, such as strong root development, vibrant foliage, and adequate airflow, you can determine when your seedlings are ready to have the humidity dome removed. Consider factors such as seedling age, growth rate, environmental conditions, seedling density, and ventilation as you make this decision.
When removing the humidity dome, it’s best to do so gradually, allowing your seedlings time to acclimate. Monitoring soil moisture, providing proper light exposure, watering carefully, maintaining good airflow, and hardening off the seedlings will promote a smooth transition and reduce the risk of setbacks.
Remember, each plant and growing environment is unique, so it’s important to observe your seedlings closely and adjust your approach accordingly. With the right care and attention, your seedlings will continue to thrive and grow into healthy and productive plants for your edible garden.