Home>Gardening News and Trends>Latest News>What To Do With Herbs
Latest News
What To Do With Herbs
Modified: January 22, 2024
Discover the Latest News and Updates on What To Do With Herbs. Unlock the Secrets of Herb Gardening and Explore Endless Culinary Possibilities.
(Many of the links in this article redirect to a specific reviewed product. Your purchase of these products through affiliate links helps to generate commission for Chicagolandgardening.com, at no extra cost. Learn more)
Table of Contents
Introduction
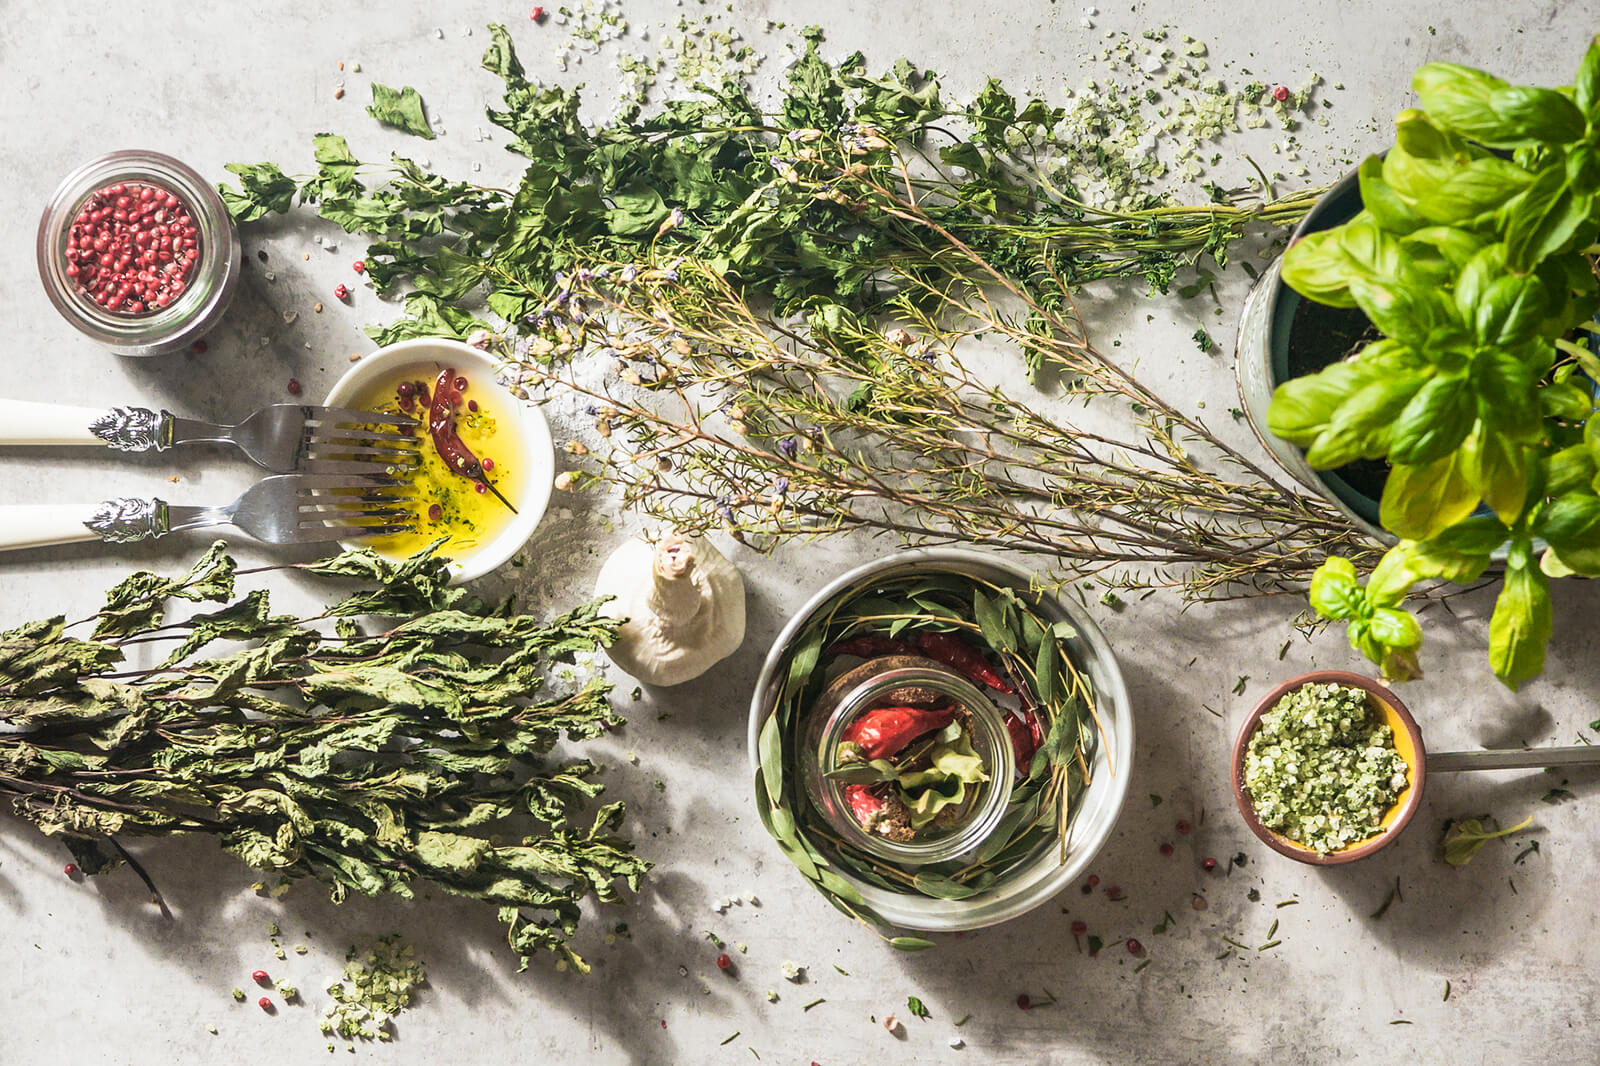
Herbs are a wonderful addition to any garden or kitchen. Not only do they add flavor and aroma to our dishes, but they also offer a wide range of health benefits. Growing your own herbs allows you to have fresh, organic ingredients at your fingertips, and it’s a rewarding experience to watch them thrive. But what do you do with all those herbs once they’ve reached their peak?
In this article, we will explore various ways to make the most of your herb harvest. Whether you prefer to dry, freeze, or use them fresh, we’ve got you covered. We’ll delve into the art of creating herbal infusions, oils, vinegars, and teas. Additionally, we’ll discuss how to incorporate herbs into your cooking to enhance the flavors of your favorite dishes.
Beyond their culinary uses, herbs have a long history of traditional medicinal practices. We’ll explore some herbal remedies that you can easily make at home using your dried herbs. Finally, we’ll touch on proper storage techniques to ensure the longevity and potency of your dried herbs.
So whether you’re a seasoned gardener looking to expand your knowledge of herbs, or a beginner wanting to explore the possibilities, let’s dive into the world of herbs and discover the many ways we can enjoy their benefits.
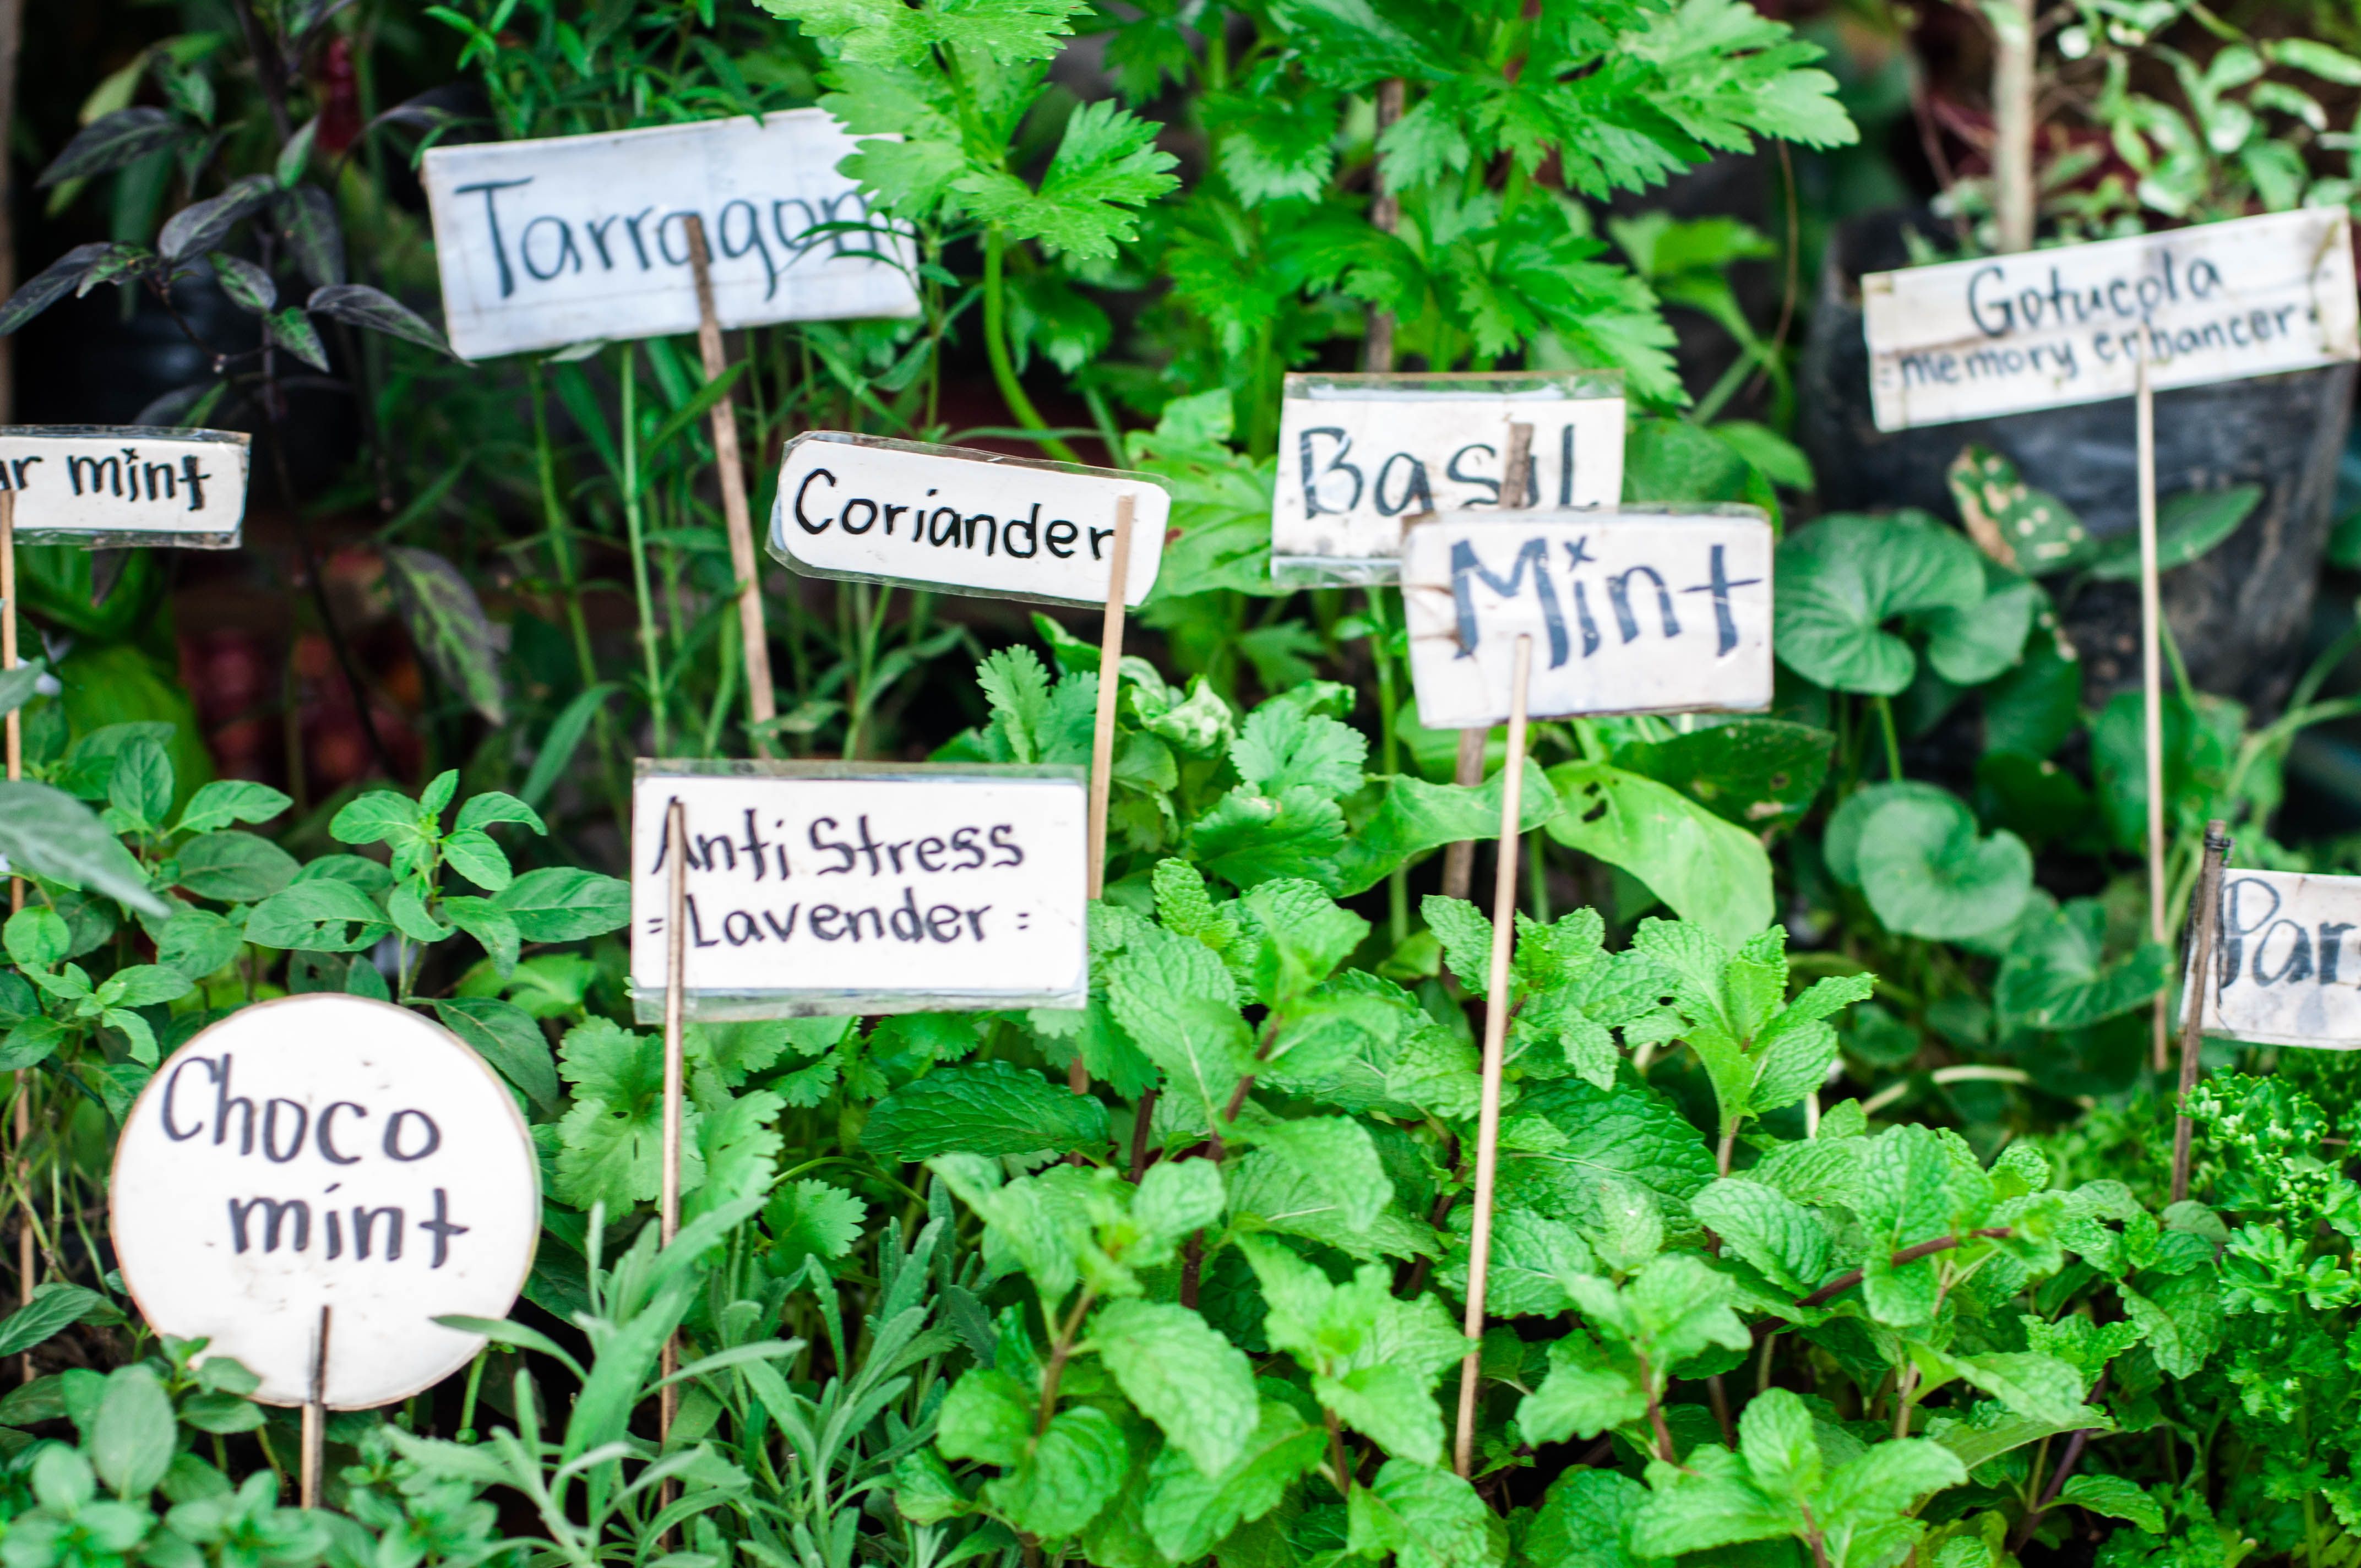
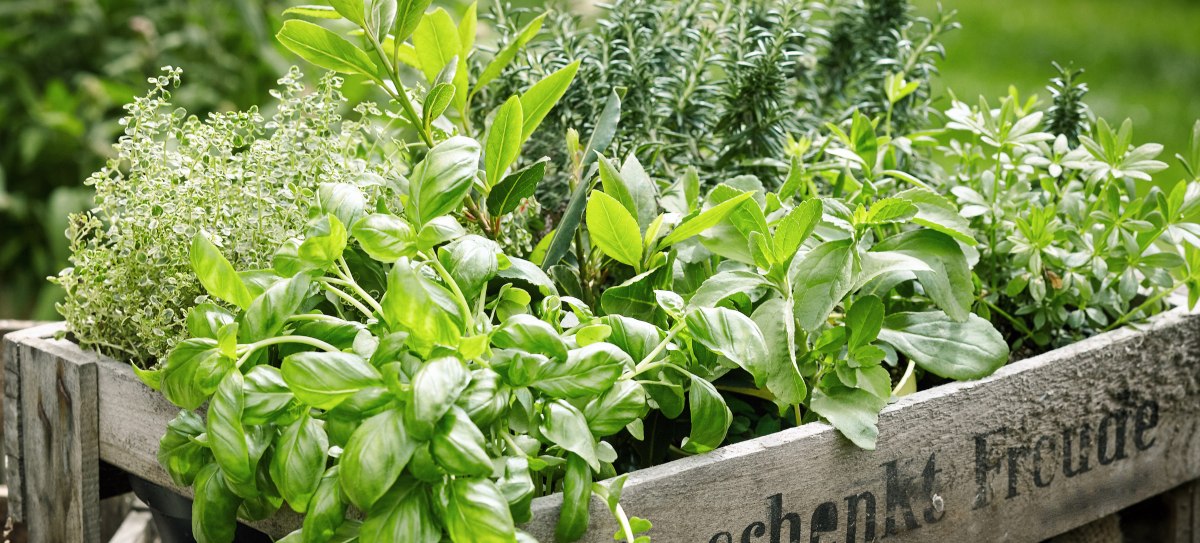
Growing Herbs
Growing herbs is a gratifying and straightforward endeavor that can be enjoyed by both experienced gardeners and beginners alike. Herbs can be grown in various settings, including outdoor gardens, indoor containers, or even on a windowsill.
When selecting herbs to grow, consider your preferences and culinary needs. Popular herbs like basil, rosemary, thyme, parsley, and mint are great starting points. Choose a location that provides adequate sunlight and well-drained soil. Herbs generally thrive in full sun, receiving at least six hours of direct sunlight per day.
Plant your herbs in containers or directly in the ground, ensuring proper spacing to allow for growth. Provide regular watering but avoid overwatering, as herbs generally prefer drier soil. It’s a good practice to water the base of the plants rather than the leaves to prevent disease.
Regular pruning or harvesting is essential for promoting healthy growth and preventing plants from becoming ‘leggy.’ Pinch back the tips of your plants regularly to encourage bushier growth and greater leaf production. This also prevents the plant from bolting, which is when it rapidly produces flowers and seed stalks, resulting in a decline in leaf quality.
Pests are an inevitable part of gardening, but many herbs are naturally resistant to common pests. However, if you encounter issues, consider using organic pest control methods such as neem oil or companion planting with insect-repellent herbs like marigold or lavender.
Remember to fertilize your herbs periodically with a balanced organic fertilizer. However, be cautious not to over-fertilize, as this can lead to excessive leaf growth, but reduced flavor intensity.
By providing the proper growing conditions, regular care, and attention, you’ll be able to enjoy a bountiful harvest of flavorful and aromatic herbs for use in your culinary adventures.
Harvesting Herbs
Harvesting herbs at the right time is crucial to ensure the best flavor and potency. The ideal time to harvest herbs is in the morning, after the dew has dried but before the heat of the day causes the essential oils to evaporate. Here are some guidelines for harvesting different types of herbs:
Leafy Herbs: For leafy herbs like basil, mint, and parsley, select the stems with the largest leaves. Using clean, sharp scissors or pruning shears, cut the stems just above a node, which encourages lateral growth. Avoid cutting more than one-third of the plant’s total foliage at once to avoid stunting its growth.
Woody Herbs: Woody herbs like rosemary and thyme can be harvested at any time, but they are most flavorful just before they flower. Trim the stems to the desired length, again cutting just above a leaf node. You can also remove the leaves from the stems by holding the top and running your fingers down the stem against the direction of growth.
Flowering Herbs: For herbs that produce beautiful blooms like chamomile or lavender, harvest them when the flowers are fully opened but still vibrant. Gently snip the flower heads, taking care not to damage any surrounding foliage.
After harvesting, give your herbs a gentle rinse with cool water to remove any dirt or insects. Then, gently pat them dry with a clean towel or use a salad spinner to remove excess moisture. It’s important to use herbs as soon as possible after harvesting to enjoy the freshest flavors. If you’re not using them right away, they can be stored in the refrigerator, wrapped in a slightly damp paper towel and placed in a resealable bag.
Remember, regular harvesting promotes healthy growth and encourages new leaves to emerge. So, don’t be shy about snipping away and enjoying the fruits of your labor throughout the growing season. With these harvesting tips, you’ll have a continuous supply of fresh herbs to elevate your culinary creations.
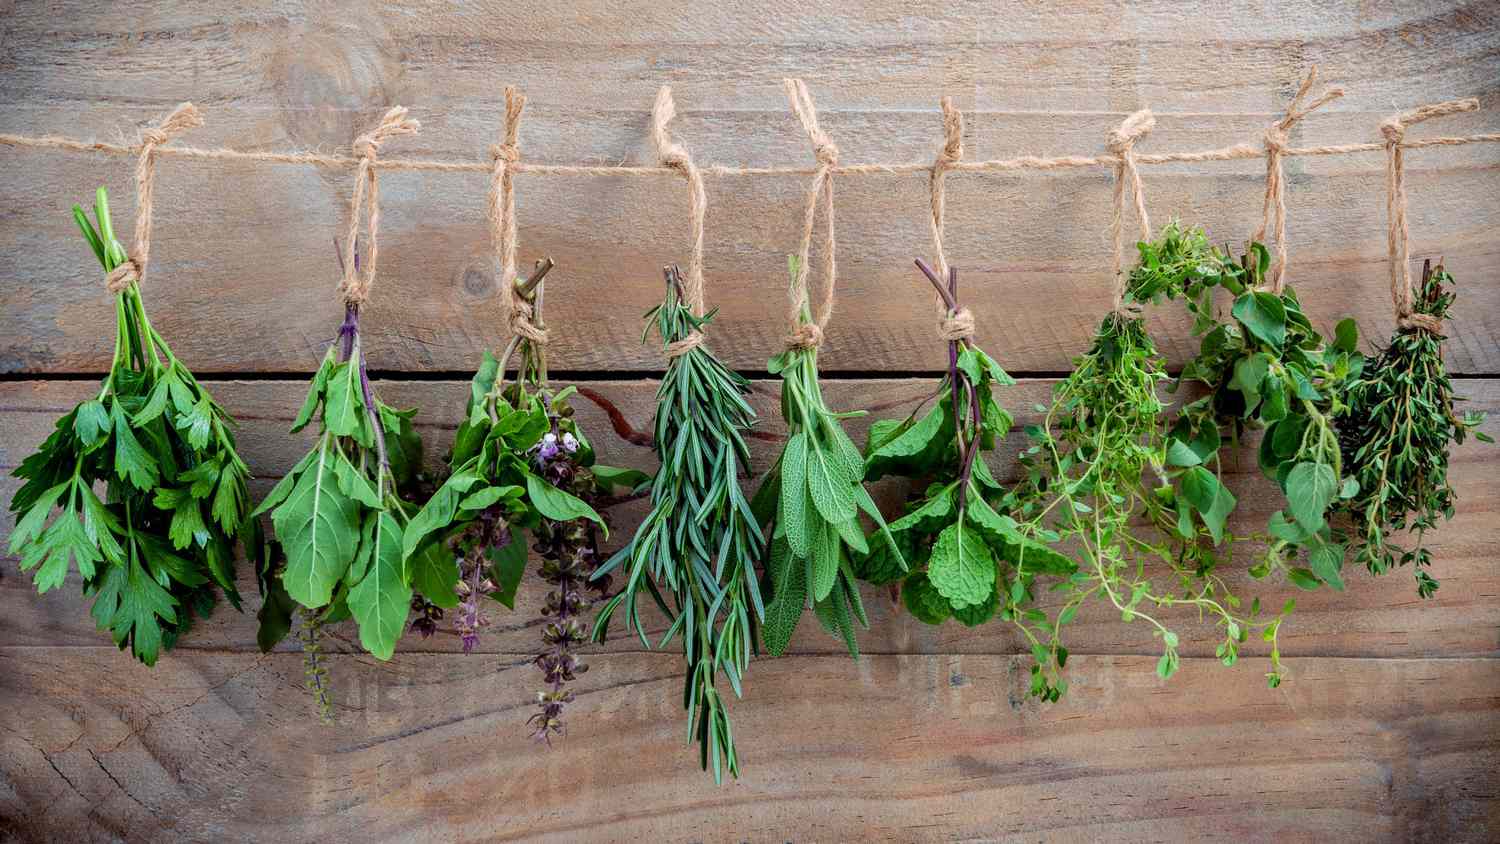
Drying Herbs
Drying herbs is a popular method of preserving their flavors and aromas for future use. It’s a simple and effective way to extend the shelf life of your herbs while maintaining their potency. Here are the steps for drying herbs:
1. Choose the Right Time: Harvest your herbs when they are at their peak, just before they start to flower. This is when the essential oils are most concentrated, ensuring optimal flavor.
2. Preparation: Gently remove any damaged or discolored leaves from the stems. Give the herbs a quick rinse to remove any dirt or insects, and pat them dry with a clean towel.
3. Hanging Method: Bundle a small bunch of herbs together and tie them with a string or rubber band. Hang the bundles upside down in a warm, well-ventilated area away from direct sunlight. This can be a dry, airy room or a well-ventilated pantry. Make sure to hang the herbs in a single layer to prevent mold growth.
4. Air Drying: If you prefer not to hang the herbs, you can air dry them by spreading the clean, dry herbs onto a clean surface, like a baking sheet or a wire rack. Place them in a warm, well-ventilated area away from direct sunlight. Turn the herbs occasionally to ensure even drying.
5. Timing: The drying process can take anywhere from a few days to a few weeks, depending on the humidity level. The herbs are dry when they crumble easily, and their leaves have a brittle texture.
6. Storage: Once the herbs are completely dry, remove the leaves from the stems and store them in airtight containers. Glass jars with tight-fitting lids or resealable bags work well for this purpose. Label the containers with the herb name and date for easy reference.
Dried herbs are best used within a year to ensure maximum flavor and potency. When using dried herbs in recipes, remember that their flavors can be more concentrated than fresh herbs, so adjust the quantities accordingly. Whether you’re drying your own herb garden harvest or purchasing dried herbs, this preservation method allows you to enjoy the flavors of summer throughout the year.
Freezing Herbs
Freezing herbs is another excellent way to preserve their freshness and flavor. It’s a convenient method that allows you to have herbs readily available for use in your cooking, even during the off-season. Here’s how you can freeze your herbs:
1. Preparation: Start by cleaning your herbs and removing any damaged or discolored leaves. Gently pat them dry with a clean towel.
2. Blanching: Blanching is a crucial step that helps retain the color and flavor of the herbs. Bring a pot of water to a boil and prepare an ice bath. Carefully lower the herbs into the boiling water for a few seconds, then immediately transfer them to the ice bath to halt the cooking process. This step helps preserve the herbs’ vibrant color and flavor.
3. Drying: After blanching, remove the herbs from the ice bath and gently pat them dry with a clean towel to remove excess moisture.
4. Freezing Method 1: Whole Leaves: Place the herbs in a single layer on a baking sheet and freeze them for a few hours until solid. Once frozen, transfer the herbs to a resealable freezer bag, removing as much air as possible, and return them to the freezer. This method allows you to easily remove individual leaves as needed.
5. Freezing Method 2: Chopped or Pureed: Alternatively, you can chop the herbs or puree them with a small amount of olive oil to create a paste. Spoon the chopped herbs or herbal paste into ice cube trays and freeze until solid. Once frozen, transfer the herb cubes to a resealable freezer bag, removing air before sealing. This method is convenient for adding small amounts of herbs directly to dishes.
6. Storage: Label your freezer bags or containers with the herb name and date before storing them in the freezer. Properly stored, frozen herbs can maintain their flavor for up to six months.
Frozen herbs are best used in cooked dishes rather than fresh applications, as freezing alters the texture of the herbs. They work well in soups, stews, sauces, and other dishes that require cooking. The convenience of having frozen herbs readily available allows you to elevate your recipes with the flavors of fresh herbs all year round.
Making Herbal Infusions
Herbal infusions, also known as herbal teas or tisanes, are a delightful way to enjoy the flavors and medicinal properties of various herbs. Unlike traditional teas made from the Camellia sinensis plant, herbal infusions are created by steeping herbs, flowers, or other plant parts in hot water. Here’s how you can make your own herbal infusions:
1. Choose Your Herbs: Select the herbs based on your taste preferences and desired health benefits. Popular choices include chamomile, peppermint, lavender, rosehip, and nettle. Experiment with single herbs or create your own blends for a personalized flavor profile.
2. Preparation: Use a clean, heat-resistant container such as a teapot or a French press. Add 1 to 2 teaspoons of dried herbs or 2 to 3 teaspoons of fresh herbs per cup of water. Adjust the amount based on your taste preferences and the strength of the herbs.
3. Water Temperature and Steeping Time: Different herbs require different water temperatures and steeping times. As a general rule, use freshly boiled water for most herbs, and steep for about 5 to 10 minutes. However, for delicate herbs like chamomile or mint, use water that has been cooled slightly after boiling to preserve their delicate flavor.
4. Straining: After the designated steeping time, strain the herbal infusion to remove the herbs. You can use a fine-mesh strainer, a tea infuser, or a tea bag. If desired, sweeten the infusion with honey or a natural sweetener of your choice.
5. Enjoying Your Infusion: Herbal infusions can be enjoyed hot or cold. If you prefer a hot infusion, pour it into your favorite mug and savor the flavors and aroma. For a refreshing iced infusion, let it cool to room temperature, then chill it in the refrigerator before serving over ice.
Herbal infusions offer a wide range of health benefits, depending on the herbs used. Chamomile promotes relaxation and sleep, peppermint aids digestion, and nettle is known for its detoxifying properties. Experiment with different herbs to discover the flavors and benefits that resonate with you. Enjoy a cup of herbal infusion as a soothing and nourishing beverage at any time of the day.
Using Fresh Herbs in Cooking
Fresh herbs are like flavor powerhouses that can elevate any dish with their vibrant taste and aroma. Incorporating them into your cooking adds a burst of freshness and complexity to your culinary creations. Here are some ideas for using fresh herbs in your recipes:
1. Garnish: Finely chop fresh herbs like parsley, basil, or cilantro, and sprinkle them on top of your dishes just before serving. They not only add a pop of color but also enhance the overall presentation and flavor.
2. Seasoning: Infuse your dishes with the flavors of fresh herbs by adding them during cooking. For soups, stews, and sauces, throw in a few sprigs of thyme, rosemary, or bay leaves. The herbs will impart their essence as the dish simmers.
3. Marinades and Dressings: Create flavorful marinades and salad dressings by combining fresh herbs with ingredients like olive oil, lemon juice, vinegar, and garlic. Use combinations such as dill and lemon for fish, or basil and balsamic vinegar for salads.
4. Herb Butter: Make herb-infused butter by mixing chopped fresh herbs into softened butter. This compound butter can be used to add rich flavors to steaks, bread, roasted vegetables, or even melted over pasta.
5. Pesto: Whip up a vibrant and aromatic pesto sauce by blending fresh herbs like basil, parsley, or cilantro with garlic, pine nuts, Parmesan cheese, and olive oil. Pesto can be used as a sauce for pasta, a spread on sandwiches, or a topping for grilled meats.
6. Herb-infused Oil: Infuse olive oil with fresh herbs such as rosemary, thyme, or sage. Simply heat the oil gently with the herbs for a few minutes, then strain out the herbs. Use the herb-infused oil for dipping bread, drizzling over roasted vegetables, or as a base for homemade salad dressings.
Remember that the flavor intensity can vary among different herbs, so be mindful of their potency and adjust the quantities accordingly. Experiment with different combinations and have fun exploring the endless possibilities that fresh herbs bring to your cooking. Whether it’s a simple pasta dish or an elaborate gourmet meal, fresh herbs add that extra touch of culinary magic.
Making Herb-Infused Oils
Herb-infused oils are a versatile and flavorful addition to any kitchen. They add a unique twist to your cooking and can be used in various recipes. Making your own herb-infused oils is surprisingly simple and allows you to customize the flavors to suit your preferences. Here’s how you can create your own herb-infused oils:
1. Selecting Herbs: Choose fresh, aromatic herbs such as rosemary, thyme, basil, or oregano. Rinse the herbs to remove any dirt or debris and pat them dry with a clean towel.
2. Preparation: Decide if you want to use whole herb sprigs or chopped herbs. If using whole sprigs, gently bruise the leaves by rolling them between your palms to release their essential oils. Chopped herbs have more surface area, which allows for quicker infusion.
3. Bottle and Oil: Use clean, sterilized glass bottles or jars with airtight lids to store the infused oil. Choose a high-quality oil with a neutral flavor such as olive oil, grape seed oil, or sunflower oil. Fill the bottle or jar with the herbs, leaving some space at the top.
4. Infusion Process: Heat the oil gently in a saucepan or in a double boiler until warm. You can also warm the oil by placing it in a glass jar and immersing the jar in a warm water bath for about 30 minutes. Ensure that the oil does not become too hot, as this can degrade the flavors and properties of the herbs.
5. Combining the Herbs and Oil: Once the oil is warm, carefully pour it into the glass bottle or jar, covering the herbs completely. Use a clean utensil to gently stir the mixture to release any air bubbles and ensure that the herbs are fully submerged in the oil.
6. Infusion Time: Seal the bottle tightly and store it in a cool, dark place for at least two weeks. The longer you allow the herbs to infuse, the more intense the flavor will be. Shake the bottle gently every few days to redistribute the flavors.
7. Straining and Storing: After the desired infusion time, strain the oil to remove the herbs. Place a fine-mesh strainer or cheesecloth over a bowl and pour the oil through it, catching all the herb pieces. Transfer the infused oil to another clean, sterilized bottle or jar and discard the herbs.
Herb-infused oils add depth and complexity to a variety of dishes. Use them in salad dressings, marinades, pasta sauces, or simply drizzle the oil over roasted vegetables or grilled meats. Store your herb-infused oil in a cool, dark place to maintain its quality and enjoy the flavors for several weeks to a few months.
Remember, for safety reasons, it’s important to use only fresh herbs and to store the infused oils properly to avoid the risk of bacterial growth. Enjoy the burst of herbaceous flavors that herb-infused oils bring to your culinary creations.
Creating Herb-Infused Vinegars
Herb-infused vinegars are a delightful way to add unique flavors to dressings, marinades, and sauces. They are easy to make and can be customized with your favorite herbs and spices. Creating your own herb-infused vinegars allows you to experiment with different flavor combinations and elevate your culinary creations. Here’s how you can make your own herb-infused vinegars:
1. Selecting Herbs: Choose fresh, aromatic herbs such as basil, thyme, rosemary, or tarragon. Rinse the herbs thoroughly to remove any dirt or insects, and gently pat them dry with a clean towel.
2. Choosing Vinegar: Decide on the type of vinegar you want to use as the base. Common choices include white wine vinegar, apple cider vinegar, or rice vinegar. Opt for high-quality vinegar with a mild taste that won’t overpower the herbs.
3. Bottle and Sterilization: Use clean, sterilized glass bottles or jars to store the infused vinegar. To sterilize the bottles, wash them with hot, soapy water, rinse thoroughly, and dry in a low-temperature oven or in boiling water for a few minutes.
4. Preparation: If using smaller herbs like thyme or rosemary, you can add them to the bottle as whole sprigs. For larger herbs like basil, it’s best to tear or chop them into smaller pieces. This will help release their flavors more effectively.
5. Infusion Process: Fill the bottle or jar with the herbs, leaving some space at the top. Heat the vinegar in a saucepan until it reaches a gentle simmer. Pour the hot vinegar into the bottle, making sure the herbs are fully submerged.
6. Infusion Time: Seal the bottle tightly and store it in a cool, dark place for about two to four weeks. This allows the vinegar to infuse with the herbs and develop their flavors. Shake the bottle occasionally to mix the ingredients.
7. Straining and Storing: After the infusion period, strain the vinegar to remove the herbs. Place a fine-mesh strainer or cheesecloth over a bowl and pour the vinegar through it, catching all the herb pieces. Transfer the infused vinegar to a clean, sterilized bottle or jar.
Herb-infused vinegars can be used in a variety of dishes. Use them to dress salads, marinate meats, flavor soups or sauces, or even as a refreshing drink when mixed with chilled water or sparkling water. They also make great homemade gifts for friends and family who appreciate unique culinary flavors.
Store your herb-infused vinegars in a cool, dark place to maintain their quality and flavor for several months. Enjoy the tangy, herbaceous notes that these vinegars can add to your favorite dishes and explore the endless possibilities they offer in your culinary adventures.
Making Herbal Teas
Herbal teas, also known as tisanes, are soothing and nourishing beverages made by steeping various plant materials in hot water. These teas are not only delicious but also offer a range of health benefits. Making herbal teas at home allows you to experiment with different flavors and create custom blends tailored to your taste preferences. Here’s how you can make your own herbal teas:
1. Select Your Herbs: Choose your preferred herbs based on their flavors and potential health benefits. Popular options include chamomile, peppermint, lavender, ginger, hibiscus, and lemon balm. You can use a single herb or create your own unique herbal blend.
2. Prepare Your Water: Use fresh, cold water for the best results. Bring the water to a boil in a kettle or saucepan.
3. Herb Measurement: As a general guideline, use approximately 1 to 2 teaspoons of dried herbs or 2 to 3 teaspoons of fresh herbs per cup of water. Adjust the amount based on your taste preferences and the strength of the herbs.
4. Steeping Time: Pour the boiling water over the herbs in a teapot or mug. Different herbs have different steeping times, typically ranging from 5 to 10 minutes. Follow the recommended steeping time for the herbs you are using for the best flavor extraction.
5. Strain and Enjoy: After the designated steeping time, strain the herbal tea to remove the herbs. You can use a fine-mesh strainer, a tea infuser, or a tea bag. Tweak the flavor by adding lemon, honey, or a natural sweetener of your choice, if desired.
6. Hot or Iced: Herbal teas can be enjoyed hot or iced, depending on your preference and the weather. For a warm and comforting experience, simply drink the herbal tea as is. For a refreshing iced tea, allow the tea to cool to room temperature and then chill it in the refrigerator before serving over ice.
Herbal teas offer a wide range of flavors and potential health benefits. Chamomile promotes relaxation, peppermint aids digestion, and ginger soothes an upset stomach. Experiment with different herb combinations and ratios to create customized blends that align with your taste preferences and well-being.
By making herbal teas at home, you have control over the quality of the herbs and can avoid any unwanted additives found in store-bought tea bags. Enjoy a cup of your freshly brewed herbal tea as a comforting beverage or incorporate it into your wellness routine for its potential health benefits.
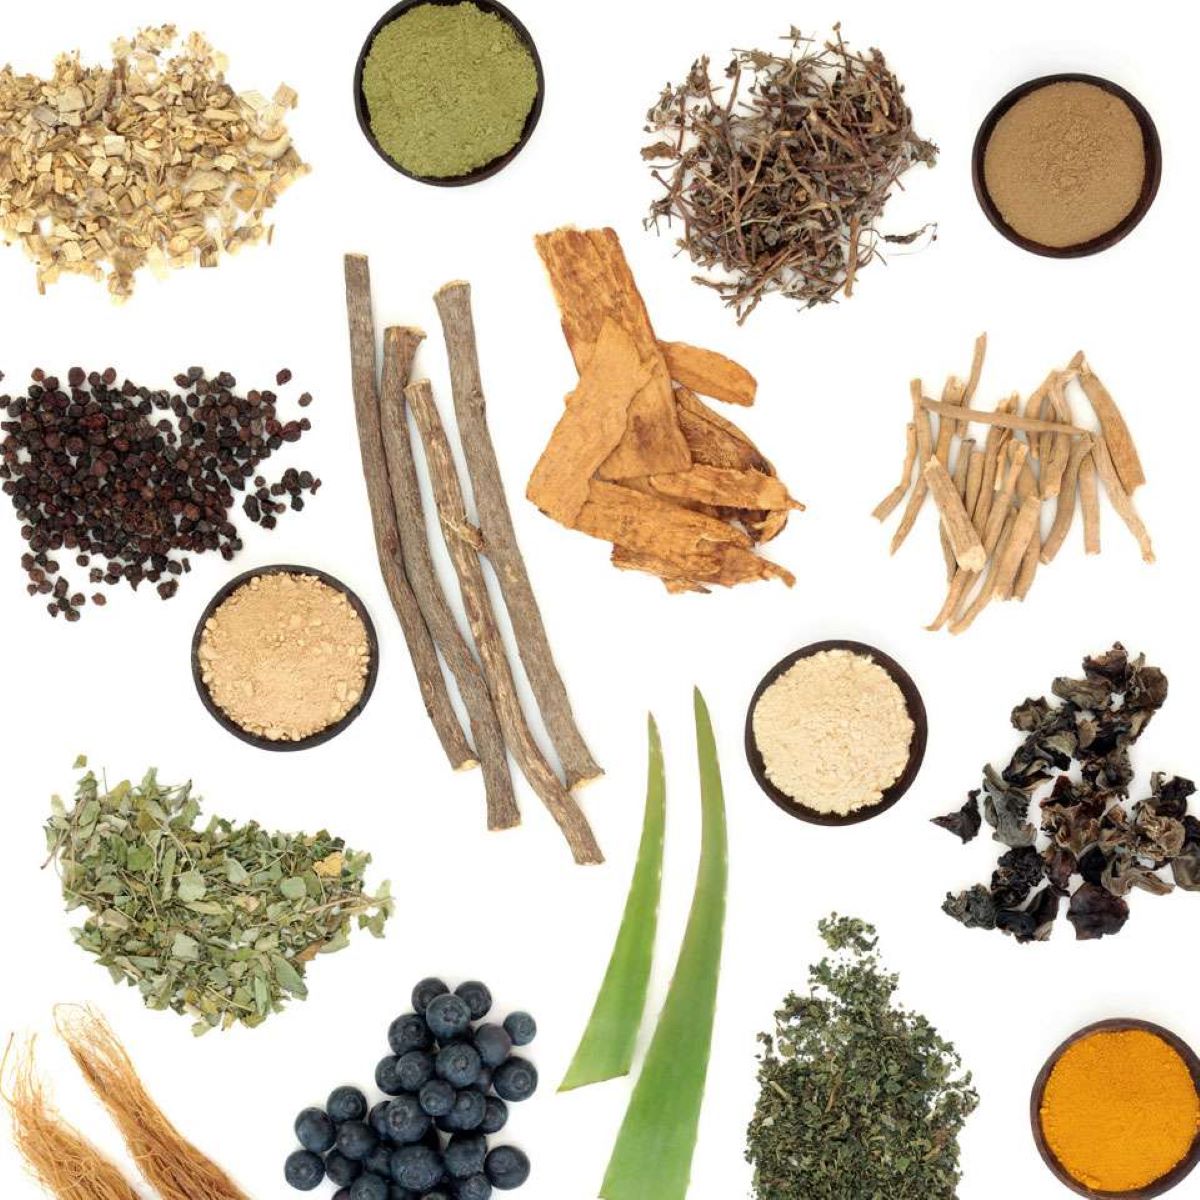
Herbal Remedies
Herbal remedies have been used for centuries to promote health and well-being. From soothing digestive issues to alleviating stress and supporting the immune system, herbs offer natural alternatives to traditional medicine. While it’s important to consult with a healthcare professional before trying any herbal remedies, here are a few common ones that you can consider:
1. Chamomile: Chamomile is well-known for its calming properties. It can help promote relaxation, reduce anxiety, and improve sleep quality. Enjoy a cup of chamomile tea before bedtime for a soothing and restful night’s sleep.
2. Peppermint: Peppermint is often used to aid digestion and relieve symptoms such as indigestion, bloating, and nausea. Try sipping on a cup of peppermint tea after meals to soothe an upset stomach.
3. Echinacea: Echinacea is believed to boost the immune system and help fight off respiratory infections, including the common cold. It is available in various forms, such as teas, tinctures, and capsules. Follow the recommended dosage for immune support.
4. Ginger: Ginger has long been used to alleviate digestive discomfort, including nausea and motion sickness. Enjoy a cup of ginger tea or chew on a piece of fresh ginger to help settle your stomach.
5. Lavender: Lavender is known for its calming and relaxing effects. It can help reduce stress, anxiety, and promote better sleep. Sprinkle a few drops of lavender essential oil on your pillow or use it in a diffuser to create a tranquil environment.
6. Turmeric: Turmeric contains curcumin, a compound known for its anti-inflammatory properties. It can help reduce inflammation in the body and may provide relief for conditions such as arthritis and joint pain. Incorporate turmeric into your cooking or try turmeric supplements after consulting a healthcare professional.
It’s important to note that while herbal remedies may offer potential benefits, they should not be used as a substitute for medical advice or prescribed medications. Certain herbs may interact with medications or have contraindications for certain health conditions. Always consult with a healthcare professional before incorporating herbal remedies into your wellness routine.
Herbal remedies can be a valuable addition to your daily self-care practices. Whether you prefer to enjoy them in the form of teas, tinctures, supplements, or topical applications, herbal remedies can provide natural support for your overall well-being when used responsibly and under professional guidance.
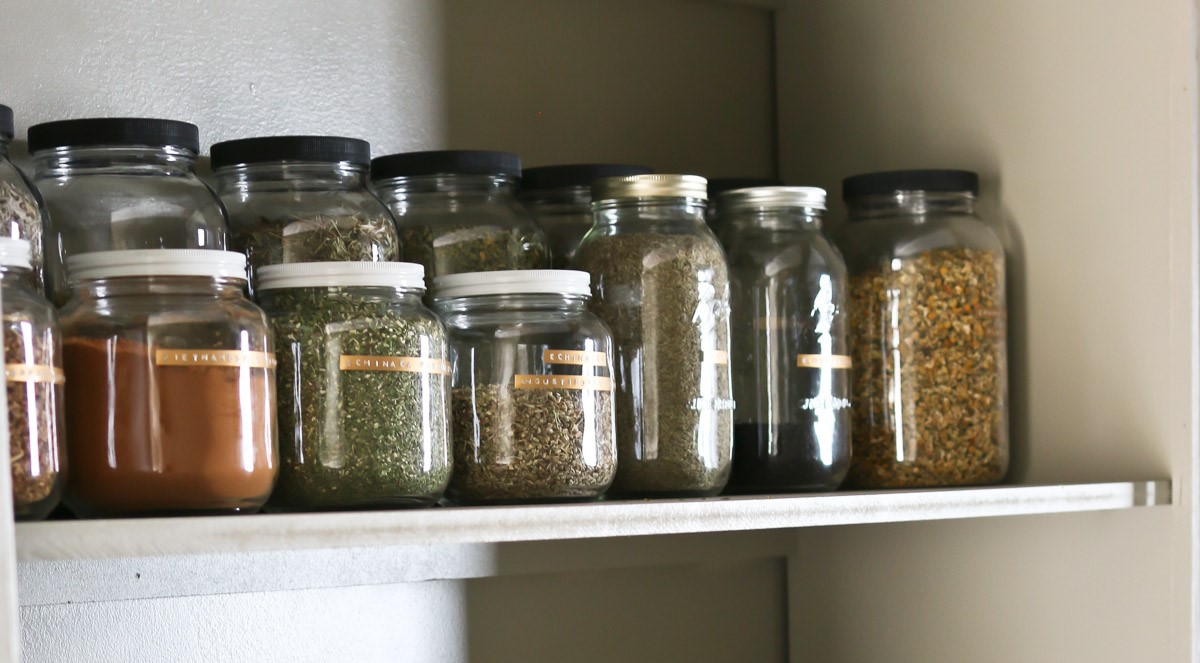
Storing Dried Herbs
Proper storage is essential to maintain the flavor, aroma, and potency of dried herbs. When stored correctly, dried herbs can last for up to a year without significant loss of quality. Here are some tips on how to store dried herbs to ensure their longevity:
1. Container: Use airtight containers to store your dried herbs. Glass jars with tight-fitting lids are an excellent option as they protect the herbs from moisture and air. Ensure that the containers are clean and dry before transferring the herbs.
2. Labeling: Label the containers with the name of the herb and the date of drying or purchase. This information will help you keep track of the herbs’ freshness and determine when it’s time to refresh your supply.
3. Storage Location: Store dried herbs in a cool, dry, and dark place to preserve their quality. Avoid exposing them to direct sunlight or heat, as this can degrade the herbs and reduce their potency. A pantry or a kitchen cabinet away from the stove or any heat source is ideal.
4. Whole or Powdered: Consider whether to store your dried herbs as whole leaves or as powdered form. Whole leaves retain their flavor and aroma longer than powdered herbs. However, if you prefer powdered herbs, ensure that they are completely dry before grinding and store them in airtight containers to prevent moisture absorption.
5. Refreshing the Herbs: Over time, the flavor and potency of dried herbs may diminish. To refresh the herbs, give them a quick smell and taste test. If the aroma and flavor are not as strong as before, it may be time to replace them with freshly dried herbs.
6. Proper Usage: Ground or crush dried herbs just before using them to maintain their freshness. This helps release their oils and flavors, resulting in more robust and aromatic dishes.
Following these storage practices will help ensure that your dried herbs remain potent and flavorful for an extended period. Regularly check the herbs for any signs of moisture, mold, or loss of aroma. If you notice any issues, discard the herbs immediately to prevent contamination.
Remember, while dried herbs can enhance the flavors of your dishes, they are not a direct substitute for fresh herbs. Adjust the quantities accordingly when using dried herbs in recipes, as their flavors can intensify during the drying process.
By storing your dried herbs properly, you can maintain a well-stocked herb supply and enjoy the convenience of using dried herbs in your culinary adventures throughout the year.
Conclusion
Herbs are not only a delightful addition to gardens but also offer a myriad of benefits in the kitchen and beyond. From growing and harvesting herbs to preserving their flavors through drying and freezing, there are numerous ways to make the most of your herb harvest.
By creating herbal infusions, such as teas and oils, you can enjoy the unique flavors and medicinal properties that herbs have to offer. Incorporating fresh herbs in your cooking adds depth and complexity to your dishes, while herb-infused vinegars bring a tangy twist to dressings and marinades.
Herbal remedies offer natural alternatives for various health concerns, although it’s essential to consult with a healthcare professional before use. Properly storing dried herbs is crucial for maintaining their potency and flavor, ensuring a well-stocked herb supply in your pantry.
Embrace the world of herbs and explore the endless possibilities they present. Whether you’re a seasoned gardener or a beginner, growing, harvesting, and utilizing herbs can be a rewarding and enriching experience.
So, get your hands dirty, start an herb garden, and let nature’s bounty enhance your culinary creations and promote your well-being. Experiment with different herbs, flavor combinations, and storage techniques to develop your own herb-inspired culinary delights.
Remember, the true potential of herbs extends beyond their culinary use. They have been cherished for centuries for their medicinal qualities and their ability to connect us with the natural world. So, immerse yourself in the beauty and benefits of herbs, and enjoy the wonders they bring to your life.