Home>Gardening Techniques>DIY Projects>How To Use Dr Earth Fertilizer
DIY Projects
How To Use Dr Earth Fertilizer
Modified: January 22, 2024
Learn how to use Dr Earth fertilizer in your DIY projects and maximize your garden's growth. Step-by-step guide and tips for optimal results.
(Many of the links in this article redirect to a specific reviewed product. Your purchase of these products through affiliate links helps to generate commission for Chicagolandgardening.com, at no extra cost. Learn more)
Table of Contents
Introduction
Welcome to the world of DIY projects! Whether you’re a seasoned DIY enthusiast or just starting out, there’s nothing quite like the feeling of accomplishment and satisfaction that comes with completing a project with your own two hands. And what better way to enhance your DIY endeavors than by incorporating the use of Dr Earth fertilizer?
Dr Earth fertilizer is a powerful and natural solution for nourishing your plants and creating a healthy and vibrant garden. With its unique blend of organic ingredients and beneficial microorganisms, it provides the essential nutrients that plants need to thrive. Not only does it promote strong and robust growth, but it also improves soil health and fertility, leading to better yields and more beautiful blooms.
Whether you’re growing vegetables, herbs, flowers, or even ornamental plants, Dr Earth fertilizer can significantly enhance the success of your projects. In this article, we will guide you through the process of using Dr Earth fertilizer effectively to maximize its benefits and help you achieve the results you desire.
From choosing the right type of Dr Earth fertilizer to preparing the soil, applying the fertilizer, and providing proper maintenance, we will cover it all. So, let’s dig in and discover the wonders of Dr Earth fertilizer for your DIY projects!
Benefits of Using Dr Earth Fertilizer
Using Dr Earth fertilizer offers a wide range of benefits that can greatly enhance the success and health of your DIY projects. Let’s take a closer look at some of these benefits:
- Promotes Healthy Plant Growth: Dr Earth fertilizer is specially formulated to provide the essential nutrients that plants need for healthy growth. With its balanced blend of macronutrients and micronutrients, it ensures that your plants receive the proper nourishment to develop strong roots, robust stems, and vibrant foliage.
- Improves Soil Fertility: One of the key advantages of using Dr Earth fertilizer is its ability to improve the fertility of the soil. The organic ingredients in Dr Earth fertilizer, such as compost, fish meal, and bone meal, are packed with beneficial microorganisms and organic matter that enrich the soil, making it more conducive to plant growth. This leads to improved soil structure, enhanced water retention, and better nutrient absorption.
- Environmentally Friendly: Dr Earth fertilizer is made from natural and organic ingredients, making it an eco-friendly choice for your DIY projects. Unlike chemical fertilizers that can harm the environment and contaminate groundwater, Dr Earth fertilizer is safe for the ecosystem and does not pose any risks to human health or wildlife.
- Long-Lasting Results: Another advantage of using Dr Earth fertilizer is its slow-release formulation. This means that the nutrients are released gradually over time, providing a sustained and continuous source of nourishment for your plants. This slow-release mechanism ensures that your plants receive a steady supply of nutrients, resulting in long-lasting and consistent growth.
- Enhances Plant Immunity: Dr Earth fertilizer contains beneficial microorganisms that contribute to improving plant immunity. These microorganisms establish a symbiotic relationship with the plants, enhancing their ability to resist diseases, pests, and environmental stressors. By fortifying the plants’ natural defenses, Dr Earth fertilizer helps ensure a healthier and more resilient garden.
- Safe for Pets and Children: If you have pets or children around your garden, you’ll be reassured to know that Dr Earth fertilizer is safe for them. It is free from harmful chemicals and synthetic additives, minimizing the risk of accidental ingestion or exposure. This makes Dr Earth fertilizer a suitable choice for households with pets and children.
Now that we’ve explored the benefits of using Dr Earth fertilizer, it’s time to move on to the practical steps of incorporating this powerful organic fertilizer into your DIY projects.
Step 1: Choosing the Right Dr Earth Fertilizer
Choosing the right Dr Earth fertilizer is crucial for ensuring optimal results in your DIY projects. With a variety of formulations available, it’s important to select the one that suits the specific needs of your plants. Here are some factors to consider when choosing the right Dr Earth fertilizer:
- Type of Plant: Different plants have different nutrient requirements. It’s essential to choose a Dr Earth fertilizer that is specifically formulated for the type of plant you are growing. Whether it’s vegetables, flowers, herbs, or fruit trees, there is a Dr Earth fertilizer variety designed for each.
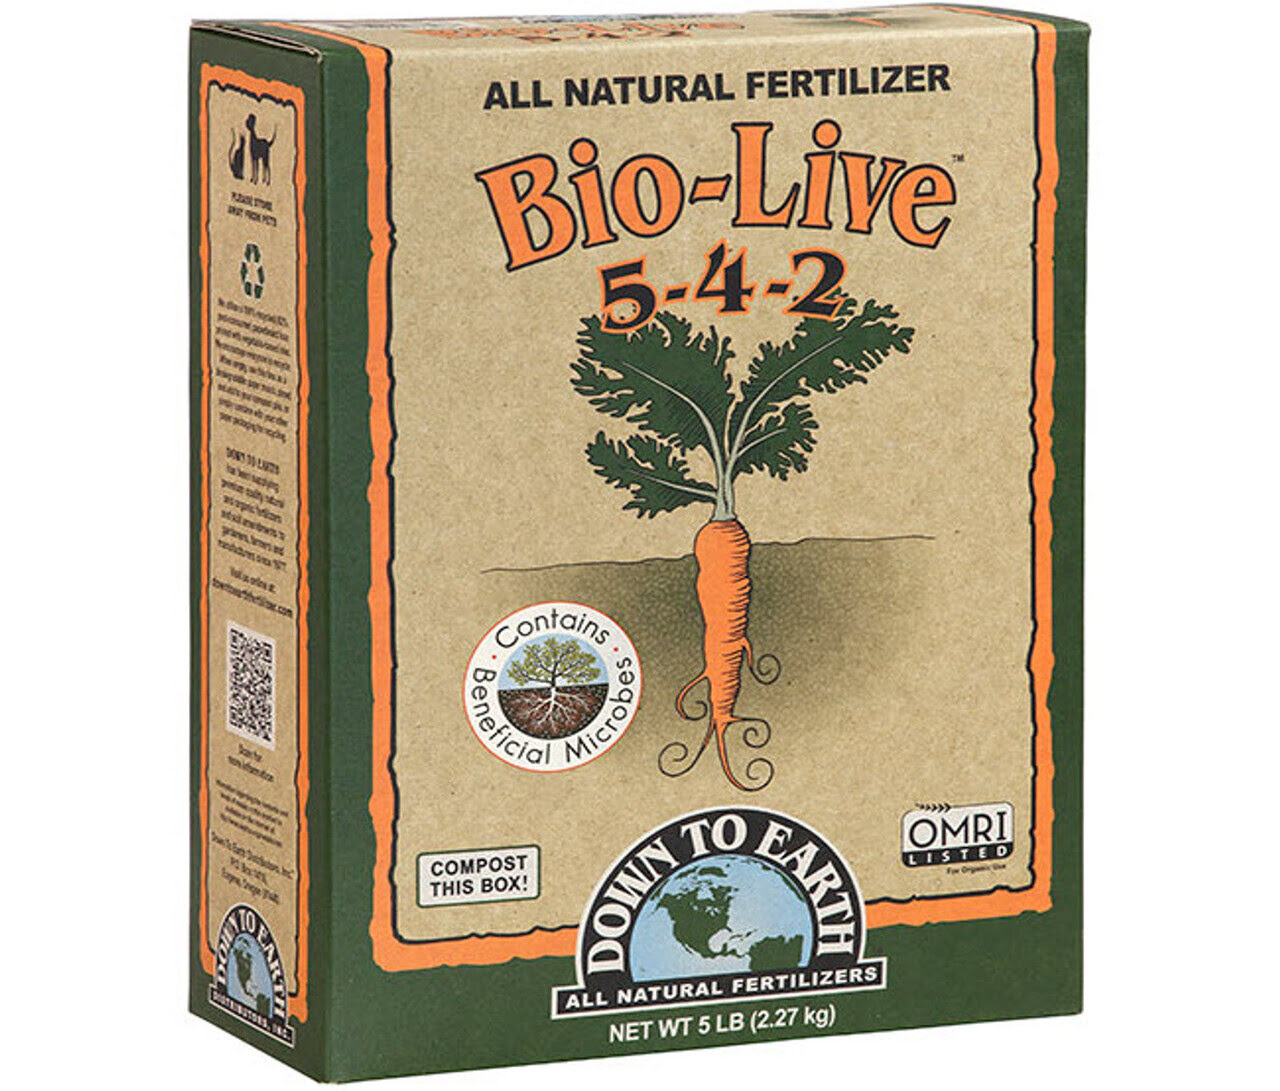
- Nutrient Ratio: Dr Earth fertilizers come in various nutrient ratios, indicated by the N-P-K values on the packaging. N stands for nitrogen, which promotes leaf and stem growth, P stands for phosphorus, important for root development and flower production, and K stands for potassium, which enhances overall plant health and disease resistance. Consider the specific nutrient needs of your plants and choose a fertilizer with the appropriate ratio.
- Organic Ingredients: Dr Earth fertilizers are known for their organic composition. Take a look at the ingredients list and ensure that it contains natural and organic substances, such as compost, bone meal, feather meal, and kelp meal. These organic components provide essential nutrients in a slow-release form, promoting long-term plant health.
- Specialty Blends: Dr Earth offers specialty blends designed for specific purposes, such as acid-loving plants, roses, citrus trees, and more. If you have specific plants that require specialized care, consider using these specialty blends to ensure optimal growth and health.
- Seasonal Considerations: Some Dr Earth fertilizers are formulated for specific seasons, taking into account the changing needs of plants throughout the year. For example, there are spring fertilizers that focus on promoting new growth, summer fertilizers that provide extra nutrients for flowering, and fall fertilizers that enhance root development and prepare plants for winter. Consider the season and select a fertilizer that aligns with your plants’ current requirements.
By considering these factors, you can choose the right Dr Earth fertilizer that provides the ideal nutrient balance for your specific plants. Once you have selected the appropriate fertilizer, you can move on to the next step: preparing the soil.
Step 2: Preparing the Soil
Before applying Dr Earth fertilizer, it’s important to ensure that your soil is properly prepared to maximize its effectiveness. Here are the steps to prepare the soil:
- Remove Weeds and Debris: Start by removing any weeds, rocks, or debris from the area where you plan to apply the fertilizer. Weeds compete with your plants for nutrients, so it’s important to get rid of them to allow your plants to thrive.
- Loosen the Soil: Use a garden fork or tiller to loosen the soil. This will help improve drainage and allow the roots of your plants to penetrate the soil more easily. Loosening the soil also helps aerate it, allowing oxygen to reach the roots.
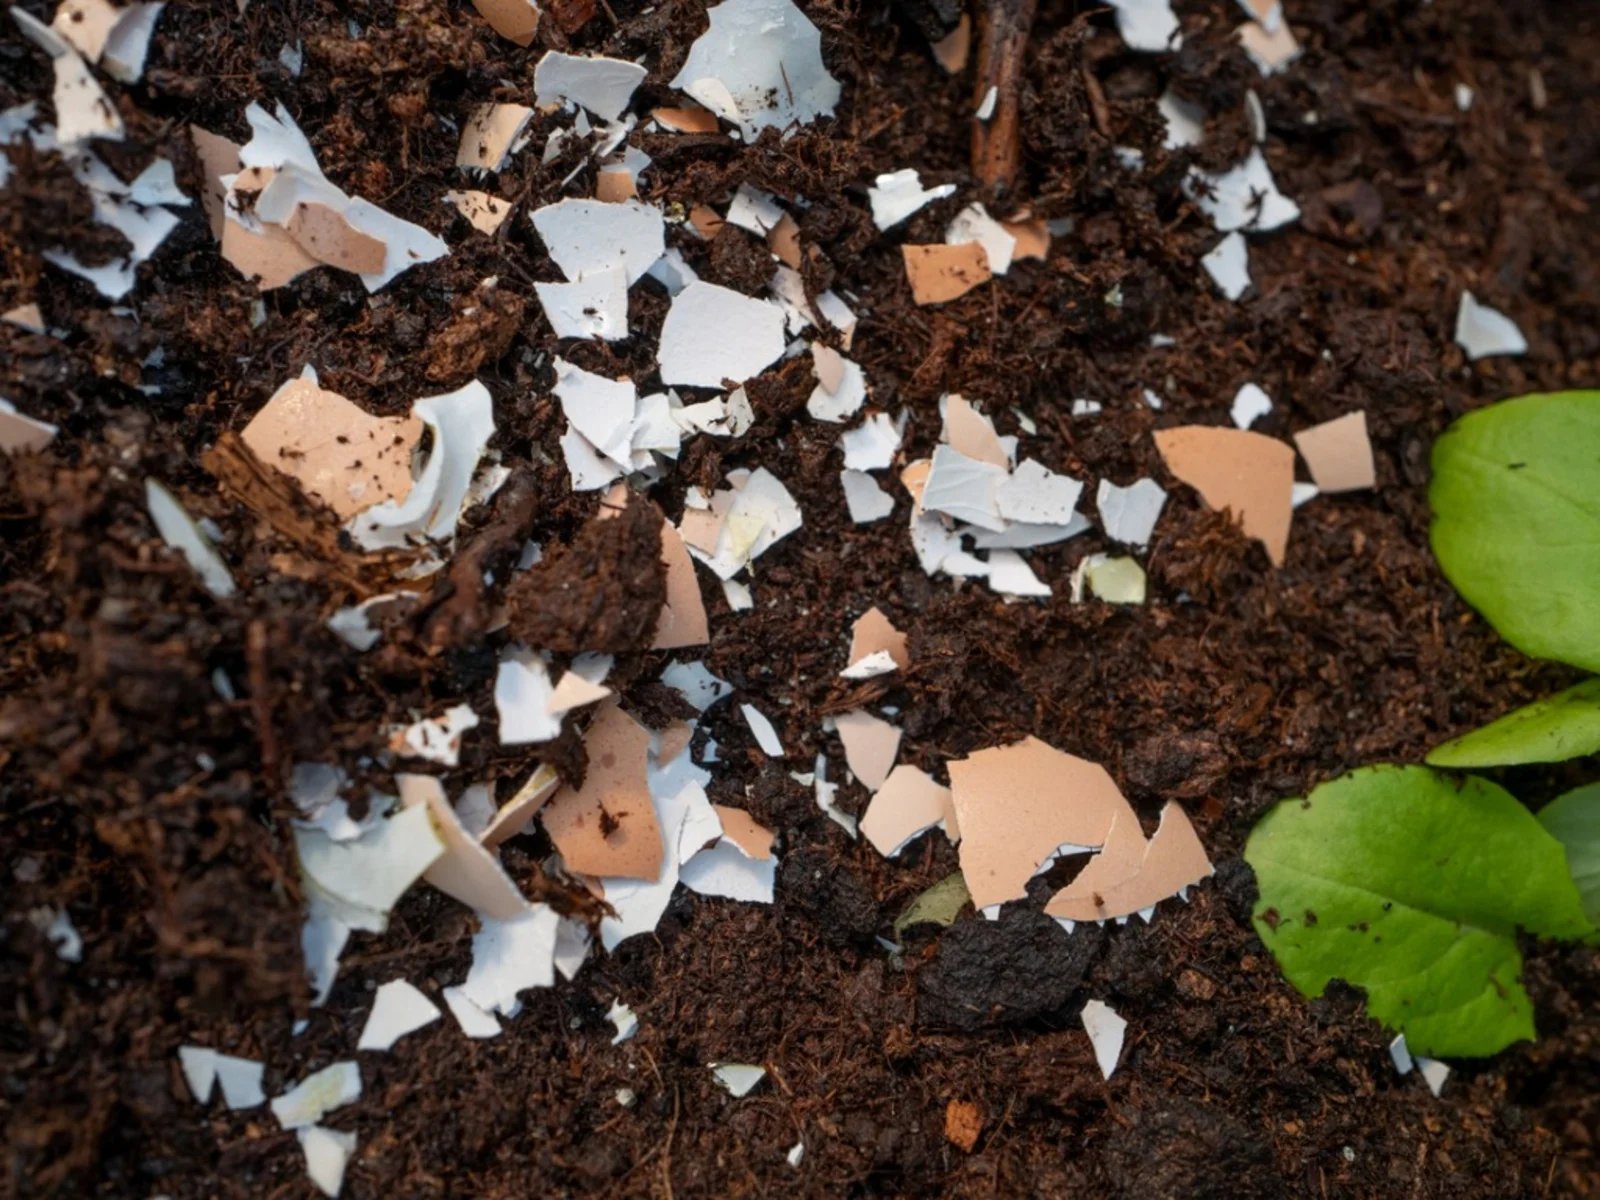
- Amend with Organic Matter: Incorporate organic matter into the soil to improve its fertility and structure. This can be done by adding compost, well-rotted manure, or other organic amendments. Organic matter enriches the soil with nutrients, enhances moisture retention, and promotes beneficial microbial activity.
- Test the Soil: Consider conducting a soil test to determine its pH level and nutrient content. This will help you identify any imbalances or deficiencies that need to be addressed. Adjusting the pH and adding necessary nutrients based on the soil test results will ensure optimal growing conditions for your plants.
- Water the Soil: Before applying the Dr Earth fertilizer, water the soil thoroughly. This will help moisten the soil and prepare it for the fertilizer application. It also allows the fertilizer to dissolve and penetrate into the soil more effectively.
By following these steps, you will create a fertile and well-prepared soil environment that is ready to receive the benefits of Dr Earth fertilizer. Once the soil is properly prepared, it’s time to move on to the next step: applying the Dr Earth fertilizer.
Step 3: Applying Dr Earth Fertilizer
Now that the soil is prepared, it’s time to apply the Dr Earth fertilizer to provide your plants with the much-needed nutrients. Follow these steps to ensure proper application:
- Read the Instructions: Start by carefully reading the instructions on the packaging of the Dr Earth fertilizer. Each product may have specific guidelines for application rates, frequency, and methods.
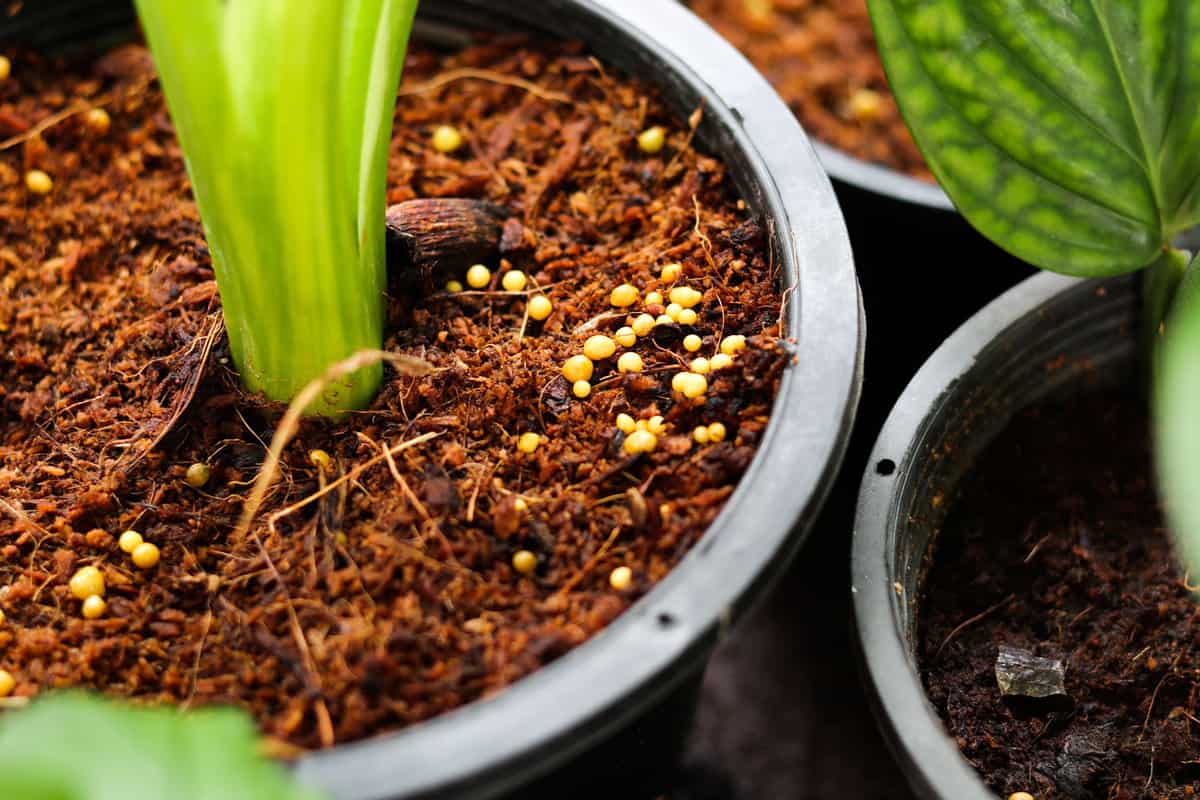
- Measure the Amount: Use a measuring cup or scale to measure the appropriate amount of Dr Earth fertilizer. The recommended amount may vary depending on the type of plant, its size, and the specific fertilizer blend you are using.
- Spread Evenly: Evenly distribute the measured amount of fertilizer around the base of the plant. Take care not to concentrate the fertilizer in one spot, as this can lead to improper nutrient distribution and potential burn of the plant roots.
- Avoid Contact with Leaves: Make sure the fertilizer does not come into direct contact with the leaves or stems of the plant. This can cause leaf burn or damage. If any fertilizer accidentally gets on the foliage, gently brush it off or rinse with water to minimize any potential harm.
- Blend with Soil: After applying the fertilizer, lightly blend it into the top layer of soil using a rake or hand tool. This will help incorporate the fertilizer into the root zone and prevent it from being washed away by rainfall or irrigation.
- Water Thoroughly: After applying and blending the Dr Earth fertilizer, give the area a thorough watering. This helps dissolve the nutrients and allows them to seep into the root zone. It also helps settle the soil and ensures that the fertilizer reaches the roots where it’s most needed.
Remember to follow the recommended frequency of application indicated on the packaging. Dr Earth fertilizers are generally applied every few weeks or as directed, depending on the specific product and plant needs. Regular and consistent fertilization will help maintain a healthy and productive garden.
With the Dr Earth fertilizer properly applied, your plants are on their way to receiving the essential nutrients they require for thriving growth. Next, we’ll explore the important steps of watering and maintenance to ensure the continued success of your DIY projects.
Step 4: Watering and Maintenance
Watering and proper maintenance are crucial for the success of your plants in conjunction with the Dr Earth fertilizer. Follow these steps to ensure your plants receive adequate hydration and care:
- Watering: After applying the Dr Earth fertilizer, water your plants regularly to keep the soil consistently moist. The frequency and amount of watering depend on factors such as plant type, weather conditions, and soil moisture levels. Aim to water deeply, allowing the water to penetrate the root zone.
- Monitor Soil Moisture: Keep an eye on the soil moisture levels to avoid overwatering or underwatering. Stick your finger into the soil to a depth of a few inches. If it feels dry, it’s time to water. If it feels moist, hold off on watering until the soil dries out a bit.
- Remove Weeds: Regularly inspect your garden for any weed growth and promptly remove them. Weeds compete with your plants for water, nutrients, and sunlight, which can hinder their growth. By keeping your garden weed-free, you ensure that your plants receive the full benefits of the Dr Earth fertilizer.
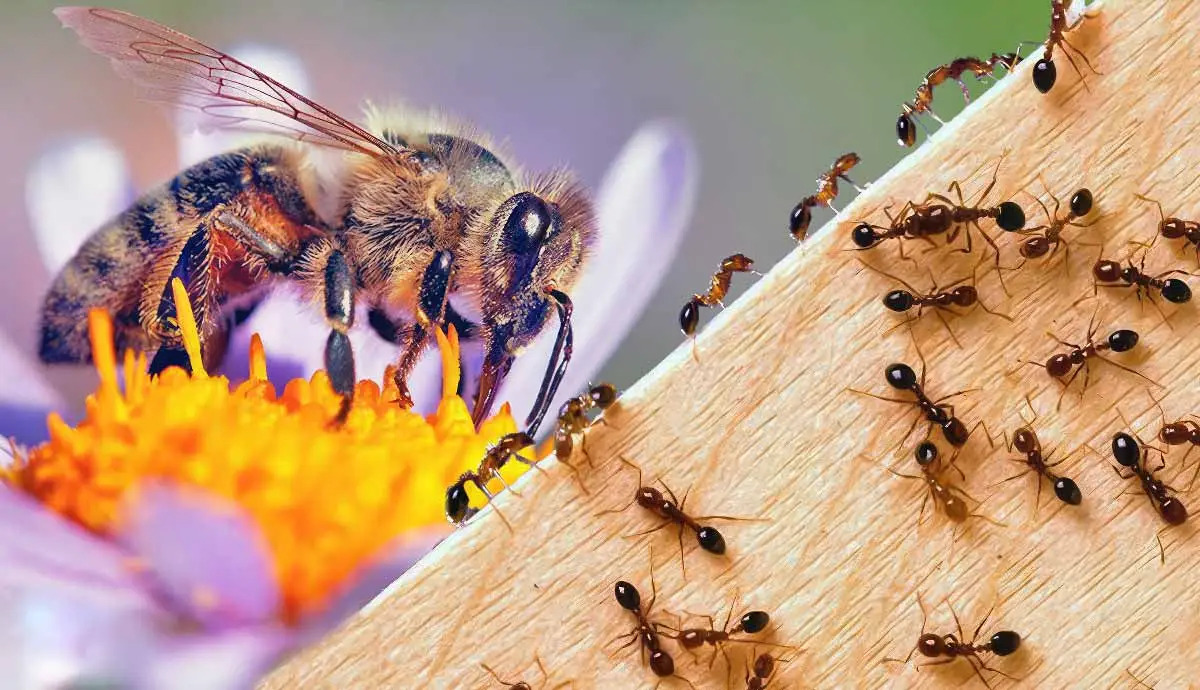
- Monitor Plant Health: Regularly inspect your plants for any signs of pests, diseases, or nutrient deficiencies. Address any issues promptly to prevent them from spreading and affecting the overall health of your plants.
- Pruning and Trimming: As your plants grow, prune or trim them as necessary to maintain their shape, encourage branching, and remove any diseased or damaged parts. Regular pruning also helps improve air circulation and light penetration, promoting healthier growth.
- Stay Consistent: Consistency is key when it comes to watering and maintenance. Stick to a regular schedule for watering, fertilizing, and other maintenance tasks. This will create a routine that your plants can rely on for their care.
By following these watering and maintenance practices, you will provide a favorable environment for your plants to thrive in conjunction with the Dr Earth fertilizer. Keep a close eye on your plants and make adjustments as needed to ensure their continuous health and growth.
Now that you have learned the essential steps for using Dr Earth fertilizer and maintaining your plants, let’s explore some additional tips that can further enhance your DIY projects.
Step 5: Additional Tips for Using Dr Earth Fertilizer
While you now have a good understanding of the main steps for using Dr Earth fertilizer, there are a few additional tips that can further enhance its effectiveness in your DIY projects. Consider implementing these tips:
- Start with Healthy Plants: Before applying any fertilizer, ensure that your plants are healthy and free from any underlying issues. Healthy plants are more likely to respond positively to the nutrients provided by Dr Earth fertilizer, resulting in better growth and vigor.
- Avoid Overfertilization: While Dr Earth fertilizer is safe and gentle, it’s important not to overdo it. Overfertilization can lead to nutrient imbalances, burn the roots of your plants, and harm the surrounding ecosystem. Always follow the recommended application rates and frequency provided on the packaging.
- Feed in Moderation: Depending on the specific needs of your plants, you may need to provide additional forms of nutrition alongside Dr Earth fertilizer. Consider supplementing with organic compost, compost tea, or other natural amendments to ensure a well-rounded nutrient profile for your plants.
- Adjust for Your Climate: Take into account the climate of your region when using Dr Earth fertilizer. Factors such as temperature, humidity, and rainfall can affect the nutrient requirements of your plants. Adjust the application rates and frequency accordingly to accommodate for these variations.
- Store Fertilizer Properly: To preserve the quality and effectiveness of Dr Earth fertilizer, store it in a cool, dry place away from direct sunlight. Ensure that the packaging is tightly sealed to prevent moisture from entering and compromising the product. Following proper storage practices will ensure that your fertilizer maintains its potency over time.
- Observe and Learn: Pay close attention to how your plants respond to the Dr Earth fertilizer. Observe their growth, foliage color, and overall health. This will help you understand the specific needs of your plants and make any necessary adjustments in their care.
By implementing these additional tips, you can optimize the use of Dr Earth fertilizer and achieve exceptional results in your DIY projects. Remember, gardening is a continuous learning process, and experimentation coupled with observation will help refine your skills and create a thriving garden.
Now armed with a comprehensive understanding of how to use Dr Earth fertilizer effectively, you’re ready to embark on your DIY projects with confidence. Embrace the power of Dr Earth fertilizer and watch your plants flourish with vitality and beauty!
Conclusion
Congratulations on completing your journey through the world of DIY projects and discovering the wonders of using Dr Earth fertilizer! With its array of benefits and easy-to-follow steps, Dr Earth fertilizer is a valuable tool for achieving success in your gardening endeavors.
By choosing the right Dr Earth fertilizer, preparing the soil, applying the fertilizer correctly, and providing proper watering and maintenance, you have equipped yourself with the knowledge and tools to create a vibrant and thriving garden. The organic ingredients, slow-release formulation, and beneficial microorganisms in Dr Earth fertilizer ensure that your plants receive the essential nutrients they need for healthy growth, abundant blooms, and bountiful harvests.
Remember to monitor your plants’ health, make adjustments as needed, and stay consistent with your watering and maintenance routines. Regular care and attention will reward you with a flourishing garden that brings joy and satisfaction.
So, whether you’re growing vegetables to nourish your family, cultivating beautiful flowers to adorn your outdoor space, or embarking on any other DIY project, Dr Earth fertilizer is here to support you every step of the way. Embrace the power of nature and enjoy the rewards of your hard work.
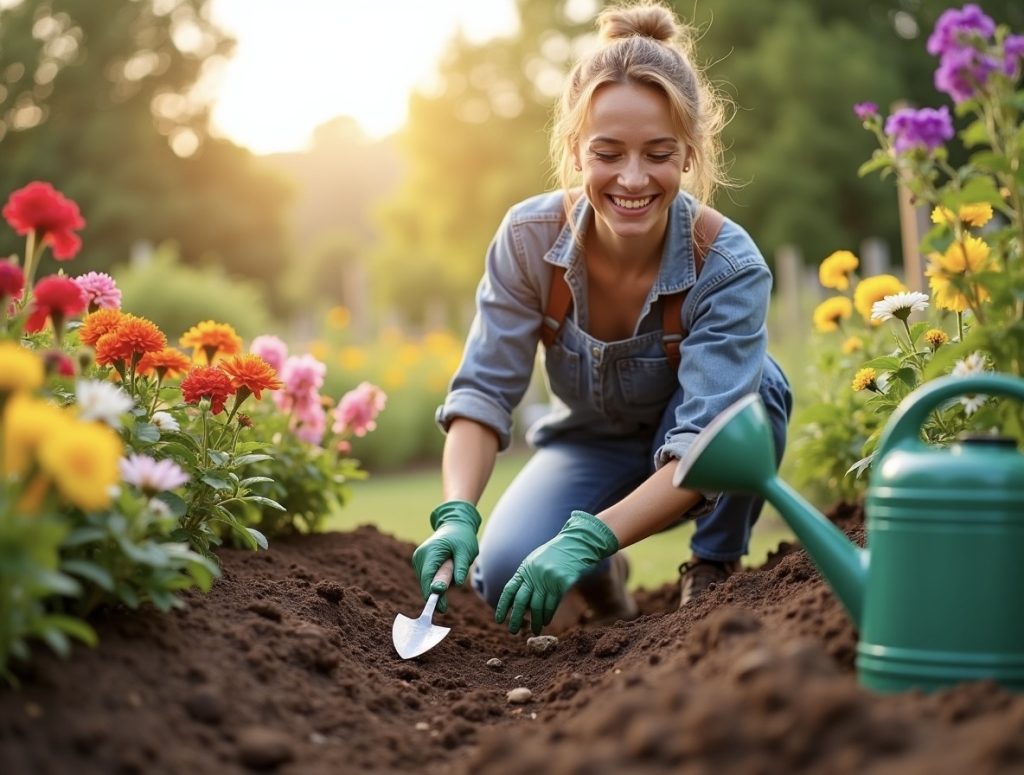
Now, grab your gardening tools, select the perfect Dr Earth fertilizer for your plants, and let your DIY projects bloom and thrive!