Home>Gardening Techniques>DIY Projects>How To Use Fertilizer
DIY Projects
How To Use Fertilizer
Modified: January 22, 2024
Learn how to use fertilizer for your DIY projects and achieve lush and healthy plants. Discover expert tips and techniques for successful fertilization.
(Many of the links in this article redirect to a specific reviewed product. Your purchase of these products through affiliate links helps to generate commission for Chicagolandgardening.com, at no extra cost. Learn more)
Table of Contents
- Introduction
- Benefits of Using Fertilizer
- Types of Fertilizers
- Understanding Fertilizer Labels
- How to Choose the Right Fertilizer
- Preparing the Soil for Fertilization
- Applying Fertilizer
- Timing and Frequency of Fertilizer Application
- Avoiding Common Fertilizer Mistakes
- Environmental Considerations When Using Fertilizer
- Conclusion
Introduction
Welcome to the world of DIY projects! If you are someone who enjoys getting your hands dirty and taking on new challenges, then you have come to the right place. DIY projects are a great way to express your creativity, save money, and improve your skills. Whether you are a beginner or a seasoned DIY enthusiast, there is always something new to learn and discover.
One of the most important aspects of any DIY project is having the right tools and materials. And when it comes to DIY projects around the house or in the garden, fertilizer is like a secret ingredient that can take your projects to the next level. Fertilizer provides essential nutrients to plants, helping them grow healthier, stronger, and more vibrant.
In this article, we will explore the benefits of using fertilizer for your DIY projects, the different types of fertilizers available, how to choose the right one, and best practices for applying fertilizer. We will also discuss common mistakes to avoid and the environmental considerations when using fertilizer.
So, whether you are planning to start a new gardening project, improve your lawn, or breathe life into your houseplants, learning how to use fertilizer effectively is the key to success. By the end of this article, you will have the knowledge and confidence to take on any DIY project that involves the use of fertilizer.
Benefits of Using Fertilizer
Using fertilizer in your DIY projects can provide numerous benefits that will help your plants thrive and produce better results. Here are some of the key advantages of incorporating fertilizer into your gardening or landscaping endeavors:
- Improved plant growth: Fertilizer supplies plants with essential nutrients such as nitrogen, phosphorus, and potassium, which are crucial for their growth and development. These nutrients promote healthy root systems, foliage growth, and flowering or fruiting.
- Enhanced plant health and resistance: Fertilizer not only nourishes plants but also boosts their overall health and resilience. A well-fed plant is better equipped to fend off diseases, pests, and adverse environmental conditions.
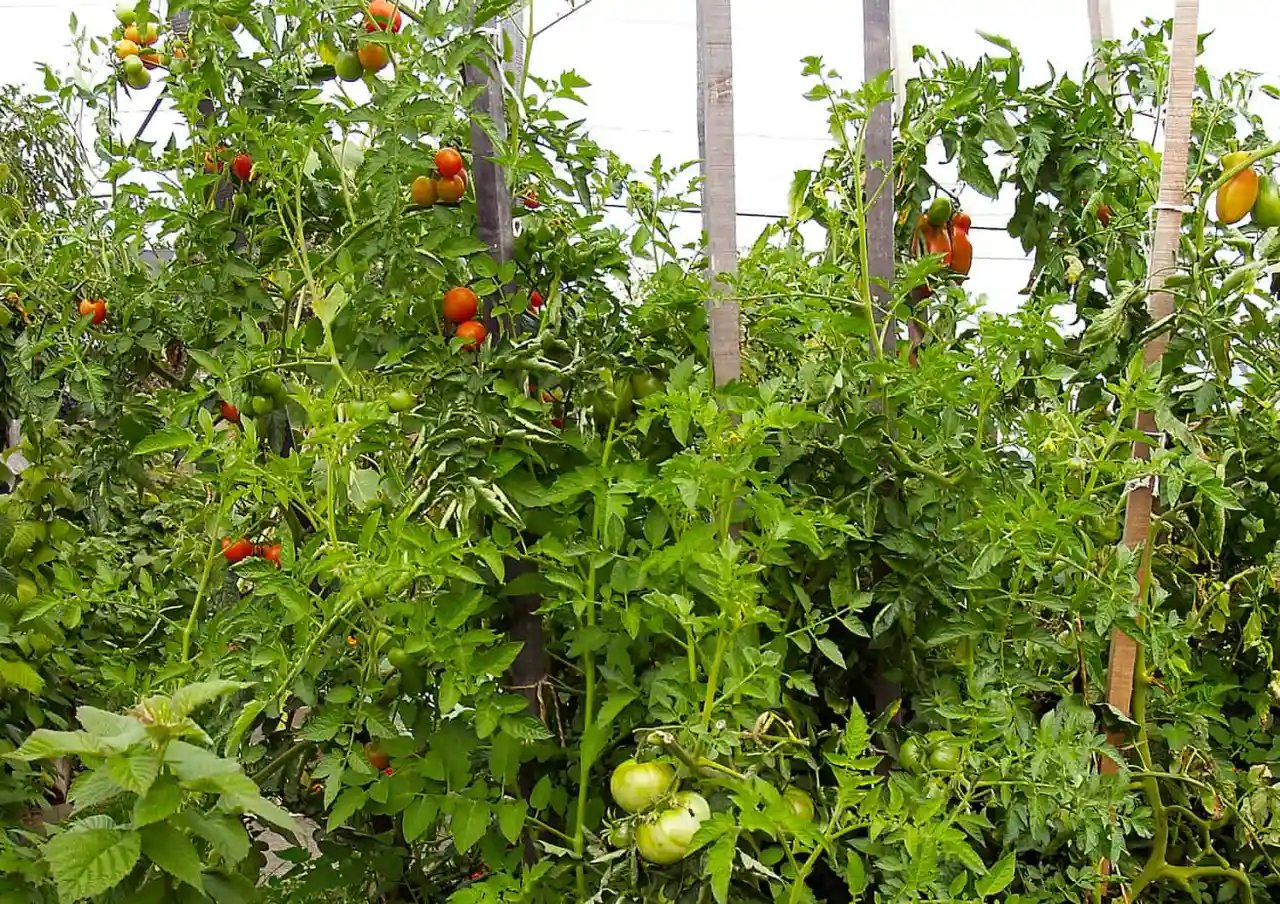
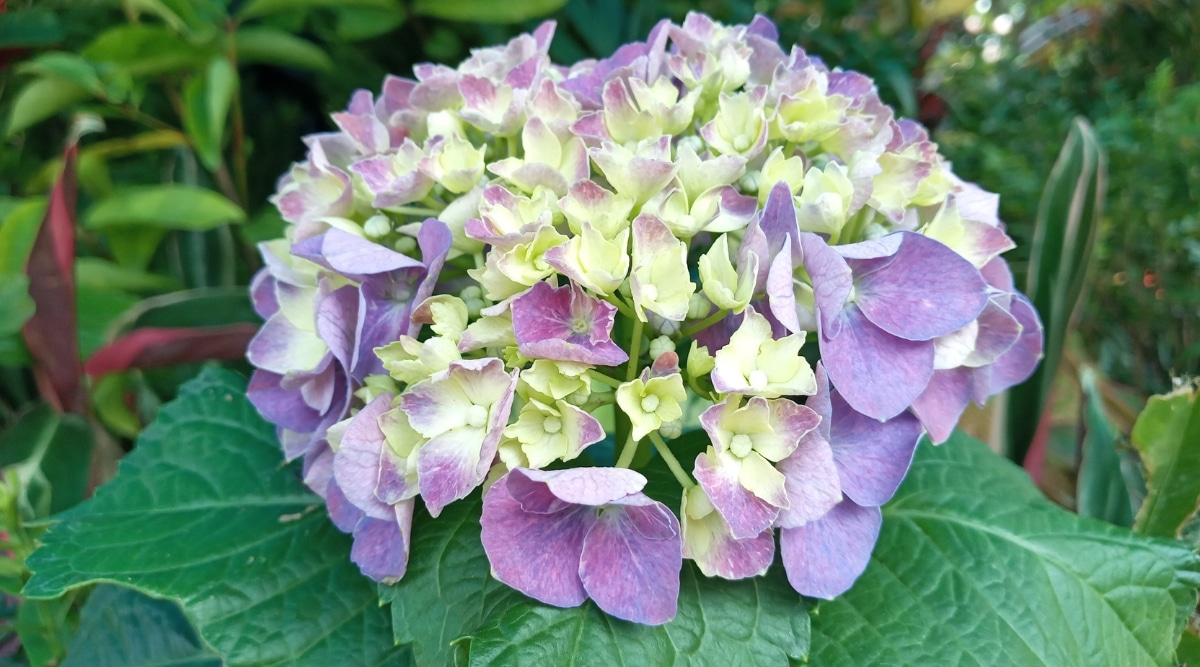
- Increased flower and fruit production: Certain types of fertilizers contain higher levels of phosphorus, which is essential for flower and fruit formation. By using phosphorus-rich fertilizers, you can encourage abundant blooms and a bountiful harvest.
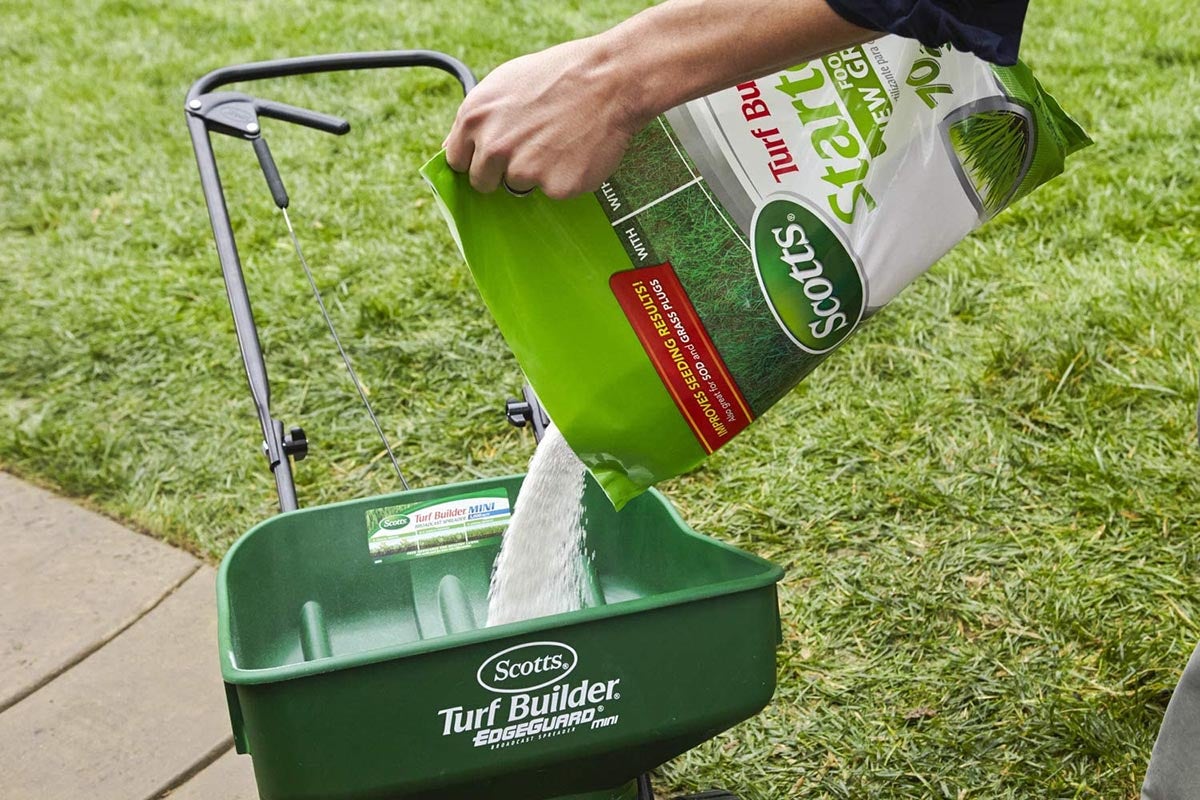
- Greener and lusher foliage: Nitrogen-rich fertilizers promote the growth of lush, green foliage. If you desire a beautifully green lawn or vibrant houseplants, incorporating nitrogen-based fertilizers into your routine is crucial.
- Balanced nutrient levels: Different plants have varying nutrient requirements. By utilizing specific fertilizers tailored to your plants’ needs, you can ensure they receive the right balance of nutrients for optimal growth.
Overall, using fertilizer can make a significant difference in the health, appearance, and performance of your plants. Whether you are tending to a small garden or embarking on a large-scale landscaping project, the benefits of using fertilizer are undeniable. So, let’s delve into the different types of fertilizers available and how to choose the most suitable one for your DIY projects.
Types of Fertilizers
When it comes to fertilizers, there are several types to choose from, each formulated to provide specific nutrients for different plants and growing conditions. Understanding the different types of fertilizers will help you make an informed decision on which one to use for your DIY projects. Here are some common types of fertilizers:
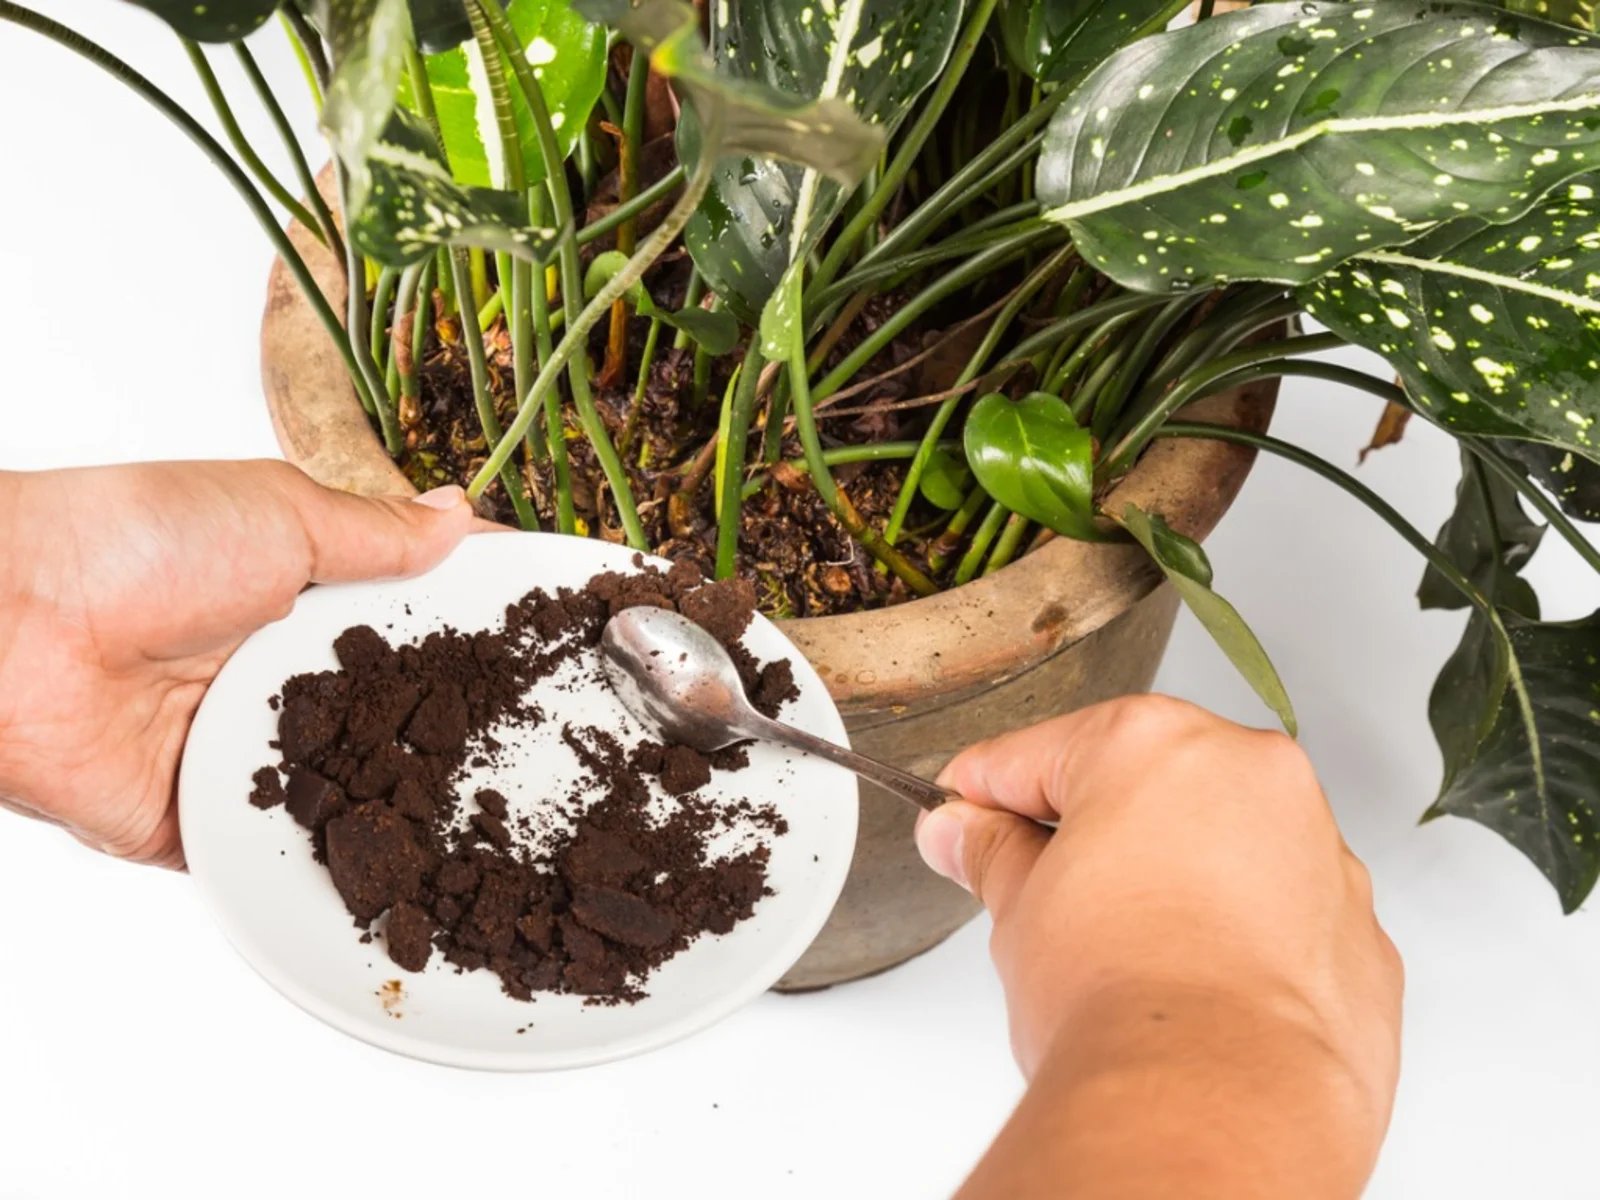
- Organic fertilizers: These fertilizers are derived from natural sources such as animal manure, compost, or plant materials. Organic fertilizers release nutrients slowly over time, providing a steady supply of nourishment to plants. They also help improve soil fertility and structure.
- Inorganic or synthetic fertilizers: These fertilizers are manufactured using chemical compounds. They typically contain concentrated levels of nutrients and provide a quick release of nourishment to plants. Inorganic fertilizers are readily available and offer precise control over nutrient composition.
- Slow-release fertilizers: These fertilizers are designed to release nutrients gradually over an extended period. They provide a consistent supply of essential elements to plants, reducing the risk of nutrient imbalances or over-fertilization.
- Water-soluble fertilizers: These fertilizers come in a powdered or liquid form and are dissolved in water before application. They are quick and easy to use, making them ideal for houseplants or container gardening. Water-soluble fertilizers are absorbed rapidly by plants’ roots.
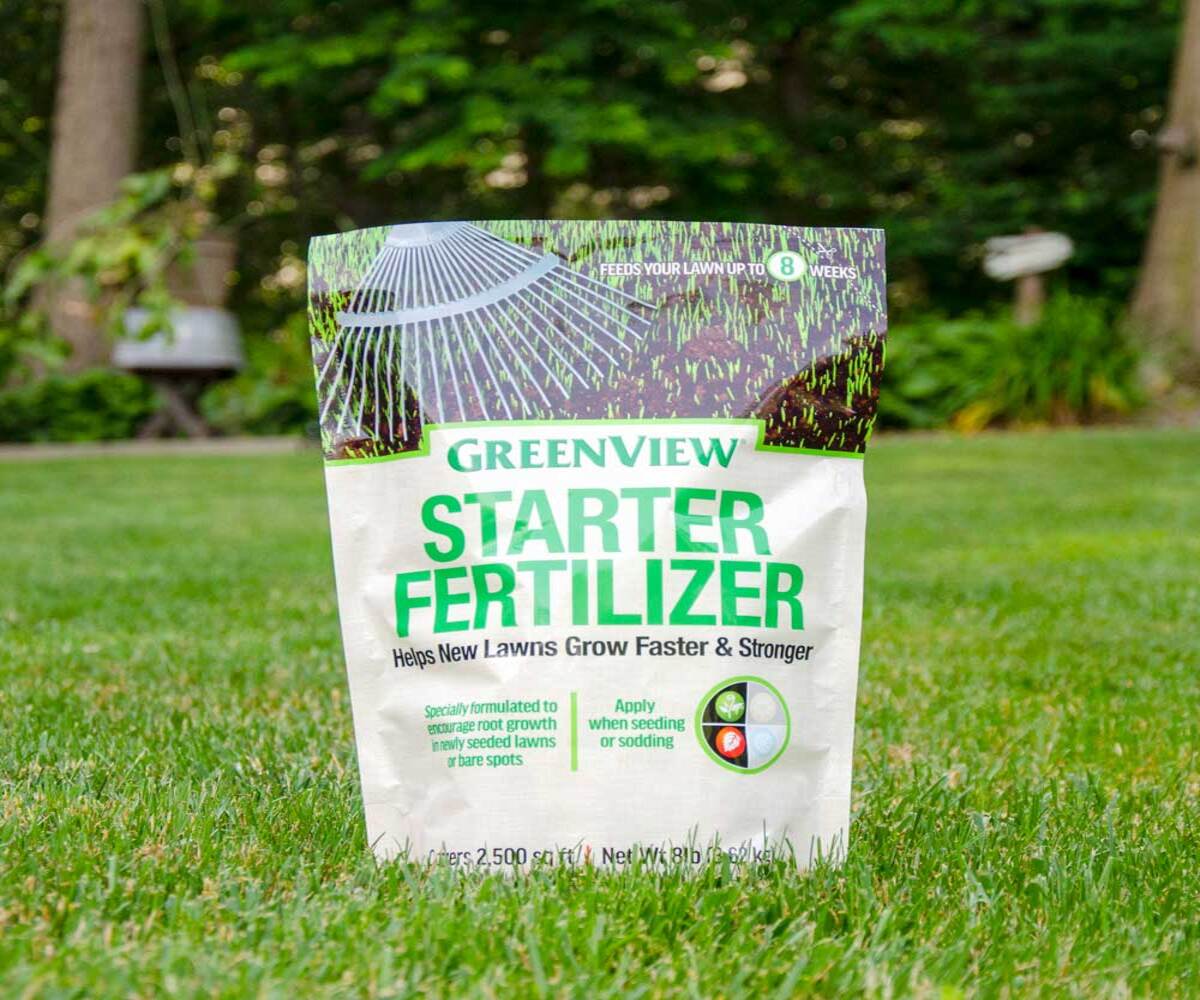
- Specialty fertilizers: Specialty fertilizers are formulated for specific purposes or plant types. For example, there are fertilizers tailored for acid-loving plants, turf grass, or plants that require high levels of certain nutrients.
Choosing the right type of fertilizer depends on factors such as the specific needs of your plants, soil condition, and the stage of plant growth. It’s important to read the labels carefully and follow the manufacturer’s instructions for proper application to achieve optimal results.
Now that we have explored the different types of fertilizers, let’s take a closer look at how to understand fertilizer labels and select the best one for your DIY projects.
Understanding Fertilizer Labels
When shopping for fertilizers, it’s essential to understand the information provided on the labels. Fertilizer labels contain valuable details that can help you determine if a particular product is suitable for your DIY projects. Here are some key components to look for when reading fertilizer labels:
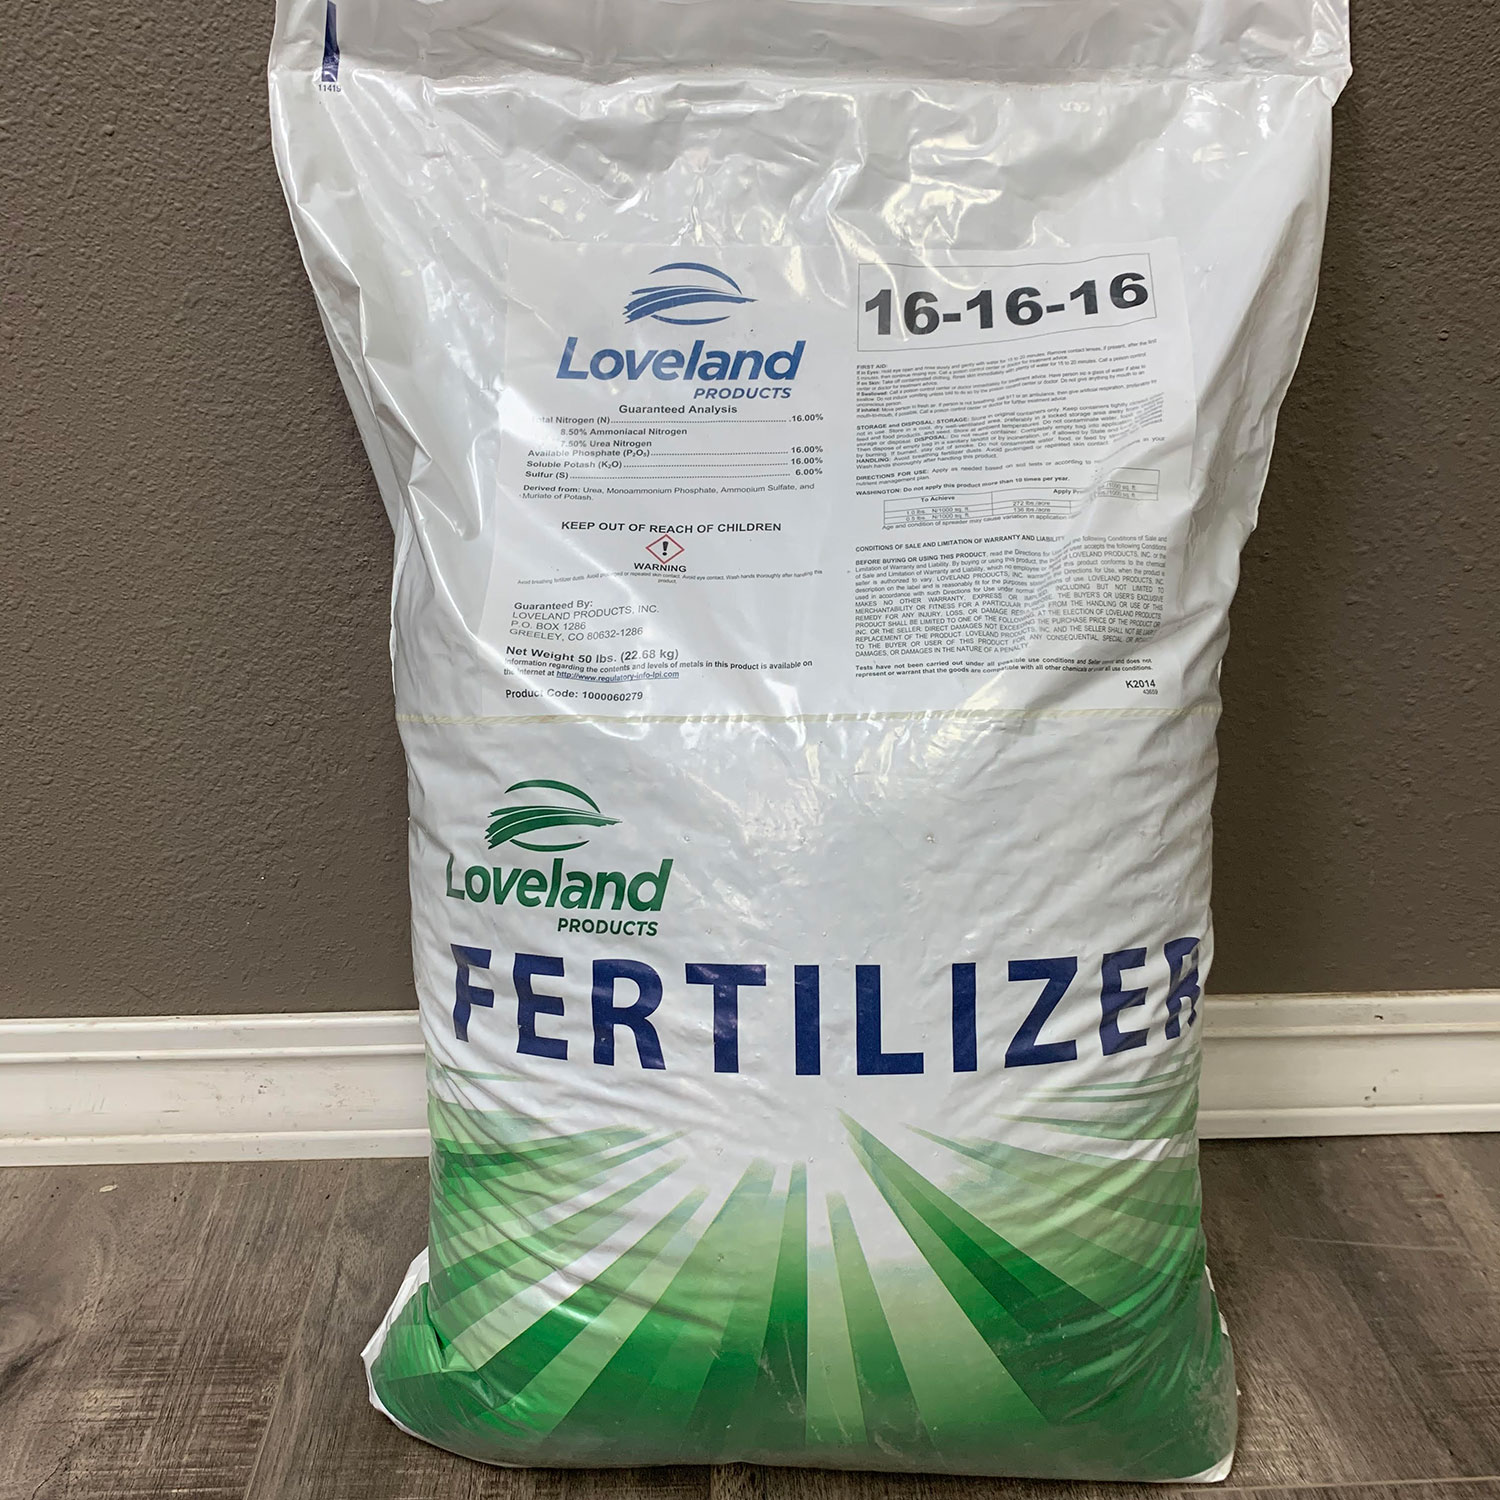
- NPK ratio: The NPK ratio, represented by three numbers (e.g., 10-10-10), indicates the percentage of nitrogen (N), phosphorus (P), and potassium (K) present in the fertilizer. This ratio provides information about the primary nutrients the product contains. Different plants have varying nutrient requirements, so it’s important to choose a fertilizer with the appropriate NPK ratio for your specific plants.
- Secondary nutrients: In addition to the primary nutrients (N, P, K), some fertilizers also include secondary nutrients such as calcium (Ca), magnesium (Mg), and sulfur (S). These nutrients are also crucial for plant growth and should be considered when selecting a fertilizer.
- Micronutrients: Fertilizers may also contain micronutrients, including iron (Fe), manganese (Mn), zinc (Zn), and others. These trace elements are essential for healthy plant development, even though they are required in smaller quantities.
- Application instructions: Fertilizer labels provide instructions on how to apply the product, including the recommended dosage, frequency, and method of application. It’s important to follow these instructions carefully to avoid over- or under-fertilizing your plants.
- Special features: Some fertilizer labels highlight special features or benefits, such as slow-release formulas, organic ingredients, or formulations tailored for specific plant types or growing conditions. These features can help you choose a fertilizer that best meets your needs.
By carefully reading and understanding fertilizer labels, you can make informed decisions about the products you choose for your DIY projects. Consider the nutrient needs of your plants, the soil condition, and any specific requirements they may have. Additionally, it’s important to keep in mind the environmental impact of the fertilizers you choose, as we’ll explore in more detail later in this article.
Now that we have a good grasp of how to decipher fertilizer labels, let’s move on to the next section, where we will discuss the steps to choose the right fertilizer for your DIY projects.
How to Choose the Right Fertilizer
Choosing the right fertilizer for your DIY projects can make a significant impact on the success and health of your plants. Here are some key steps to follow when selecting a fertilizer:
- Identify your plants’ nutrient needs: Different plants have varying nutrient requirements. Some may require more nitrogen for lush foliage, while others may need higher phosphorus levels for abundant blooms. Research your specific plants to understand their nutrient needs and choose a fertilizer that aligns with those requirements.
- Consider soil composition and pH: The composition and pH level of your soil can affect the availability of nutrients to your plants. Conduct a soil test to determine the pH level and nutrient deficiencies, if any. This information will guide you in selecting a fertilizer that can address any soil nutrient imbalances.
- Understand the NPK ratio: The NPK ratio on fertilizer labels represents the percentage of nitrogen (N), phosphorus (P), and potassium (K) in the product. Consider the specific needs of your plants and choose a fertilizer with the appropriate NPK ratio to support their growth and development.
- Consider slow-release formulations: Slow-release fertilizers release nutrients gradually over time, providing a steady supply to plants. This can help prevent nutrient leaching, reduce the risk of over-fertilization, and promote long-lasting plant health.
- Choose organic or synthetic: Decide whether you prefer organic or synthetic fertilizers. Organic fertilizers are derived from natural sources and promote long-term soil health, while synthetic fertilizers offer precise control over nutrient composition. Consider your gardening philosophy and environmental impact when making this decision.
- Read customer reviews: Before purchasing a fertilizer, read customer reviews or seek recommendations from experienced gardeners. Their experiences and feedback can provide valuable insights into the effectiveness and suitability of different fertilizers for specific plants or projects.
- Factor in cost and availability: Consider your budget and the availability of fertilizers in your area. Compare prices and assess the cost-effectiveness of different products to ensure you choose a fertilizer that meets your needs without breaking the bank.
By following these steps and considering the specific needs of your plants, soil conditions, and personal preferences, you can choose the right fertilizer that will enhance the health and vitality of your DIY projects.
Now that we have covered the process of selecting the appropriate fertilizer, let’s move on to the next section, where we’ll discuss preparing the soil for fertilization.
Preparing the Soil for Fertilization
Before applying fertilizer to your DIY projects, it’s important to prepare the soil to ensure optimal nutrient uptake and plant growth. Proper soil preparation creates an ideal environment for plants to absorb nutrients and promotes healthy root development. Here are some steps to consider when preparing the soil for fertilization:
- Remove weeds and debris: Begin by clearing the area of any weeds, rocks, or debris that could hinder plant growth. Weeds compete with your plants for nutrients, so it’s important to remove them before applying fertilizer.
- Loosen the soil: Use a garden fork or tiller to loosen the soil. This helps improve drainage, allows air circulation, and facilitates root penetration. Loosened soil also allows fertilizer to mix more evenly and deeply with the soil for better nutrient distribution.
- Amend the soil, if necessary: If your soil lacks organic matter or has nutrient deficiencies, consider incorporating compost, well-rotted manure, or other organic amendments. These organic materials enrich the soil, improve its structure, and provide additional nutrients for plant growth.
- Perform a soil test: Conduct a soil test to determine the pH level and nutrient content of your soil. This information will help you choose the right fertilizer and adjust the soil pH, if necessary, to create an optimal growing environment for your plants.
- Address soil drainage issues: If your soil has poor drainage, take steps to improve it. Poorly drained soil can lead to nutrient leaching and root rot. You can amend the soil with organic matter or create raised beds to improve drainage.
- Consider mulching: Apply a layer of organic mulch, such as straw or wood chips, around your plants after fertilization. Mulch helps retain moisture, suppresses weed growth, and adds organic matter to the soil as it decomposes.
Proper soil preparation sets the foundation for successful fertilization and plant growth. By following these steps, you will create an environment that maximizes nutrient absorption and ensures your DIY projects thrive.
Now that we have covered the importance of soil preparation, let’s move on to the next section, where we will discuss the proper techniques for applying fertilizer to achieve the best results.
Applying Fertilizer
Applying fertilizer correctly is crucial to ensure that your plants receive the nutrients they need without causing harm or waste. Here are some important steps to follow when applying fertilizer for your DIY projects:
- Read and follow instructions: Before applying fertilizer, carefully read and follow the manufacturer’s instructions on the label. Pay attention to the recommended dosage, application method, and frequency of use.
- Choose the right time: Timing is important when applying fertilizer. It’s best to apply fertilizer when plants are actively growing, typically during the early spring or early fall. Avoid fertilizing during hot or dry periods, as it can stress your plants.
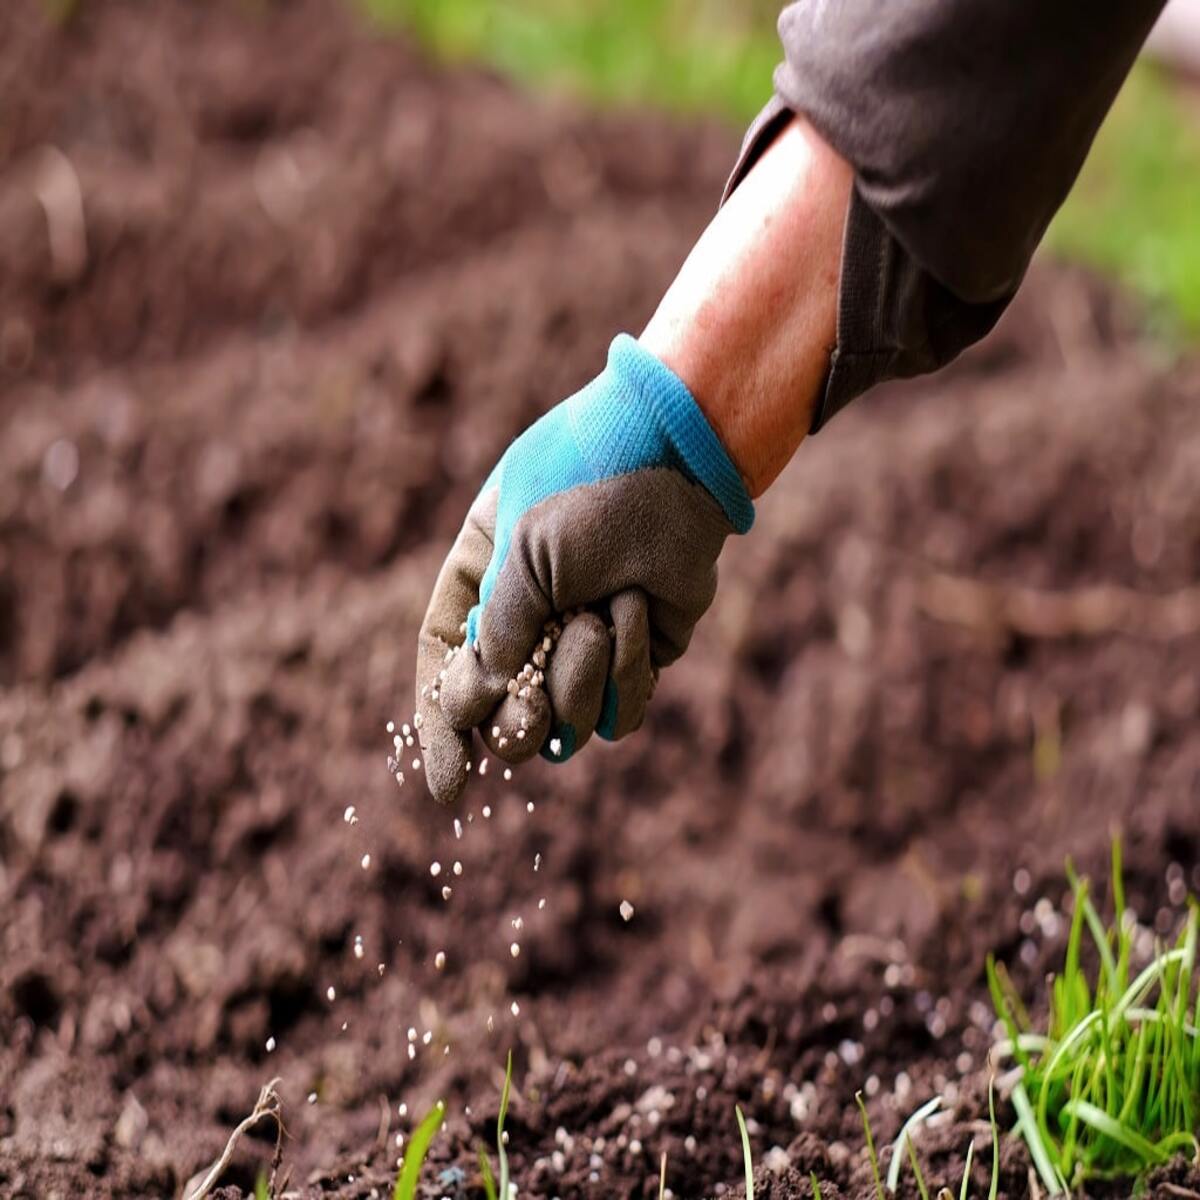
- Measure accurately: Use measuring cups or scales to measure the fertilizer accurately. Avoid eyeballing or guessing the amount, as over-fertilization can burn plants or pollute surrounding areas.
- Distribute evenly: Sprinkle the fertilizer evenly across the soil surface or around the base of your plants. Avoid applying fertilizer in concentrated piles, as it can result in uneven nutrient distribution and potential damage to the plants.
- Water after application: After applying fertilizer, water the area thoroughly. This helps dissolve the fertilizer and allows the nutrients to seep into the soil where plant roots can access them. Watering also helps prevent fertilizer burn and ensures proper nutrient uptake.
- Keep fertilizer off foliage: Avoid getting fertilizer on the leaves or stems of your plants. Fertilizer residues can cause burns or damage to the plant tissue. If any fertilizer accidentally comes into contact with foliage, promptly rinse it off with water.
By following these guidelines, you can ensure that your fertilizer is applied correctly and efficiently, providing the necessary nutrients to support healthy plant growth. Remember to adjust the fertilizer application based on the specific needs of your plants and the recommendations on the packaging.
Now that we have covered the proper techniques for applying fertilizer, let’s move on to the next section, where we will discuss the timing and frequency of fertilizer application.
Timing and Frequency of Fertilizer Application
The timing and frequency of fertilizer application play a crucial role in maximizing its effectiveness and minimizing the risk of over-fertilization. It’s important to understand the specific needs of your plants and adjust the timing and frequency accordingly. Here are some guidelines to help you determine the optimal timing and frequency of fertilizer application for your DIY projects:
- Consider the growth stage: Different plants have varying nutrient requirements at different growth stages. Generally, it is best to apply fertilizer during the active growth period. For example, leafy vegetables may benefit from regular feeding throughout the growing season, while flowering plants may require extra nutrients during the bud and bloom stages.
- Feed before growth spurts: It is beneficial to apply fertilizer just before the expected growth spurts of your plants. This timing helps provide the nutrients needed for the upcoming growth. Monitoring the growth patterns of your plants and adjusting the timing of fertilization accordingly can ensure optimal nutrient uptake.
- Avoid fertilizer during dormancy: Do not apply fertilizer to plants during their dormant period. Dormant plants are not actively growing and do not require additional nutrients. Apply fertilizer only when plants are actively growing to avoid wastage and potential nutrient imbalances.
- Follow the recommended application schedule: Fertilizer labels often provide suggestions for the frequency of application. Follow these guidelines to ensure that your plants receive a consistent supply of nutrients without the risk of over-fertilization. Under-fertilizing can result in nutrient deficiencies, while over-fertilization can harm plants and contribute to environmental pollution.
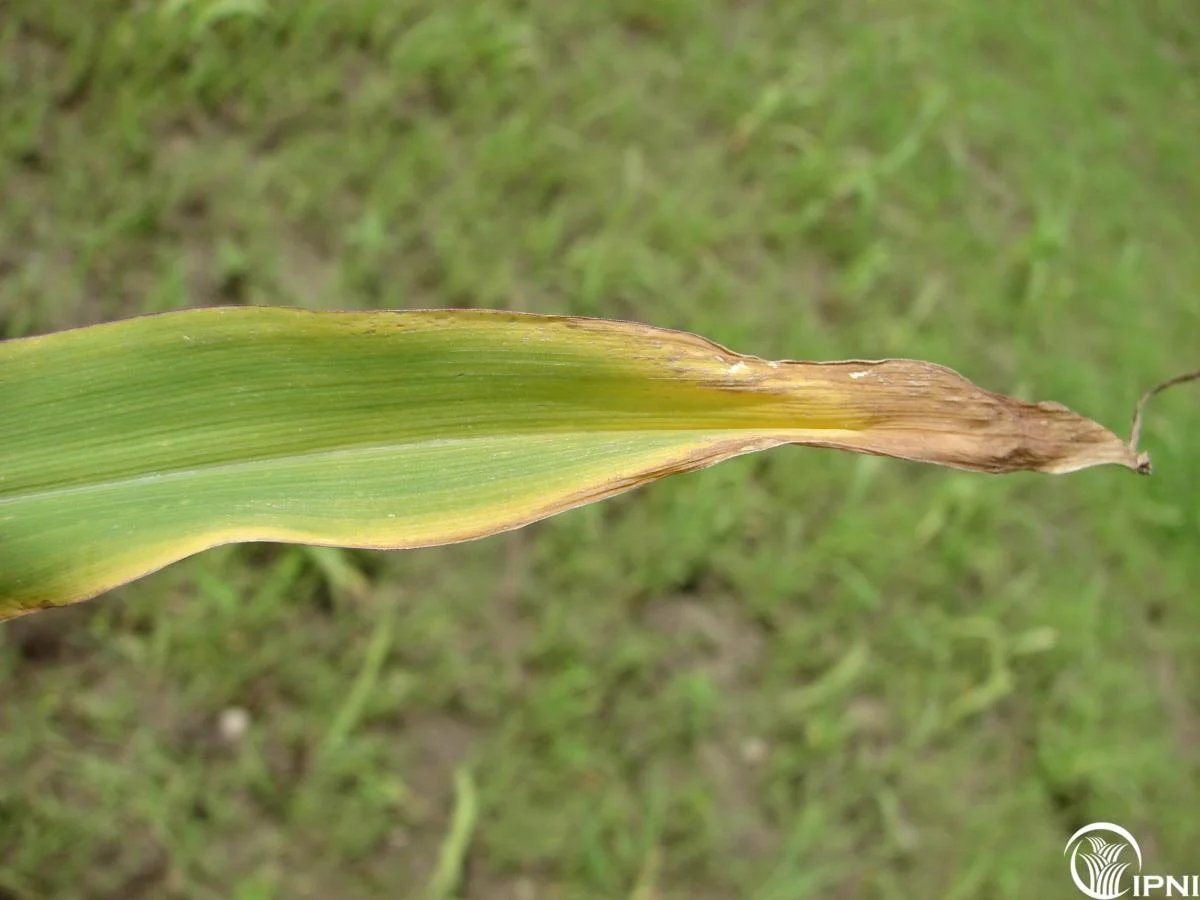
- Monitor plant response: Observe your plants closely after fertilization. If you notice signs of nutrient deficiencies, such as yellowing leaves or stunted growth, it may indicate the need for more frequent or higher-dose fertilizer application. On the other hand, if plants show signs of over-fertilization, such as burned leaf edges or wilting, reduce the frequency or amount of fertilizer applied.
- Adjust based on soil test results: Periodic soil testing can provide valuable insights into the nutrient levels and pH balance of your soil. If the test results indicate nutrient deficiencies, adjust your fertilizer application schedule to address those deficiencies. Regular soil testing helps ensure that you are providing your plants with the nutrients they truly need.
Keep in mind that these guidelines serve as general recommendations, and the specific needs of your plants may vary. It’s important to observe and understand your plants’ responses to fertilizer and make adjustments as needed to achieve optimal growth and health.
Now that we have covered the timing and frequency of fertilizer application, let’s move on to the next section, where we will discuss common mistakes to avoid when using fertilizer in your DIY projects.
Avoiding Common Fertilizer Mistakes
Using fertilizer in your DIY projects can significantly benefit your plants, but it’s important to avoid common mistakes that can hinder their growth or cause harm. By being aware of these pitfalls and taking proper precautions, you can ensure the effective and safe use of fertilizer. Here are some common mistakes to avoid:
- Over-fertilization: Applying too much fertilizer can lead to nutrient imbalances, burned roots, or even plant death. Always follow the recommended dosage and avoid the temptation to use more for quicker results.
- Under-fertilization: On the flip side, under-fertilizing can result in nutrient deficiencies and stunted growth. Monitor your plants closely and adjust the fertilizer application schedule if signs of nutrient deficiencies appear.
- Uneven application: Applying fertilizer unevenly can lead to inconsistent nutrient distribution, causing some plants to receive too much while others receive too little. Take care to distribute fertilizer evenly across the soil surface or around the base of your plants.
- Applying to dry soil: Fertilizing dry soil can hinder nutrient absorption and may even burn plant roots. Water the area well before applying fertilizer to ensure that the nutrients can dissolve and reach the roots effectively.
- Not reading the instructions: Each fertilizer product is unique, and it’s important to read the instructions on the label carefully. The instructions provide critical information on dosage, application method, and recommended timing. Ignoring these instructions can lead to ineffective or harmful results.
- Using the wrong fertilizer: Different plants have different nutrient requirements, and using the wrong type of fertilizer can lead to poor growth or nutrient imbalances. Understand the specific needs of your plants and choose a fertilizer with the appropriate nutrient composition.
- Not considering environmental impact: Excessive use of fertilizers can contribute to water pollution and harm beneficial organisms in the soil. Use fertilizers responsibly, follow the recommended application rates, and consider using organic or slow-release fertilizers that have lower environmental impact.
- Neglecting soil testing: Soil testing provides valuable insights into the nutrient levels and pH of your soil. Neglecting to test your soil can result in improper fertilization and potential nutrient imbalances. Regular soil testing helps ensure that you are providing your plants with the nutrients they need.
By being mindful of these common mistakes and taking proper measures, you can avoid problems and achieve optimal results when using fertilizer for your DIY projects. Remember to monitor your plants’ response, follow the instructions, and make adjustments as needed to promote their health and growth.
Now that we have discussed common fertilizer mistakes to avoid, let’s move on to the next section, where we will explore the environmental considerations when using fertilizer in your DIY projects.
Environmental Considerations When Using Fertilizer
While fertilizer can greatly benefit your DIY projects, it’s crucial to consider the environmental impact of its use. Proper and responsible usage of fertilizer can help protect ecosystems, prevent water pollution, and promote sustainable gardening practices. Here are some environmental considerations to keep in mind when using fertilizer:
- Follow recommended application rates: Using excessive amounts of fertilizer can lead to nutrient runoff, which can contaminate water bodies and harm aquatic life. Follow the recommended application rates specified on the fertilizer packaging to prevent overuse.
- Choose slow-release or organic fertilizers: Slow-release fertilizers release nutrients gradually over time, reducing the risk of nutrient leaching. Organic fertilizers, derived from natural sources, are generally more sustainable and environmentally friendly alternatives. Consider incorporating these options into your DIY projects.
- Use fertilizers strategically: Focus on targeted application to the areas where plants need the most nutrients, rather than wide-scale application. This approach minimizes the amount of fertilizer used, reducing potential runoff and environmental impact.
- Prevent fertilizer runoff: Avoid applying fertilizers near water bodies or on slopes where runoff is likely to occur. If runoff does happen, it can carry excess nutrients and contaminate streams, lakes, or groundwater. Be mindful of the proximity of fertilizer application to sensitive areas.
- Consider alternative nutrient sources: Explore natural alternatives to synthetic fertilizer, such as compost, manure, or organic matter. These options can provide valuable nutrients to your plants while reducing dependence on chemical fertilizers.
- Practice soil conservation: Healthy soil can help retain nutrients and minimize runoff. Implement soil conservation practices, such as adding organic matter, mulching, and contouring the land, to improve soil structure and reduce erosion.
- Dispose of unused fertilizer properly: If you have excess or expired fertilizer, avoid discarding it in the trash or pouring it down the drain. Contact your local waste management facility or follow their guidelines for safe disposal.
- Support sustainable gardening practices: Incorporate sustainable gardening practices into your DIY projects, such as companion planting, crop rotation, and integrated pest management. These practices promote natural and balanced ecosystems, reducing the need for excessive fertilizer use.
By considering the environmental impact of fertilizer use and adopting sustainable practices, you can play a vital role in preserving and protecting the environment while still reaping the benefits of using fertilizer for your DIY projects.
Now that we have explored the environmental considerations, let’s conclude our article by summarizing the key points we’ve discussed throughout.
Conclusion
In conclusion, using fertilizer in your DIY projects can greatly enhance the growth, health, and overall success of your plants. By providing essential nutrients, fertilizers promote robust foliage, abundant blooms, and bountiful harvests. However, it is crucial to choose the right type of fertilizer based on the specific needs of your plants and to apply it correctly to avoid common mistakes. Understanding fertilizer labels, preparing the soil appropriately, and timing and frequency of application are all important factors to consider.
When selecting fertilizer, take into account the NPK ratio, secondary nutrients, and micronutrients that your plants require. Consider the benefits of organic and slow-release fertilizers, as well as the importance of following the recommended application rates. Additionally, always read and follow the instructions provided on the fertilizer packaging to ensure proper use.
Soil preparation plays a vital role in maximizing nutrient uptake, while proper application techniques help ensure even distribution and avoid damage to plants. Furthermore, considering the timing and frequency of fertilizer application according to the growth stage of your plants will optimize their nutrient uptake and overall development.
Environmental considerations should also be a priority when using fertilizers. Using recommended application rates, choosing sustainable alternatives, preventing runoff, and practicing soil conservation are all crucial to minimize the environmental impact of fertilizers.
By incorporating these practices and being mindful of environmental considerations, you can utilize fertilizers in a responsible and eco-friendly manner, supporting the health of your plants while minimizing negative effects on the environment.
So, whether you are tending to your garden, improving your lawn, or nurturing houseplants, mastering the art of using fertilizer in your DIY projects will undoubtedly lead to vibrant and thriving plants.