Home>Gardening Techniques>DIY Projects>How To Use Osmocote Fertilizer
DIY Projects
How To Use Osmocote Fertilizer
Modified: January 22, 2024
Discover how to use Osmocote fertilizer to enhance your DIY projects. Achieve healthier plants and vibrant results with this step-by-step guide.
(Many of the links in this article redirect to a specific reviewed product. Your purchase of these products through affiliate links helps to generate commission for Chicagolandgardening.com, at no extra cost. Learn more)
Table of Contents
- Introduction
- Understanding Osmocote Fertilizer
- Selecting the Right Type of Osmocote Fertilizer
- Steps to Apply Osmocote Fertilizer
- Preparing the Soil for Application
- Applying Osmocote Fertilizer to Container Plants
- Applying Osmocote Fertilizer to Garden Beds
- Caring for Plants After Application
- Tips and Precautions for Using Osmocote Fertilizer
- Conclusion
Introduction
Welcome to the world of DIY projects! Whether you’re a seasoned DIY enthusiast or just starting out, there’s something incredibly satisfying about creating and building things with your own hands. From simple crafts to complex home renovations, the possibilities are endless. But before you dive headfirst into your next project, it’s important to have a solid foundation of knowledge.
In this article, we’re going to explore the fascinating world of DIY projects and provide you with all the information you need to get started. We’ll cover everything from the basic tools you’ll need to the different types of projects you can undertake. Whether you’re interested in woodworking, home improvement, or crafting, we’ve got you covered.
One of the key aspects of successful DIY projects is having the right skills and knowledge. We’ll discuss the importance of research and planning, as well as provide tips and tricks to ensure your projects go smoothly. We’ll also delve into the world of DIY safety and provide you with essential information on how to stay safe while working on your projects.
Another important aspect of DIY projects is budgeting. We’ll give you practical advice on how to budget for your projects, as well as provide tips on saving money and finding affordable materials. We’ll also discuss the benefits of upcycling and repurposing materials, helping you reduce waste and create unique projects.
Finally, we’ll explore the satisfaction and sense of accomplishment that comes with completing a DIY project. From the joy of seeing your vision come to life to the pride of knowing you did it yourself, we’ll delve into the emotional aspects of DIY and how it can positively impact your life.
So, whether you’re a seasoned DIY expert looking for new inspiration or a beginner eager to embark on your first project, get ready to dive into the world of DIY projects. Let your creativity soar, your skills grow, and your confidence flourish. The possibilities are endless, and the satisfaction of creating something with your own hands is truly unmatched. Let’s get started!
Understanding Osmocote Fertilizer
Osmocote fertilizer is a slow-release fertilizer that provides nourishment to plants over an extended period of time. It is a popular choice among gardeners and horticulturists due to its convenience and effectiveness. Understanding how Osmocote fertilizer works can help you make the most of this valuable gardening tool.
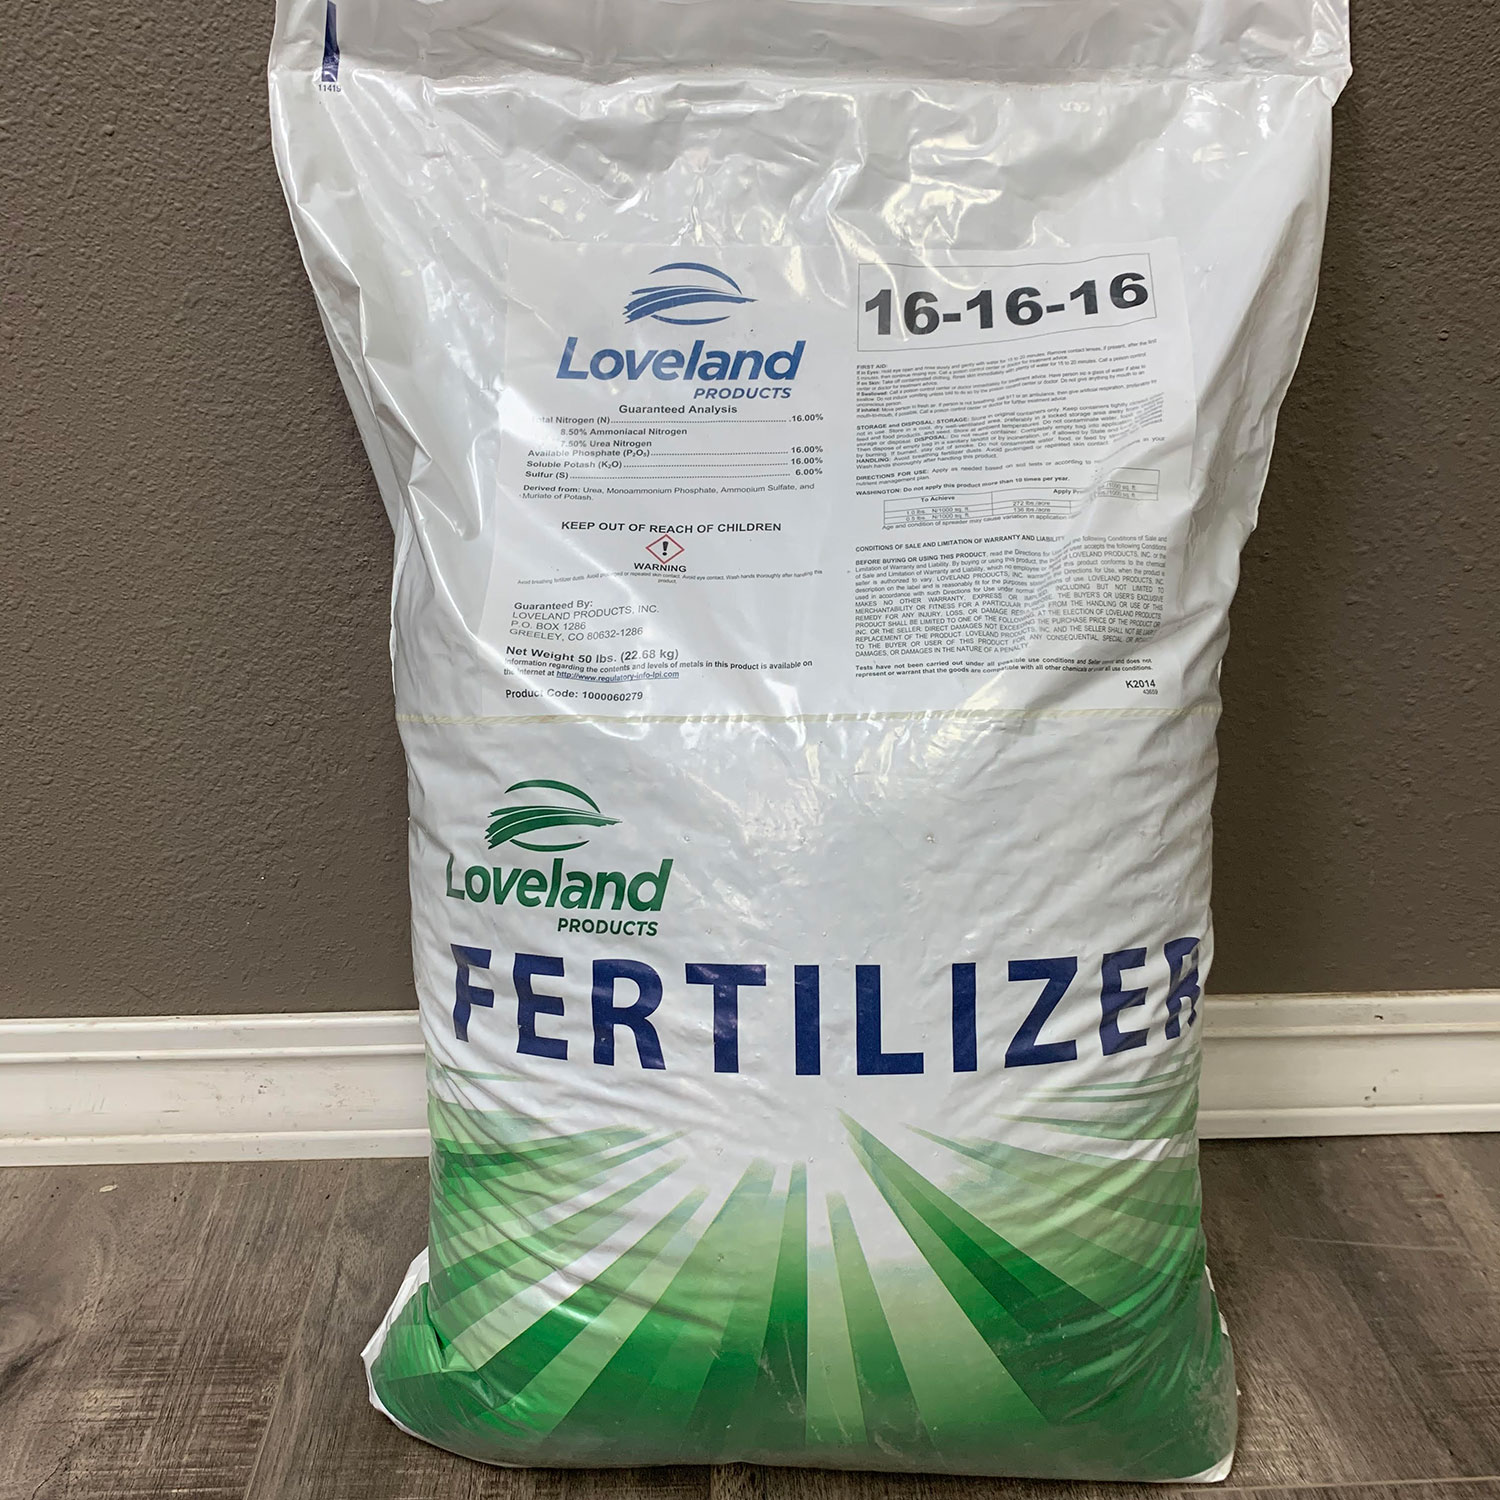
At its core, Osmocote fertilizer is composed of small granules or pellets that contain a balanced blend of essential nutrients such as nitrogen (N), phosphorus (P), and potassium (K). These nutrients are vital for plant growth and development. What sets Osmocote apart from traditional fertilizers is its unique coating. This coating is specially designed to release the nutrients gradually, ensuring a steady supply of nourishment to the plants.
The release of nutrients from Osmocote fertilizer is triggered by temperature and moisture. When the surrounding soil or growing media is warm and moist, the nutrients are gradually released into the root zone of the plants. This slow-release mechanism provides a steady and consistent supply of nutrients, avoiding nutrient spikes or leaching.
One of the key benefits of Osmocote fertilizer is its longevity. Depending on the specific formulation, Osmocote can release nutrients for a period ranging from three to twelve months. This extended feeding period reduces the frequency of fertilizer applications, making it an ideal choice for busy gardeners or those who want to simplify their plant care routine.
In addition to its slow-release nature, Osmocote fertilizer also contains micronutrients, which are essential for plants in smaller quantities. These micronutrients, including iron, zinc, and manganese, ensure that plants receive a comprehensive and balanced diet, promoting optimal growth and health.
It’s important to note that different formulations of Osmocote fertilizer are available, each designed for specific plant types or growth stages. For example, there are formulations specifically formulated for houseplants, outdoor garden plants, and even specialty blends for orchids and bonsai trees. By selecting the right Osmocote formulation for your plants’ needs, you can ensure they receive the appropriate nutrients for their specific requirements.
Understanding how Osmocote fertilizer works and the benefits it provides can empower you as a gardener. Its slow-release mechanism and balanced nutrient composition make it a reliable choice for promoting healthy plant growth. In the following sections, we’ll explore the steps to properly select and apply Osmocote fertilizer to maximize its benefits for your plants.
Selecting the Right Type of Osmocote Fertilizer
When it comes to selecting the right type of Osmocote fertilizer for your plants, it’s important to consider their specific needs. Different plant types and growth stages require different nutrient compositions, and Osmocote offers a range of specialized formulations to cater to these varying requirements.
First and foremost, determine the type of plants you will be fertilizing. Osmocote offers specific formulations for various plant categories, including general garden plants, flowering plants, vegetables, and even specialty blends for specific plants like orchids or bonsai trees. By choosing a formulation designed for your specific plant type, you can ensure that your plants receive the appropriate nutrients.
Next, consider the growth stage of your plants. Osmocote has formulations tailored for different growth phases, such as starter formulations for young plants, bloom formulations for flowering plants, or slow-release formulations for long-term feeding. Understanding the growth stage of your plants will help you select the right Osmocote formulation that provides the necessary nutrients at the right time.
Another factor to consider is the duration of nutrient release. Osmocote fertilizer offers different release durations, ranging from three to twelve months. For annual plants or plants with a short growth cycle, a shorter release duration may be sufficient. However, for perennial plants or those with longer growth cycles, it is best to choose a formulation with a longer release duration to ensure continuous nutrient supply.
In addition to plant type, growth stage, and release duration, it’s also essential to consider the specific nutrient requirements of your plants. Different plants have varying nutrient needs, and Osmocote offers formulations with different nutrient ratios. For example, plants with higher nitrogen requirements, such as leafy greens, may benefit from formulations with a higher nitrogen content. On the other hand, flowering plants may benefit from formulations with a higher phosphorus content to support blooming.
Lastly, consider any specific requirements or preferences you may have as a gardener. Osmocote offers options such as organic formulations or blends with added beneficial substances like mycorrhizae. These options cater to gardeners who prefer organic gardening practices or want to enhance their plants’ overall health and vitality.
By taking into account the plant type, growth stage, release duration, specific nutrient requirements, and your personal preferences, you can effectively select the right type of Osmocote fertilizer for your plants. This thoughtful selection process ensures that your plants receive the necessary nutrients in the right proportions, leading to vibrant, healthy, and thriving plants.
Steps to Apply Osmocote Fertilizer
Applying Osmocote fertilizer is a straightforward process that can greatly benefit your plants’ growth and health. By following a few simple steps, you can ensure that your plants receive the nutrients they need for optimal development. Let’s explore the steps to apply Osmocote fertilizer effectively.
Step 1: Read the instructions
Before applying Osmocote fertilizer, it’s crucial to read and understand the instructions provided on the packaging. These instructions will give you specific guidelines regarding the application rate, frequency, and any additional precautions to observe. Familiarize yourself with the instructions to ensure that you apply the fertilizer correctly.
Step 2: Prepare the soil
Prepare the soil or growing media before applying Osmocote fertilizer. Ensure that the soil is adequately moist but not waterlogged. If needed, water the plants a day or two before fertilizing to ensure the soil is at the right moisture level. Additionally, remove any weeds or debris from the planting area to provide a clean space for the fertilizer application.
Step 3: Measure the fertilizer
Osmocote fertilizer is generally applied based on the plant’s size and the specific formulation used. Measure the appropriate amount of fertilizer according to the instructions provided. This is usually done using a measuring cup or by weighing the fertilizer based on the recommended dosage. Avoid over- or under-application to ensure optimal nutrient supply without causing harm to the plants.
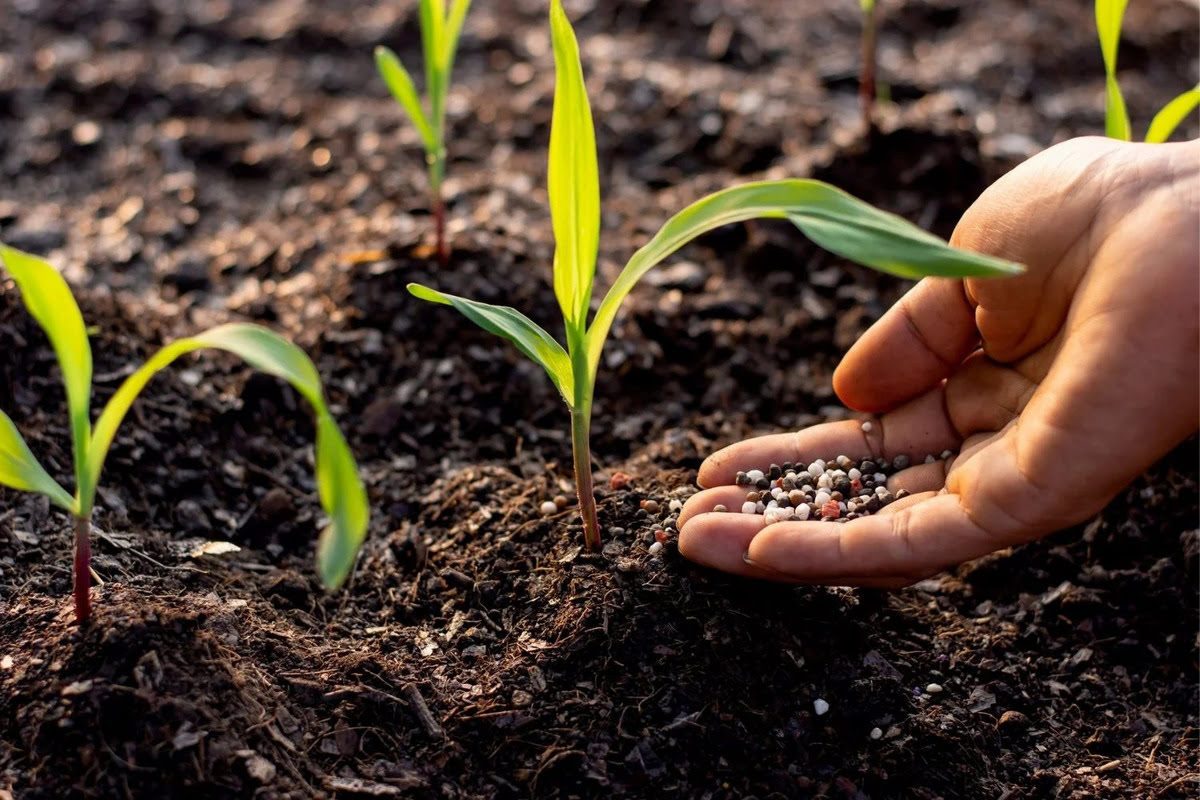
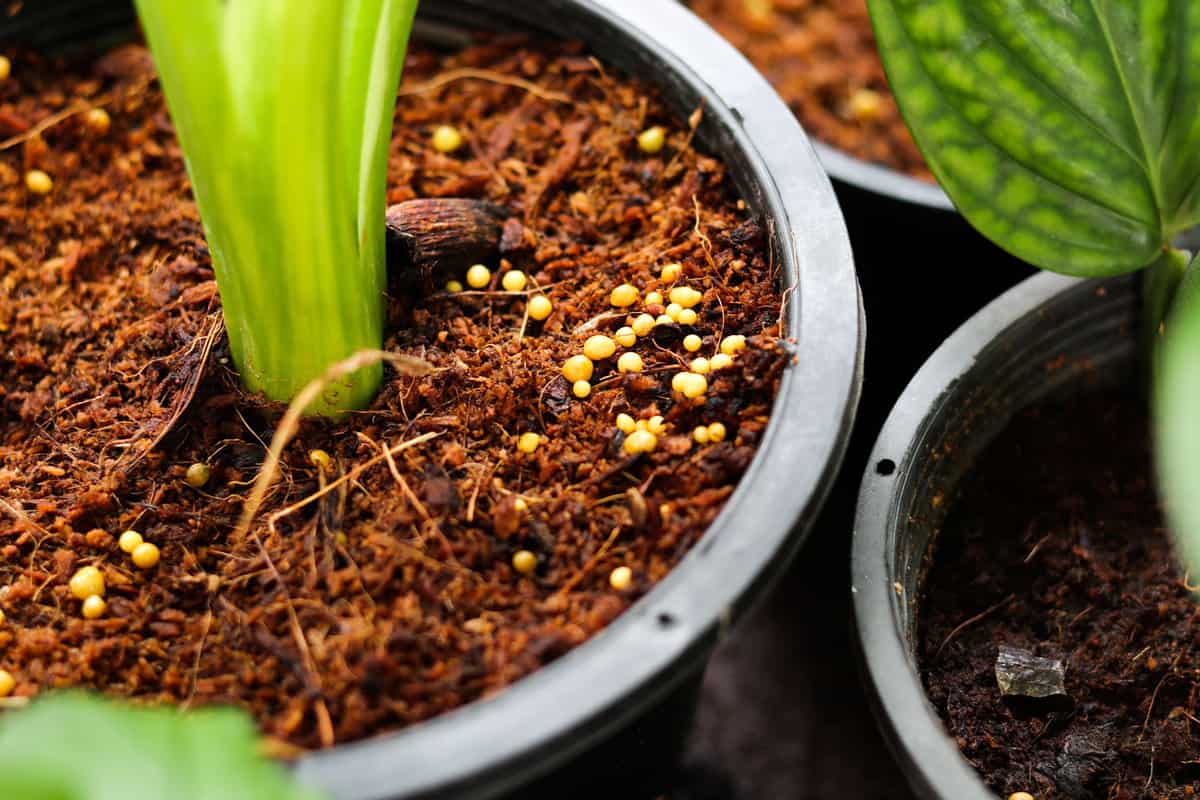
Step 4: Apply the fertilizer
For container plants, sprinkle the measured amount of Osmocote fertilizer evenly over the soil surface. Ensure that the fertilizer is spread out and not concentrated in one area to avoid potential burn or imbalance. For garden beds, you can apply the fertilizer either by broadcasting it evenly over the soil surface or by creating small holes around the plants and placing the fertilizer in those holes. Follow the specific recommendations provided on the packaging for the best results.
Step 5: Incorporate the fertilizer
After applying the Osmocote fertilizer, gently incorporate it into the top layer of the soil. For container plants, you can lightly scratch the soil surface with a small hand rake or your fingers to mix the fertilizer with the soil. In garden beds, use a garden fork or a hand tool to work the fertilizer into the top inch or two of the soil. This step helps the nutrients penetrate the root zone more effectively.
Step 6: Water thoroughly
After incorporating the fertilizer, water the plants or garden bed thoroughly. This helps activate the release of nutrients from the Osmocote pellets and ensures even distribution of the nutrients. Additionally, watering ensures that the fertilizer is evenly distributed within the soil, reducing the risk of nutrient concentration in specific areas.
Step 7: Maintain regular watering and monitoring
Once the Osmocote fertilizer is applied, it’s important to maintain regular watering and monitor the plants’ growth and health. While Osmocote provides slow-release nourishment, plants still require proper hydration and care. Monitor the soil moisture levels and adjust watering as needed to keep the plants hydrated. Regularly observe the plants for signs of growth, foliage color, and overall health to ensure they are receiving the right nutrients.
By following these steps, you can effectively apply Osmocote fertilizer and provide your plants with a steady supply of nutrients for optimal growth and health. Remember to refer to the specific instructions provided on the packaging for accurate dosage and application guidelines.
Preparing the Soil for Application
Before applying Osmocote fertilizer, it’s essential to properly prepare the soil to create an ideal environment for nutrient uptake and plant growth. By following these steps, you can ensure that your plants receive the full benefits of the fertilizer and thrive in a healthy soil ecosystem.
Step 1: Test the soil
Start by testing the soil to assess its pH level and nutrient content. Soil testing kits are readily available at garden centers or through local agricultural extension services. The results will provide valuable insights into the soil’s fertility and any nutrient deficiencies or imbalances present. This information will guide you in making informed decisions regarding the application of Osmocote fertilizer and any necessary soil amendments.
Step 2: Amend the soil
If the soil test reveals pH imbalances or nutrient deficiencies, it is important to address these issues before applying Osmocote fertilizer. Determine the appropriate amendments based on the test results and incorporate them into the soil. Common amendments include organic matter, lime or sulfur for pH adjustments, and specific nutrients to address deficiencies. Follow the recommended application rates provided on the product packaging and thoroughly mix the amendments into the soil.
Step 3: Improve soil structure
In addition to addressing pH and nutrient issues, improving the soil structure is crucial for optimal plant growth. Consider the texture and drainage properties of the soil in your planting area. If the soil is heavy and compacted, incorporate organic matter such as compost or well-rotted manure. This will help improve soil aeration, water-holding capacity, and nutrient availability for the plants.
Step 4: Clear the planting area
Prior to applying Osmocote fertilizer, clear the planting area of any weeds, rocks, or debris. Weeds compete with plants for nutrients, water, and sunlight, so removing them will allow your plants to fully benefit from the applied fertilizer. Removing rocks and debris will also create a smooth surface for fertilizer application and prevent any potential obstructions to root development.
Step 5: Loosen the soil
Loosen the top layer of the soil using a garden fork, hoe, or tiller. This will help break up any compacted soil and create a suitable environment for root growth. Loosening the soil increases its ability to absorb and retain moisture, which is essential for nutrient uptake and plant health. Be careful not to overwork the soil, as excessive tilling can disrupt the soil structure.
Step 6: Create planting beds or holes
If you’re planting in a garden bed, create planting beds or individual holes for each plant. This provides a designated area for the fertilizer application, ensuring it is concentrated around the plant roots. Dig planting holes or create furrows, ensuring they are wide and deep enough to accommodate the plant’s root system.
Step 7: Irrigate the soil
Prior to applying Osmocote fertilizer, thoroughly water the soil in the planting area. This helps settle the soil and ensures optimal moisture levels for root uptake. Adequate soil moisture allows the Osmocote fertilizer to release nutrients effectively and facilitates nutrient absorption by the plant roots.
By following these steps, you can properly prepare the soil before applying Osmocote fertilizer. This ensures that your plants have a nourishing and conducive environment to absorb the nutrients provided by the fertilizer. Through effective soil preparation, you can set the stage for healthy and vigorous plant growth.
Applying Osmocote Fertilizer to Container Plants
Container plants require specific care and attention, and applying Osmocote fertilizer correctly can contribute to their overall health and vitality. Follow these steps to ensure optimal nutrient supply to your container plants and promote their growth and development.
Step 1: Choose the right container and growing media
Start by selecting suitable containers for your plants. Ensure that the containers have drainage holes to prevent waterlogging and promote proper drainage. Additionally, choose a high-quality, well-draining growing media specifically designed for container gardening. This will provide a favorable environment for root development and nutrient absorption.
Step 2: Fill the container with growing media
Fill the container with the appropriate amount of growing media, leaving enough space for the plant’s root ball. Gently firm the soil to ensure it is stable and well-settled. Avoid over-compacting the soil, as this can hinder water and nutrient movement.
Step 3: Assess the plant’s fertilizer requirements
Consider the specific needs of the plant when selecting the appropriate Osmocote fertilizer formulation for container plants. Different plants have varying nutrient requirements. Take into account the plant type, growth stage, and recommended nutrient ratios to determine the suitable formulation. Refer to the instructions on the packaging for recommended application rates.
Step 4: Measure and apply the fertilizer
Measure the recommended amount of Osmocote fertilizer using a measuring cup or scale, following the instructions on the packaging. Avoid applying more fertilizer than necessary, as excess nutrients can lead to fertilizer burn or imbalances. Distribute the measured fertilizer evenly over the surface of the growing media, ensuring that it is spread out and not concentrated in one area.
Step 5: Incorporate the fertilizer into the growing media
Gently work the Osmocote fertilizer into the top layer of the growing media using a small hand rake or your fingertips. This will help integrate the fertilizer with the soil and improve nutrient dispersion. Be careful not to disturb the plant’s root system during this process to avoid damage.
Step 6: Water the container plant thoroughly
After applying the Osmocote fertilizer, water the container plant thoroughly. This helps activate the release of nutrients from the fertilizer and ensures even distribution within the growing media. Water until you see water draining from the bottom of the container, indicating that the root zone is saturated.
Step 7: Monitor and adjust as needed
Regularly monitor the moisture levels and overall health of your container plants. Adjust the watering frequency and amount as needed to prevent overwatering or underwatering. Remember that container-grown plants may require more frequent watering compared to those in the ground. Monitor plant growth, foliage color, and overall health to ensure they receive adequate nutrients and make adjustments if necessary.
By following these steps, you can effectively apply Osmocote fertilizer to your container plants. The slow-release nature of the fertilizer will provide a steady supply of nutrients over time, promoting healthy and thriving container-grown plants. Enjoy the benefits of lush and vibrant foliage, beautiful blooms, and bountiful harvests in your container garden.
Applying Osmocote Fertilizer to Garden Beds
Applying Osmocote fertilizer to your garden beds is an effective way to nourish your plants and support their growth and development. Follow these steps to apply Osmocote fertilizer correctly and ensure optimal nutrient supply to your garden plants.
Step 1: Assess the soil and plant needs
Before applying Osmocote fertilizer, assess the nutrient needs of your garden plants by conducting a soil test. This will help you determine any deficiencies or imbalances that need to be addressed. Consider the specific requirements of different plant species in your garden and select the appropriate Osmocote fertilizer formulation.
Step 2: Calculate the fertilizer quantity
Calculate the amount of Osmocote fertilizer needed based on the area of your garden bed. Refer to the instructions on the product packaging for the recommended application rate and adjust the quantity accordingly. Over-application can result in fertilizer burn, so be careful to use the appropriate amount.
Step 3: Prepare the garden bed
Prepare the garden bed by removing any weeds, rocks, or debris. Loosen the soil gently using a garden fork or tiller, taking care not to damage the plant roots. This step helps to create a suitable environment for root growth and allows for the penetration of the Osmocote fertilizer into the soil.
Step 4: Scatter the Osmocote fertilizer
Scatter the calculated amount of Osmocote fertilizer evenly over the garden bed surface. For small beds, you can apply the fertilizer by hand. For larger beds, consider using a spreader for a more even distribution. Avoid clumping the fertilizer in one area, as this can result in an uneven nutrient supply.
Step 5: Incorporate the fertilizer into the soil
After applying the Osmocote fertilizer, gently rake or hoe the soil surface to incorporate the fertilizer into the top few inches of soil. This helps to ensure that the nutrients are evenly distributed and readily available to the plant roots. Take care not to disturb the roots of existing plants while doing so.
Step 6: Water the garden bed
Water the garden bed thoroughly after applying the Osmocote fertilizer. This helps to activate the release of nutrients from the pellets and aids in their movement into the root zone. Ensure that the soil is evenly moist but not waterlogged, as excess water can lead to nutrient leaching.
Step 7: Maintain regular watering and monitoring
Continue to provide regular watering to your garden bed, ensuring that the soil remains consistently moist. Monitor the plants for signs of growth, foliage color, and overall health. Adjust your watering schedule as needed to ensure that the plants are receiving adequate moisture and nutrients.
By following these steps, you can effectively apply Osmocote fertilizer to your garden beds. The slow-release nature of the fertilizer ensures a steady and consistent supply of nutrients to your plants, promoting healthy growth and vibrant blooms. Enjoy the beauty and abundance of a well-nourished garden!
Caring for Plants After Application
After applying Osmocote fertilizer to your plants, it’s essential to continue providing proper care to maximize the benefits of the nutrients. Caring for your plants post-fertilization involves a combination of watering, monitoring, and occasional maintenance. Follow these guidelines to ensure your plants thrive and flourish after the application of Osmocote fertilizer.
Step 1: Watering
Continue to water your plants regularly, ensuring they receive adequate moisture. While Osmocote releases nutrients gradually, the water is needed to activate the fertilizer and facilitate nutrient absorption. Monitor the moisture levels in the soil, aiming for consistent moisture without waterlogging. Adjust your watering schedule as needed based on the specific needs of your plants and environmental conditions.
Step 2: Monitoring
Regularly monitor the growth, foliage color, and overall health of your plants. Observe any changes in their appearance or behavior, such as wilting, yellowing leaves, or stunted growth. These can be signs of nutrient deficiencies or other issues. Address any problems promptly by adjusting watering, addressing pests or diseases, or providing additional fertilization if necessary.
Step 3: Pruning and Maintenance
Perform regular pruning and maintenance to promote healthy growth and maintain the desired shape of your plants. Remove any dead, damaged, or diseased branches or foliage. Pruning helps redirect the plant’s energy to new growth and improves overall plant appearance. Additionally, remove any weeds or competing vegetation that may affect the nutrient uptake of your plants.
Step 4: Protection from External Factors
Protect your plants from harsh weather conditions, pests, and diseases. Provide shelter or shade during extreme heat or cold, and provide proper ventilation to minimize humidity and prevent fungal diseases. Regularly inspect your plants for pests or signs of disease, and take action immediately to mitigate any issues to prevent them from impacting plant health.
Step 5: Adjusting Fertilization (if needed)
While Osmocote provides slow-release nutrients, there may be instances where additional fertilization is necessary. Pay attention to the specific needs of your plants, especially if they show signs of nutrient deficiencies or require specific nutrient ratios. Supplemental fertilization may be required in such cases, using appropriate fertilizers based on the specific plant requirements.
Step 6: Enjoying and Evaluating
Take the time to enjoy the beauty and growth of your plants. Observe how they respond to the Osmocote fertilizer and evaluate the overall health and vigor of your garden. Appreciate the benefits of a well-fed plant, such as vibrant foliage, abundant blooms, or a bountiful harvest. Use this experience to learn and make adjustments for future fertilization practices.
By following these caring steps, you can ensure that your plants thrive and flourish after the application of Osmocote fertilizer. Consistent watering, monitoring, occasional maintenance, and timely adjustments will help create an ideal environment for your plants to grow, allowing them to reach their full potential and create a beautiful and thriving garden.
Tips and Precautions for Using Osmocote Fertilizer
Using Osmocote fertilizer can greatly benefit your plants, but it’s important to follow some tips and precautions to ensure optimal results and avoid any potential issues. By keeping these considerations in mind, you can maximize the effectiveness of Osmocote and promote healthy plant growth.
Tip 1: Read and follow the instructions
Always start by reading and following the instructions provided on the Osmocote fertilizer packaging. The instructions will provide specific recommendations for application rates, frequency, and any precautions to take. Following these guidelines will help you achieve the best results and avoid any potential harm to your plants.
Tip 2: Apply at the right time
Apply Osmocote fertilizer at the appropriate time according to the specific needs of your plants. Consider the plant’s growth stage and the recommended timing for fertilization. Applying the fertilizer during active growing periods ensures that the plants can effectively utilize the nutrients and promote healthy development.
Tip 3: Adjust application rates for young plants
When applying Osmocote fertilizer to young or newly established plants, it’s important to adjust the application rate accordingly. Young plants have smaller root systems and may not require the full recommended dosage initially. Gradually increase the application rate as the plants mature to avoid over-fertilization.
Tip 4: Avoid direct contact with foliage
Avoid direct contact between Osmocote fertilizer and the foliage of your plants. While Osmocote is designed to release nutrients gradually, direct contact with foliage can result in leaf burn or damage. Ensure that the fertilizer is applied to the soil or growing media and thoroughly mixed into the top layer.
Tip 5: Water thoroughly after application
After applying Osmocote fertilizer, water the plants thoroughly to initiate nutrient release and distribute the fertilizer through the soil. This helps activate the slow-release mechanism of Osmocote and ensures even distribution of the nutrients. Adequate watering also helps prevent nutrient leaching and promotes nutrient absorption by the plant roots.
Precaution 1: Store in a cool, dry place
Store Osmocote fertilizer in a cool, dry place away from direct sunlight and moisture. Exposure to heat and moisture can affect the quality and efficacy of the fertilizer. Keep the packaging tightly closed when not in use to prevent moisture absorption and keep the fertilizer in optimal condition.
Precaution 2: Avoid over-application
Although Osmocote is a slow-release fertilizer, it’s important to avoid over-applying the product. Over-application can result in nutrient imbalances, toxicity, or damage to the plants. Carefully follow the recommended application rates and adjust based on the specific needs of your plants.
Precaution 3: Keep out of reach of children and pets
Ensure that Osmocote fertilizer is stored in a safe location out of reach of children and pets. While the fertilizer is generally considered safe when used as directed, ingestion or excessive exposure to the fertilizer pellets can be harmful. It’s best to exercise caution and keep the product inaccessible to curious hands and paws.
Precaution 4: Wash hands after handling
After handling Osmocote fertilizer, wash your hands thoroughly with soap and water. This precautionary measure helps remove any residue and reduces the risk of accidental ingestion or skin irritation. Wearing gloves can provide an added layer of protection during the handling and application process.
By following these tips and precautions, you can use Osmocote fertilizer effectively and safely. Its slow-release nature and balanced nutrient composition make it a reliable choice for promoting healthy plant growth. With proper care and consideration, you can enjoy the benefits of well-nourished plants and a thriving garden.
Conclusion
Congratulations! You have gained a comprehensive understanding of using Osmocote fertilizer in your gardening endeavors. By grasping the concept of Osmocote’s slow-release nature and balanced nutrient composition, you can provide your plants with a steady and consistent supply of essential nutrients.
From selecting the right type of Osmocote fertilizer for your plants to properly applying it to both container plants and garden beds, you now have the knowledge and confidence to nourish your plants effectively. Remember to prepare the soil adequately, incorporate the fertilizer properly, and water your plants appropriately to maximize the benefits of Osmocote.
Along with the practical applications, we’ve also highlighted important tips and precautions to keep in mind. These guidelines will help you avoid common pitfalls and ensure a successful gardening experience. By reading and following the instructions, adjusting application rates for young plants, and avoiding direct contact between the foliage and fertilizer, you can protect your plants and optimize their growth potential.
Additionally, maintaining proper care for your plants after the application of Osmocote fertilizer is crucial. Regular watering, monitoring, occasional maintenance such as pruning, and protecting plants from external factors will contribute to their overall health and vigor.
As you continue your gardening journey, remember to always adapt and learn from your experiences. Observe how your plants respond to Osmocote fertilizer and adjust your practices accordingly. Each garden is unique, and by staying attentive to the needs of your plants, you can create a flourishing and beautiful garden environment.
Now armed with the knowledge of Osmocote fertilizer, go forth and nurture your garden with confidence. Enjoy the satisfaction of growing healthy and vibrant plants, as well as the numerous benefits that Osmocote can bring to your gardening endeavors. Happy gardening!