Home>Gardening Tips and Tricks>Eco-Friendly Gardening>How To Make A Mini Greenhouse For Seedlings
Eco-Friendly Gardening
How To Make A Mini Greenhouse For Seedlings
Modified: January 22, 2024
Learn how to create an eco-friendly mini greenhouse for seedlings with our step-by-step guide. Start your sustainable gardening journey today!
(Many of the links in this article redirect to a specific reviewed product. Your purchase of these products through affiliate links helps to generate commission for Chicagolandgardening.com, at no extra cost. Learn more)
Table of Contents
Introduction
Introduction
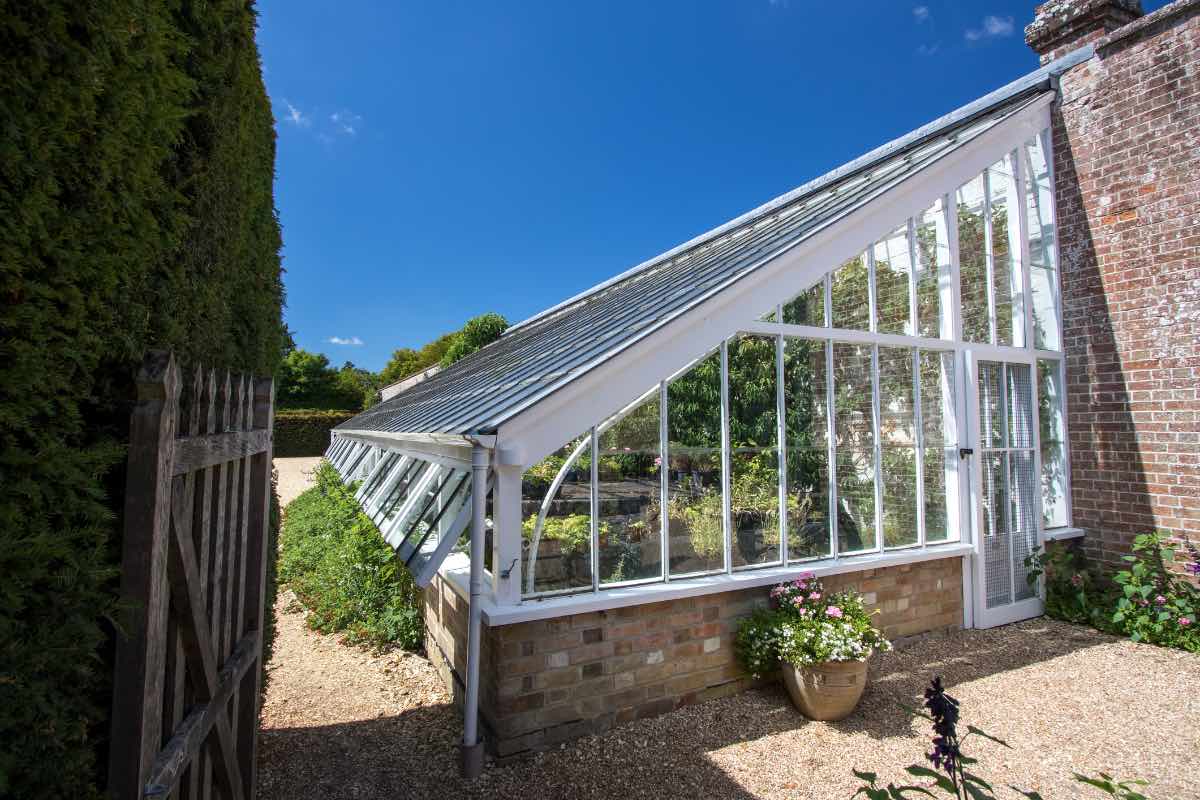
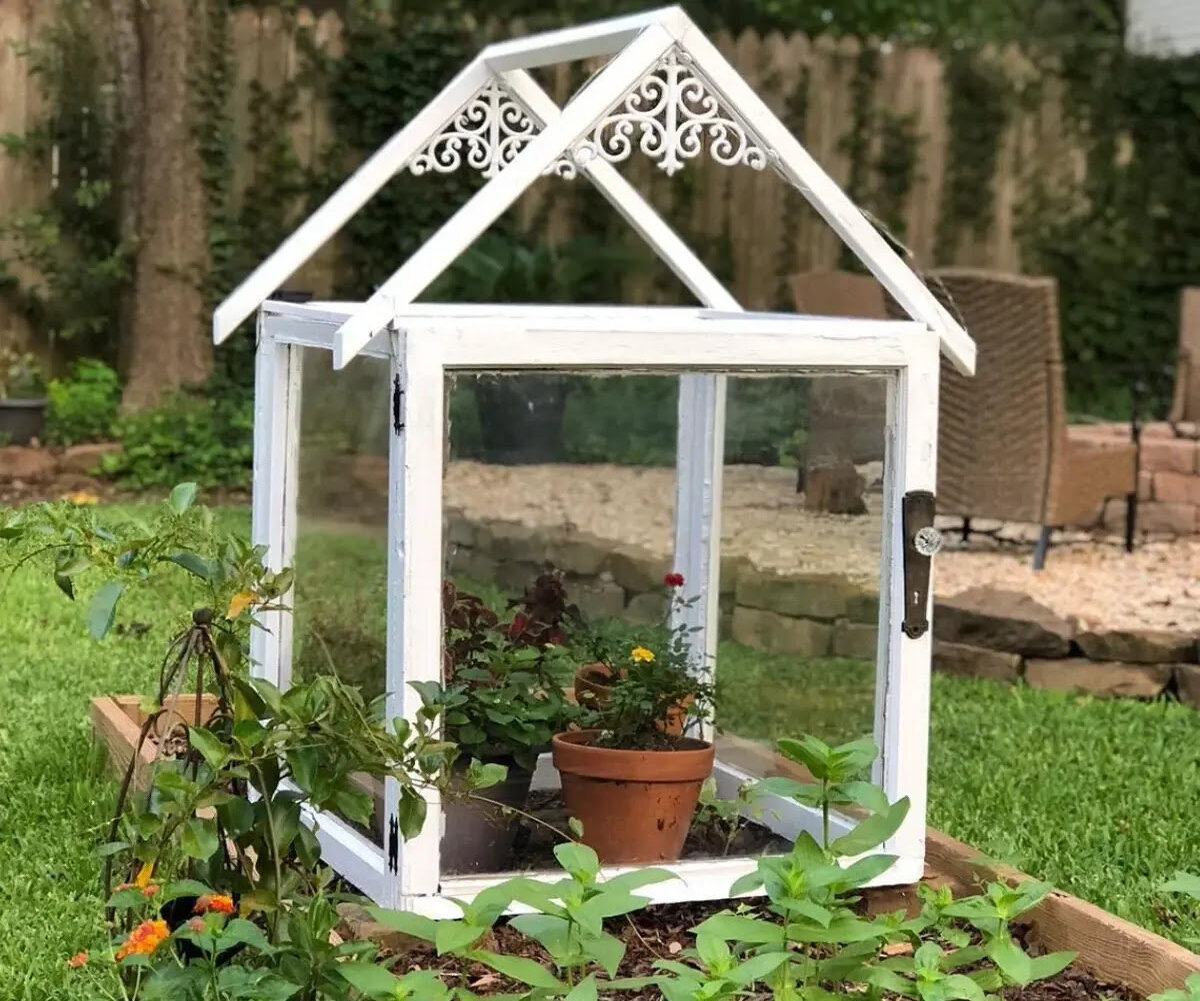
Are you eager to kickstart your gardening journey by nurturing your own seedlings? A mini greenhouse for seedlings is a fantastic way to provide the ideal environment for your young plants to thrive. Not only does it offer protection from harsh weather conditions, pests, and diseases, but it also creates a nurturing space for your seedlings to flourish before they are transplanted into your garden. In this comprehensive guide, we'll walk you through the step-by-step process of creating your very own mini greenhouse for seedlings. From assembling the frame to setting up the seedlings, you'll learn how to craft a nurturing haven for your young plants.
Creating a mini greenhouse for seedlings is a rewarding and eco-friendly endeavor. By reusing materials and harnessing the power of natural sunlight, you can reduce your environmental impact while enjoying the satisfaction of growing your own plants from seed. Whether you're a seasoned gardener or a novice with a green thumb, this DIY project is both practical and fulfilling. So, roll up your sleeves, gather your materials, and let's embark on this exciting journey to create a mini greenhouse that will nurture your seedlings into healthy, thriving plants.
Materials Needed
Before diving into the construction of your mini greenhouse for seedlings, it’s essential to gather the necessary materials. Here’s what you’ll need to bring your mini greenhouse to life:
- Wooden or PVC pipes: These will form the frame of your mini greenhouse. The choice between wooden and PVC pipes depends on availability and personal preference.
- Plastic sheeting or greenhouse plastic: This will serve as the covering for your mini greenhouse, providing a transparent barrier to allow sunlight to penetrate while retaining heat and moisture.
- Saw: If you’re using wooden pipes, a saw will be required to cut them to the appropriate lengths for the frame.
- Drill and screws: These will be used to assemble the frame securely and attach the plastic sheeting.
- Hinges (optional): If you plan to include a hinged door for easy access to your seedlings, hinges will be necessary for this addition.
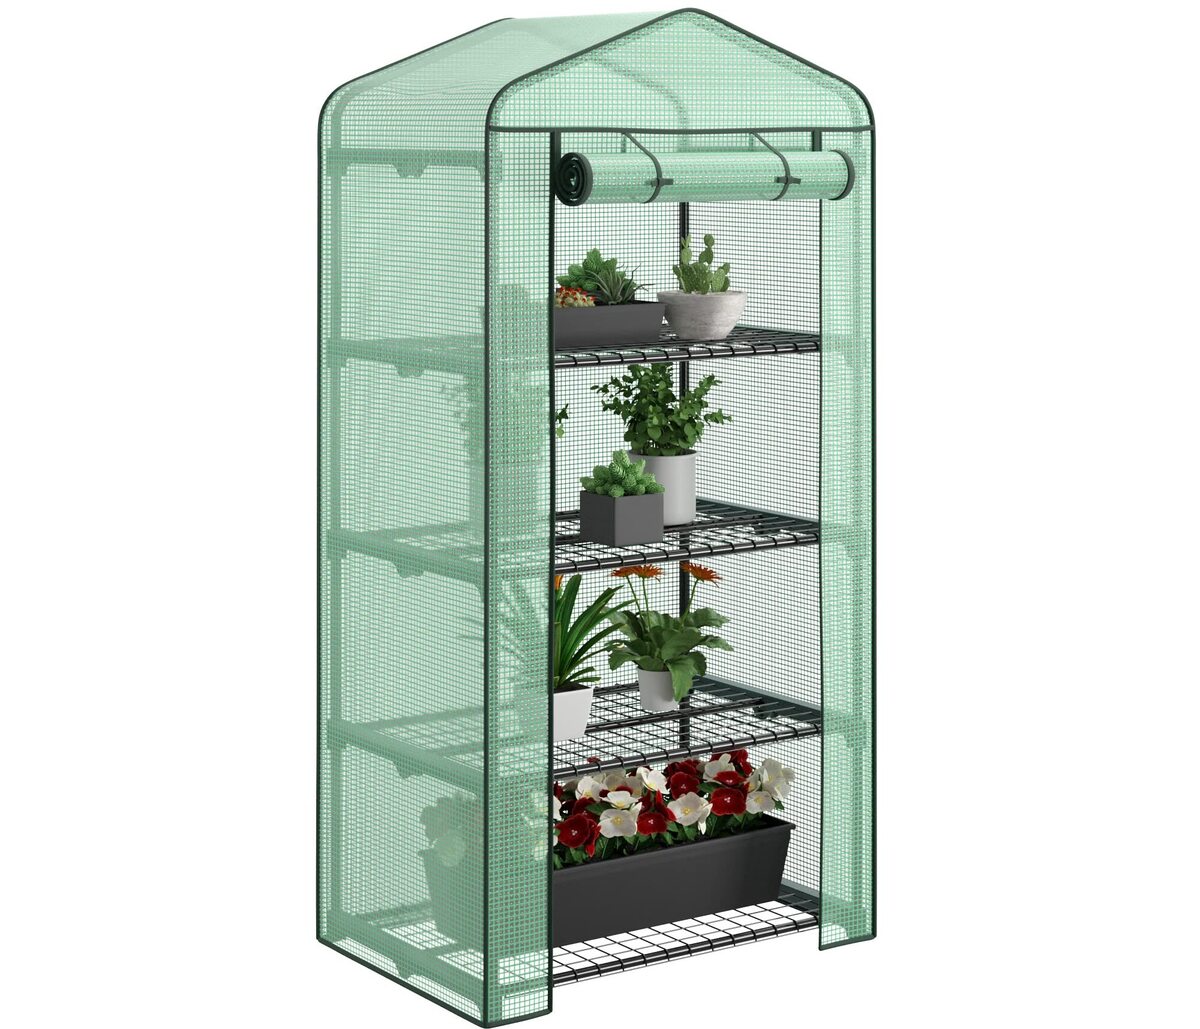
- Shelving or racks: To maximize space and accommodate multiple seedling trays, consider adding shelving or racks inside the mini greenhouse.
- Seedling trays or pots: These will house your seedlings within the mini greenhouse, providing a conducive environment for their growth.
- Seeds or seedlings: Of course, you’ll need the seeds or seedlings you intend to nurture within your mini greenhouse.
- Watering can or hose: To ensure your seedlings receive adequate moisture, a watering can or hose will be essential for their care.
Gathering these materials is the first step in preparing to construct your mini greenhouse for seedlings. Once you have everything on hand, you’ll be ready to move on to the exciting process of building and setting up your mini greenhouse.
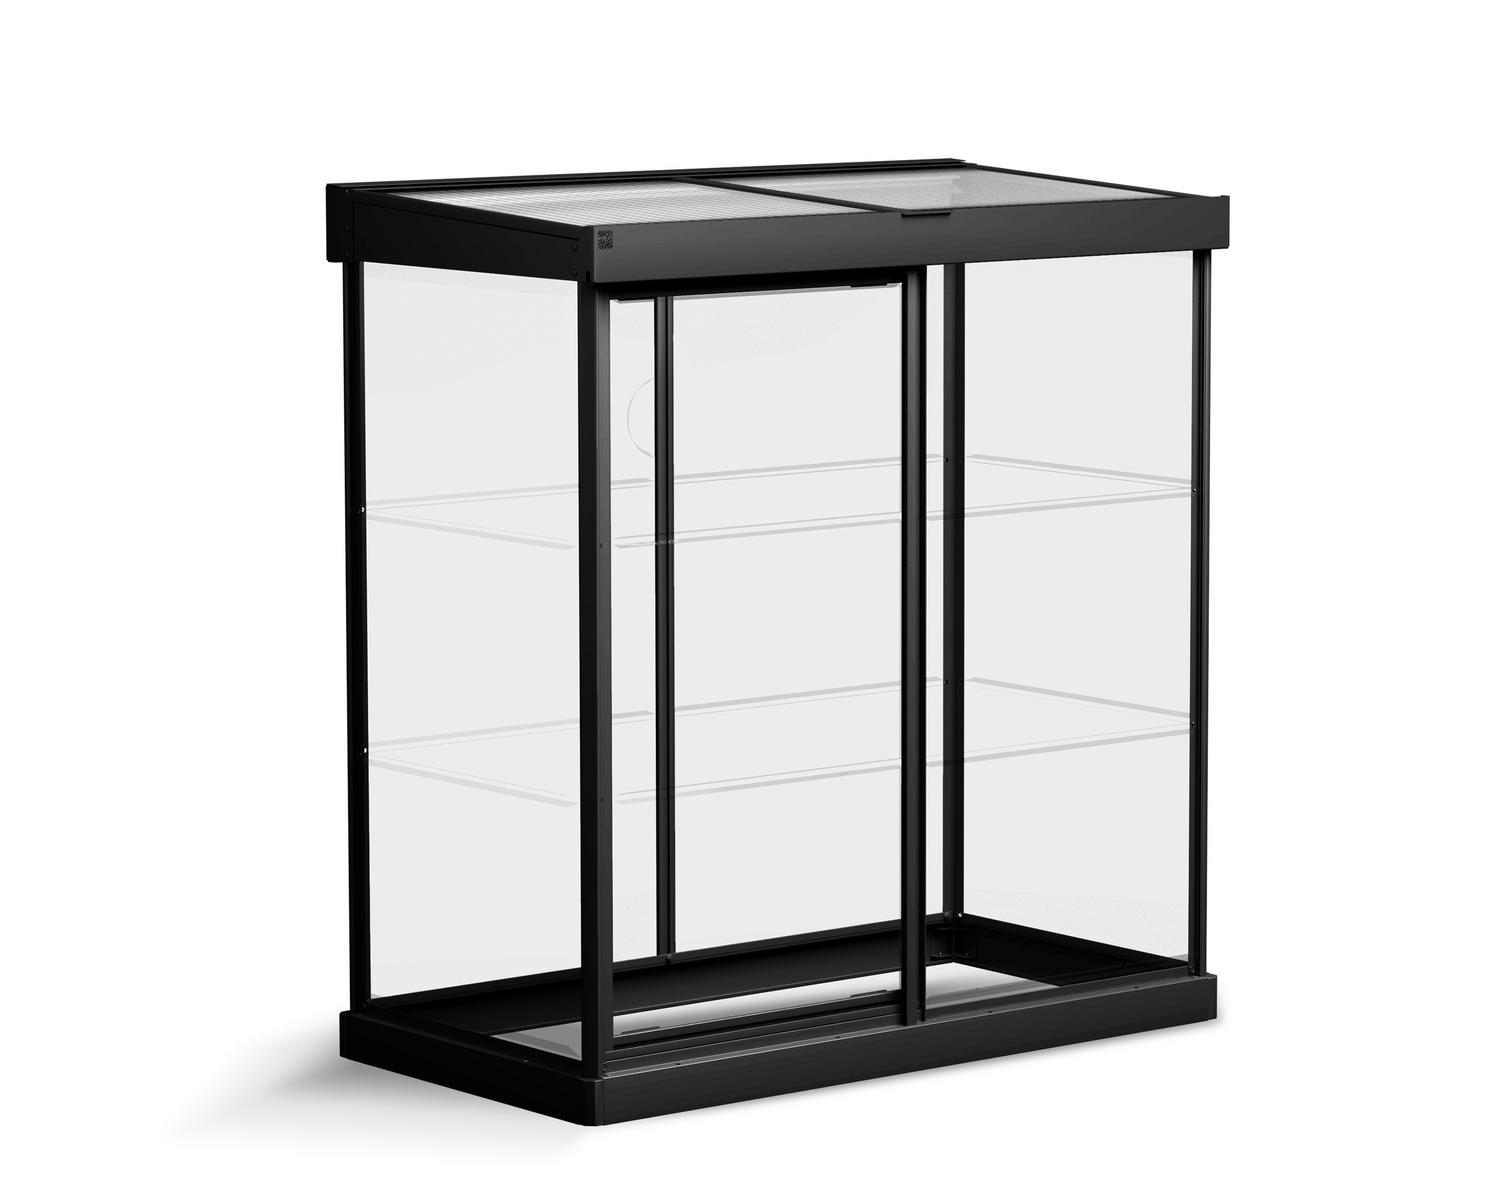
Step 1: Building the Frame
The foundation of your mini greenhouse for seedlings lies in its frame. Whether you opt for wooden or PVC pipes, the frame provides the structure and support for the entire greenhouse. Here’s a step-by-step guide to building the frame:
- Measure and cut the pipes: If you’re using wooden pipes, measure and cut them to your desired lengths based on the dimensions of your mini greenhouse. For PVC pipes, you can use a PVC cutter or a saw to achieve precise cuts.
- Assemble the base: Lay out the cut pipes to form the base of the frame. Connect the corners using elbow joints to create a rectangular or square shape, depending on your design.
- Build the vertical supports: Attach vertical pipes at each corner of the base to create the height of the greenhouse. Secure the vertical pipes to the base using T-shaped connectors or straight connectors, ensuring stability.
- Add the top frame: Connect the vertical pipes at the top by adding horizontal pipes to complete the frame structure. This step forms the roofline of the greenhouse.
- Secure the frame: Use screws or appropriate fasteners to secure the joints and ensure the frame is sturdy and stable. This step is crucial for withstanding outdoor elements and supporting the weight of the plastic sheeting.
Once the frame is constructed, you’ll have the skeleton of your mini greenhouse ready to be covered with plastic sheeting. Building a solid and well-anchored frame sets the stage for the next steps in creating a nurturing environment for your seedlings.
Step 2: Attaching the Plastic Sheeting
With the frame of your mini greenhouse assembled, the next crucial step is to cover it with plastic sheeting. This transparent barrier will create a protective and nurturing environment for your seedlings. Here’s how to attach the plastic sheeting to your greenhouse frame:
- Measure the plastic sheeting: Unroll the plastic sheeting and measure it to the appropriate size to cover the entire frame of the greenhouse, allowing for some overhang to secure it in place.
- Secure the sheeting to one end: Starting at one end of the greenhouse, use staples or strong clips to secure the plastic sheeting to the frame. Ensure it is taut and wrinkle-free as you work your way to the opposite end.
- Smooth out the wrinkles: As you progress, smooth out any wrinkles or folds in the plastic sheeting to maintain a tight and even covering across the entire frame.
- Secure the opposite end: Once the plastic sheeting is stretched and secured to the frame, fasten it securely at the opposite end, ensuring it is snug and resistant to wind and weather.
- Trim the excess: Trim any excess plastic sheeting, leaving a neat and tidy edge around the base of the greenhouse. This step adds a professional finish to your mini greenhouse.
By following these steps, you’ll effectively create a protective barrier that allows sunlight to penetrate while trapping heat and moisture within the greenhouse. The plastic sheeting plays a vital role in maintaining the ideal growing conditions for your seedlings, setting the stage for the next phase of setting up your mini greenhouse.
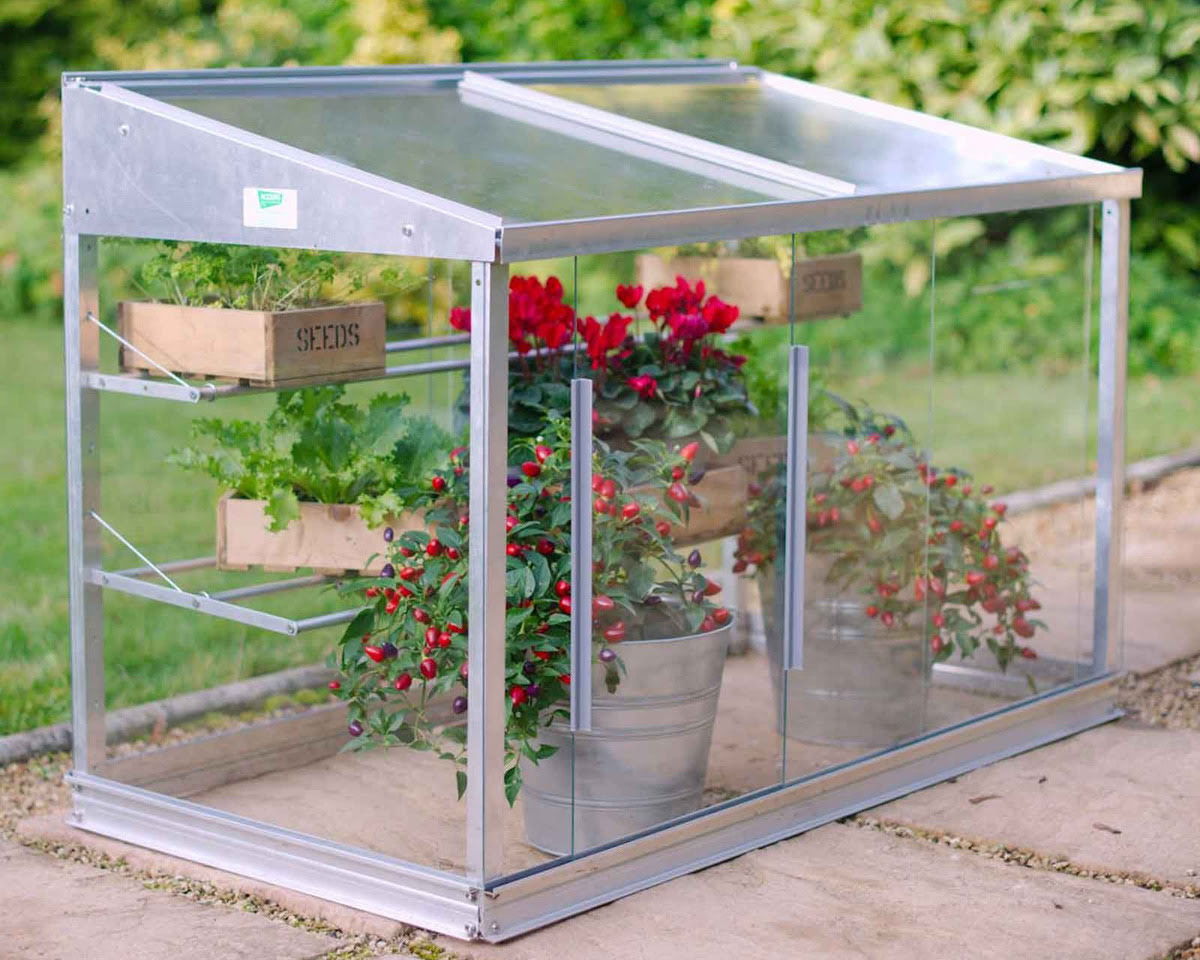
Step 3: Adding Shelves
With the frame and covering of your mini greenhouse in place, it’s time to optimize the interior space by adding shelves. This step is essential for maximizing the capacity of your greenhouse and providing ample room for your seedlings to thrive. Here’s how to add shelves to your mini greenhouse:
- Measure the interior space: Take precise measurements of the interior dimensions of your greenhouse to determine the size and placement of the shelves.
- Choose the shelving material: Select durable and moisture-resistant materials for the shelves, such as treated wood, plastic, or metal. These materials will withstand the humid environment inside the greenhouse.
- Install the shelving: Position the shelves at varying heights to accommodate different sizes of seedling trays or pots. Secure the shelves in place using brackets, ensuring they are level and stable.
- Optimize space: Arrange the shelves to allow for adequate airflow and sunlight penetration to reach all levels. This arrangement will create an optimal environment for your seedlings to receive the light and ventilation they need.
- Consider adjustable shelving: If space allows, consider incorporating adjustable shelves that can be repositioned as your seedlings grow, providing flexibility and adaptability within the greenhouse.
By incorporating shelves into your mini greenhouse, you’ll make efficient use of the available space and create a well-organized environment for nurturing your seedlings. The addition of shelves enhances the functionality of the greenhouse, allowing you to cultivate a diverse array of plants while optimizing the growing conditions for each one.
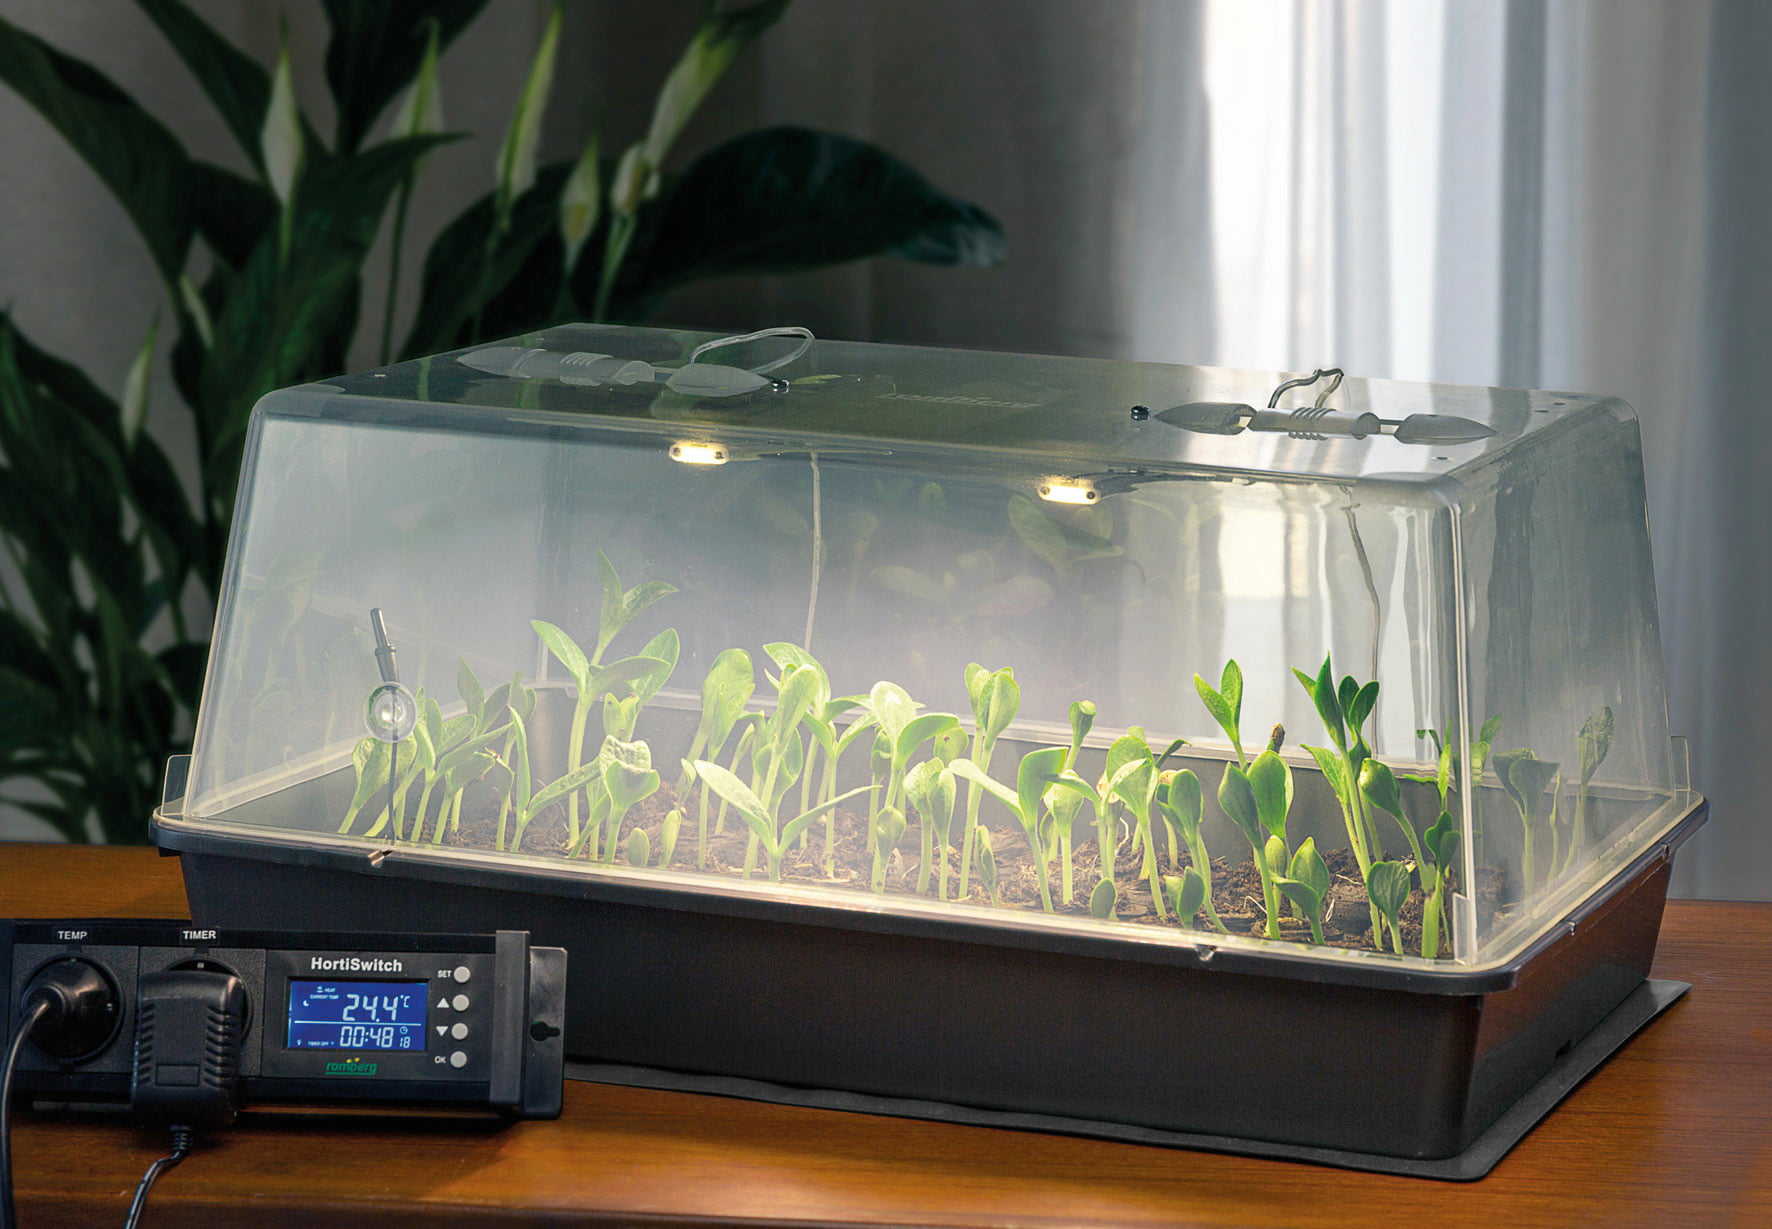
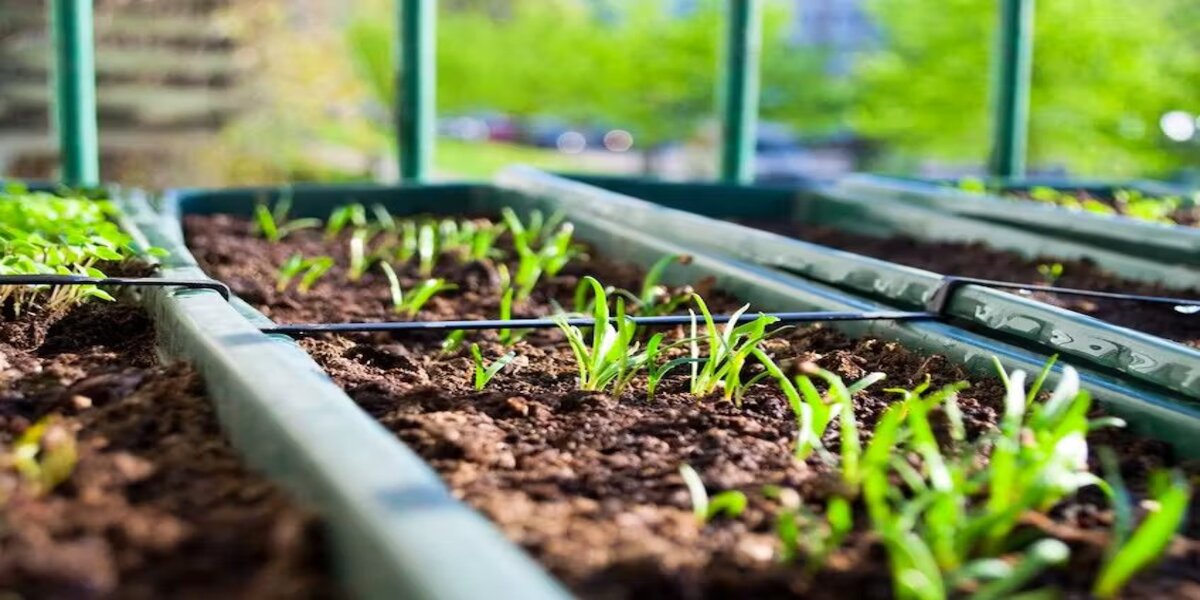
Step 4: Setting Up the Seedlings
With your mini greenhouse fully constructed and equipped with shelves, it’s time to introduce your precious seedlings to their new nurturing environment. This step involves carefully arranging the seedlings within the greenhouse to ensure they receive the optimal conditions for growth and development. Here’s how to set up your seedlings in the mini greenhouse:
- Select the appropriate containers: Choose seedling trays, pots, or containers that provide ample space for the initial growth of your seedlings. Ensure the containers have proper drainage to prevent waterlogging.
- Position the seedlings: Carefully arrange the seedling containers on the shelves, taking into account the light requirements of each plant species. Place taller seedlings towards the back of the greenhouse to prevent shading of smaller plants.
- Monitor temperature and humidity: Use a thermometer and hygrometer to monitor the temperature and humidity levels inside the greenhouse. Adjust ventilation as needed to maintain the ideal growing conditions for your seedlings.
- Watering and care: Water the seedlings as needed, ensuring that the soil remains consistently moist but not waterlogged. Monitor for signs of pests and diseases, and address any issues promptly to protect the health of your seedlings.
- Rotate the seedlings: Periodically rotate the seedling containers to promote even growth and prevent plants from leaning towards the light source. This practice ensures that all seedlings receive uniform exposure to sunlight.
By setting up your seedlings in the mini greenhouse, you create a nurturing and controlled environment that fosters their healthy development. The greenhouse offers protection from external elements and pests while providing the ideal conditions for your seedlings to flourish and prepare for eventual transplantation into your garden.
Conclusion
Congratulations on successfully creating your mini greenhouse for seedlings! By following the steps outlined in this guide, you’ve embarked on a rewarding journey of nurturing your own plants from their earliest stages. As you gaze upon the thriving seedlings within your mini greenhouse, you’ve not only cultivated a green haven for your plants but also contributed to a more sustainable and eco-friendly approach to gardening.
As you continue to care for your seedlings and witness their growth within the mini greenhouse, you’ll gain valuable insights into the art and science of gardening. The hands-on experience of tending to your seedlings will deepen your connection to the natural world and foster a greater appreciation for the wonders of plant life.
Remember that your mini greenhouse is a versatile and adaptable space that can accommodate a wide variety of plants, allowing you to experiment with different species and expand your gardening repertoire. Whether you’re nurturing herbs, flowers, or vegetables, the mini greenhouse provides a nurturing environment for all.
Furthermore, the sustainable nature of your mini greenhouse aligns with eco-friendly gardening practices, promoting resourcefulness and environmental consciousness. By reusing materials and harnessing natural sunlight, you’ve taken a step towards reducing your ecological footprint while enjoying the bountiful rewards of homegrown produce and vibrant blooms.
As you tend to your seedlings and witness the transformation of tiny seeds into robust plants, you’ll find joy in the nurturing process and the anticipation of eventually transplanting them into your garden. Your mini greenhouse serves as a sanctuary for growth, fostering the potential of each seedling and nurturing the beauty of nature.
Embrace the journey ahead, and may your mini greenhouse continue to be a source of inspiration, learning, and delight as you cultivate a thriving garden from the seeds of your labor.