Home>Gardening Techniques>DIY Projects>How To Make A Small Greenhouse
DIY Projects
How To Make A Small Greenhouse
Modified: January 22, 2024
Learn how to make a small greenhouse with this easy DIY project. Create your own backyard oasis for growing plants and vegetables.
(Many of the links in this article redirect to a specific reviewed product. Your purchase of these products through affiliate links helps to generate commission for Chicagolandgardening.com, at no extra cost. Learn more)
Table of Contents
- Introduction
- Step 1: Choosing the Location
- Step 2: Selecting Materials
- Step 3: Building the Frame
- Step 4: Installing the Covering
- Step 5: Adding Ventilation
- Step 6: Setting Up Irrigation System
- Step 7: Arranging Plants and Growing Beds
- Step 8: Maintaining Temperature and Humidity Levels
- Step 9: Monitoring Pests and Diseases
- Step 10: Harvesting and Enjoying the Benefits
- Conclusion
Introduction
Welcome to the world of DIY projects! Have you ever dreamed of having your very own greenhouse where you can grow your favorite plants, herbs, or even vegetables? With a small greenhouse, you can bring the joys of gardening into your own backyard, no matter how limited your space may be. Not only will a greenhouse provide a controlled environment for your plants to thrive, but it will also allow you to extend your growing season and experiment with a wider variety of crops.
In this comprehensive guide, we will take you through the step-by-step process of building your own small greenhouse. Whether you’re a seasoned DIY enthusiast or a beginner looking to take on a new project, this guide will provide you with the knowledge and inspiration to create a functional and beautiful greenhouse that suits your needs.
Before we dive into the nitty-gritty details, it’s important to understand the benefits of having a small greenhouse. First and foremost, a greenhouse creates a protected environment for your plants, shielding them from harsh weather conditions and pests. This means you have more control over the temperature, humidity, and light levels, allowing you to grow plants that may not thrive in your natural climate.
Additionally, a small greenhouse can serve as a sanctuary for plant enthusiasts, providing a peaceful retreat where you can indulge in your passion for gardening. It is also a fantastic way to save money by growing your own organic produce, herbs, and flowers. Not to mention the sense of fulfillment that comes from nurturing seeds and watching them grow into thriving plants.
So, if you’re ready to embark on an exciting DIY journey, let’s get started on building your own small greenhouse. Get your tools ready and let your green thumb do the talking!
Step 1: Choosing the Location
The first step in building your small greenhouse is selecting the perfect location for it. The location plays a vital role in determining the success of your greenhouse, so it’s important to choose wisely.
When choosing a location, there are several factors to consider. First and foremost, you’ll want a spot that receives plenty of sunlight throughout the day. Ideally, the greenhouse should be positioned in a south-facing area to maximize exposure to the sun. Direct sunlight is crucial for the growth and development of your plants.
It’s also important to consider the surrounding environment. Make sure the area is free from obstructions such as tall trees or buildings that may cast shadows on the greenhouse. Avoid locations that are prone to strong winds, as this can damage the structure and affect the temperature inside.
Another factor to consider is the accessibility of the location. Choose a spot that is convenient for you to access and maintain your greenhouse. This includes easy access to water sources for irrigation, as well as proximity to your home for quick visits and plant care.
Furthermore, take into account the size and layout of your property. Consider the available space and ensure that the greenhouse will fit comfortably without overcrowding. Take into account any future expansion plans or other structures you may want to include, such as a storage shed or raised growing beds.
Lastly, consider the local climate and weather patterns. If you live in an area with extreme temperatures or frequent storms, you may need to take additional measures to protect your greenhouse, such as adding extra insulation or reinforcement.
Once you have assessed all these factors, you can mark out the location for your greenhouse. Use stakes or spray paint to outline the dimensions of the greenhouse and ensure that it fits comfortably in the chosen area. Take your time during this step, as choosing the right location will set the foundation for a successful greenhouse project.
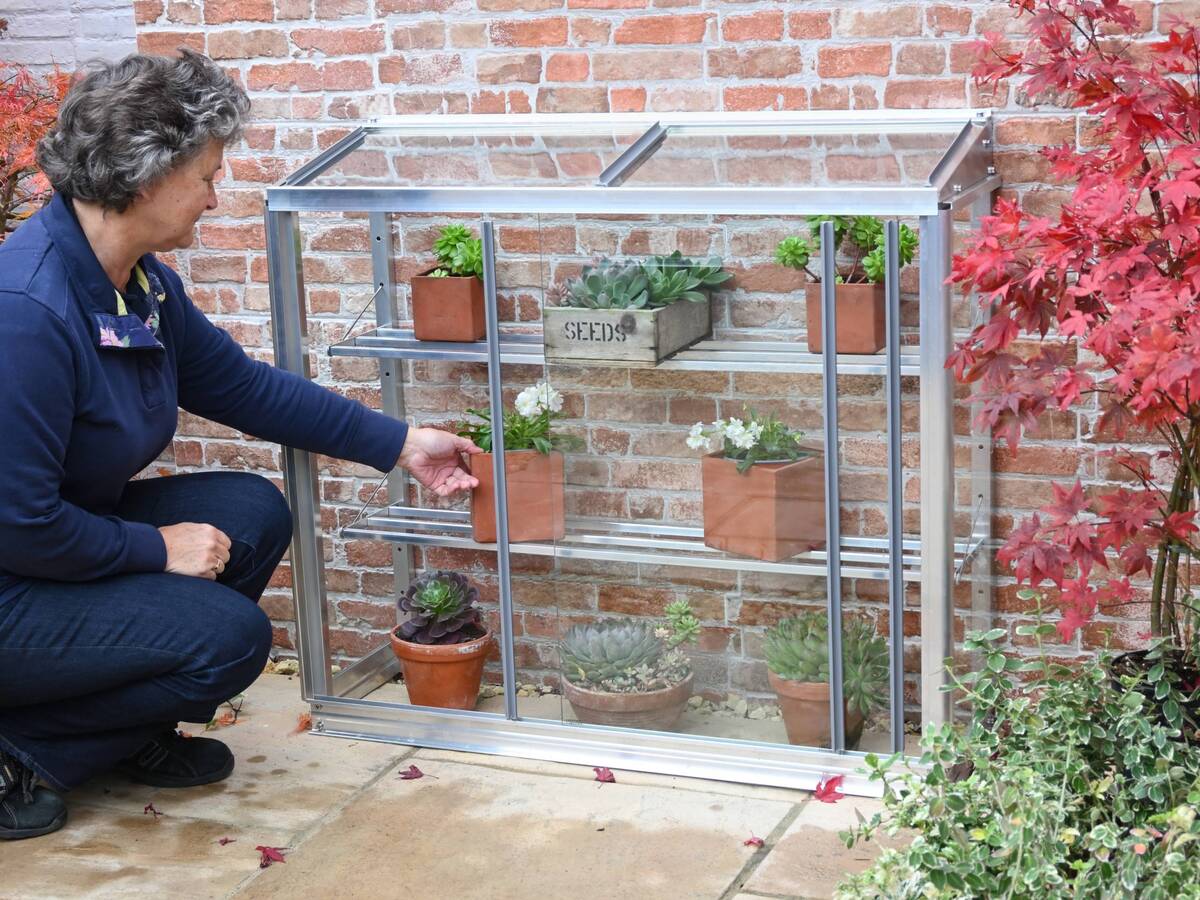
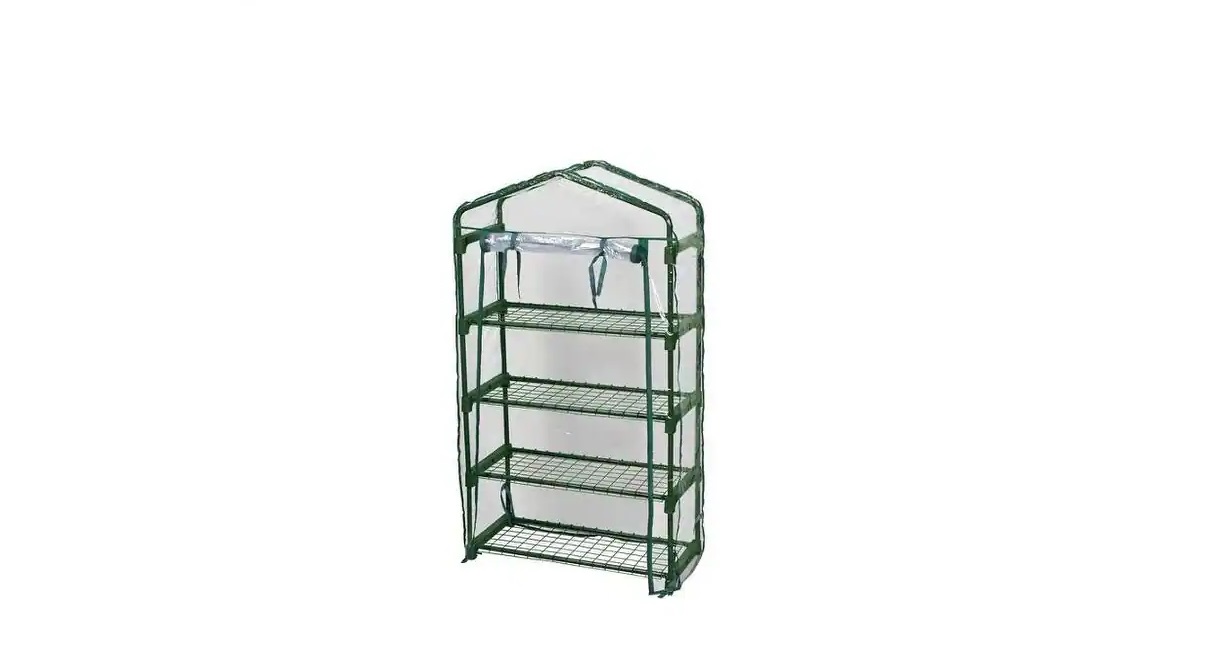
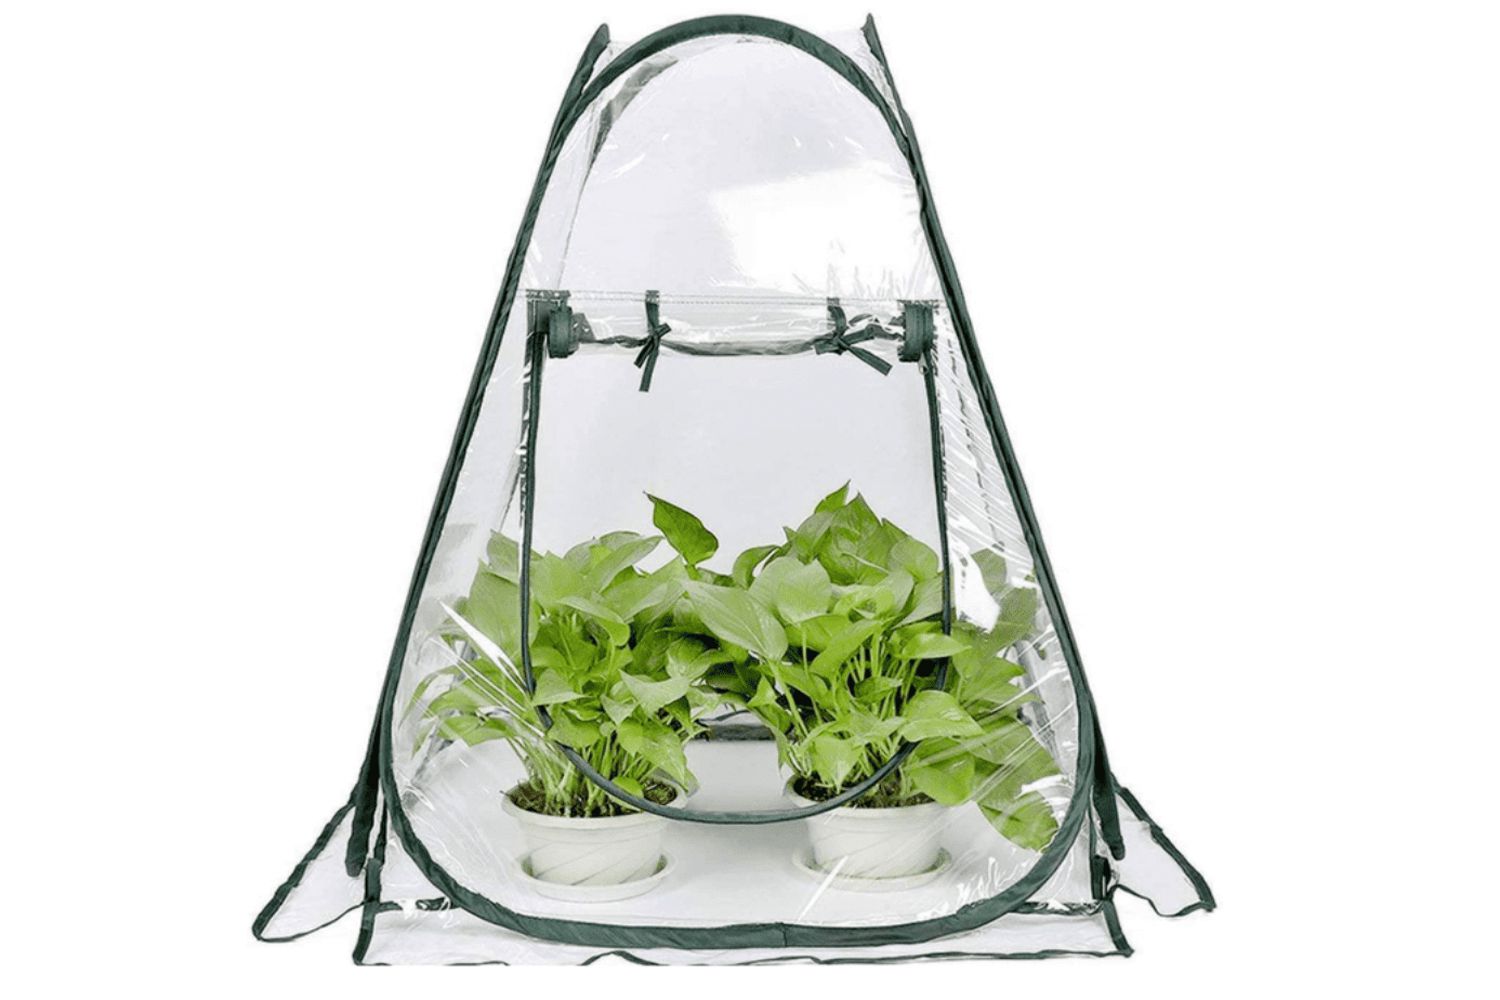
Step 2: Selecting Materials
Selecting the right materials for your small greenhouse is crucial to ensure its durability, functionality, and aesthetic appeal. There are several key components to consider when it comes to materials.
The first consideration is the frame of the greenhouse. Common materials for greenhouse frames include wood, aluminum, and PVC. Wood is a popular choice for its natural look and strength, but it requires regular maintenance to prevent rotting. Aluminum is lightweight, durable, and low-maintenance, making it a popular choice for many greenhouse enthusiasts. PVC is another option that is lightweight, affordable, and easy to work with, but it may not withstand heavy winds or extreme weather conditions as well as other materials.
Next, you’ll need to choose the covering for your greenhouse. The most common options are glass, polycarbonate, and polyethylene film. Glass provides excellent clarity and insulation but can be expensive and fragile. Polycarbonate is a durable and lightweight option that offers good insulation and UV protection. Polyethylene film is the most affordable option and provides adequate insulation, but it may need to be replaced more frequently.
In addition to the frame and covering, you’ll also need to consider the flooring material. Concrete, gravel, or even just bare soil are common choices for greenhouse flooring. Concrete provides a solid and durable surface, while gravel allows for better drainage. Bare soil can be used if you plan on growing plants directly in the ground. Choose a flooring material that suits your needs and budget.
When it comes to the doors and windows of your greenhouse, consider using materials that are durable and offer good insulation. Insulated double-pane glass or polycarbonate sheets are ideal for doors and windows to prevent heat loss and maintain a stable temperature inside the greenhouse.
Investing in quality materials may come with a higher upfront cost but will pay off in the long run with a more resilient and efficient greenhouse. Consider the climate in your area and the specific needs of your plants when selecting materials.
It’s important to note that each greenhouse project may have unique requirements, and the choice of materials may vary accordingly. Research different options, consult with professionals if needed, and select materials that align with your budget and goals for your small greenhouse.
Step 3: Building the Frame
Now that you have selected the materials for your small greenhouse, it’s time to start building the frame. The frame provides the structure and support for your greenhouse, so it’s important to ensure it is sturdy and properly constructed.
Begin by measuring and marking the dimensions of your greenhouse on the ground. Use stakes or spray paint to outline the perimeter of the frame. This will serve as a guide as you assemble the frame.
If you are using wood for the frame, start by cutting the lumber to the appropriate lengths according to your measurements. Then, assemble the frame using screws, nails, or brackets to connect the pieces securely. Ensure that the corners are square and the frame is level and plumb.
If you are using aluminum or PVC for the frame, follow the manufacturer’s instructions for assembly. These materials may require special connectors or fittings to join the pieces together. Take your time to carefully follow the instructions and ensure a secure and stable frame.
As you build the frame, consider adding cross supports or bracing for added stability. This is especially important if you live in an area with strong winds or if you plan on adding hanging baskets or shelving inside the greenhouse. Reinforcing the frame will prevent any bowing or bending, ensuring the longevity of your greenhouse.
Once the frame is built, it’s a good idea to check for any potential hazards or sharp edges. Sand down any rough surfaces or cover them with protective caps to prevent injuries during the construction process or when working inside the greenhouse.
Remember that every greenhouse project is unique, and the design and construction of the frame may vary depending on the chosen materials and personal preferences. Take your time to plan and construct a frame that meets your specific needs and ensures the structural integrity of your small greenhouse.
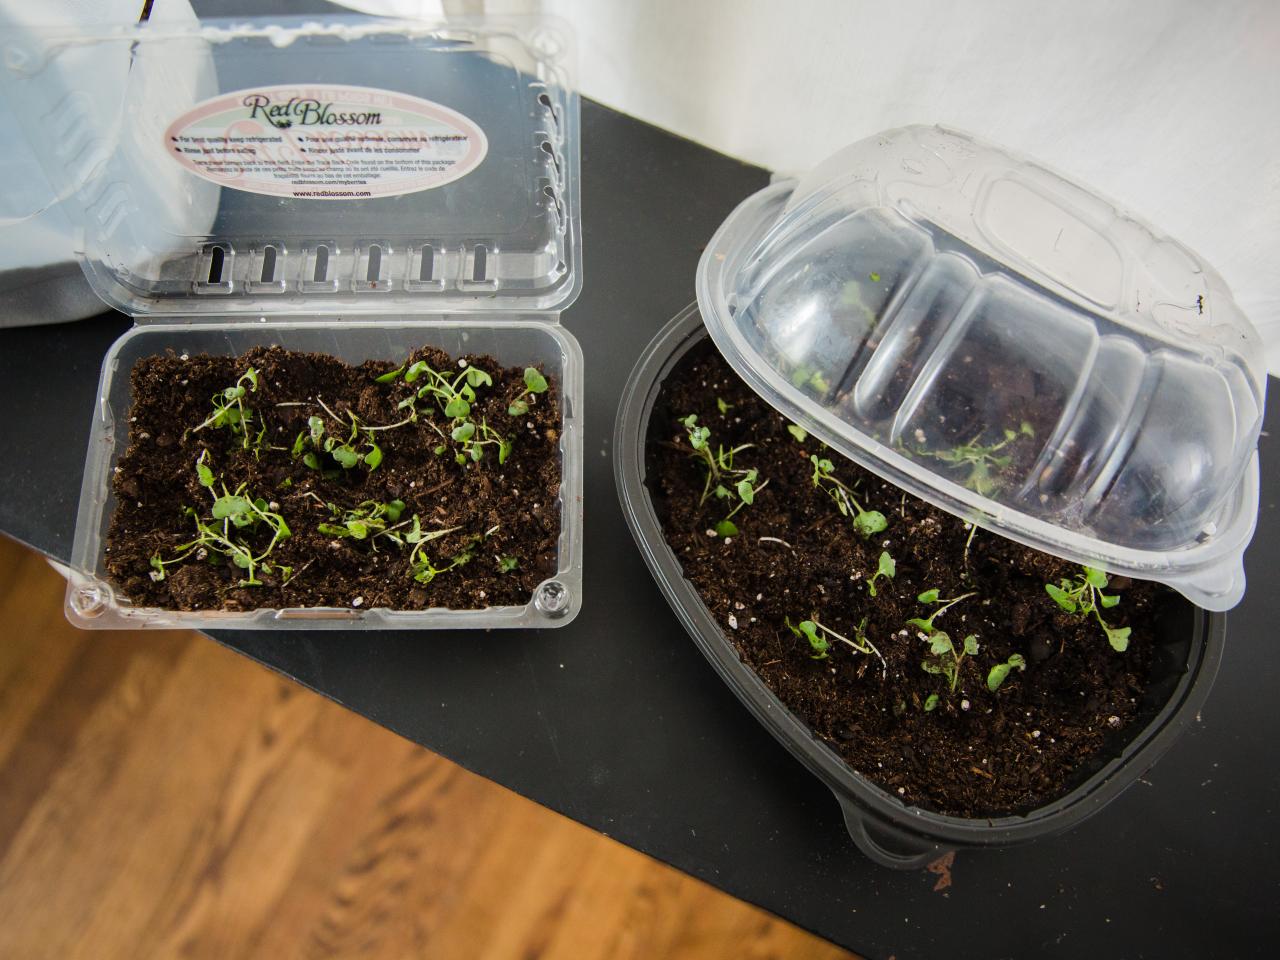
Step 4: Installing the Covering
With the frame of your small greenhouse completed, it’s time to install the covering. The covering serves as a protective barrier, allowing sunlight to enter while keeping the internal environment regulated and protected.
The type of covering you selected earlier will determine the installation process. If you chose glass panels, begin by carefully placing the panels on top of the frame. Use clips or glazing bars to secure the glass in place. Make sure the glass is level and properly sealed to prevent any gaps or leaks.
If you opted for polycarbonate sheets, follow the manufacturer’s instructions for installation. Most polycarbonate sheets come with pre-drilled holes for easy installation. Use screws and washers to attach the sheets to the frame securely. Be sure to align the sheets properly and leave room for expansion and contraction due to temperature changes.
Polyethylene film is typically installed by attaching it to the frame using staples or clips. Start by unrolling the film and securing one end to the frame. Stretch the film tightly over the frame and secure the opposite end, ensuring there are no wrinkles or sagging. Depending on the size of your greenhouse, you may need to connect multiple sheets of polyethylene film to cover the entire structure.
As you install the covering, pay attention to the seals and joints to ensure they are tight and properly sealed. This will prevent heat loss, water leakage, and drafts, creating a more efficient and controlled environment inside the greenhouse.
It’s important to note that each type of covering may require specific considerations for ventilation. Make sure to include vents or windows in your design to allow for proper air circulation and temperature regulation.
Throughout the installation process, take extra care when working with glass or polycarbonate sheets to avoid breakage. Wear protective gloves and goggles to protect yourself from any sharp or flying debris.
By properly installing the covering, you will create a secure and well-insulated greenhouse that will provide optimal growing conditions for your plants and extend your growing season.
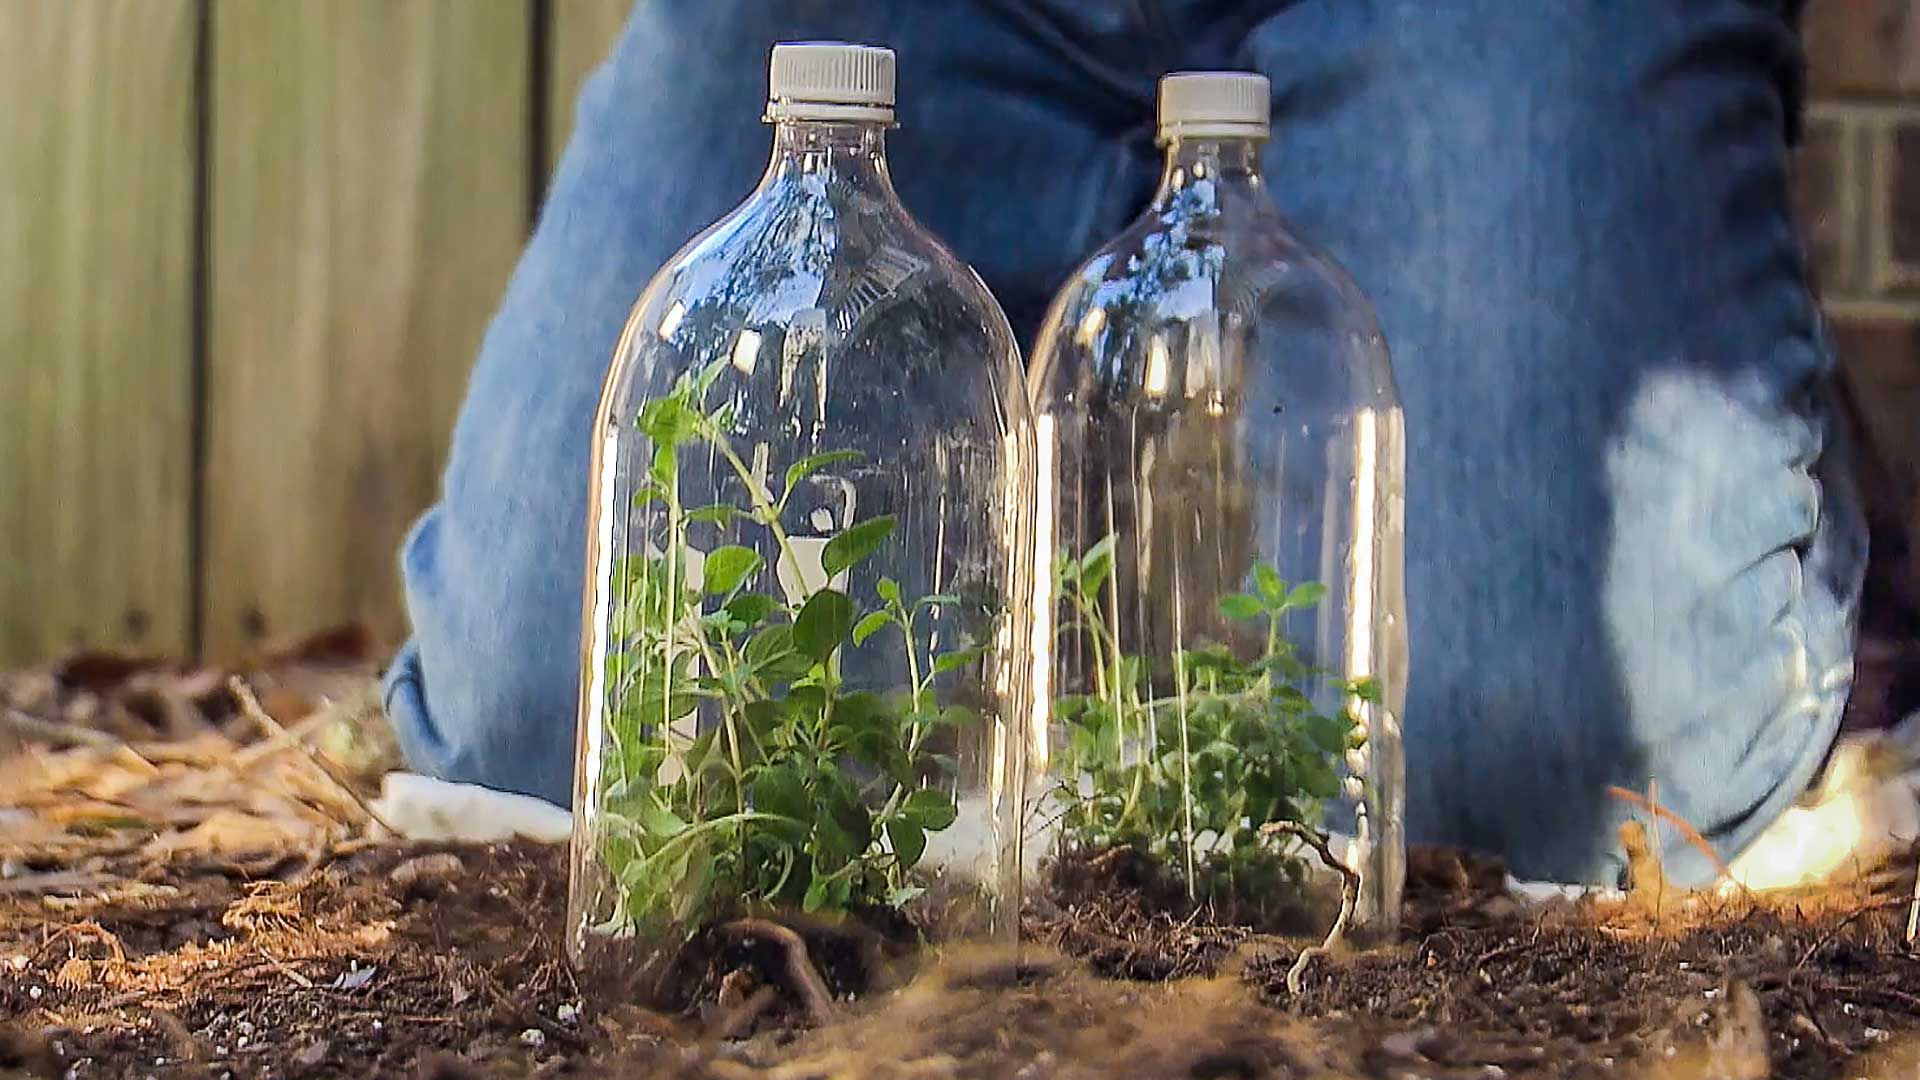
Step 5: Adding Ventilation
Ventilation is a crucial aspect of any greenhouse to maintain a healthy and thriving environment for your plants. Proper airflow helps regulate temperature, humidity, and prevents the buildup of harmful gases and diseases. In this step, we’ll explore different ventilation options and how to incorporate them into your small greenhouse.
One of the simplest and most effective ventilation methods is through windows. Install windows on opposite sides of the greenhouse to encourage cross-ventilation. You can use automatic openers or manual cranks to control the opening and closing of the windows, allowing for airflow as needed. Make sure the windows are properly sealed when closed to prevent drafts.
In addition to windows, consider adding vents along the roof or sides of the greenhouse. Roof vents can be opened and closed manually or automatically, allowing hot air to escape and fresh air to enter. Side vents, such as louvered vents or roll-up curtains, provide additional ventilation options and can be adjusted depending on the temperature and airflow requirements.
If you live in an area with high humidity or excessive heat, you may want to consider installing exhaust fans or evaporative cooling systems. These systems help draw out hot air and replace it with cooler outside air. Exhaust fans can be installed on one end of the greenhouse, while an intake vent is situated on the opposite end to create a continuous airflow.
Another option for ventilation is the use of shade cloths or netting. These coverings can be placed over the greenhouse to filter sunlight and reduce heat buildup. Shade cloths come in various densities, allowing you to control the amount of sunlight and heat that enters your greenhouse.
When designing the ventilation system for your greenhouse, consider the specific needs of your plants and the local climate. An excess of heat or humidity can be detrimental to your plants’ growth and may even lead to the spread of diseases. Adequate ventilation will help maintain a balanced and optimal environment for your plants.
Remember to regularly monitor and adjust the ventilation system based on weather conditions and the stage of plant growth. Proper airflow will greatly contribute to the overall success of your small greenhouse and the well-being of your plants.
Step 6: Setting Up Irrigation System
Installing an efficient irrigation system is essential in ensuring that your plants receive adequate water without the hassle of manual watering. Proper irrigation will help maintain consistent moisture levels in the soil, promoting healthy plant growth and preventing water-related issues such as overwatering or underwatering. In this step, we will explore different irrigation options for your small greenhouse.
One common method of irrigation is using drip irrigation systems. Drip irrigation delivers water directly to the base of the plants, minimizing water waste and reducing the risk of fungal diseases. This system consists of tubes or tapes that are placed near the plants, allowing water to drip slowly onto the soil. The distribution of water can be controlled through flow regulators or timers.
Sprinkler irrigation systems, on the other hand, distribute water through sprinkler heads that spray water over a larger area of the greenhouse. This method is best suited for larger greenhouses or for crops that require overhead watering. However, it is important to ensure that the water reaches the roots of the plants and does not wet the foliage excessively, as this can lead to certain diseases.
Another option is using a soaker hose system. Soaker hoses are permeable hoses that allow water to seep through and water the surrounding soil. This method is cost-effective and efficient for smaller greenhouse setups.
In addition to the irrigation systems, it’s crucial to have a proper water source and filtration system in place. Depending on the size and scale of your greenhouse, you can connect the irrigation system to a water faucet or collect rainwater in barrels for irrigation purposes. Installing a filter will help ensure that the water supplied to your plants is free from debris and contaminants that can potentially harm them.
Regardless of the irrigation system you choose, it’s important to monitor the moisture levels in the soil regularly. Test the soil by sticking your finger an inch or two into the soil and assess its moisture content. This will allow you to adjust your irrigation schedule accordingly and prevent overwatering or underwatering.
Remember, different plants have varying water requirements, so it’s important to understand the specific needs of the plants you are growing in your greenhouse. Pay attention to factors such as the stage of growth, weather conditions, and the type of soil you are using to determine the optimal irrigation schedule for your plants.
By setting up a reliable and efficient irrigation system, you will ensure that your plants receive the proper amount of water they need to thrive and flourish in your small greenhouse.
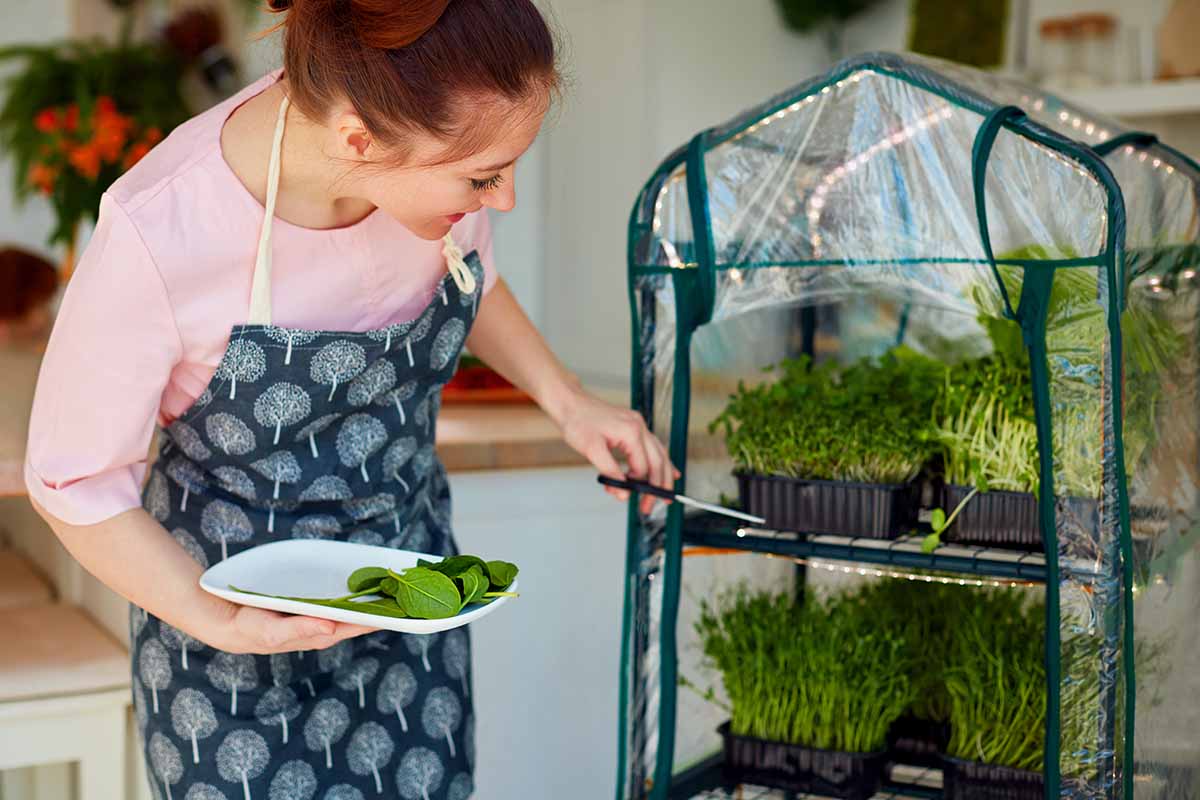
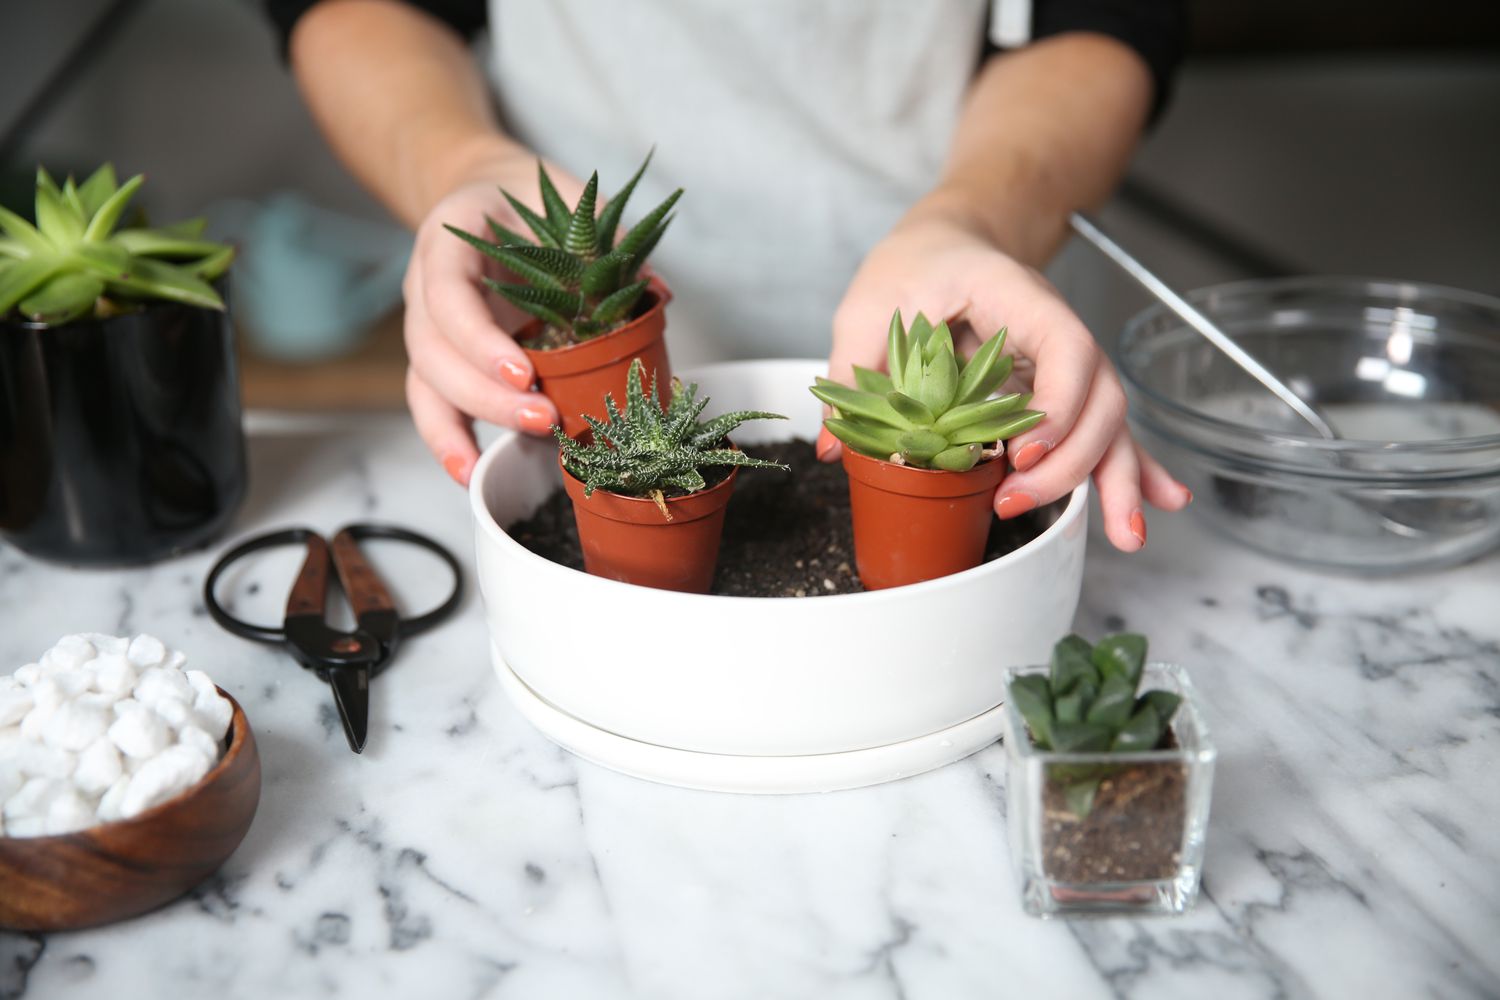
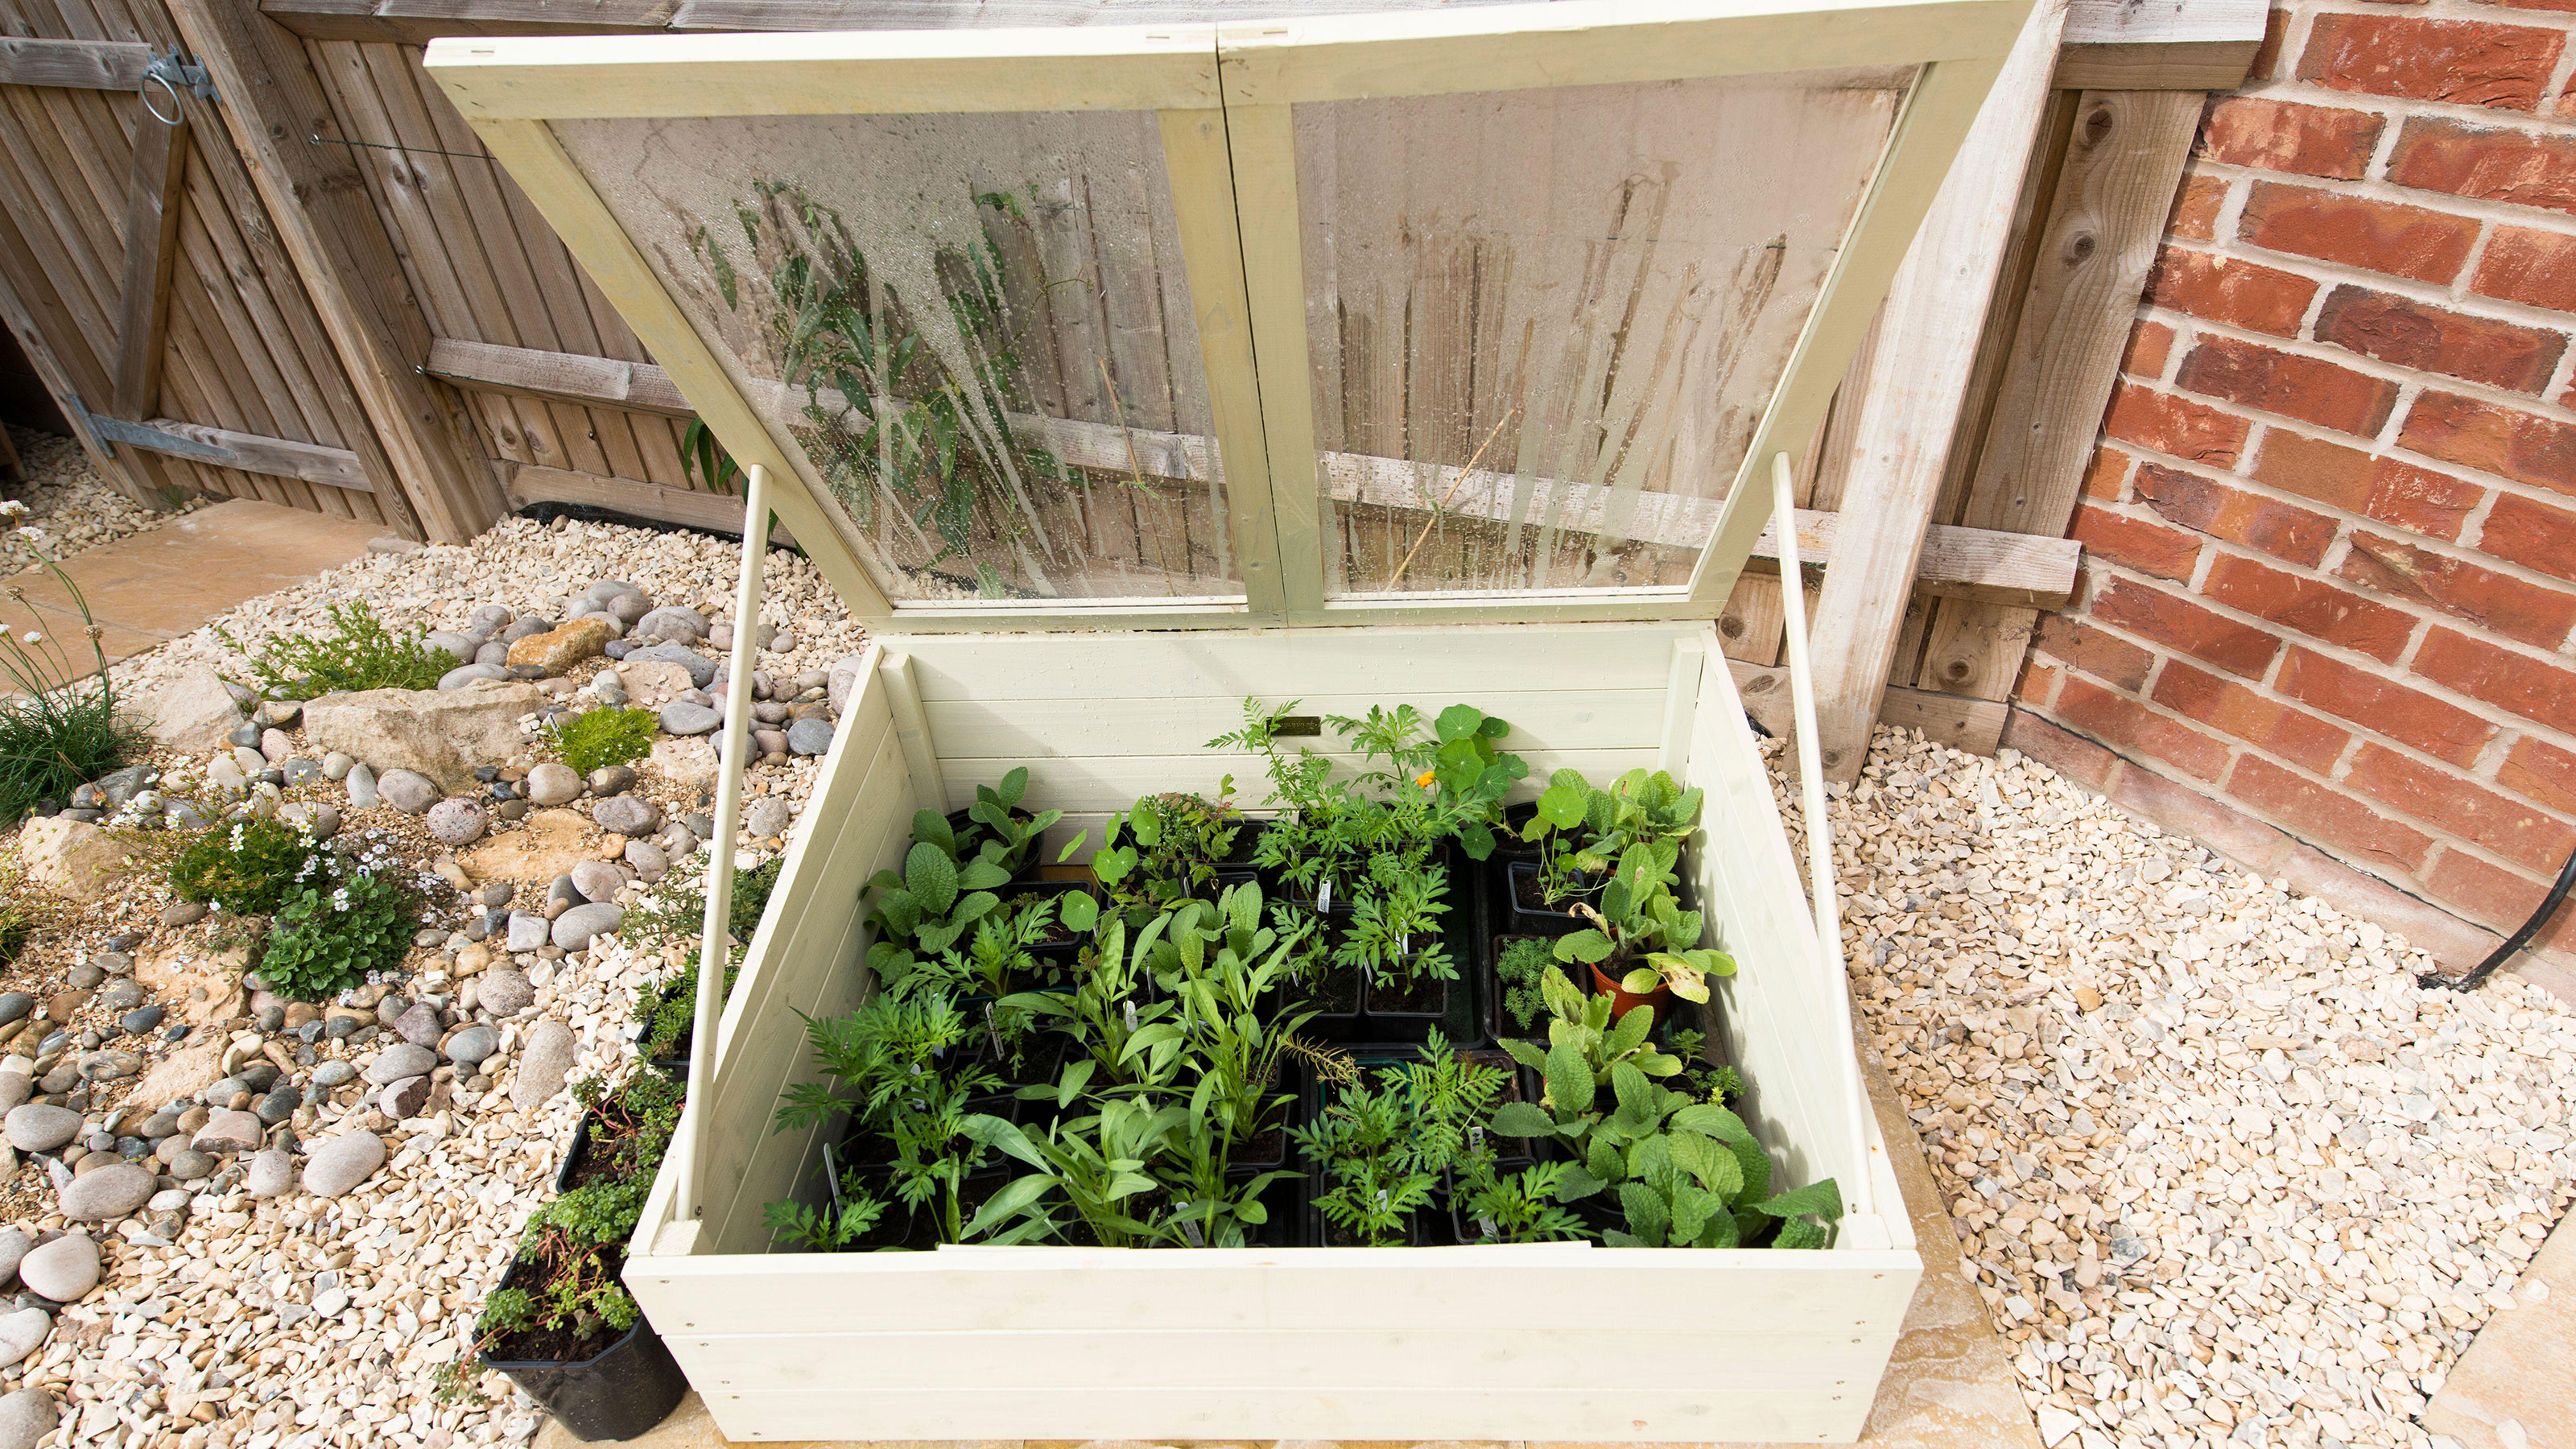
Step 7: Arranging Plants and Growing Beds
The arrangement of plants and the layout of growing beds play a crucial role in maximizing the space and productivity of your small greenhouse. Proper organization will allow for easier maintenance, better access to plants, and efficient use of resources. In this step, we’ll explore how to arrange plants and set up growing beds in your greenhouse.
Before arranging plants, consider the specific needs and preferences of each plant. Group plants together based on their light, temperature, and water requirements. This will make it easier to provide the ideal growing conditions for each plant and prevent cross-contamination of pests or diseases.
When it comes to setting up growing beds, there are a few options to consider. Raised beds are a popular choice as they provide better drainage and prevent soil compaction. They are also easier to access and maintain. To create raised beds, build frames using wood or other suitable materials and fill them with a mixture of compost, soil, and amendments to create a fertile growing medium.
If you prefer to grow plants directly in the ground, prepare the soil by removing any debris or weeds. Till or loosen the soil to improve its structure and ensure proper drainage. You can also amend the soil with organic matter or fertilizers to provide essential nutrients for plant growth.
Consider the layout and spacing of your plants to optimize their growth. Leave sufficient space between plants to allow for adequate air circulation, and ensure that taller plants are not shading smaller ones. Implement techniques such as companion planting to enhance the health and productivity of your plants.
Additionally, consider utilizing vertical space to maximize your growing area. Install trellises or hanging baskets to support climbing plants or vining vegetables. This will not only save space but also create a visually appealing and lush environment in your greenhouse.
When arranging your plants, take into account their growth habits and the potential size they will reach at maturity. This will help prevent overcrowding and competition for resources as the plants develop. Regularly monitor and adjust the arrangement as the plants grow to maintain optimal spacing and ensure proper airflow.
Lastly, label your plants to keep track of their varieties and specific care requirements. This will help you stay organized and ensure that each plant receives the necessary attention it needs to thrive.
By thoughtfully arranging your plants and setting up growing beds, you will optimize the space in your small greenhouse, promote healthy plant growth, and make maintenance more efficient and enjoyable.
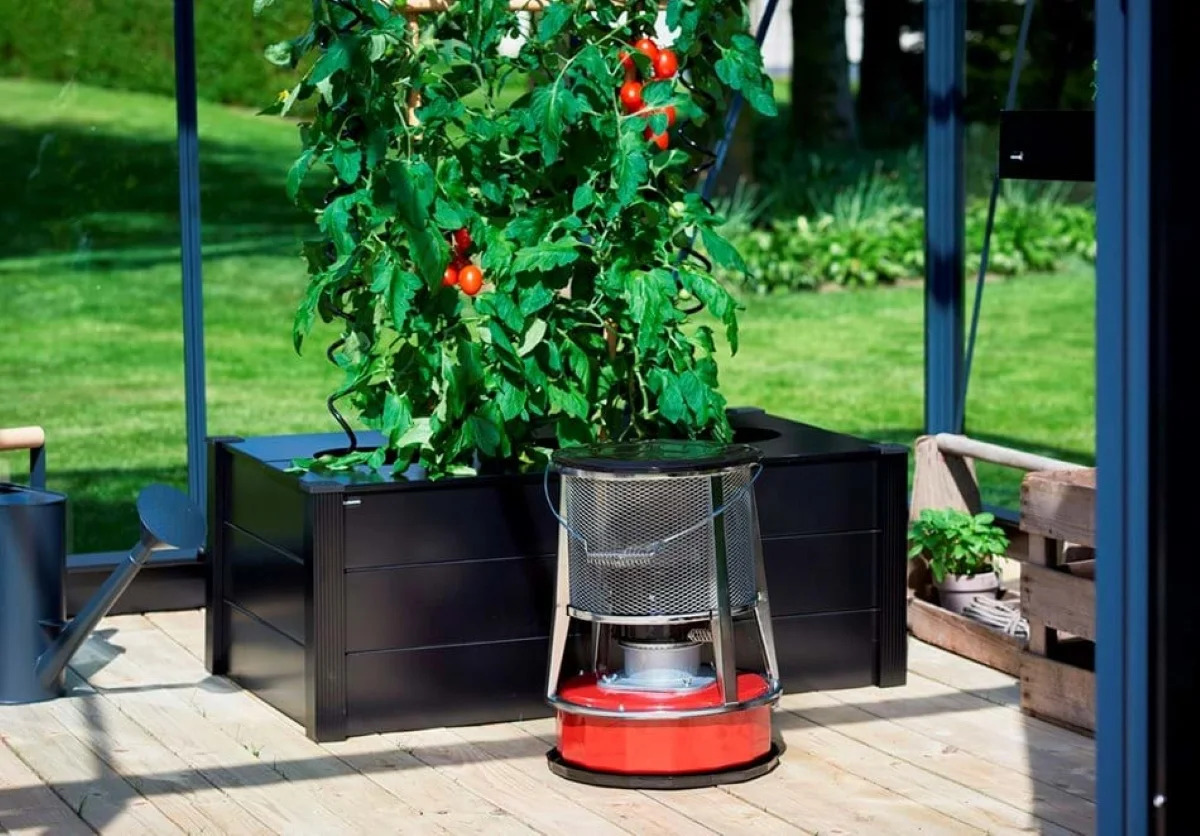
Step 8: Maintaining Temperature and Humidity Levels
Maintaining the right temperature and humidity levels is crucial for the success of your small greenhouse. Different plants have specific temperature and humidity requirements, and creating an environment that mimics their natural habitat will promote optimal growth and productivity. In this step, we’ll explore how to effectively manage temperature and humidity in your greenhouse.
One way to regulate temperature is by using ventilation systems, as discussed in a previous step. Open windows, vents, or exhaust fans to allow hot air to escape during the day when temperatures rise. In colder months, consider insulating the greenhouse to retain heat or using heaters if necessary. You can also utilize shade cloths or reflective materials to control the amount of sunlight and prevent overheating.
Monitoring the temperature regularly is crucial. Use a thermometer to keep track of the temperature in different areas of the greenhouse, making adjustments as needed to maintain the optimal range for your plants. Some plants may benefit from cooler temperatures at night, so consider using programmable thermostats to automatically adjust the temperature settings.
In addition to temperature control, maintaining proper humidity levels is equally important. Certain plants thrive in high humidity, while others prefer lower humidity. To increase humidity, you can use misting systems, evaporative coolers, or simply place trays of water around the greenhouse. To reduce humidity, use dehumidifiers or provide proper ventilation to allow excess moisture to escape. A hygrometer can be used to measure and monitor humidity levels and make adjustments accordingly.
Watering practices also play a role in maintaining the right humidity. Avoid overwatering your plants to prevent excessive moisture buildup in the greenhouse, which can lead to high humidity levels and encourage the growth of mold and pests. Properly watering the plants based on their specific needs will ensure a healthy balance of moisture in the greenhouse.
During extreme weather conditions, such as heatwaves or cold snaps, take extra precautions to protect your plants. Consider using shade cloths, applying mulch to the soil, or using frost blankets to shield your plants from harsh weather. Additionally, insulating the walls and flooring of the greenhouse can help maintain a more stable temperature in extreme conditions.
Regularly monitoring and adjusting temperature and humidity levels will ensure a favorable environment for your plants to thrive. Remember that different plants may have specific requirements, so it’s important to research and understand the needs of each plant in your greenhouse.
By maintaining optimal temperature and humidity levels, you’ll create an environment that supports healthy plant growth, encourages productivity, and enhances the overall success of your small greenhouse.
Step 9: Monitoring Pests and Diseases
Pests and diseases can pose a threat to the health and productivity of your plants in the greenhouse. In a controlled environment, it’s important to be vigilant and proactive in monitoring and managing these potential issues. By staying on top of pest and disease prevention, you can minimize damage and ensure the success of your small greenhouse. Let’s delve into how to effectively monitor and address pests and diseases.
Regularly inspect your plants for signs of pests such as aphids, whiteflies, spider mites, or mealybugs. Look for evidence of small holes, chewed leaves, discolored foliage, or sticky residue. Pay close attention to the undersides of leaves and between branches where pests often hide. Early detection is key in preventing the spread of pests.
To control pests, consider employing integrated pest management (IPM) techniques. This includes using natural predators, such as ladybugs or predatory mites, to control pest populations. You can also manually remove pests by handpicking or using a gentle spray of water to dislodge them. Alternatively, organic insecticides or botanical oils can be utilized as a last resort, following the instructions and guidelines carefully.
Diseases can also be a concern in a greenhouse environment, as the controlled conditions can create a favorable environment for fungal or bacterial infections. Regularly inspect your plants for signs of disease, such as wilting, discoloration, mold, or spots on leaves. If you notice any signs, promptly remove and destroy the affected plants or infected plant parts to prevent the spread of diseases.
To prevent diseases, practice good sanitation and hygiene. Keep the greenhouse clean and clutter-free, removing dead leaves and debris that may harbor pathogens. Avoid overwatering, as excess moisture can create conditions conducive to disease outbreaks. Additionally, provide adequate airflow and ventilation to minimize high humidity, which can lead to fungal infections.
It’s a good practice to keep records of pest and disease occurrences in your greenhouse. Note any trends or specific plants that are more susceptible, as this can help you identify potential problem areas and take preventative measures in the future. Having a well-organized record will also help in diagnosing and addressing issues promptly.
Incorporate regular plant inspections into your routine, checking for signs of pests or diseases at least once a week. Early intervention is key in effectively managing these challenges and minimizing the need for harsh chemical treatments.
By monitoring pests and diseases diligently and implementing preventive measures, you can maintain a healthy and thriving environment for your plants in your small greenhouse.
Step 10: Harvesting and Enjoying the Benefits
After nurturing your plants in your small greenhouse with care and dedication, it’s time to reap the rewards of your hard work. Harvesting is a delightful step that allows you to enjoy the fruits of your labor and experience the satisfaction of homegrown produce and beautiful blooms. Let’s explore the final step of harvesting and enjoying the benefits of your small greenhouse.
When it comes to harvesting, timing is crucial. Each plant has its own timeline for optimal harvest, so it’s important to be familiar with the specific requirements of your plants. Pay attention to factors such as fruit color, size, and ripeness, or flower petals opening fully to determine the ideal time for harvesting.
Use clean, sharp tools such as pruners, scissors, or garden shears to harvest your plants. This helps prevent damage to the plant and minimizes the risk of introducing disease. Harvest in the early morning or late afternoon when the temperature is cooler to help retain the freshness and flavor of the produce.
After harvesting, handle your produce with care. Remove any damaged or spoiled parts and sort the harvest according to their sizes or ripeness. Some plants may require further processing, such as washing, trimming, or storing in specific conditions. Follow proper post-harvest techniques to maintain the quality and extend the shelf life of your homegrown fruits, vegetables, or herbs.
Don’t forget to take the time to appreciate and enjoy the benefits of your small greenhouse. Sit back and savor the delicious flavors of your freshly harvested produce, or admire the vibrant colors and fragrances of your blossoming flowers. Share your bountiful harvest with friends and family, showcasing the pride and joy of your gardening endeavors.
Alongside the tangible benefits, don’t overlook the intangible rewards of gardening. Spending time in your small greenhouse provides an opportunity to connect with nature, reduce stress, and foster a sense of accomplishment. Embrace the therapeutic and fulfilling aspects of tending to your plants, and let your small greenhouse become a peaceful sanctuary.
As you enjoy the benefits of your small greenhouse, take the time to reflect on the journey you’ve undertaken. Appreciate the lessons learned, the challenges overcome, and the growth you’ve experienced as a gardener. Share your knowledge and experiences with others, inspiring them to embark on their own gardening adventures.
Remember, the journey doesn’t end here. Your small greenhouse is a place of continuous growth and refinement. Keep experimenting, learning, and trying new plants and techniques to further enhance your gardening skills and expand your bounty.
Congratulations on completing the final step of harvesting and enjoying the benefits of your small greenhouse. May it bring you continued joy, abundance, and a flourishing green oasis for years to come.
Conclusion
Congratulations on successfully completing the journey of building and managing your small greenhouse! Throughout this comprehensive guide, we have covered each step, from choosing the location and selecting materials to building the frame, installing the covering, and setting up irrigation and ventilation systems. We discussed the importance of arranging plants and maintaining ideal temperature, humidity levels, as well as monitoring for pests and diseases. Finally, we explored the joy of harvesting and enjoying the abundant benefits of your small greenhouse.
By embarking on this DIY project, you have not only created a space for your plants to thrive, but you have also opened the door to a world of possibilities. A small greenhouse allows you to extend your growing season, experiment with various crops, and enjoy the satisfaction of growing your own organic produce, herbs, and flowers.
Throughout the process, you have learned to adapt to the needs of your plants and the variables that come with gardening. You have developed valuable skills, from construction and maintenance to problem-solving and nurturing. Your small greenhouse has not only provided a haven for your plants but also a sanctuary for you to connect with nature and find solace in the beauty of the green world.
Remember, gardening is an ongoing journey. As you continue to tend to your small greenhouse, you will encounter new challenges and discoveries. Embrace the process of continuous learning and adaptation, seeking knowledge and inspiration from fellow gardeners, resources, and your own experiences.
Share your passion and knowledge with others, inviting them to explore the joys of gardening and the rewards of building their own small greenhouses. As you contribute to the greening of our world, you are part of a larger movement towards sustainability, self-sufficiency, and the preservation of our natural environment.
Now, take a moment to appreciate your accomplishment and the bountiful results of your efforts. Whether you are savoring the flavors of homegrown food, adorning your home with vibrant flowers, or cherishing the tranquil atmosphere of your sanctuary, the benefits of your small greenhouse are immeasurable.
Thank you for joining us on this journey. May your small greenhouse continue to bring you joy, fulfillment, and a deep connection with the wonders of nature.