Home>Gardening Techniques>How To Make A Greenhouse For Winter

Gardening Techniques
How To Make A Greenhouse For Winter
Modified: January 22, 2024
Learn how to make a greenhouse for winter with our seasonal gardening guide. Keep your plants protected all year round and extend your growing season.
(Many of the links in this article redirect to a specific reviewed product. Your purchase of these products through affiliate links helps to generate commission for Chicagolandgardening.com, at no extra cost. Learn more)
Table of Contents
Introduction
Welcome to the wonderful world of seasonal gardening! One of the challenges faced by gardeners is dealing with harsh winter conditions that can be detrimental to plant growth. However, with the right knowledge and tools, you can create a greenhouse to protect your plants and extend their growing season.
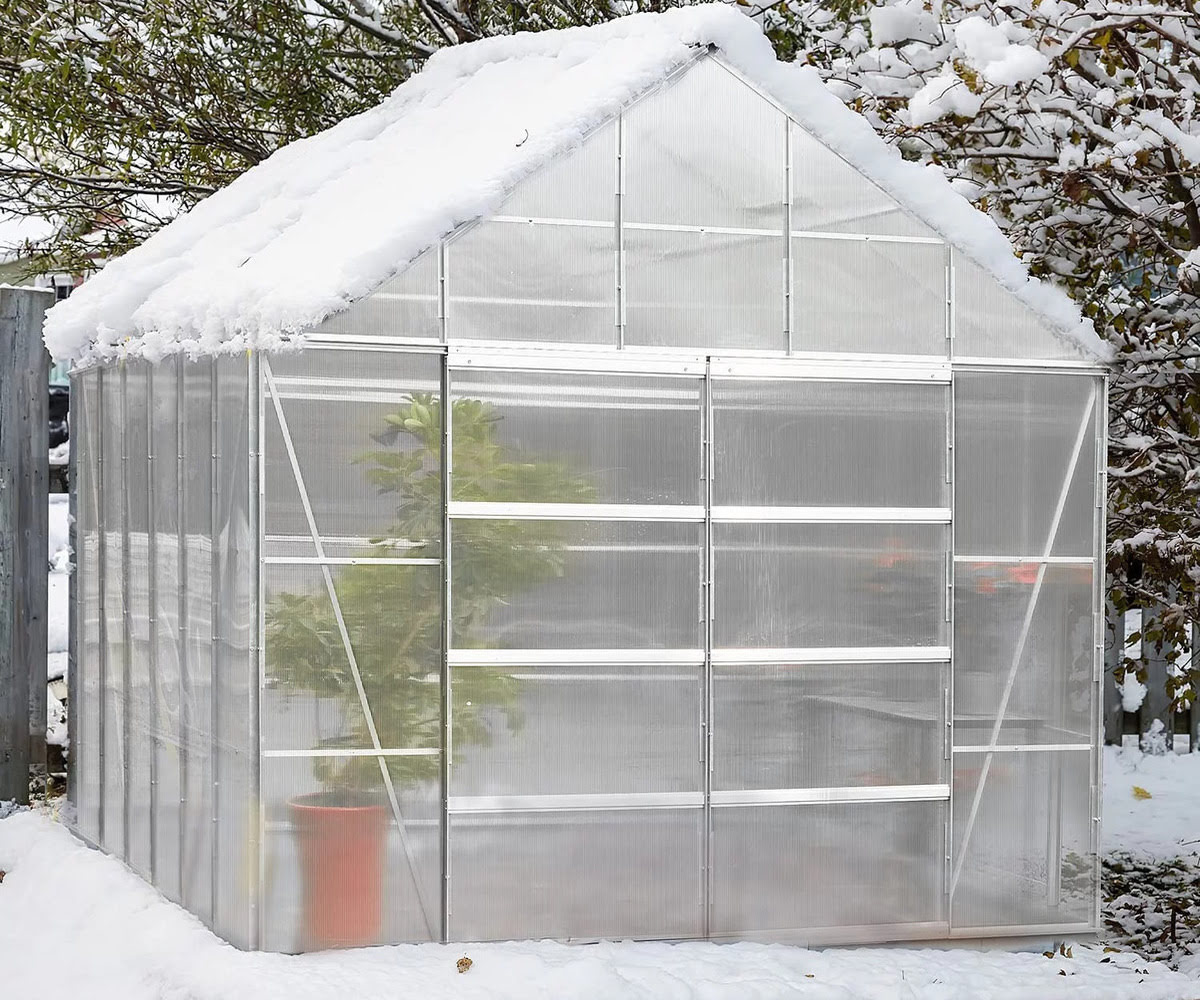
A greenhouse is a structure designed to provide controlled environmental conditions for plants. It allows you to create a microclimate that promotes growth and protects plants from extreme cold, wind, and frost. By building a greenhouse for winter, you can continue gardening and enjoying fresh produce even when the weather outside is unfriendly.
In this article, we will guide you through the steps of building your own greenhouse for winter gardening. We will discuss the materials needed, choosing the right location, building the frame, installing the plastic sheeting, adding insulation, setting up a ventilation system, exploring heating options, and providing maintenance tips to ensure your greenhouse operates efficiently.
Before we dive into the nitty-gritty details, it’s essential to understand the benefits of having a greenhouse for winter gardening. Firstly, it allows you to prolong the growing season, giving you the opportunity to plant and harvest crops that would otherwise not survive in the cold. Secondly, it provides a protected space for delicate plants, preventing damage caused by frost or severe weather conditions. Lastly, it offers you a peaceful and serene retreat where you can connect with nature and indulge in gardening throughout the year.
So, let’s roll up our sleeves and get ready to create a nurturing environment for your winter garden. With a greenhouse, you can enjoy the beauty of nature and continue harvesting fresh produce while the world outside is covered in a blanket of snow. Let’s begin our journey towards a thriving winter garden!
Materials Needed
Building a greenhouse for winter requires specific materials to ensure durability and functionality. Here is a list of essential materials you will need:
- Frame Materials:
- PVC pipes, metal tubes, or wood beams for the frame structure.
- Connectors or fittings to join the frame materials together securely.
- Anchor stakes or posts to secure the greenhouse in the ground.
- Fasteners, such as screws or nails, to hold the frame components in place.
- Covering Materials:
- UV-resistant greenhouse plastic sheeting or greenhouse poly film to cover the frame.
- Greenhouse tape or greenhouse clips to secure the plastic sheeting to the frame.
- Shade cloth for regulating sunlight and temperature inside the greenhouse.
- Insulation Materials:
- Bubble wrap or polyethylene foam insulation to line the walls and floor of the greenhouse.
- Weatherstripping to seal any gaps or openings. This helps to prevent heat loss and drafts.
- Ventilation System:
- Ventilation fans or exhaust fans to circulate air and control temperature and humidity.
- Automatic vent openers or manual adjustable vents to regulate airflow.
- Heating Options:
- Propane or electric heaters, or radiant heating systems to maintain optimal temperature during cold winter months.
- Heat mats for starting seeds or propagating plants.
- Miscellaneous Materials:
- Tools such as a drill, saw, measuring tape, and hammer for construction.
- Sturdy work gloves and safety goggles for protection.
- Watering system, such as drip irrigation or a watering can, to provide water to your plants.
- Benches or shelves for organizing and displaying plants.
Make sure to choose durable and high-quality materials that can withstand the winter weather conditions in your area. It is also essential to consider the size and design of your greenhouse when purchasing the materials to ensure a proper fit.
Now that you have a good understanding of the materials needed, we can move on to choosing the right location for your winter greenhouse.
Choosing the Right Location
Selecting the right location for your winter greenhouse is crucial for optimal plant growth and success. Here are some factors to consider when choosing the location:
- Sunlight Exposure: Place your greenhouse in an area that receives maximum sunlight throughout the day. Ideally, it should be exposed to at least six hours of direct sunlight. This will provide your plants with the necessary light for photosynthesis and promote healthy growth.
- Wind Protection: Find a location that offers some natural wind protection, such as a nearby building, a fence, or a row of trees. This will help minimize the impact of strong winds on the greenhouse structure and prevent heat loss.
- Drainage: Ensure that the chosen location has proper drainage to prevent water accumulation around the greenhouse. Poor drainage can lead to waterlogged soil and root rot. Ideally, the ground should slope away from the greenhouse to facilitate proper water runoff.
- Accessibility: Consider accessibility for maintenance, watering, and harvesting. Choose a location that allows easy access to water sources and power outlets if needed. It should also be convenient for you to tend to your plants, especially during colder winter months.
- Proximity to Water: If possible, place your greenhouse near a water source to minimize the effort required for watering your plants. This will make it easier to keep the soil consistently moist, which is vital for plant health.
Once you have identified potential locations based on these factors, spend some time observing the site throughout the day. Observe how sunlight moves across the area and how shadows are cast. This will help you determine the best spot for your greenhouse.
Remember that the ideal location for your greenhouse may vary depending on the climate of your region. For colder areas, a south-facing location with maximum exposure to sunlight will help maximize heat retention and create a warmer environment inside the greenhouse.
Now that you have found the perfect location, it’s time to start building the frame of your winter greenhouse.
Building the Frame
Building a sturdy and reliable frame is the foundation of your winter greenhouse. Follow these steps to construct the frame:
- Choose the Frame Material: Select the material that suits your budget and needs. Common options include PVC pipes, metal tubes, or wood beams. Each has its own advantages and considerations. PVC pipes are lightweight, affordable, and easy to work with, while metal tubes offer durability and strength. Wood beams provide a natural aesthetic and are good for larger structures.
- Measure and Cut the Frame Components: Measure the length, width, and height of your greenhouse, taking into account the desired height at the peak. Use these measurements to cut the frame components accordingly. Ensure that the pieces are cut accurately to ensure a snug fit during assembly.
- Assemble the Frame: Start by connecting the horizontal and vertical pieces together using connectors or fittings specific to your chosen frame material. Use fasteners, such as screws or nails, to secure the connections. If using PVC pipes, employ elbow and tee fittings to create stable joints. If using metal or wood, drilling holes and using bolts or screws can provide added stability.
- Add Anchors and Supports: To secure the frame in place, install anchor stakes or posts at appropriate intervals along the perimeter of the greenhouse. These will prevent the structure from shifting or toppling in strong winds. For added stability or larger structures, consider adding additional support beams or cross bracing.
Remember to refer to the manufacturer’s instructions or seek professional advice if necessary for your specific frame material. It is important to ensure the frame is solid and stable before proceeding to the next steps.
Once the frame is complete, you can move on to installing the plastic sheeting to create a protective layer for your winter greenhouse.
Installing the Plastic Sheeting
Installing the plastic sheeting is a crucial step in creating a winter greenhouse that can protect your plants from the cold weather. Here is a step-by-step guide to help you:
- Prepare the Frame: Ensure that the frame is clean and free from any debris. Remove any sharp edges or protruding nails that could puncture the plastic sheeting.
- Measure and Cut the Plastic: Measure the length and width of each side of the greenhouse, allowing for a few extra inches for overlapping. Cut the plastic sheeting accordingly using a sharp utility knife or scissors. Make sure the cuts are clean and straight for a neat appearance.
- Secure the Plastic to the Frame: Starting with one side of the greenhouse, drape the plastic sheeting over the frame, making sure it covers the entire area. Use greenhouse tape or greenhouse clips to secure the plastic to the frame. Begin at the bottom and work your way up, ensuring a tight and secure fit. Repeat this process for each side of the greenhouse.
- Trim Excess Plastic: Once the plastic sheeting is secured, trim any excess material, leaving a small overhang for better protection against drafts and wind. Be careful not to cut too close to the frame, as this may cause the plastic to come loose.
- Make Vent and Door Openings: If your greenhouse requires ventilation or a door, carefully cut out the necessary openings in the plastic sheeting. Install vent frames or create a door frame using your chosen material, and secure the plastic to the frames using greenhouse tape or clips. Ensure that the openings can be easily opened and closed for adequate airflow and access.
Properly securing the plastic sheeting to the frame is essential to prevent it from tearing or coming loose during strong winds or heavy snowfall. Regularly inspect the plastic for any signs of wear or damage, and repair or replace as needed to maintain the integrity of your winter greenhouse.
Now that the plastic sheeting is in place, let’s move on to the next step, which is adding insulation to increase the efficiency of your winter greenhouse.
Adding Insulation
Insulating your winter greenhouse is crucial for maintaining a stable and favorable temperature for your plants. Here are some effective ways to add insulation:
- Line the Walls: Cover the interior walls of your greenhouse with insulation material, such as bubble wrap or polyethylene foam. This extra layer will help trap heat and prevent heat loss through the walls. Attach the insulation securely to the walls using staples or adhesive, ensuring full coverage.
- Insulate the Floor: If your greenhouse has a solid floor, insulate it by placing a layer of polyethylene foam insulation or Styrofoam sheets. This will help prevent cold from seeping through the ground and affecting the temperature inside the greenhouse.
- Seal Gaps and Openings: Inspect your greenhouse for any gaps, cracks, or openings where cold air can enter or warm air can escape. Use weatherstripping or caulk to seal these areas, ensuring a tight seal. Pay special attention to doors, vents, windows, and any other areas prone to air leakage.
- Shade Cloth: During the winter months, you may need to reduce the amount of sunlight entering the greenhouse to maintain optimal temperature and prevent scorching of plants. Install shade cloth over the greenhouse roof or windows to control the amount of sunlight and heat that enters.
Adding insulation will help create a more stable and energy-efficient environment inside your winter greenhouse. It will also reduce heating costs by minimizing heat loss and maintaining a consistent temperature.
Keep in mind that the insulation requirements may vary depending on your location and the specific needs of your plants. Monitor the temperature and humidity levels inside the greenhouse regularly to ensure they remain within the ideal range for your plants’ health and growth.
With insulation in place, the next step is to set up a ventilation system to regulate airflow and maintain a healthy environment for your winter garden.
Ventilation System
A well-functioning ventilation system is essential for maintaining optimal airflow and controlling temperature and humidity levels inside your winter greenhouse. Here are some key considerations for setting up a ventilation system:
- Ventilation Fans: Install ventilation fans strategically in your greenhouse to promote air circulation. These fans can help distribute heat, reduce humidity, and prevent the buildup of stagnant air. Place the fans at opposite ends of the greenhouse for better airflow.
- Exhaust Fans: In addition to ventilation fans, consider installing exhaust fans. These fans can help expel hot air and moisture, particularly during periods of high humidity or excessive heat buildup. Connect the exhaust fans to a thermostat or humidistat for automatic operation.
- Vent Openers: Automatic vent openers are a handy addition to your greenhouse. These devices use wax-filled cylinders that expand and contract in response to temperature changes, automatically opening and closing the vents. This helps regulate the temperature and prevent overheating.
- Adjustable Vents: Manual adjustable vents are another option for controlling airflow. These vents can be opened or closed manually, allowing you to fine-tune the temperature and ventilation based on the needs of your plants and the weather conditions.
Proper ventilation is essential for preventing the buildup of humidity, which can lead to the development of fungal diseases. It also helps prevent temperature extremes and reduces the risk of plant stress or damage.
Be mindful of the specific ventilation requirements of your plants. Some plants may require more airflow than others, so it’s important to understand their individual needs and adjust the ventilation system accordingly.
Regularly check and clean the vents and fans to ensure they are functioning properly. Clear any obstructions that may hinder proper airflow, such as leaves or debris. Additionally, monitor the temperature and humidity levels inside your greenhouse to ensure they stay within the optimal range for your plants.
With a well-designed ventilation system in place, you can create a healthy and thriving environment for your winter garden.
Heating Options
When it comes to winter gardening, providing sufficient heating is crucial to protect your plants from cold temperatures and ensure their healthy growth. Here are some effective heating options to consider for your winter greenhouse:
- Propane or Electric Heaters: Propane or electric heaters are commonly used to increase the temperature inside the greenhouse. Propane heaters are ideal for smaller spaces and can be easily portable. Electric heaters, on the other hand, are more suitable for larger greenhouses and offer precise temperature control. Whichever option you choose, ensure proper ventilation and follow manufacturer’s instructions for safe usage.
- Radiant Heating Systems: Radiant heating systems use a network of pipes or heating cables embedded in the floor or walls of the greenhouse to emit heat. This method provides even heat distribution and is energy-efficient. It can be powered by a variety of sources, including hot water, steam, or electricity.
- Heat Mats: Heat mats are great for starting seeds or propagating plants during the winter months. These mats deliver gentle and consistent bottom heat, providing the ideal conditions for seed germination and rooting. Place the heat mats under seed trays or pots to promote healthy growth.
- Insulated Grow Cloths or Blankets: Insulated grow cloths or blankets are an affordable and simple way to provide some extra warmth to your plants. These specially designed fabrics retain heat and can be draped over your plants or hung as curtains inside the greenhouse. They act as a thermal barrier and help trap warm air around the plants.
- Ceramic or Gas Radiant Heaters: Ceramic heaters and gas radiant heaters are additional options for heating your winter greenhouse. They provide localized heat and are often used for specific areas or plants that require a higher temperature. Be cautious when using gas heaters, ensuring proper ventilation to prevent the buildup of carbon monoxide.
It is important to choose the right heating option based on the size of your greenhouse, the temperature requirements of your plants, and your budget. Consider investing in a thermostat to maintain and regulate the desired temperature inside the greenhouse.
Remember to monitor the temperature regularly and adjust the heating system accordingly. Avoid excessive temperature fluctuations, as they can stress your plants. Aim for a temperature range that matches the specific needs of your plants and the outside weather conditions.
By providing adequate heating for your winter greenhouse, you can create a favorable environment for your plants and ensure their health and productivity throughout the colder months.
Maintenance Tips
Maintaining your winter greenhouse is essential to ensure its efficiency and the well-being of your plants. Here are some key maintenance tips to keep in mind:
- Clean and Inspect Regularly: Regularly clean the interior and exterior of your greenhouse to remove dirt, debris, and plant residues. This helps prevent pests and diseases. Inspect the structure for any signs of damage, such as cracks, holes, or loose fittings, and address them promptly to maintain the integrity of your greenhouse.
- Monitor Temperature and Humidity: Use a thermometer and hygrometer to monitor the temperature and humidity levels inside your greenhouse. Adjust the heating, ventilation, and insulation systems accordingly to ensure they remain within the ideal range for your plants. Different plants have different temperature and humidity requirements, so be mindful of their specific needs.
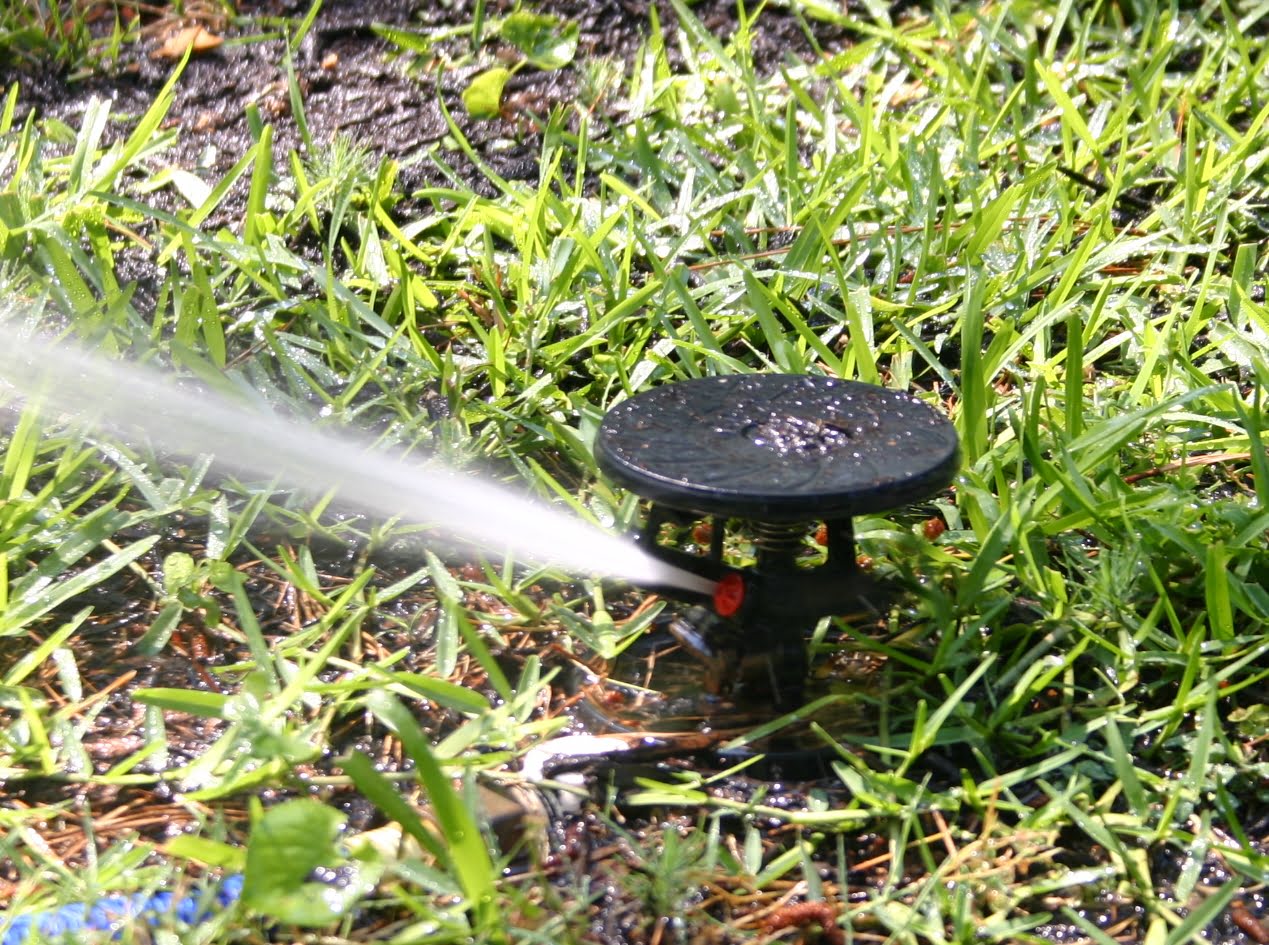
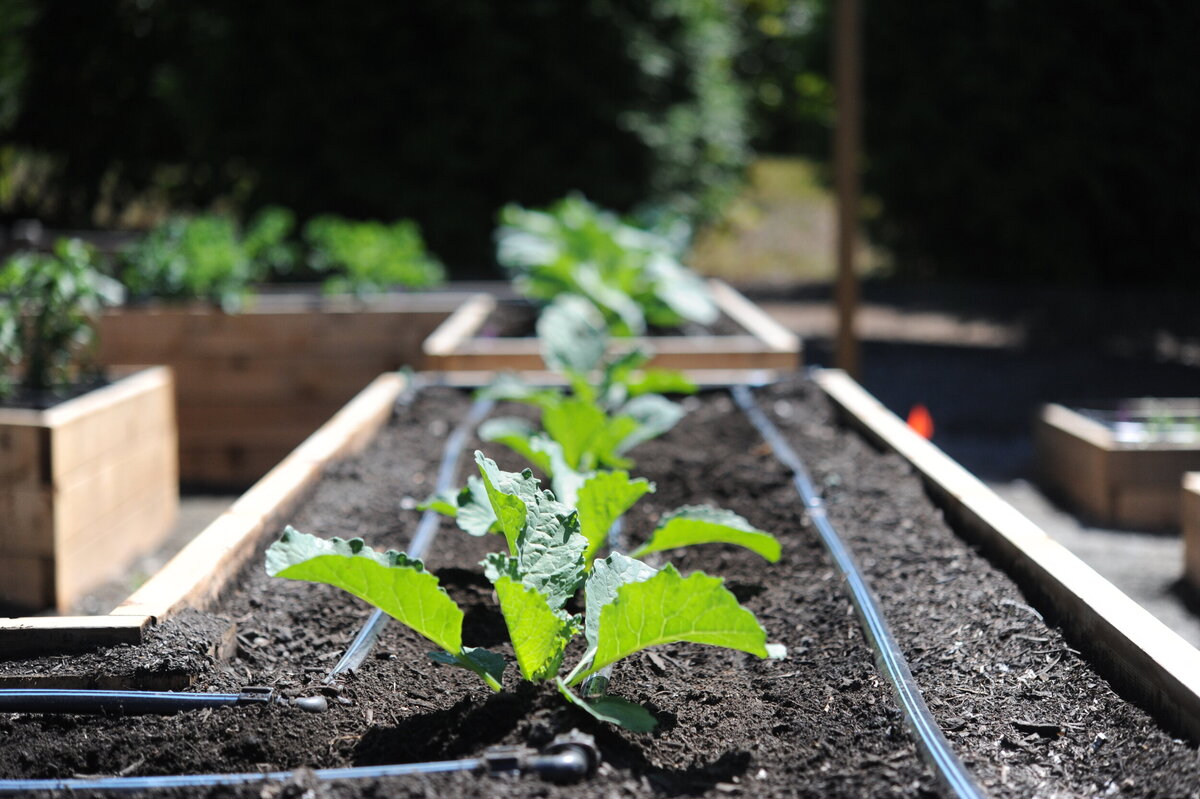
- Watering and Irrigation: Regularly water your plants based on their specific needs and the moisture levels in the soil. Avoid overwatering, as excessive moisture can lead to root rot and fungal diseases. Consider installing a drip irrigation system or using a watering can to provide a consistent and controlled water supply to your plants.
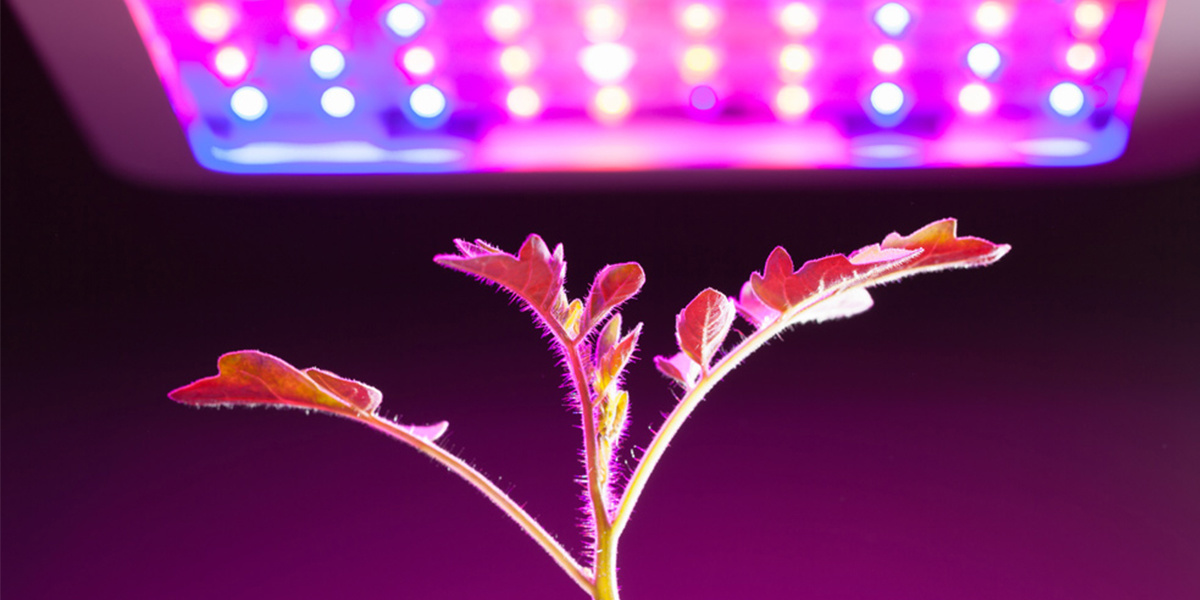
- Provide Adequate Light: Monitor the amount of sunlight reaching your plants and ensure they receive sufficient light for photosynthesis. Clean the greenhouse windows regularly to remove dirt and debris that may obstruct light transmission. Consider supplementing natural light with artificial grow lights if needed, especially during shorter daylight hours.
- Pest and Disease Control: Implement effective pest and disease control measures to protect your plants. Regularly inspect your plants for any signs of pests, such as aphids or whiteflies, and promptly address any issues. Use organic pest control methods or, if necessary, select appropriate insecticides or fungicides that are safe for use in a greenhouse setting.
- Pruning and Training: Regularly prune and train your plants to maintain their shape, promote airflow, and prevent overcrowding. Remove any dead or diseased plant material to prevent the spread of diseases. Proper pruning and training help maximize sunlight penetration and ensure healthy plant growth.
- Securing the Greenhouse: Check the anchoring system to ensure your greenhouse is securely fixed to the ground, especially in areas prone to strong winds or storms. Replace any damaged or loose anchors or stakes to prevent the greenhouse from tipping over or sustaining structural damage.
Maintaining a clean, well-ventilated, and organized greenhouse will create an optimal environment for your plants and reduce the risk of pests and diseases. Regular maintenance and care will help your winter greenhouse thrive and provide you with a bountiful and successful gardening experience.
Conclusion
Congratulations! You have now gained valuable knowledge on how to build and maintain a greenhouse for winter gardening. By creating a protected and nurturing environment for your plants, you can extend the growing season, enjoy fresh produce, and continue indulging in your gardening passion even when the temperatures drop.
Remember, building a functional winter greenhouse requires careful planning and attention to detail. From choosing the right location and materials to installing the plastic sheeting, adding insulation, setting up a ventilation system, and exploring heating options, each step plays a crucial role in creating a successful winter garden.
Maintaining your winter greenhouse is equally important. Regular cleaning, inspecting for damage, monitoring temperature and humidity levels, proper watering, pest and disease control, and pruning are all key components of greenhouse maintenance that will contribute to healthy plant growth and thriving winter gardens.
Now that you are equipped with the knowledge and understanding of seasonal gardening and greenhouse maintenance, it’s time to put your skills to practice and create your own winter oasis. Enjoy the beauty and abundance of your flourishing winter garden, and let nature’s wonders inspire and rejuvenate you throughout the year.