Home>Gardening Tips and Tricks>Problem Solving>How To Get Rid Of Yellow Fungus In Soil

Problem Solving
How To Get Rid Of Yellow Fungus In Soil
Modified: February 10, 2024
Looking for effective solutions to get rid of yellow fungus in soil? Our problem-solving guide will help you eliminate this issue and maintain healthy soil.
(Many of the links in this article redirect to a specific reviewed product. Your purchase of these products through affiliate links helps to generate commission for Chicagolandgardening.com, at no extra cost. Learn more)
Table of Contents
- Introduction
- What is yellow fungus?
- Causes of yellow fungus in soil
- Symptoms of yellow fungus in soil
- Steps to get rid of yellow fungus in soil
- Identify the affected plants
- Remove the infected soil
- Sterilize gardening tools
- Improve drainage in the soil
- Adjust watering practices
- Use organic fungicides
- Introduce beneficial microbes
- Monitor and control humidity levels
- Conclusion
Introduction
Welcome to our comprehensive guide on how to get rid of yellow fungus in soil. If you’re an avid gardener or plant enthusiast, you may have encountered yellow fungus at some point. Yellow fungus, also known as slime mold or dog vomit fungus, is a common problem in gardens and can cause harm to plants if left untreated.
Yellow fungus thrives on organic matter in moist conditions, making flower beds, lawns, and potted plants susceptible to its growth. It appears as a bright yellow or orange mass, resembling vomit or slime, thus earning it its rather unpleasant namesake.
While yellow fungus may not be directly harmful to humans or animals, it can negatively impact the health of plants and compromise their growth. This is why it’s important to address the problem promptly and take measures to eliminate it from your soil.
In this guide, we will discuss the causes and symptoms of yellow fungus in soil, and provide you with a step-by-step approach to effectively eradicate it. By following these methods and adopting good gardening practices, you’ll be able to maintain a healthy and vibrant garden free from the pesky yellow fungus.
What is yellow fungus?
Yellow fungus, also known as slime mold or dog vomit fungus, is a type of fungus that commonly affects gardens and soils. It belongs to the phylum Myxomycota, which comprises a diverse group of organisms known as slime molds. Unlike traditional fungi, slime molds are not classified as plants or animals but rather as protists.
Yellow fungus gets its name from its distinctive appearance, resembling a bright yellow or orange mass. When it first appears, it may look like a gelatinous blob or a slimy coating on the soil’s surface. Over time, it can spread and form larger patches, often resembling vomit or dog excrement, hence the rather unappealing names.
Yellow fungus thrives in moist and organic-rich environments, making gardens, flower beds, and potting soil ideal habitats for its growth. It primarily feeds on decaying plant matter, such as dead leaves, wood chips, or mulch, breaking them down and using them as a source of nutrients.
While yellow fungus is not considered to be a direct threat to plants, it can lead to several issues if left unchecked. The fungus competes with plants for nutrients, water, and sunlight, hindering their growth and causing stunted or distorted foliage. Additionally, the presence of yellow fungus can indicate underlying problems with soil health, such as poor drainage or excess moisture.
It’s important to note that yellow fungus is different from harmful plant diseases or pathogens that can cause severe damage to plant life. However, its unsightly appearance and potential negative impact on plant growth make it a nuisance that gardeners and plant enthusiasts should address.
In the following sections, we will explore the causes of yellow fungus in soil, the symptoms to watch out for, and the steps you can take to eliminate it from your garden.
Causes of yellow fungus in soil
Understanding the causes of yellow fungus in soil is crucial for effectively addressing and preventing its growth. Several factors contribute to the development and proliferation of yellow fungus, and being aware of these causes will help you implement the appropriate measures to tackle the problem head-on.
1. Moisture: Yellow fungus thrives in damp conditions. Excess moisture in the soil provides an optimal environment for the fungus to grow and spread. Overwatering, heavy rainfall, or poor drainage can create the perfect breeding ground for yellow fungus to thrive.
2. Organic matter: Yellow fungus feeds on organic matter, such as decaying leaves, wood chips, or mulch. If the soil contains a significant amount of organic debris, it provides ample food for the fungus to sustain its growth and reproduction.
3. Poor ventilation: Lack of proper airflow and ventilation in the garden or in potted plants can contribute to the development of yellow fungus. Stagnant air prevents moisture from evaporating, creating a humid environment that favors the growth of fungus.
4. Nutrient imbalance: Imbalances in soil nutrients can also promote the growth of yellow fungus. Excessive or deficient levels of certain nutrients can disrupt the natural balance of the soil, creating conditions that favor the growth of fungi.
5. Inadequate sunlight: Yellow fungus thrives in dark and shaded areas. Insufficient sunlight exposure can create the ideal conditions for the fungus to thrive and spread. Overgrown vegetation or structures that block out sunlight can contribute to the growth of yellow fungus in the soil.
By addressing these underlying causes, you can effectively prevent the growth and spread of yellow fungus in your garden or potted plants. In the next section, we will discuss the symptoms of yellow fungus in soil, which will help you identify and take prompt action against its presence.
Symptoms of yellow fungus in soil
Recognizing the symptoms of yellow fungus in soil is crucial for early identification and prompt action to prevent its spread. While the appearance of bright yellow or orange masses is the most obvious sign, there are other indications that can help you determine if your garden or potted plants are affected by yellow fungus.
Here are some common symptoms of yellow fungus in soil:
- Yellow or orange patches: The most noticeable symptom of yellow fungus is the presence of bright yellow or orange patches on the soil’s surface. These masses often resemble vomit or dog excrement and can range in size from small dots to larger, spreading patches.
- Moist or slimy texture: Yellow fungus exhibits a gelatinous or slimy texture. When observed closely, the affected areas may feel moist or sticky to the touch due to the presence of the fungal growth.
- Foul odor: In some cases, yellow fungus may emit a distinct and unpleasant odor. This odor is often described as musty, earthy, or similar to rotting vegetation.
- Stunted or distorted plant growth: Yellow fungus competes with plants for nutrients, water, and sunlight. As a result, affected plants may exhibit stunted growth, yellowing foliage, or distorted leaves.
- Poor plant vigor: Infected plants often display reduced vitality and overall poor health. They may appear weak, wilted, or struggle to produce flowers or fruits.
- Dieback or plant death: In severe cases, yellow fungus can cause plant parts to die off. This can manifest as the wilting and withering of entire branches or the complete death of the plant.
If you notice any of these symptoms in your garden or potted plants, it is crucial to take action immediately to prevent further spread of the yellow fungus. In the next section, we will discuss the steps you can take to get rid of yellow fungus in soil effectively.
Steps to get rid of yellow fungus in soil
Eliminating yellow fungus from your soil requires a systematic approach to ensure effective removal and prevent its recurrence. By following the steps outlined below, you can tackle the problem and restore a healthy environment for your plants.
- Identify the affected plants: Start by identifying the plants that are affected by yellow fungus. This will help you focus your efforts and prevent the spread of the fungus to healthy plants.
- Remove the infected soil: Carefully remove the affected soil, ensuring that you remove as much of the fungal mass as possible. Dispose of the infected soil in a sealed bag or container to prevent further contamination.
- Sterilize gardening tools: Clean and sterilize gardening tools used in the infected area to prevent the spread of the fungus. Disinfect tools by soaking them in a solution of 1-part bleach to 10-parts water or using a suitable commercial disinfectant.
- Improve drainage in the soil: Yellow fungus thrives in moist conditions, so improving drainage is essential. Ensure that the soil has proper drainage by incorporating organic matter, such as compost or well-rotted manure, to improve the soil structure and promote water flow.
- Adjust watering practices: Avoid overwatering your plants, as this creates a damp environment that is conducive to fungal growth. Water your plants only when necessary and ensure that the soil has proper time to dry out between watering sessions.
- Use organic fungicides: Consider using organic fungicides to help control and prevent the growth of yellow fungus. Products containing neem oil, copper sulfate, or bacillus subtilis can be effective in combating fungal infections.
- Introduce beneficial microbes: Beneficial microbes, such as mycorrhizal fungi and beneficial bacteria, can help suppress the growth of harmful fungi like yellow fungus. Incorporate microbial inoculants into the soil to establish a healthy microbial balance.
- Monitor and control humidity levels: Regularly monitor the humidity levels in your garden or growing area. Use dehumidifiers or proper ventilation to control humidity and prevent the growth of moisture-loving fungi.
By following these steps consistently and maintaining good gardening practices, you can effectively get rid of yellow fungus in your soil. Remember to monitor your plants and surroundings regularly to detect any signs of reinfestation and take immediate action if necessary.
Identify the affected plants
The first step in getting rid of yellow fungus in your soil is to identify the plants that are affected. Yellow fungus can spread quickly, so it’s important to isolate and treat the affected plants as soon as possible to prevent further spread.
Here are some ways to identify the plants that may be affected by yellow fungus:
- Visible signs: Look for the characteristic bright yellow or orange patches on the soil’s surface. These masses are often slimy or gelatinous in texture and can vary in size and shape. Pay attention to any plants located near or within these areas, as they are likely to be affected by the fungus.
- Visual distress: Infected plants may exhibit visual distress, such as stunted growth, yellowing leaves, or wilting. Take note of any plants that appear weak or unhealthy compared to others in the garden. These could be potential victims of yellow fungus.
- Unpleasant odor: In some cases, yellow fungus can emit a foul odor that can help you locate affected plants. If you notice a musty or earthy smell in a particular area of your garden, check the plants nearby for signs of yellow fungus.
- Previous history: If you have experienced yellow fungus in your garden before, it’s important to closely monitor the plants that were affected previously. Yellow fungus can persist in the soil, so these areas are more prone to reinfection.
- Observing nearby plants: Yellow fungus can spread through spores or organic matter, so it’s essential to examine the plants neighboring the affected ones. Check for any signs of yellow fungus or similar symptoms on other plants that are in close proximity to the affected ones.
Once you have identified the plants that are affected by yellow fungus, take note of their location and separate them from healthy plants. This will prevent the fungus from spreading further and allow you to focus your efforts on treating and eliminating the fungal presence in that area.
Remember to continue monitoring the rest of your garden for any signs of yellow fungus or new areas of infestation. Regular observations and early intervention are key to effectively managing and eradicating yellow fungus in your soil.
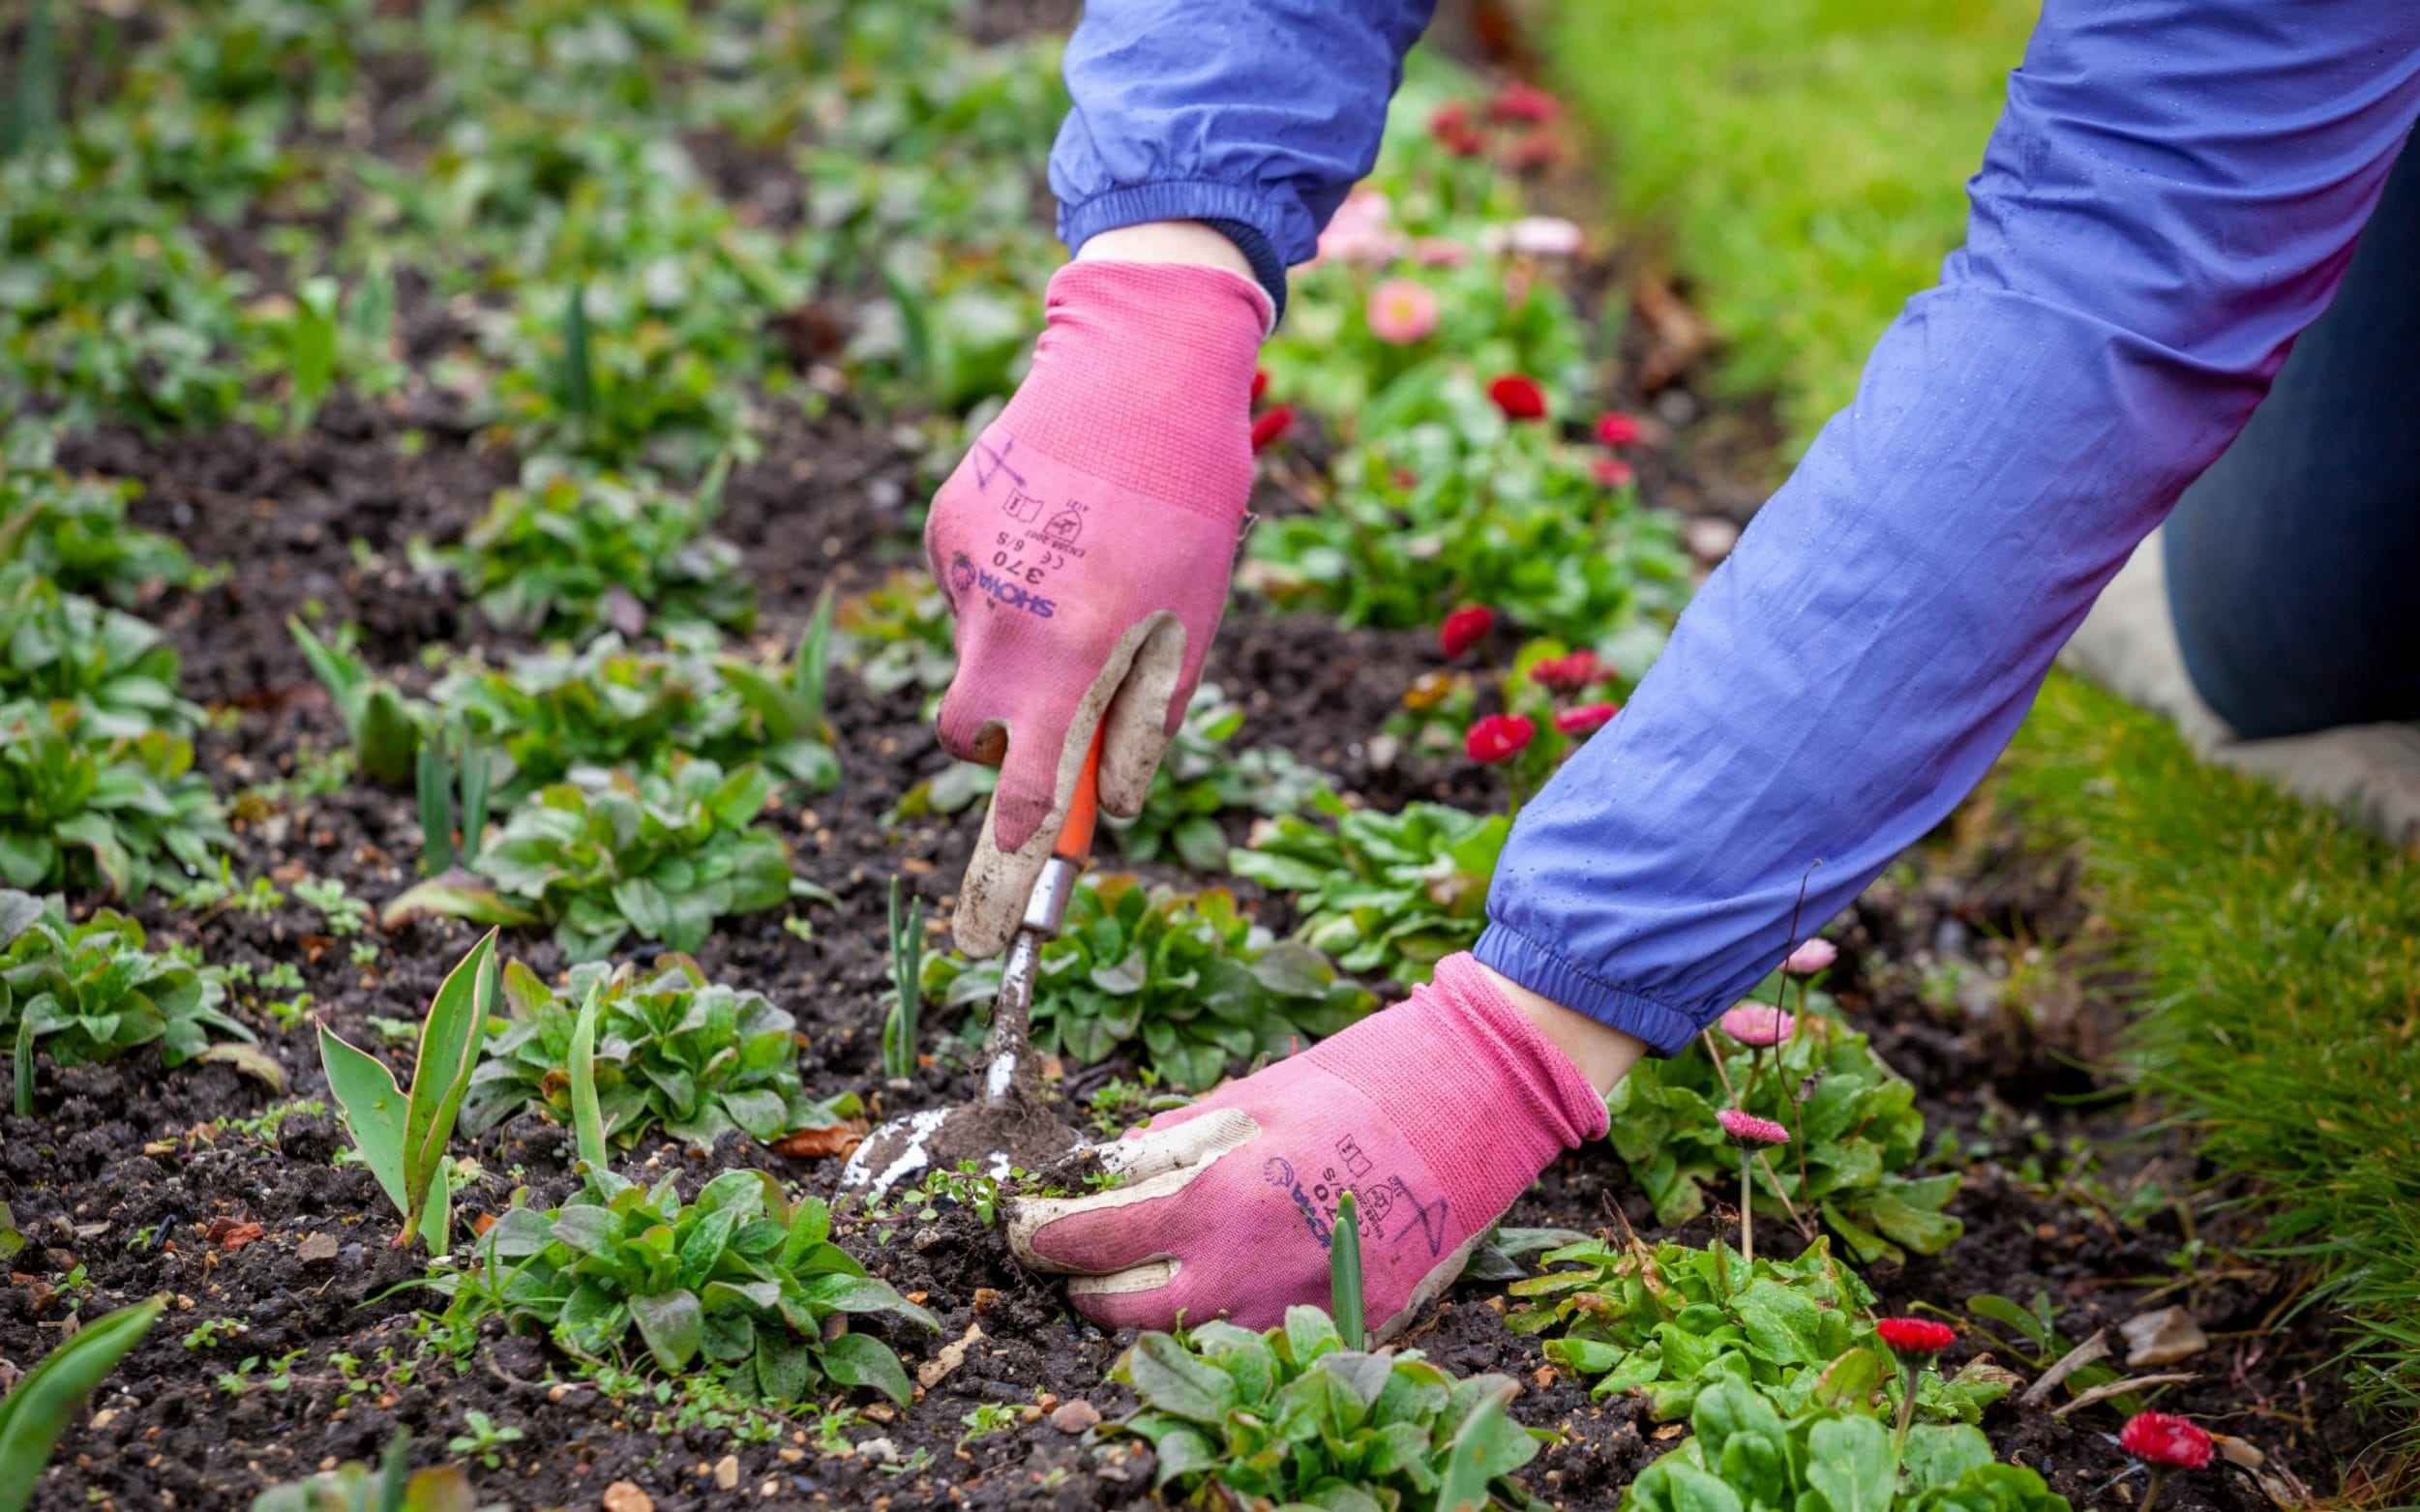
Remove the infected soil
Once you have identified the affected plants and isolated them, the next step in getting rid of yellow fungus in your soil is to remove the infected soil. This step is crucial for preventing the spread of the fungus and creating a clean and healthy environment for your plants.
Here’s how you can effectively remove the infected soil:
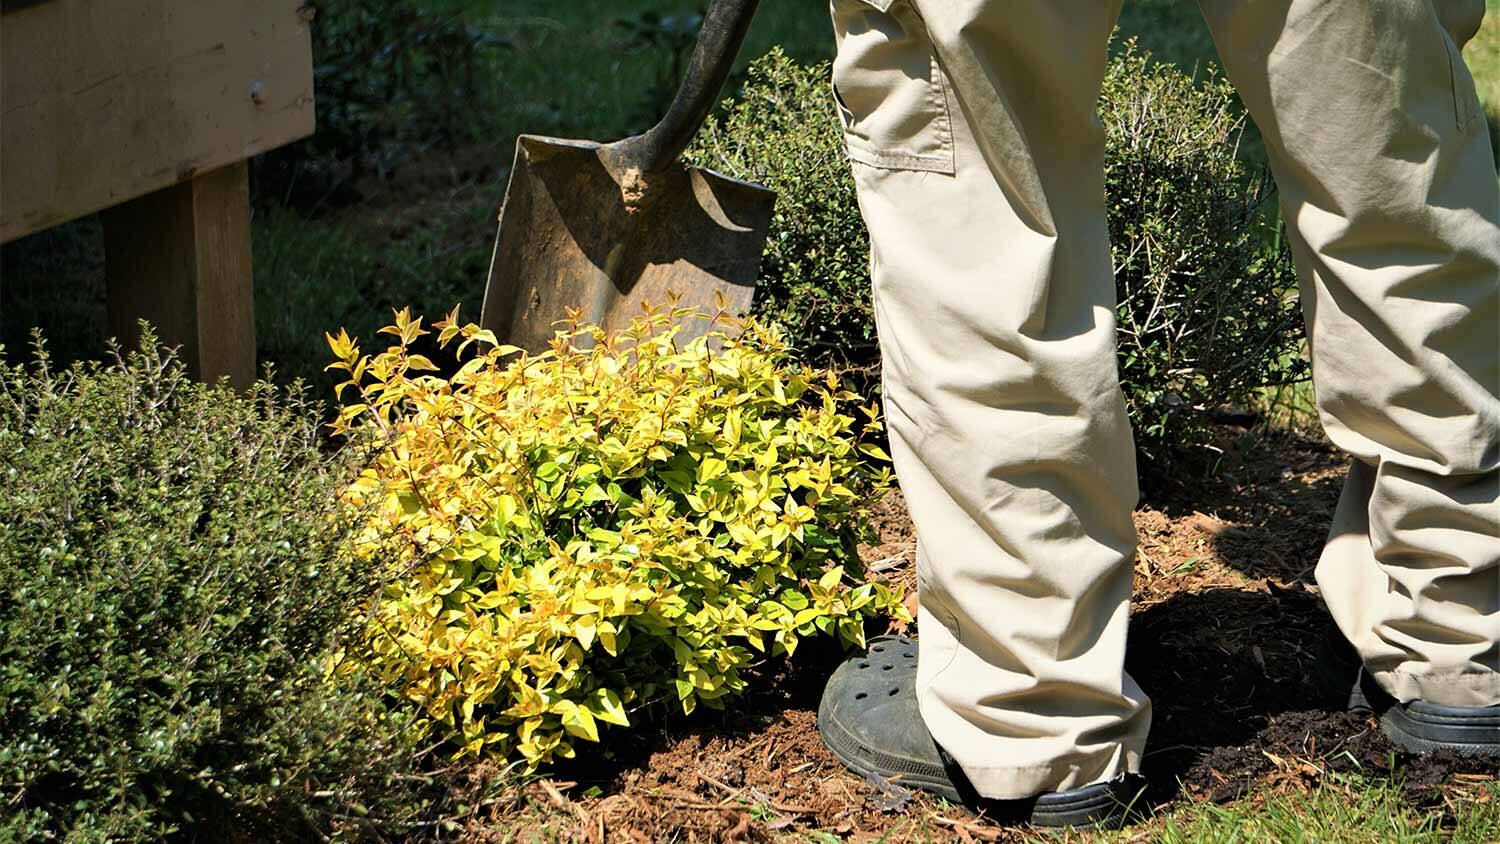
- Prepare the necessary tools: Gather a shovel or a garden trowel, a pair of gloves, and a sealable bag or container for disposing of the infected soil.
- Work carefully: Put on your gloves to protect your hands and start removing the top layer of soil from the affected area. Take care not to disturb the roots of the unaffected plants nearby.
- Remove as much fungal mass as possible: As you dig, pay attention to any visible yellow or orange masses of the fungus. Try to remove as much of the fungal growth as you can to minimize the chances of its survival.
- Dispose of the infected soil: Transfer the removed soil into a sealable bag or container. This will prevent the fungus from spreading to other areas of your garden. Dispose of the bag or container in a suitable manner, such as by sealing it and placing it in a designated waste bin or contacting your local waste management authorities for guidance.
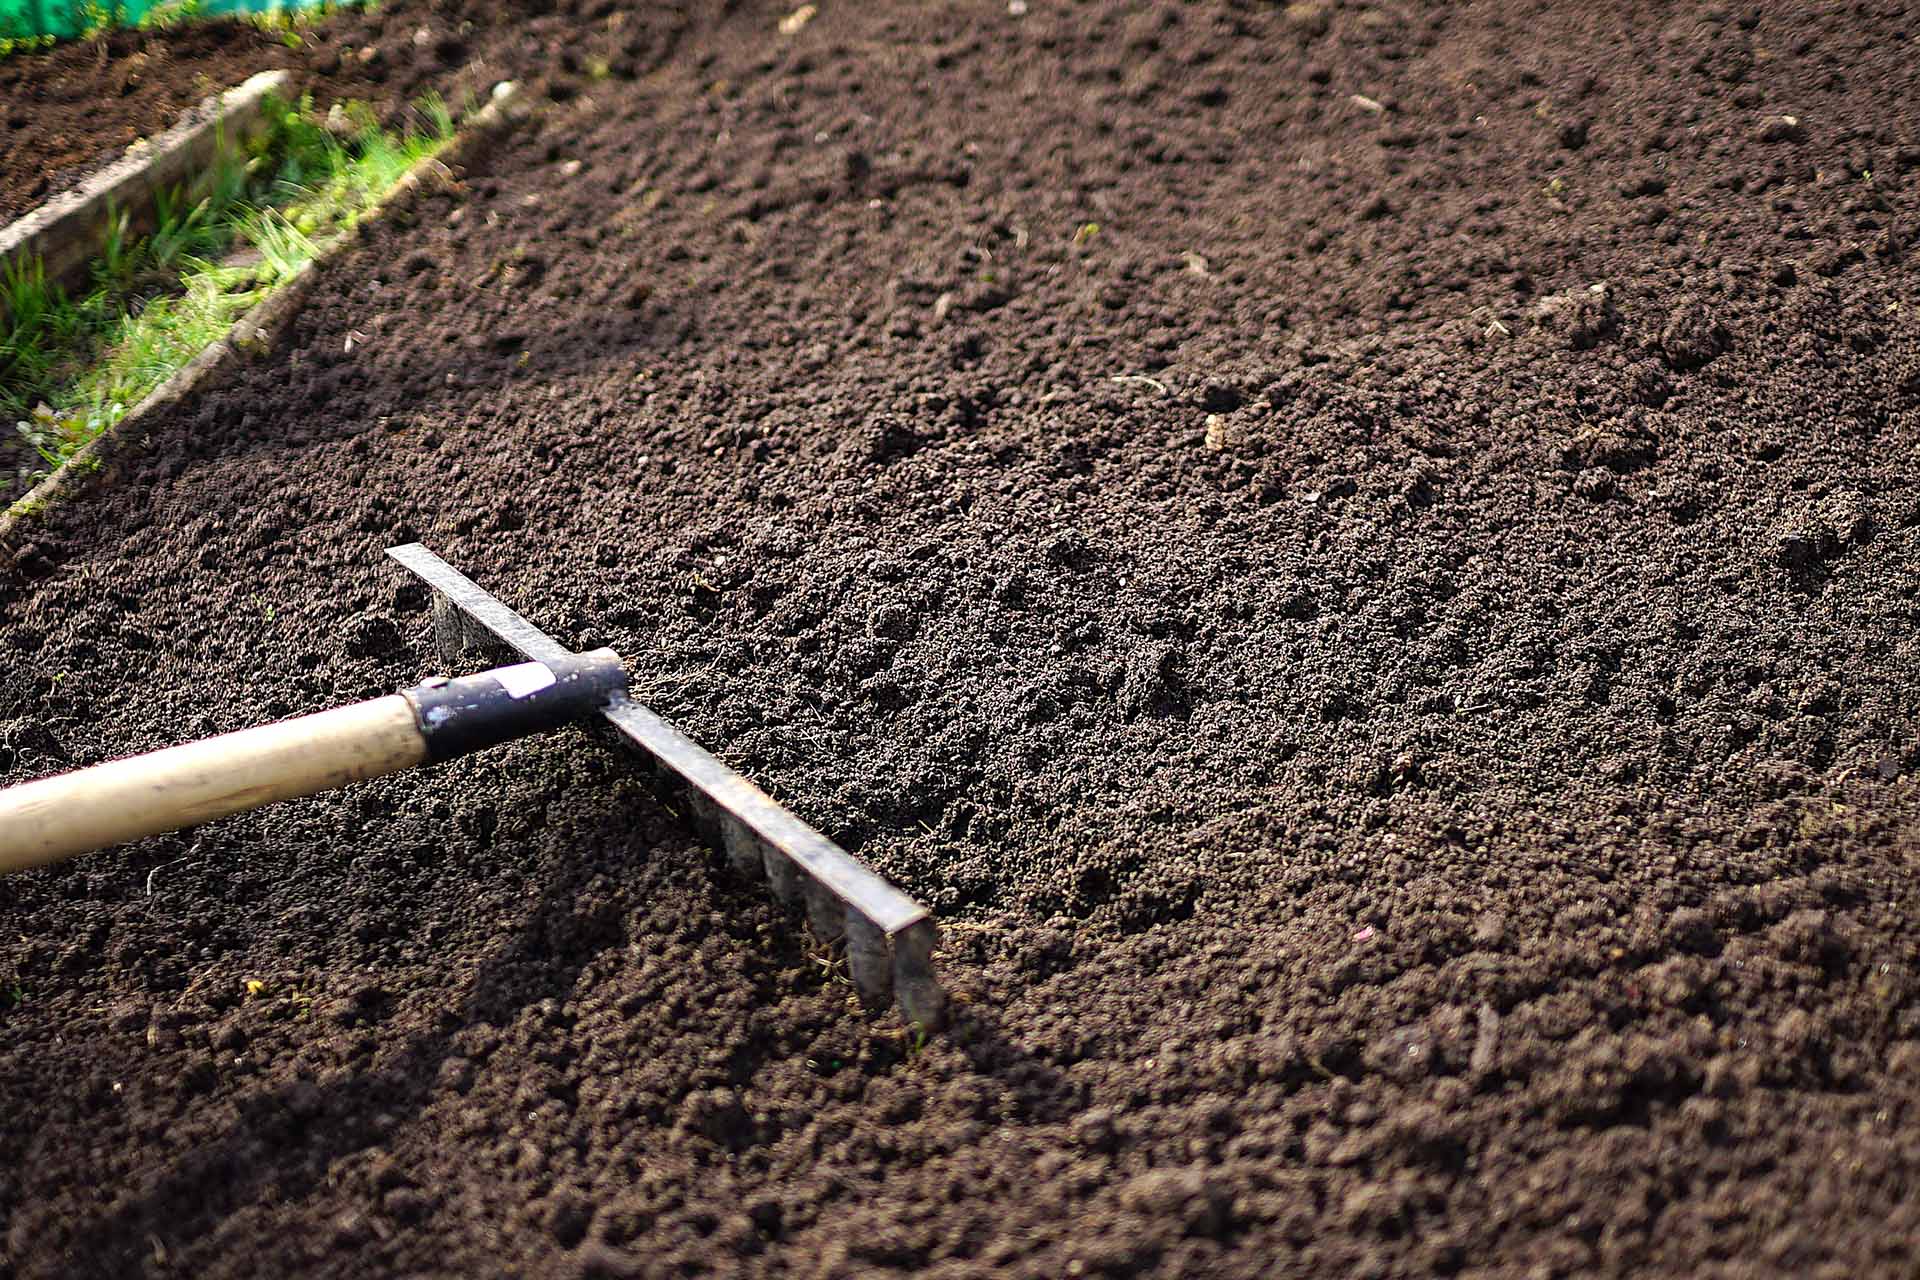
- Replace with fresh soil: Once the infected soil is removed, replace it with fresh, healthy soil. You can use a combination of garden soil, compost, and organic matter to replenish the area. This will provide a clean and nutrient-rich environment for your remaining plants.
- Sanitize your tools: After removing the infected soil, clean and sanitize your gardening tools. This will prevent the potential spread of yellow fungus to other areas of your garden. Use a solution of 1-part bleach to 10-parts water or a suitable commercial disinfectant to thoroughly clean your tools.
Removing the infected soil is a critical step in eliminating yellow fungus from your garden. By carefully removing and disposing of the affected soil, you can significantly reduce the chances of the fungus reappearing and ensure a healthier environment for your plants to thrive.
Sterilize gardening tools
After removing the infected soil and taking steps to prevent the spread of yellow fungus in your garden, it’s important to focus on sterilizing your gardening tools. This crucial step helps eliminate any remaining fungal spores or contaminants that could potentially reinfect your plants.
Follow these steps to effectively sterilize your gardening tools:
- Gather your tools: Collect all the gardening tools that were used in the affected area. This includes shovels, garden trowels, pruners, and any other tools that came into contact with the infected soil or plants.
- Remove visible debris: Using a brush or a cloth, remove any visible dirt, plant matter, or fungal growth from the surfaces of your tools. Pay extra attention to the areas where fungal spores may accumulate, such as the blades or cutting edges.
- Prepare a disinfectant solution: Fill a bucket or basin with a solution of 1-part bleach to 10-parts water. Alternatively, you can use a suitable commercial disinfectant specifically formulated for gardening tools.
- Soak the tools: Submerge the gardening tools into the disinfectant solution, ensuring that all surfaces are completely covered. Allow the tools to soak for at least 10-15 minutes to effectively kill any remaining fungal spores or contaminants.
- Scrub and rinse: Take each tool out of the disinfectant solution and scrub them with a brush or cloth to remove any remaining debris or residue. You can also use a toothbrush to clean hard-to-reach areas. After scrubbing, rinse the tools thoroughly with clean water.
- Dry the tools: Ensure that all the gardening tools are completely dry before storing or using them again. Wipe off any excess moisture with a clean cloth and leave them to air dry in a well-ventilated area. This will prevent any potential rust or damage to the tools.
Sterilizing your gardening tools is an essential step in preventing the reoccurrence of yellow fungus in your garden. By eliminating any potential sources of contamination, you can ensure that your tools are clean and ready for future use without risking the spread of fungal spores.
Improve drainage in the soil
One of the key factors contributing to the growth of yellow fungus in soil is excessive moisture and poor drainage. To address this issue and prevent the recurrence of the fungus, it is crucial to improve the drainage in the soil. Improving drainage not only helps in eliminating the favorable conditions for yellow fungus but also promotes overall soil health and plant growth.
Here are some steps you can take to improve drainage in the soil:
- Assess soil structure: Start by assessing the soil structure in your garden or potted plants. Soil with good drainage should be loose, well-aerated, and allow water to permeate effectively. If the soil feels compacted or waterlogged, it may indicate poor drainage.
- Amend soil with organic matter: Incorporate organic matter into the soil to improve its structure and drainage capabilities. Organic matter, such as compost or well-rotted manure, loosens compacted soil, allows for better water movement, and promotes healthy root development.
- Create raised beds or mounds: If your garden has consistently poor drainage, consider creating raised beds or mounds. These elevated areas provide better drainage by allowing excess water to drain away more efficiently.
- Add drainage materials: Integrate drainage materials, such as coarse sand or gravel, into the soil to enhance its drainage capacity. These materials create channels for water to flow through, preventing waterlogging and reducing the risk of fungal growth.
- Install drainage pipes or trenches: In cases of severe drainage problems, installing drainage pipes or trenches can help divert excess water away from the soil. Consult a professional landscaper or drain specialist for guidance on the best approach for your specific situation.
- Monitor watering practices: Proper watering practices play a crucial role in maintaining optimal soil moisture levels. Avoid overwatering, as it can lead to waterlogging and create an environment favorable for yellow fungus. Only water when necessary and ensure that the soil has adequate time to dry out between watering sessions.
- Consider container drainage: If you have potted plants, ensure that the containers have proper drainage holes. Always use well-draining potting mix and avoid leaving standing water in saucers or trays.
By implementing these measures to improve drainage in the soil, you can reduce the risk of yellow fungus and create a healthier environment for your plants. Regularly monitor the soil moisture levels and make adjustments as necessary to maintain a balanced moisture content and prevent excessive dampness.
Adjust watering practices
Proper watering practices are essential for the overall health of your plants and can play a significant role in preventing the growth of yellow fungus. Adjusting your watering practices will help maintain optimal soil moisture levels, reducing the risk of waterlogged conditions that can encourage fungal growth.
Here are some tips to adjust your watering practices effectively:
- Water deeply, but infrequently: Instead of frequent shallow watering, focus on watering your plants deeply to encourage deep root growth. This promotes stronger and more resilient plants that are better able to withstand periods of dryness.
- Check soil moisture levels: Regularly check the moisture levels in the soil before watering. Stick your finger into the soil up to the second knuckle – if the soil feels dry at that depth, it’s time to water. Avoid watering when the soil is already moist to prevent overwatering.
- Use the right watering technique: Direct water to the base of the plants rather than spraying it over the foliage. This helps to reduce the risk of fungal diseases, including yellow fungus, that thrive in moisture-rich environments.
- Consider the weather conditions: Adjust your watering schedule based on the weather conditions. During hot and dry periods, you may need to water more frequently, while cooler and rainy periods may require less frequent watering.
- Time your watering: Water your plants early in the morning or in the late afternoon. This allows the foliage to dry out before the evening, reducing the chances of prolonged moisture and providing better airflow.
- Apply mulch: Mulching helps to retain moisture in the soil, reducing the need for frequent watering. Apply a layer of organic mulch, such as wood chips or straw, around the base of your plants to conserve soil moisture and prevent evaporation.
- Monitor plants’ water requirements: Different plants have different water requirements. Some plants prefer drier conditions, while others thrive in moister soil. Be mindful of the specific needs of your plants and adjust your watering practices accordingly.
By adjusting your watering practices and providing the right amount of moisture to your plants, you can create an environment that is less conducive to the growth of yellow fungus. Watering wisely will not only help prevent fungal issues but also promote healthier and more vibrant plants.
Use organic fungicides
When it comes to combating yellow fungus in your soil, using organic fungicides can be an effective and environmentally friendly approach. Organic fungicides help control the growth and spread of fungi while minimizing the use of synthetic chemicals that may have adverse effects on your plants, beneficial organisms, and the ecosystem as a whole.
Here are some organic fungicides you can consider using to manage yellow fungus:
- Neem oil: Neem oil is a natural product derived from the neem tree. It acts as a broad-spectrum fungicide, helping to control a range of fungal diseases, including yellow fungus. Dilute neem oil according to the instructions on the packaging and apply it to the affected areas or as a preventive treatment.
- Copper-based fungicides: Copper-based fungicides, such as copper sulfate or copper hydroxide, have long been used to control fungal diseases. These organic compounds have protective and curative properties against yellow fungus. Follow the instructions on the product label for proper application and dosage.
- Bacillus subtilis: Bacillus subtilis is a beneficial bacterium that can act as a biological control for fungal diseases, including yellow fungus. It colonizes the soil and helps suppress the growth of harmful fungi by competing for resources. Apply Bacillus subtilis-based products as directed on the packaging.
- Garlic extract: Garlic extract has antifungal properties and can help in managing fungal diseases. Dilute garlic extract with water and spray it on the affected areas or as a preventive treatment. Reapply after rainfall or as necessary.
Before using any organic fungicides, carefully read and follow the instructions provided by the manufacturer. It is essential to apply organic fungicides at the recommended rates and timings to ensure their effectiveness and prevent any negative impacts on your plants or the environment.
Remember that while organic fungicides can help manage yellow fungus, they should be used as part of an integrated pest management approach. This includes implementing proper cultural practices, improving soil health, and ensuring good plant care to minimize the conditions that favor fungus growth.
Additionally, it’s advisable to conduct a small test application on a limited area of your plants to check for any potential adverse reactions before applying the fungicide to the entire garden or all affected plants.
By using organic fungicides responsibly and in conjunction with other preventive measures, you can effectively control the growth and spread of yellow fungus while promoting a healthier and more sustainable garden environment.
Introduce beneficial microbes
Introducing beneficial microbes to your soil is an effective natural approach to combat yellow fungus and promote a healthy ecosystem in your garden. Beneficial microbes help restore the natural balance of microorganisms in the soil, creating an environment that is less favorable to the growth and proliferation of harmful fungal species.
Here are some ways to introduce beneficial microbes into your soil:
- Mycorrhizal fungi: Mycorrhizal fungi form a beneficial symbiotic relationship with plants by colonizing their roots. These fungi help enhance nutrient uptake, improve soil structure, and enhance plant resistance to diseases, including yellow fungus. You can introduce mycorrhizal fungi by using inoculant products that contain live spores. Follow the instructions provided by the manufacturer for best results.
- Biofungicides: Biofungicides containing beneficial microorganisms, such as Trichoderma spp. or Bacillus spp., can be applied to the soil to suppress fungal pathogens like yellow fungus. These biofungicides work by colonizing the soil and outcompeting harmful fungi for resources. Apply biofungicides as directed on the product label.
- Compost and organic matter: Incorporating compost and other organic matter increases the microbial diversity and activity in the soil. Organic matter acts as a food source for beneficial microbes, stimulating their growth and activity. Regularly adding compost to your garden or incorporating well-rotted manure can help maintain a healthy population of beneficial microbes.
- Effective microorganisms (EM): EM is a mixture of beneficial microorganisms that can be added to the soil to enhance its microbial diversity. These microorganisms promote organic matter decomposition, improve nutrient cycling, and increase the overall health of the soil ecosystem. Follow the instructions provided by the manufacturer for proper application.
- Cover crops: Planting cover crops enriches the soil with diverse microorganisms. Certain cover crops, such as legumes, have the ability to fix nitrogen, improving soil fertility and microbial activity. When these cover crops are incorporated into the soil, they contribute to a more balanced microbial community.
Introducing beneficial microbes into your soil is a long-term strategy that helps create an ecosystem that is less susceptible to yellow fungus and other soil-borne diseases. It is important to maintain good soil health practices, including minimizing the use of synthetic chemicals and promoting organic matter decomposition, to support the growth and activity of these beneficial microorganisms.
Keep in mind that introducing beneficial microbes should be accompanied by other preventive measures, such as proper watering practices, good sanitation, and maintaining overall plant health. This integrated approach will help strengthen your plants’ natural defenses and create a healthier garden environment that is less prone to yellow fungus infestations.
Monitor and control humidity levels
Monitoring and controlling humidity levels in your garden or growing area is crucial in preventing the growth and spread of yellow fungus. Yellow fungus thrives in moist environments, so it’s important to maintain proper humidity levels to discourage its development.
Here are some steps to monitor and control humidity levels:
- Use a hygrometer: Invest in a hygrometer to measure the humidity levels in your garden. This tool will give you an accurate reading of the moisture content in the air, allowing you to monitor and adjust accordingly.
- Aerate the area: Good airflow is essential in preventing excessive humidity. Ensure that your garden has proper ventilation by trimming back dense foliage, allowing air to circulate freely. Use fans or open windows and doors to encourage airflow, especially in enclosed spaces or greenhouses.
- Avoid over-watering: Over-watering can lead to excess moisture in the soil, which creates a favorable environment for yellow fungus. Water your plants only when necessary and ensure proper drainage to prevent waterlogging. Be mindful of the specific water requirements of different plant species and adjust your watering routine accordingly.
- Time watering sessions: Water your plants in the morning so that any excess moisture on the foliage has time to dry out during the day. Watering in the evening can lead to prolonged moisture on the leaves, providing an ideal environment for fungal growth.
- Remove decaying organic matter: Decaying organic matter, like fallen leaves or dead plant material, can contribute to increased humidity levels. Regularly remove and dispose of any decaying matter in your garden to prevent excess moisture and fungal development.
- Mulch properly: While mulch can help retain moisture in the soil, improper mulching can lead to excess humidity. Apply a thin layer of mulch, ensuring that it doesn’t make direct contact with the plant stem. This allows proper airflow and reduces the risk of trapping moisture against the plants.
- Space out plants adequately: Plant your flowers, vegetables, or herbs with enough space between them to promote airflow. Overcrowded plantings can create a humid microclimate where yellow fungus can thrive.
Regular monitoring of humidity levels in your garden or growing area allows you to intervene promptly if conditions become excessively moist. By taking these measures to control humidity, you can create an environment that is less favorable for the growth of yellow fungus and help ensure the health and vitality of your plants.
Conclusion
Dealing with yellow fungus in soil can be a challenging task, but with the right knowledge and proactive measures, you can successfully get rid of it and create a healthier environment for your plants. By identifying the affected plants, removing the infected soil, sterilizing your gardening tools, improving drainage, adjusting watering practices, using organic fungicides, introducing beneficial microbes, and monitoring humidity levels, you can effectively combat the growth and spread of yellow fungus in your garden.
Remember, prevention is key when it comes to managing yellow fungus. Maintaining good gardening practices, such as proper watering, regular plant inspections, and promoting overall soil health, will help create an inhospitable environment for yellow fungus to thrive.
Additionally, it’s important to stay vigilant and continue monitoring your garden for any signs of yellow fungus or other fungal diseases. Early detection and prompt action are crucial in preventing the spread of the fungus and minimizing potential damage to your plants.
By implementing these strategies and maintaining a holistic approach to gardening, you can enjoy a vibrant and healthy garden, free from the pesky yellow fungus. Remember to always follow the instructions provided by organic fungicides and other products, as well as consult with professionals when needed, to ensure the best possible outcome for your garden.