Home>Gardening Tips and Tricks>Problem Solving>How To Loosen Compacted Soil In Pots

Problem Solving
How To Loosen Compacted Soil In Pots
Published: February 13, 2024
Learn effective problem-solving techniques to loosen compacted soil in pots and improve plant health. Discover expert tips and step-by-step instructions for optimal results.
(Many of the links in this article redirect to a specific reviewed product. Your purchase of these products through affiliate links helps to generate commission for Chicagolandgardening.com, at no extra cost. Learn more)
Table of Contents
Introduction
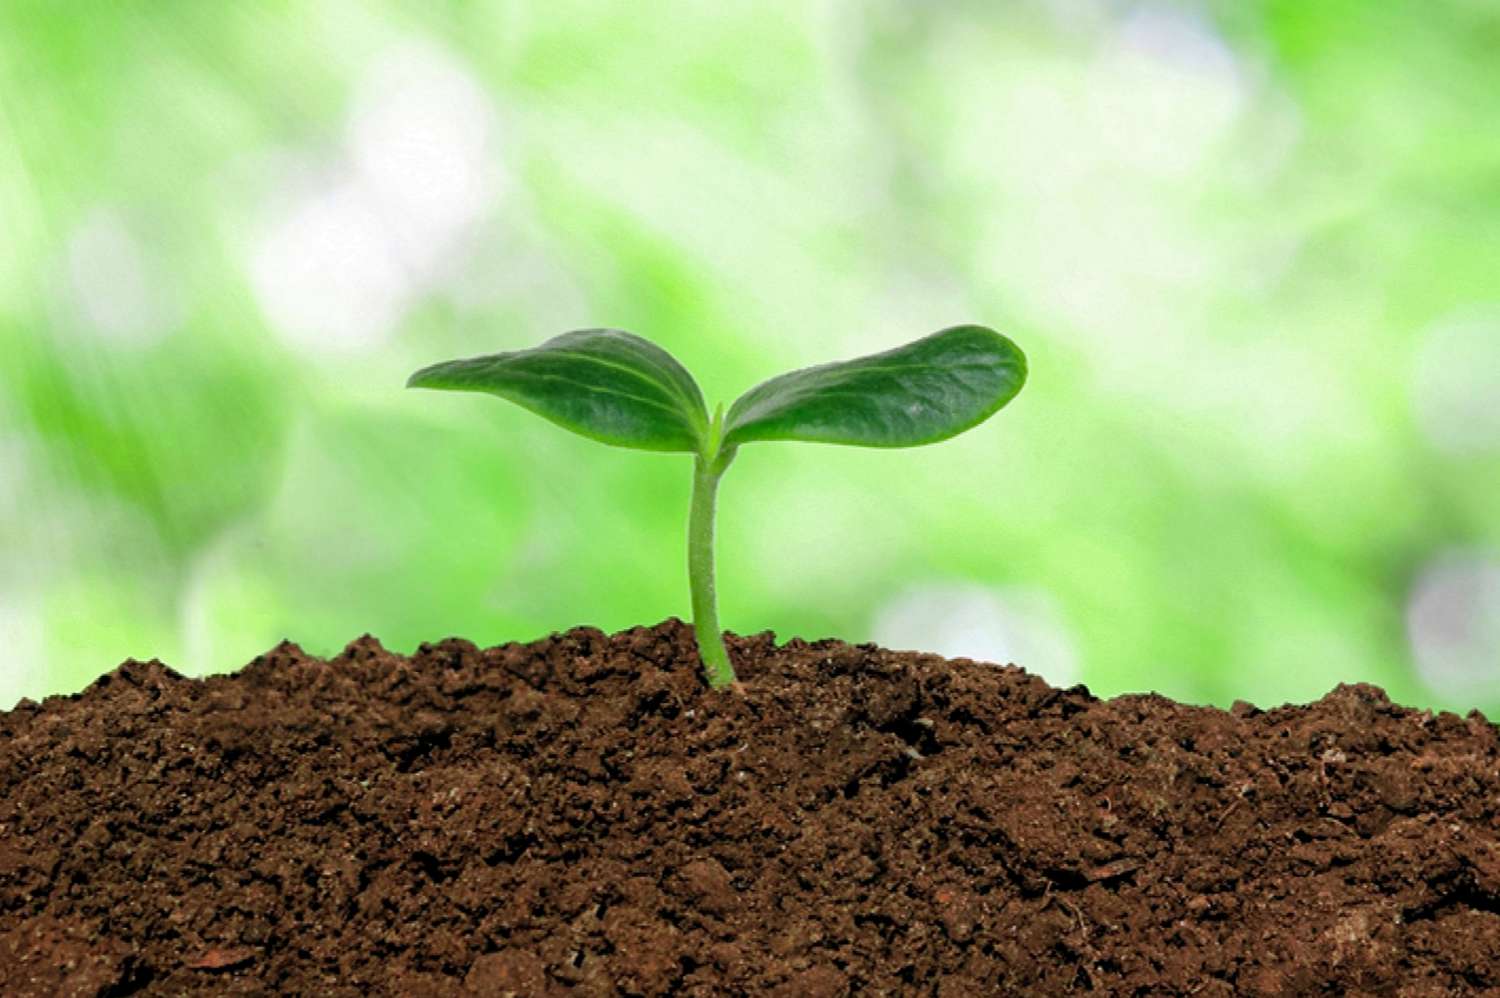
Compacted soil is a common problem faced by gardeners, especially when it comes to potted plants. Soil compaction occurs when the soil particles become tightly packed together, resulting in poor water drainage, limited root growth, and decreased oxygen circulation. This can lead to plant stress, root rot, and even plant death if not addressed promptly.
Identifying and treating compacted soil in pots is essential to ensure the health and vitality of your plants. Fortunately, there are several effective methods to loosen compacted soil in pots and improve the overall growing conditions for your plants.
In this article, we will discuss the signs of compacted soil in pots, the reasons behind soil compaction in pots, and the tools and materials you will need to address the issue. We will then explore step-by-step methods for loosening compacted soil in pots, including using a garden fork, watering and waiting, adding organic matter, and using a soil aerator. Additionally, we will provide some helpful tips for preventing soil compaction in the future.
By following these methods and taking proactive measures, you can revive your potted plants, promote healthy root development, and create optimal growing conditions for your beloved greenery.
Signs of Compacted Soil in Pots
Identifying the signs of compacted soil in pots is crucial in order to address the issue promptly and prevent further damage to your plants. Here are some common signs that indicate soil compaction in potted plants:
- Poor Drainage: One of the most noticeable signs of compacted soil is poor drainage. If you notice that water is not properly absorbing into the soil and instead accumulates at the surface or in the pot’s drainage holes, it could be due to soil compaction.
- Stunted Root Growth: Compact soil restricts root growth and can cause roots to become stunted or bound within the pot. If you notice that the roots are tightly packed or circling the bottom of the pot, it is a clear indication of compacted soil.
- Wilting and Yellowing Leaves: When soil is compacted, it hampers the plant’s ability to absorb water and nutrients. This can lead to wilted, yellowing, or browning leaves, as the plant is unable to access the necessary resources for healthy growth.
- Slow Growth: Compacted soil limits the availability of oxygen and nutrients to the plant’s roots. As a result, plants may exhibit slow or stunted growth compared to their normal rate.
- Cracked Soil: In some cases, compacted soil may become dry and form visible cracks on the surface. These cracks indicate the inability of the soil to retain moisture properly.
- Water Runoff: When water fails to penetrate the soil due to compaction, it may result in excess runoff from the pot. If you notice water spilling over the sides without being absorbed, it is a sign of compacted soil.
It is important to regularly inspect your potted plants for these signs of compacted soil. By doing so, you can address the issue in a timely manner and restore the health and vitality of your plants.
Reasons for Soil Compaction in Pots
Understanding the reasons behind soil compaction in pots is crucial to prevent it from occurring and maintain healthy growing conditions for your plants. Here are some common factors that contribute to soil compaction:
- Overwatering: Excessive watering can lead to compacted soil. When soil is continuously saturated, it becomes dense and loses its ability to provide proper oxygen circulation for the roots. Over time, this can result in compacted soil.
- Improper Soil Composition: Using the wrong type of soil or a soil mix lacking organic matter can contribute to soil compaction. Heavy soils like clay have a higher tendency to become compacted, while sandy soils may become compacted due to the lack of organic matter to bind the particles together.
- Lack of Aeration: Adequate aeration is essential for preventing soil compaction. When soil lacks proper aeration, it becomes packed, and the particles become tightly squeezed together.
- High Foot Traffic: If your potted plants are located in an area with high foot traffic, the weight and pressure from people walking can cause compaction of the soil over time.
- Insufficient Drainage: Poor drainage can contribute to soil compaction as excess water cannot properly drain away. The accumulated water can saturate the soil, making it more prone to compaction.
- Repeatedly Planting in the Same Container: Reusing the same pot without refreshing the soil can lead to soil compaction over time. The continuous pressure from the roots and the lack of fresh soil can cause the particles to become tightly packed.
It is important to be aware of these factors to prevent soil compaction in your potted plants. By addressing these issues and taking preventive measures, you can maintain optimal soil conditions and promote healthy plant growth.
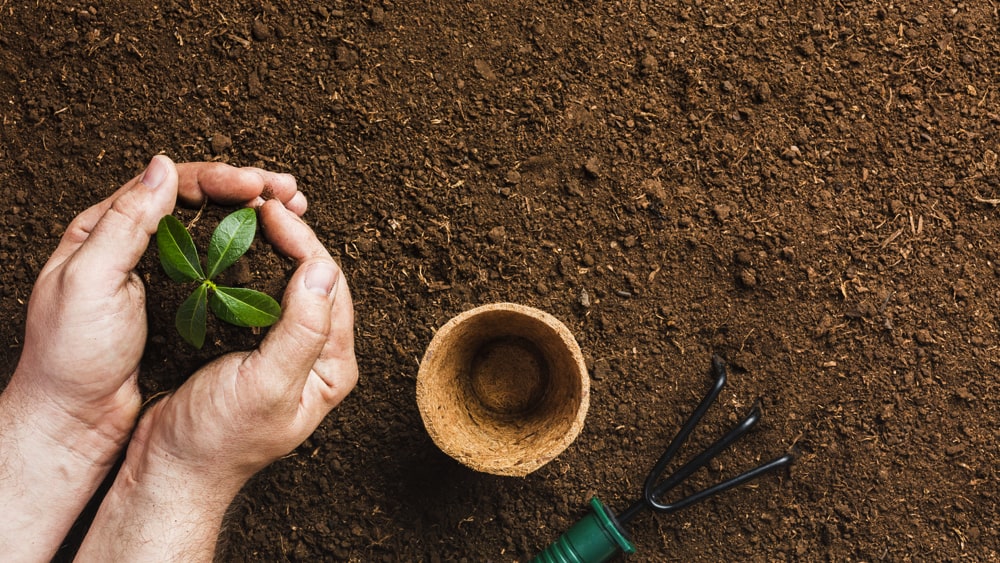
Tools and Materials Needed
Before you start loosening compacted soil in pots, it is important to gather the necessary tools and materials to ensure a successful process. Here are the items you will need:
- Garden Fork: A sturdy garden fork is an essential tool for breaking up compacted soil. Look for a fork with sharp tines that can penetrate the soil easily.
- Watering Can: Having a watering can with a spout will allow you to water the soil efficiently and evenly during the process.
- Organic Matter: Adding organic matter such as compost, peat moss, or well-rotted manure is beneficial for improving soil structure and preventing future compaction.
- Soil Aerator: A soil aerator is a specialized tool designed to create small holes in the soil, allowing for better air and water circulation. This tool is especially useful for larger pots or heavily compacted soil.
- Gardening Gloves: It is important to protect your hands while working with soil. Wear a sturdy pair of gardening gloves to prevent any injuries.
- Water: Having access to a water source is crucial for watering the soil and facilitating the loosening process.
These tools and materials will ensure that you have everything you need to effectively loosen compacted soil in pots. Before starting the process, make sure to gather them all and have them readily available for a smooth and efficient experience.
Methods for Loosening Compacted Soil in Pots
Loosening compacted soil in pots is a vital step in maintaining the health and vitality of your plants. Here are several effective methods to help you address soil compaction in your potted plants:
1. Using a Garden Fork
One of the simplest ways to loosen compacted soil is by using a garden fork. Insert the fork into the soil and gently rock it back and forth to break up the compacted layers. Repeat this process throughout the pot, focusing on areas with the most compacted soil. Be careful not to damage the roots while using the fork.
2. Watering and Waiting
Another effective method is to thoroughly water the soil and allow it to soak for a period of time. The water will penetrate the soil, gradually loosening the compacted layers. After watering, allow the soil to dry slightly before repeating the process. This method can be repeated several times to further improve soil structure.
3. Adding Organic Matter
Adding organic matter is beneficial for enhancing soil structure and preventing future compaction. Mix in compost, peat moss, or well-rotted manure into the top layer of the soil. These organic materials will improve soil drainage, aeration, and nutrient content, making it easier for the roots to grow and reducing the likelihood of compaction.
4. Using a Soil Aerator
A soil aerator is a specialized tool designed to create small holes in the soil, promoting better air and water circulation. Insert the aerator into the compacted soil, using a twisting motion to create holes at regular intervals. This method is especially effective for larger pots or heavily compacted soil.
Remember to proceed with caution when using these methods to avoid damaging the plant’s roots. Take your time and work gently to ensure the best results for your potted plants.
Using a Garden Fork
One effective method for loosening compacted soil in pots is by using a garden fork. This tool allows you to break up the compacted layers and improve soil structure. Follow these steps to use a garden fork:
- Choose the Right Fork: Select a garden fork with sharp, sturdy tines that can easily penetrate the soil.
- Prepare the Soil: Moisten the soil slightly before starting. This will make it easier to work with and reduce the risk of damaging the plant’s roots.
- Insert the Fork: Gently insert the garden fork into the soil, starting from the outer edges of the pot and working your way towards the center. Push the fork down as far as it can go without disturbing the roots.
- Rock the Fork: Once the fork is inserted, gently rock it back and forth to loosen the soil. This motion helps to break up the compacted layers and create space for improved root growth.
- Repeat the Process: Continue inserting the garden fork into different areas of the pot, focusing on areas with the most compacted soil. Repeat the rocking motion to effectively loosen the soil throughout the pot.
- Inspect the Roots: As you work, take care to inspect the roots for any signs of damage. If you come across any tangled or circling roots, gently tease them apart or trim them if necessary.
- Finish and Water: Once you have loosened the compacted soil, water the pot thoroughly. This will help settle the soil and encourage proper drainage.
Using a garden fork is a manual and effective method for loosening compacted soil in pots. Take your time and work gently to avoid disrupting the plant’s roots while improving the soil structure for healthier growth.
Watering and Waiting
Watering and waiting is a simple yet effective method for loosening compacted soil in pots. By thoroughly watering the soil and allowing it to soak, the water will penetrate the compacted layers and gradually loosen the soil. Follow these steps to use the watering and waiting method:
- Prepare the Soil: Ensure that the soil is dry or slightly moist before starting. This will allow the water to infiltrate the dry, compacted layers more effectively.
- Water the Soil: Using a watering can or hose with a gentle flow, thoroughly water the soil until the water evenly moistens the entire pot. It is important to provide enough water to saturate the soil and reach the compacted layers.
- Allow for Soaking: After watering, allow the soil to soak for a period of time. The water will gradually penetrate the compacted layers, softening them and making it easier for roots to grow through.
- Check Moisture Levels: While waiting, periodically check the moisture levels of the soil. The goal is to keep the soil consistently moist but not waterlogged. Adjust the watering schedule accordingly to maintain optimal moisture levels.
- Repeat the Process: Depending on the severity of the soil compaction, you may need to repeat the watering and waiting process several times. Each time you water, the soil will become progressively looser.
By patiently watering and waiting, you allow the water to gradually break up the compacted soil and create better growing conditions for your plants. Be sure to monitor the moisture levels to prevent overwatering and adjust accordingly.
Adding Organic Matter
Another effective method for loosening compacted soil in pots is by adding organic matter. Organic matter helps improve soil structure, promote water retention, and provide essential nutrients for plant growth. Follow these steps to add organic matter to your potted plants:
- Select the Right Organic Matter: Choose organic materials such as compost, peat moss, or well-rotted manure. These materials are readily available and provide the necessary nutrients and structure to improve the soil.
- Prepare the Soil Surface: Before adding organic matter, remove any debris or weeds from the soil surface. This will ensure that the organic matter can be incorporated into the soil effectively.
- Apply the Organic Matter: Spread a layer of organic matter on the top layer of the soil, around 1-2 inches deep. Avoid placing the organic matter directly against the stem of the plant to prevent rot or disease.
- Mix the Organic Matter: Gently mix the organic matter into the top layer of the soil using a hand cultivator or a garden fork. Break up the compacted soil as you mix in the organic matter, ensuring it is evenly distributed.
- Water the Soil: After adding and mixing the organic matter, thoroughly water the soil. This will help settle the organic matter and allow it to interact with the compacted soil, improving its structure and nutrient content.
- Monitor and Repeat: Over time, the organic matter will decompose and further benefit the soil quality. Monitor the moisture levels and add additional organic matter as needed to maintain optimal soil conditions.
Adding organic matter to your potted plants is a proactive approach to prevent and address soil compaction. The organic matter improves soil structure, enhances water retention, and provides a nutrient-rich environment for the plants to thrive.
Using a Soil Aerator
To effectively loosen compacted soil in pots, using a soil aerator can be a helpful tool. A soil aerator creates small holes in the soil, promoting better air and water circulation. Follow these steps to use a soil aerator:
- Select the Right Soil Aerator: Look for a soil aerator specifically designed for potted plants. It should have sharp tines or prongs that can penetrate the soil easily.
- Moisten the Soil: Before using the soil aerator, slightly moisten the soil. This will make it easier for the tines to penetrate the compacted layers without damaging the plant’s roots.
- Insert the Soil Aerator: Gently insert the soil aerator into the soil, starting from the outer edges of the pot and working towards the center. Apply a slight twisting motion to create small holes in the soil.
- Continue Aerating: Move the soil aerator throughout the pot, focusing on areas with the most compacted soil. Ensure that the holes are evenly distributed, providing sufficient aeration across the pot.
- Avoid Over-Aerating: Be cautious not to overdo it with the soil aerator, as excessive aeration can disturb the soil structure and potentially harm the roots. Balance the aeration process to promote healthy soil without causing damage.
- Water the Soil: After using the soil aerator, water the soil thoroughly. This will help settle the soil and allow for better penetration of water and nutrients into the compacted layers.
Using a soil aerator is an effective method for loosening compacted soil in pots, especially for larger pots or heavily compacted soil. It improves the air and water circulation within the soil, promoting healthy root growth and helping to prevent future compaction.
Additional Tips for Preventing Soil Compaction
Preventing soil compaction in potted plants is key to maintaining healthy root growth and overall plant health. Here are some additional tips to help you prevent soil compaction:
- Choose the Right Pot Size: Select pots that provide ample space for the plant’s root system to grow. A pot that is too small can restrict root development and lead to soil compaction.
- Use the Right Soil Mix: Opt for a well-draining soil mix that contains a balanced blend of organic matter, perlite, and vermiculite. This promotes healthy root growth and reduces the risk of compacted soil.
- Water Wisely: Water your potted plants thoroughly but avoid overwatering. Ensure the pot has sufficient drainage and allow the soil to dry out slightly between waterings to prevent soil saturation and compaction.
- Monitor Soil Moisture Levels: Regularly check the moisture levels of the soil using your finger or a moisture meter. Adjust your watering schedule accordingly to maintain the optimal moisture balance.
- Rotate and Repot: Rotate your potted plants regularly to ensure even root growth and prevent soil compaction in one specific area. Additionally, repot your plants every couple of years or as needed to provide fresh soil.
- Avoid Heavy Foot Traffic: If your potted plants are located in an area with high foot traffic, consider placing them in a more protected location to prevent soil compaction caused by constant pressure.
- Mulch the Soil: Apply a layer of organic mulch, such as wood chips or straw, on the soil surface. This helps to regulate soil temperature, retain moisture, and prevent erosion, reducing the risk of soil compaction.
- Regularly Loosen the Soil: Make it a habit to gently loosen the top layer of soil with a hand cultivator or garden fork every few weeks. This promotes aeration and prevents the formation of compacted layers.
- Avoid Excessive Fertilization: Over-fertilizing can lead to excessive plant growth and increase the risk of soil compaction. Follow the recommended fertilization guidelines for your specific plants.
- Properly Store Garden Tools: Avoid leaving heavy garden tools or equipment on the soil surface for extended periods, as they can compact the soil over time. Store them properly to prevent unnecessary soil compaction.
By following these additional tips, you can create an optimal environment for your potted plants and prevent soil compaction. Taking proactive measures to promote healthy soil structure will ensure the long-term success of your potted plants.
Conclusion
Loosening compacted soil in pots is essential to provide healthy growing conditions for your plants. Soil compaction can hinder root growth, limit water drainage, and decrease oxygen circulation, leading to plant stress and potential damage. By identifying the signs of compacted soil, understanding the causes, and implementing the appropriate methods, you can effectively address this issue and promote optimal plant health.
In this article, we discussed the signs of compacted soil in pots, including poor drainage, stunted root growth, wilting leaves, slow growth, cracked soil, and water runoff. We also explored the reasons behind soil compaction, such as overwatering, improper soil composition, lack of aeration, high foot traffic, insufficient drainage, and repeatedly planting in the same container.
To address compacted soil, several methods were discussed, including using a garden fork to break up the soil, watering and waiting for the soil to absorb moisture and loosen, adding organic matter to improve soil structure, and using a soil aerator to create small holes for better air and water circulation.
Furthermore, we provided additional tips for preventing soil compaction, such as selecting the right pot size, using the appropriate soil mix, watering wisely, rotating and repotting the plants, avoiding heavy foot traffic, and regularly loosening the soil.
By following these methods and tips, you can maintain optimal soil conditions, promote healthy root development, and prevent future soil compaction in your potted plants. Remember to monitor the moisture levels, avoid overwatering, and provide proper care for your plants to ensure their long-term vitality and beauty.