Home>Types of Gardening>Edible Gardening>When To Tap Maple Trees
Edible Gardening
When To Tap Maple Trees
Published: November 6, 2023
Learn when to tap maple trees in your edible gardening journey. Discover the perfect timing for extracting delicious maple syrup at home.
(Many of the links in this article redirect to a specific reviewed product. Your purchase of these products through affiliate links helps to generate commission for Chicagolandgardening.com, at no extra cost. Learn more)
Table of Contents
Introduction
Welcome to the world of maple syrup production! If you have a fascination for edible gardening and want to experience the sweet joy of creating your own delicious syrup, tapping maple trees is an exciting endeavor to embark upon. The process of extracting sap from these majestic trees and converting it into maple syrup has been practiced for centuries, and it continues to be a cherished tradition for many nature enthusiasts.
In this article, we will guide you through the ins and outs of tapping maple trees. From understanding the different types of maple trees to knowing the optimal climate and timing for tapping, we will cover all the essential information you need to get started.
Before we dive into the technicalities, let’s take a moment to appreciate the beauty and significance of maple trees. These magnificent trees are not only prized for their stunning foliage in the fall but also for their valuable sap that can be transformed into the liquid gold known as maple syrup. Whether you’re a beginner or an experienced gardener, exploring the world of maple syrup production is a delightful and rewarding journey.
As we delve into the details, you’ll discover that tapping maple trees requires careful planning, proper tools, and precise timing. We will discuss the equipment and supplies you’ll need, as well as how to identify suitable trees for tapping. We’ll then walk you through the process of tapping the trees and collecting and storing the maple sap.
Once you have collected enough sap, the next step is boiling and filtering. We’ll provide you with insights on how to achieve the desired consistency and flavor of your maple syrup. From there, we’ll cover the final steps of maple syrup production, including bottling and storage techniques.
By the end of this article, you’ll have a comprehensive understanding of the art of tapping maple trees and producing your very own maple syrup. So, put on your gardening gloves, grab your tools, and let’s begin this flavorful and satisfying journey into the world of maple syrup production!
Understanding Maple Trees
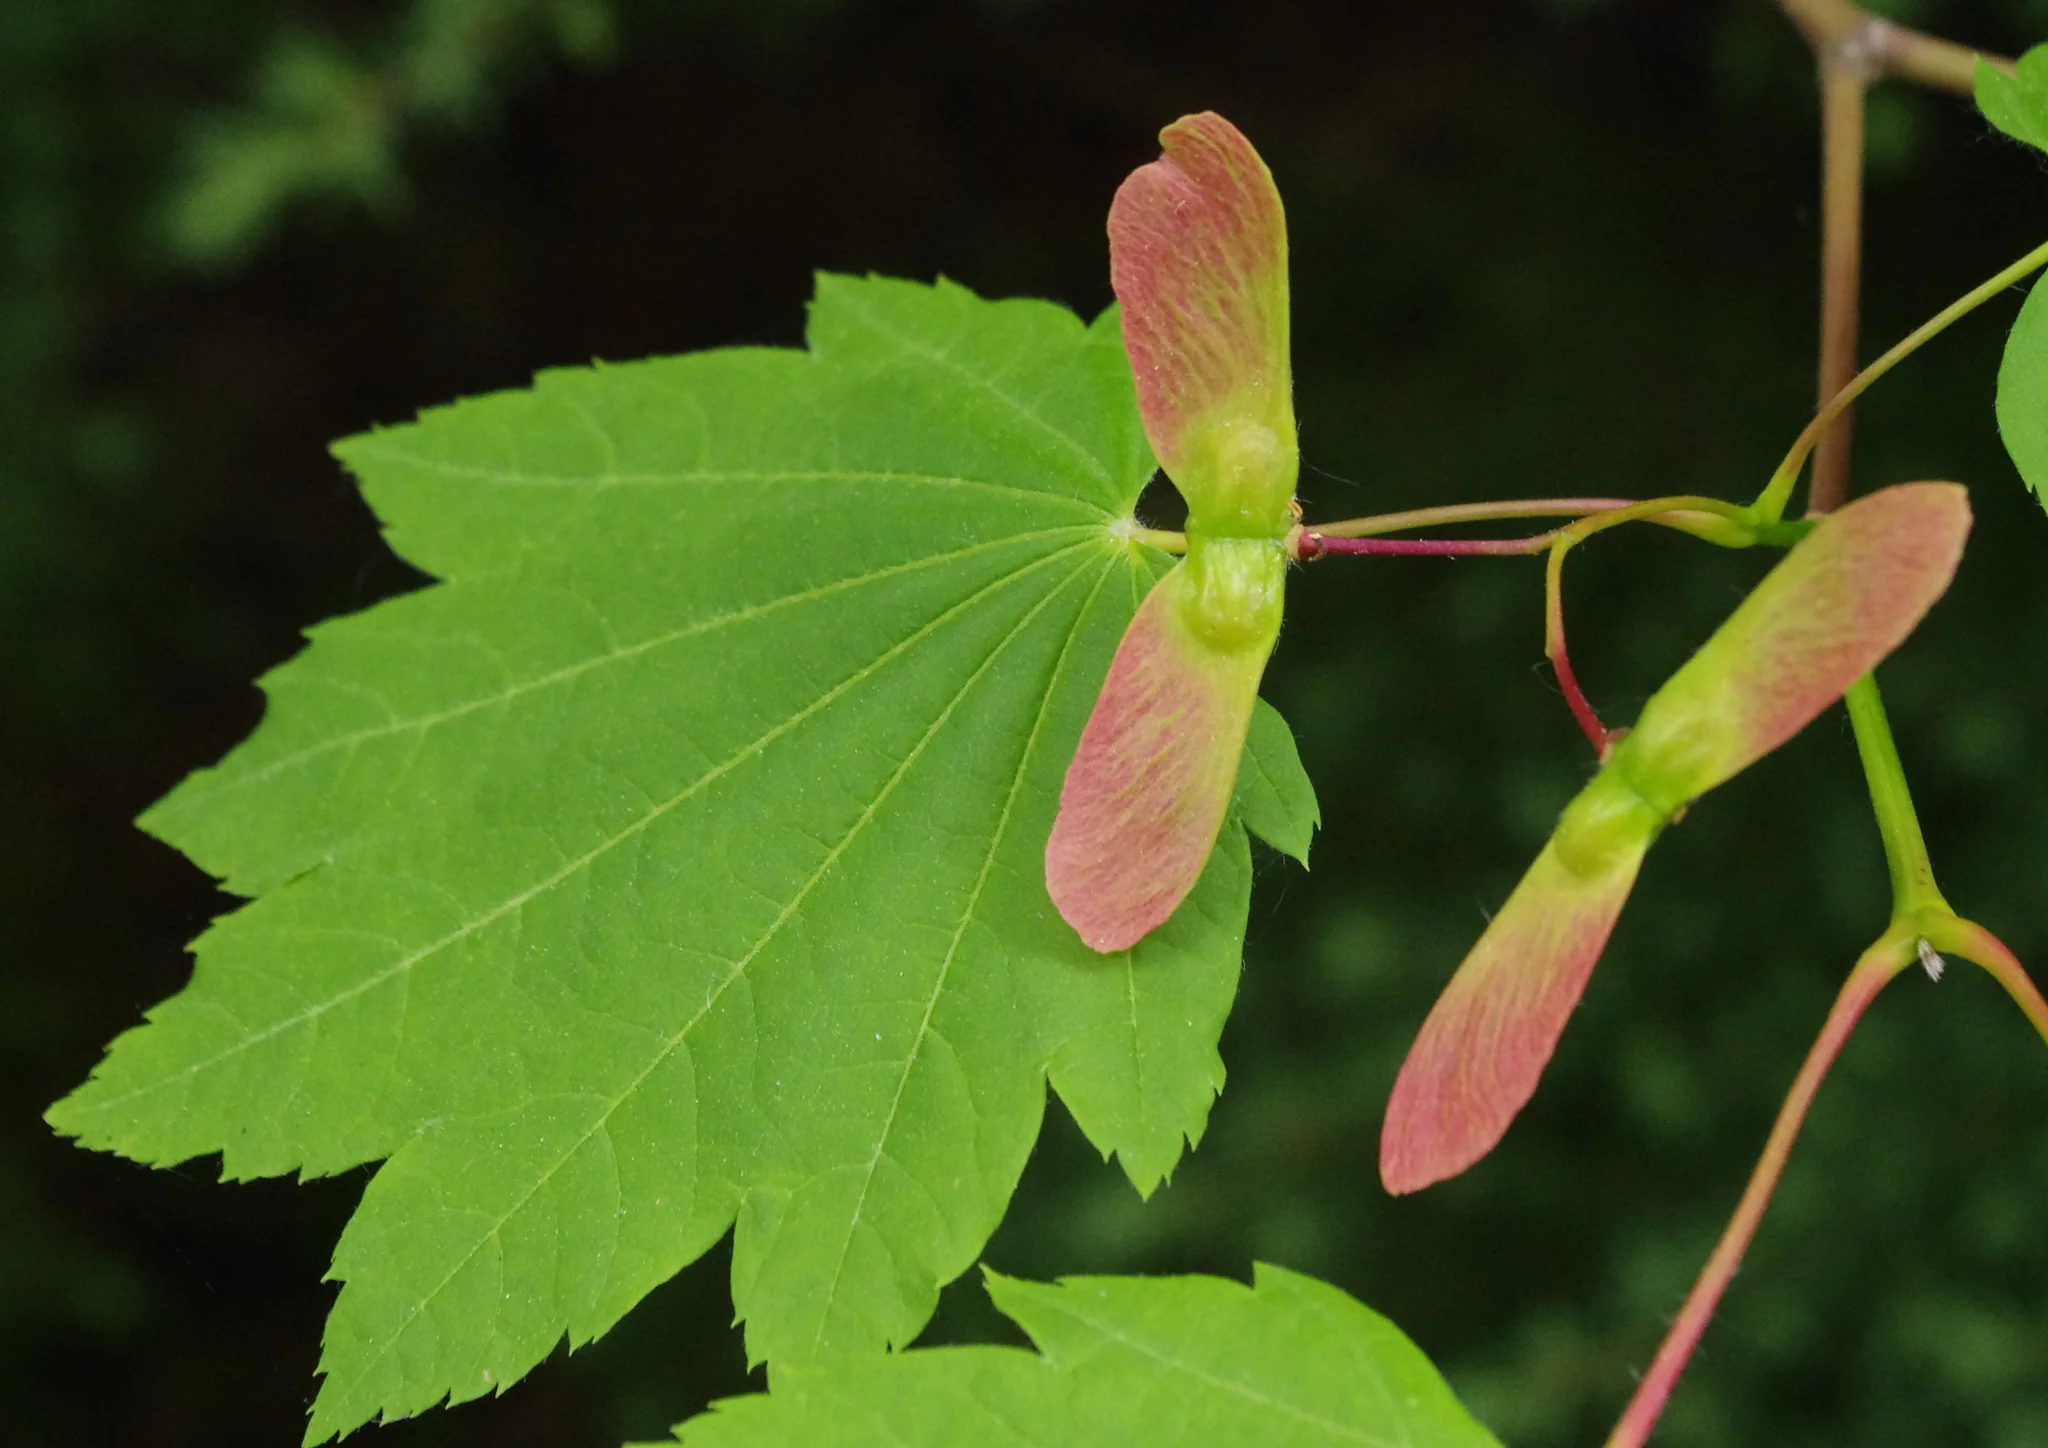
Before you begin tapping maple trees for syrup production, it’s important to have a solid understanding of the trees themselves. Maple trees belong to the Acer genus and are found primarily in the northern hemisphere, particularly in regions with cold winters and temperate climates. There are several species of maple trees, but the most commonly tapped for syrup production are the sugar maple (Acer saccharum), red maple (Acer rubrum), and black maple (Acer nigrum).
These trees are valued for their high sugar content in their sap, making them ideal for syrup production. The sugar content in maple sap can range from 2% to 3%, which can be boiled down to concentrate the sugars and produce the rich and flavorful maple syrup we all love.
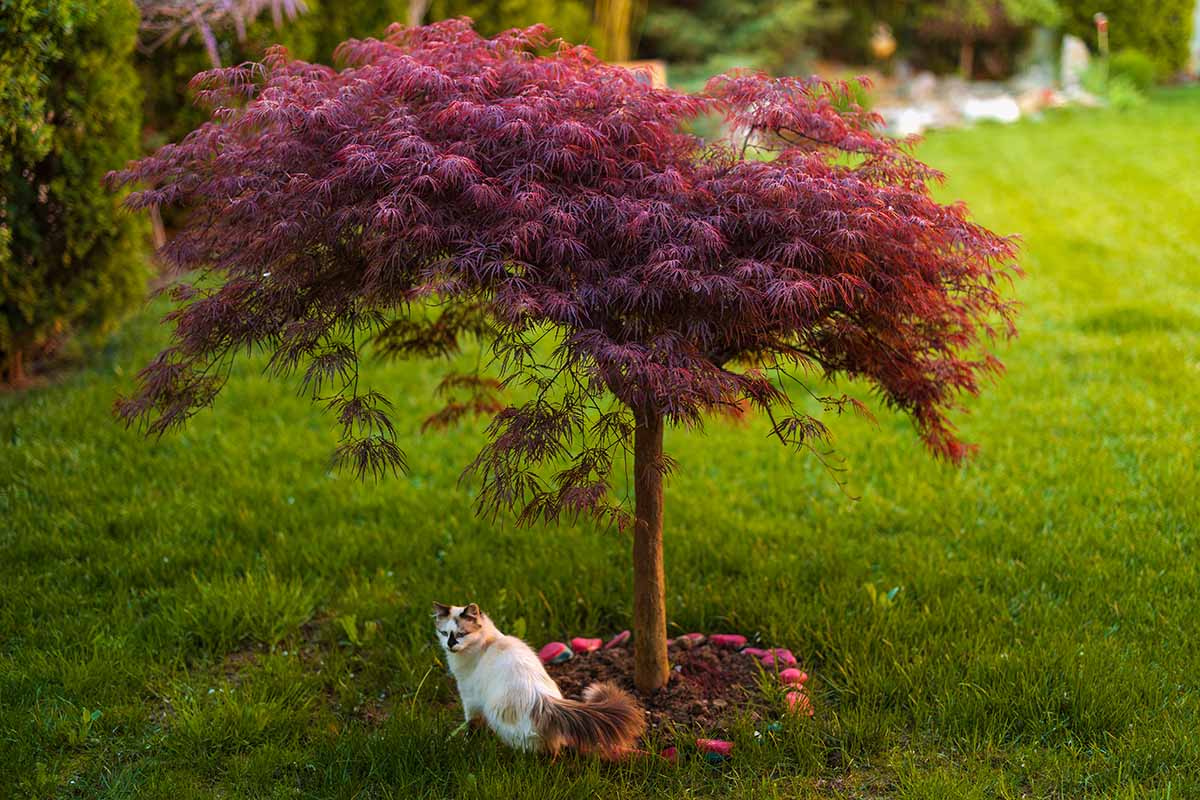
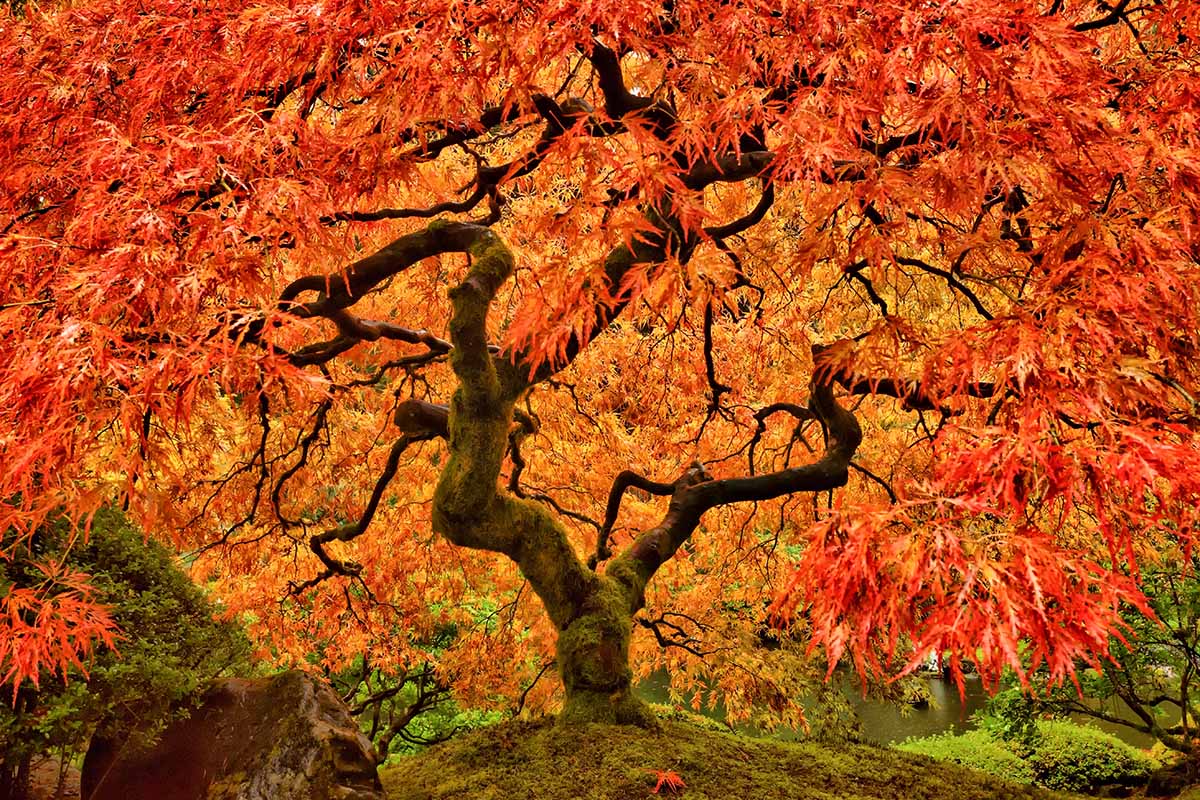
Maple trees typically grow to be large and often reach heights of 60 to 100 feet. They have distinctive leaves with three to five lobes, and their bark can vary in color from light gray to brown. During the fall, maple trees showcase their vibrant colors, with leaves turning shades of yellow, orange, and reddish-brown.
It’s important to note that maple trees need to be of a certain age and size before they can be tapped for sap. Generally, a maple tree should be at least 10 to 12 inches in diameter to ensure a healthy and sustainable tapping process. Younger trees may not produce enough sap, while older trees may have reduced sap flow due to internal corking.
Understanding the growth and characteristics of maple trees is crucial for successful tapping. By selecting healthy and mature trees, you can maximize your sap collection and contribute to the overall health and sustainability of the trees.
Now that you have a basic understanding of maple trees, let’s move on to the next step: determining the ideal climate and timing for tapping maple trees.
Climate and Timing
The climate and timing play a vital role in successful maple syrup production. Ideally, the weather should transition from winter to spring, with freezing temperatures at night and mild temperatures during the day. This temperature fluctuation prompts the maple trees to begin the process of sap flow.
In North America, maple sap flow typically occurs between late winter and early spring, usually in February or March, depending on the region. The exact timing can vary based on the specific climate and local weather conditions.
To determine the optimal time for tapping, keep an eye on the weather forecast. You are looking for a pattern where the temperature drops below freezing at night, followed by moderate temperatures of around 40 to 50 degrees Fahrenheit during the day. This freeze-thaw cycle stimulates the sap flow within the maple trees.
It’s crucial to tap the trees when the sap begins to flow but before the buds start to emerge. If you tap too early, the sap flow may be minimal, and if you tap too late, the sap may become cloudy and less suitable for syrup production.
It’s important to note that the duration of the sap flow can vary depending on the weather conditions and the specific tree species. In general, the sap flow can last anywhere from a few weeks to a couple of months.
Keep in mind that tapping maple trees should only be done during the appropriate season and under the right conditions. Tapping outside the recommended timeframe or during extreme weather conditions can harm the tree and may not yield the desired results.
Now that you understand the significance of climate and timing for maple syrup production, let’s move on to the equipment and supplies you’ll need to get started.
Equipment and Supplies
Before you venture into tapping maple trees, it’s essential to have the necessary equipment and supplies to ensure a smooth and successful process. Here are the key items you’ll need:
- Tapping spouts: These are small plastic or metal spouts that are inserted into the drilled holes in the maple trees. They act as channels for the sap to flow into collection containers.
- Drill and drill bit: You’ll need a drill, preferably a cordless one, along with a drill bit specifically designed for tapping maple trees. The drill bit size will depend on the spouts you’re using.
- Collection containers: Choose food-grade containers, such as buckets or plastic bags, to collect the sap. Ensure that they are clean and have lids or covers to prevent contamination.
- Sap lines: For larger-scale operations, you may opt for tubing systems that connect the trees and lead the sap to a central collection point. These tubing systems can increase efficiency and make sap collection more convenient.
- Storage containers: Once you’ve collected the sap, you’ll need suitable containers to store it until you’re ready to process it into syrup. Food-grade, tightly sealed containers such as barrels or plastic containers are ideal for this purpose.
- Evaporator or cooking equipment: To transform sap into syrup, you’ll need an evaporator or large cooking pot with a wide surface area. This allows for efficient evaporation to concentrate the sap and remove excess moisture.
- Candy thermometer: A candy thermometer is essential for monitoring the temperature of the boiling sap. This helps you determine when the sap has reached the desired consistency to create maple syrup.
- Filtering materials: You’ll need filters such as cheesecloth or specialized maple syrup filters to remove impurities and debris from the boiled sap. This ensures that your maple syrup is clear and of high quality.
- Labels and containers for maple syrup: Once you’ve successfully transformed the sap into syrup, you’ll need appropriate containers to store and package your maple syrup. Be sure to label them with the date and batch number for future reference.
It’s important to ensure that all equipment and supplies used in the maple syrup production process are food-grade and sanitized. This helps maintain the quality and safety standards of the syrup you produce.
Now that you have your equipment and supplies ready, let’s move on to the next step: identifying suitable trees for tapping.
Identifying Suitable Trees
To tap maple trees for sap, it’s crucial to identify and select suitable trees. Here are some key factors to consider:
Tree Species: The most commonly tapped trees for syrup production are the sugar maple (Acer saccharum), red maple (Acer rubrum), and black maple (Acer nigrum). These species have higher sugar content in their sap, resulting in a more flavorful syrup.
Tree Age and Size: Choose mature trees that are at least 10 to 12 inches in diameter. Younger trees may not produce sufficient amounts of sap, while older trees may have reduced sap flow due to internal corking. Look for trees that are healthy, with no signs of disease or decay.
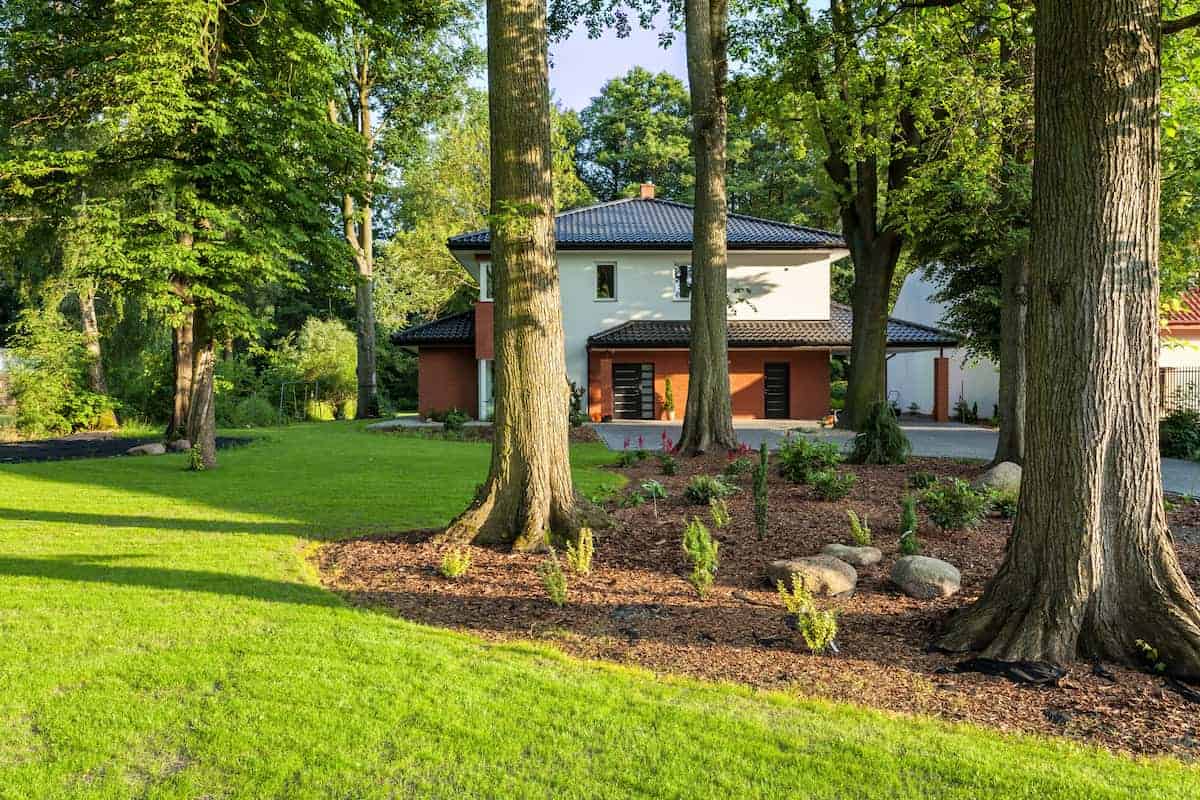
Tree Location: Maple trees should preferably be located in open areas that receive ample sunlight. This promotes healthy growth and increases sap production. Avoid tapping trees that are located near roadsides or heavily polluted areas, as the sap could absorb contaminants.
Tree Health: Carefully inspect the tree for any signs of damage or disease. Avoid tapping trees that have open wounds or weak branches, as this can negatively impact their overall health. It’s essential to prioritize the well-being of the tree and ensure that it can sustain the tapping process.
Number of Taps: As a general guideline, avoid tapping more than one tap hole per 10 inches in diameter of the tree trunk. Over-tapping can cause stress to the tree and reduce sap flow. It’s important to maintain a balance between sap collection and the tree’s overall health.
Remember, it’s important to approach the process of tapping trees with care and responsibility. By selecting healthy and suitable trees, you ensure both the success of your syrup production and the preservation of the trees for future tapping seasons.
Now that you have identified suitable trees for tapping, let’s move on to the tapping process itself.
Tapping Process
The tapping process is a crucial step in extracting sap from maple trees. Here’s a step-by-step guide to help you navigate through the process:
- Choose the Right Time: Wait for the ideal weather conditions with freezing nights and mild daytime temperatures, typically in late winter or early spring. This is when the sap flow is at its peak.
- Gather Your Equipment: Ensure that you have all your equipment and supplies ready, including tapping spouts, drill, collection containers, and sanitizing materials.
- Select the Tapping Spot: Choose a suitable spot on the tree, usually 2 to 4 feet from the ground and on the south-facing side. This area tends to get more sunlight and promotes better sap flow.
- Prepare the Drill Bit: Attach the appropriate-sized drill bit to your drill. The diameter of the drill bit should match the diameter of your tapping spout.
- Drill the Hole: Gently drill a hole at a slight upward angle into the tree, deep enough to insert the tapping spout securely. The hole should be approximately 1.5 to 2 inches deep.
- Insert the Tapping Spout: Carefully insert the tapping spout into the drilled hole, ensuring a snug fit. Be cautious not to damage the spout or the tree while doing so.
- Collect the Sap: Attach the collection container, such as a bucket or plastic bag, to the spout. Make sure it is securely fastened and positioned properly to collect the sap.
- Repeat the Process: If you have multiple trees to tap, repeat the drilling and tapping process for each tree, ensuring that you maintain proper spacing and consider the health of the trees.
- Monitor Sap Flow: Regularly check and empty the collection containers as the sap flows into them. This prevents overflow and allows for continuous sap collection.
- Clean and Sanitize: Once you’ve completed the tapping process, clean and sanitize your equipment to maintain hygiene and prevent contamination.
Remember, it’s important to tap the trees with care and respect for their well-being. Proper tapping techniques and monitoring sap flow are essential to ensure the health of the trees and the success of your syrup production.
Now that you’ve tapped the maple trees and collected the sap, let’s move on to the next step: collecting and storing the maple sap.
Collecting and Storing Maple Sap
Once you’ve tapped the maple trees and the sap is flowing, it’s time to collect and store the precious liquid. Here are some essential steps to follow:
- Regularly Check the Collection Containers: Monitor the collection containers and empty them as needed to prevent overflow. Check them at least once a day, or more frequently during peak sap flow.
- Filter the Sap: Before storing the sap, it’s recommended to filter it to remove any debris or impurities. Use a fine mesh strainer or cheesecloth to strain the sap as you transfer it from the collection containers to storage containers.
- Store the Sap: Transfer the filtered sap into clean and food-grade storage containers such as barrels, plastic containers, or food-grade buckets. Ensure that the containers are tightly sealed to prevent contamination.
- Refrigerate or Keep Cool: To maintain the freshness and quality of the sap, it’s important to store it in a cool environment. If refrigeration is available, store the sap at temperatures below 40°F (4°C). If refrigeration is not possible, place the containers in a shaded and cool location.
- Process the Sap Promptly: It’s best to process the sap into syrup as soon as possible after collection. Fresh sap yields the highest quality syrup, so aim to boil and process it within a day or two of collecting. However, if necessary, sap can be stored for a few days before processing.
When collecting and storing maple sap, it’s crucial to maintain cleanliness and hygiene. Use clean containers, properly seal them to prevent bacterial growth, and handle the sap with clean utensils to ensure the purity and quality of the final maple syrup.
Remember, the sap collection season is limited, so it’s essential to make the most of it during the optimal weather conditions. Now that you have collected and stored the sap, let’s move on to the next step: boiling and filtering the maple sap to transform it into maple syrup.
Boiling and Filtering Maple Sap
After collecting and storing the maple sap, the next step in the syrup-making process is to boil and filter the sap. This concentrates the sugars and transforms the sap into delicious maple syrup. Here’s how to do it:
- Prepare Your Evaporator or Cooking Equipment: Set up your evaporator or large cooking pot on a heat source, such as a stove or outdoor fire. Ensure that it is clean and in good working condition.
- Pour the Sap into the Evaporator: Transfer the maple sap from the storage containers into the evaporator, leaving some space for the sap to boil and foam.
- Boil the Sap: Bring the sap to a boil and maintain a steady boil. As the sap boils, steam will evaporate, and the liquid will gradually thicken. Keep an eye on the sap to prevent boiling over.
- Monitor the Temperature: Use a candy thermometer to monitor the temperature of the boiling sap. The temperature will rise gradually as the water content reduces and the sugar concentration increases.
- Skim off Foam: As the sap boils, foam will accumulate on the surface. Use a large spoon or skimmer to skim off the foam, ensuring that the maple syrup remains clean and free of impurities.
- Continue Boiling: Allow the sap to boil until it reaches the desired temperature, which is typically around 219°F (104°C) for maple syrup. This ensures the proper concentration of sugars for a rich and flavorful syrup.
- Test for Syrup Consistency: To test for syrup consistency, you can use a hydrometer or perform a spoon test. The syrup should be thick and coat the back of the spoon or yield a specific gravity reading of around 66% sugar.
- Filter the Syrup: Once the syrup reaches the desired consistency, remove it from the heat and let it cool slightly. Pour the syrup through a fine mesh strainer or maple syrup filter to remove any remaining impurities.
- Bottle and Store: Carefully pour the filtered syrup into clean and sterilized glass or plastic containers. Tightly seal the containers and label them with the date and batch number. Store the syrup in a cool, dark place.
Boiling and filtering the maple sap requires patience and vigilance. It’s important to maintain steady heat, monitor the temperature, and remove any impurities to produce high-quality maple syrup.
Congratulations! You have successfully transformed the maple sap into delectable maple syrup. In the next section, we will explore the final steps of maple syrup production.
Maple Syrup Production
Maple syrup production involves more than just boiling and filtering the sap. It requires precision and attention to detail to achieve the perfect consistency and flavor. Let’s explore the final steps of maple syrup production:
- Check Syrup Density: After filtering, check the density of the syrup using a hydrometer or refractometer. The syrup should have a density of 66% sugar or a Brix measurement of approximately 66°.
- Adjust Syrup Flavor: If desired, you can enhance the flavor of the syrup by adding a small amount of pure maple extract or vanilla extract. Stir gently to incorporate the flavoring but be careful not to overdo it and overpower the natural maple taste.
- Heat-Treat the Syrup (optional): Some producers choose to heat-treat their syrup to ensure longer shelf-life and inhibit any potential microbial growth. This process involves heating the bottled syrup in a hot water bath or oven to a specific temperature. Consult a reliable source for proper heat-treatment guidelines.
- Bottling and Labeling: Pour the syrup into clean and sterilized glass or plastic bottles. Ensure that the containers are properly sealed to maintain freshness. Label each bottle with the date of production and any additional relevant information.
- Storage and Shelf-Life: Store your bottled maple syrup in a cool, dark place to preserve its quality. Properly stored, maple syrup can have a shelf-life of up to several years, although it is best consumed within one year for optimal flavor.
- Enjoy Your Maple Syrup: The final step of maple syrup production is undoubtedly the most enjoyable! Enjoy your homemade syrup drizzled over pancakes, waffles, French toast, ice cream, or any other treat that you desire. Share it with family and friends and savor the delicious taste of your efforts.
Remember, every step of maple syrup production requires careful attention and adherence to food safety guidelines. Follow proper sanitation practices, handle the syrup with clean utensils, and make sure to store and label the syrup appropriately.
Congratulations! You have completed the journey from tapping maple trees to producing your very own homemade maple syrup. Now, sit back, indulge in the sweet goodness, and bask in the satisfaction of your successful maple syrup production.
Conclusion
Congratulations on completing your journey into the world of tapping maple trees and producing your own delicious maple syrup! From understanding maple trees and identifying suitable ones for tapping to the process of collecting, boiling, and filtering the sap, you have gained valuable knowledge and skills in maple syrup production.
By tapping into the natural sweetness of maple trees, you have experienced the joy of creating a delectable and all-natural syrup that can be enjoyed with a variety of dishes. The process of tapping maple trees not only yields a flavorful treat but also fosters a connection with nature and a sense of accomplishment.
Throughout this process, you have learned the importance of choosing the right time and climate for tapping, selecting the appropriate equipment, and understanding the nuances of sap collection and storage. By following these steps, you have ensured the quality and consistency of your maple syrup.
Producing maple syrup is not just a practical endeavor but also a celebration of nature’s bounty and the traditions passed down through generations. It is an opportunity to connect with the beauty and wonder of maple trees and to appreciate the value they bring to our lives.
Now that you have a thorough understanding of maple syrup production, you can continue to refine your techniques and explore new recipes and variations. Whether you choose to share your syrup with loved ones, host pancake breakfasts, or simply savor it on your own indulgent moments, your homemade maple syrup will always bring a smile to your face.
Thank you for joining us on this flavorful and satisfying journey into the world of tapping maple trees and producing maple syrup. May you continue to enjoy the sweet rewards of your edible gardening endeavors and the delicious taste of homemade maple syrup for years to come!