Home>Gardening Basics>Tools and Equipment>How To Sharpen Pruning Clippers
Tools and Equipment
How To Sharpen Pruning Clippers
Published: August 20, 2023
Learn the best techniques for sharpening pruning clippers with our comprehensive guide. Upgrade your tools and equipment for more efficient gardening.
(Many of the links in this article redirect to a specific reviewed product. Your purchase of these products through affiliate links helps to generate commission for Chicagolandgardening.com, at no extra cost. Learn more)
Table of Contents
Introduction
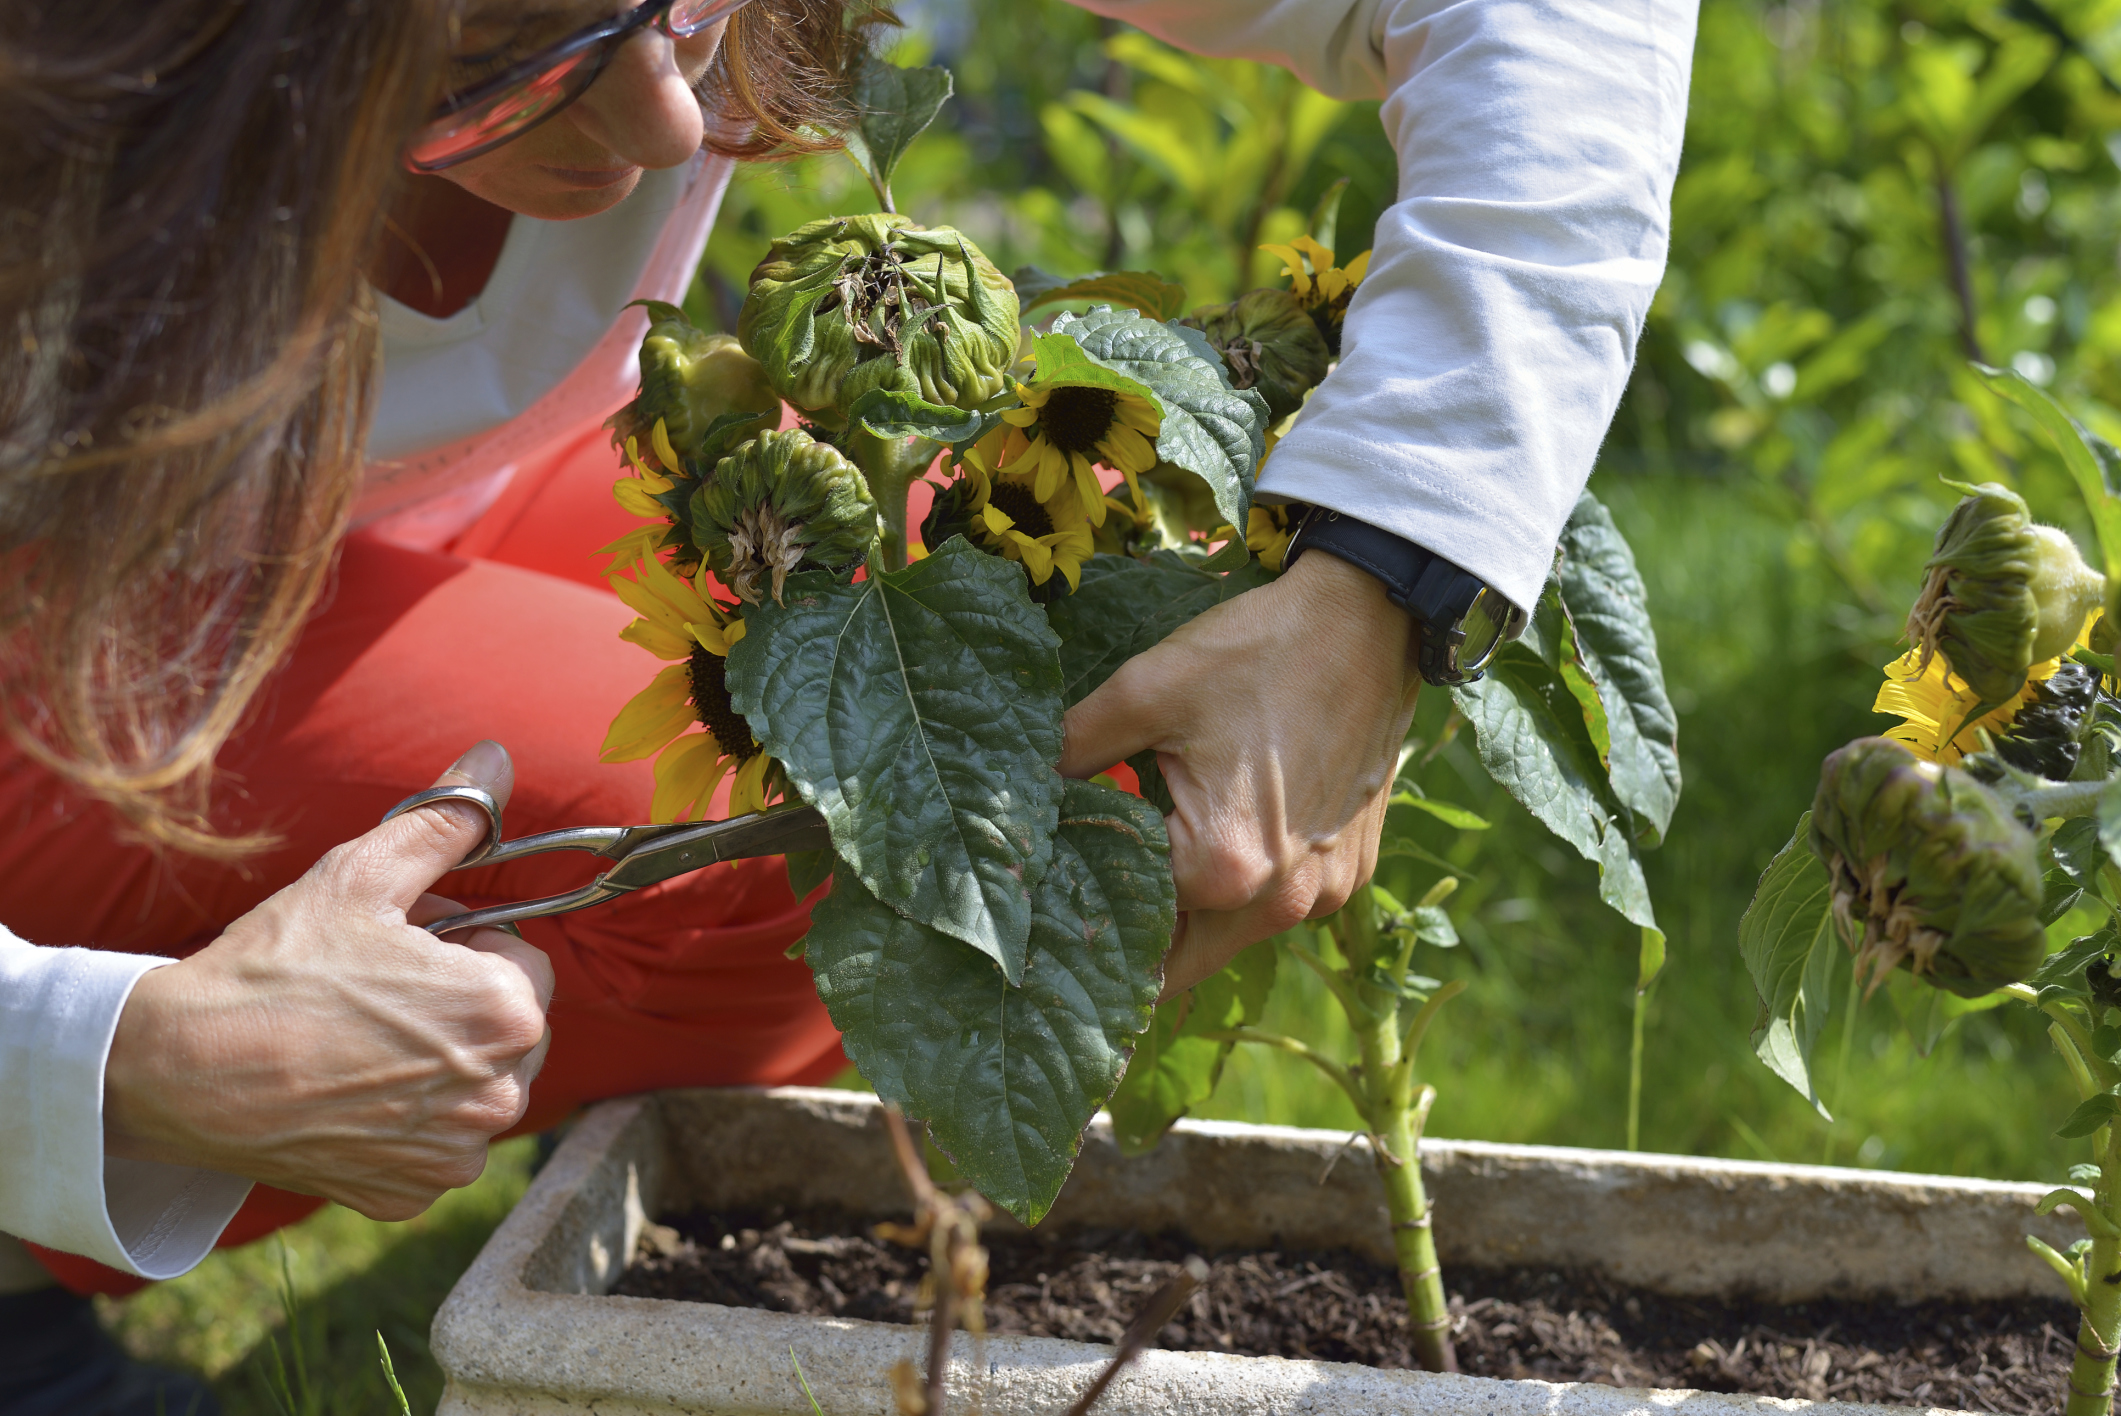
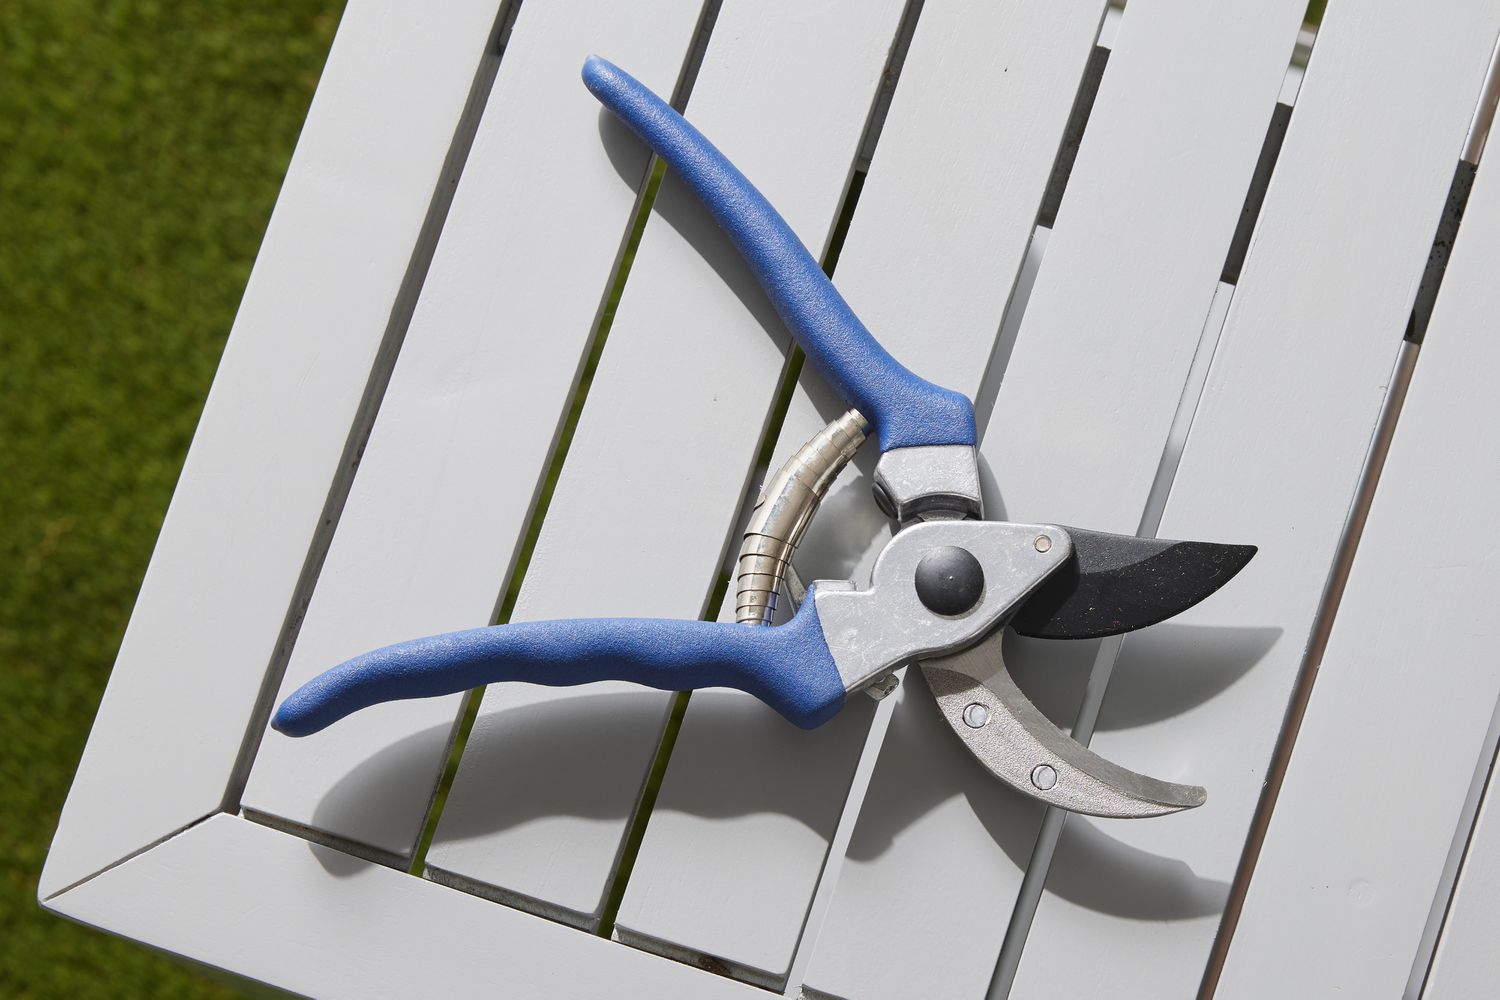
Welcome to our comprehensive guide on how to sharpen pruning clippers. Pruning clippers are essential tools for any gardener or landscaper. They are used to trim, shape, and maintain plants, ensuring their health and beauty. However, over time, the cutting edges of pruning clippers can become dull, making it challenging to achieve clean and precise cuts. This is where sharpening them comes into play.
Sharpening pruning clippers not only improves their cutting efficiency but also extends their lifespan. A sharp pair of clippers allows you to make clean cuts, minimizing the risk of damaging the plants or introducing pests and diseases. It also reduces effort, making your pruning tasks easier and more enjoyable.
In this guide, we will walk you through the step-by-step process of sharpening pruning clippers, including the tools and materials you will need. Additionally, we will explore alternative methods to sharpen your clippers in case you don’t have access to specific tools. By the end of this guide, you will have the knowledge and confidence to maintain your pruning clippers in optimal condition.
Before we jump into the sharpening process, let’s take a look at the tools and materials you’ll need to gather.
Importance of Sharpening Pruning Clippers
Keeping your pruning clippers sharp is crucial for several reasons. Let’s explore the importance of regular sharpening:
- Efficiency: Sharp pruning clippers ensure clean and effortless cuts. Dull clippers require more force to cut through branches, resulting in jagged and uneven cuts. With sharp clippers, you’ll exert less effort and minimize strain on your hands and wrists.
- Precision: Precise cuts are essential for the health of your plants. Dull clippers can crush or tear plant tissue, making it susceptible to diseases and pest infestations. Sharp clippers create clean cuts, allowing the plants to heal quickly and reducing the risk of infections.
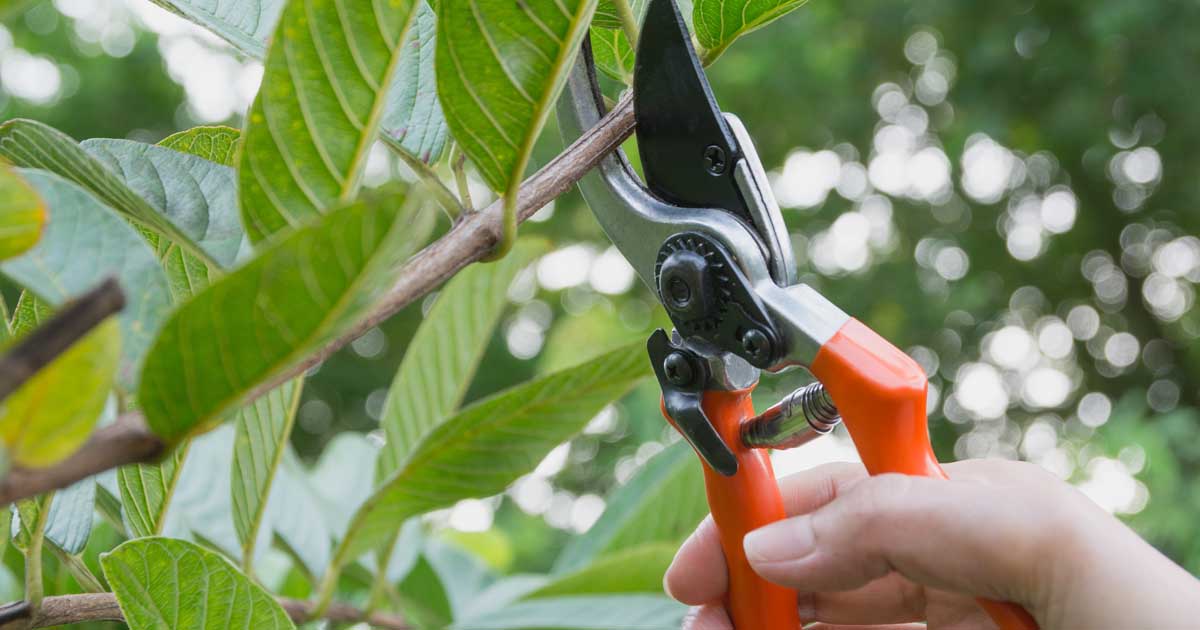
- Plant Health: Pruning promotes proper growth and airflow in plants. Using dull clippers can damage branches and inhibit regrowth. With sharp clippers, you can make precise cuts that encourage healthy growth and enhance the overall appearance of your plants.
- Longevity: Regularly sharpening your pruning clippers increases their lifespan. Dull blades put extra strain on the tool, resulting in quicker wear and tear. By keeping the blades sharp, you ensure longevity and save money in the long run by avoiding frequent replacements.
- Time Efficiency: Sharpened pruning clippers enable you to work more efficiently. You’ll spend less time wrestling with branches and making multiple attempts to get a clean cut. With sharp clippers, you’ll breeze through your pruning tasks, allowing you to enjoy more time in your garden.
- Safety: Dull blades can slip and cause accidents while pruning. Sharp clippers provide better control and reduce the risk of injuries. By ensuring your clippers are sharpened, you prioritize safety and protect yourself from accidental slips and cuts.
As you can see, maintaining sharp pruning clippers is not just a matter of convenience but also essential for the health and appearance of your plants. In the next section, we will discuss the tools and materials required to sharpen your clippers effectively.
Tools and Materials Needed
Sharpening your pruning clippers requires a few basic tools and materials. Here’s what you’ll need:
- Sharpening Stone: A sharpening stone is a must-have tool for maintaining sharp pruning clippers. Look for a stone specifically designed for sharpening knives and tools. Ideally, choose a stone with fine and coarse grit sides to cater to different levels of blade dullness.
- Lubricating Oil: Lubricating oil is used to keep the sharpening stone moist and prevent it from clogging with metal filings. Choose a non-toxic oil specifically formulated for sharpening tools.
- Protective Gloves: When sharpening your pruning clippers, it’s important to protect your hands. Invest in a pair of high-quality, cut-resistant gloves to ensure your safety.
- Safety Glasses: To protect your eyes from any flying debris or metal filings during the sharpening process, wear safety glasses or goggles.
- Clean Cloth: A clean cloth or rag is necessary for wiping off any dirt, debris, or excess oil from your pruning clippers after sharpening.
- Container of Water: While sharpening, you’ll need a container of water to dip the sharpening stone in and keep it moist. This allows for a smoother sharpening process.
These tools and materials are readily available at hardware stores, gardening centers, or online retailers. Now that you have gathered all the necessary supplies, let’s move on to the step-by-step guide on sharpening your pruning clippers.
Step-by-Step Guide to Sharpen Pruning Clippers
Follow these simple steps to sharpen your pruning clippers:
- Clean the Clippers: Start by cleaning your pruning clippers to remove any dirt, debris, or sap. Use a cloth or brush to wipe off the blades thoroughly.
- Secure the Clippers: Secure the clippers in place using a vise or clamp. This will provide stability and prevent any accidental movement during the sharpening process.
- Wet the Sharpening Stone: Place the sharpening stone in a container of water and let it soak for a few minutes. This will ensure that the stone is moist and ready for use.
- Start with the Coarse Grit: Hold the pruning clippers firmly and position the edge of the blade against the coarse grit side of the sharpening stone. Using light pressure, slide the blade across the stone in a sweeping motion. Repeat this process several times, maintaining a consistent angle on the blade.
- Switch to the Fine Grit: Once you are satisfied with the sharpness achieved using the coarse grit, switch to the fine grit side of the sharpening stone. Repeat the same sweeping motion, sliding the blade across the stone several times. This will further refine and polish the cutting edge.
- Test the Sharpness: After sharpening, carefully remove the clippers from the vise or clamp. With caution, run your thumb gently along the edge of the blades to test for sharpness. Be mindful not to apply too much pressure to avoid any cuts.
- Wipe and Lubricate: Use a clean cloth to wipe off any residual metal filings or debris from the blades. Apply a few drops of lubricating oil to the pivot point and other moving parts of the clippers to ensure smooth operation.
Once you have completed these steps, your pruning clippers should be sharpened and ready for use. If you don’t have access to a sharpening stone, no need to worry. In the next section, we will explore alternative methods for sharpening your pruning clippers.
Alternative Methods for Sharpening Pruning Clippers
If you don’t have a sharpening stone or prefer alternative methods, here are a few options for sharpening your pruning clippers:
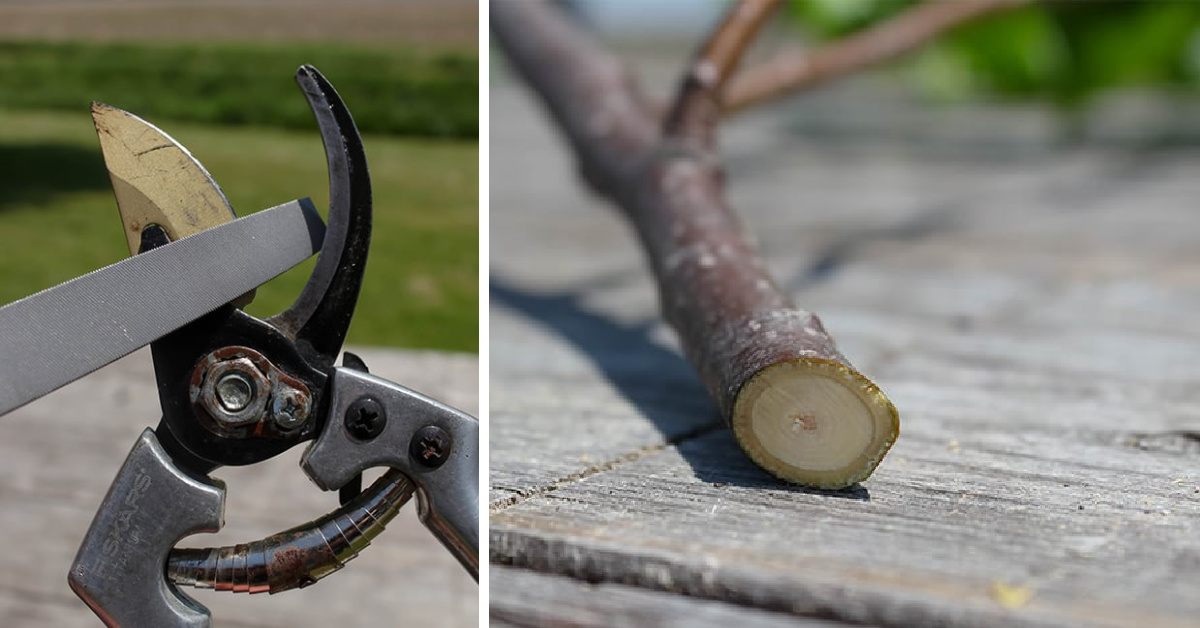
- Use a File: A metal file can be an effective alternative for sharpening pruning clippers. Hold the file at a similar angle to the blade and stroke it along the cutting edge in one direction. Repeat this process several times to sharpen the blade. Be sure to file evenly on both sides of the blade.
- Try a Whetstone: A whetstone, also known as a water stone, can be used as an alternative to a sharpening stone. Wet the whetstone and hold the blade against the stone at a suitable angle. Move the blade back and forth across the stone, applying light pressure. Repeat the process until the blade is sufficiently sharp.
- Utilize a Rotary Tool: If you have access to a rotary tool with a grinding attachment, you can use it to sharpen your pruning clippers. Hold the blade against the grinding attachment at the appropriate angle and slowly move the blade across the grinding wheel. Take caution not to apply too much pressure to avoid damaging the blade.
- Visit a Professional: If you are unsure about sharpening your pruning clippers on your own or do not have access to the necessary tools, consider taking them to a professional sharpening service. These services have specialized equipment and expertise to sharpen your clippers effectively.
Remember to follow proper safety precautions while using any of these alternative methods. Wear protective gloves and safety glasses to protect yourself from any accidents or flying debris.
Now that you have learned different methods for sharpening your pruning clippers, let’s move on to some tips and precautions to ensure the best sharpening results.
Tips and Precautions
Here are some useful tips and precautions to keep in mind when sharpening your pruning clippers:
- Maintain a Consistent Angle: When using a sharpening stone, file, or whetstone, it’s crucial to maintain a consistent angle on the blade. This ensures an even and sharp edge. Most pruning clippers have a beveled edge, so try to match the existing angle while sharpening.
- Take It Slow: Sharpening your pruning clippers requires patience and precision. Avoid rushing the process and make deliberate and controlled strokes. This will help you achieve the best sharpening results.
- Regular Maintenance: It’s recommended to regularly check and maintain the sharpness of your pruning clippers. By sharpening them before they become too dull, you’ll have more control and efficiency during pruning tasks.
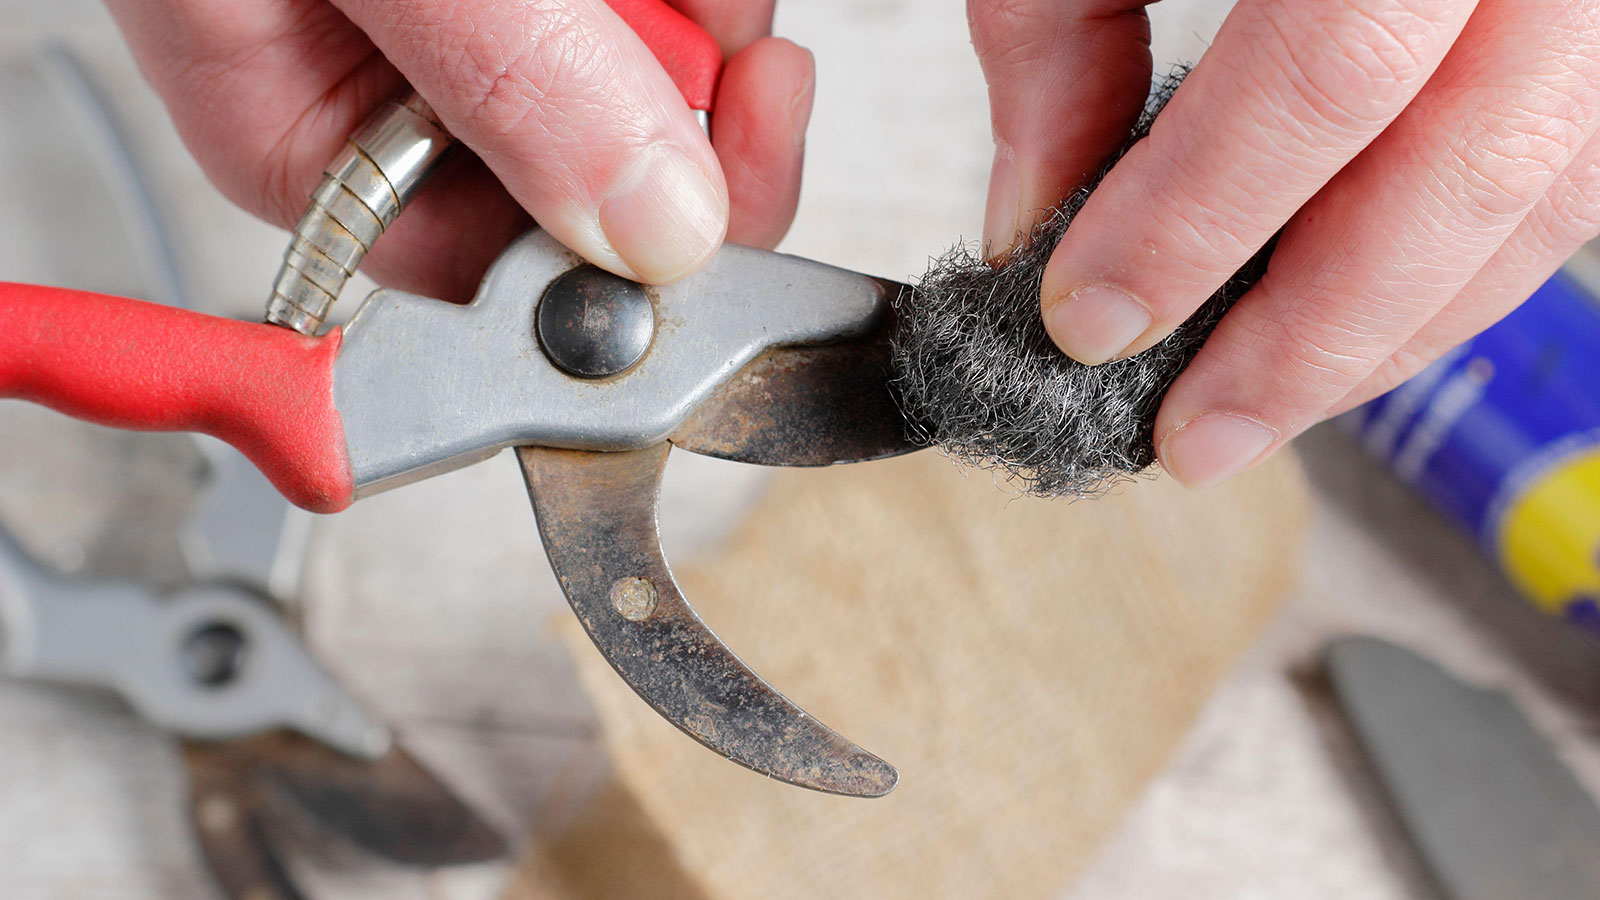
- Remove Rust: If you notice any rust on your pruning clippers, remove it before sharpening. Use a rust remover or a mixture of vinegar and water to clean the affected areas. Once the rust is removed, you can proceed with the sharpening process.
- Steady Hands: Keep a firm grip on your pruning clippers to ensure stability while sharpening. This will help you maintain control and avoid accidental slips.
- Inspect for Damage: Before sharpening your pruning clippers, inspect them for any damage or wear and tear. Replace any broken or heavily worn parts to ensure optimal performance.
- Apply Lubricating Oil: After sharpening, apply a few drops of lubricating oil to the blades and other moving parts. This will reduce friction and allow for smooth operation.
By following these tips and taking necessary precautions, you can ensure effective sharpening and maintain the longevity of your pruning clippers.
Now that you have a comprehensive understanding of how to sharpen pruning clippers, you’re ready to apply this knowledge and keep your tools in top condition for all your gardening endeavors.
Conclusion
Sharpening your pruning clippers is a simple yet essential task for any gardener or landscaper. By keeping your clippers sharp, you can achieve clean and precise cuts, promote plant health, and improve overall efficiency. It is an investment in the longevity of your tools and the success of your pruning endeavors.
In this guide, we have explored the importance of sharpening pruning clippers, the tools and materials needed for the task, and provided you with a step-by-step guide to properly sharpen your clippers. We have also discussed alternative methods, such as using a file or a whetstone, in case you don’t have access to a sharpening stone.
To ensure the best results, we provided you with some important tips and precautions, including maintaining a consistent angle, taking your time, and regularly inspecting and maintaining your clippers. Safety should always be a priority, so don’t forget to wear protective gloves and safety glasses during the sharpening process.
Now armed with this knowledge, you can confidently sharpen your pruning clippers and enjoy the benefits of clean, efficient cuts that promote the health and beauty of your plants. Remember to regularly check and maintain their sharpness to make your pruning tasks easier and more enjoyable.
So go ahead, gather your tools, and give your pruning clippers the sharpening they deserve. Your plants and your future gardening endeavors will thank you.