Home>Gardening News and Trends>Gardening Trends>How To Use Soil Texture Triangle

Gardening Trends
How To Use Soil Texture Triangle
Published: February 10, 2024
Learn how to effectively use the soil texture triangle in gardening to understand and improve your soil quality. Stay up-to-date with the latest gardening trends.
(Many of the links in this article redirect to a specific reviewed product. Your purchase of these products through affiliate links helps to generate commission for Chicagolandgardening.com, at no extra cost. Learn more)
Table of Contents
Introduction
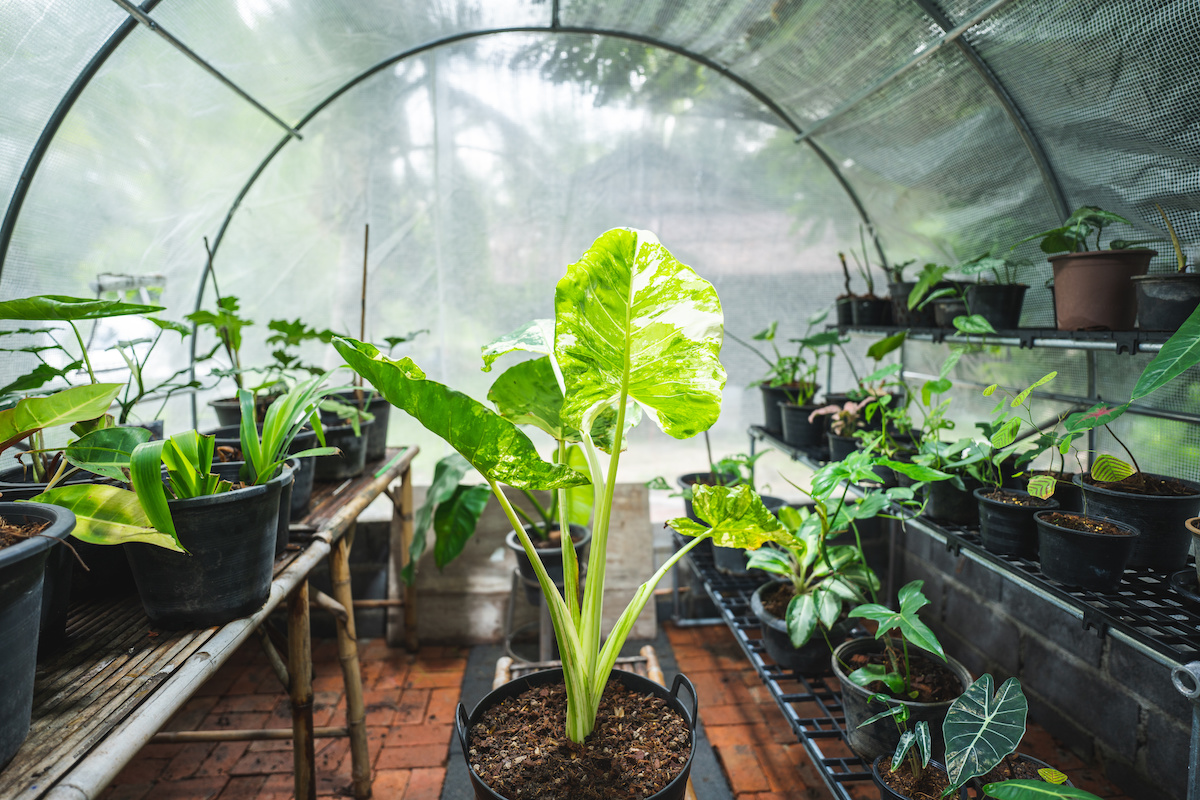
Gardening is a beloved hobby for many enthusiasts around the world. Whether you have a large backyard or a small balcony, growing your own plants and enjoying the fruits of your labor can bring immense satisfaction. As a gardener, one of the essential factors to consider is the quality of your soil. Understanding the soil composition and its texture is crucial for the successful growth of plants.
Soil texture refers to the relative proportions of sand, silt, and clay particles present in a given soil sample. Each soil type has its own unique characteristics that impact drainage, moisture retention, and nutrient availability. Properly identifying and classifying soil texture can help gardeners make informed decisions regarding irrigation, fertilization, and plant selection.
One valuable tool in determining soil texture is the Soil Texture Triangle. This visual representation provides a systematic way to classify soil textures based on the percentages of sand, silt, and clay in a soil sample. By using this triangle, gardeners can accurately determine their soil texture and make appropriate adjustments to optimize plant growth.
In this article, we will explore how to effectively use the Soil Texture Triangle to assess and interpret soil texture for your gardening needs. We will guide you through the process step by step, from collecting soil samples to utilizing the triangle to make informed decisions about your garden.
So, if you’re ready to dig deeper into the world of soil texture and revolutionize your gardening game, let’s get started on this educational journey!
Understanding the Soil Texture Triangle
The Soil Texture Triangle is a graphical representation that allows gardeners to determine the texture of their soil based on the proportions of sand, silt, and clay present in a soil sample. It is a powerful tool that helps gardeners understand how their soil will behave and make informed decisions regarding plant selection, irrigation, and soil amendments.
The triangle is divided into different zones representing different soil textures: sandy soils, loamy soils, and clay soils. These zones are determined by the relative percentages of sand, silt, and clay in the soil sample. By plotting the percentages of these three components, gardeners can identify the exact texture of their soil.
Each point on the triangle corresponds to a specific texture, such as sandy loam, silty clay, or sandy clay. The texture directly impacts the soil’s properties, such as drainage, water retention, nutrient availability, and root penetration.
Understanding the characteristics of different soil textures is essential for successful gardening. Sandy soils, for example, are well-draining but have low water and nutrient retention. This means that plants grown in sandy soils may require more frequent watering and additional fertilization. On the other hand, clay soils have excellent water and nutrient retention but may suffer from poor drainage, leading to waterlogged conditions and root rot.
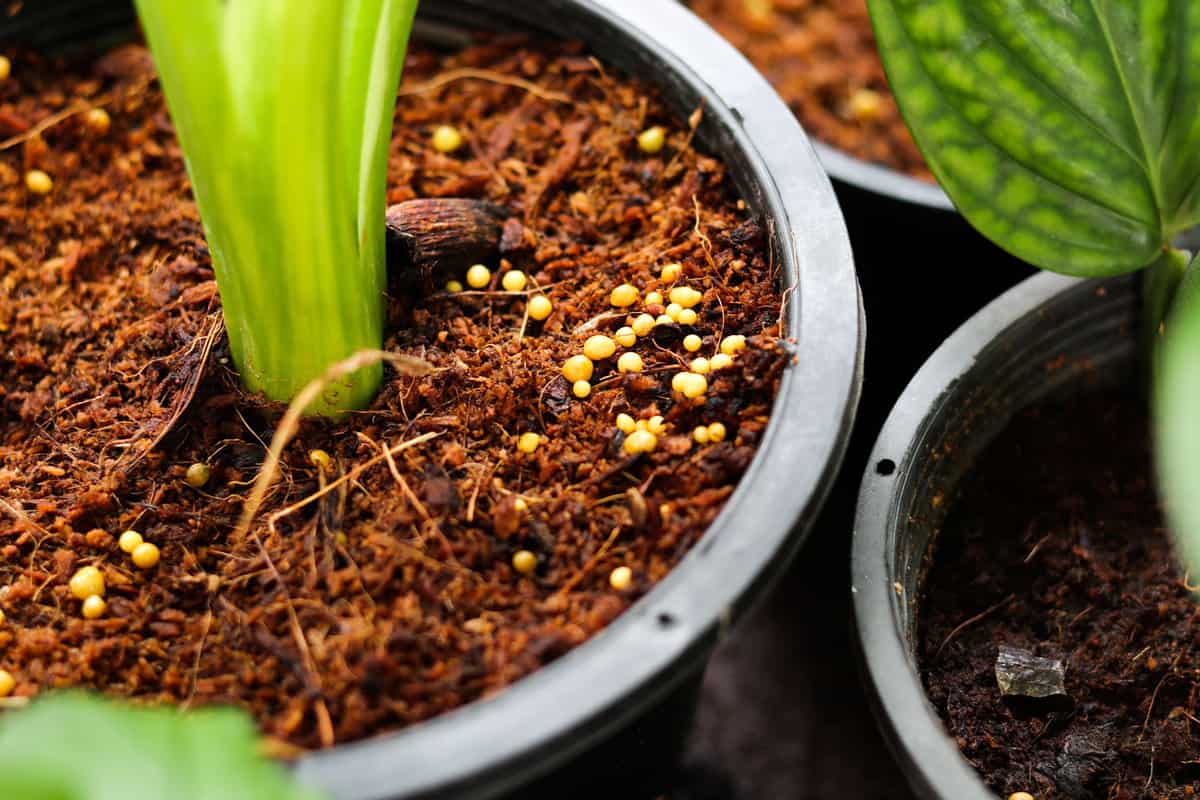
The Soil Texture Triangle can help gardeners identify their soil texture and make necessary adjustments. For example, if the soil sample falls in the sandy soil zone, gardeners might consider adding organic matter such as compost or peat moss to improve water and nutrient retention. If the soil falls in the clay soil zone, adding amendments like sand or perlite can improve drainage.
In addition to soil texture, the triangle also provides valuable information about soil structure. Soil structure refers to how individual particles in the soil bind together to form aggregates. Soil with good structure allows for better root penetration, air circulation, and water movement.
When using the Soil Texture Triangle, it is important to remember that it is a guide, and other factors such as organic matter content and pH levels can also influence soil behavior. Therefore, it is always recommended to perform a comprehensive soil analysis to gain a complete understanding of your garden soil’s characteristics.
Now that we have a basic understanding of the Soil Texture Triangle, let’s move on to the practical steps of using this tool to determine soil texture in our own gardens.
Step 1: Collecting Soil Samples
Collecting accurate soil samples is the first step in determining soil texture using the Soil Texture Triangle. It is crucial to obtain representative samples from various areas within your garden to ensure an accurate assessment.
Here’s a step-by-step guide on collecting soil samples:
- Divide your garden into different zones based on distinct characteristics such as plant types, drainage patterns, or soil texture variations.
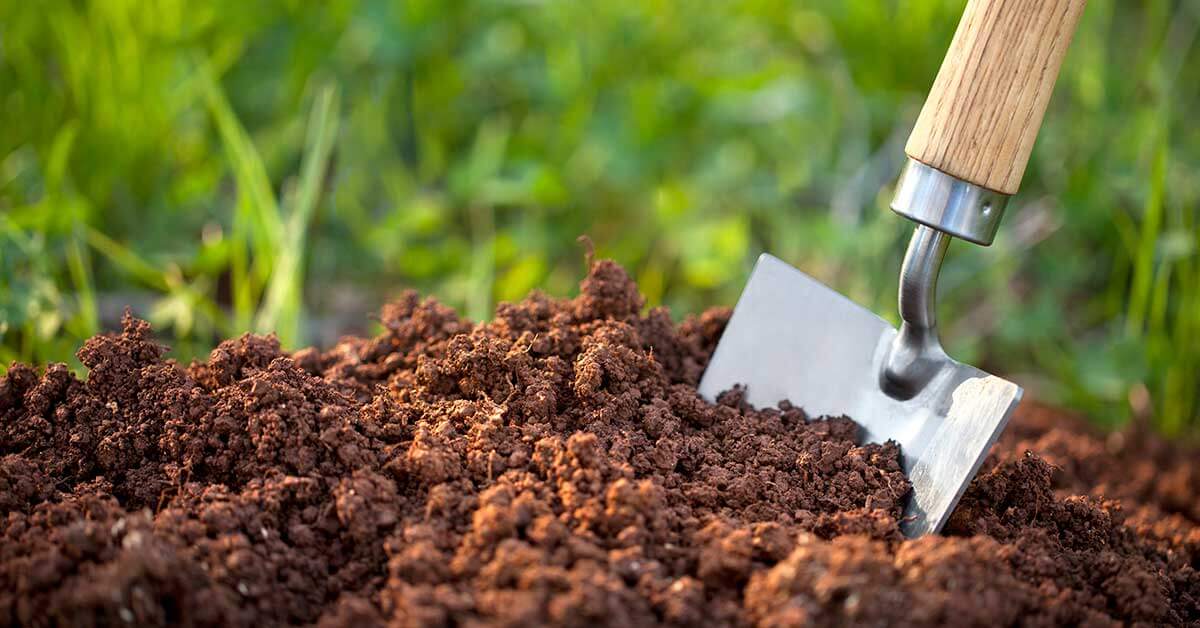
- Use a spade or trowel to dig a small hole in each designated zone. Make sure the hole is deep enough to capture a representative sample of the soil profile.
- Take a small wedge of soil from the side of the hole, starting from the surface and going down to the desired depth. It is important to collect soil from multiple depths, as different horizons within the soil profile may have different textures.
- For each zone, collect at least 5 to 10 soil samples from various locations to ensure a representative sample.
- Combine the collected soil samples in a clean container and mix them thoroughly. Make sure to remove any debris, such as rocks, roots, or plant materials.
- Allow the soil sample to air-dry naturally or spread it on a clean surface to speed up the drying process. Avoid using artificial heat sources, as they may alter the composition and texture of the soil.
- Once the soil sample is completely dry, break up any clumps and remove any remaining debris.
- Store the dried soil sample in a clean, labeled plastic bag or airtight container, making sure to note the zone or location it represents.
By following these steps, you will obtain representative soil samples that accurately reflect the texture of each designated zone in your garden. These samples will serve as the foundation for determining soil texture using the Soil Texture Triangle.
Now that we have our soil samples ready, let’s move on to the next step — determining soil texture.
Step 2: Determining Soil Texture
Once you have collected soil samples from different zones in your garden, the next step is to determine the soil texture. This involves observing the proportions of sand, silt, and clay in the soil sample and using this information to classify it on the Soil Texture Triangle.
- Take a small portion of the dried soil sample and break it apart to eliminate any clumps.
- Optional: Sieve the soil sample to remove any larger particles that may interfere with accuracy. This step is especially important if your soil contains significant amounts of rocks or organic matter.
- Next, you can perform a simple field test called the “Ribbon Test” to estimate the relative proportions of sand, silt, and clay. Take a small amount of the soil and moisten it with water until it reaches a workable consistency.
- Roll the moistened soil between your thumb and forefinger to form a ribbon. Observe the characteristics of the ribbon:
- If the ribbon feels gritty and disintegrates easily, it indicates a higher proportion of sandy particles.
- If the ribbon feels smooth and slippery, it indicates a higher proportion of clay particles.
- If the ribbon feels smooth but lacks the stickiness of clay, it indicates a higher proportion of silt particles.
- Measure the length of the ribbon and estimate the approximate percentage of each soil component (sand, silt, clay) based on the length of the ribbon:
- If the ribbon is less than 1 inch long, it suggests a higher percentage of sand.
- If the ribbon is 1-2 inches long, it suggests a higher percentage of silt.
- If the ribbon is more than 2 inches long, it suggests a higher percentage of clay.
- Repeat the ribbon test with multiple soil samples from different zones to ensure accurate representation.
- Note down the estimated percentages of sand, silt, and clay for each soil sample.
Remember, the ribbon test is a rough estimate and might not provide precise values. For a more accurate determination, consider sending your soil samples to a laboratory for a professional analysis. The lab analysis will provide detailed information on the soil components, pH levels, organic matter content, and other essential parameters.
With the estimated percentages of sand, silt, and clay in hand, we can now move on to the final step — using the Soil Texture Triangle to classify the soil texture.
Step 3: Using the Soil Texture Triangle
Now that you have determined the relative proportions of sand, silt, and clay in your soil samples, it’s time to utilize the Soil Texture Triangle to classify the soil texture accurately. The triangle will help you understand the implications of your soil’s texture on various gardening aspects.
- Refer to the Soil Texture Triangle chart or access it online. The triangle consists of three axes representing the percentage of sand, silt, and clay.
- Start by identifying the percentage of sand in your soil sample.
- Locate the point corresponding to the sand percentage on the bottom axis of the triangle.
- From that point, draw a line straight up to meet the line representing the silt percentage.
- Finally, draw a line from the meeting point of the sand and silt lines horizontally to intersect the line representing the clay percentage.
- The point where the three lines converge indicates the soil texture of your sample.
It’s important to note that the Soil Texture Triangle provides specific names for each texture, such as sandy loam, silty clay, or sandy clay. These names are based on the percentages of sand, silt, and clay in the sample.
Once you have determined the soil texture, you can gain valuable insights into your soil’s characteristics. Sandy soils have large particles that allow for excellent drainage but require frequent watering and fertilization due to low nutrient retention. Clay soils have small particles that retain water and nutrients well but can suffer from poor drainage. Loamy soils, with a balanced mixture of sand, silt, and clay, are considered ideal for gardening as they offer good drainage and moisture retention.
Understanding your soil’s texture will help you make informed decisions about plant selection, irrigation frequency, and soil amendments. If you have sandy soil, you may need to incorporate organic matter to improve water and nutrient retention. For clay soils, adding amendments like sand or compost can improve drainage and aeration.
By utilizing the Soil Texture Triangle effectively, you can optimize your gardening practices to suit the specific needs of your soil and plants.
Now that you have successfully determined your soil texture using the Soil Texture Triangle, it’s time to put this information into action and create a thriving garden!
Conclusion
Understanding soil texture is an essential aspect of successful gardening. By using the Soil Texture Triangle, gardeners can determine the relative proportions of sand, silt, and clay in their soil samples and classify them accurately. This classification provides valuable insights into the soil’s properties, such as drainage, moisture retention, and nutrient availability.
The process of using the Soil Texture Triangle begins with collecting representative soil samples from different zones in your garden. These samples are then analyzed to estimate the percentages of sand, silt, and clay. By performing simple tests like the ribbon test, gardeners can make rough estimates of these percentages.
With the estimated percentages in hand, the Soil Texture Triangle comes into play. By plotting the values on the triangle, gardeners can identify the soil texture category that their soil falls into, such as sandy loam, silty clay, or sandy clay. This information helps gardeners make informed decisions about plant selection, irrigation practices, and soil amendments.
It’s important to note that while the Soil Texture Triangle provides a helpful guide, other factors such as organic matter content, pH levels, and soil structure also influence soil behavior. For a more comprehensive understanding, professional soil analysis can be conducted in a laboratory.
Understanding and working with the soil texture in your garden can greatly improve plant health and overall garden success. By adapting your gardening practices to suit the specific needs of your soil, you can create optimal growing conditions and foster thriving plants.
So, armed with this knowledge and the Soil Texture Triangle as your guide, go forth and transform your garden into a verdant oasis!