Home>Gardening Techniques>Plant Care>How To Plant Trees

Plant Care
How To Plant Trees
Modified: January 22, 2024
Learn essential plant care tips on how to properly plant trees and ensure their growth and longevity. Enhance your gardening skills with our step-by-step guide.
(Many of the links in this article redirect to a specific reviewed product. Your purchase of these products through affiliate links helps to generate commission for Chicagolandgardening.com, at no extra cost. Learn more)
Table of Contents
Introduction
Welcome to the wonderful world of plant care! Whether you are an experienced gardener or just getting started with your green thumb, knowing how to properly care for your plants is essential for their health and vitality. In this article, we will focus on one particular aspect of plant care: planting trees.
Planting a tree is an investment in the future. Trees provide numerous benefits, such as providing shade, improving air quality, and enhancing the overall aesthetic of your surroundings. However, successfully planting a tree involves more than simply digging a hole and sticking it in the ground. It requires careful preparation, proper techniques, and ongoing maintenance.
In this guide, we will take you through the step-by-step process of planting a tree, from choosing the right tree for your location to caring for it in the weeks and months following planting. While each tree species may have specific care requirements, the general principles outlined in this article will provide a solid foundation for successfully planting and growing trees.
Whether you want to add a majestic oak to your backyard or a flowering cherry tree to your front yard, the information in this article will help you bring your vision to life. So, let’s dig in and learn how to plant trees with confidence and care!
Choosing the Right Tree
Before you start digging a hole and planting a tree, it’s important to choose the right tree for your specific needs and location. Consider the following factors when selecting a tree:
- Location: Assess the environmental conditions of your planting site, such as sunlight, soil type, and moisture levels. Different tree species have specific requirements, so choose a tree that will thrive in your particular climate.
- Purpose: Determine the purpose of your tree. Are you looking for shade, ornamental value, privacy, or fruit production? Your answer will help narrow down your options.
- Size: Consider the mature size of the tree. Make sure it won’t outgrow your space or interfere with utility lines, buildings, or other plants nearby.
- Native Species: Consider planting a native species that is adapted to your region’s climate and soil conditions. Native trees tend to be more resilient and support local wildlife.
- Maintenance: Evaluate the maintenance requirements of the tree you are considering. Some trees may need regular pruning, while others may be more low-maintenance.
- Personal Preference: Think about your personal preferences in terms of tree shape, color, and texture. Do you prefer a deciduous tree that sheds its leaves in the fall, or an evergreen that stays green year-round?
Once you have considered these factors, research different tree species that align with your criteria. Consult local nurseries, arborists, or extension services for expert advice and recommendations.
Remember, selecting the right tree is crucial for its long-term health and success in your landscape. Take your time to make an informed decision and choose a tree that will bring beauty and benefits for years to come.
Preparing the Planting Site
Preparing the planting site is a crucial step in ensuring the success of your newly planted tree. Here are the key steps to follow:
- Clear the area: Remove any existing plants, weeds, rocks, or debris from the planting site. This will provide a clean and suitable space for the tree to grow.
- Measure the hole dimensions: Determine the appropriate size of the hole based on the root ball of the tree. The hole should be wide enough to accommodate the roots and deep enough so that the tree sits at the same level as it was planted in the nursery.
- Improve the soil: Assess the quality of the soil in the planting site. If it is heavy clay or lacks organic matter, consider amending it with compost or well-rotted manure. This will improve drainage and provide essential nutrients for the tree.
- Apply mulch: Apply a layer of organic mulch around the planting site, leaving space around the base of the tree trunk. Mulch helps conserve moisture, suppresses weeds, and regulates soil temperature. Avoid piling mulch against the trunk as it can cause rot or attract pests.
- Prepare necessary tools and materials: Gather the tools and materials you will need for planting, such as a shovel, rake, watering can or hose, and any stakes or ties if necessary.
By thoroughly preparing the planting site, you create an optimal environment for the tree’s roots to establish and grow. This sets the foundation for a healthy and resilient tree.
Digging the Hole
Once you have prepared the planting site, it’s time to dig the hole for your tree. Follow these steps to ensure the hole is the right size and shape:
- Measure the hole dimensions: Use the measurements you determined earlier to mark the dimensions of the hole on the ground. The hole should be wide enough to accommodate the spread of the roots and deep enough so that the top of the root ball is level with or slightly above the surrounding soil.
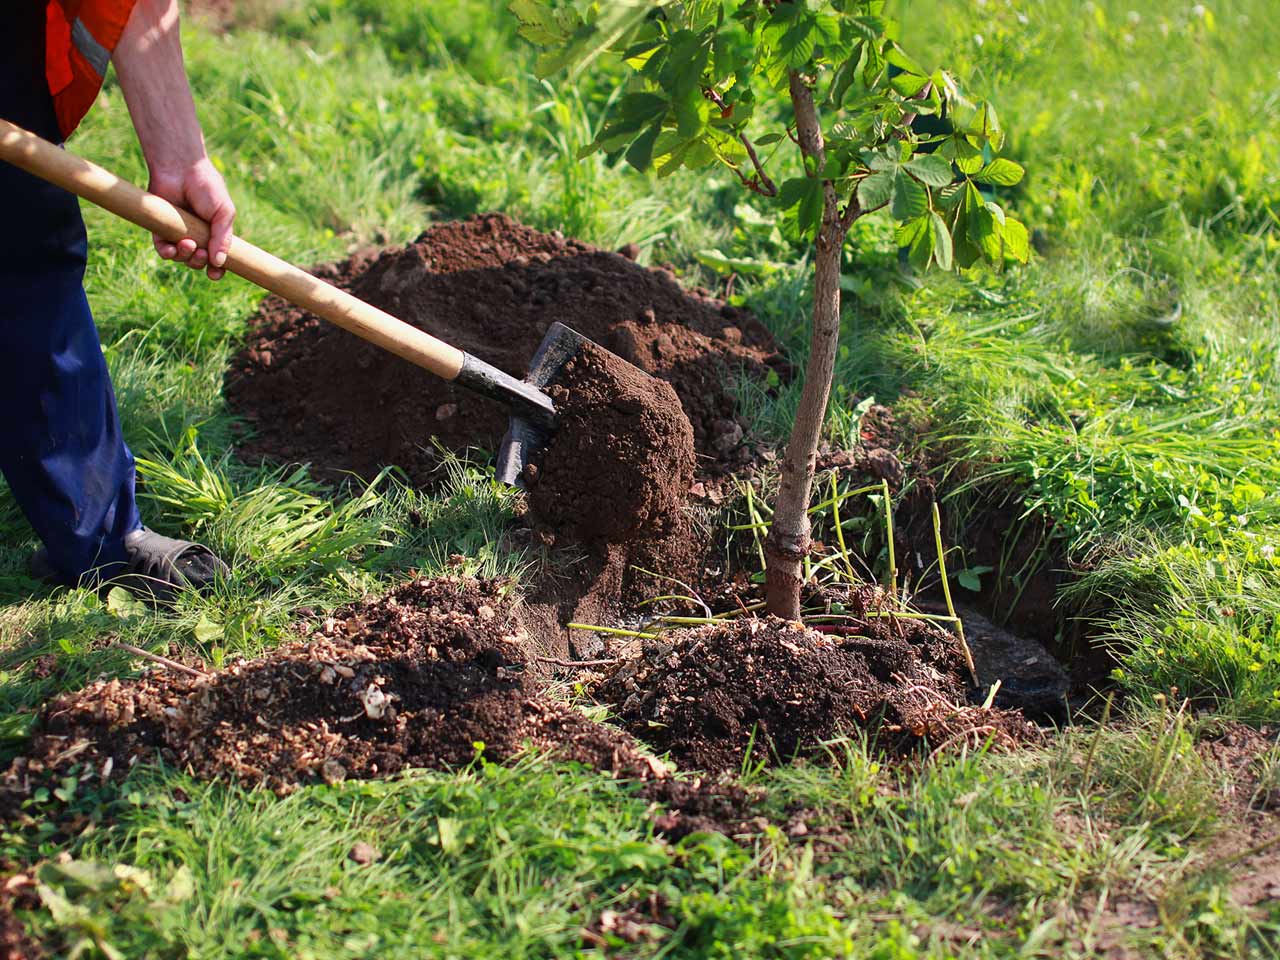
- Start digging: Using a sharp shovel, begin digging at the marked location. Dig in a circular motion around the perimeter of the hole, gradually working inward.
- Keep the soil nearby: As you dig, keep the excavated soil nearby to use for backfilling later. Place a tarp or wheelbarrow next to the hole to hold the soil.
- Check the hole depth: As you dig, periodically check the depth of the hole using a measuring tape or a stick. Make adjustments to ensure the hole is deep enough to accommodate the root ball.
- Loosen the hole bottom: Once you reach the desired depth, gently loosen the soil at the bottom of the hole with a fork or a hand cultivator. This helps create a loose, well-draining environment for the roots.
- Straighten the hole walls: Go around the sides of the hole and straighten any uneven walls, removing any large rocks or debris that may impede root growth.
Remember, the hole should be wide enough to allow the roots to spread out naturally. Avoid compacting the soil at the bottom of the hole, as this can inhibit root growth and drainage.
By following these steps, you will create the ideal hole for planting your tree, setting the stage for healthy root development and overall tree growth.
Planting the Tree
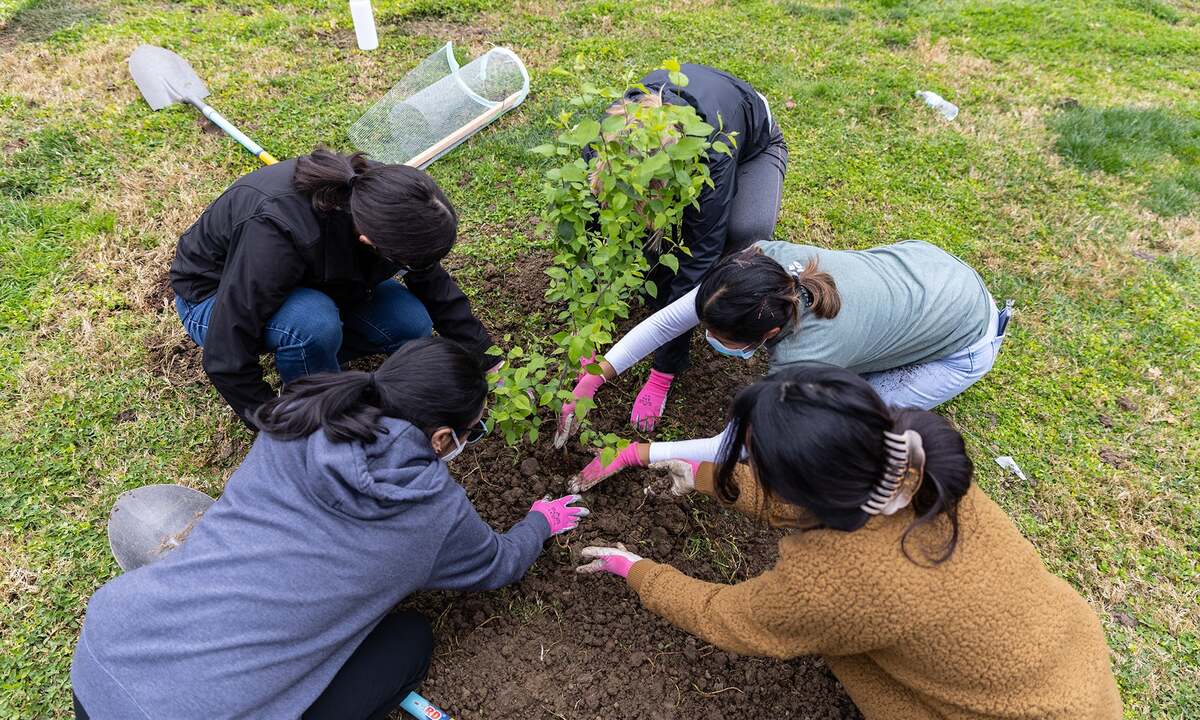
Now that the hole is prepared, it’s time to plant your tree. Follow these steps to ensure proper planting:
- Inspect the tree: Before planting, carefully inspect the tree for any damaged or diseased branches. Prune off any dead or broken branches, making clean cuts just outside the branch collar.
- Position the tree: Carefully position the tree in the center of the hole, ensuring that it is straight and upright. Take a step back and assess the tree’s placement from different angles to make sure it’s positioned correctly.
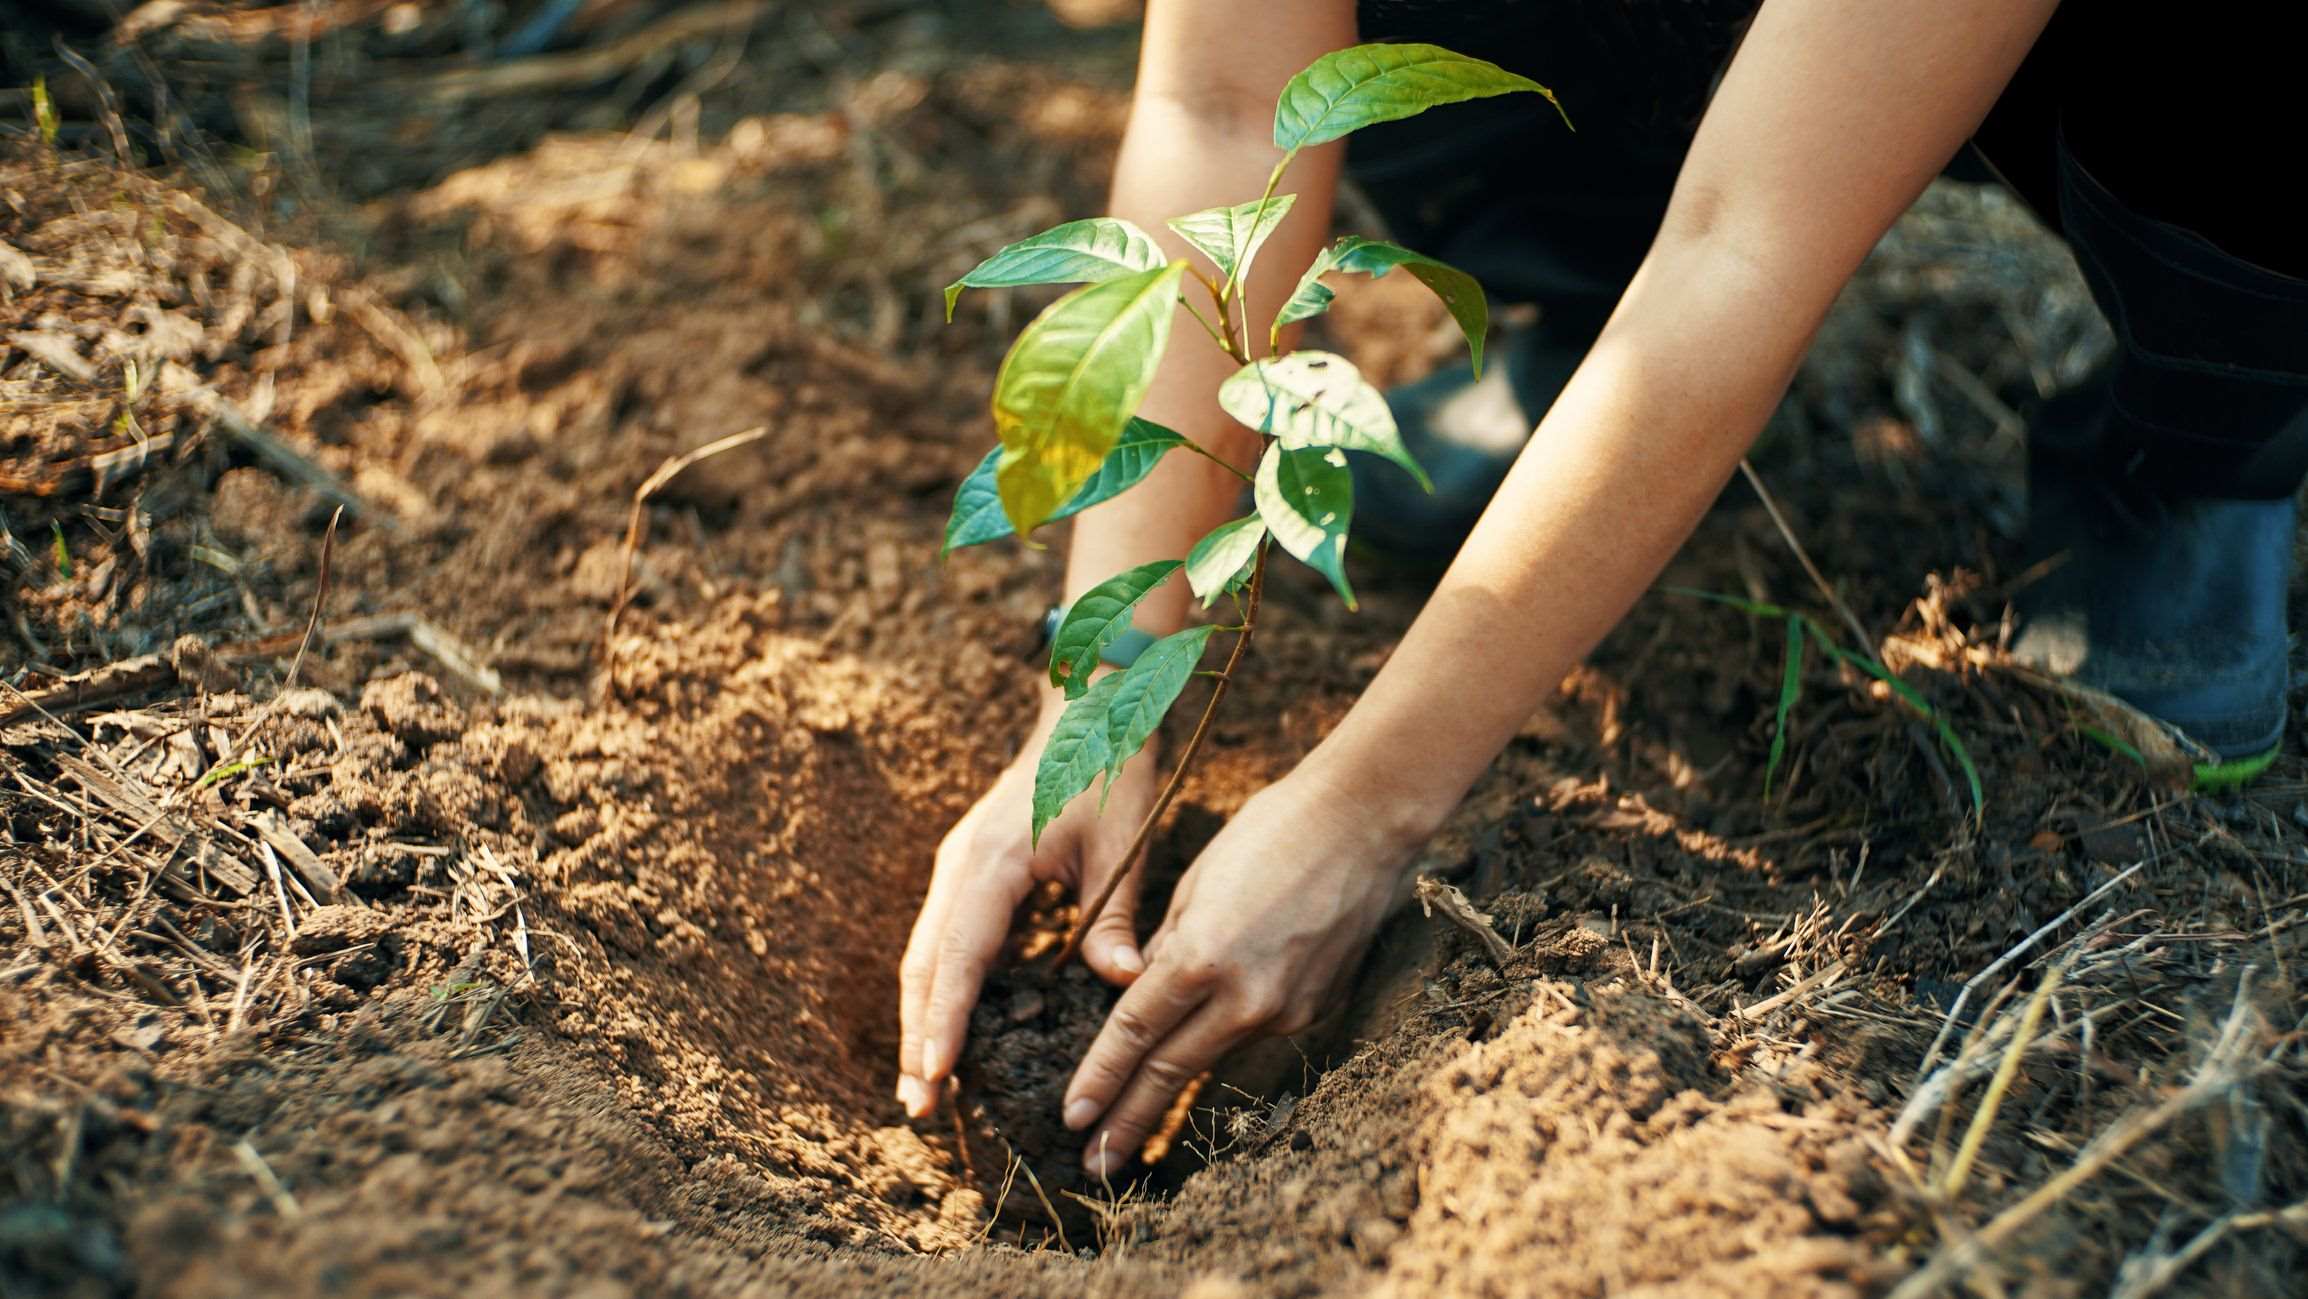
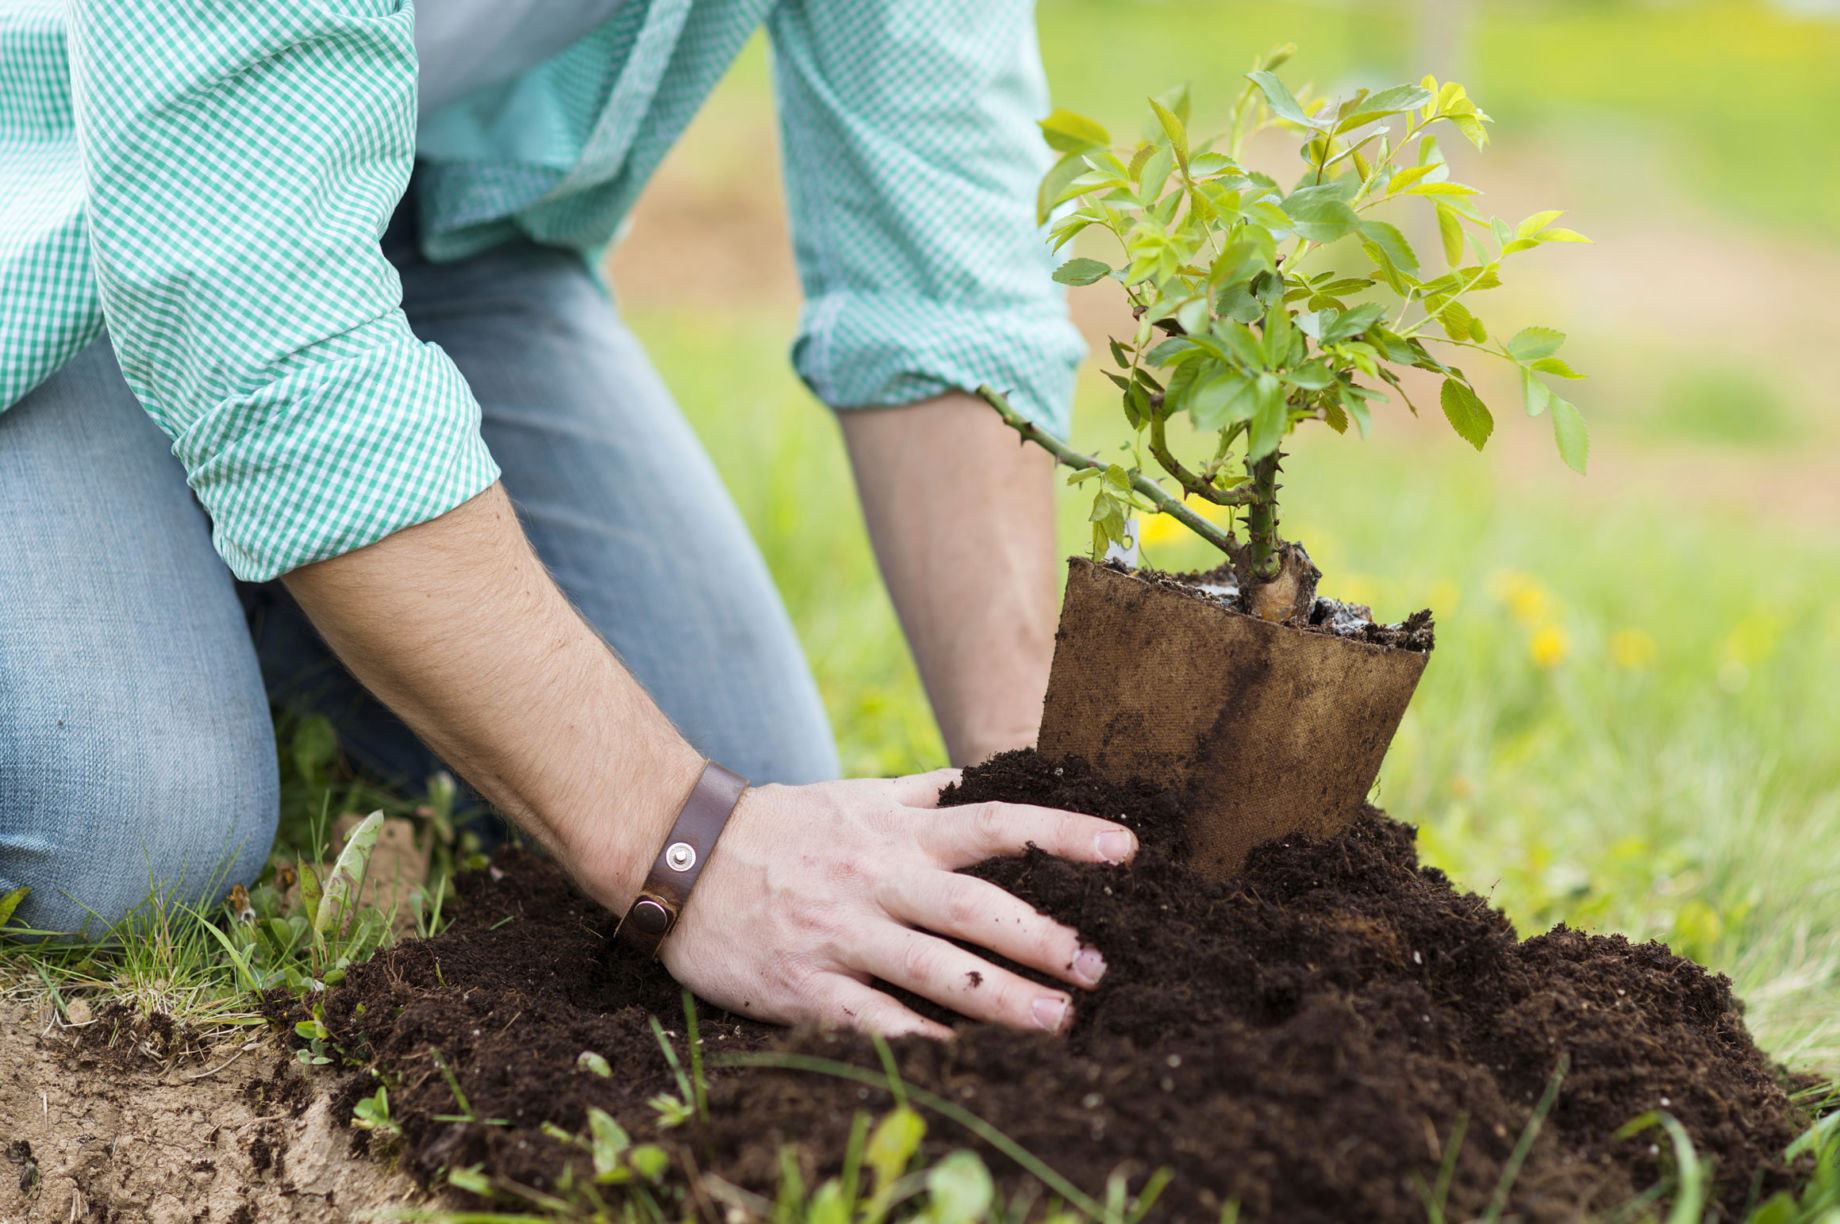
- Backfill the hole: Use the soil you set aside earlier to backfill the hole around the roots. Gently tamp down the soil to eliminate air pockets and provide stability to the tree.
- Build a water well: Create a shallow well around the base of the tree using excess soil. This helps direct water to the tree’s root zone during watering.
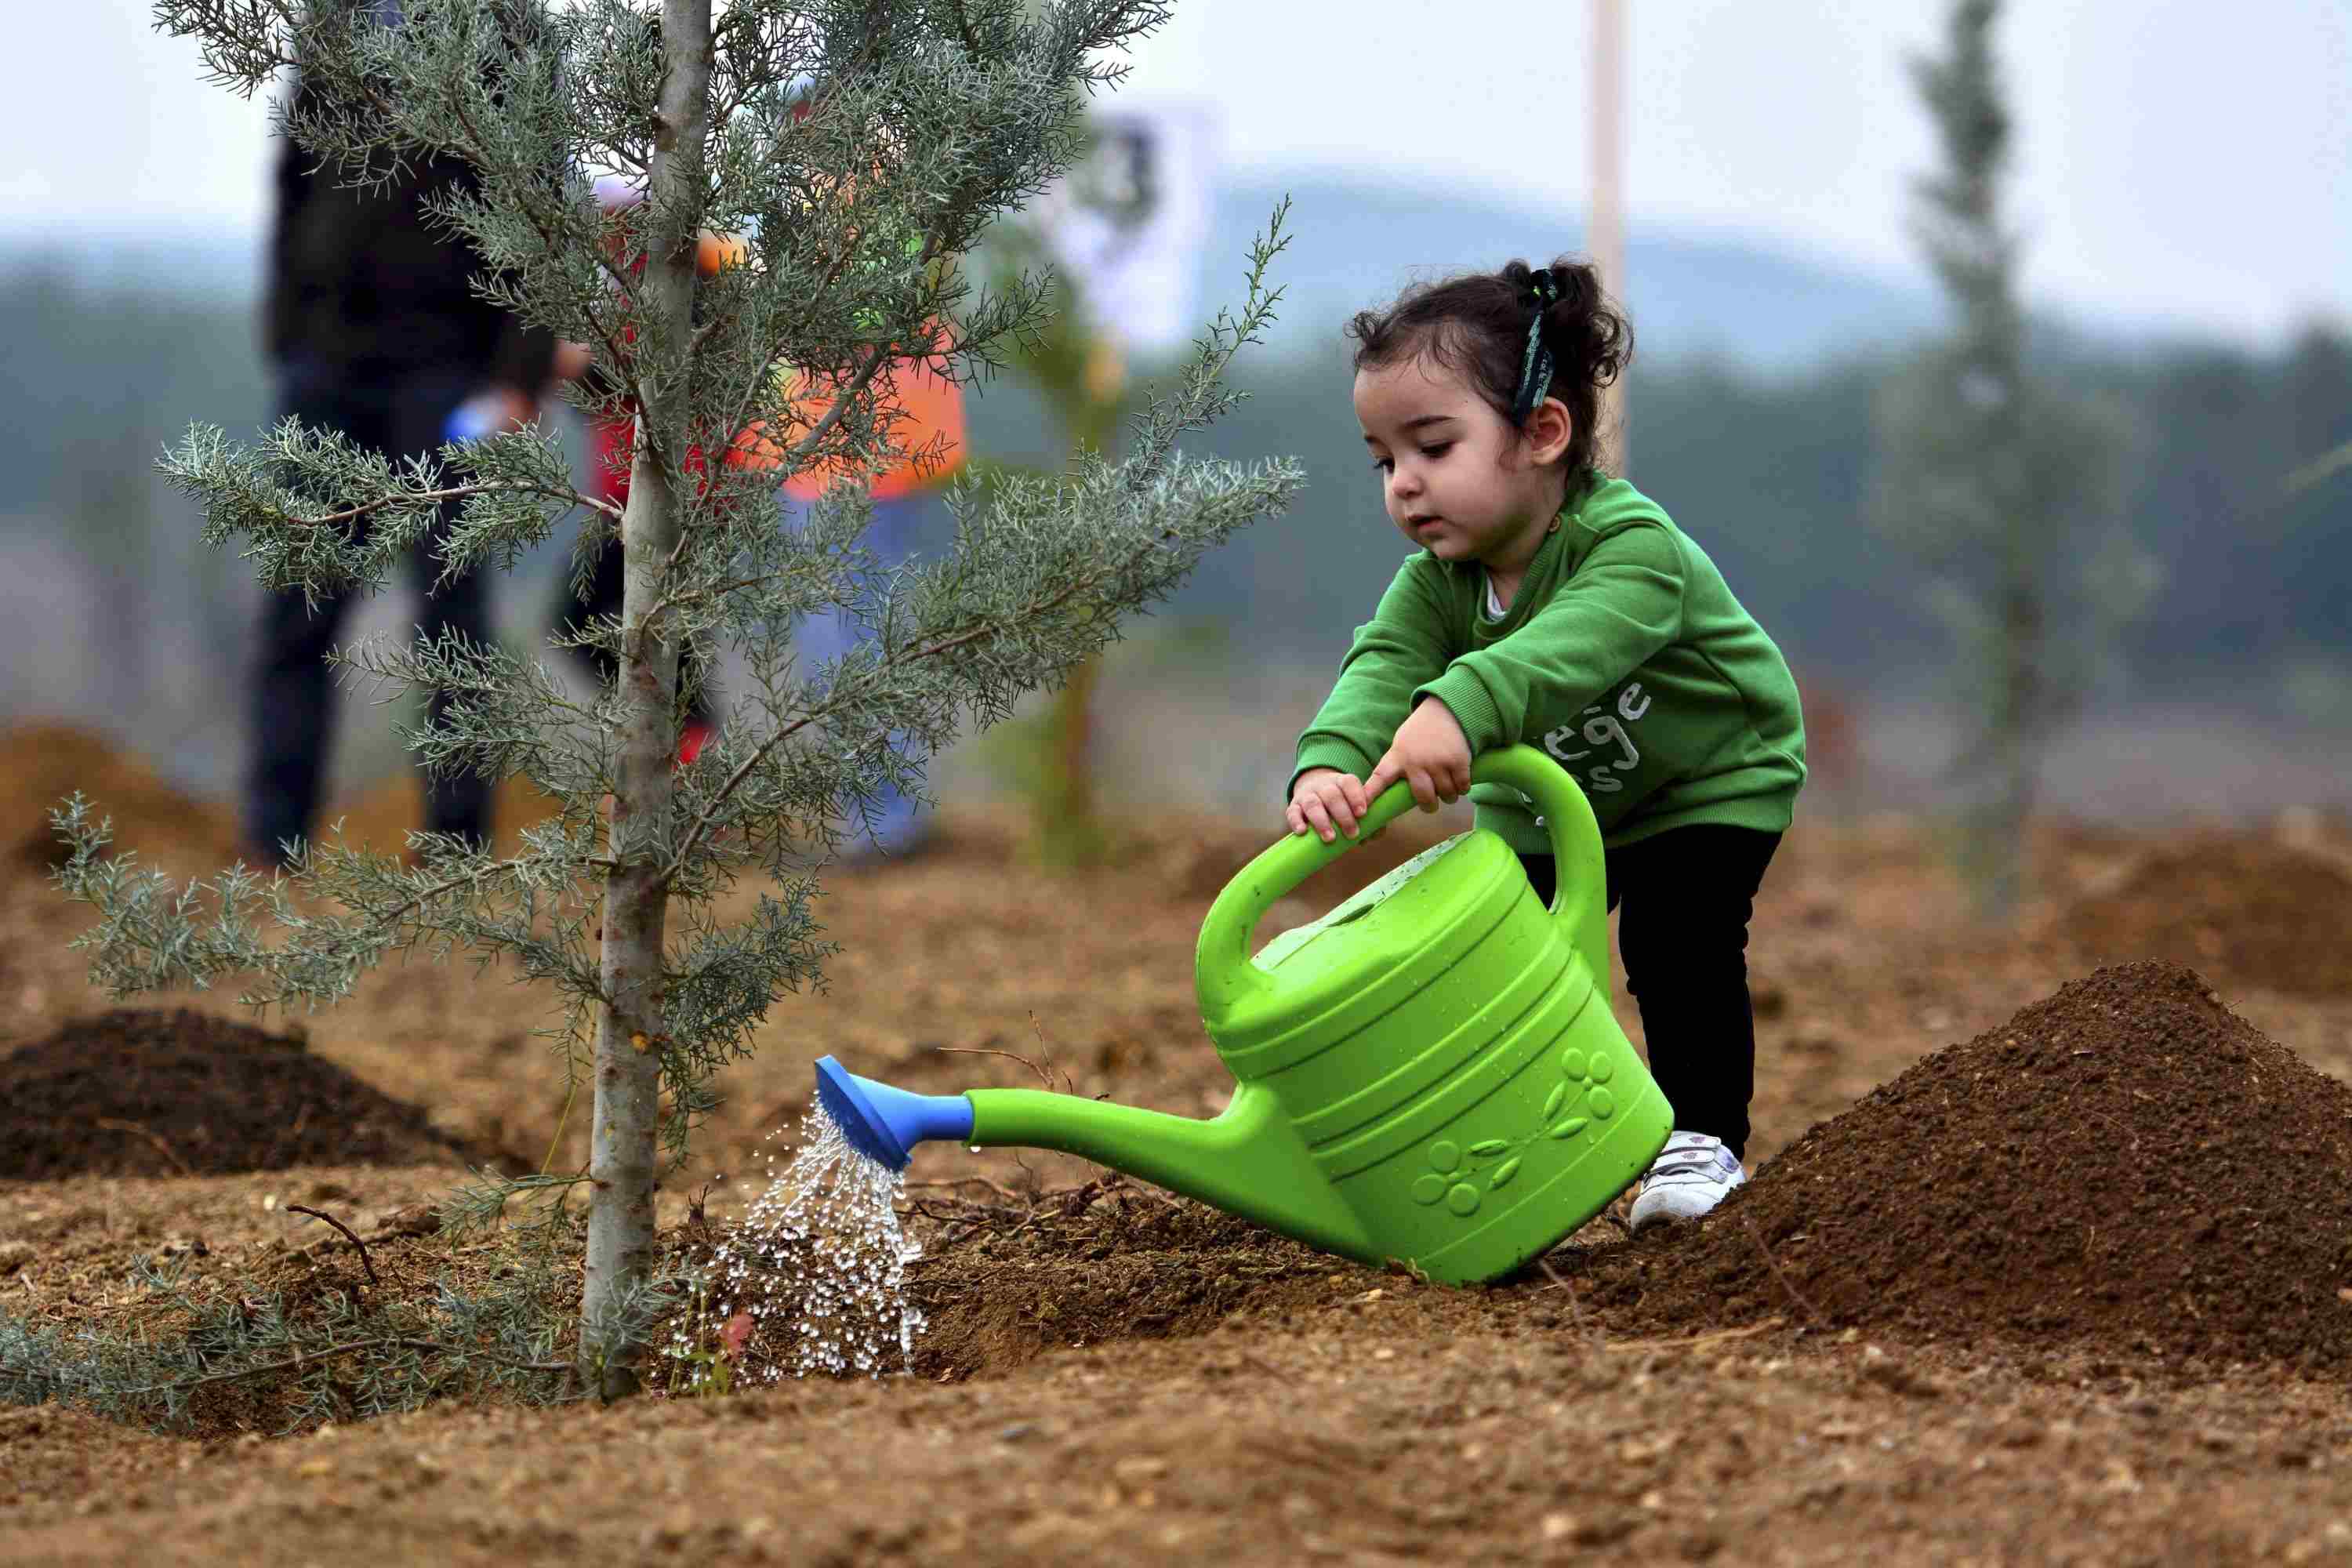
- Water thoroughly: Immediately after planting, give the tree a deep watering to help settle the soil and ensure proper hydration. Provide enough water to moisten the entire root ball and surrounding soil.
- Apply mulch: Spread a layer of organic mulch around the base of the tree, extending it out to the dripline. Keep the mulch a few inches away from the trunk to prevent moisture buildup and discourage pests.
When planting, take care not to damage or snap any of the tree’s branches or roots. Be gentle yet firm when backfilling the hole. It’s important to establish good soil-to-root contact while avoiding excessive compaction.
Remember, proper planting technique is crucial for the tree’s survival and growth. By following these steps, you’ll give your tree the best chance at flourishing in its new home.
Backfilling and Mulching
After planting the tree, the next step is backfilling and mulching to provide the necessary support and nutrients for optimal growth. Follow these guidelines:
- Backfill the hole: Use the soil that was set aside earlier to fill in the hole around the tree’s roots. Gently tamp down the soil to eliminate air pockets and provide stability.
- Avoid excessive soil compaction: Be careful not to overly compact the soil, as this can limit water and air movement to the roots. Maintain a loose and well-drained soil structure.
- Create a mulch ring: Apply a layer of organic mulch, such as wood chips or shredded bark, around the base of the tree. Extend the mulch in a wide ring, but keep it a few inches away from the trunk to prevent moisture buildup and discourage pests.
- Mulch thickness: Aim for a mulch layer that is around 2-4 inches deep. Thicker layers can lead to excess moisture retention, while thinner layers may not provide adequate insulation or weed suppression.
- Spread the mulch evenly: Use a rake or your hands to spread the mulch evenly across the surface, covering the entire root zone area. Avoid piling the mulch against the trunk, as this can create a moist environment that promotes decay.
- Replenish mulch as needed: Over time, the mulch layer may break down or thin out. Regularly replenish the mulch to maintain an appropriate depth and reap the benefits of moisture retention and weed control.
Backfilling the hole and applying mulch provide several advantages. Backfilling ensures root stability and promotes proper soil contact for nutrient absorption. Meanwhile, mulching conserves soil moisture, regulates temperature, suppresses weeds, and improves soil structure as it decomposes.
Ensuring proper backfilling and mulching techniques sets the stage for a healthy and thriving tree for years to come.
Watering and Fertilizing
Proper watering and fertilizing are vital components of tree care, helping to support healthy growth and development. Follow these guidelines to ensure your tree receives the right amount of water and nutrients:
- Watering: After planting, provide deep and thorough watering to help the tree establish its roots. Water the tree immediately after planting and continue to water regularly, especially during dry periods. Aim to moisten the entire root ball and the surrounding soil.
- Monitor soil moisture: Regularly check the moisture level in the soil by sticking your finger into the ground near the tree’s root zone. If the soil feels dry at a depth of a few inches, it’s time to water. Avoid overwatering, as this can lead to root rot and other issues.
- Water deeply: Instead of frequent shallow watering, water deeply and less frequently to encourage deeper root growth. This helps the tree become more resilient to drought conditions.
- Fertilizing: Wait until the second growing season to apply fertilizer to your newly planted tree. Use a slow-release, balanced fertilizer specifically formulated for trees. Follow the manufacturer’s instructions for application rates and timings.
- Apply fertilizer evenly: Spread the fertilizer evenly in a ring around the drip line of the tree, where the branches extend out. Avoid direct contact with the trunk, as this can cause damage.
- Avoid excessive fertilization: Over-fertilizing can lead to excessive vegetative growth, weak branches, and susceptibility to pests and diseases. It’s best to use only the recommended amount of fertilizer.
Keep in mind that watering and fertilizing needs vary depending on factors such as tree species, local climate, and soil conditions. Observe your tree closely and adjust watering and fertilizing practices accordingly.
By providing proper hydration and nutrients, you will promote a strong and thriving tree that can withstand environmental stresses and contribute to a vibrant landscape.
Staking and Pruning
Staking and pruning are important techniques to shape the growth and provide support to young trees. Here’s what you need to know:
- Staking: Evaluate the stability of your newly planted tree. If it is tall, top-heavy, or in an area prone to strong winds, staking may be necessary. Use soft, flexible materials such as tree straps or wide belts to secure the tree to stakes driven into the ground. Avoid tying the tree tightly to the stakes, as some movement is necessary for proper trunk development.
- Monitor the need for staking: Regularly check the tree’s stability. If the trunk begins to thicken and the tree can stand on its own, remove the stakes and any other support materials to avoid girdling and encourage natural trunk strength.
- Pruning: Pruning is a way to shape the growth of your tree and remove any damaged or diseased branches. Prune trees during their dormant season to minimize stress and promote faster healing. Use clean and sharp pruning tools to make clean cuts just outside the branch collar, the raised area where the branch meets the trunk.
- Focus on corrective pruning: In the early years of a tree’s life, corrective pruning is often necessary to establish a strong framework. Remove any branches that are crossing or rubbing against each other, as well as any weak or narrow-angled branches. This encourages proper branch spacing and prevents future problems.
- Avoid excessive pruning: While pruning is important, avoid over-pruning or removing more than 25% of the tree’s canopy in a single season. Over-pruning can decrease the tree’s energy reserves and make it more susceptible to stress and diseases.
- Regularly monitor the tree’s growth: Watch for any dead, damaged, or diseased branches throughout the year. Prune these as soon as possible to prevent further damage and promote the overall health of the tree.
Remember, proper staking and pruning techniques aid in developing a well-structured and resilient tree. Regular monitoring and timely pruning ensure the tree maintains a strong and healthy structure as it grows.
Caring for the Newly Planted Tree
After planting a tree, it’s important to provide proper care to ensure its health and growth. Consider the following tips to care for your newly planted tree:
- Water regularly: Adequate watering is crucial during the establishment period. Water the tree deeply and consistently to keep the soil moist but not waterlogged. Adjust watering frequency based on weather conditions and the tree’s moisture needs.
- Monitor soil moisture: Regularly check the soil moisture around the tree’s root zone. Stick your finger into the soil to verify moisture levels. Avoid overwatering, as it can lead to root rot, while underwatering can stress the tree.
- Maintain a mulch layer: Keep a layer of organic mulch around the base of the tree to conserve moisture, regulate soil temperature, and suppress weed growth. Check the mulch regularly and replenish it as needed to maintain an appropriate depth.
- Protect against pests and diseases: Inspect the tree regularly for signs of pests or diseases, such as chewed leaves, discoloration, or unusual growth. Use appropriate pest control measures, such as organic insecticides or integrated pest management techniques, to keep pests at bay.
- Monitor for signs of stress: Look for signs of stress in the tree, such as wilting leaves, yellowing foliage, or stunted growth. These could be indications of nutrient deficiencies, water issues, or other problems. Take remedial action promptly to address the underlying issue.
- Prune selectively: Continue to monitor the tree’s growth and prune as needed to remove dead, damaged, or crossing branches. Pruning helps promote healthy growth and maintain a desirable shape.
- Be patient: Trees take time to establish and grow. Depending on the species, it may take several years for the tree to fully acclimate and develop a strong root system. Be patient and consistent in your care for the tree.
- Consult an arborist: If you’re unsure about any aspect of caring for your newly planted tree or if you notice any significant issues, don’t hesitate to seek guidance from a certified arborist. They can provide expert advice specific to your tree species and your particular environment.
Remember, caring for a newly planted tree requires ongoing attention and maintenance. By providing the right care, you set the foundation for a healthy and resilient tree that will enhance your landscape for years to come.
Conclusion
Congratulations! You are now equipped with the knowledge and understanding to plant and care for trees effectively. Planting a tree is a rewarding experience that brings beauty, shade, and environmental benefits to your surroundings.
Remember that choosing the right tree for your location is crucial. Consider factors like climate, size, maintenance requirements, and your personal preferences. Preparing the planting site properly by clearing the area, improving the soil, and creating a suitable hole sets the stage for successful tree establishment.
When it’s time to plant, take care to position the tree correctly, backfill the hole, water thoroughly, and apply mulch. Follow up with regular watering and check the soil moisture to ensure the tree has sufficient hydration. Take note of pruning and staking needs, addressing them as necessary to shape the tree’s growth and provide support.
Proper care for your newly planted tree requires ongoing attention, such as monitoring for pest and disease issues, pruning selectively, and being patient as the tree establishes its roots and grows. Don’t hesitate to seek professional advice from an arborist if needed.
By following these guidelines and staying attentive to your tree’s needs, you can create a healthy and resilient landscape that will bring you joy for years to come. Enjoy the process of planting and caring for trees, and reap the many benefits they provide to both you and the environment.
