Home>Gardening Techniques>Plant Care>When To Transplant Seedlings From Solo Cup

Plant Care
When To Transplant Seedlings From Solo Cup
Modified: February 9, 2024
Learn when to transplant seedlings from solo cups and get expert plant care tips for a successful transfer. Ensure healthy growth with proper timing and techniques.
(Many of the links in this article redirect to a specific reviewed product. Your purchase of these products through affiliate links helps to generate commission for Chicagolandgardening.com, at no extra cost. Learn more)
Table of Contents
Introduction
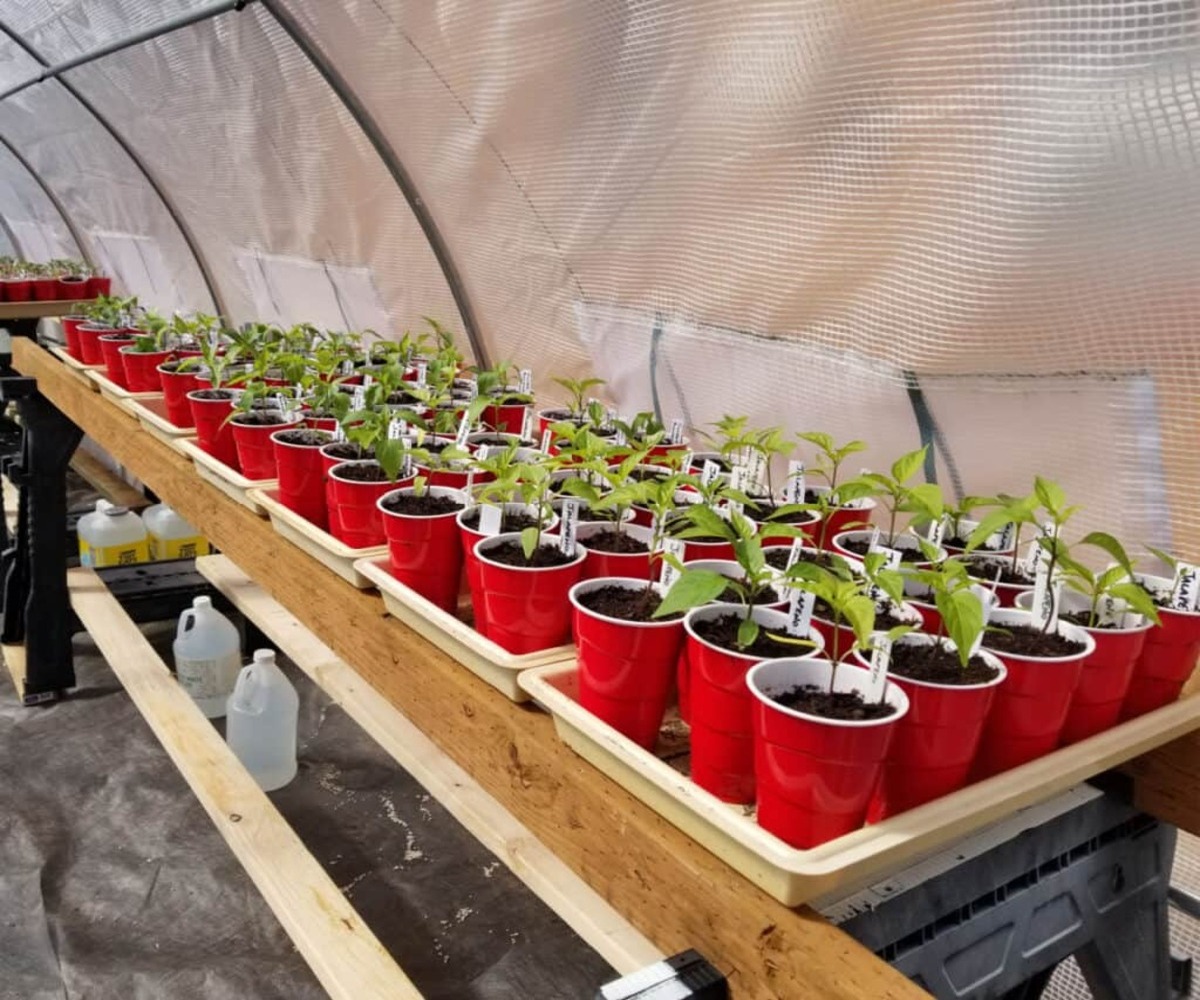
Transplanting seedlings from solo cups is a critical step in the plant care process. It involves carefully transferring young plants from their temporary containers into larger pots or directly into the ground. This process allows the roots to expand and establish themselves in the new environment, promoting healthy growth and development.
Timing is crucial when it comes to transplanting seedlings. If done too early, the plants may struggle to adapt and may experience setbacks in their growth. On the other hand, waiting too long to transplant can lead to root-bound plants with stunted growth.
In this article, we will discuss the optimal timing for transplanting seedlings from solo cups, as well as the necessary steps to prepare the seedlings for the move. We will also delve into the proper techniques for transplanting and the essential care needed post-transplant. By the end, you will have all the information you need to successfully transplant your seedlings and ensure their healthy growth.
Selecting the Right Time
Choosing the perfect time to transplant seedlings from solo cups is crucial for their successful transition. Generally, seedlings should be transplanted when they have developed a strong root system and have outgrown their current containers.
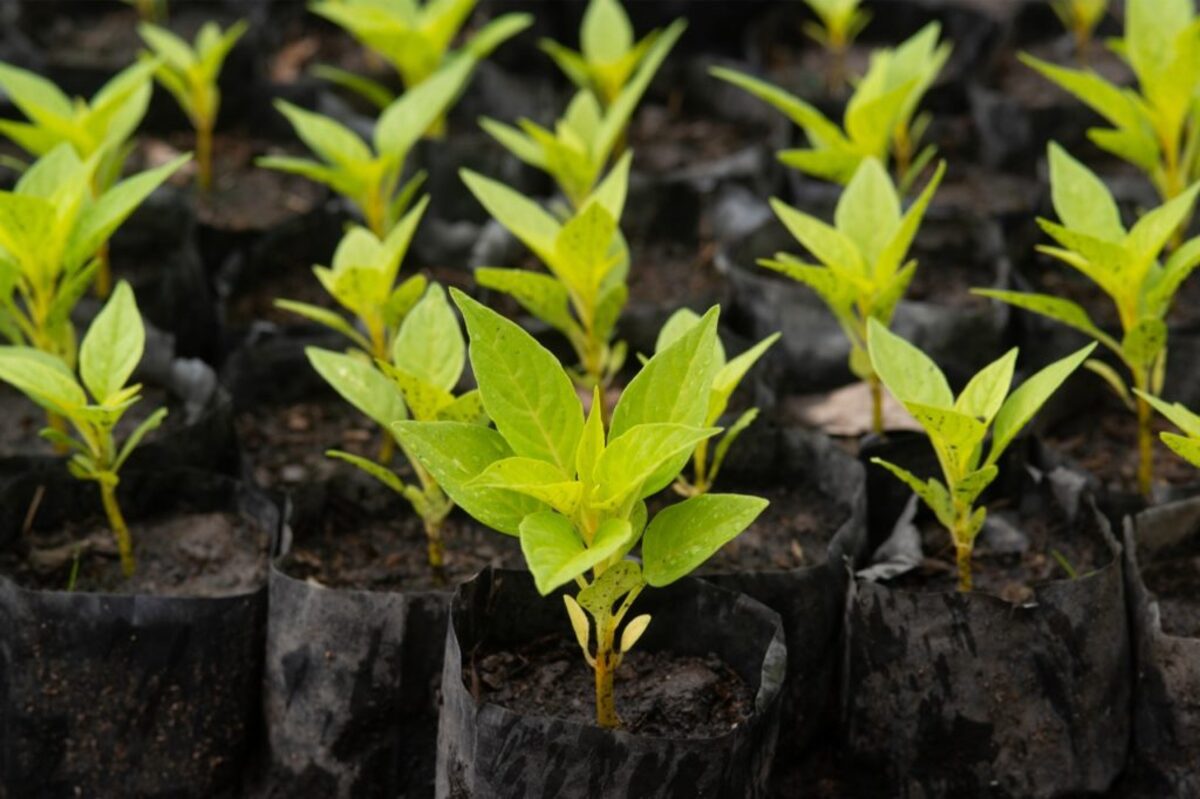
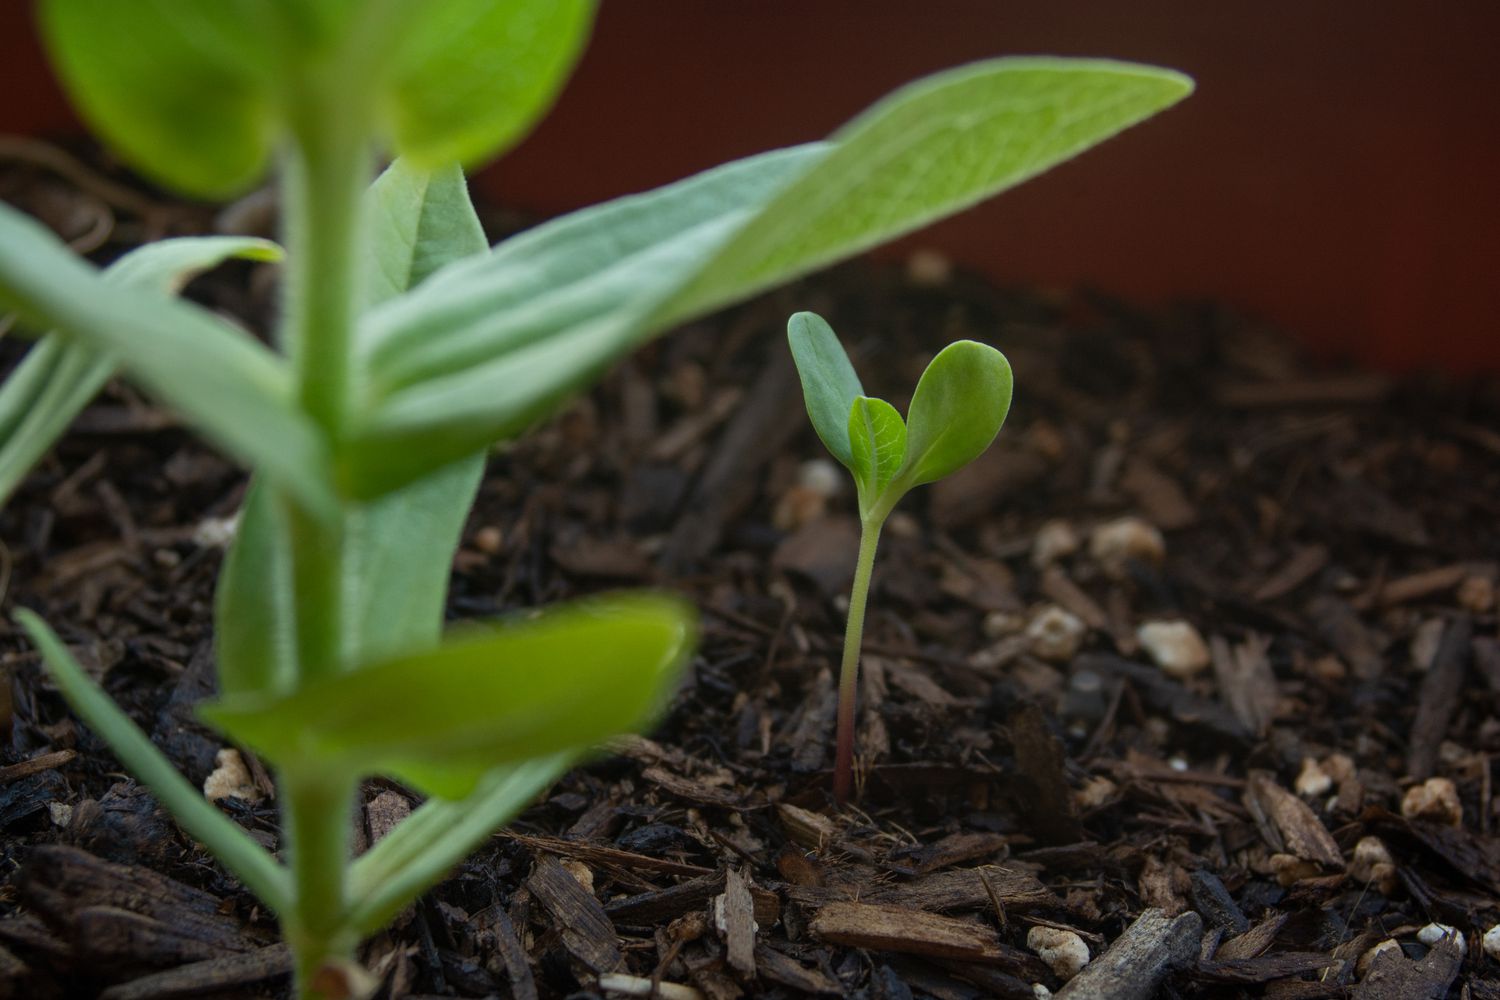
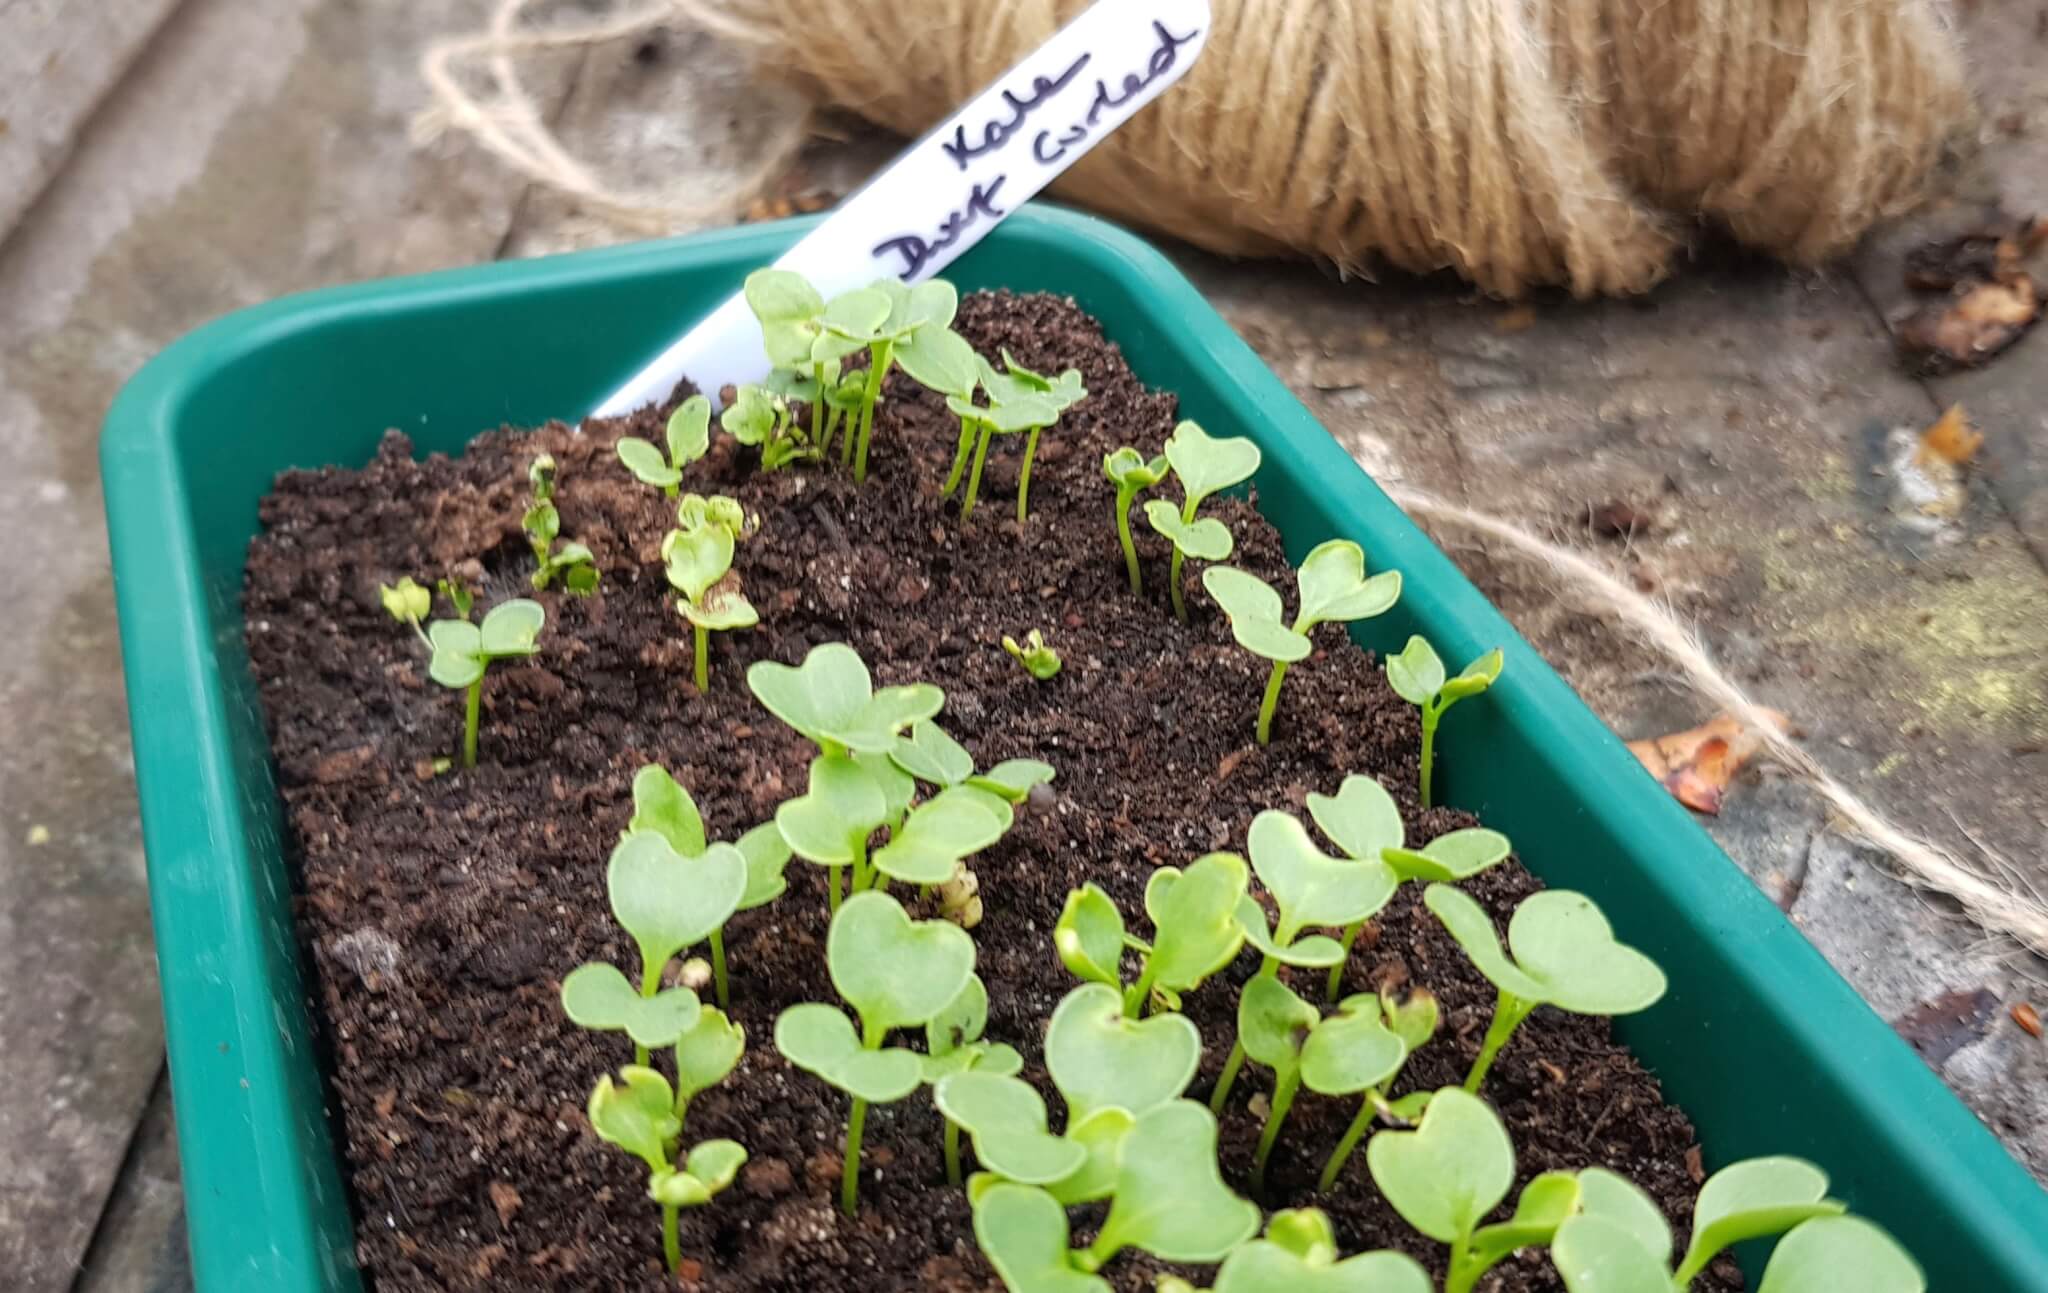
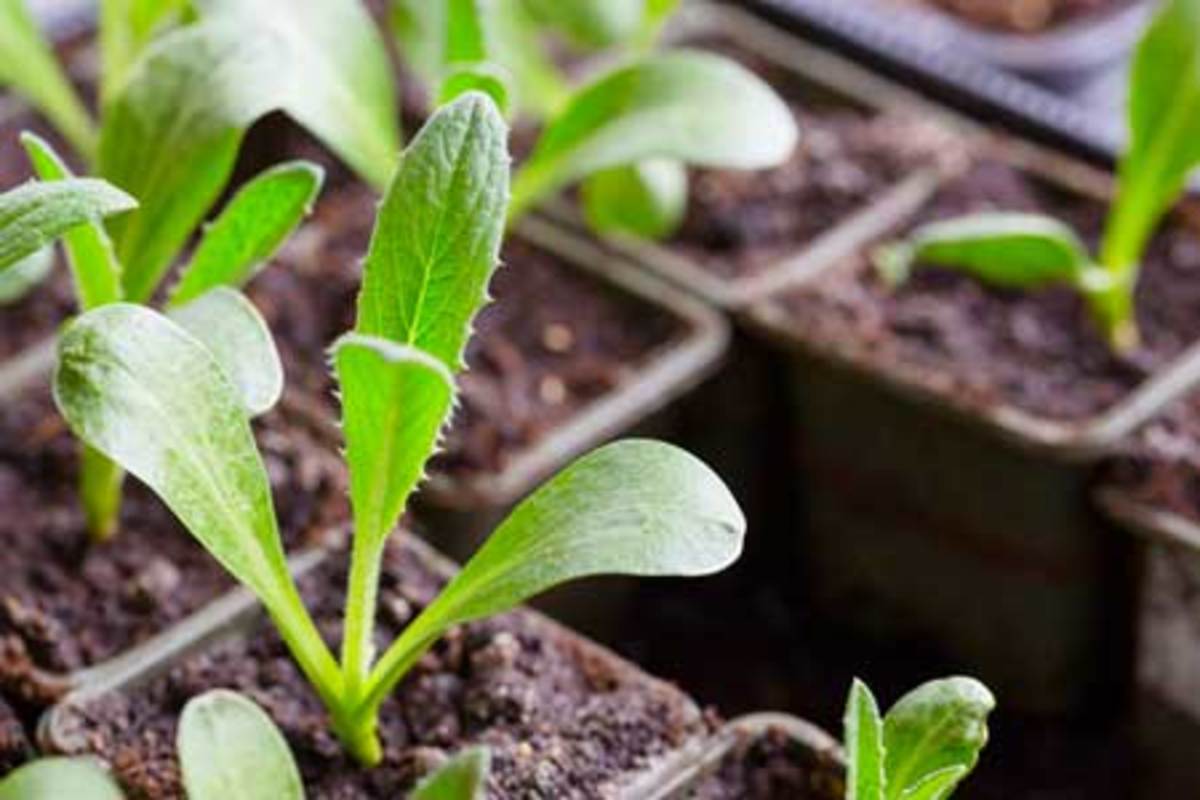
One common indicator that the time is right for transplanting is when the seedlings have two to four sets of true leaves. True leaves are the leaves that emerge after the initial set of embryonic leaves, also known as cotyledons. These true leaves are a sign of the plant’s ability to photosynthesize and produce energy. Additionally, if the roots of the seedlings start to poke out through the drainage holes at the bottom of the solo cup, it is a clear indication that they need more space to grow.
Another important consideration is the weather. It is generally recommended to transplant seedlings on a cloudy day or during the cooler parts of the day, such as early morning or late afternoon, to minimize stress on the young plants. Avoid transplanting during extreme weather conditions, such as strong winds or intense heat, as this can shock the seedlings and hinder their growth.
Lastly, it is essential to consider the specific requirements of the plant species you are transplanting. Some plants may have specific timing preferences, such as cool-season crops that prefer to be transplanted in early spring or late summer. It is advisable to research the specific needs of your plants to ensure that you choose the ideal time for transplanting.
By carefully considering the developmental stage of the seedlings, the weather conditions, and the specific requirements of the plant species, you can select the right time to transplant your seedlings from solo cups. This will provide them with the best opportunity for healthy growth and thriving in their new environment.
Preparing the Seedlings
Before transplanting seedlings from solo cups, it is crucial to prepare them adequately to ensure a successful transition. Here are some important steps to follow:
- Water the seedlings: Before starting the preparation process, make sure to water the seedlings thoroughly. This will ensure that the roots are hydrated and will help prevent transplant shock.
- Choose the right potting mix: Select a high-quality potting mix that provides good drainage and retains moisture. Avoid using garden soil, as it can be heavy and may contain pests or diseases. Fill your transplant pots or planting holes with the potting mix.
- Loosen the soil: Gently loosen the soil in the solo cups to facilitate easy removal of the seedlings. Insert a small tool or your fingers around the edges and carefully separate the root ball from the cup’s sides, being careful not to damage the delicate roots.
- Remove dead leaves and debris: Inspect the seedlings for any dead or damaged leaves. Carefully remove them, as they can attract pests or diseases and hinder the plant’s growth.
- Trim the seedlings (if necessary): If the seedlings have grown too tall and leggy, you can trim them back slightly. This will promote a more compact and sturdy growth habit.
- Harden off the seedlings: Before transplanting, it is essential to gradually expose the seedlings to outdoor conditions. This process, known as hardening off, helps acclimate the plants to factors like sunlight, temperature, and wind. Start by placing the seedlings outdoors in a sheltered spot for a few hours each day, gradually increasing the time and exposure over a period of 7 to 10 days.
By following these steps, you will ensure that your seedlings are prepared and ready for transplantation. This will minimize stress on the plants and increase their chances of thriving in their new environment.
Transplanting from Solo Cup
Transplanting seedlings from solo cups requires a careful and gentle approach to minimize any damage to the plants’ roots. Follow these steps for a successful transplant:
- Moisten the transplant site: Before transplanting, water the soil in the new location to provide a moist environment for the seedlings.
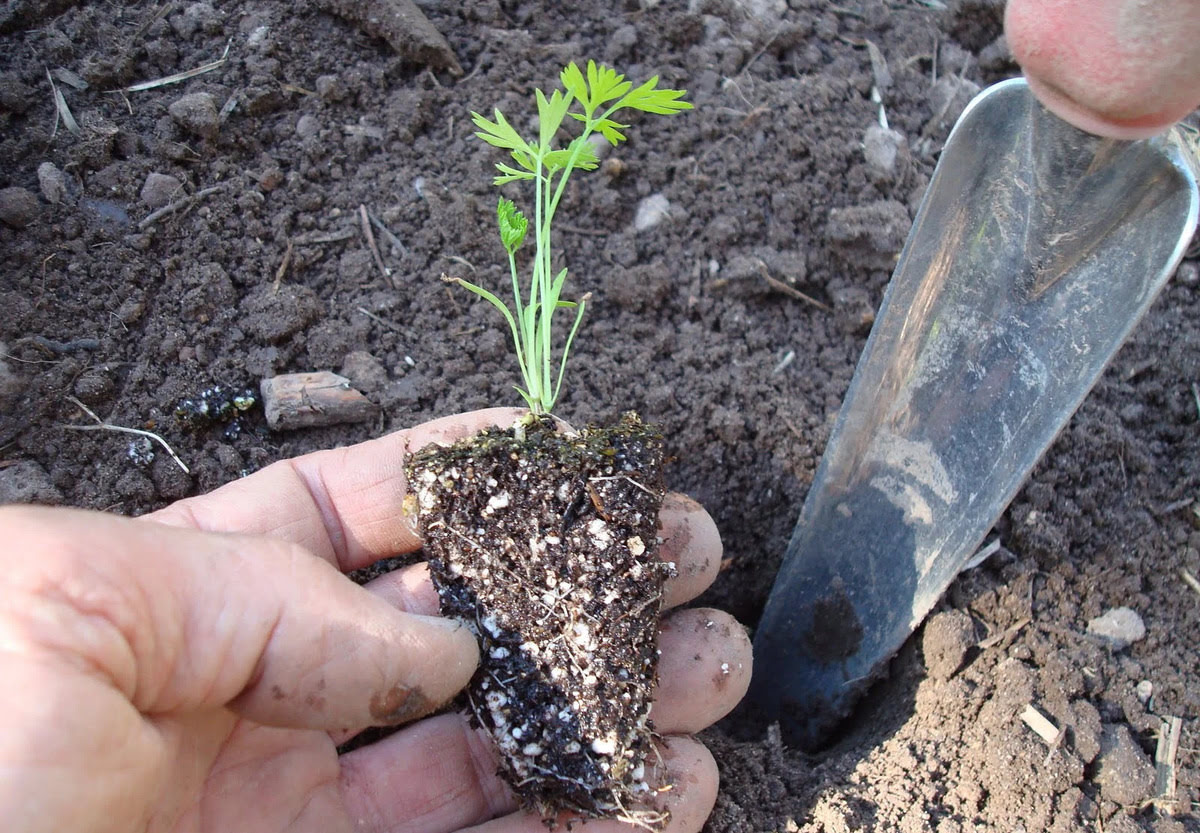
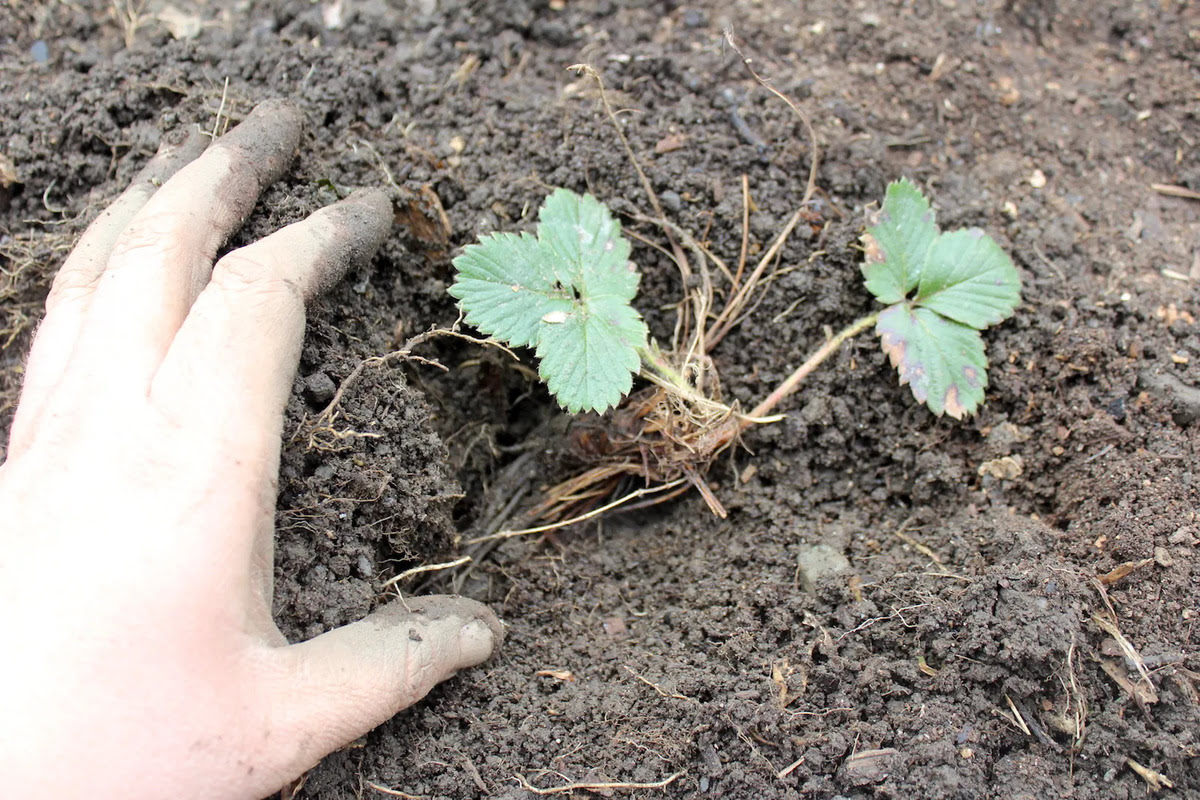
- Make a hole: Dig a hole in the soil that is slightly larger than the size of the solo cup. The hole should be deep enough to accommodate the seedling’s root ball without bending or crowding the roots.
- Remove the seedling from the cup: Gently squeeze the sides of the solo cup to loosen the root ball. Carefully guide the seedling out of the cup, grasping it by the leaves, not the stem. Avoid pulling on the stem as it can damage the plant.
- Place the seedling: Lower the seedling into the hole, making sure it is positioned at the same depth as it was in the solo cup. Be careful not to bury the stem too deep, as this can lead to stem rot.
- Backfill and firm the soil: Fill the hole with soil, gently patting it down to remove any air gaps. Avoid compacting the soil too tightly, as this can hinder water and air circulation. Leave a slight depression around the plant to help retain water.
- Water the transplanted seedlings: After transplanting, give the seedlings a thorough watering to settle the soil and to ensure good root-to-soil contact. This will also help the seedlings recover from any minor root disturbance.
- Add mulch: Consider adding a layer of organic mulch, such as straw or wood chips, around the transplanted seedlings. Mulch helps retain moisture, suppresses weeds, and regulates soil temperature.
Remember to transplant the seedlings with care to avoid damaging the delicate roots. By following these steps, you will ensure a smooth and successful transition for your seedlings from solo cups to their new growing location.
Post-Transplant Care
After transplanting seedlings from solo cups, it is important to provide proper care to ensure their continued growth and success in their new environment. Here are some essential post-transplant care tips:
- Watering: Adequate watering is crucial for the establishment of transplanted seedlings. Keep the soil consistently moist, but not waterlogged. Water the plants deeply, allowing the water to penetrate the root zone.
- Mulching: Maintain a layer of mulch around the transplanted seedlings to help conserve moisture, suppress weeds, and regulate soil temperature.
- Protection from extreme weather: Protect the seedlings from extreme weather conditions, such as strong winds, heavy rain, or intense sunlight. Use shade cloth, row covers, or plant protectors to shield the plants from excessive heat or cold.
- Provide support (if needed): Some plants may require support to prevent bending or breaking. Install stakes or plant supports near the seedlings and tie them gently if necessary.
- Monitor for pests and diseases: Keep a close eye on the transplanted seedlings for any signs of pests or diseases. Take appropriate measures such as applying organic pest control methods or using disease-resistant varieties.
- Fertilization: Monitor the nutrient needs of the transplanted seedlings and provide appropriate fertilization based on their specific requirements. Use a balanced organic fertilizer or amend the soil with compost to promote healthy growth.
- Pruning: Remove any dead or diseased plant parts to maintain the overall health and vigor of the transplanted seedlings. Pruning can also help shape the plants and encourage branching.
It is crucial to continue monitoring the transplanted seedlings and adjust care practices as needed. Each plant species and variety may have unique post-transplant care requirements, so it is important to research and understand the specific needs of your plants.
By providing proper post-transplant care, you will give your transplanted seedlings the best chance of thriving in their new environment and growing into healthy, productive plants.
Conclusion
Transplanting seedlings from solo cups is a crucial step in the plant care process, allowing the young plants to establish themselves and thrive in their new growing environment.
By selecting the right time to transplant, preparing the seedlings properly, and following the correct techniques for transplanting and post-transplant care, you can ensure the success of your transplanted seedlings.
Remember to choose the appropriate stage of development for transplanting, considering factors such as the number of true leaves and root growth. Take into account the weather conditions and the specific requirements of the plant species to determine the optimal time for transplanting.
Prepare the seedlings by watering them, selecting a suitable potting mix, loosening the soil, and removing any dead leaves or debris. Trim the seedlings if necessary and harden them off gradually to acclimate them to outdoor conditions.
During the transplanting process, handle the seedlings with care, ensuring minimal damage to the roots. Place them in the prepared holes, backfill with soil, and water thoroughly.
After transplanting, provide proper post-transplant care, including regular watering, mulching, protection from extreme weather, monitoring for pests and diseases, fertilization, and pruning if needed.
Remember that each plant species may have unique requirements, so it is essential to research and understand the specific needs of your plants for successful transplantation and post-transplant care.
By following these guidelines and providing the necessary care, you can ensure the healthy growth and development of your transplanted seedlings, setting them up for a bountiful and beautiful garden.
