Home>Gardening Techniques>Seasonal Gardening>When To Plant Mum Seeds
Seasonal Gardening
When To Plant Mum Seeds
Modified: February 8, 2024
Discover the best time for planting mum seeds with our seasonal gardening guide. Maximize your garden's beauty by sowing these vibrant flowers at the right time.
(Many of the links in this article redirect to a specific reviewed product. Your purchase of these products through affiliate links helps to generate commission for Chicagolandgardening.com, at no extra cost. Learn more)
Table of Contents
Introduction
Gardening is a rewarding and therapeutic activity that allows us to connect with nature and beautify our outdoor spaces. While many plants require specific care and attention, seasonal gardening brings its own set of challenges and rewards. One particular aspect of seasonal gardening is knowing the optimal time to plant certain seeds. In this article, we will focus on a popular plant for seasonal gardening: mum seeds.
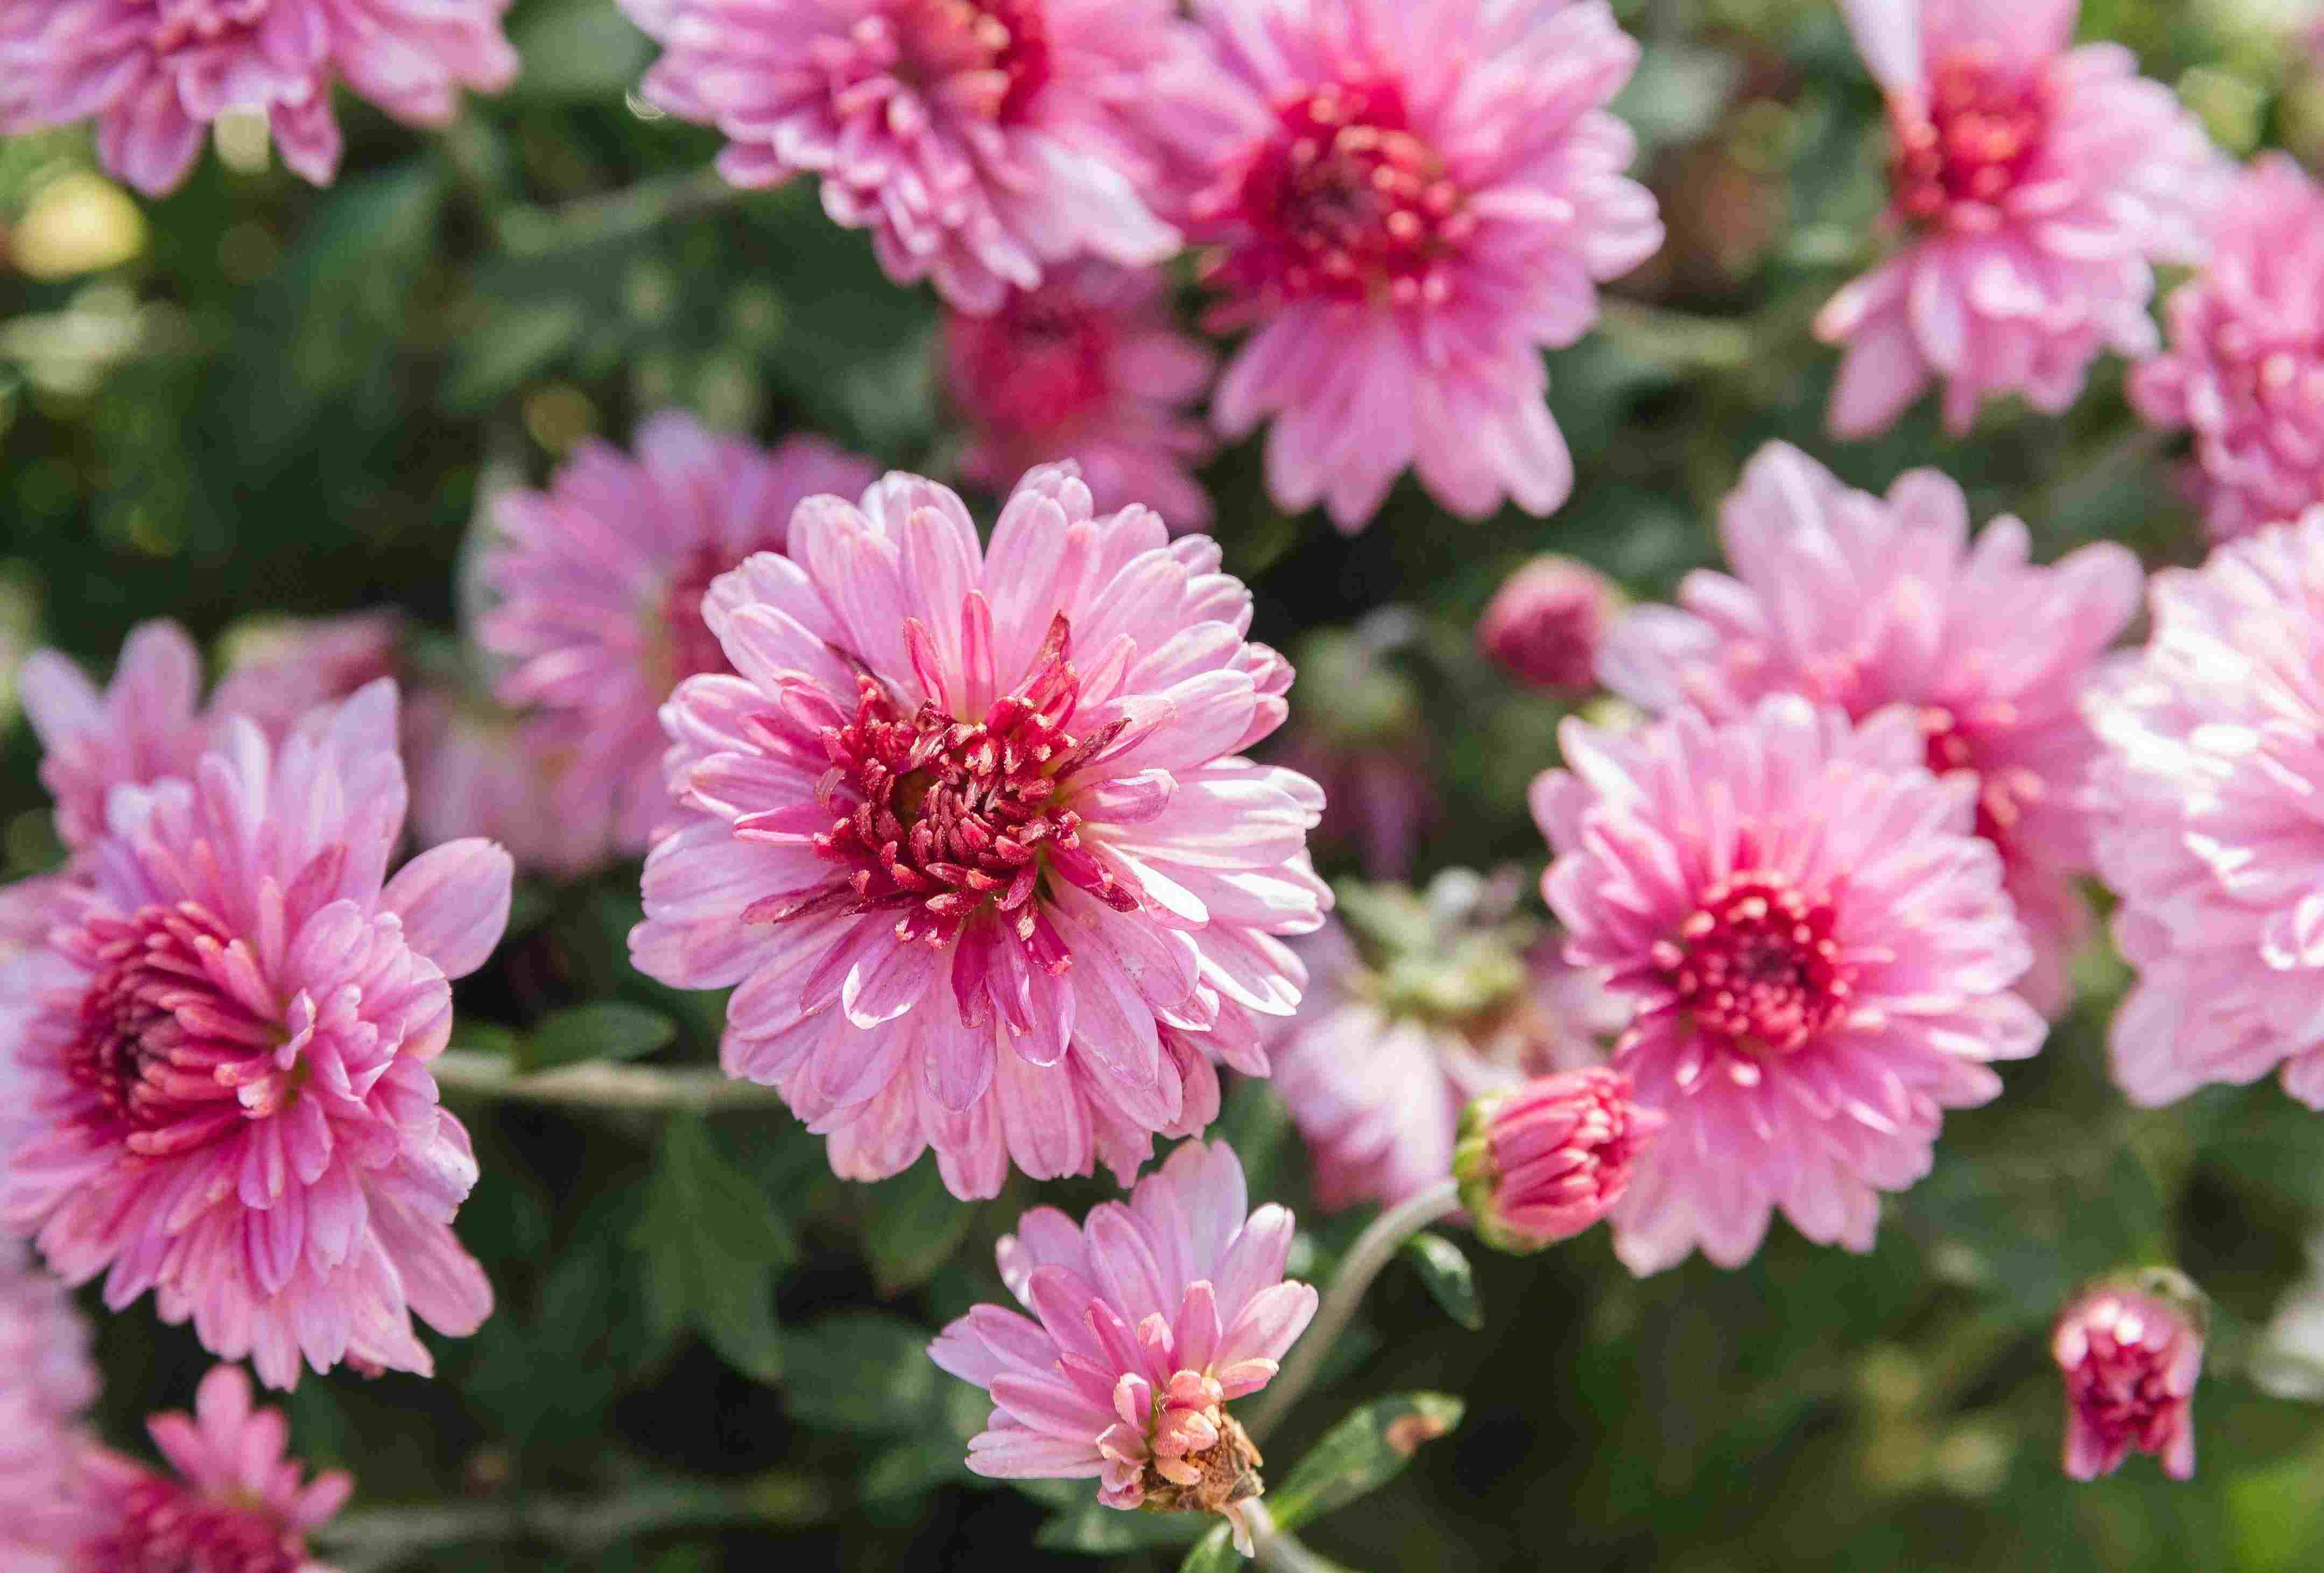
Mums, or chrysanthemums, are vibrant and colorful flowers that bloom in the autumn months. Known for their hardiness and ability to withstand cooler temperatures, mums are a favorite choice for gardeners looking to add a splash of color to their yards during the fall season. Planting mum seeds at the right time is crucial to ensure successful growth and a spectacular display later in the year.
Before diving into the specific planting and care instructions for mum seeds, there are a few factors to consider. First and foremost, it’s essential to know your USDA hardiness zone. This zone determines the average minimum temperature in your region and helps determine the best planting time for various plants.
Next, assess the available space in your garden and the conditions it offers. Mums prefer well-drained soil that receives at least six hours of direct sunlight each day. If your garden doesn’t meet these requirements, consider making adjustments, such as improving the soil’s drainage or finding a sunnier spot, to ensure the success of your mum plants.
Finally, consider the specific variety of mum seeds you plan to plant. There are numerous types and colors available, each with its own growth characteristics and preferences. Understanding the specific needs of your chosen mum variety will help you provide the best care and environment for their successful growth.
Now, let’s dive into the best time to plant mum seeds to ensure a vibrant and thriving garden that will impress both family and neighbors alike.
Factors to Consider Before Planting Mum Seeds
Before planting mum seeds, it’s important to take several factors into consideration to ensure the success of your gardening endeavors. These factors include your location’s climate, soil conditions, and the available space in your garden. Let’s explore each of these factors in more detail.
1. Climate: Mum plants thrive in cooler temperatures and are hardy in USDA hardiness zones 3 to 9. Ensure that your region falls within this range before planting mum seeds. If you live in a warmer climate, you may need to provide some shade or choose heat-tolerant mum varieties. Consult your local garden center or extension office for specific recommendations based on your location.
2. Soil Conditions: Mum plants prefer well-draining soil with a pH level between 6.5 and 7.5. Before planting, assess your soil’s drainage capabilities and make necessary adjustments by adding organic matter such as compost or sand to improve drainage if needed. Testing the soil’s pH level is also recommended to ensure optimal growing conditions for your mum seeds.
3. Sunlight: Mums require at least six hours of direct sunlight each day to thrive. Observe your garden throughout the day and identify areas that receive ample sunlight. Avoid planting mums in shaded or overly crowded areas, as this can lead to leggy growth and diminished flower production.
4. Garden Space: Consider the available space in your garden before planting mum seeds. Mums tend to grow wide and bushy, so provide adequate spacing between plants to allow for air circulation and prevent overcrowding. This will help reduce the risk of disease and promote healthy growth.
5. Watering and Drainage: Proper watering techniques are essential for the success of mum plants. While mums require regular watering, it’s crucial to ensure that the soil doesn’t become waterlogged. Overwatering can lead to root rot and other diseases. Monitor the moisture level of the soil and water only when it feels dry to the touch.
By considering these factors before planting your mum seeds, you can create an environment that promotes healthy growth and abundant blooms. Next, let’s explore the best time to plant mum seeds for optimal results.
Best Time to Plant Mum Seeds
The timing of planting mum seeds is crucial for their successful growth and vibrant blooms. While mum plants are known for their ability to withstand cooler temperatures, it’s important to choose the right time to ensure they establish well and thrive in your garden. Let’s explore the best time to plant mum seeds based on the different stages of the growing season.
1. Early Spring: If you live in a region with mild winters, you can start sowing mum seeds indoors in early spring, around 8 to 12 weeks before the last frost date. This allows the seeds to germinate and develop seedlings that are strong enough to be transplanted into your garden once the danger of frost has passed. Starting the seeds indoors gives the plants a head start and allows for earlier blooms in the fall.
2. Late Spring/Early Summer: For regions with colder climates or areas where the risk of late spring frost is high, it’s advisable to wait until after the last frost date to plant mum seeds directly into your garden. By late spring or early summer, the soil has warmed up, providing optimal conditions for seed germination and root development.
3. Early Fall: If you missed the opportunity to plant mum seeds in spring or summer, you can still sow them in early fall. Mums have a relatively short growing season, and planting them in early fall allows them to establish their root system before the onset of winter. This ensures that they survive the cold temperatures and produce beautiful blooms the following year.
Keep in mind that the specific timing may vary depending on your location and the specific mum variety you’re planting. Consult local gardening resources or your cooperative extension office for more precise guidance on the best planting time in your area.
When planting mum seeds, it’s essential to follow proper care and watering practices, ensuring they receive adequate sunlight and nutrients for healthy growth. Let’s explore the steps for planting mum seeds in the next section.
Steps for Planting Mum Seeds
Planting mum seeds requires some preparation and attention to detail to ensure successful germination and growth. Follow these steps to give your mum seeds the best start:
1. Prepare the soil: Begin by preparing the soil in the chosen planting area. Remove any weeds or debris and loosen the soil to a depth of about 6-8 inches. Incorporate organic matter such as compost or aged manure to improve the soil’s fertility and drainage.
2. Sow the seeds: Depending on the mum variety, sow the seeds about 1/8 to 1/4 inch deep in the prepared soil. Space the seeds according to the specific instructions provided on the seed packet, typically about 12 to 18 inches apart.
3. Water gently: After sowing the seeds, water the soil gently to ensure moist, but not waterlogged, conditions. Avoid overwatering, as it can lead to rotting of the seeds or seedlings.
4. Provide adequate sunlight: Place the planting containers or trays in an area that receives adequate sunlight or under grow lights if sowing indoors. Mums require at least 6 hours of direct sunlight per day for optimal growth.
5. Monitor and care for the seedlings: Keep a close eye on the seedlings as they germinate and start to grow. Ensure that the soil remains consistently moist but not overly saturated. Thin out the seedlings to maintain proper spacing if they become crowded.
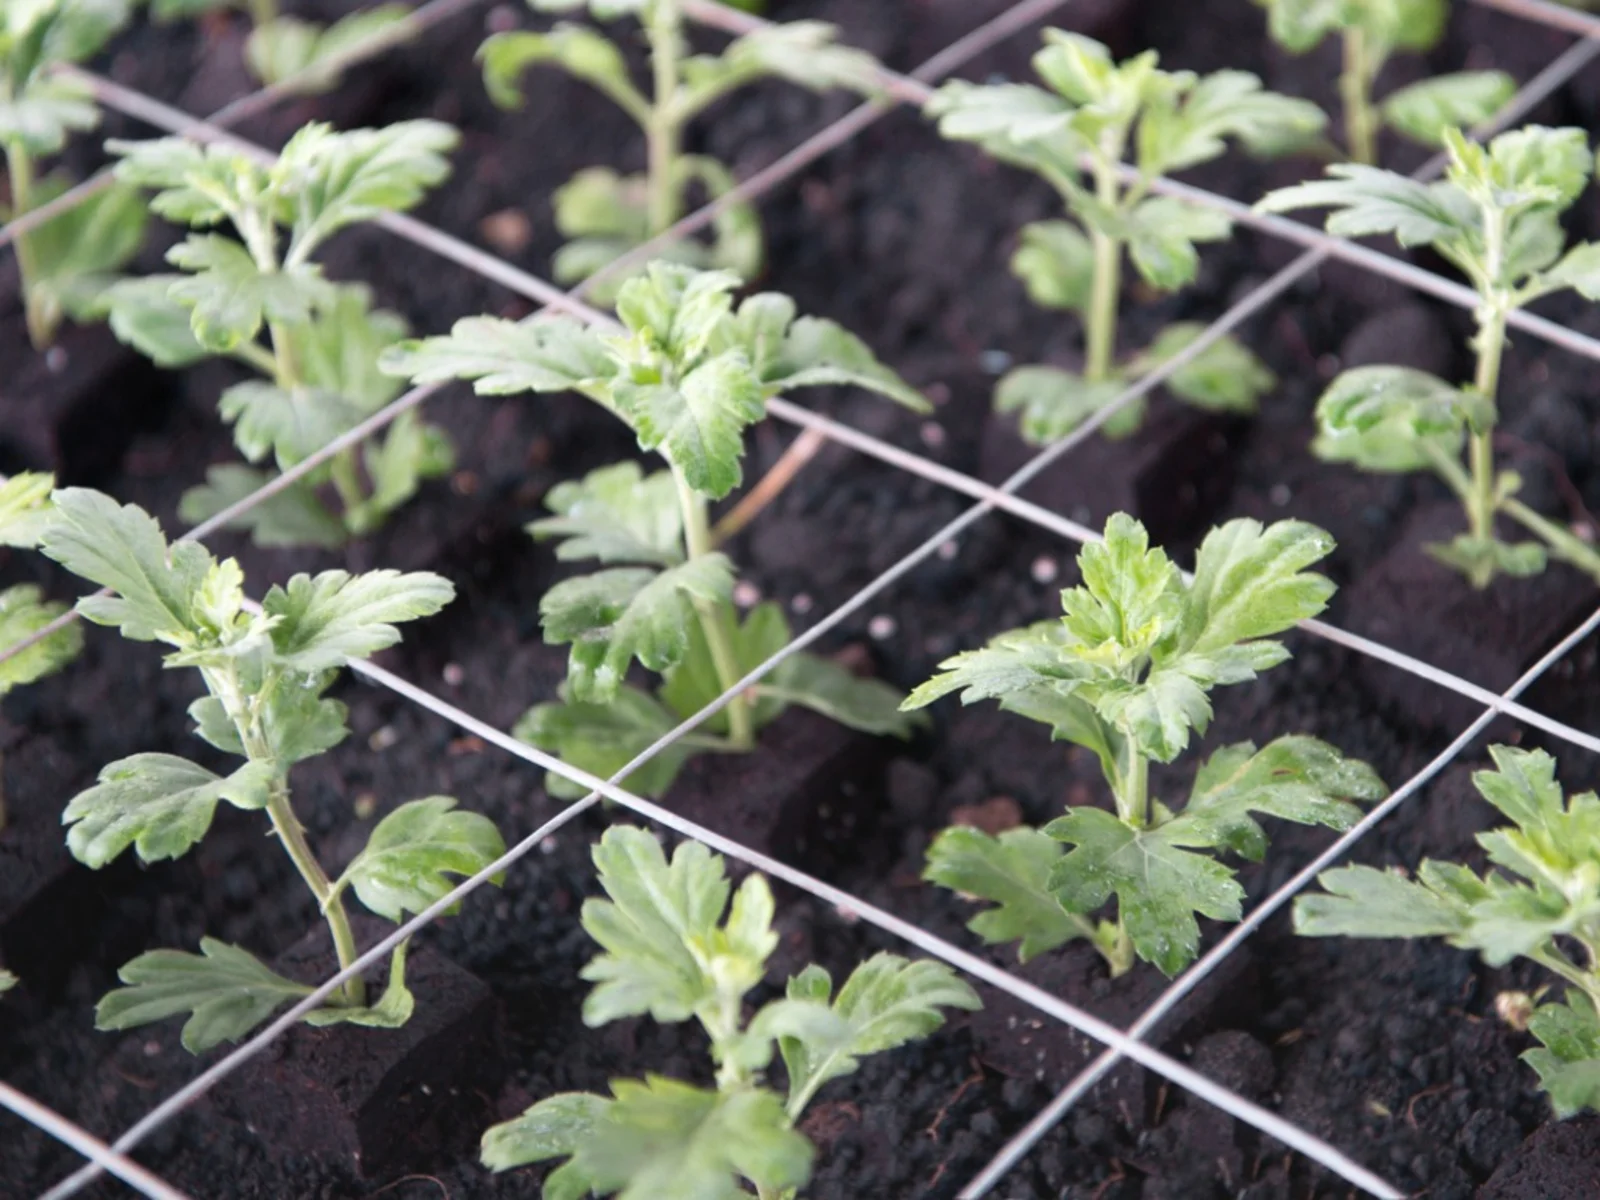
6. Transplanting: Once the seedlings have reached a height of about 2 inches and have developed a few sets of leaves, they are ready for transplanting. Choose a well-prepared garden bed that meets the necessary conditions for mums—well-drained soil and full sunlight.
7. Dig holes and transfer: Dig holes in the garden bed that are slightly larger than the root balls of the seedlings. Gently remove each seedling from its container or tray, being careful not to damage the delicate roots, and place it in the hole. Backfill with soil and lightly pat down around the base of the seedling.
8. Water and mulch: After transplanting, water the newly planted mum seedlings thoroughly to help settle the soil and ensure good root-to-soil contact. Apply a layer of mulch around the plants to help retain moisture, suppress weed growth, and regulate soil temperature.
9. Continued care: Remember to provide regular watering to keep the soil evenly moist but not waterlogged. Monitor for any signs of pests or diseases, and take necessary action if needed. Pinch back the top growth of the mum plants in early summer to encourage bushier growth and more flower buds.
By following these steps, you can successfully plant mum seeds and grow healthy, vibrant mum plants. With proper care and attention, your mum seeds will flourish and reward you with a stunning display of autumn blooms. Next, we will explore the essential aspects of taking care of mum seeds.
Taking Care of Mum Seeds
Proper care is essential for the successful growth and development of mum seeds. By providing the right conditions and meeting their specific needs, you can ensure healthy plants and beautiful blooms. Here are some essential aspects to consider when taking care of mum seeds:
1. Watering: Mums require regular watering to keep the soil moist but not waterlogged. Water deeply, ensuring that the soil is thoroughly soaked. Avoid overhead watering as it can lead to fungal diseases. Instead, water at the base of the plants to keep the foliage dry.
2. Mulching: Apply a layer of organic mulch around the base of the mum plants to help retain soil moisture, regulate temperature, and suppress weed growth. Mulching also helps prevent soil erosion and adds nutrients to the soil as it breaks down.
3. Fertilizing: Mums benefit from regular feeding to promote healthy growth and abundant blooms. Use a balanced slow-release fertilizer or an organic fertilizer specifically formulated for flowering plants. Follow the manufacturer’s instructions for application rates and frequency.
4. Pruning: Regular pruning helps maintain the shape and size of mum plants. Pinch back the tips of the plants when they reach around 6 inches in height to encourage bushier growth. Additionally, remove any dead or diseased foliage to prevent the spread of diseases.
5. Staking: Depending on the mum variety and the height of the plants, staking may be necessary to provide support and prevent the stems from bending or breaking. Use bamboo stakes or plant supports to gently tie the stems to, keeping them upright and stable.
6. Pest and Disease Control: Monitor the mum plants regularly for common pests such as aphids, spider mites, and caterpillars. Use organic pest control methods or insecticidal soap if necessary. Preventing diseases such as powdery mildew can be achieved by promoting good air circulation and avoiding overwatering.
7. Winter Protection: In colder climates, mum plants may require extra protection during the winter months. Apply a layer of mulch or straw around the base of the plants to insulate the roots. You can also cover them with a frost blanket or bring potted mum plants indoors to protect them from freezing temperatures.
By providing proper watering, mulching, fertilizing, pruning, and protection from pests and diseases, you can ensure the health and vitality of your mum plants. With the right care, you will be rewarded with spectacular autumn blooms that will add color and vibrancy to your garden. Next, let’s address some common issues that gardeners may encounter when planting mum seeds.
Common Issues When Planting Mum Seeds
While planting mum seeds can be a rewarding experience, it is not without its challenges. Gardeners may encounter several common issues when planting mum seeds. Understanding these issues and taking appropriate action helps ensure the successful growth of mum plants. Here are some common problems to watch out for:
1. Damping-off: Damping-off is a fungal disease that affects seedlings, causing them to wilt and eventually die. To prevent damping-off, provide proper air circulation, avoid overwatering, and use well-draining soil. Additionally, sanitize containers, trays, and tools to reduce the risk of fungal infection.
2. Root Rot: Overwatering or poorly draining soil can lead to root rot in mum plants. This fungal disease affects the root system, causing root decay and subsequent plant decline. To prevent root rot, ensure that the soil drains well and water the plants only when the top inch of soil feels dry. If root rot is detected, adjust watering practices and consider using fungicides as a last resort.
3. Pest Infestation: Mums may be susceptible to insect pests such as aphids, spider mites, and caterpillars. Regularly inspect the plants for pests and take appropriate measures to control them. This can include using insecticidal soap, introducing beneficial insects, or employing organic pest control methods.
4. Leggy Growth: Insufficient sunlight or overcrowded growing conditions can cause mum plants to develop leggy growth, with elongated stems and sparse foliage. To promote compact growth, provide adequate sunlight, thin out crowded seedlings, and pinch back the growing tips to encourage branching.
5. Insufficient Flowering: If mum plants fail to produce abundant blooms, insufficient sunlight or incorrect pruning may be the culprits. Ensure that the plants receive at least 6 hours of direct sunlight each day, and avoid pruning too late in the season, as this can remove potential flower buds. Proper fertilization and regular deadheading can also promote continuous flowering.
6. Winter Damage: Mums are generally cold-hardy, but severe winter conditions can damage the plants. To protect mum plants during winter, apply a layer of mulch around the base to insulate the roots, and use frost covers or bring potted plants indoors during freezing temperatures.
By being aware of these common issues and taking appropriate preventive measures, you can overcome challenges and ensure the healthy growth of your mum plants. With proper care, your mum seeds will flourish into beautiful, colorful flowers that will bring joy and charm to your garden. In the next section, we will explore the joy of harvesting and enjoying mum flowers.
Harvesting and Enjoying Mum Flowers
Harvesting and enjoying the vibrant blooms of mum flowers is a delightful culmination of your gardening efforts. With proper care and attention, you can ensure that your mum plants produce stunning flowers that bring joy and beauty to your outdoor spaces. Here are some tips for harvesting and enjoying mum flowers:
1. Timing: Harvest mum flowers when they have reached their prime bloom stage. The ideal time to harvest is when the petals have just started to open fully and show their vibrant colors. Avoid harvesting flowers that are fully open or starting to fade, as they may not last as long when cut.
2. Pruning: Use clean and sharp garden shears or scissors to carefully cut the mum flowers from the plant. Cut the stem at a slight angle, about an inch above a set of leaves or nodes. This helps promote new growth and encourages the plant to produce more flowers.
3. Water immediately: Immediately after cutting the mum flowers, place them in a bucket or vase filled with clean water. This helps to prevent wilting and prolongs the vase life of the flowers. Remove any leaves or foliage that may be submerged in the water.
4. Displaying: Arrange the freshly cut mum flowers in a vase or container filled with fresh water. Remove any foliage that may be below the waterline to prevent bacteria growth. Place the vase in a cool location away from direct sunlight and drafts to prolong the flowers’ lifespan.
5. Changing water: To maintain longer vase life, change the water in the vase every two to three days. Trim the ends of the stems slightly before placing them back in the fresh water. This helps to prevent bacterial growth and ensures water uptake by the flowers.
6. Enjoyment: Admire and enjoy the beauty of the mum flowers in your home or outdoor space. Arrange them in various vases or use them as focal points in floral arrangements. Mums also make for lovely gifts or table centerpieces on special occasions.
Remember, mum flowers can last for several days to a couple of weeks, depending on the variety and care provided. Regularly remove any wilted or faded flowers to maintain the freshness of the bouquet. With proper care and timely harvesting, you can appreciate the beauty and longevity of mum flowers throughout the autumn season.
Now that we’ve covered the process of harvesting and enjoying mum flowers, let’s conclude with a wrap-up of the key points covered in this article.
Conclusion
Growing mum plants from seeds can be a fulfilling and rewarding experience for any gardener. By understanding the factors to consider before planting, the best time to sow the seeds, and the steps for proper planting and care, you can ensure the successful growth of these vibrant autumn flowers.
Before planting mum seeds, assess your climate, soil conditions, available space, and specific mum variety requirements. This will help create the best environment for the seeds to thrive. Depending on your region, the best time to plant mum seeds can be in early spring, late spring/early summer, or early fall.
Follow the steps for planting mum seeds, ensuring proper watering, sunlight, and spacing. Taking care of mum seeds involves regular watering, mulching, fertilizing, pruning, and pest control. Pay attention to common issues such as damping-off, root rot, leggy growth, and insufficient flowering, and take appropriate actions to address them.
Once your mum plants are in full bloom, you can harvest the vibrant flowers at their prime and enjoy them in beautiful floral arrangements or as standalone displays. With proper care and timely harvesting, mum flowers can bring joy and beauty to your home and outdoor spaces.
Remember, mum plants are hardy and versatile, making them an excellent choice for seasonal gardening. With attention to detail and a little bit of patience, you can successfully grow these stunning flowers and create an enchanting autumn garden.
So, whether you’re a seasoned gardener or a beginner, consider planting mum seeds and experience the joy of watching them flourish into delightful blooms. Happy gardening!