Home>Gardening Tips and Tricks>Problem Solving>How To Keep Bugs Out Of Compost Bin
Problem Solving
How To Keep Bugs Out Of Compost Bin
Modified: January 22, 2024
Learn effective ways to solve the problem of bugs in your compost bin and keep your compost pile healthy and pest-free.
(Many of the links in this article redirect to a specific reviewed product. Your purchase of these products through affiliate links helps to generate commission for Chicagolandgardening.com, at no extra cost. Learn more)
Table of Contents
Introduction
Composting is an eco-friendly and sustainable way to manage organic waste, reduce landfill waste, and create nutrient-rich soil for your plants and garden. However, one common challenge that composters encounter is keeping bugs out of their compost bins. When unwanted critters invade your compost, it can cause odor issues, slow down the composting process, and even spread diseases.
In this article, we will explore effective methods to keep bugs out of your compost bin so that you can maintain a healthy and hassle-free composting system. By implementing these strategies, you will not only protect your compost but also create high-quality compost that will nourish your plants and garden.
Before we delve into the solutions, it’s essential to understand that not all bugs in your compost are harmful. In fact, many insects play a vital role in the decomposition process and contribute to the overall health of your compost. However, the goal is to find a balance between beneficial insects and those that may disrupt the composting process or become a nuisance in your garden.
By following the steps outlined in this article, you can create an environment in your compost bin that discourages pest infestations while allowing the beneficial organisms to thrive. Let’s explore these steps in detail to help you keep bugs out of your compost bin.
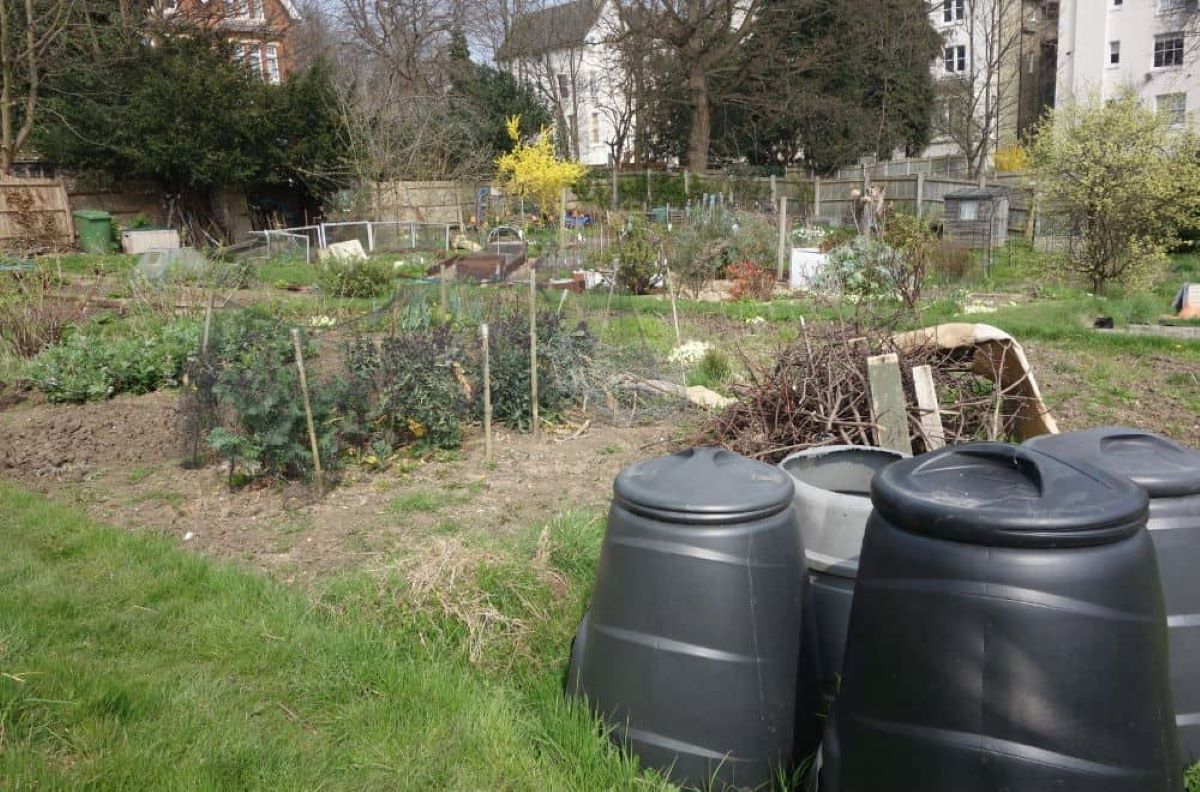
Choosing the Right Location
When it comes to keeping bugs out of your compost bin, selecting the right location is crucial. By choosing an optimal spot, you can minimize the risk of attracting unwanted pests and maximize the decomposition process. Here are some factors to consider when deciding where to place your compost bin:
- Sunlight: Find a spot that receives adequate sunlight. Sunlight helps in heating up the compost, which accelerates the decomposition process and creates an inhospitable environment for pests.
- Drainage: Ensure that the location has proper drainage to prevent excess moisture buildup. Moist conditions can attract insects like gnats and mosquitoes, which may hinder the composting process.
- Proximity: Place the compost bin away from your home and living areas to minimize the risk of pests finding their way indoors. Keeping a distance also helps to prevent any unpleasant smells from reaching your living spaces.
- Accessibility: Choose a location that is easily accessible for adding materials and turning the compost. The convenience of access will encourage you to regularly maintain and manage the compost pile, which is crucial for preventing pest infestations.
- Consideration for neighbors: If you live in close proximity to neighbors, be mindful of the potential smell that can emanate from the compost. Place the bin in a location that is considerate of your neighbors’ comfort.
By carefully selecting the location for your compost bin, you can create an environment that discourages pests and promotes successful composting. Once you have found the ideal spot, move on to the next steps to build or purchase a compost bin.
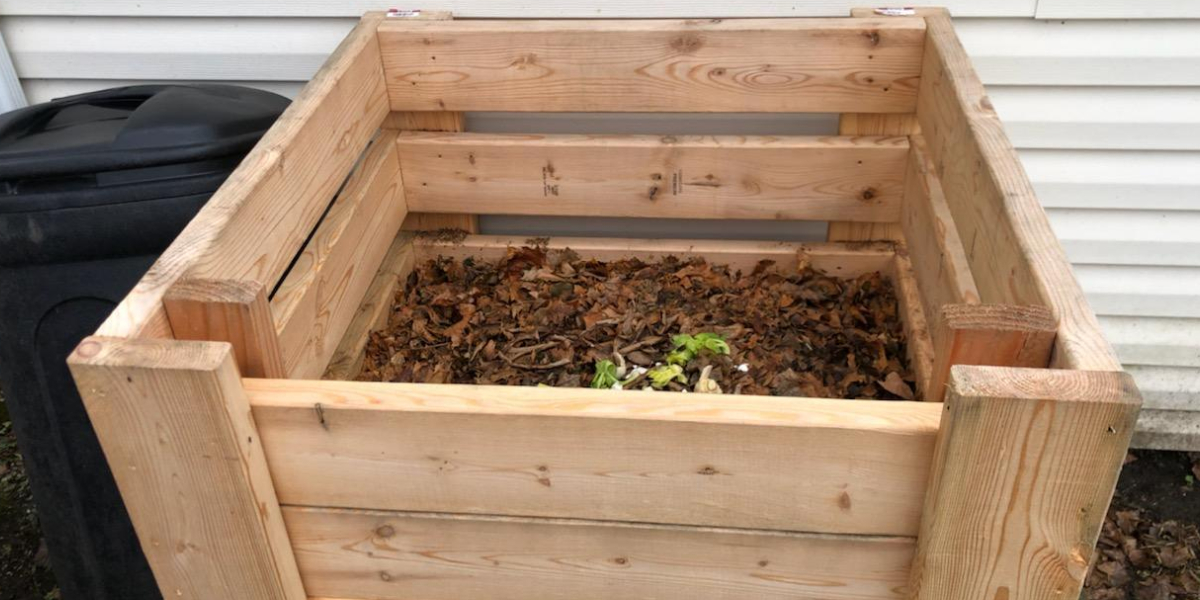
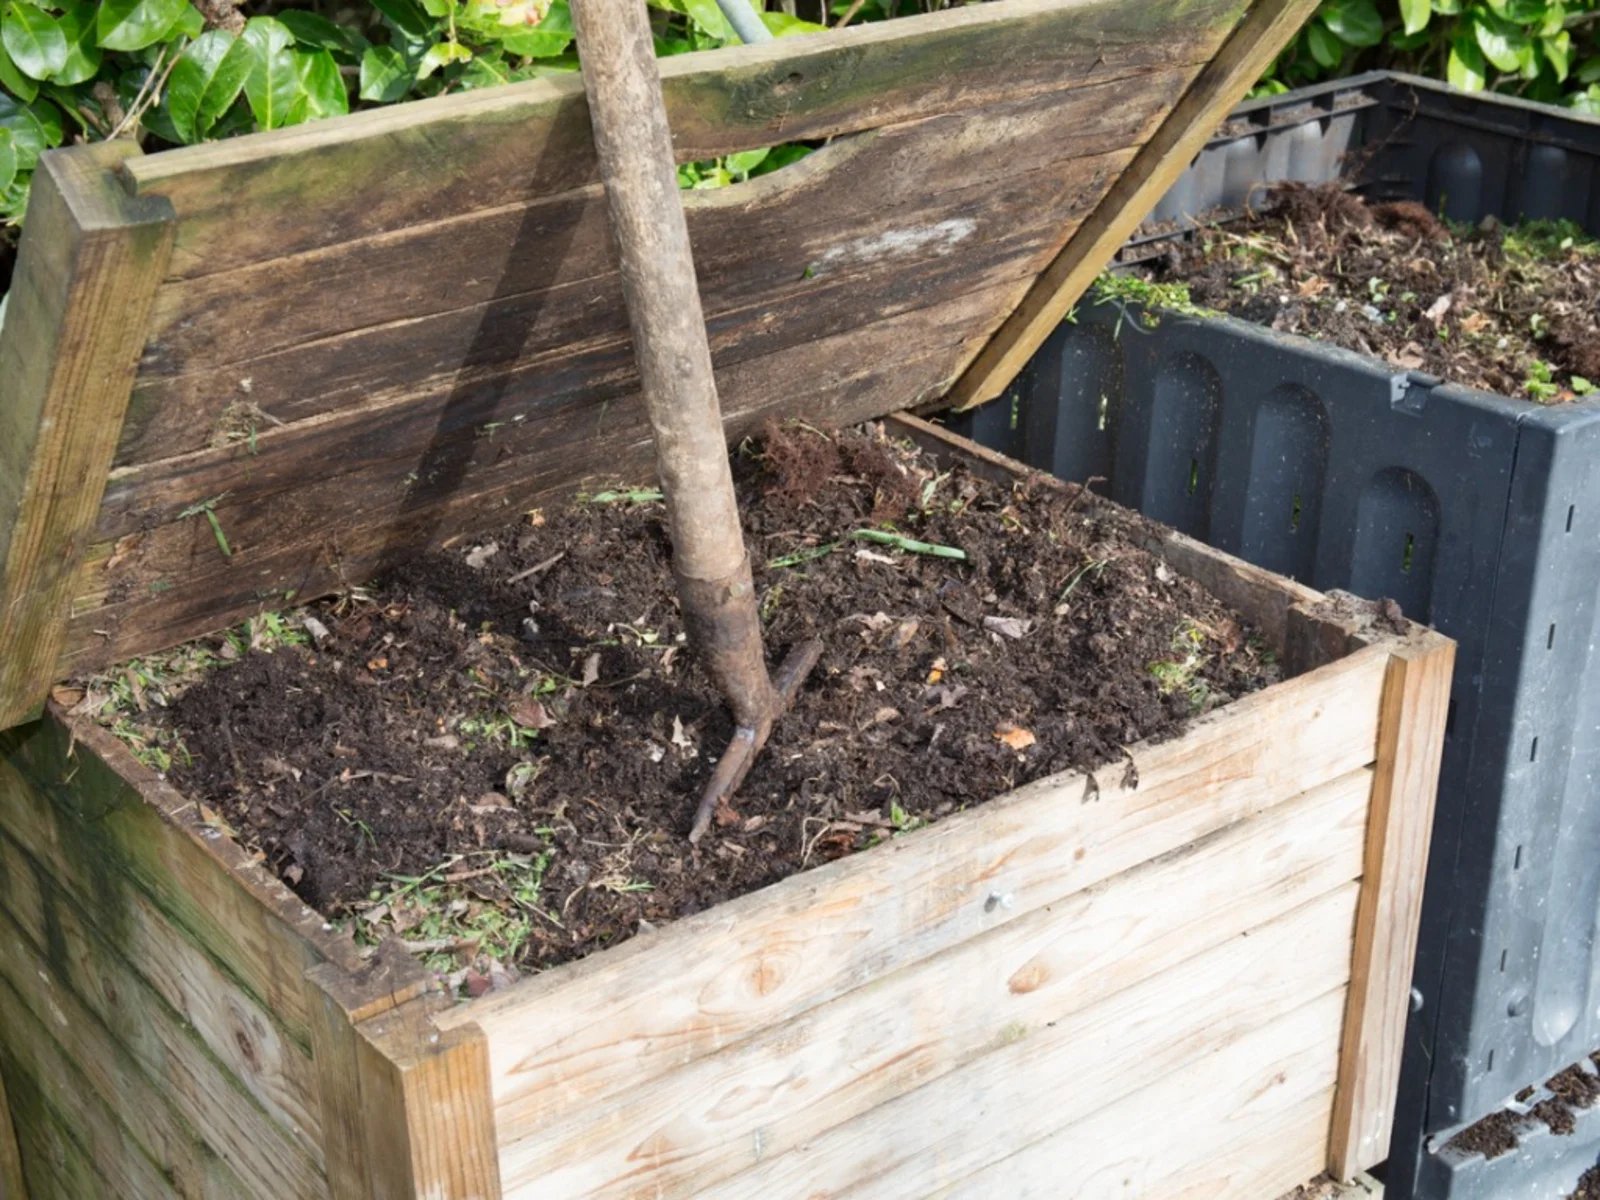
Building or Purchasing a Compost Bin
Once you have chosen the right location for your compost bin, the next step is to decide whether you will build your own or purchase a compost bin. There are various options available, each with its own advantages and considerations:
- DIY Bin: Building your own compost bin allows you to customize the size and design to suit your specific needs. Some common DIY options include using wooden pallets, wire mesh, or even repurposing old containers like barrels. Make sure the materials used are untreated and able to withstand the decomposition process.
- Ready-made Bin: If you prefer convenience or lack the tools and skills for building a compost bin, purchasing one can be a great option. There is a wide range of compost bins available, including tumblers, enclosed bins, and stackable models. Consider factors such as capacity, ventilation, and ease of use when selecting a bin.
- Considerations: Regardless of whether you build or buy a compost bin, some key considerations apply. Ensure that the bin has sufficient airflow to prevent anaerobic conditions, which can attract pests. It should also have a lid or cover to keep out rainwater and unwanted animals. Additionally, the bin should be sturdy and secure, preventing animals from accessing the compost and causing a mess.
By having a well-designed and appropriately sized compost bin, you create a controlled environment that deters pests and promotes efficient decomposition. The next step is to learn about proper layering techniques to optimize the composting process.
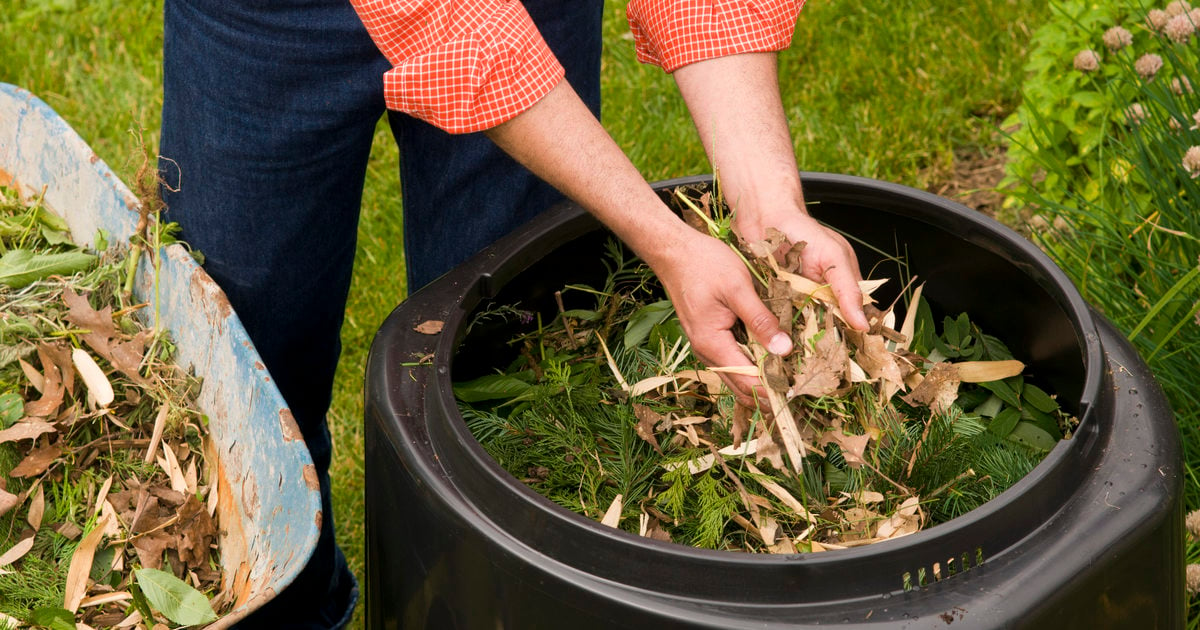
Proper Layering
Proper layering is a critical aspect of successful composting and plays a significant role in deterring bugs from infesting your compost bin. By layering your compost materials effectively, you create the right balance of carbon-rich “browns” and nitrogen-rich “greens.” This balance not only enhances the decomposition process but also minimizes the attraction of pests. Here’s how to achieve proper layering:
- Browns: Start your compost bin with a layer of carbon-rich materials, also known as “browns.” These include items such as dried leaves, straw, shredded newspaper, cardboard, and wood chips. Browns provide structure, absorb moisture, and help to prevent odors that may attract pests.
- Greens: On top of the brown layer, add nitrogen-rich materials, often referred to as “greens.” These include fresh grass clippings, fruit and vegetable scraps, coffee grounds, and garden trimmings. Greens provide essential nutrients for the decomposition process and help to maintain the optimal moisture level.
- Alternating Layers: Continue alternating layers of browns and greens throughout the composting process. Aim for a ratio of roughly three parts browns to one part greens to ensure proper balance. Avoid adding too much of one material at once, as this can lead to odors and attract pests.
- Avoid Meat and Dairy: It’s important to note that while composting, avoid including meat, dairy products, and fatty or oily items. These can attract pests, including rodents and flies, that may be difficult to discourage once they infest your compost bin.
- Break Down Larger Items: To encourage faster decomposition and prevent pests from nesting, break down larger materials into smaller pieces. This helps create an even distribution of materials and reduces the risk of clumping or compacting in the compost pile.
By following these layering techniques, you create a well-balanced compost pile that minimizes the risk of attracting bugs. The next step is to maintain proper moisture levels in your compost bin to ensure a healthy and thriving environment.
Maintaining Moisture Levels
Maintaining proper moisture levels in your compost bin is crucial for the decomposition process and for deterring bugs. The ideal moisture range for composting is around 40-60%. When the compost is too dry, decomposition slows down, and the materials become less appealing to beneficial organisms. On the other hand, excessive moisture can create anaerobic conditions and attract pests like gnats and mosquitoes. Here are some tips for keeping the moisture levels in check:
- Watering: If your compost is too dry, water it using a watering can or hose with a fine spray attachment. Aim to moisten the materials evenly, ensuring that they are damp but not soaked.
- Monitoring: Regularly check the moisture levels in your compost by grabbing a handful and squeezing it lightly. It should feel similar to a damp sponge, where water is released but no excess liquid is present.
- Adjusting: If the compost is too wet, add dry materials like shredded newspaper or straw to absorb excess moisture. Alternatively, you can turn the compost to improve aeration and aid in drying out any damp areas.
- Covering: Use a cover or lid on your compost bin to protect it from excessive rainfall. This will help prevent the compost from becoming saturated and avoid creating a breeding ground for pests.
- Avoiding Overwatering: Be cautious not to overwater your compost. Excessively moist conditions can lead to foul odors and attract pests. If you notice a strong odor, it may be an indication of poor drainage or overly wet compost.
By maintaining the right moisture levels, you create an environment that supports the decomposition process while discouraging pests. Regularly monitor and adjust the moisture as needed to ensure the optimal conditions for composting.
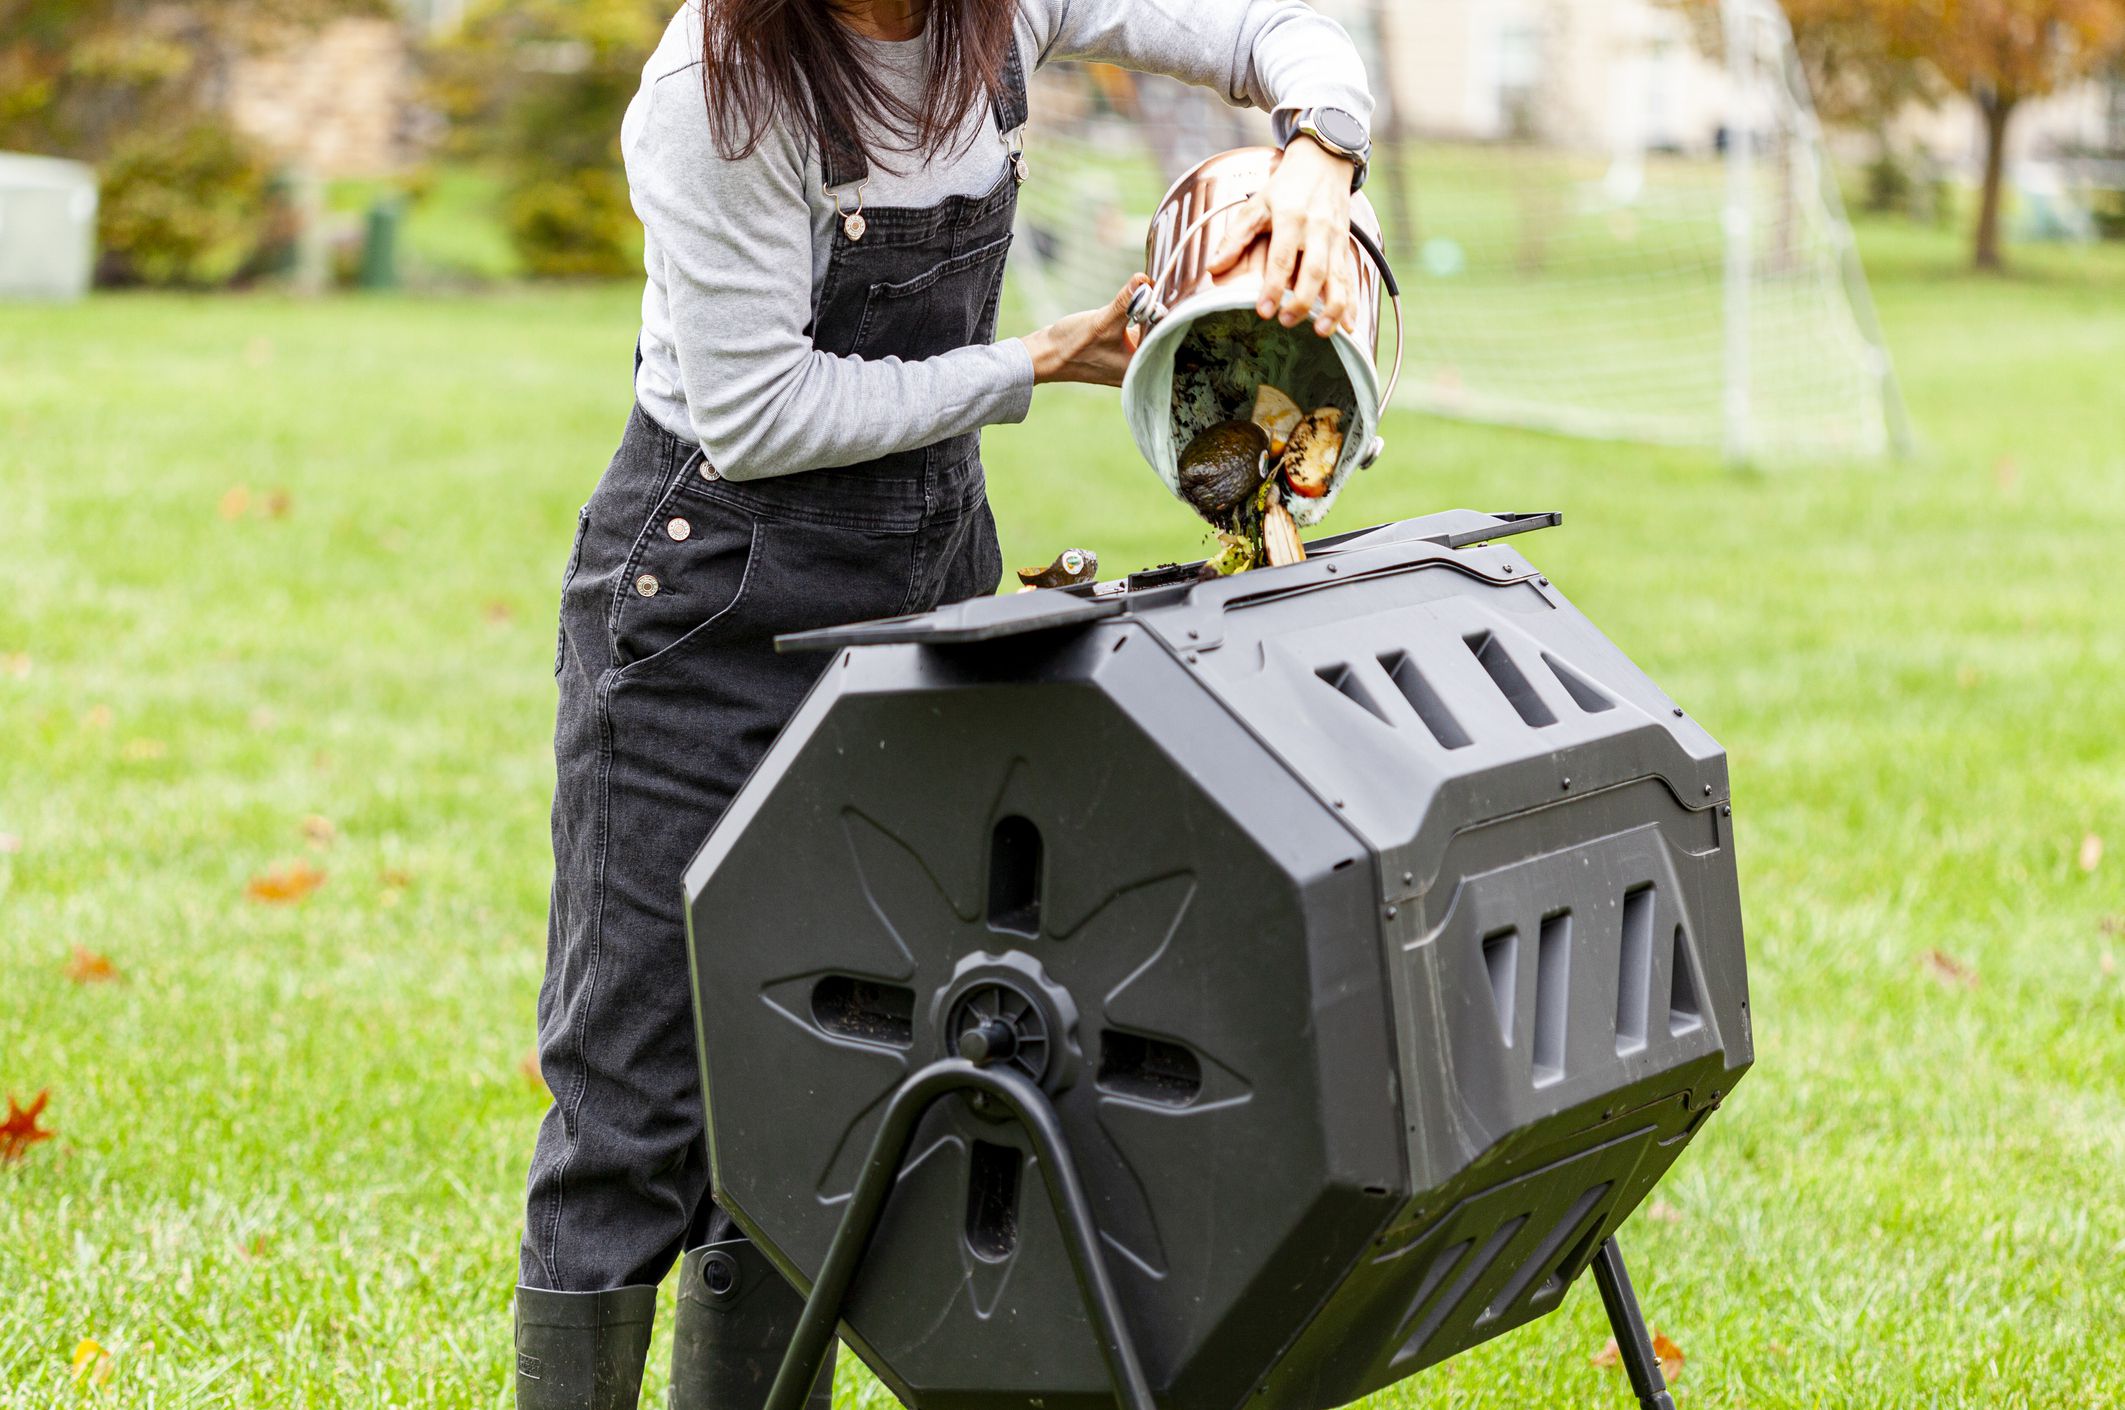
Turning and Mixing the Compost
Turning and mixing your compost regularly is a crucial step in the composting process. It helps to aerate the pile, distribute moisture and nutrients evenly, and accelerate decomposition. It also plays a significant role in deterring bugs by disturbing their habitats and creating an inhospitable environment. Here’s how to effectively turn and mix your compost:
- Frequency: Aim to turn your compost every 1-2 weeks. However, the frequency may vary depending on various factors such as the size of your compost bin, the materials used, and the weather conditions.
- Tools: To turn your compost, you can use a pitchfork, garden spade, or compost aerator. These tools allow you to break up clumps, mix the materials thoroughly, and introduce fresh air into the pile.
- Layer Alternation: While turning, make sure to alternate the layers of browns and greens. Mixing them together ensures uniform decomposition and prevents any over-concentration of materials that may attract pests.
- Moisture Check: As you turn the compost, assess the moisture levels. If it feels too dry, sprinkle some water to moisten it. If it feels too wet, add dry materials to absorb excess moisture.
- Mixing from Outside to Inside: When turning the compost, start from the outside edges and work your way towards the center. This helps to incorporate the outer, less decomposed materials with the more decomposed center, ensuring an even breakdown of organic matter.
- Breaking Down Large Materials: During the turning process, break down any larger materials and mix them into the rest of the compost. This promotes faster decomposition and discourages pests from nesting in undecomposed chunks.
Regularly turning and mixing your compost not only helps to deter bugs but also creates a well-aerated and nutrient-rich environment for decomposition. The next step is to manage the temperature of your compost pile.
Managing Temperature
Properly managing the temperature of your compost pile is essential for efficient decomposition and deterring bugs. The decomposition process is most effective within a specific temperature range, which promotes the activity of beneficial organisms and helps to suppress pests. Here are some tips for managing the temperature of your compost:
- Optimal Temperature: The ideal temperature range for composting is between 120°F to 160°F (49°C to 71°C). Within this range, decomposition occurs rapidly, and harmful pathogens are destroyed. Use a compost thermometer to monitor the temperature regularly.
- Turning for Heat: Regularly turning and mixing the compost pile helps to generate heat. Turning the pile introduces oxygen, which increases microbial activity and raises the temperature. Aim to turn the pile when the temperature begins to drop below the optimal range.
- Insulation: Insulating the compost pile can help to maintain a consistent temperature. You can use materials such as straw, leaves, or a layer of plastic to trap heat within the pile. However, ensure that there is still adequate airflow to prevent anaerobic conditions.
- Adjusting Moisture Level: Moisture plays a crucial role in regulating temperature. If the compost pile is too dry, it may not generate enough heat. On the other hand, excessive moisture can lead to cooling and anaerobic conditions. Maintaining the appropriate moisture level discussed earlier will help to manage the temperature effectively.
- Location Considerations: The location of your compost bin can also influence the temperature. Placing the bin in a sunny spot will naturally help to raise the temperature, while a shaded area may keep the pile cooler.
- Pile Size: The size of your compost pile can affect the temperature. Larger piles tend to retain heat better than smaller ones. If possible, aim for a compost pile that is at least 3 feet in both height and width.
By managing the temperature within the optimal range and creating the right conditions for decomposition, you can discourage pests and promote the breakdown of organic matter. The next step is to cover your compost pile to further protect it from pests and other external factors.
Covering the Compost Pile
Covering your compost pile is an important step in protecting it from pests, maintaining moisture levels, and facilitating the decomposition process. A cover helps to create a controlled environment within the compost pile, preventing pests from accessing and disrupting the composting materials. Here are some considerations when covering your compost pile:
- Types of Covers: There are various options for covering your compost pile, depending on your preferences and resources. Some common covers include tarps, old carpet pieces, plywood, or specially designed compost bin lids. Choose a cover that is durable, resistant to weather conditions, and adequately sized to fit your compost pile.
- Moisture Retention: A cover helps to retain moisture within the compost pile by preventing excessive evaporation caused by sun and wind exposure. This helps to maintain the optimal moisture levels for decomposition and prevents the compost from drying out, which can attract pests.
- Temperature Regulation: Covering the compost pile can also help regulate the temperature. The cover traps heat generated by the decomposition process, creating a warmer environment within the pile. This contributes to faster decomposition and discourages pests that prefer cooler temperatures.
- Pest Protection: The primary function of a cover is to protect the compost pile from pests such as flies, rodents, and other scavenging animals. By keeping the compost materials completely covered, you reduce the likelihood of attracting pests and prevent them from entering and infesting the pile.
- Proper Ventilation: While it is important to cover the compost pile, ensure that there is still adequate ventilation. Poor airflow can lead to anaerobic conditions, foul odors, and the attraction of unwanted bugs. You can achieve proper ventilation by leaving small gaps or using covers with air vents.
- Securing the Cover: Make sure to secure the cover in place to prevent it from being blown away by strong winds or disturbed by animals. Use weights, bungee cords, or clips to keep the cover securely fastened to the compost bin.
By covering your compost pile, you create a protected and controlled environment that deters pests, maintains moisture levels, and enhances the overall composting process. The next step is to learn about the harvesting and usage of your finished compost.
Harvesting and Using the Compost
Harvesting and using the compost is the final step in the composting process. Once your compost has reached a rich, dark, and crumbly texture, it is ready to be harvested and applied to your garden or plants. Here’s how to effectively harvest and utilize your compost:
- Timing: Allow sufficient time for the composting process to complete. This can typically range from a few months to a year, depending on various factors such as the materials used, environmental conditions, and regular turning and maintenance.
- Harvesting Methods: There are a few methods you can use to harvest your compost. One option is to remove the finished compost from the bottom of the pile by using a garden fork or shovel. Alternatively, you can screen the compost to separate the fully decomposed material from any remaining larger pieces.
- Storage: Once you have harvested the compost, store it in a covered container or bin to protect it from moisture and pests until you are ready to use it. Proper storage will ensure the quality of your compost remains intact.
- Application: Use your compost to enrich your soil and improve the health of your plants and garden. Spread a layer of compost over your garden beds, around trees and shrubs, or mix it into potting soil for container gardening. The nutrients and beneficial microorganisms in the compost will provide a natural boost to your plants.
- Top Dressing: For existing plants, consider top-dressing them with compost. Gently rake the compost around the base of the plants, taking care not to bury the stems. This will provide a slow release of nutrients over time and improve soil structure.
- Amendment and Mulch: You can also incorporate compost as an amendment to improve poor-quality soils or use it as mulch. Apply a thick layer of compost on top of the soil to help retain moisture, suppress weed growth, and provide a gradual release of nutrients as it breaks down.
By harvesting and using your compost, you close the cycle of organic waste, enrich your soil, and promote a healthy and sustainable gardening practice. Now that you have completed the composting process, let’s address some troubleshooting techniques and prevention methods to address any potential pest infestations.
Troubleshooting and Preventing Pest Infestations
While composting, you may encounter occasional pest infestations that can disrupt the process and cause frustration. Fortunately, there are several troubleshooting techniques and preventive measures you can take to address these issues. Here’s what you can do:
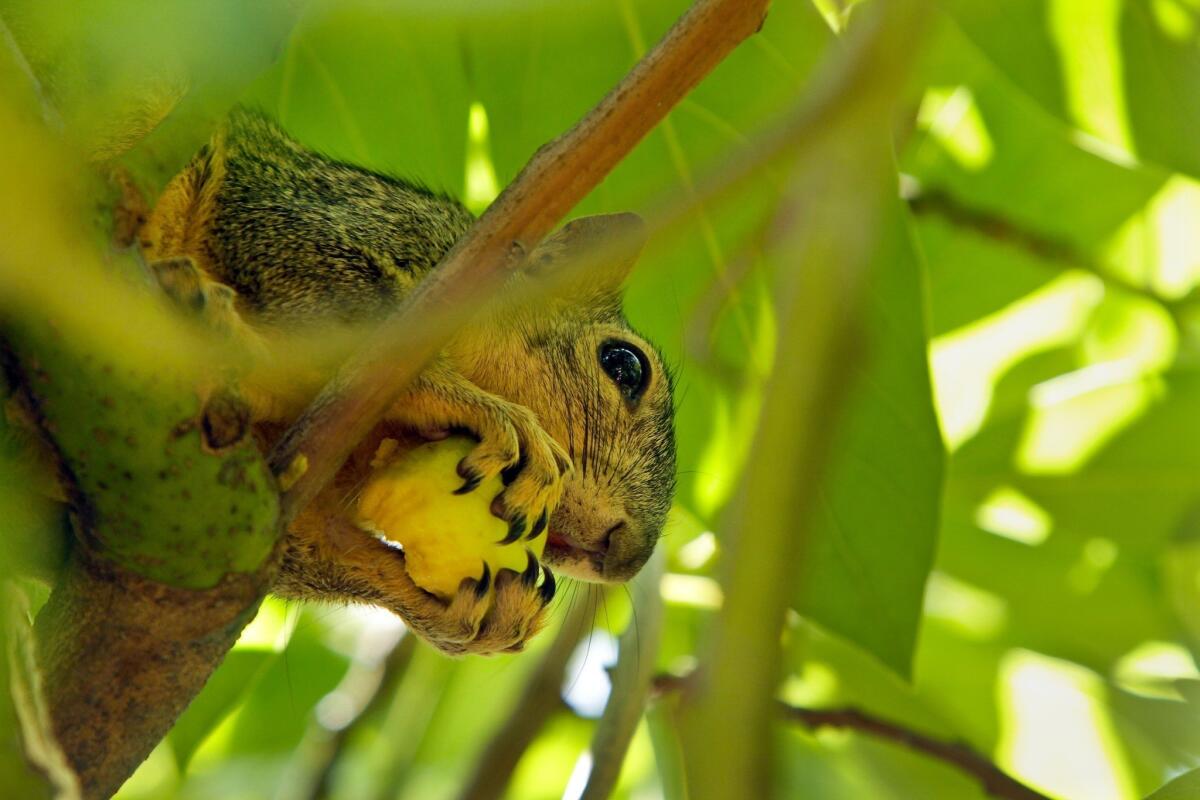
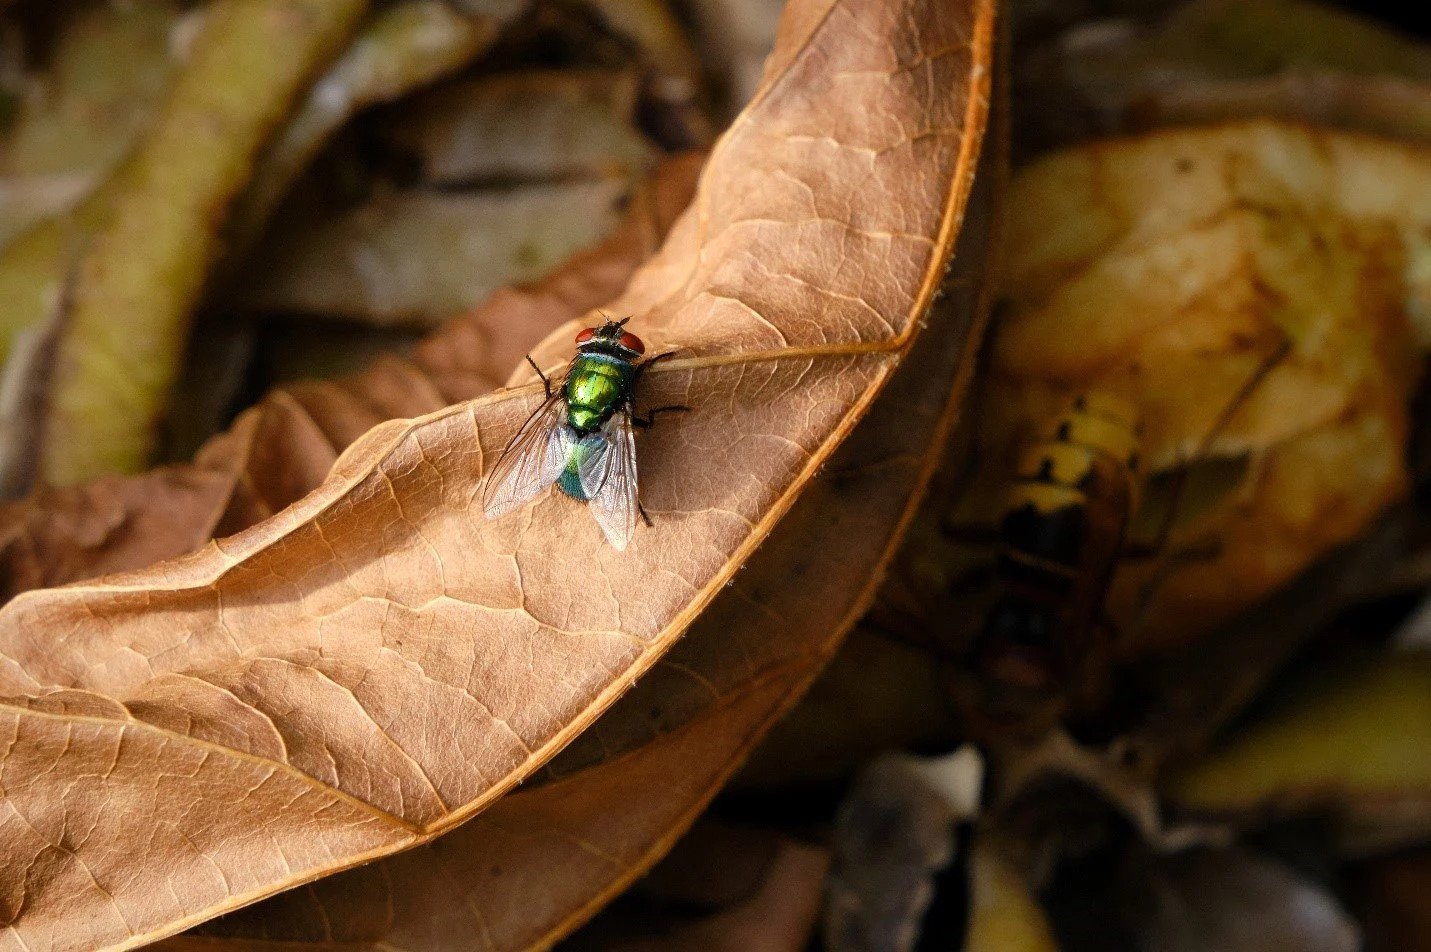
- Identify the Pest: First, identify the specific pest causing the infestation. This will help determine the most appropriate solution. Common pests in compost bins include fruit flies, gnats, rodents, and ants.
- Adjusting the Ratio: If your compost pile is attracting pests, it may be due to an imbalance in the carbon-nitrogen ratio. Adjusting the ratio by adding more browns or greens can help restore balance and discourage pests.
- Proper Covering: Ensure that your compost pile is adequately covered to prevent pests from accessing the compost. Use a tight-fitting lid or cover and secure it properly to keep pests out.
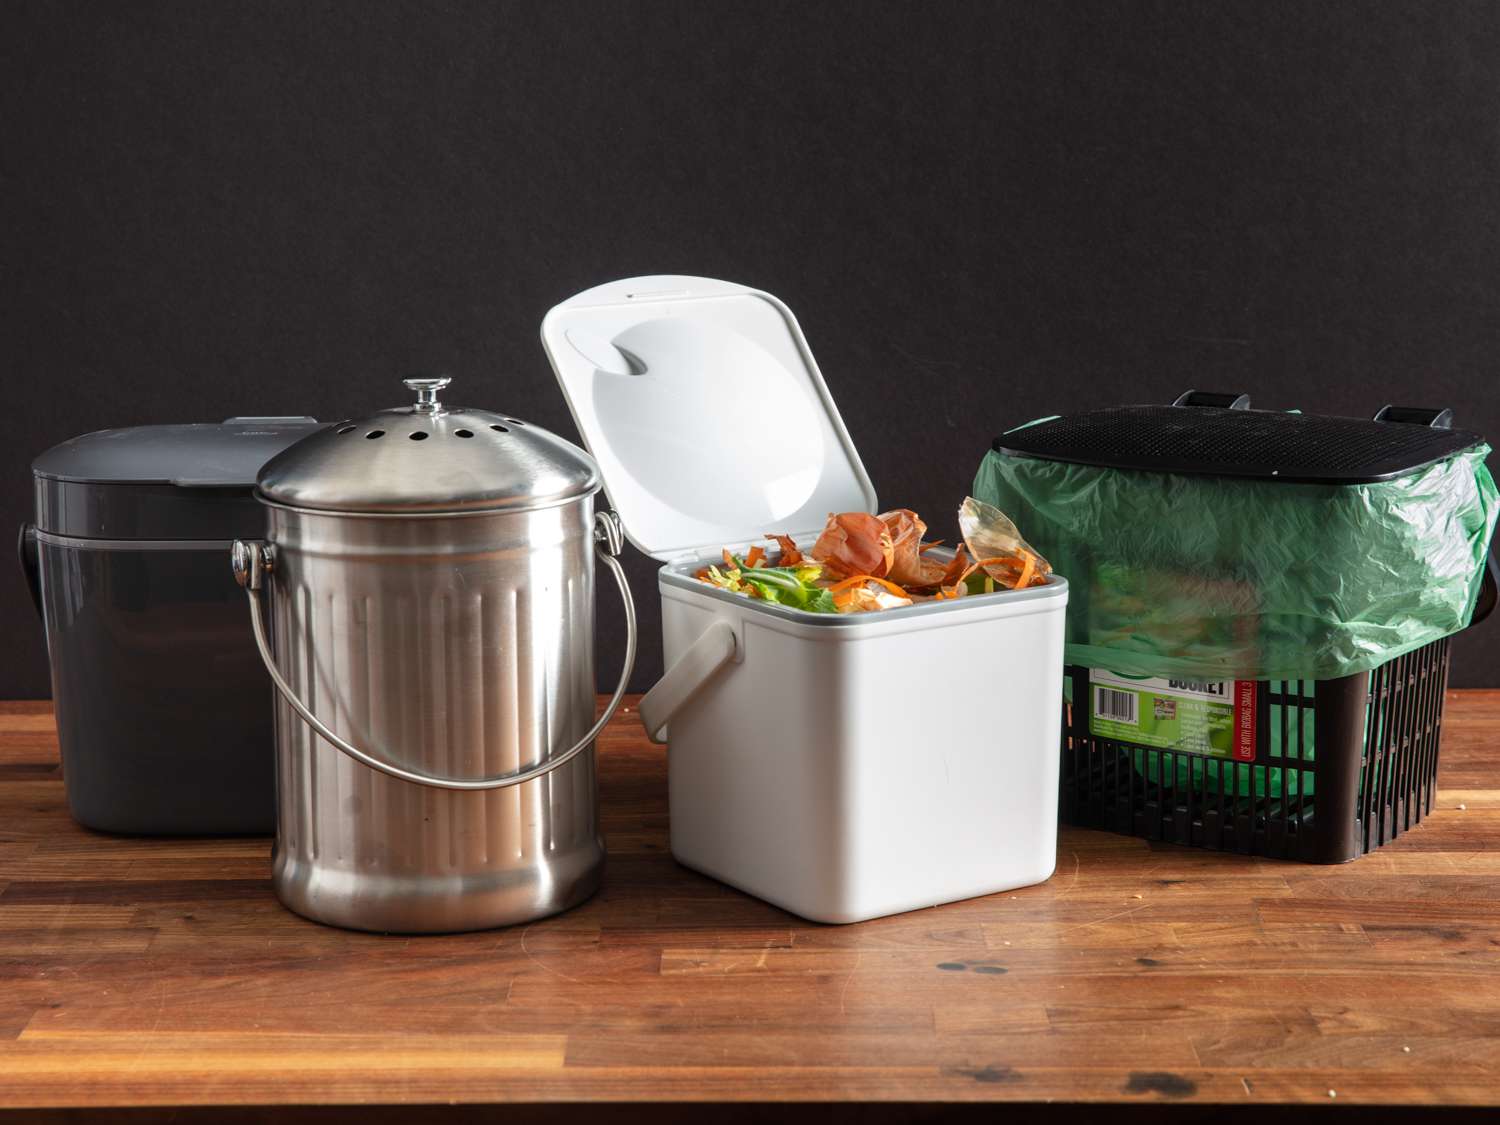
- Avoiding Food Scraps: If fruit flies or gnats are a problem, limit or avoid adding food scraps to your compost pile. Instead, consider composting them using other methods such as vermicomposting.
- Regular Turning: Turning your compost regularly disrupts pest habitats and discourages infestations. Ensure that you mix the materials thoroughly during the turning process to expose any pests to aerobic conditions, which can hinder their survival.
- Remove Unwanted Visitors: If you notice any pests in your compost pile, physically remove them and dispose of them away from the composting area.
- Avoiding Overwatering: Excessive moisture can attract pests, including gnats and mosquitoes. Ensure that you are maintaining the proper moisture levels discussed earlier and avoiding overwatering the compost pile.
- Secure the Surrounding Area: Take measures to secure the surrounding area of your compost bin. Seal any cracks or openings, and consider using wire mesh or hardware cloth beneath the bin to prevent rodents from burrowing into the compost.
- Regular Maintenance: Maintaining a well-maintained compost pile is key to preventing pest infestations. Regularly monitor the temperature, moisture levels, and overall health of the compost to catch and address any issues early on.
By troubleshooting and implementing preventive measures, you can effectively deter pests and maintain a healthy composting environment. With proper management and care, your compost bin will become a thriving ecosystem of beneficial organisms that contribute to sustainable gardening practices.
Conclusion
Composting is a rewarding and environmentally friendly way to manage organic waste and create nutrient-rich soil for your plants and garden. However, keeping bugs out of your compost bin can be a common challenge. By following the methods and strategies outlined in this article, you can effectively deter pests and maintain a healthy composting system.
Choosing the right location for your compost bin, whether it’s a DIY build or a purchased one, sets the foundation for success. Proper layering techniques ensure the right balance of carbon-rich browns and nitrogen-rich greens, while regular turning and mixing promote aeration and deter pests. Managing the moisture levels, temperature, and covering the compost pile further create an environment that is unfavorable to pests.
When it comes to harvesting and using your compost, timing is key. Harvesting the finished compost and applying it to your garden beds, as a top dressing, or as a soil amendment helps to nourish your plants and improve soil health. Finally, by troubleshooting and taking preventive measures to address pest infestations, you can maintain a pest-free composting system.
Remember, composting is a continuous learning process, and it takes time and patience to master. By incorporating these techniques and strategies into your composting routine, you can reap the benefits of producing nutrient-rich compost while minimizing the risk of pest infestations.
So, roll up your sleeves, set up your compost bin, and embark on your composting journey. Not only will you be reducing waste and providing valuable resources for your garden, but you will also be contributing to a more sustainable and eco-friendly lifestyle.