Home>Types of Gardening>Edible Gardening>How To Make An Easy Hydroponics System
Edible Gardening
How To Make An Easy Hydroponics System
Published: September 7, 2023
Learn how to create your own easy hydroponics system for edible gardening. Grow fresh and organic produce without soil using this step-by-step guide.
(Many of the links in this article redirect to a specific reviewed product. Your purchase of these products through affiliate links helps to generate commission for Chicagolandgardening.com, at no extra cost. Learn more)
Table of Contents
Introduction
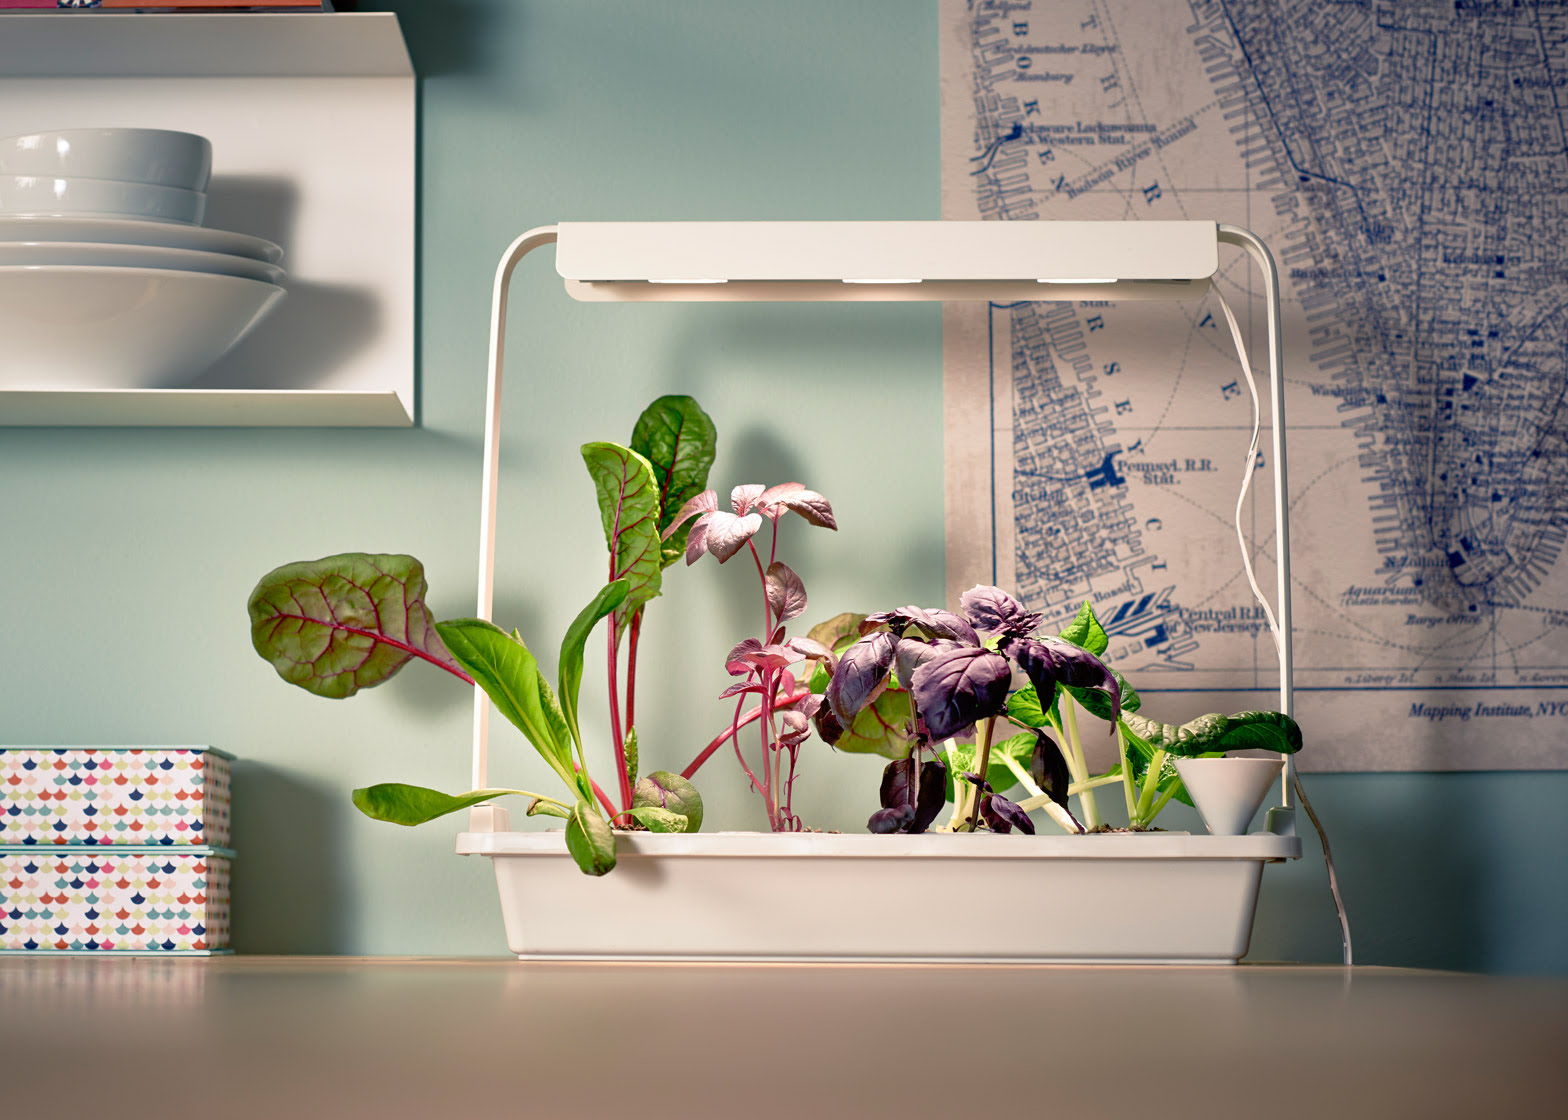
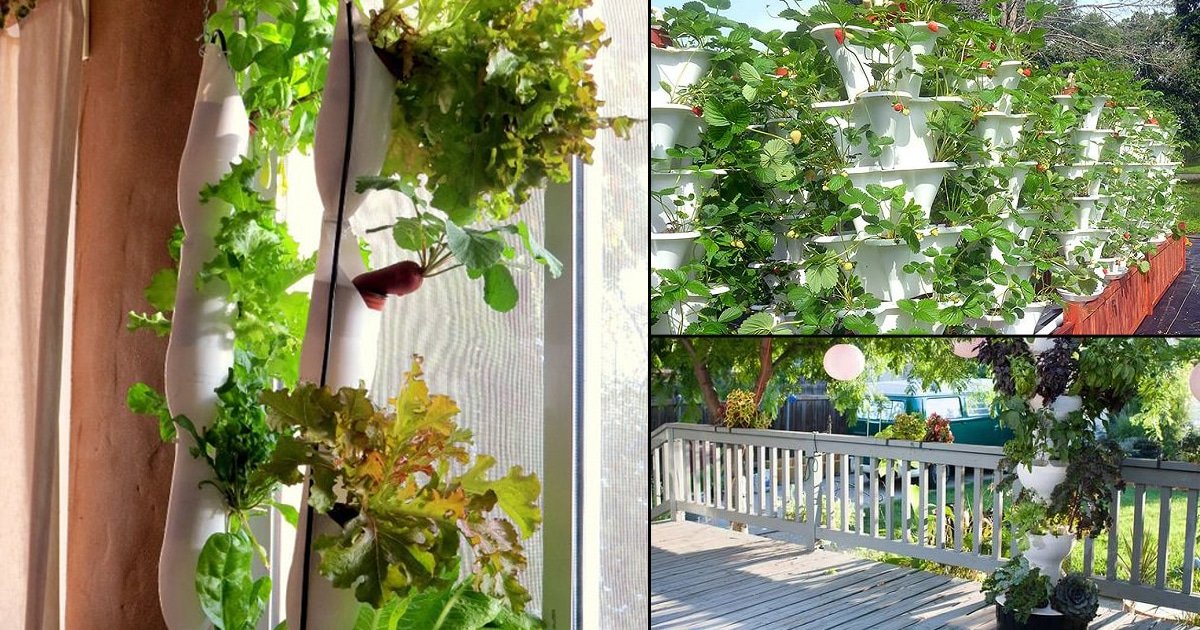
Welcome to the world of edible gardening! Whether you have a spacious backyard or a small balcony, growing your own food can be a rewarding and sustainable practice. One popular method of gardening is through hydroponics, which involves growing plants without soil by using a nutrient-rich water solution. Not only does hydroponics allow for year-round gardening, but it also conserves water and space.
In this article, we will guide you through the process of creating an easy hydroponics system that you can set up at home. No prior gardening experience is required, and the materials needed are readily available. By following these steps, you can enjoy a bountiful harvest of fresh and delicious vegetables, herbs, and fruits.
Before we get started, it’s essential to understand the benefits of hydroponics. Firstly, hydroponic gardening is highly efficient, using up to 90% less water compared to traditional soil-based gardening. This makes it an excellent option in regions with limited water resources. Secondly, hydroponics allows for precise control over nutrient levels, pH levels, and lighting conditions, giving plants the ideal environment to thrive. Finally, since hydroponics eliminates the need for soil, it reduces the risk of pests, diseases, and weed infestations.
Now that we have a basic understanding of hydroponics and its advantages, let’s dive into the step-by-step process of creating your own hydroponics system. Get ready to embark on an exciting journey of growing your own fresh and nutrient-rich produce!
Materials Needed
Before you begin constructing your hydroponics system, gather the following materials:
- A container: Choose a large container that can hold the plants and their roots. It can be a plastic storage bin, a fish tank, or even repurposed household items.
- Growing medium: Select a suitable growing medium for your plants. Common options include perlite, coconut coir, vermiculite, or Rockwool cubes.
- A reservoir: You will need a separate container to hold the nutrient solution for your plants. It should be large enough to accommodate the water and allow for easy access.
- Nutrient solution: Purchase a hydroponic nutrient solution that is specifically designed for the type of plants you plan to grow. These solutions contain the necessary minerals and nutrients required for plant growth.
- A water pump: To circulate the nutrient solution, you will need a water pump. Choose a pump that is suitable for the size of your system and has adjustable flow settings.
- Tubing and fittings: Select tubing and fittings to connect the water pump to the container and distribute the nutrient solution evenly to the plants.
- Plant containers: Depending on the size of your plants, choose appropriate containers to house them in the hydroponics system. These can be net pots, cups, or even recycled containers with holes drilled at the bottom.
- pH testing kit: To monitor the pH levels of your nutrient solution, invest in a pH testing kit. This will help ensure that the solution remains within the optimal range for plant growth.
- Light source: If your hydroponics system is indoors or in an area with limited natural sunlight, you will need a suitable light source. LED grow lights are energy-efficient and provide the necessary spectrum for plant photosynthesis.
- Seeds or seedlings: Finally, choose the plants you want to grow in your hydroponics system. Start with seedlings or seeds and provide them with the appropriate care and attention to ensure successful growth.
Now that you have gathered all the necessary materials, let’s move on to the step-by-step process of creating your hydroponics system.
Step 1: Choosing a Container
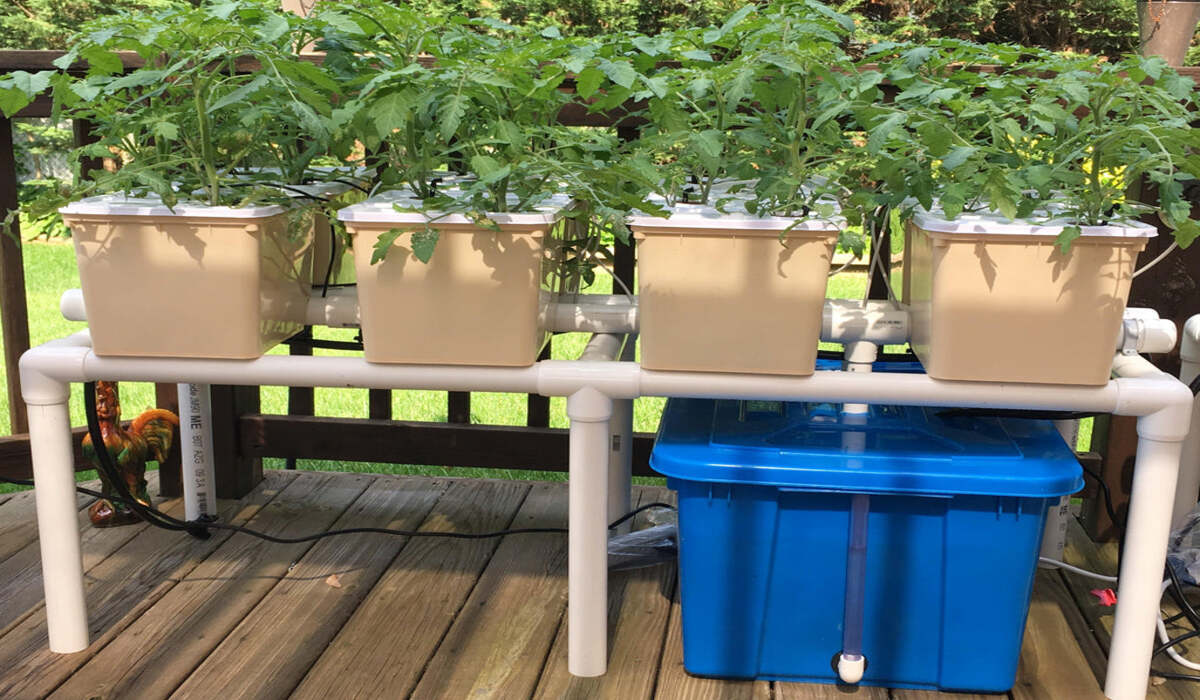
The first step in creating your hydroponics system is to select a suitable container to hold the plants and their roots. There are several options you can consider:
- A plastic storage bin: These bins are affordable, readily available, and come in various sizes. Choose a bin that is deep enough to accommodate the plants’ root systems and wide enough to provide ample space for plant growth.
- A fish tank: If you’re looking for a more aesthetically pleasing option, a fish tank can be a great choice. Make sure the tank is clean and free of any chemicals or residues that could harm the plants.
- Recycled household items: Get creative and repurpose items like buckets, tubs, or even PVC pipes to create a custom hydroponics container. Just ensure that these items are clean and don’t contain any toxic materials that could harm your plants.
When selecting a container, consider the number and size of the plants you plan to grow. Ensure that there is enough space for each plant to spread its roots and grow efficiently. Additionally, if you plan to expand your hydroponics system in the future, choose a container that allows for scalability.
Before using your chosen container, clean it thoroughly with warm water and a mild detergent to remove any dirt or residue. Rinse it well to ensure there are no traces of the detergent, as it could be harmful to the plants.
Once you have selected and prepared your container, you are ready to move on to the next step: creating a suitable growing medium for your plants.
Step 2: Creating a Growing Medium
In a hydroponics system, plants don’t grow in soil. Instead, they rely on a growing medium to provide support for their roots and allow for the absorption of water and nutrients. Here are some common options for creating a suitable growing medium:
- Perlite: Perlite is a lightweight and porous material that provides excellent aeration and drainage for the plants. It helps to prevent waterlogging and allows roots to access oxygen easily.
- Coconut coir: Made from the husks of coconuts, coconut coir is a sustainable and renewable alternative to traditional peat moss. It retains moisture well, provides good drainage, and offers a neutral pH for plant growth.
- Vermiculite: Vermiculite is a naturally occurring mineral that is lightweight and retains moisture. It improves water retention in the growing medium, ensuring that plants have access to water for extended periods.
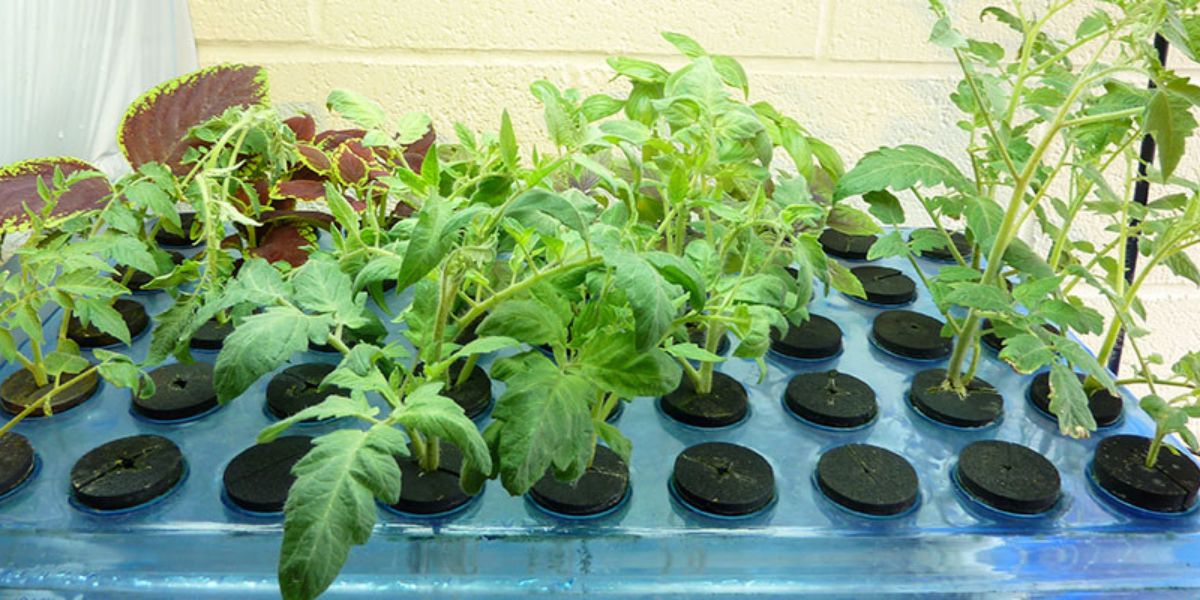
- Rockwool cubes: Rockwool is a popular choice for starting seeds in hydroponics systems. These cubes provide a stable and sterile environment for seed germination and can be easily transferred to the main hydroponics system once the seedlings have developed roots.
When creating your growing medium, soak it in water for a few minutes to ensure it is adequately hydrated. This will make it easier for the roots to establish themselves and absorb water from the nutrient solution.
Once you have prepared the growing medium, distribute it evenly in your chosen container, leaving enough space for the plants to be placed. Gently press down the medium to settle it and ensure stability for the plants.
Now that your container is ready with the growing medium, it’s time to move on to the next step: constructing the reservoir for the nutrient solution.
Step 3: Constructing the Reservoir
The reservoir is the container where the nutrient solution will be stored for your hydroponics system. It is important to choose a container that is large enough to hold an adequate amount of water for your plants. Here’s how you can construct the reservoir:
- Select a container: Choose a separate container, preferably with a lid, that can hold enough water to sustain your plants. It should be made of a non-toxic material such as food-grade plastic or glass.
- Clean and sanitize: Thoroughly clean the reservoir container with warm water and a mild detergent. Rinse it well to ensure there are no traces of detergent left. Sanitize the container by rinsing it with a mixture of water and bleach (1 part bleach to 10 parts water) or a food-grade sanitizer.
- Add water: Fill the reservoir with clean, pH-balanced water. It is recommended to use filtered or distilled water to avoid any contaminants that can hinder plant growth.
- Add nutrients: Measure and add the appropriate amount of hydroponic nutrient solution to the water in the reservoir. Follow the instructions provided on the nutrient solution packaging for the recommended dosage.
- Mix the solution: Use a clean stirring rod or spoon to mix the nutrient solution thoroughly, ensuring that the nutrients are evenly dispersed.
- Check pH levels: Measure the pH level of the nutrient solution using a pH testing kit. Adjust the pH level to the optimal range for your plants (usually between 5.5 and 6.5) by adding pH-adjusting solutions. This ensures that the plants can effectively absorb the nutrients.
Remember to check and adjust the pH level of the nutrient solution regularly to maintain optimal conditions for plant growth.
Once the reservoir is constructed and the nutrient solution is prepared, you are ready to move on to the next step: setting up the nutrient solution delivery system.
Step 4: Setting Up the Nutrient Solution
Now that you have your reservoir with the nutrient solution ready, it’s time to set up the delivery system to ensure that the plants receive the necessary nutrients. Follow these steps to set up the nutrient solution delivery system:
- Position the reservoir: Place the reservoir at a convenient location near your hydroponics container. It should be at a slightly higher elevation than the container to facilitate the flow of the nutrient solution.
- Connect the tubing: Attach one end of the tubing to the water pump and the other end to the outlet or drainage hole in the reservoir. Ensure that the tubing is securely connected to prevent any leaks.
- Install fittings: Use appropriate fittings, such as drip emitters or sprayers, to distribute the nutrient solution evenly to the plants. These fittings can be attached to the tubing and placed strategically above each plant container.
- Avoid clogging: Install a mesh filter or drip stakes at the end of each fitting to prevent clogging caused by debris or plant roots.
- Prime the pump: Submerge the water pump in the nutrient solution in the reservoir. Plug the pump into a power source and let it run for a few minutes to ensure that the nutrient solution is circulating properly.
- Check the flow rate: Adjust the flow rate of the water pump to ensure that the nutrient solution is being delivered at a consistent and appropriate rate for your plants.
It is essential to monitor the nutrient solution delivery system regularly. Make sure that the tubes and fittings are secure, and there are no blockages that could disrupt the flow of the solution to the plants.
With the nutrient solution delivery system set up, you are ready for the next step: placing the plants in the hydroponics system and allowing them to thrive.
Step 5: Installing the Pump and Tubing
Installing the pump and tubing is a crucial step in ensuring the proper circulation and delivery of the nutrient solution to your hydroponics system. Here’s how you can do it:
- Position the pump: Place the water pump in a suitable location near the reservoir. It should be close enough to reach the tubing but not submerged in the nutrient solution.
- Connect the tubing: Attach one end of the tubing to the outlet or nozzle of the water pump. Ensure a secure connection to prevent leaks.
- Route the tubing: Carefully route the tubing towards your hydroponics container. You may need to drill holes or use clips to secure the tubing along the way.
- Attach fittings: Depending on the design of your hydroponics system, attach appropriate fittings such as drip emitters or sprayers to the tubing. These fittings will deliver the nutrient solution to your plants.
- Position the fittings: Ensure that the fittings are positioned above each plant container, allowing the nutrient solution to flow directly onto the growing medium or roots.
- Secure the tubing: Use clips or brackets to secure the tubing in place, preventing it from dangling or getting tangled with the plants.
- Test the system: Plug in the water pump and check for any leaks or issues with the tubing and fittings. Make any necessary adjustments or repairs before proceeding.
It is important to ensure that the water pump is functioning properly, without any clogs or blockages. Regularly check the tubing and fittings to ensure they remain secure and unobstructed.
Once you have successfully installed the pump and tubing, you are ready to move on to the next step: placing the plants in the hydroponics system and watching them thrive.
Step 6: Placing the Plants in the System
With your hydroponics system set up and the pump and tubing installed, it’s time to place your plants into the system. Follow these steps to ensure proper placement:
- Prepare the plants: If you’re starting from seeds, follow the seed packet instructions for germination. If using seedlings, gently remove them from their nursery containers, being careful not to damage the delicate roots.
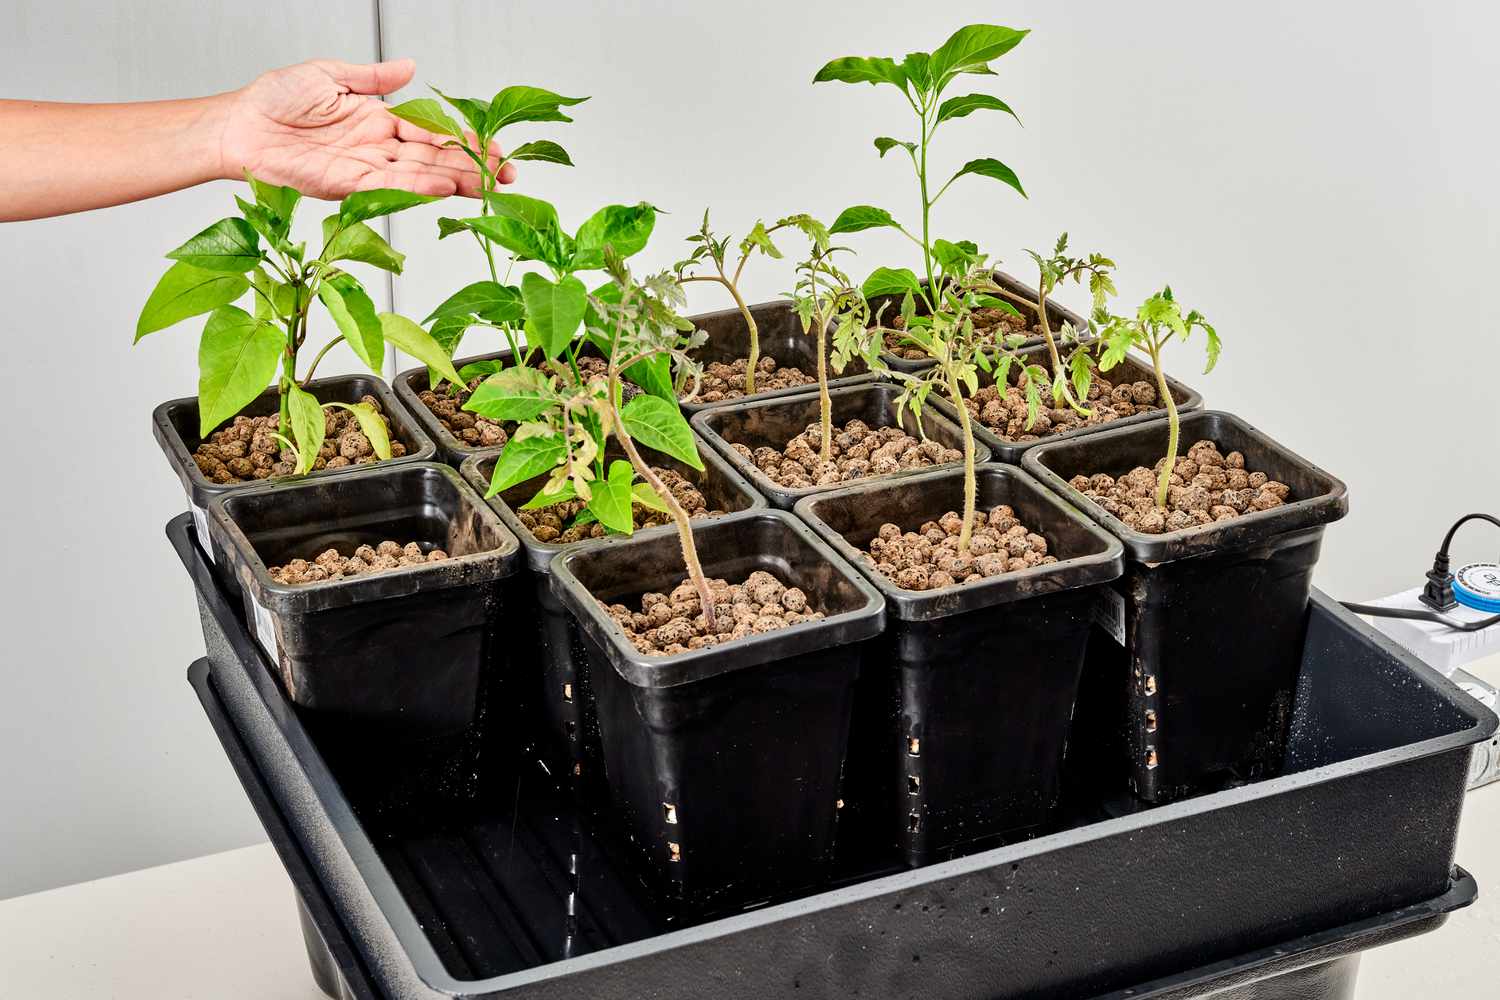
- Prepare the plant containers: If using net pots or cups, fill them with your chosen growing medium, such as perlite or coconut coir. If using recycled containers, ensure they have drainage holes at the bottom.
- Place the plants: Carefully position each plant into its individual container, making sure the roots are well covered with the growing medium. Ensure that the plants are positioned securely and upright.
- Space the plants: Leave enough space between each plant to allow for proper growth and airflow. Crowded plants can lead to potential disease or pest issues.
- Position the containers: Arrange the plant containers in the hydroponics system, ensuring they are evenly spaced and stable. They should be positioned below the fittings, allowing the nutrient solution to flow onto the growing medium or roots.
- Inspect and adjust: Check that the tubing and fittings are delivering the nutrient solution properly to each plant container. Make any necessary adjustments to ensure even distribution.
Remember to monitor your plants closely as they adapt to the hydroponics system. Look for signs of nutrient deficiencies, pests, or diseases, and address them promptly.
Now that your plants are successfully placed in the hydroponics system, let’s move on to the final step: maintaining the system to ensure healthy growth and harvest.
Step 7: Maintaining the Hydroponics System
Maintaining your hydroponics system is key to ensuring the health and success of your plants. Follow these steps to keep your system running smoothly:
- Monitor the nutrient solution: Regularly check the level of the nutrient solution in the reservoir and top it up as needed. Ensure that the pH level remains within the optimal range for your plants, and adjust if necessary.
- Check the water pump: Inspect the water pump regularly to ensure it is functioning properly. Clean the pump and remove any debris or clogs that may hinder its performance.
- Inspect the tubing and fittings: Regularly inspect the tubing and fittings for any leaks, blockages, or damage. Replace or repair them as needed to maintain proper nutrient solution flow.
- Prune and trim plants: Trim any dead or damaged leaves or stems from the plants to promote healthy growth. Prune the plants regularly to keep them in optimum shape and prevent overcrowding.
- Monitor plant health: Keep a close eye on your plants for any signs of nutrient deficiencies, pest infestations, or diseases. Take necessary action promptly to prevent further damage.
- Clean the system: Every few weeks, empty the reservoir and give it a thorough cleaning. Remove any algae or residue that may have accumulated. Clean the containers and growing medium as well.
- Adjust lighting: If using artificial lighting, ensure that the lights are positioned at the ideal distance from the plants to provide the necessary intensity and duration for photosynthesis.
- Harvest and replant: Once your plants have reached maturity, harvest them by gently removing them from the containers. Clean the containers and replant with new seedlings or seeds for continuous production.
Maintaining a proper schedule and routine for these tasks will help keep your hydroponics system in excellent condition and ensure the ongoing success of your plants.
Congratulations! You have successfully set up and learned how to maintain your hydroponics system. Now sit back, relax, and enjoy the journey of growing your own fresh and nutritious produce!
Conclusion
Congratulations on completing the journey of creating your own easy hydroponics system! By following the step-by-step process outlined in this article, you have learned how to choose the right container, create a suitable growing medium, construct the reservoir, set up the nutrient solution delivery system, install the pump and tubing, place your plants in the system, and maintain the hydroponics system for optimal growth.
Hydroponics offers numerous benefits, including water efficiency, precise nutrient control, and reduced risk of pests and diseases. With your hydroponics system, you can enjoy year-round gardening, even in limited spaces, and harvest fresh and nutrient-rich produce right at home.
Remember to monitor your plants regularly, maintain the nutrient solution, and provide adequate lighting for optimal growth. Prune and trim your plants as needed, and be vigilant for any signs of nutrient deficiencies, pests, or diseases. Taking proactive measures will help ensure the health and success of your plants.
As you continue your hydroponic gardening journey, don’t be afraid to experiment with different plants, nutrient solutions, and growing techniques. Every harvest will be a rewarding experience, filled with the satisfaction of growing your own food and contributing to a more sustainable lifestyle.
We hope that this comprehensive guide has empowered you to embark on your hydroponics adventure with confidence. Happy growing!